Prepped and painted the B20 engine. It will need some new parts (freeze plugs, gaskets, thermostat, fuel pump, seals etc) which will be installed soon.
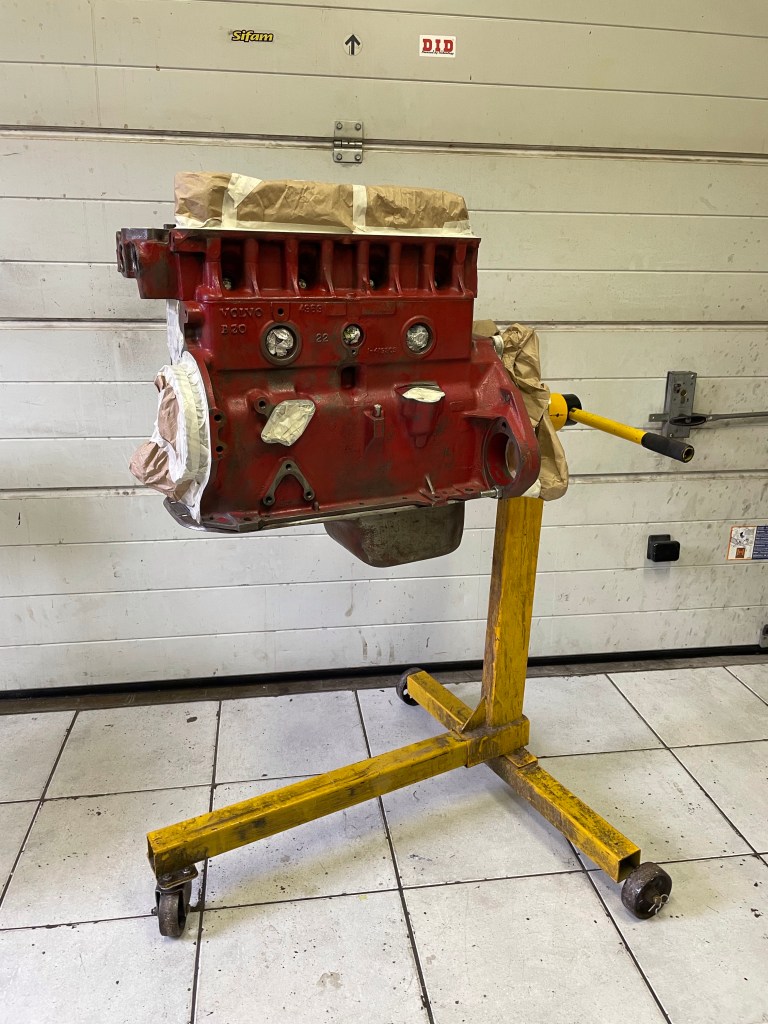
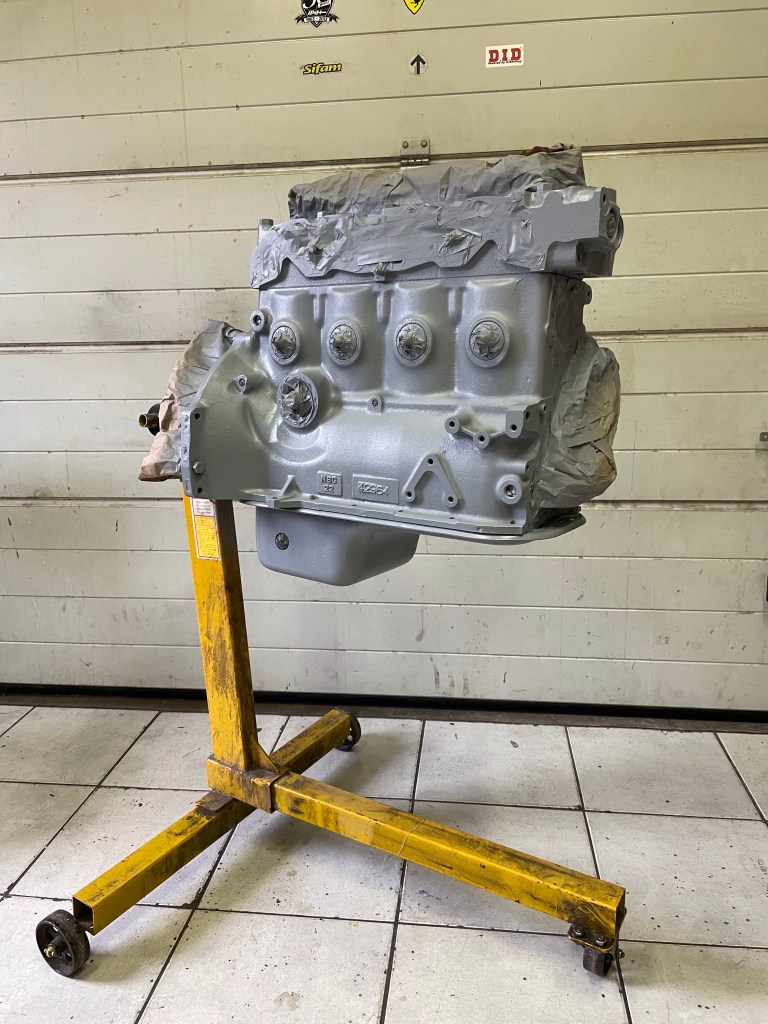
Prepped and painted the B20 engine. It will need some new parts (freeze plugs, gaskets, thermostat, fuel pump, seals etc) which will be installed soon.
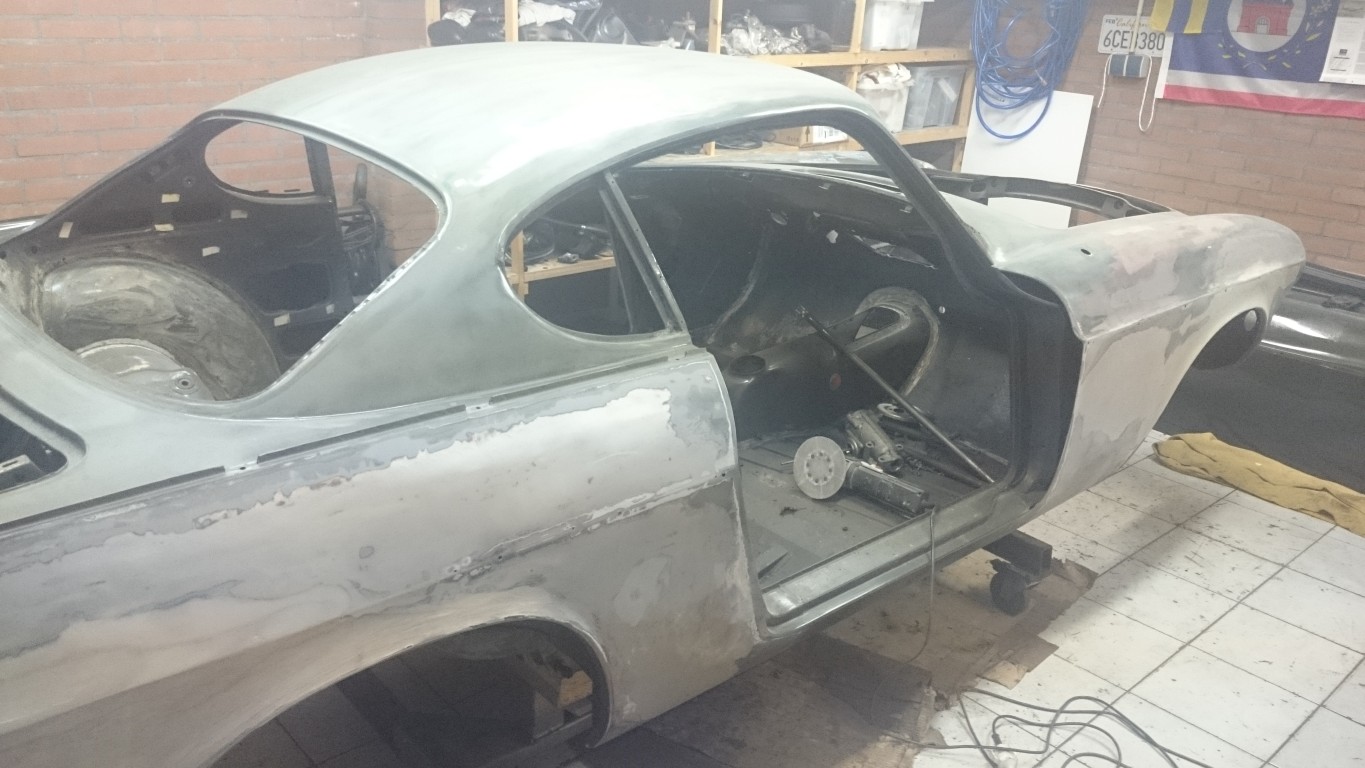
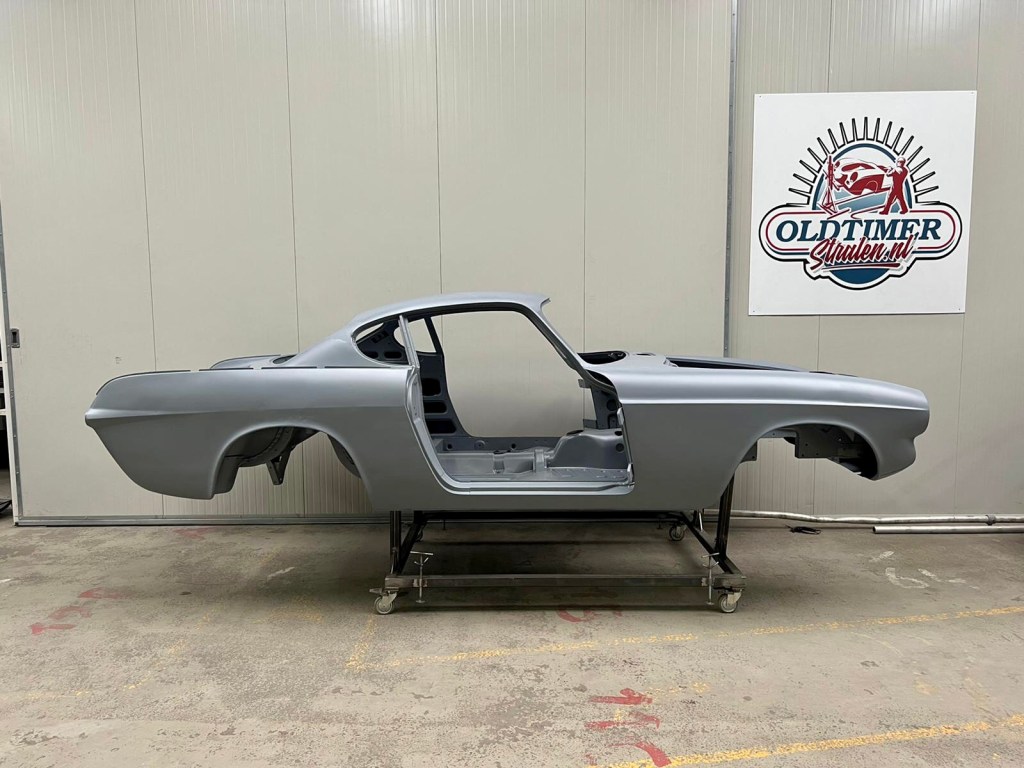
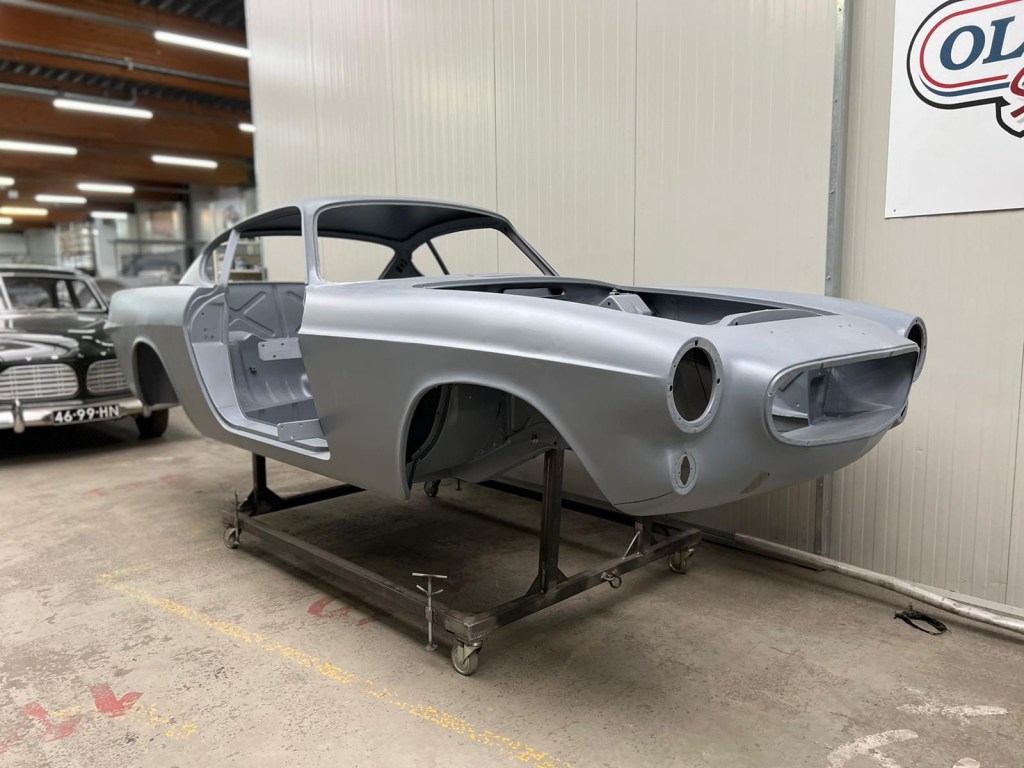
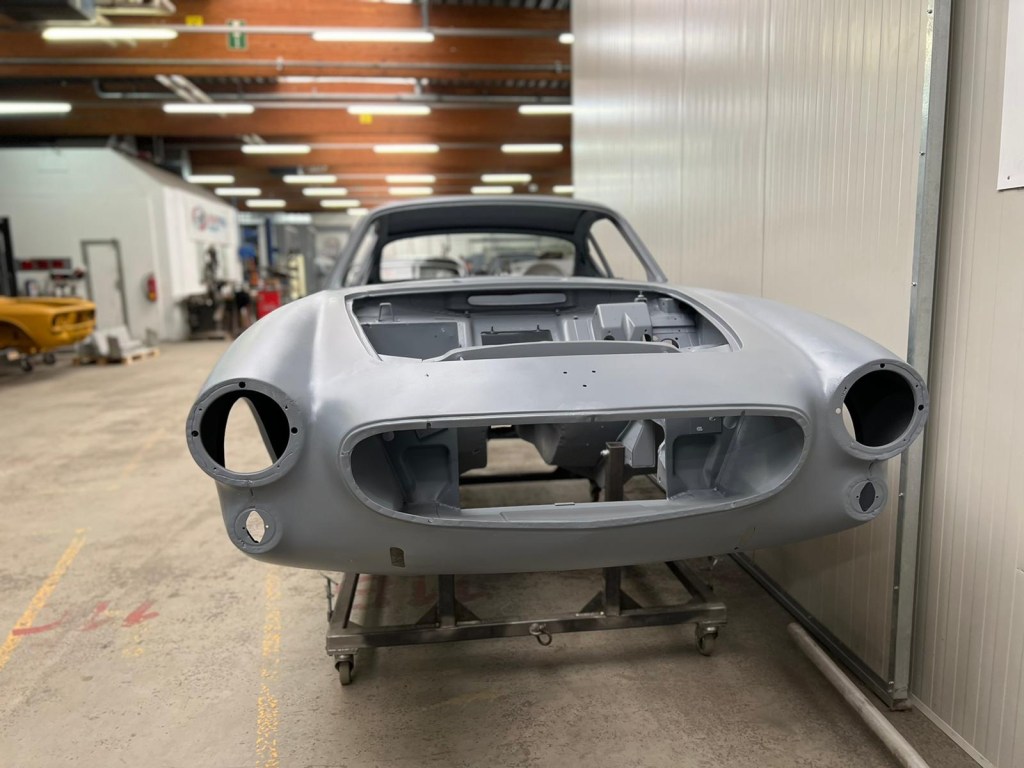
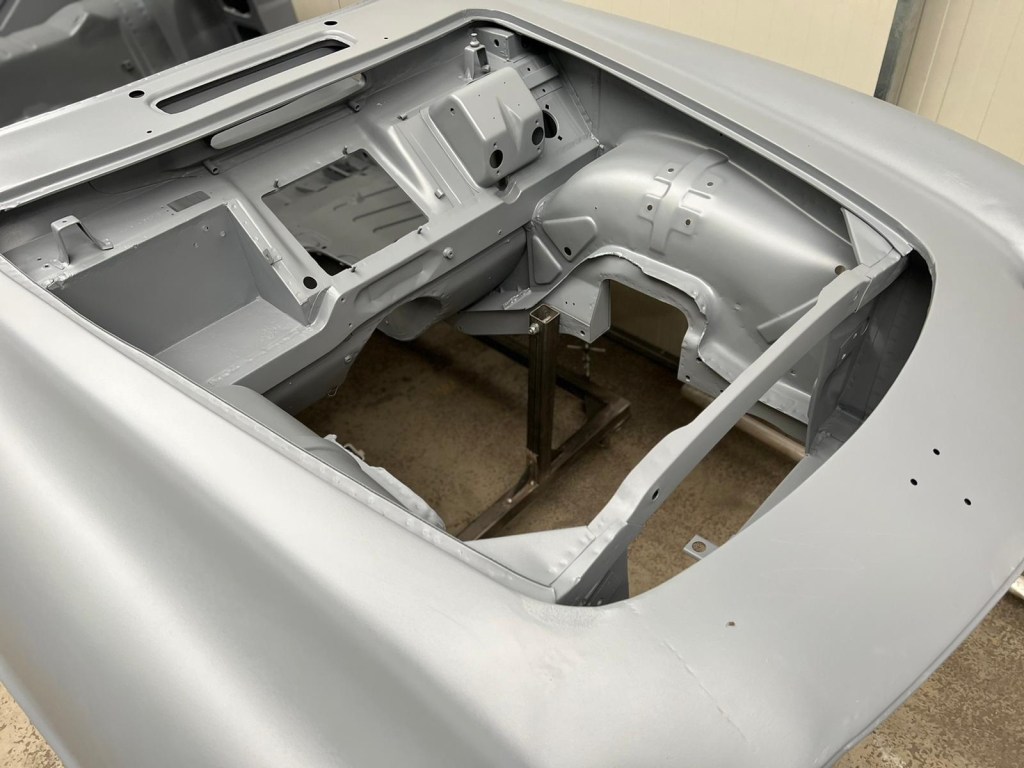
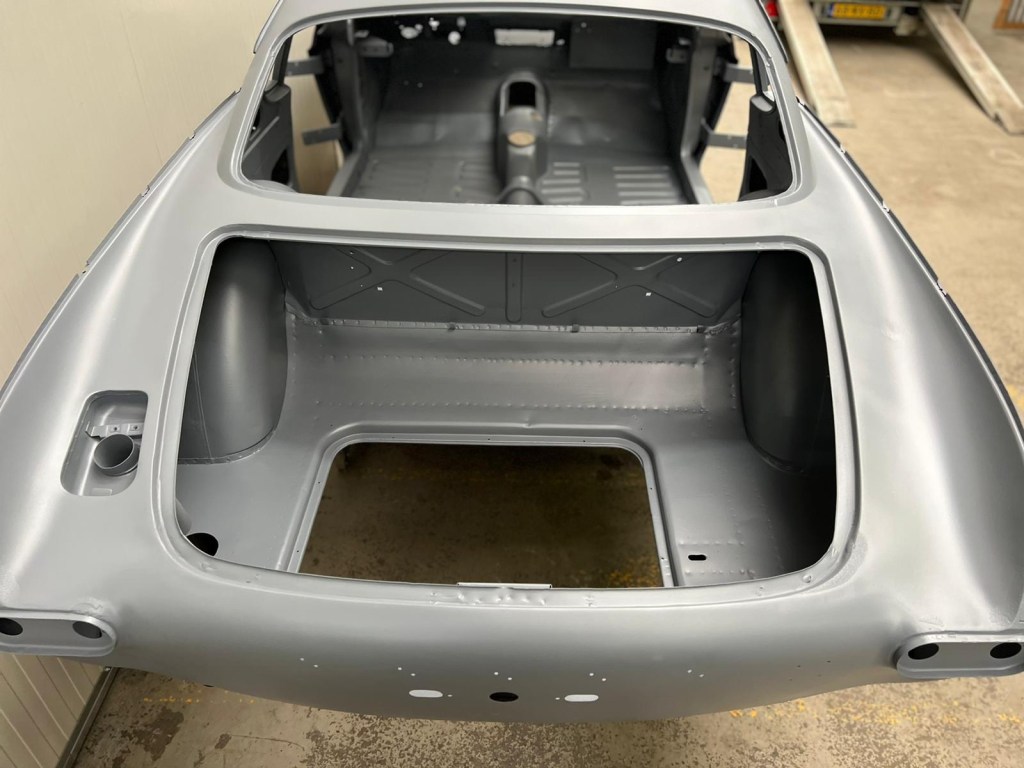
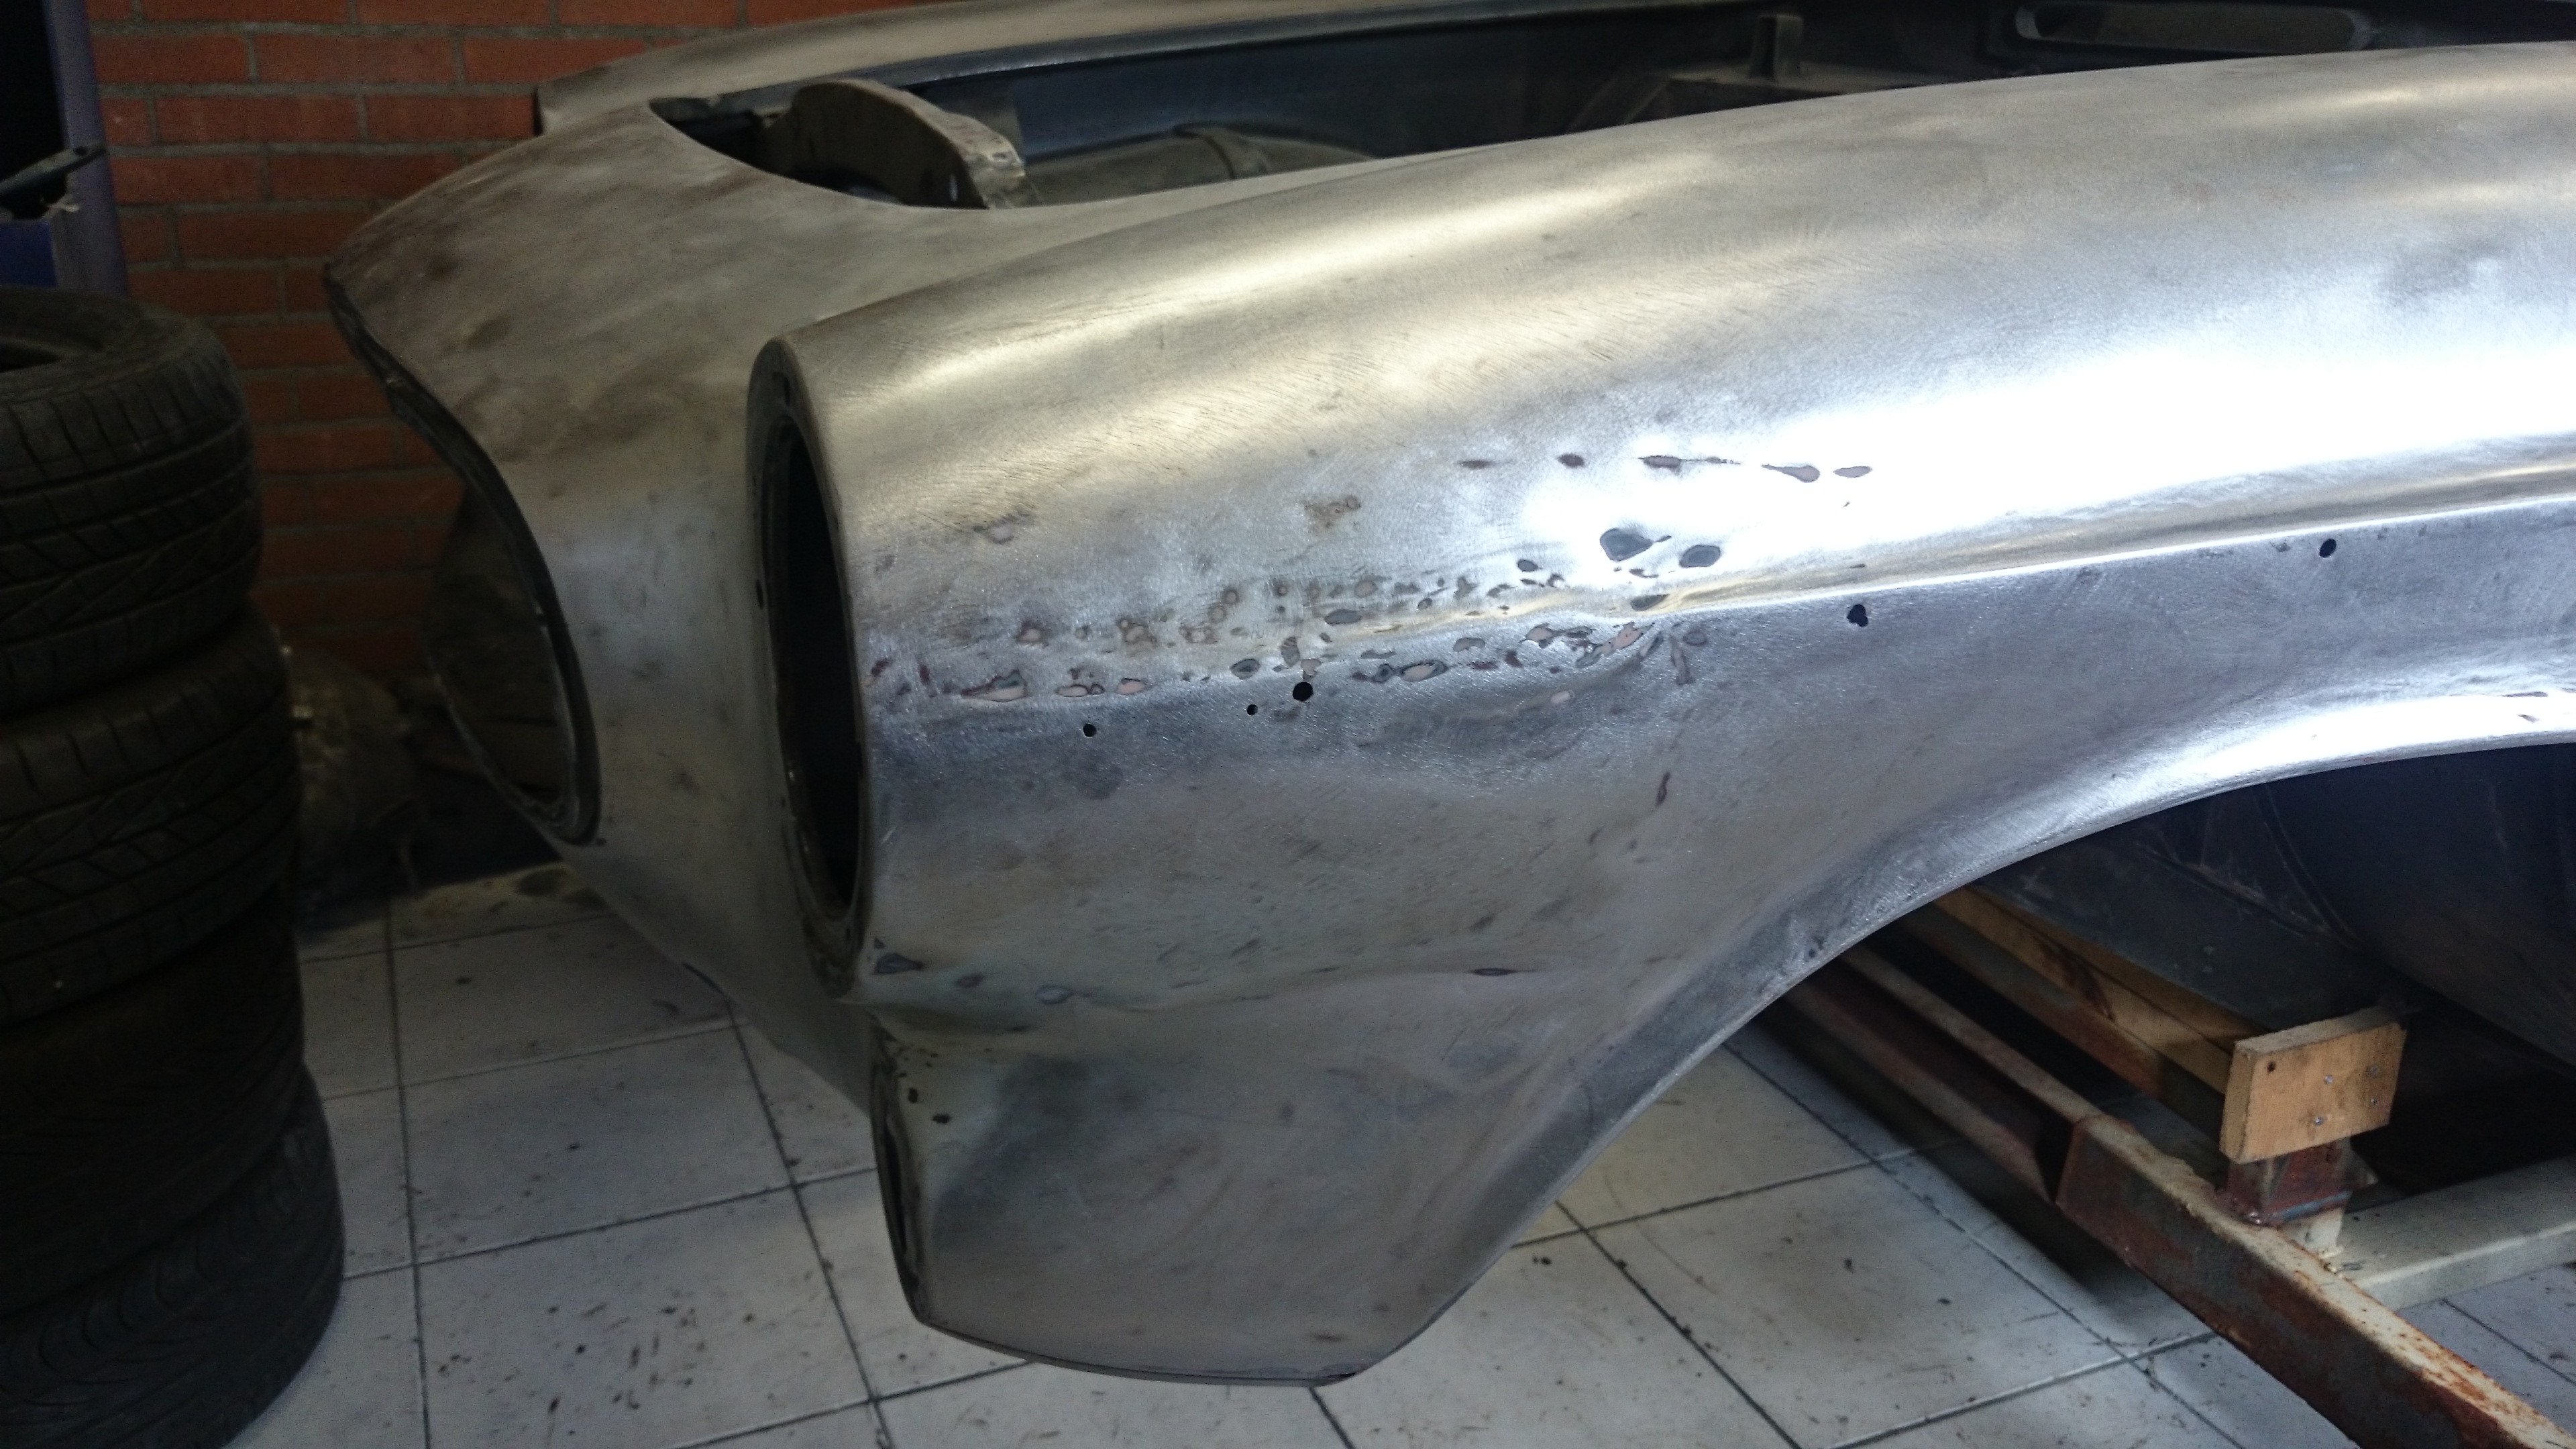
After al these years the welding and sheetmetal stuff is FINALLY done and the body including doors, hood and trunk lid have been lightly shot blasted and painted in epoxy primer. Next: get the car painted!


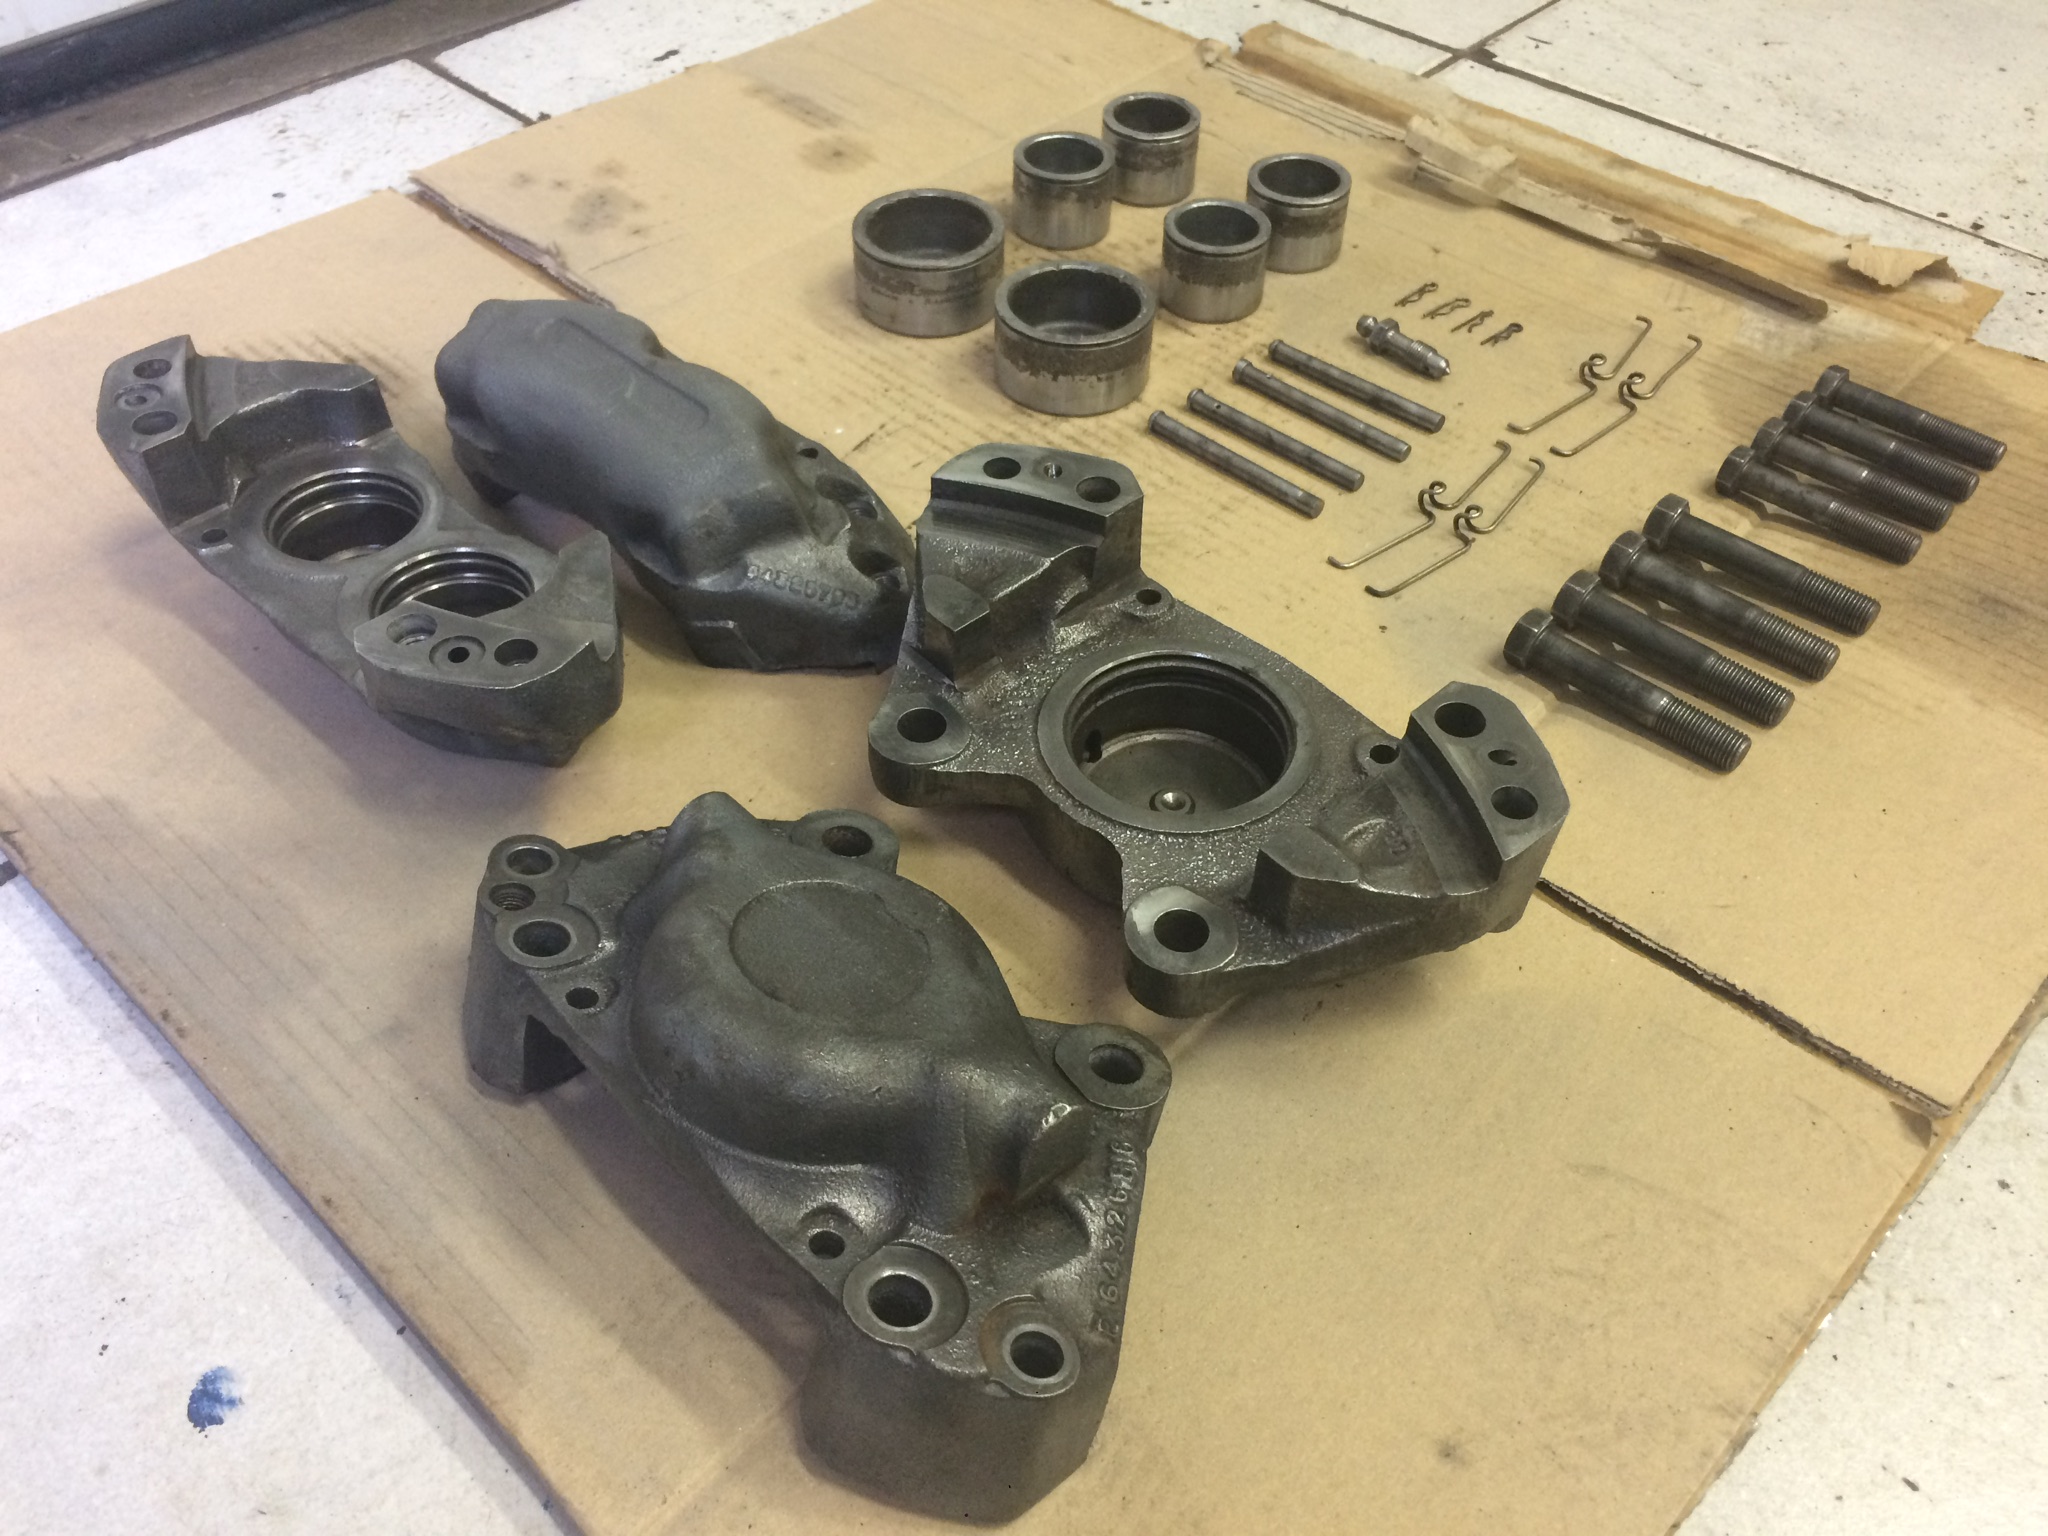
So it has been a while, busy with work, kids etc etc. but I’m still working on the car. Finished restoring the calipers. Pistons where too far gone so bought a new kit with seals, pistons and brake pad pins.
I was considering changing the brake system from single system to a double because of safety, but I’m going to keep it original as a single system. If I would change it it would require to replace some bits; other calipers and rear brake pistons with double brake lines, an extra proportioning valve, different brake master cilinder and offcourse all double brake lines. But as I said I keep it a single system as it is original.


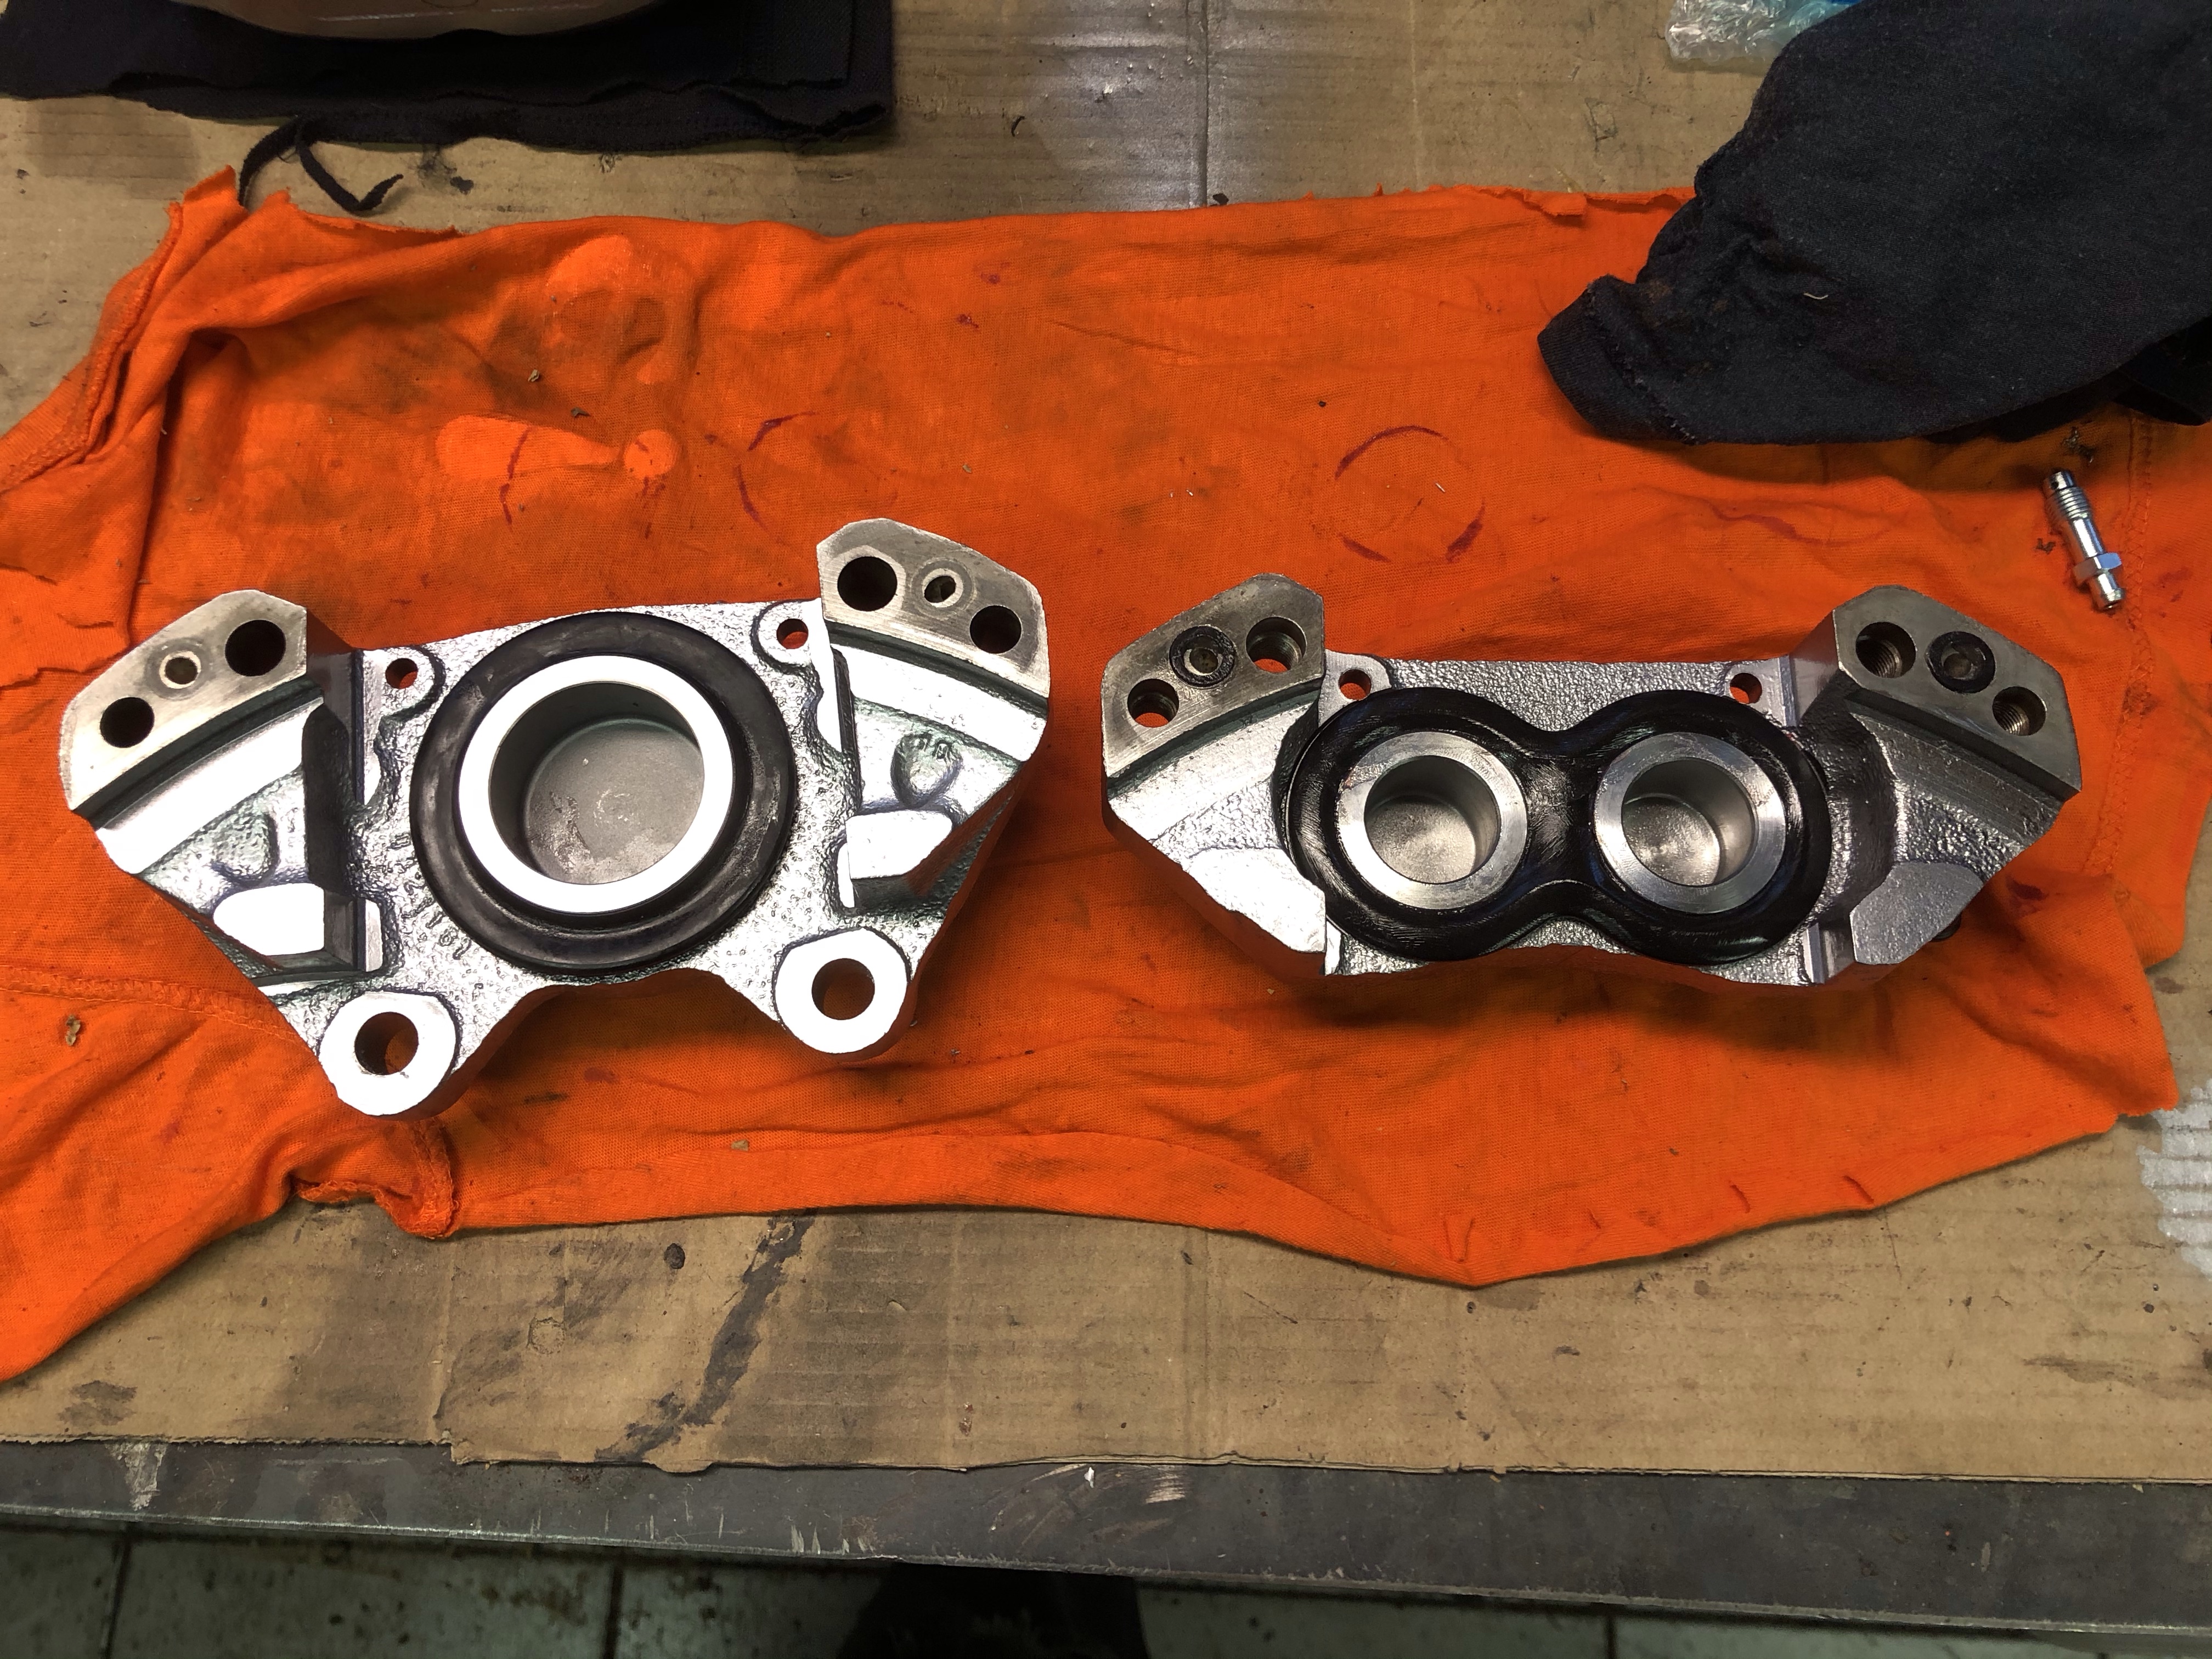


Also rebuild the rear brake pistons, they where in good enough shape to reuse. Just in need of a rebuild and a new layer of paint.

The pistons where stuck in the calipers, but after a little pursuation I got them out.


Then clean it all up to prep for painting. The bolts, clips, pistons and brake pad pins will go with the second batch to be zinc plated. The seals are all pretty much shot, so ordered a new kit.
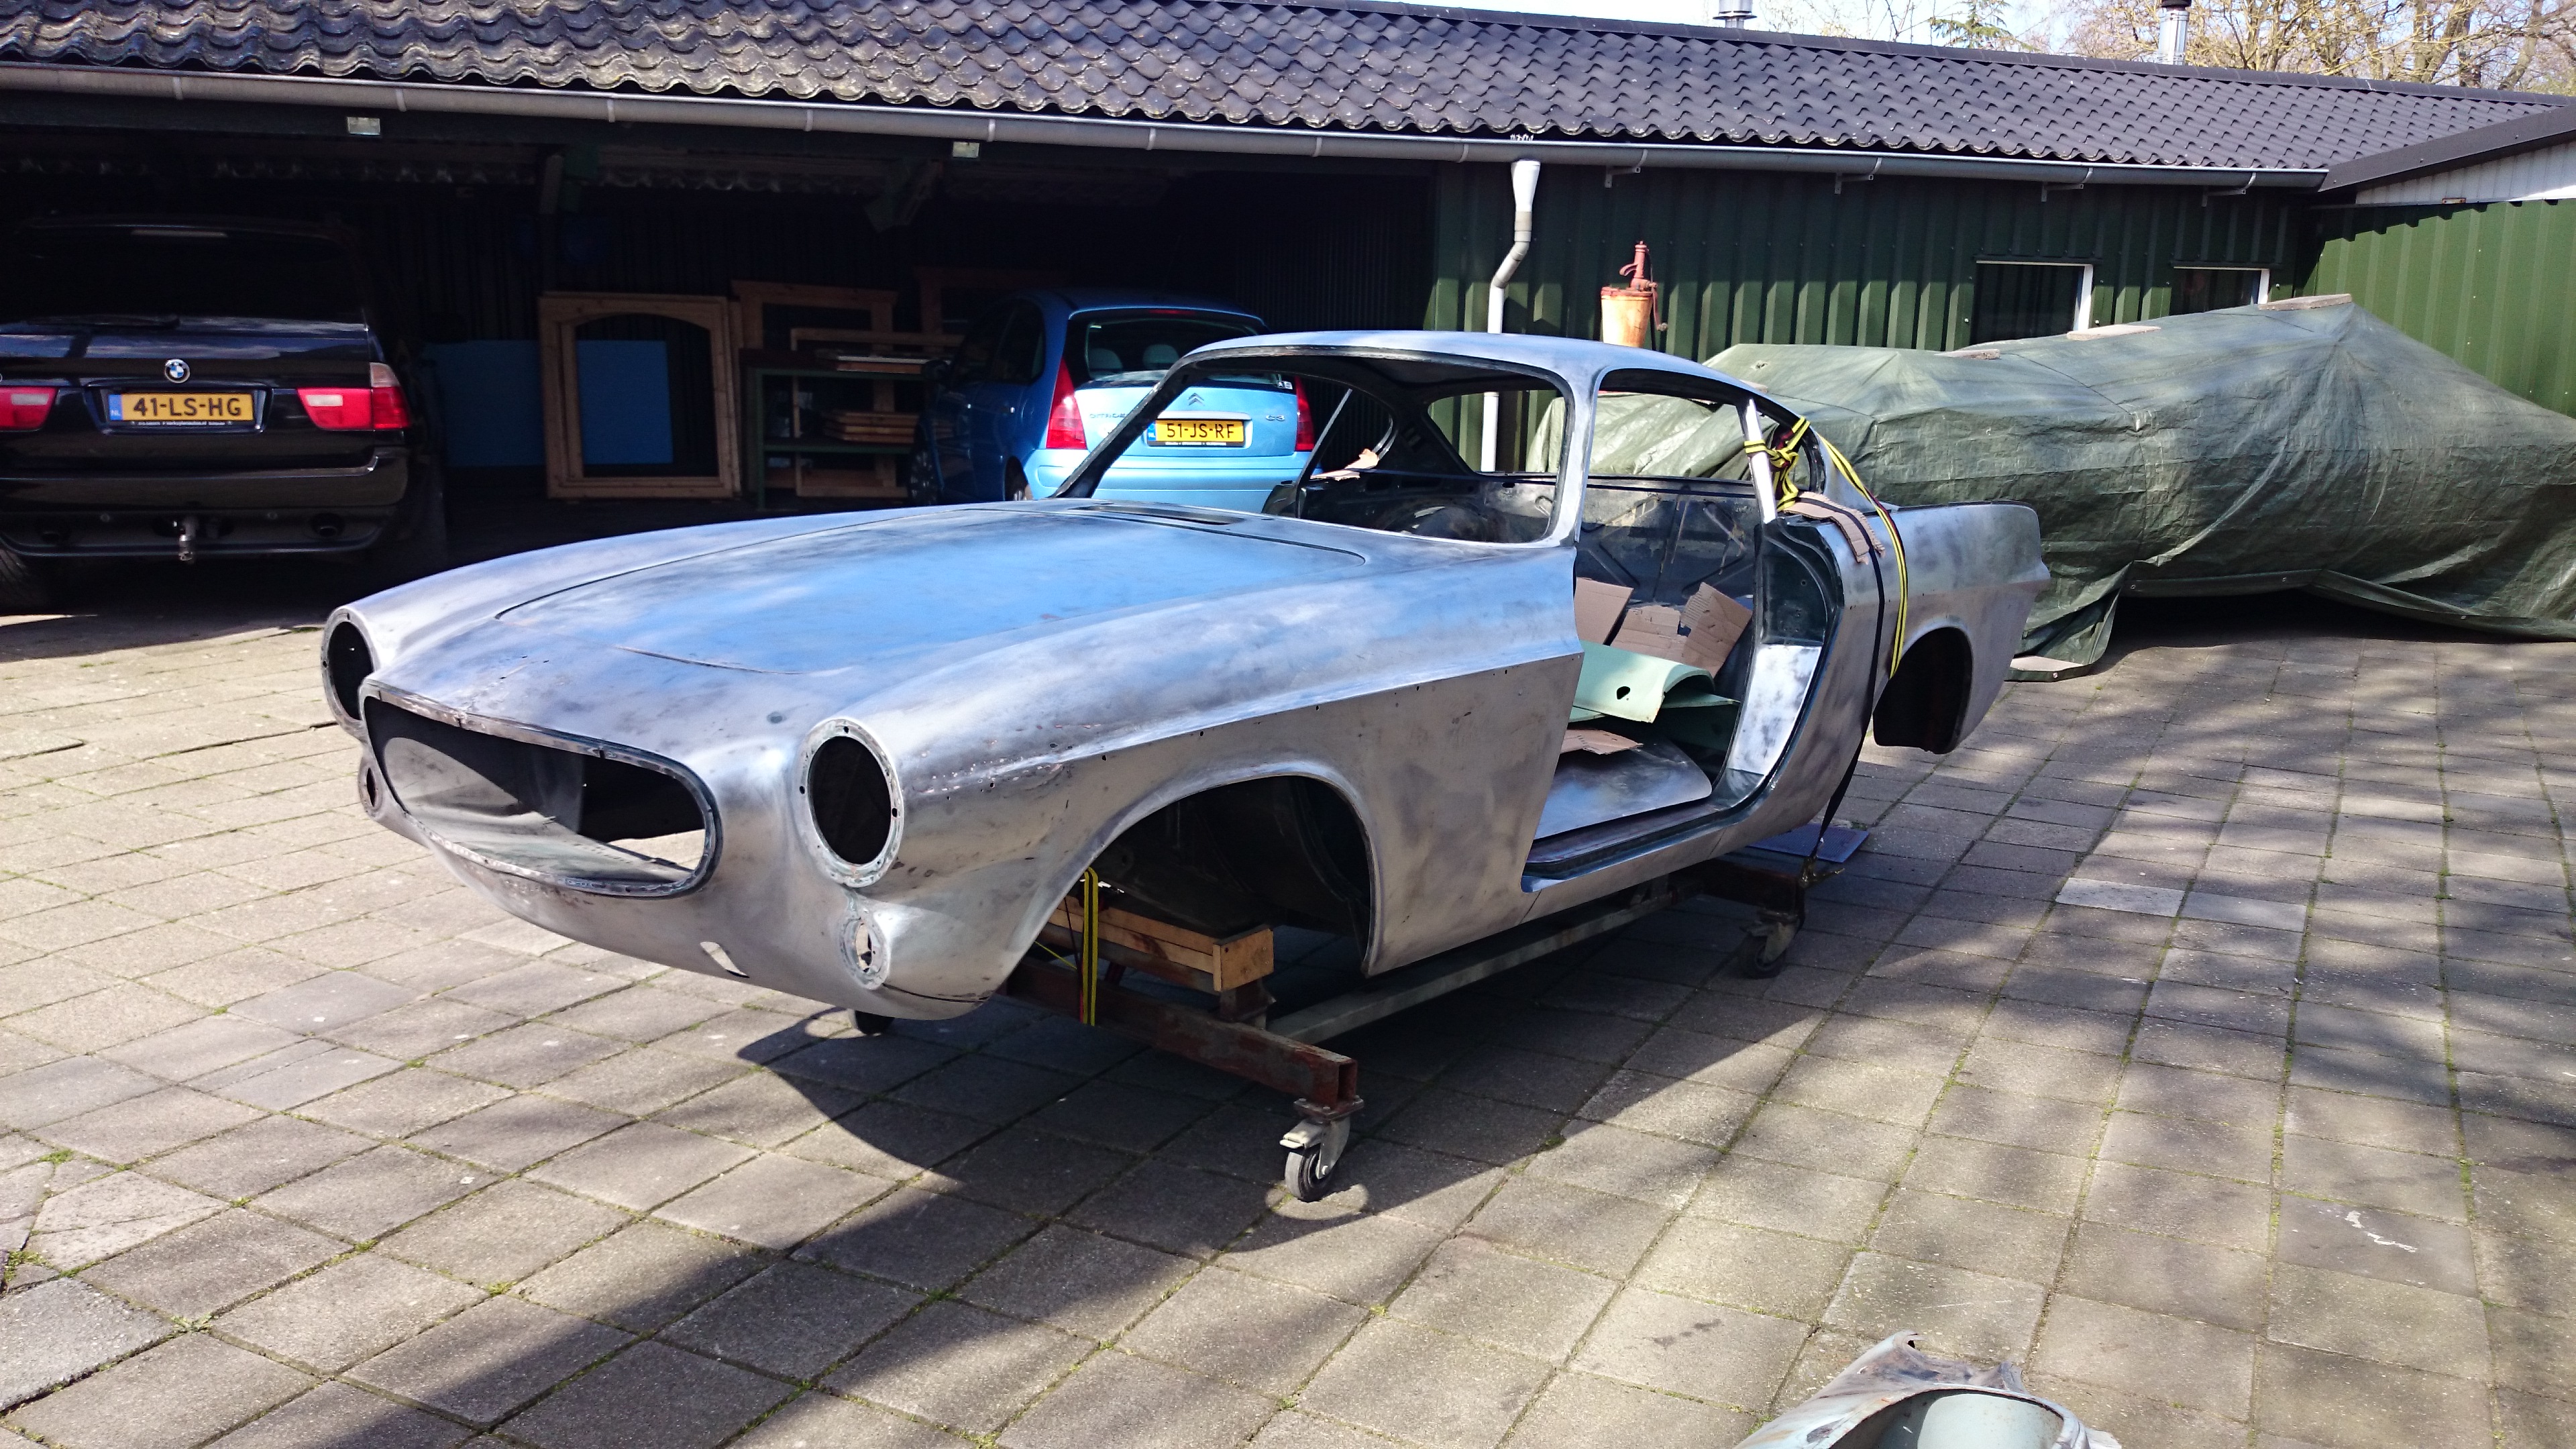
As I am finished with largely removing of all the tectyl and sanding down the car (including doors, trunk and hood lid) so time to take it to the bodyshop.
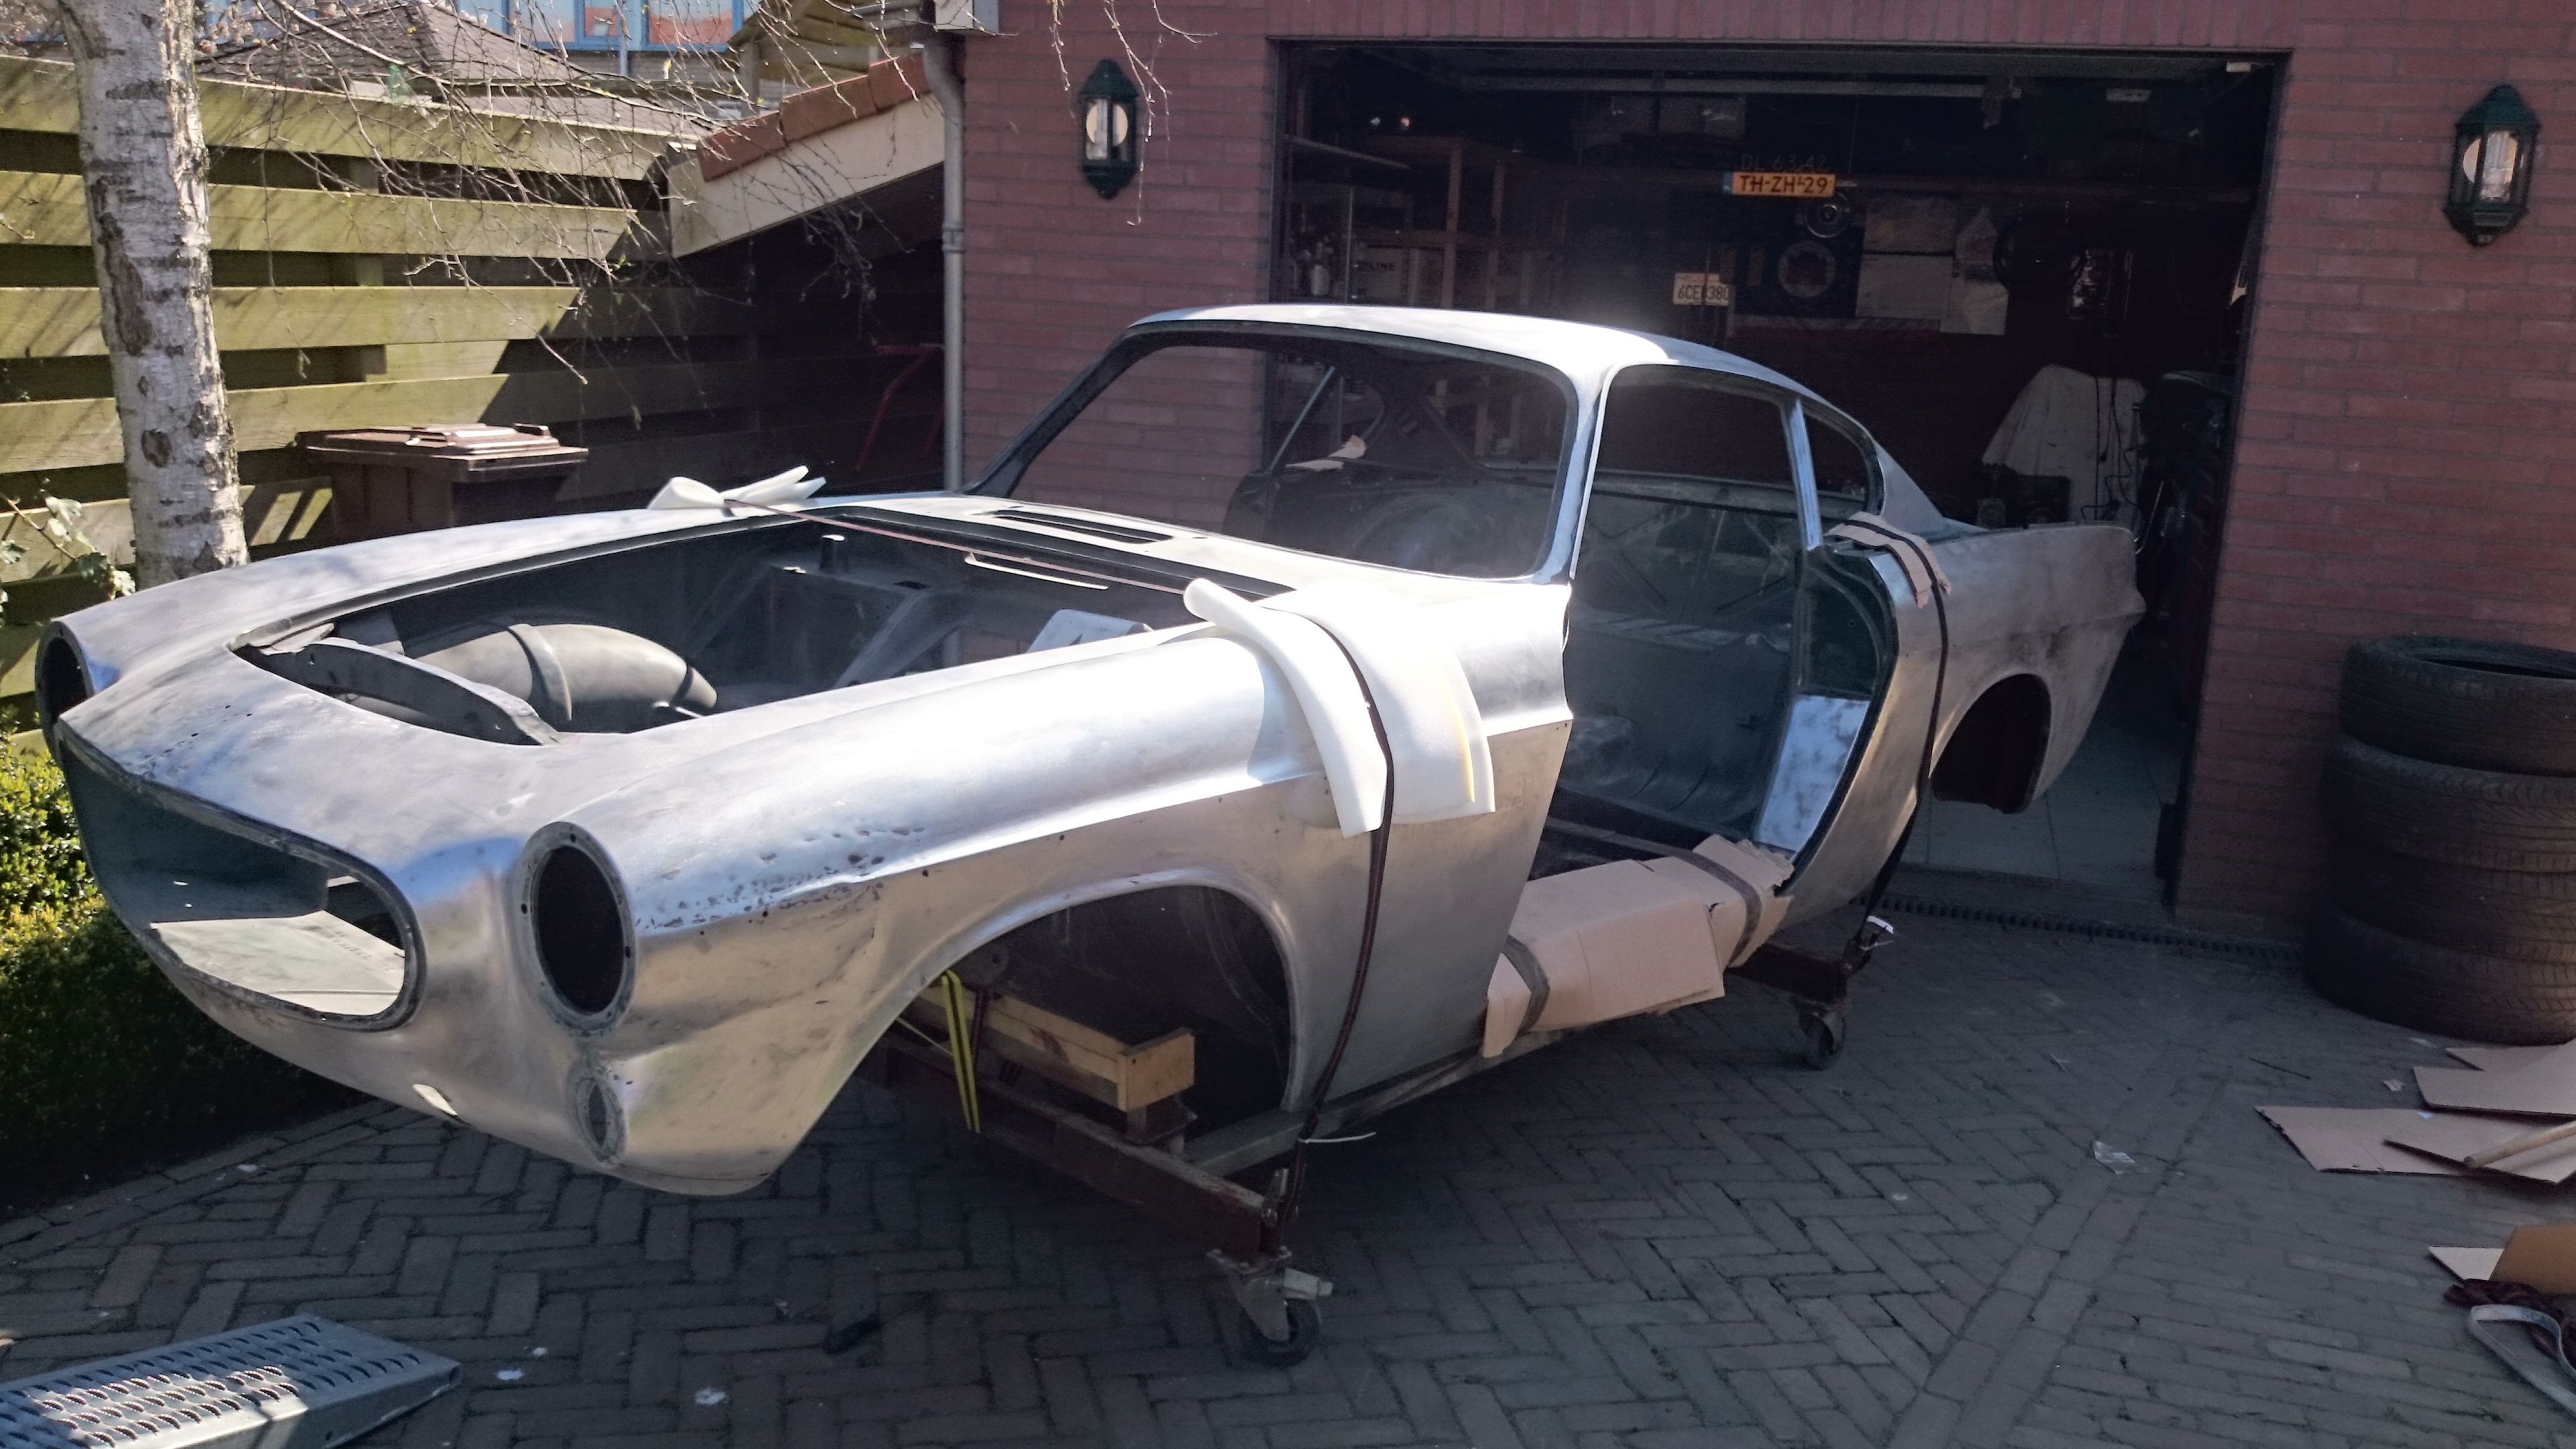

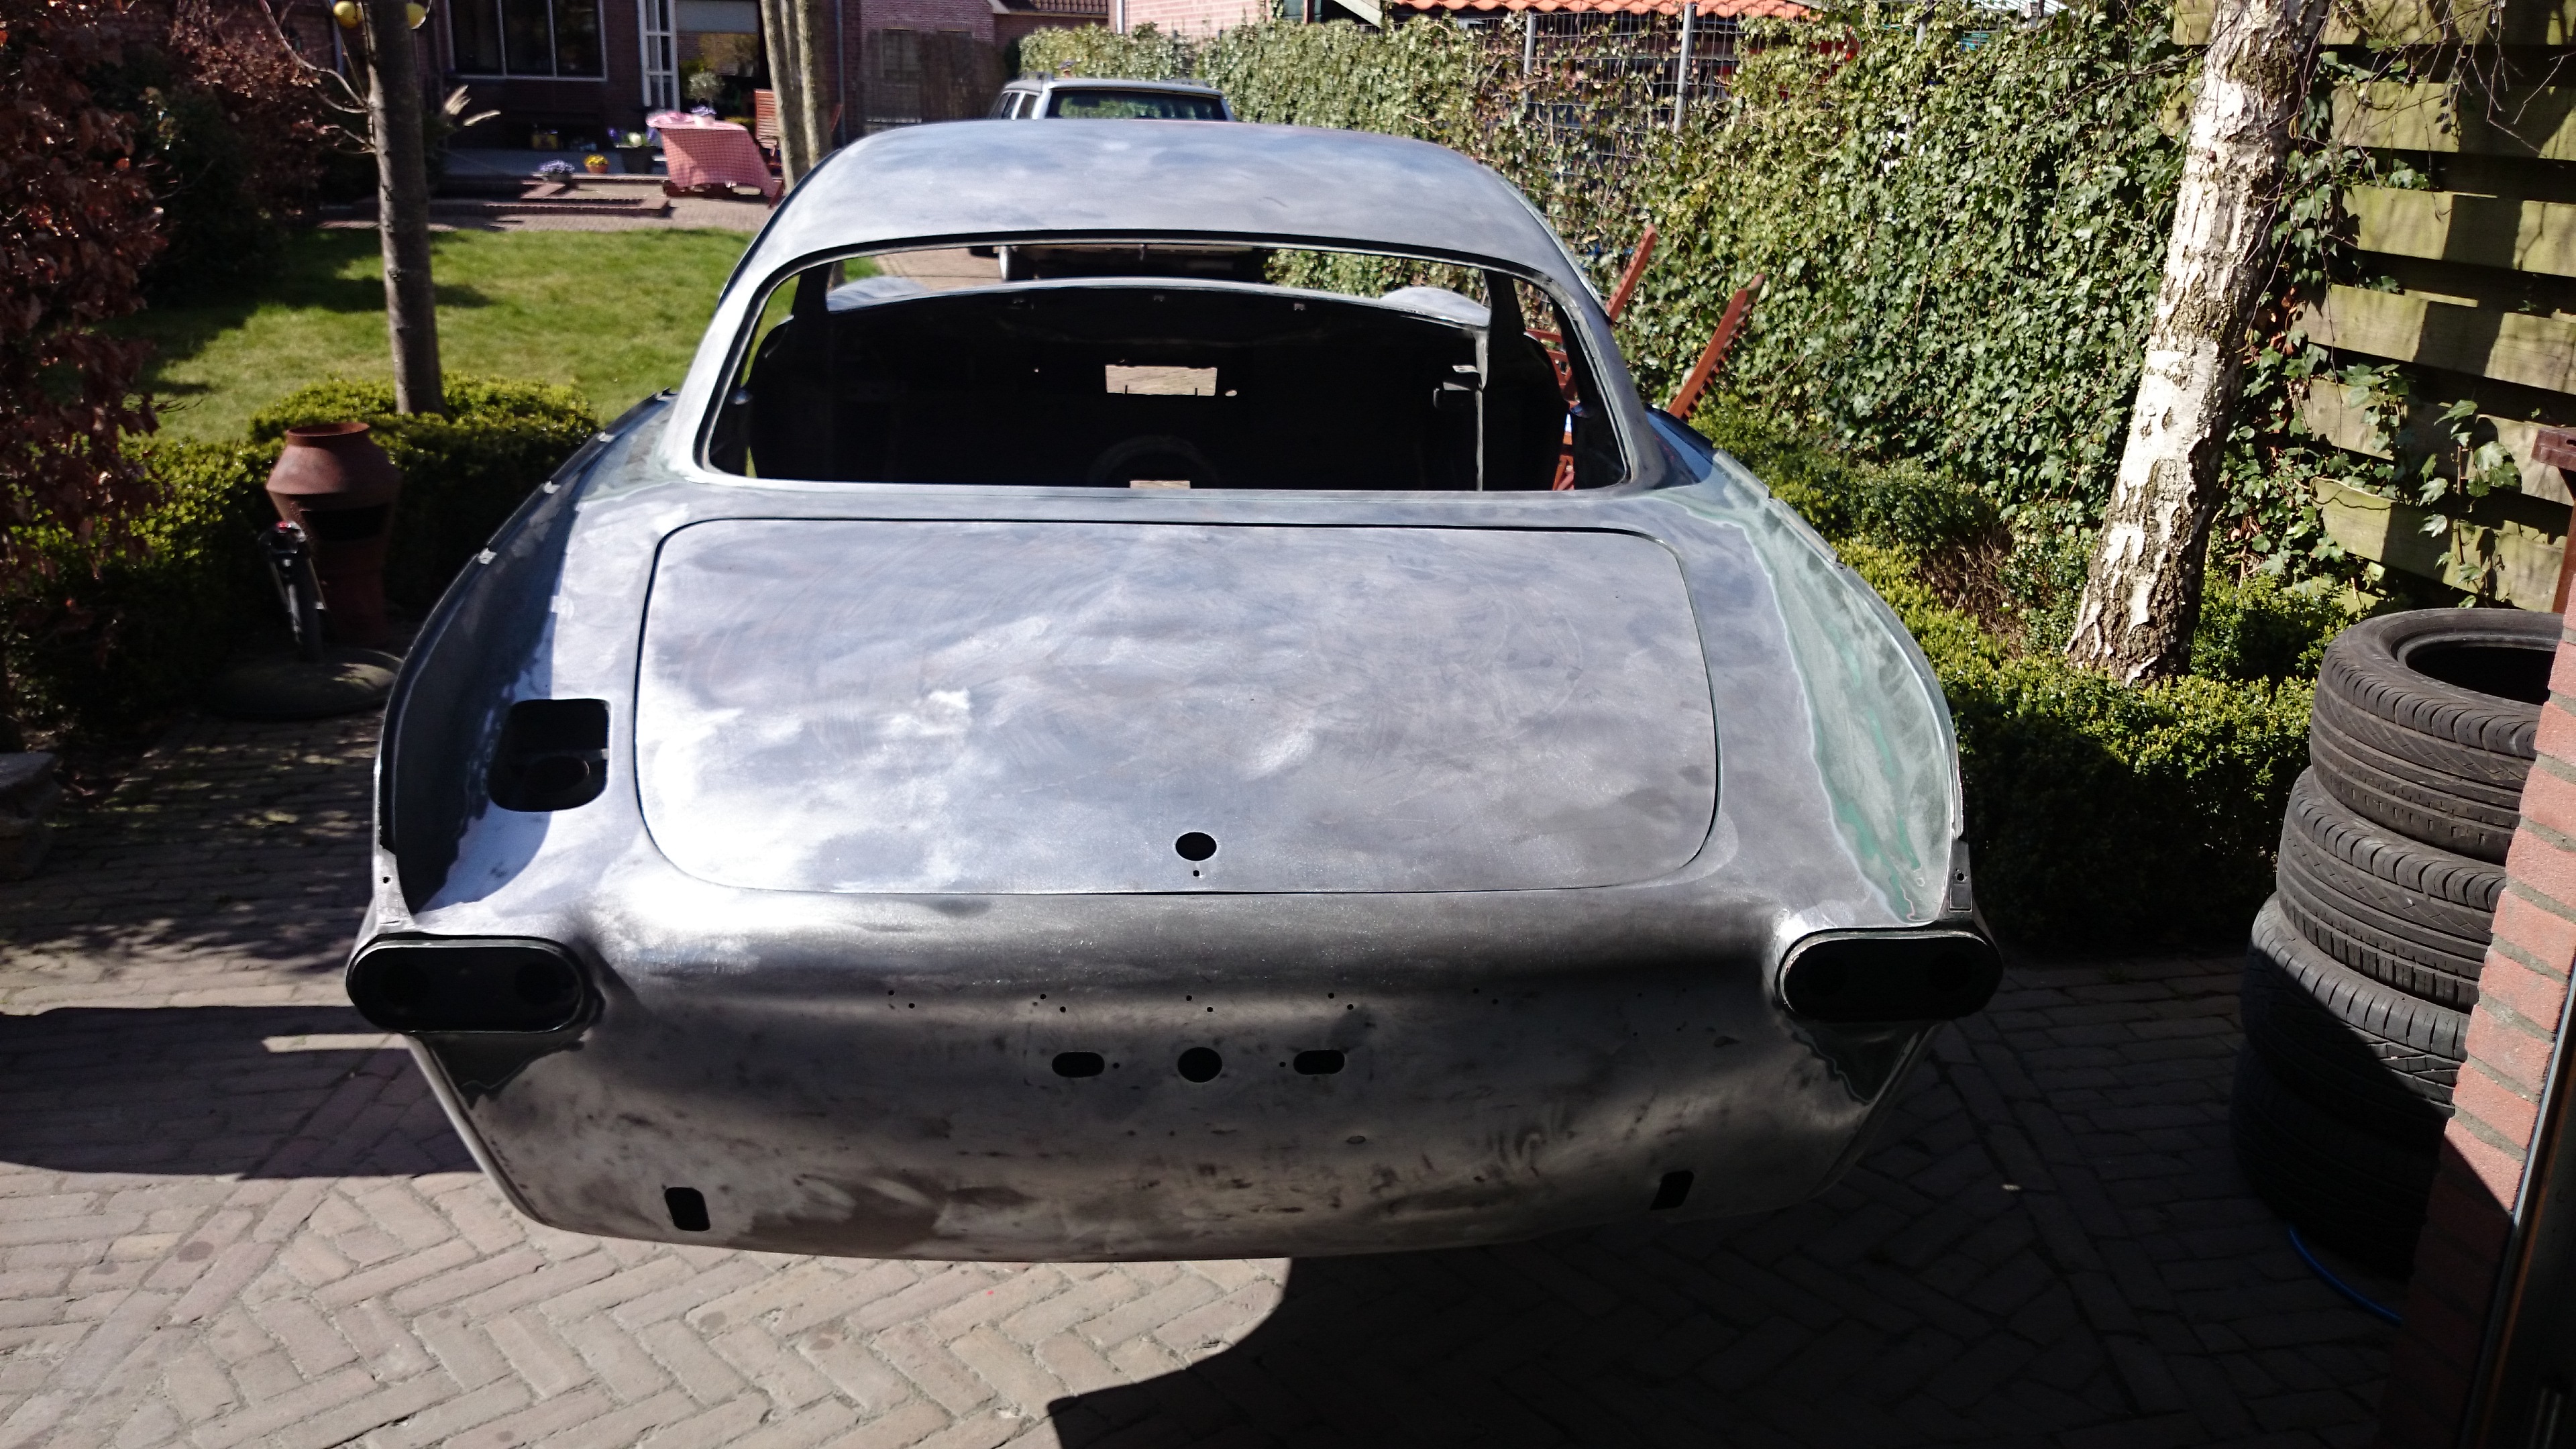
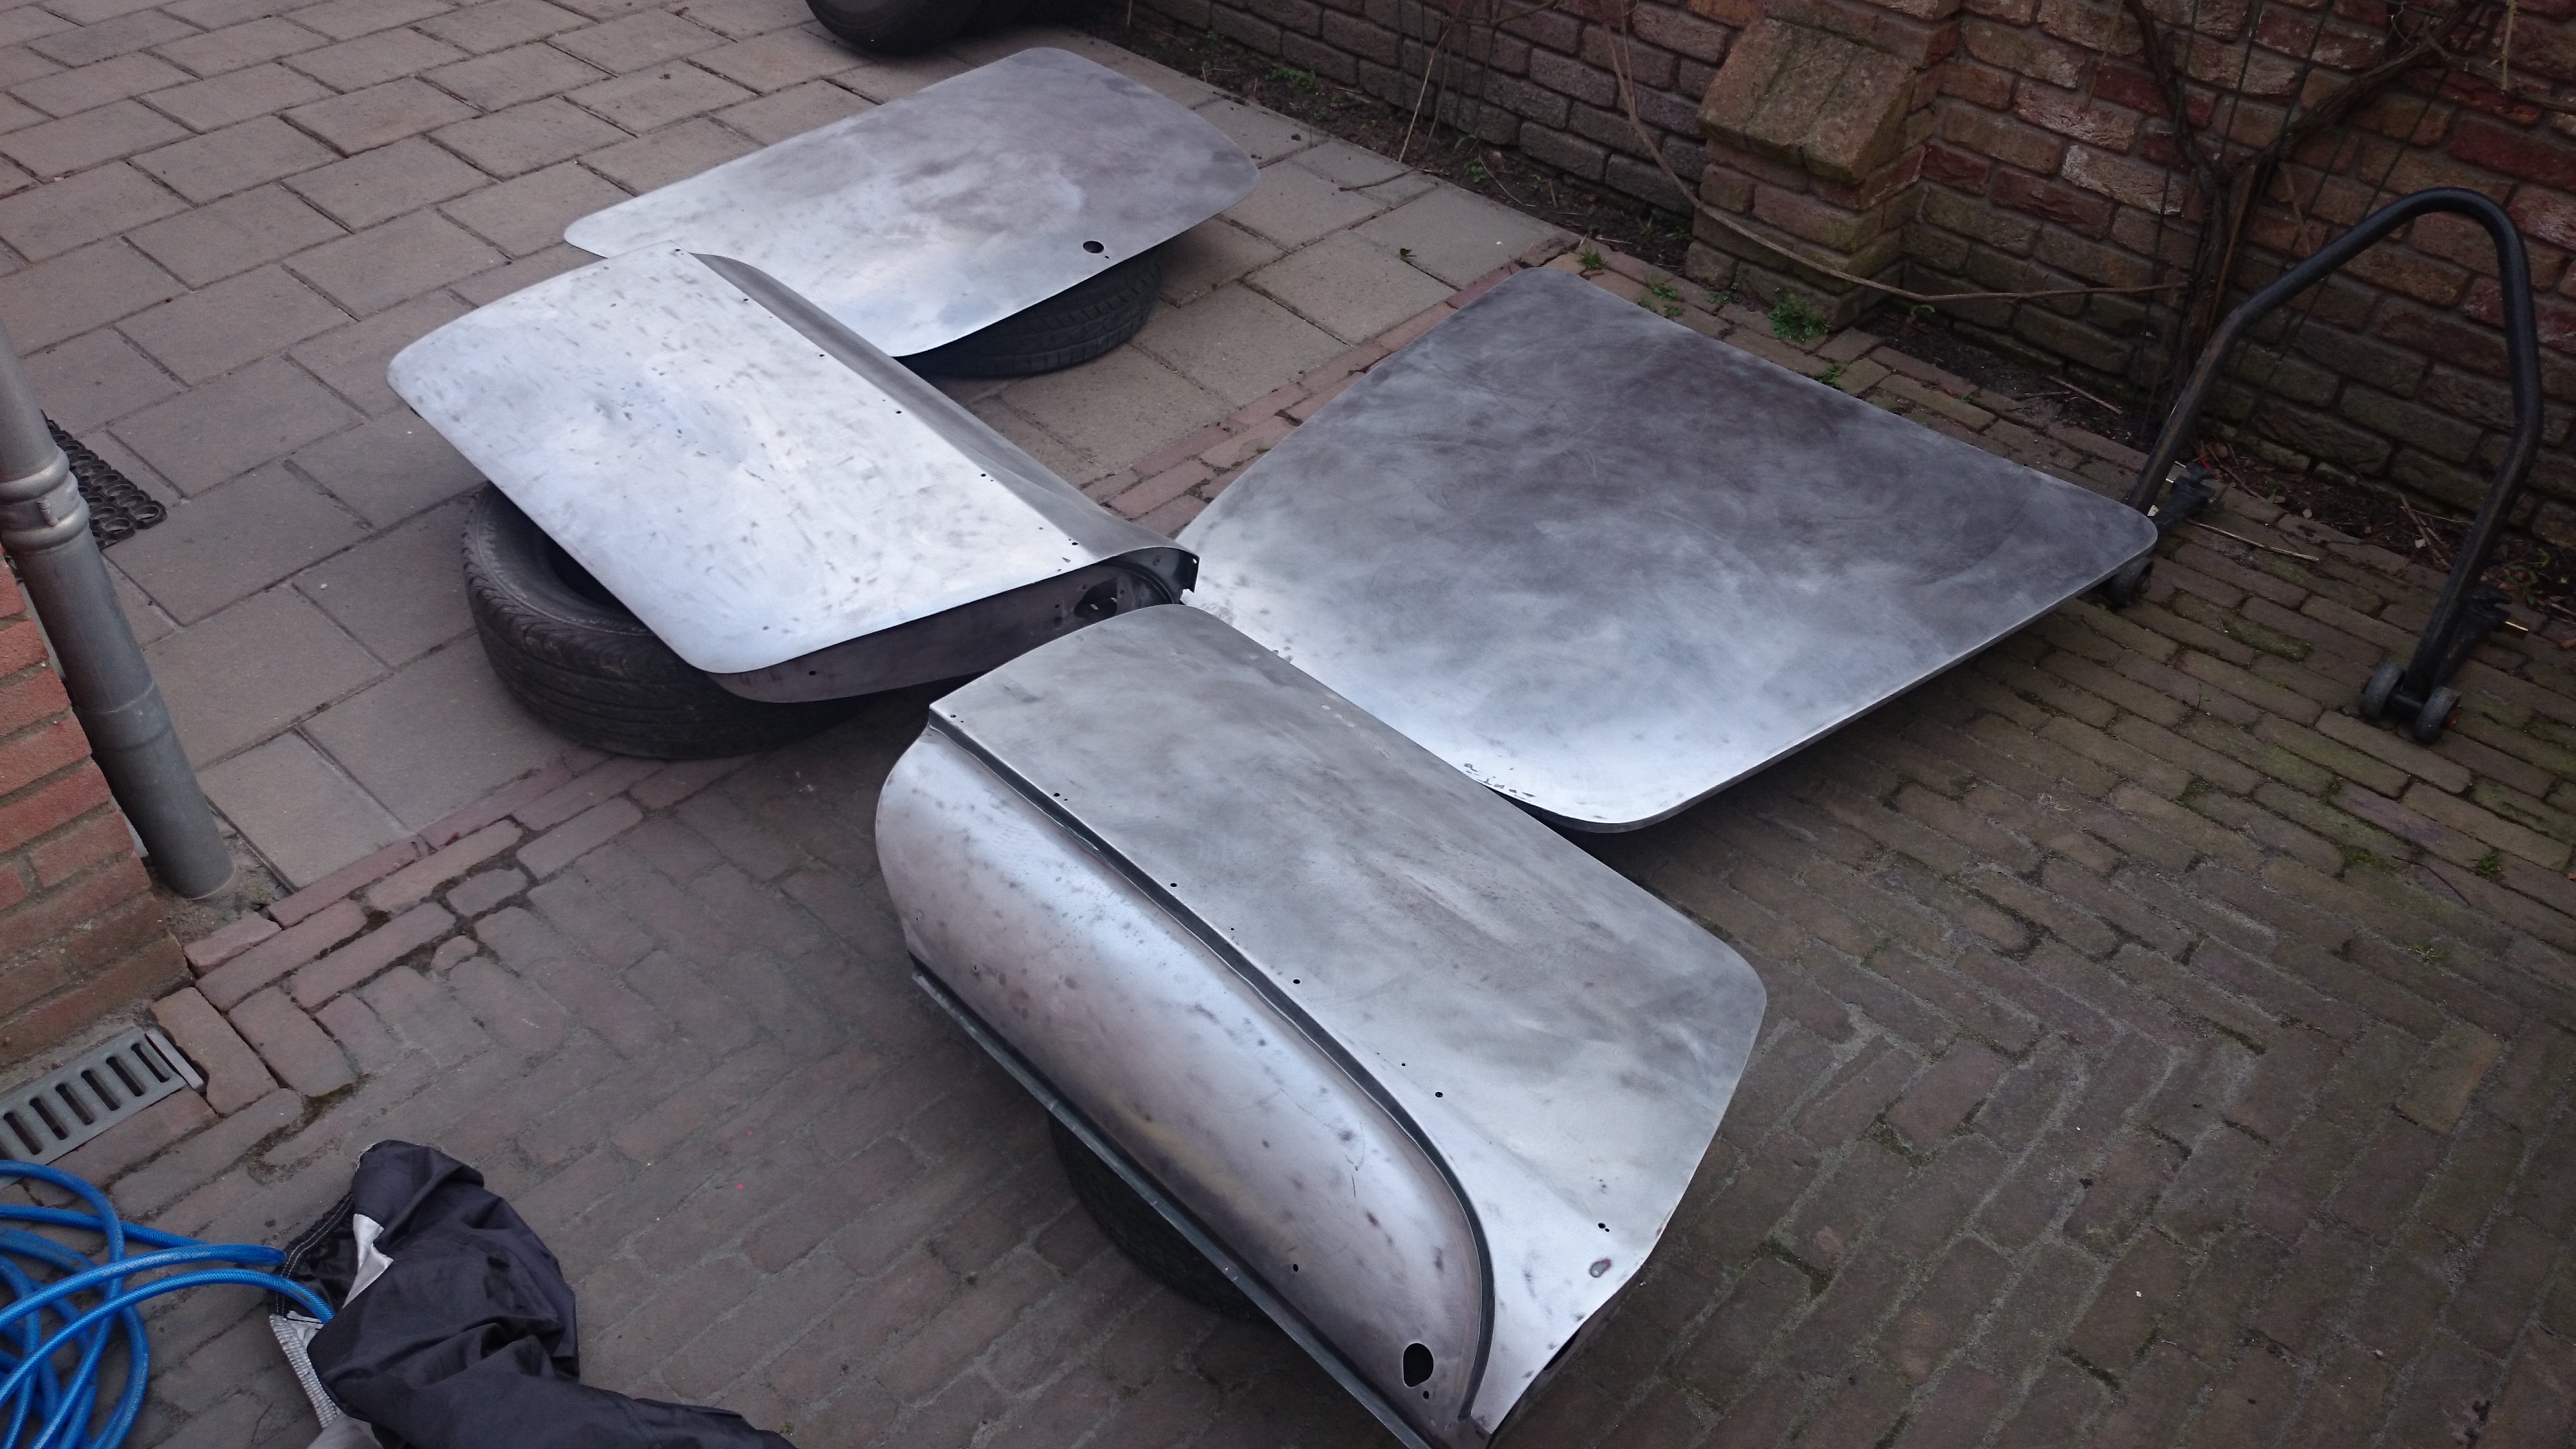
Doors, trunk and hood lid sanded down to bare metal.
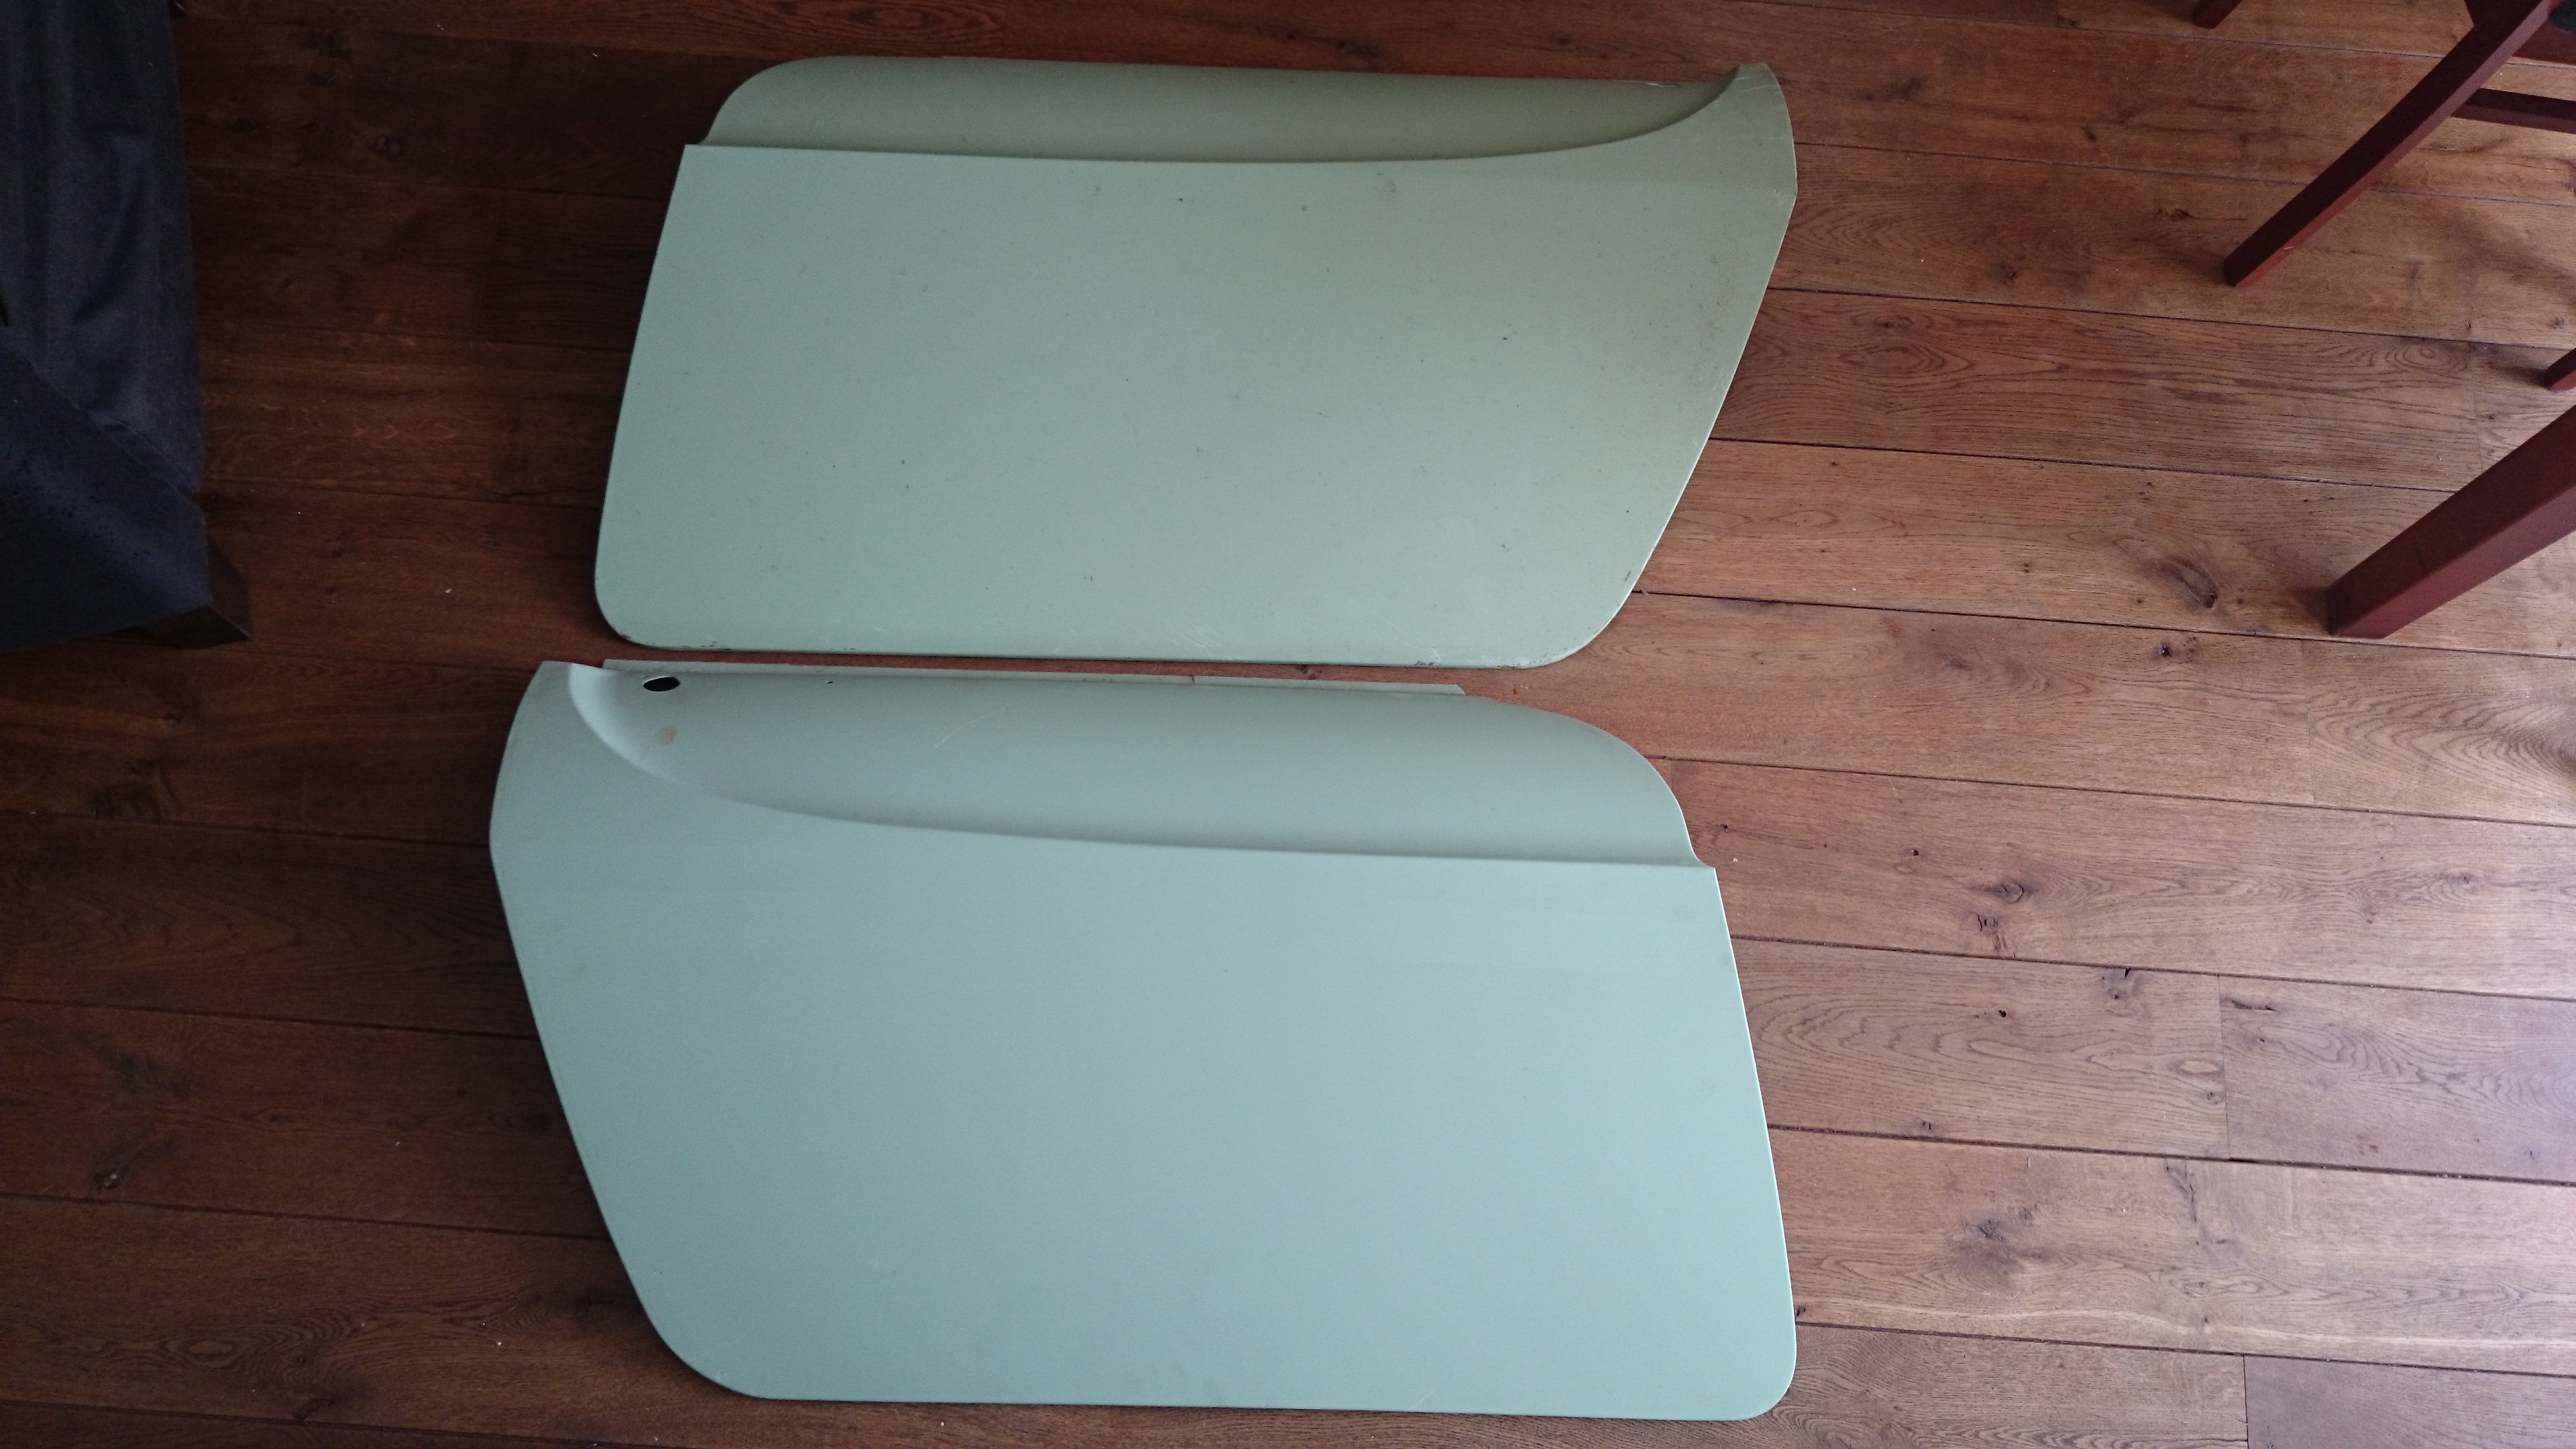
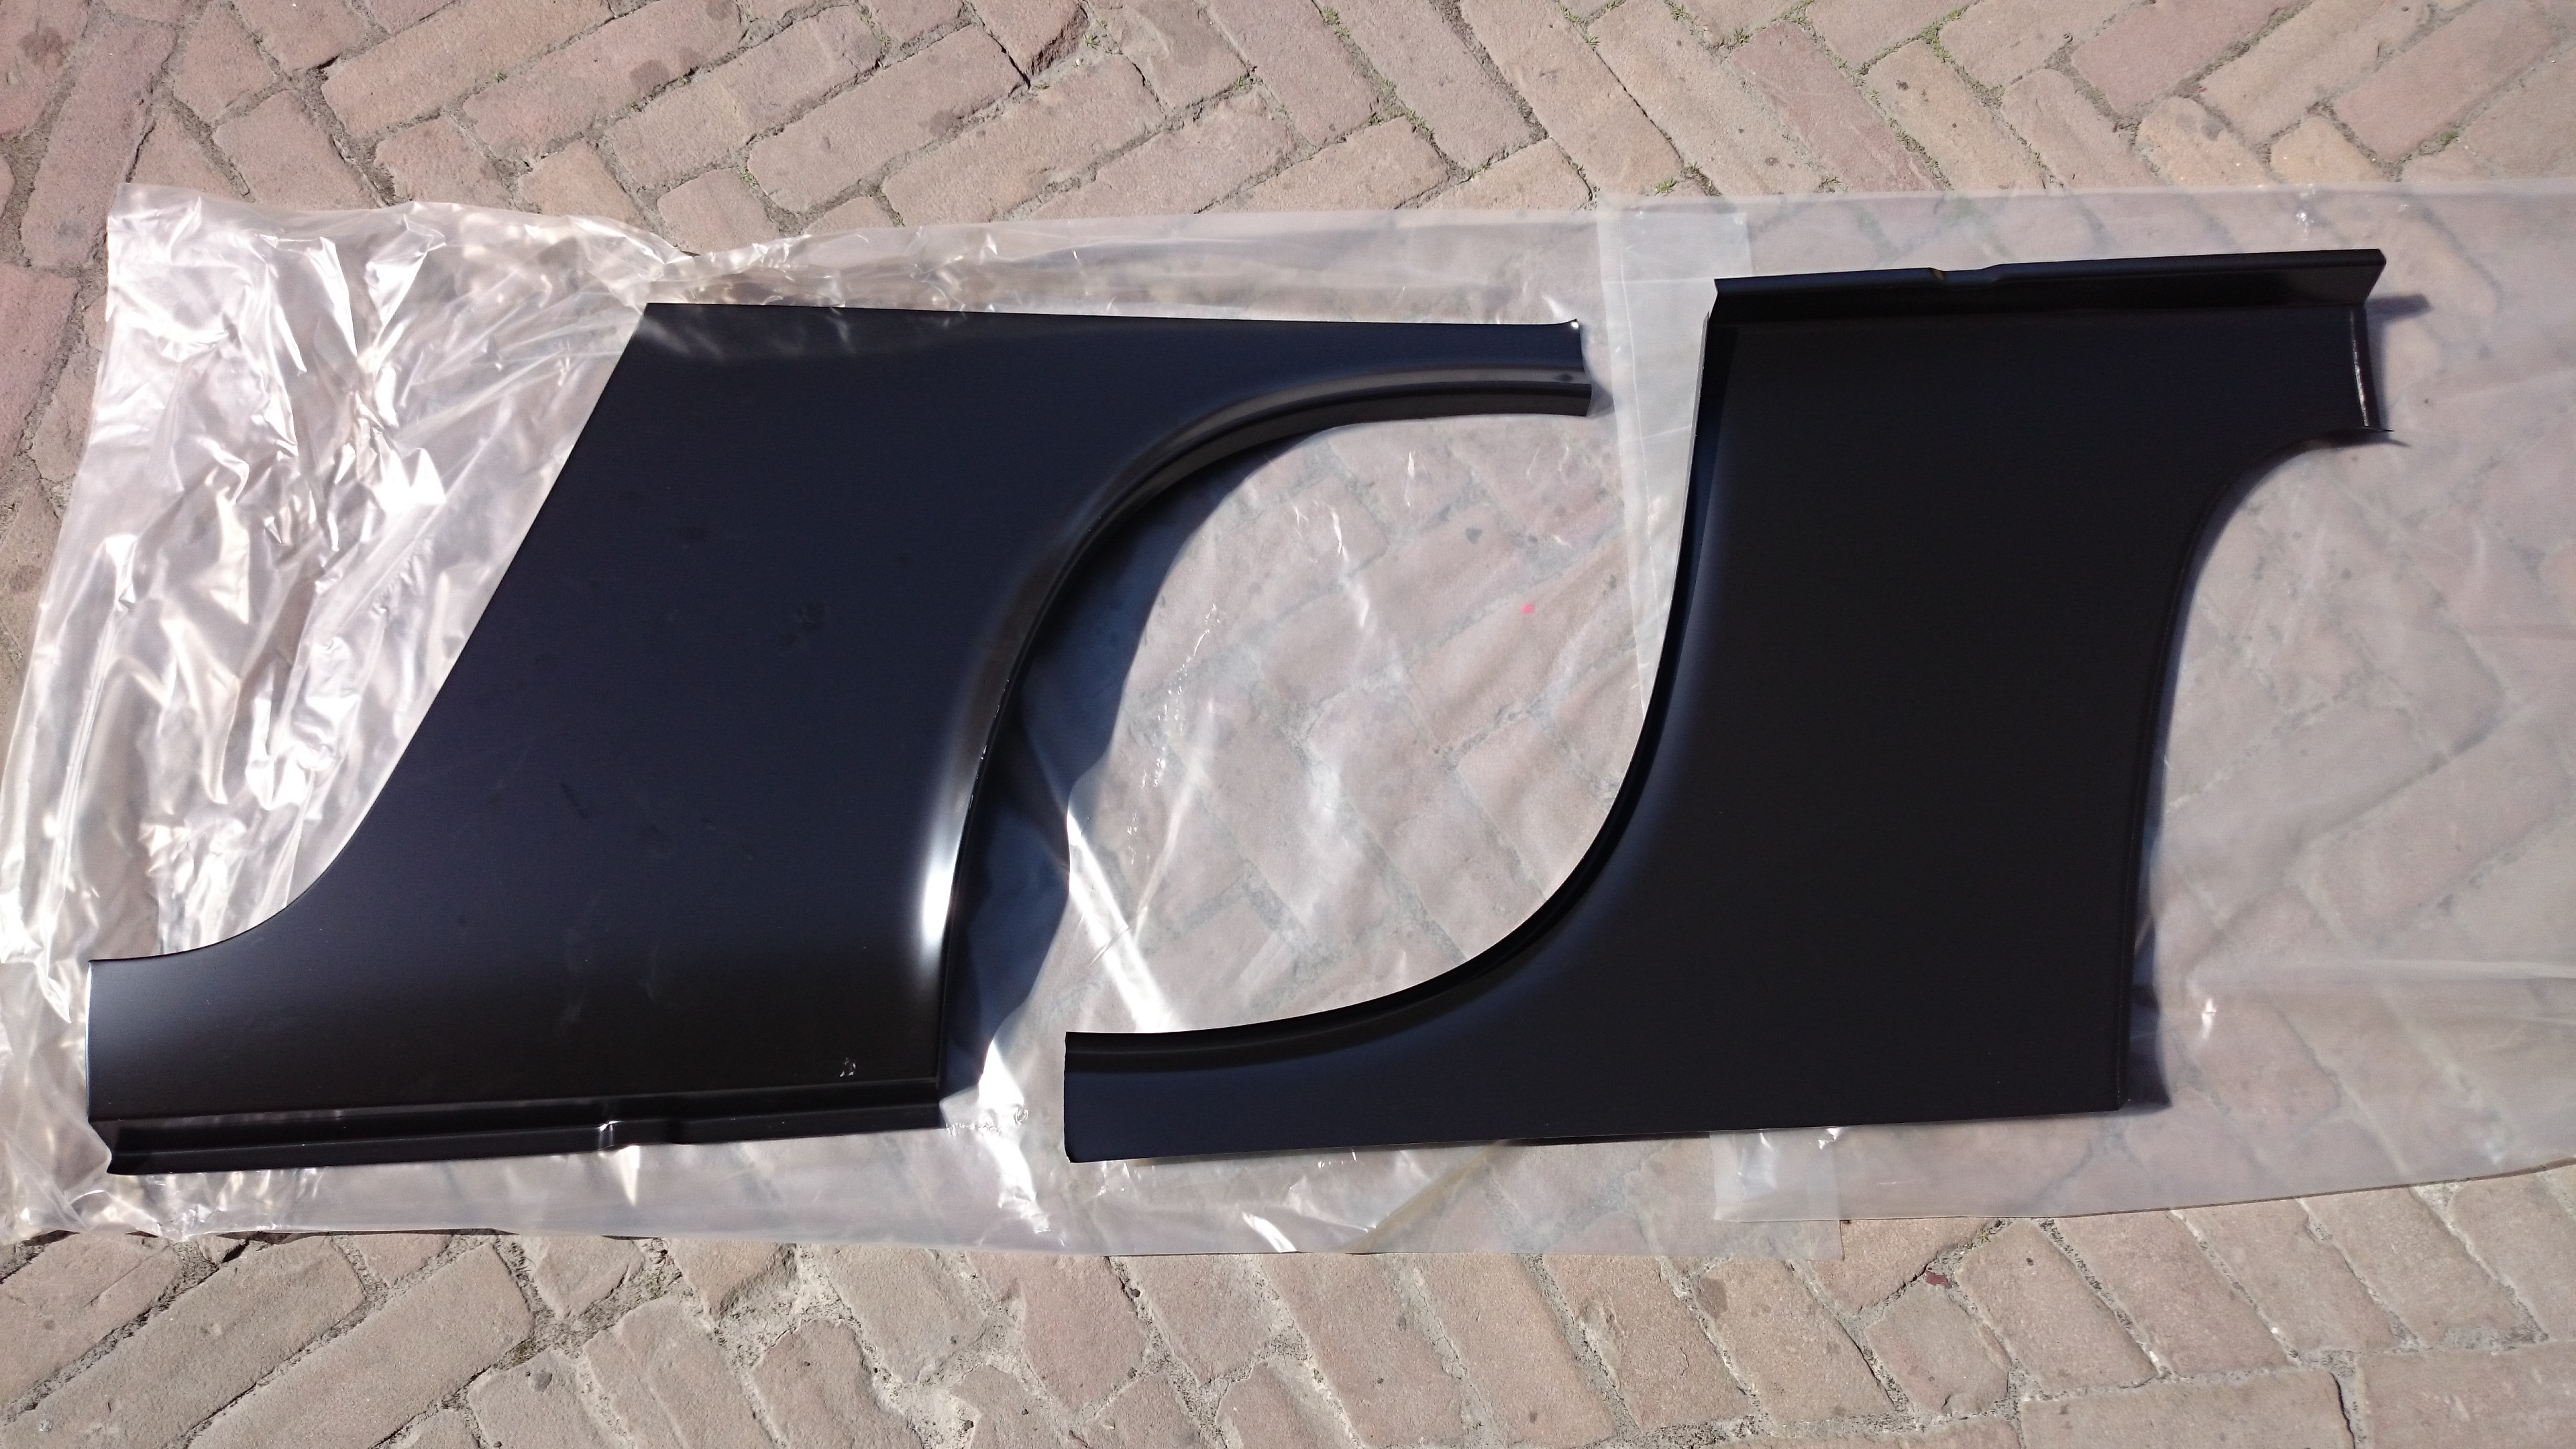
Door skin of both doors are pretty much banged up, so I got some NOS door panel skins.
I also found 2 new panels to repair the rust in the rear fender in front of the rear wheels.
As I said in a previous post, the upper panel on the nose is also damaged so I got a good 2nd hand replacement part.
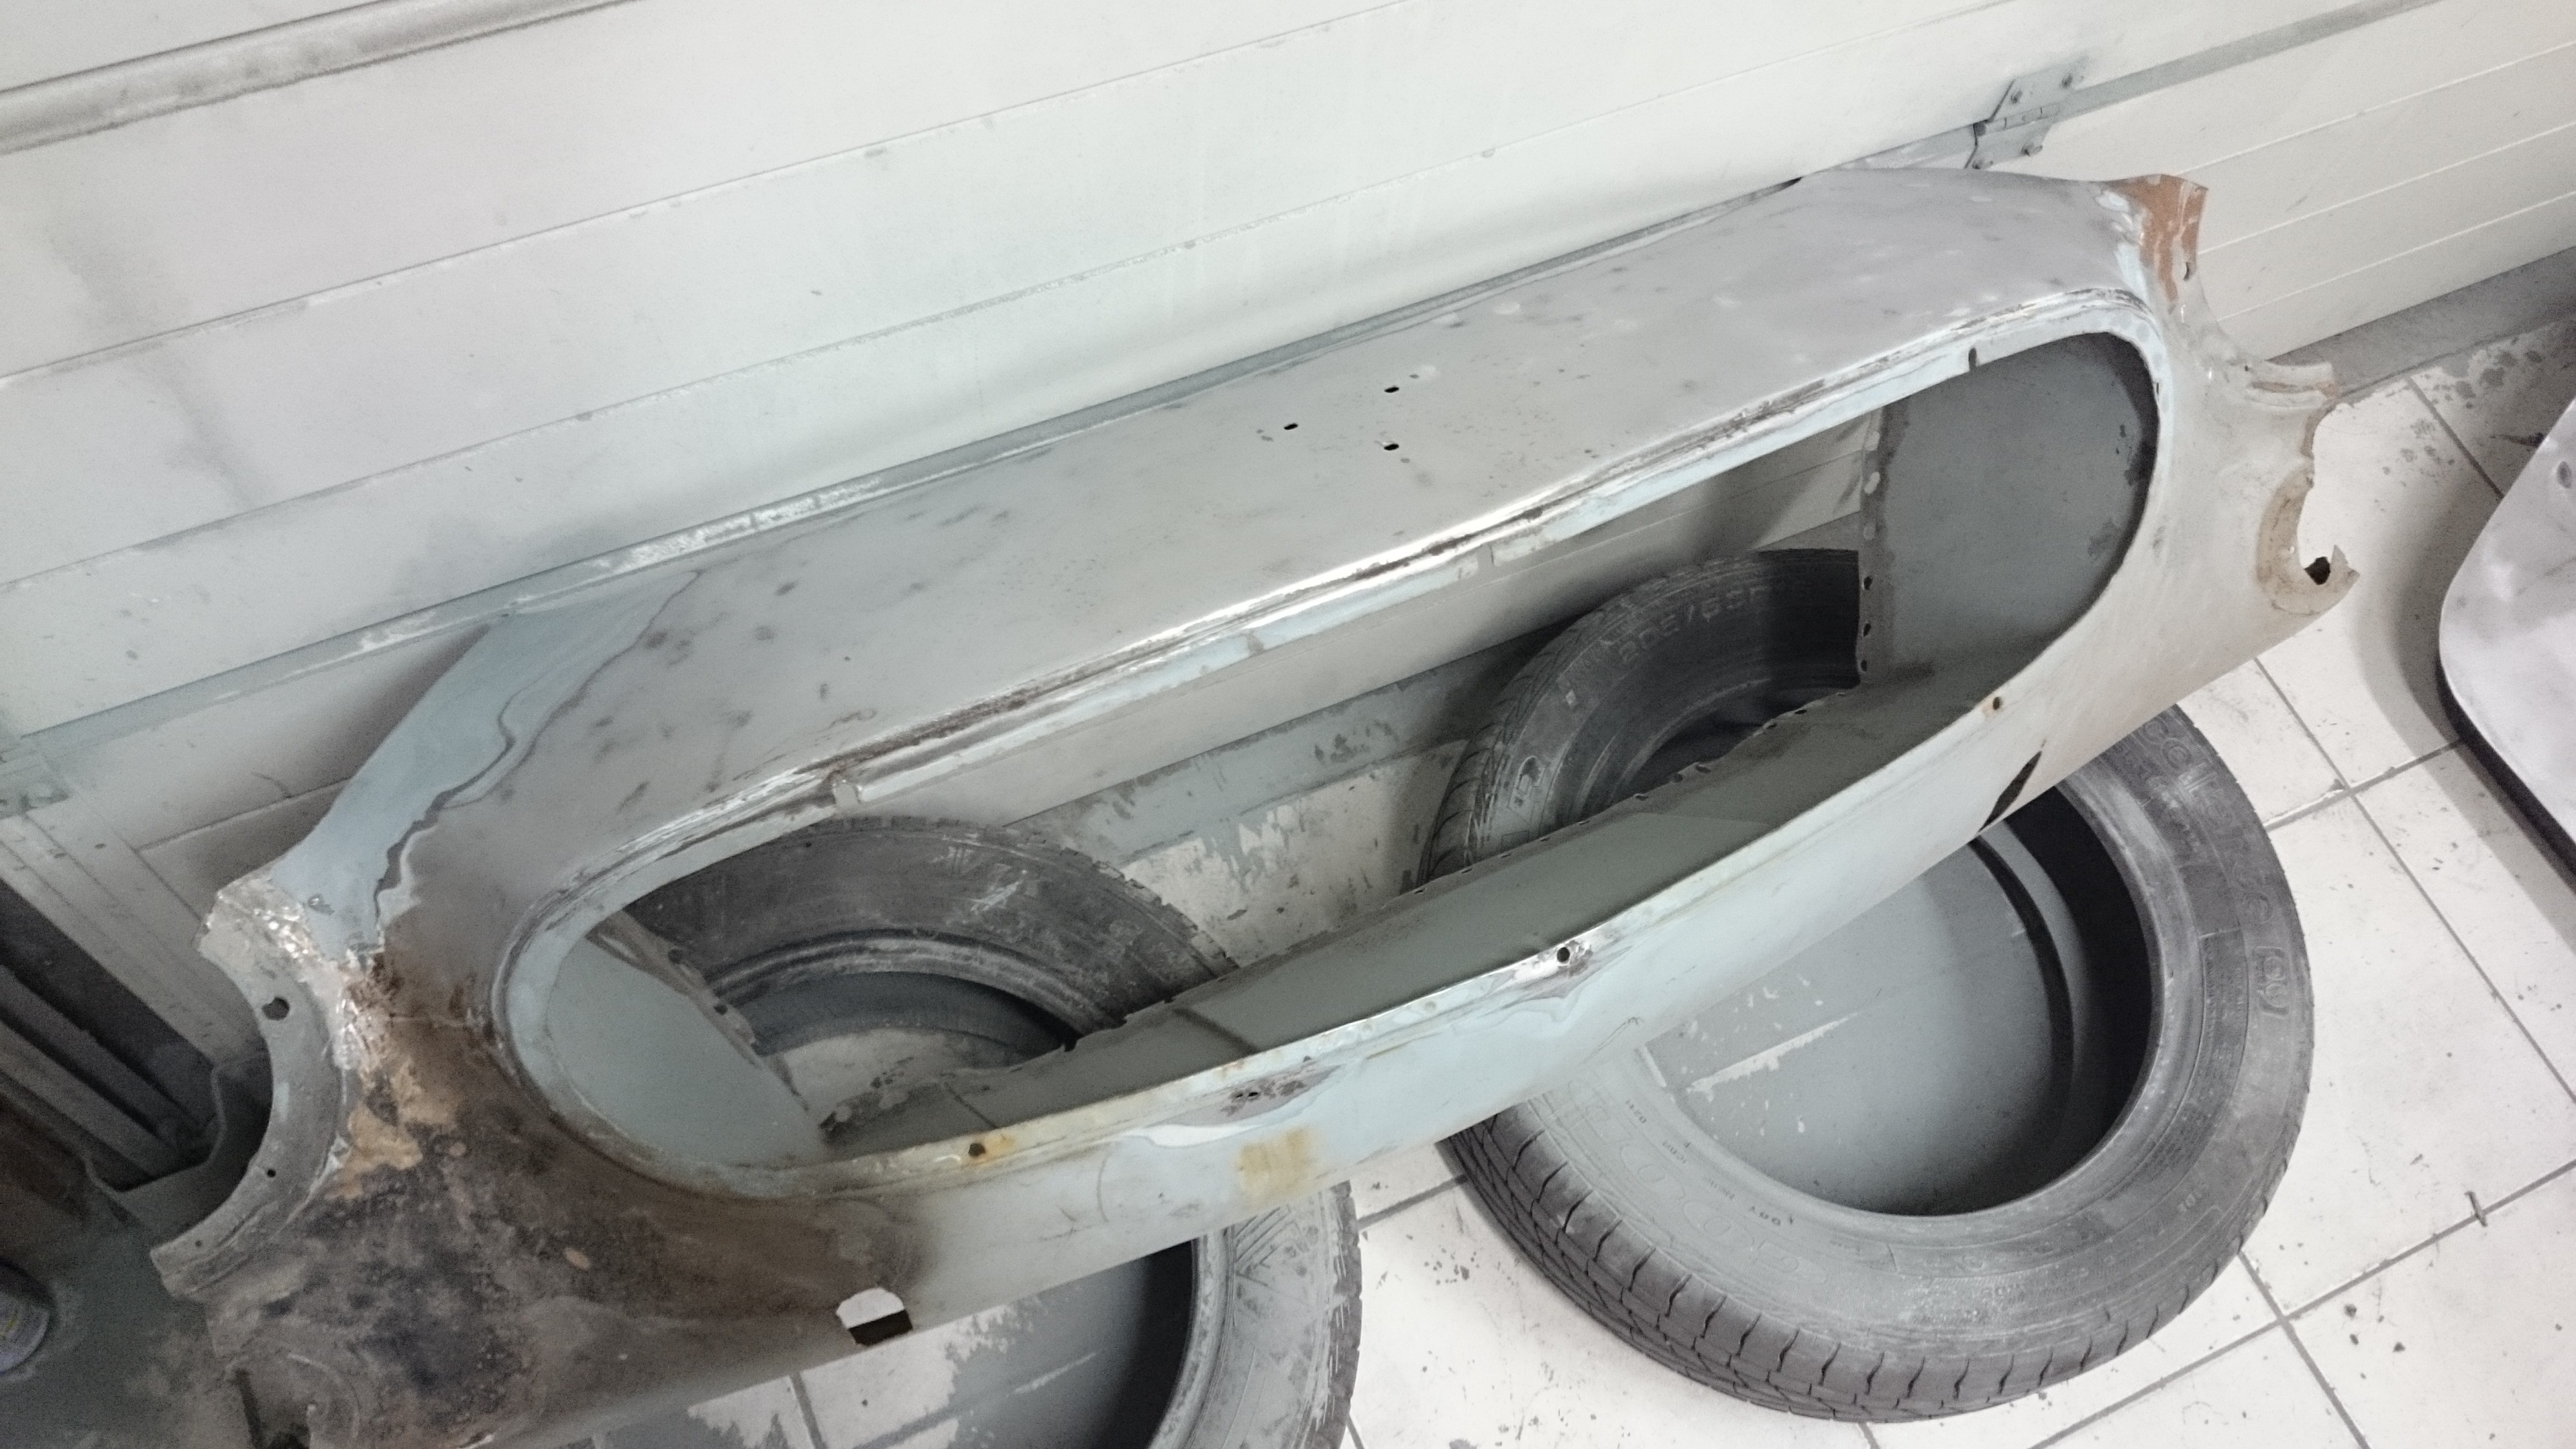
Furthermore there are 2 more damages which will probably need new panels, so I’m still looking replacement panels for this. Damage on the LH FWD side and RH fender:


The floorpanels where the last parts where I had to remove some tectyl, so from now on no more scraping.


Put the car on a trailer

And dropped it off at the bodyshop.
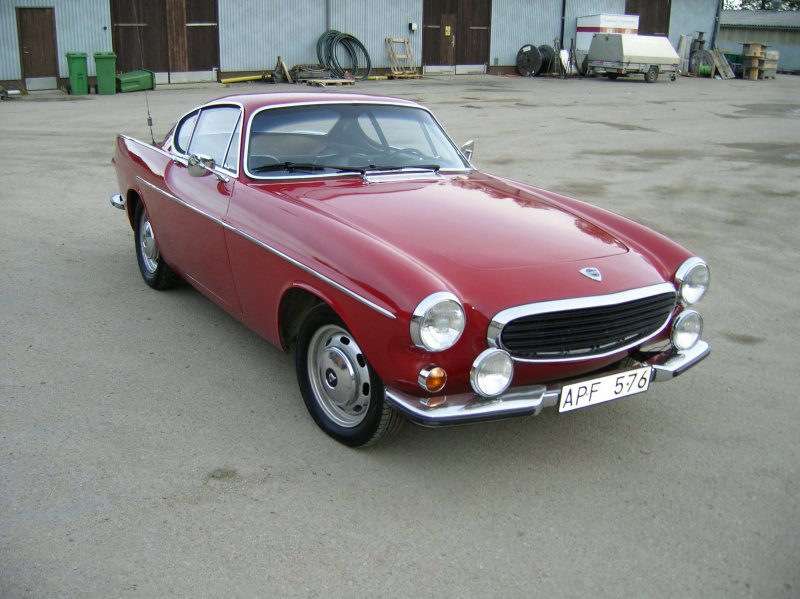
So I´ve decided the color of the car will be red. Volvo used two kinds or red color on 1800´s, color code #70 on early P1800´s of 1961 – 1962 and code #46 on 1800’s from 1963 until 1973. As I would like to keep things fairly original, I should use #46 as this is the red which was used on a 1967 1800S.


For example, a car painted in #70 (above) and #46 (below):

Lots of info about the Volvo colors can be read at: http://www.volvotips.com/index.php/general/volvo-color-codes/.
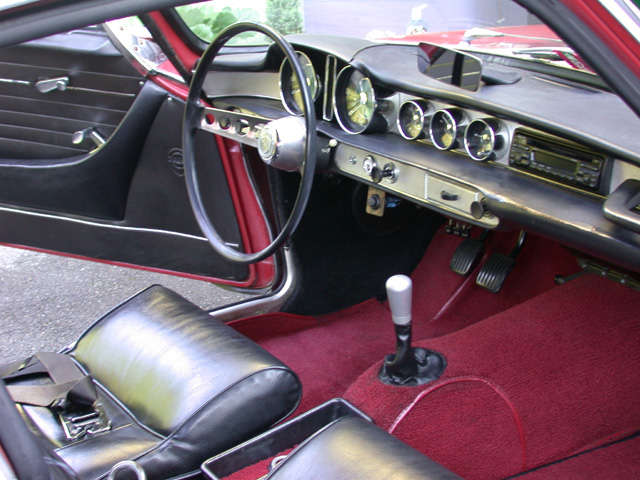
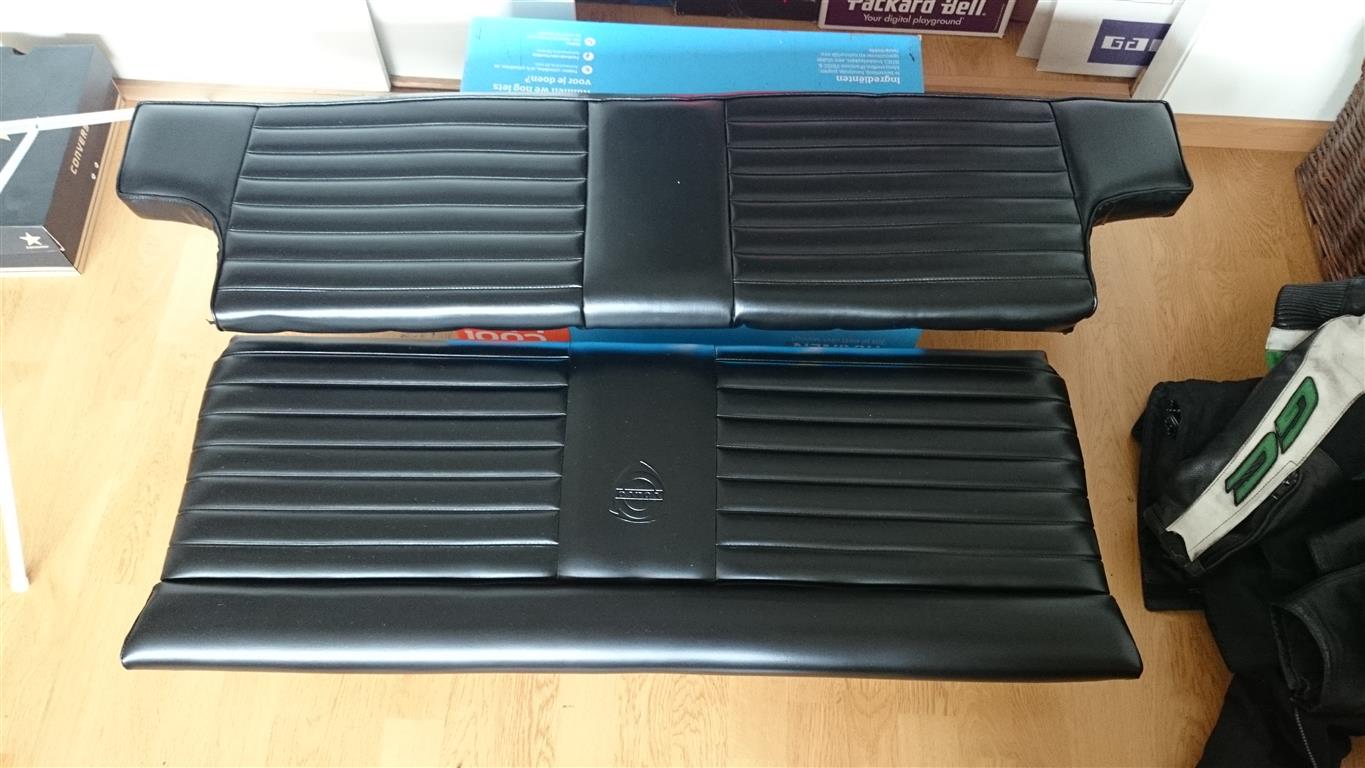
Last moth I’ve did some work on the interior and as I decided the color of the car will be red, I am going with the red-black exterior-interior combination, like this:
http://volvo1800pictures.com/main/main_gallery_1800S_67_php.php
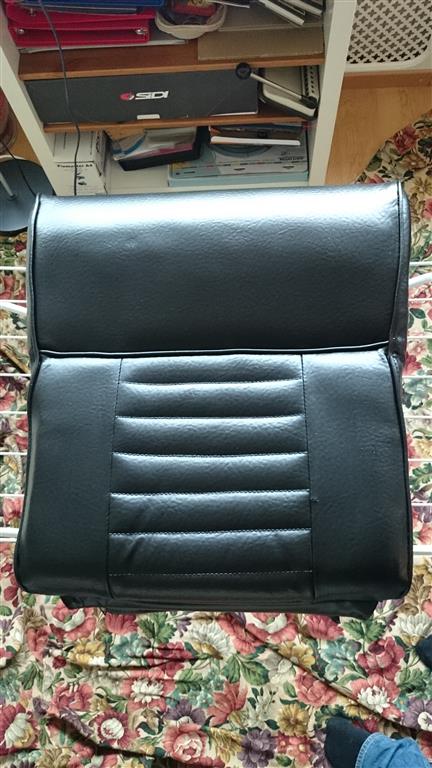
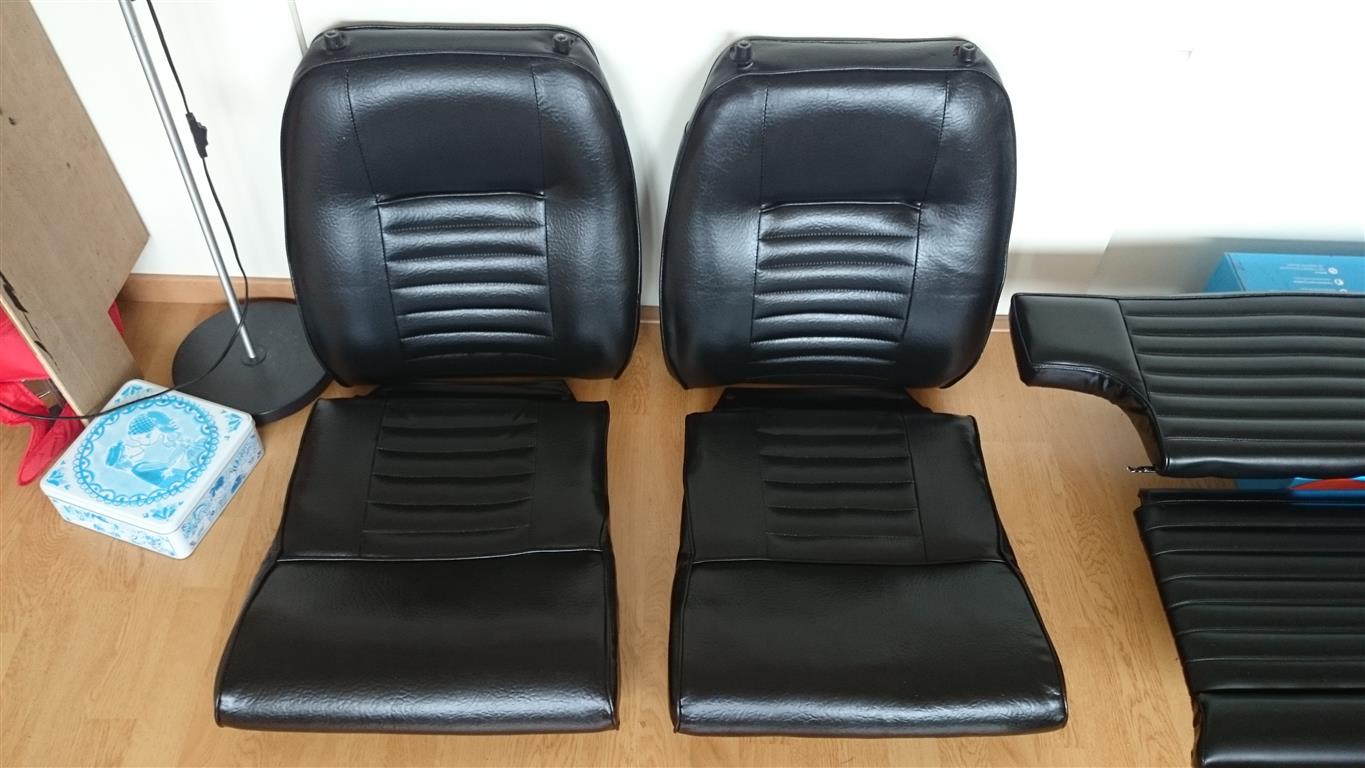
So, red exterior, black seats and panels and red carpet. Searching for a nice 2nd hand, not rotten away black 1800s interior would not going to be an easy find. Impossible I found out later on. I also checked out of curiosity what it would cost if you would buy it all new, this would be around €2500. Not an option for my financial situation. So, after some searching on the net I found some people who painted their seats with leatherpaint with pretty good results and a good price – quality. So I painted the interior black:
First some repairs and clean everything thoroughly. My seats are in good condition so no heavy tears or worn out cushions, perfect to be painted.
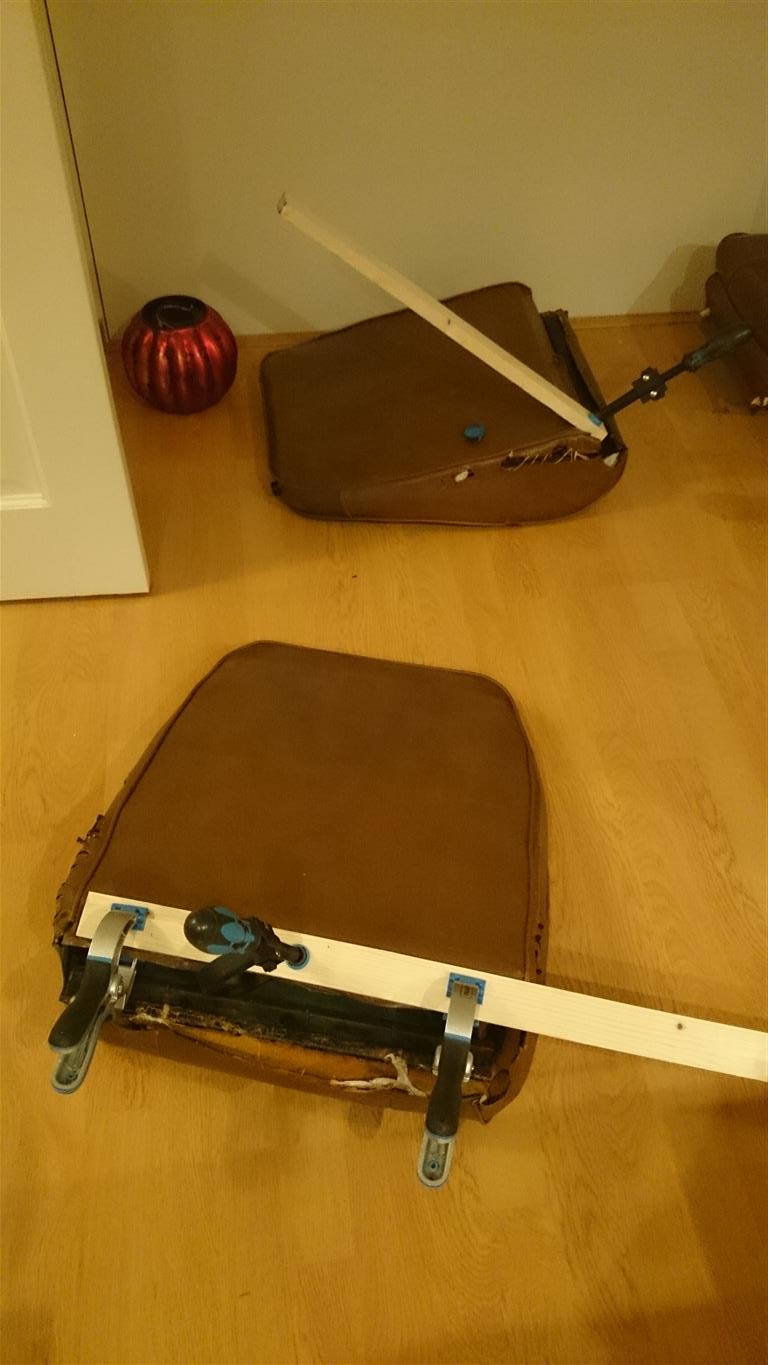
Then the paint. It dries pretty quickly.
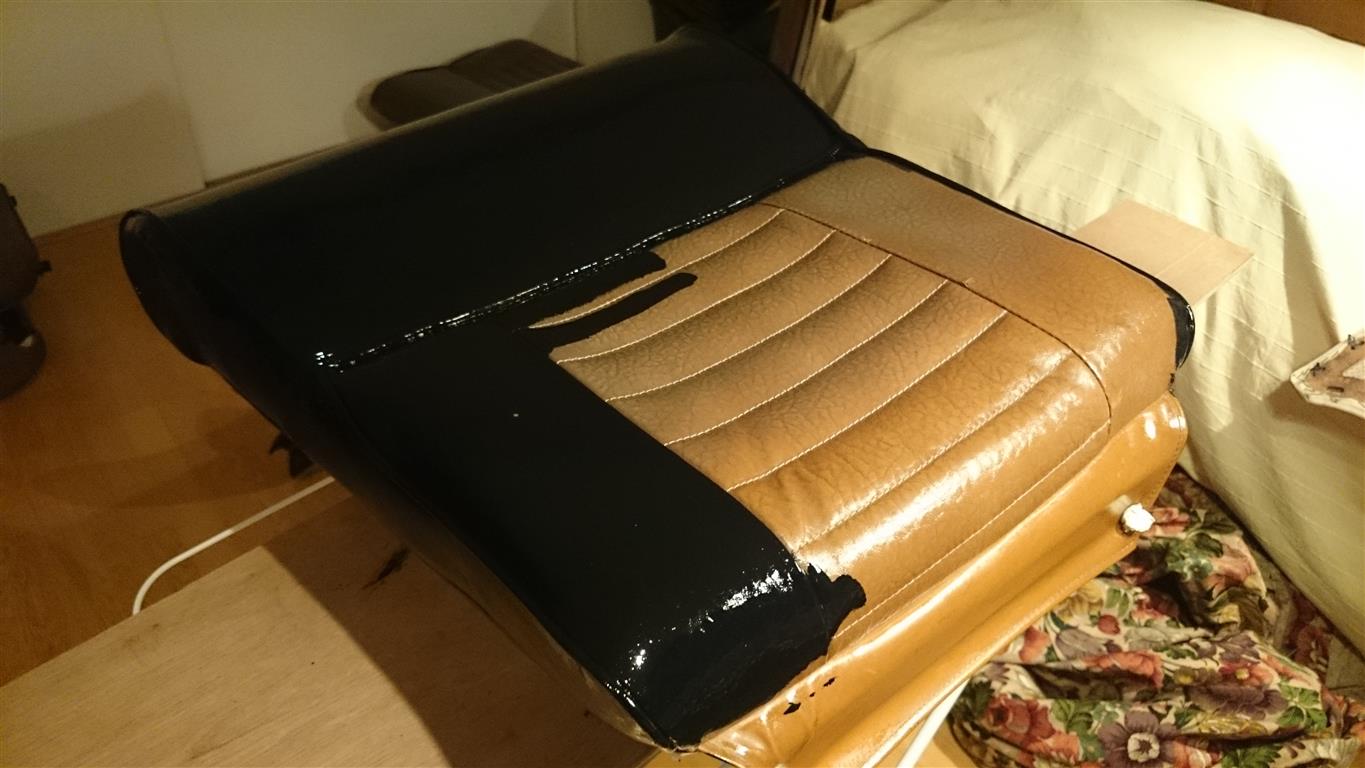

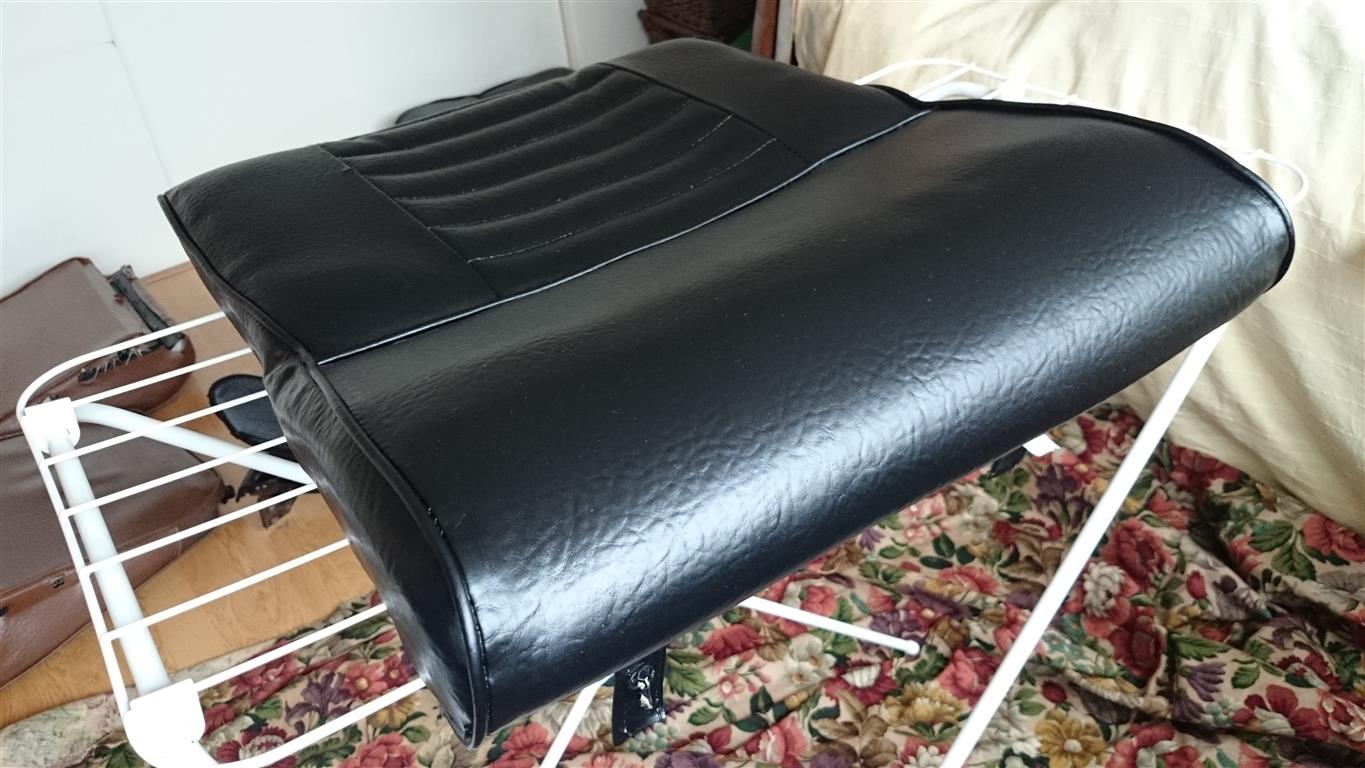
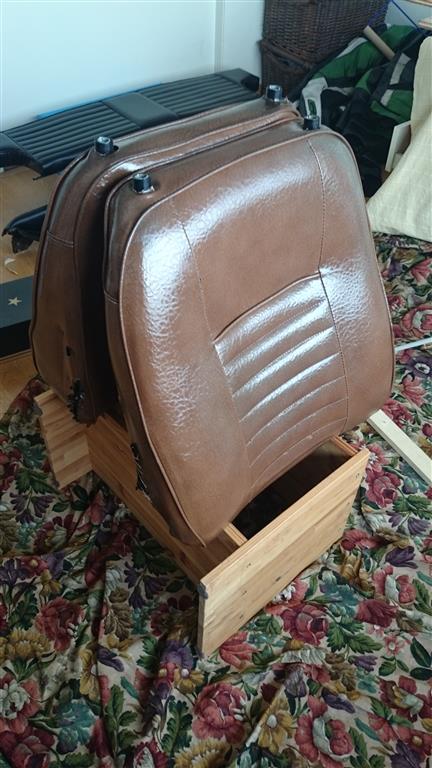
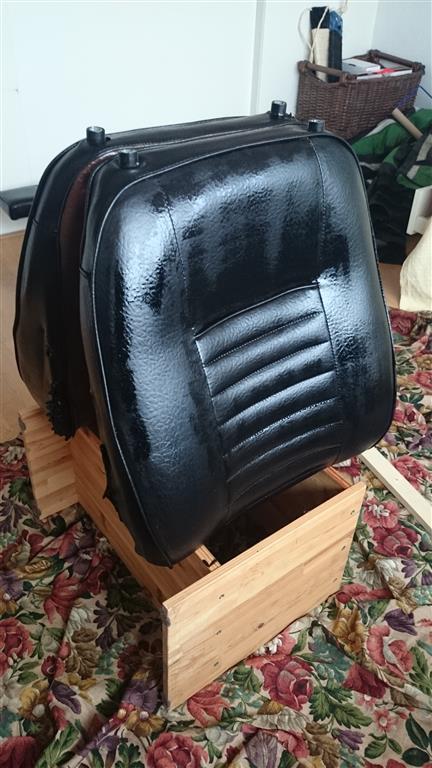
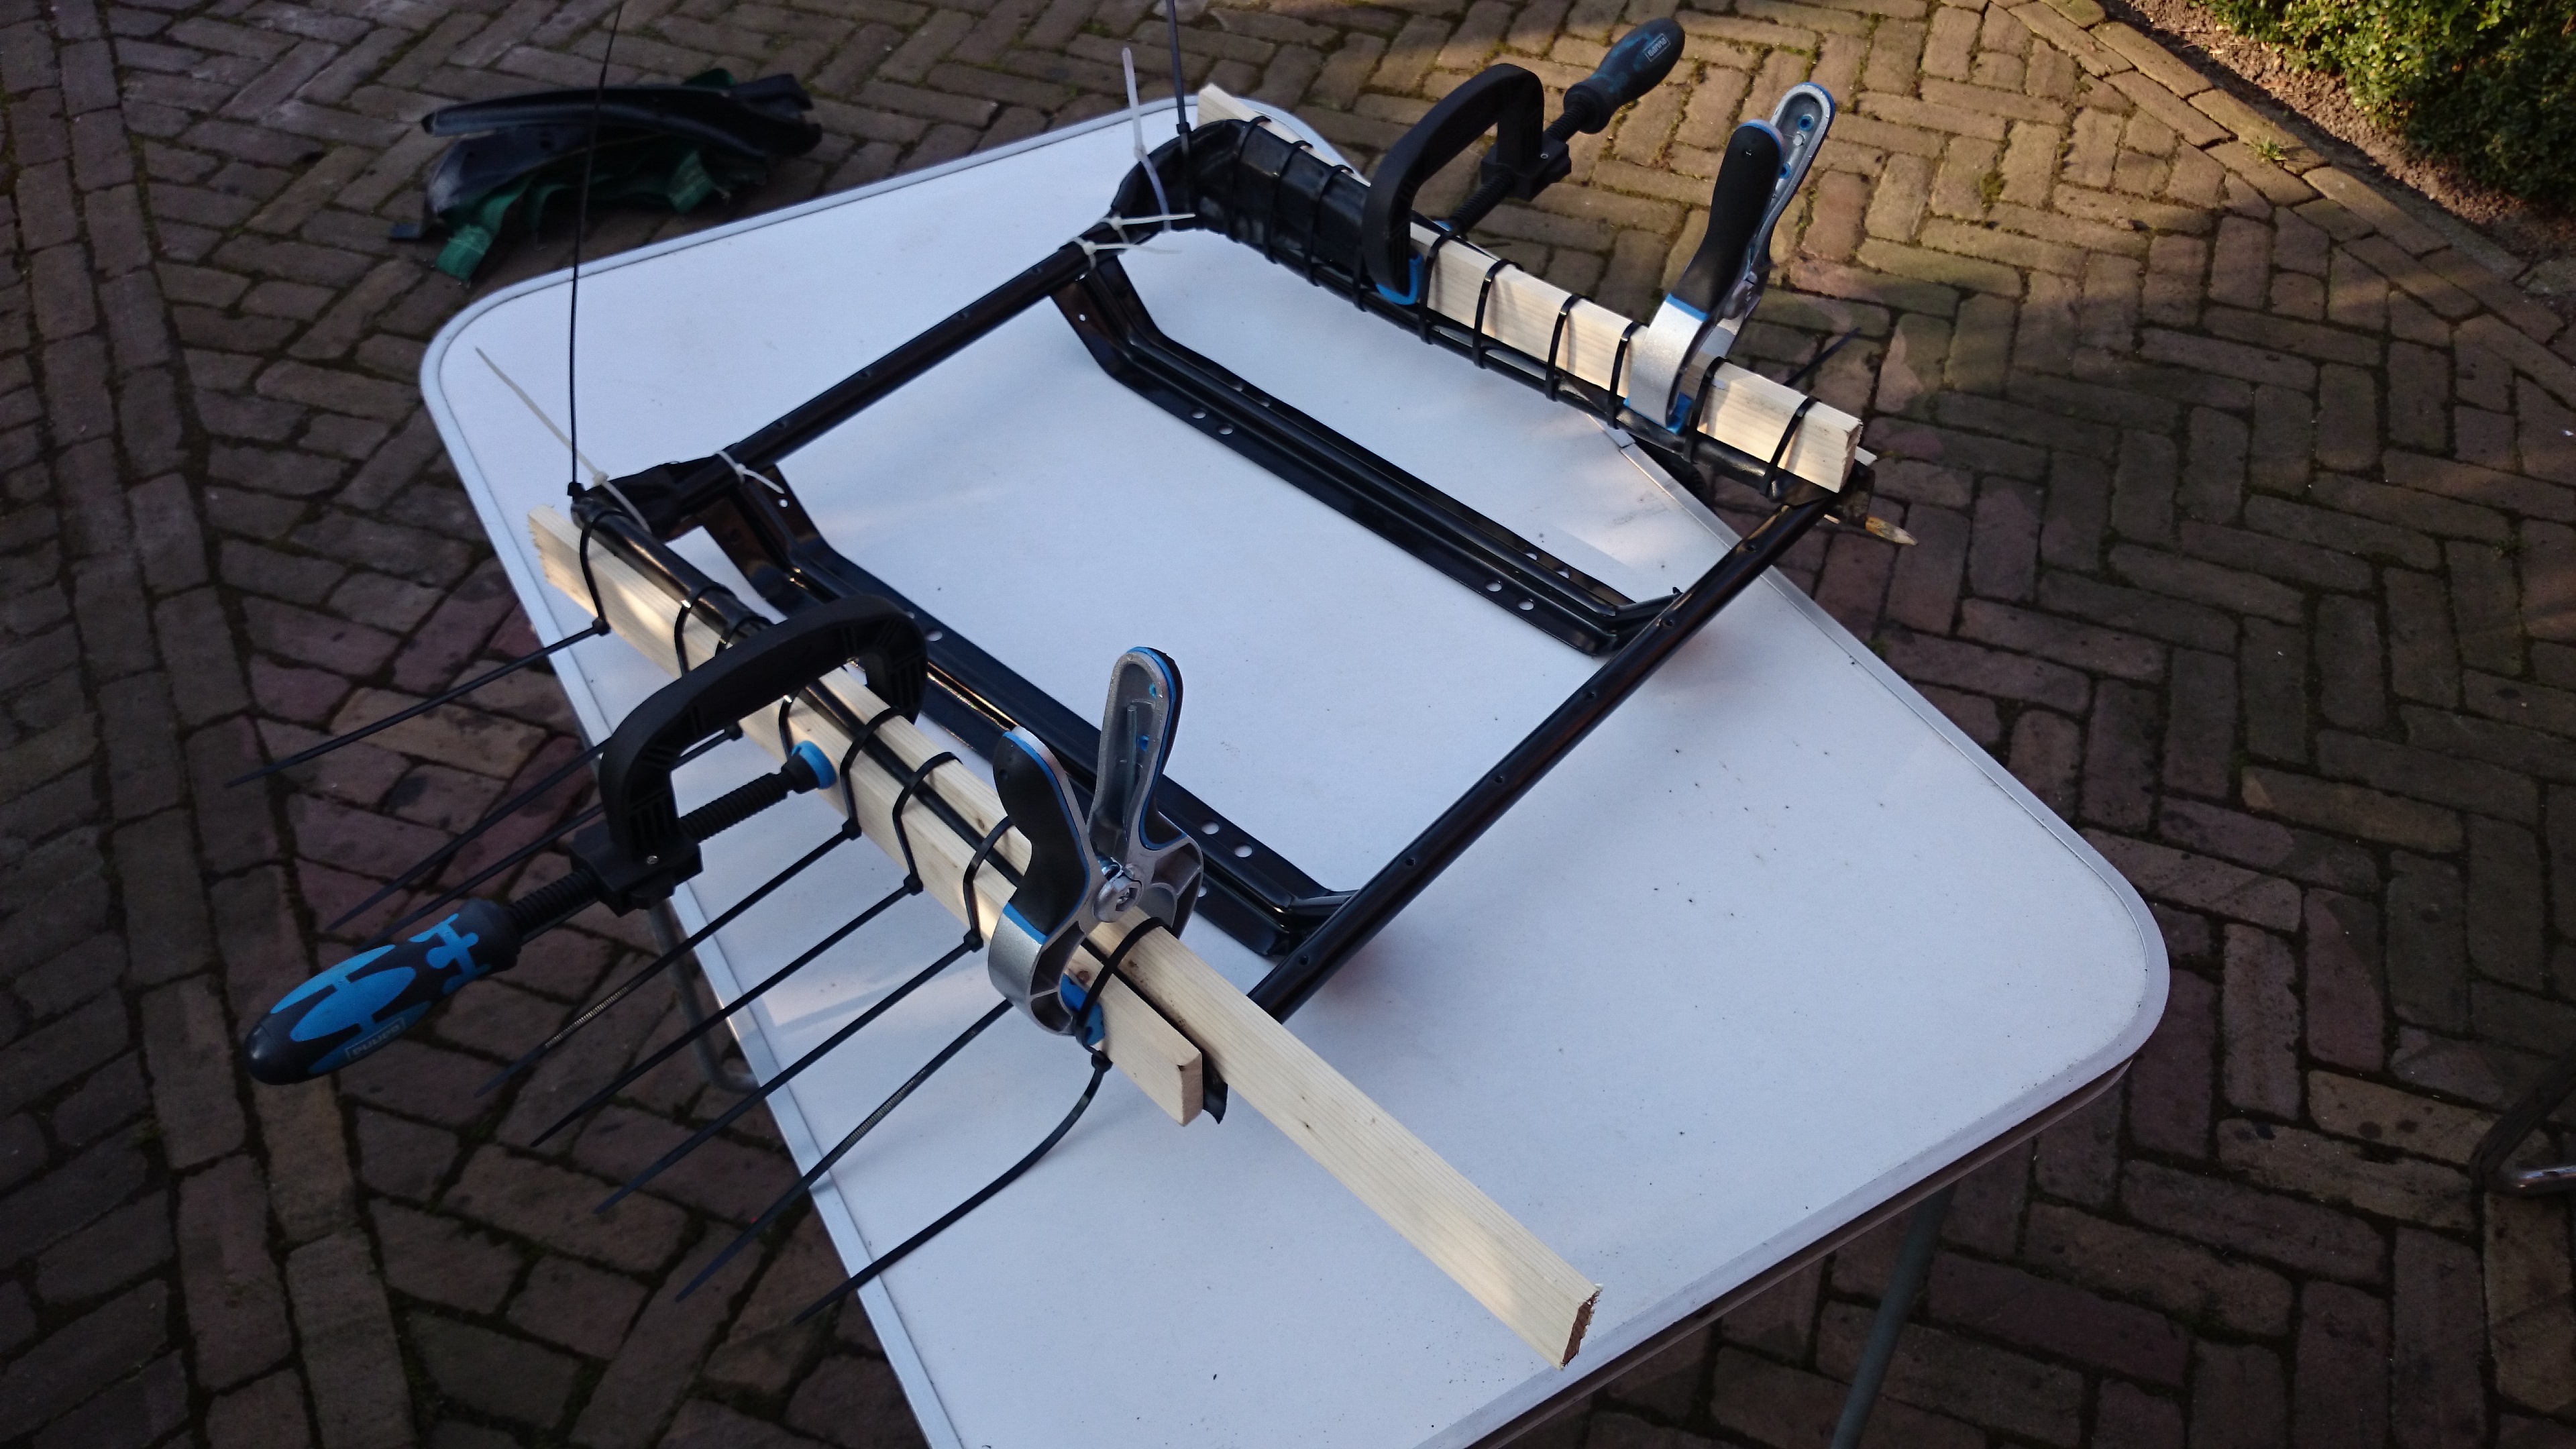
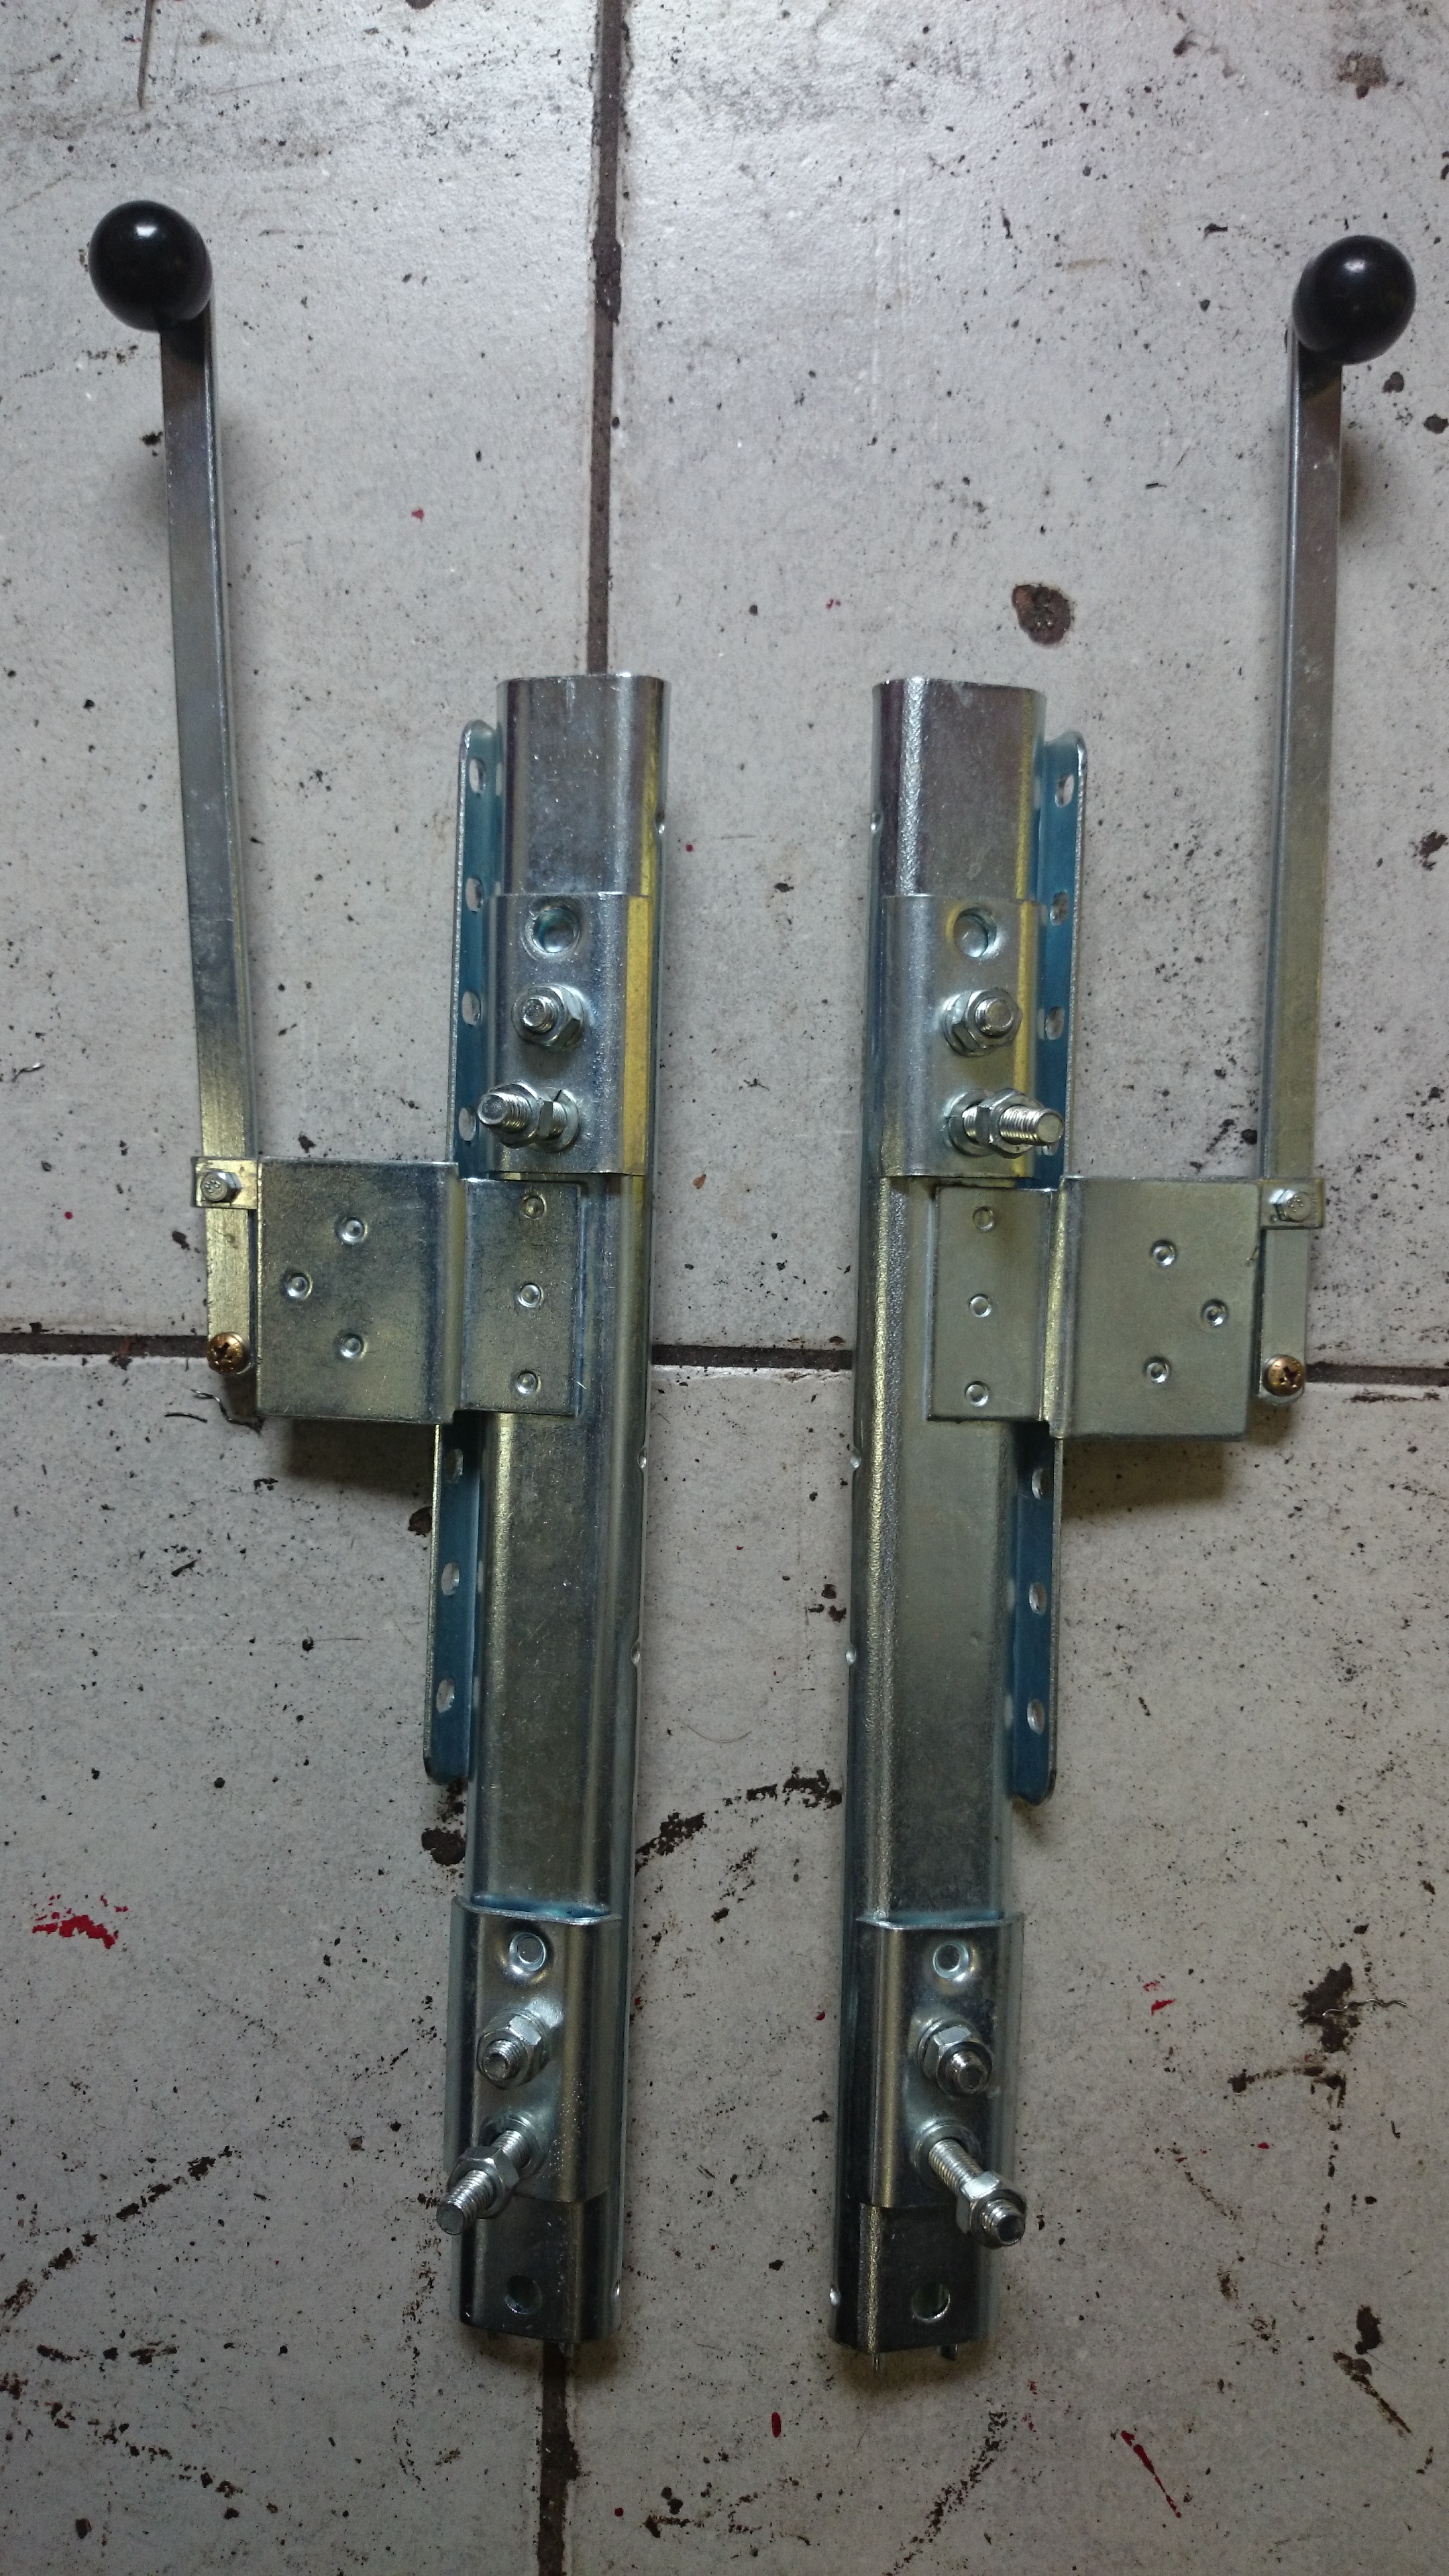
The seat support and brackets are powedercoated and all nuts, bolts and seat rails are nickle-plated so all shiny. I’m assembling the seats now.

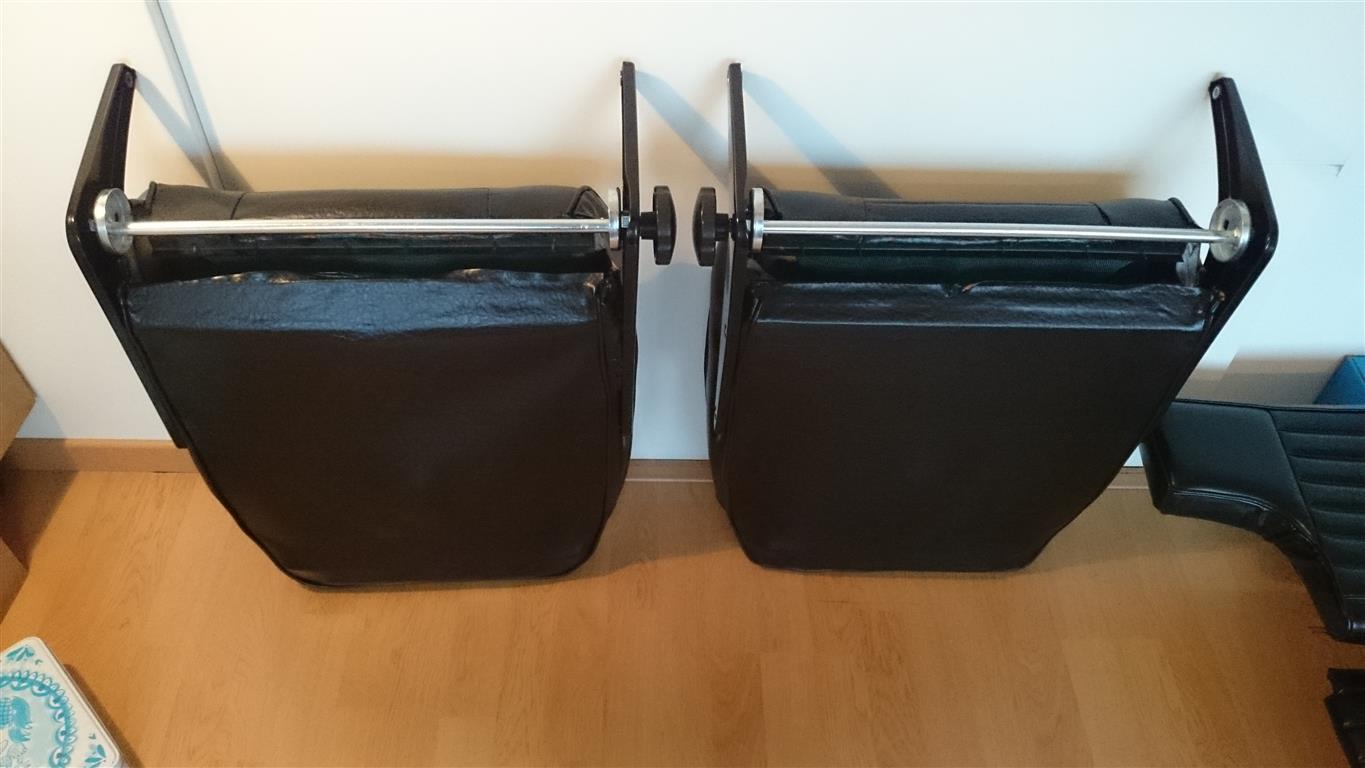


I had to tap the threads of the 5/16 nuts in the seat bottom base, which were accidentally powdercoated, and gluing the covers on the bum frame.
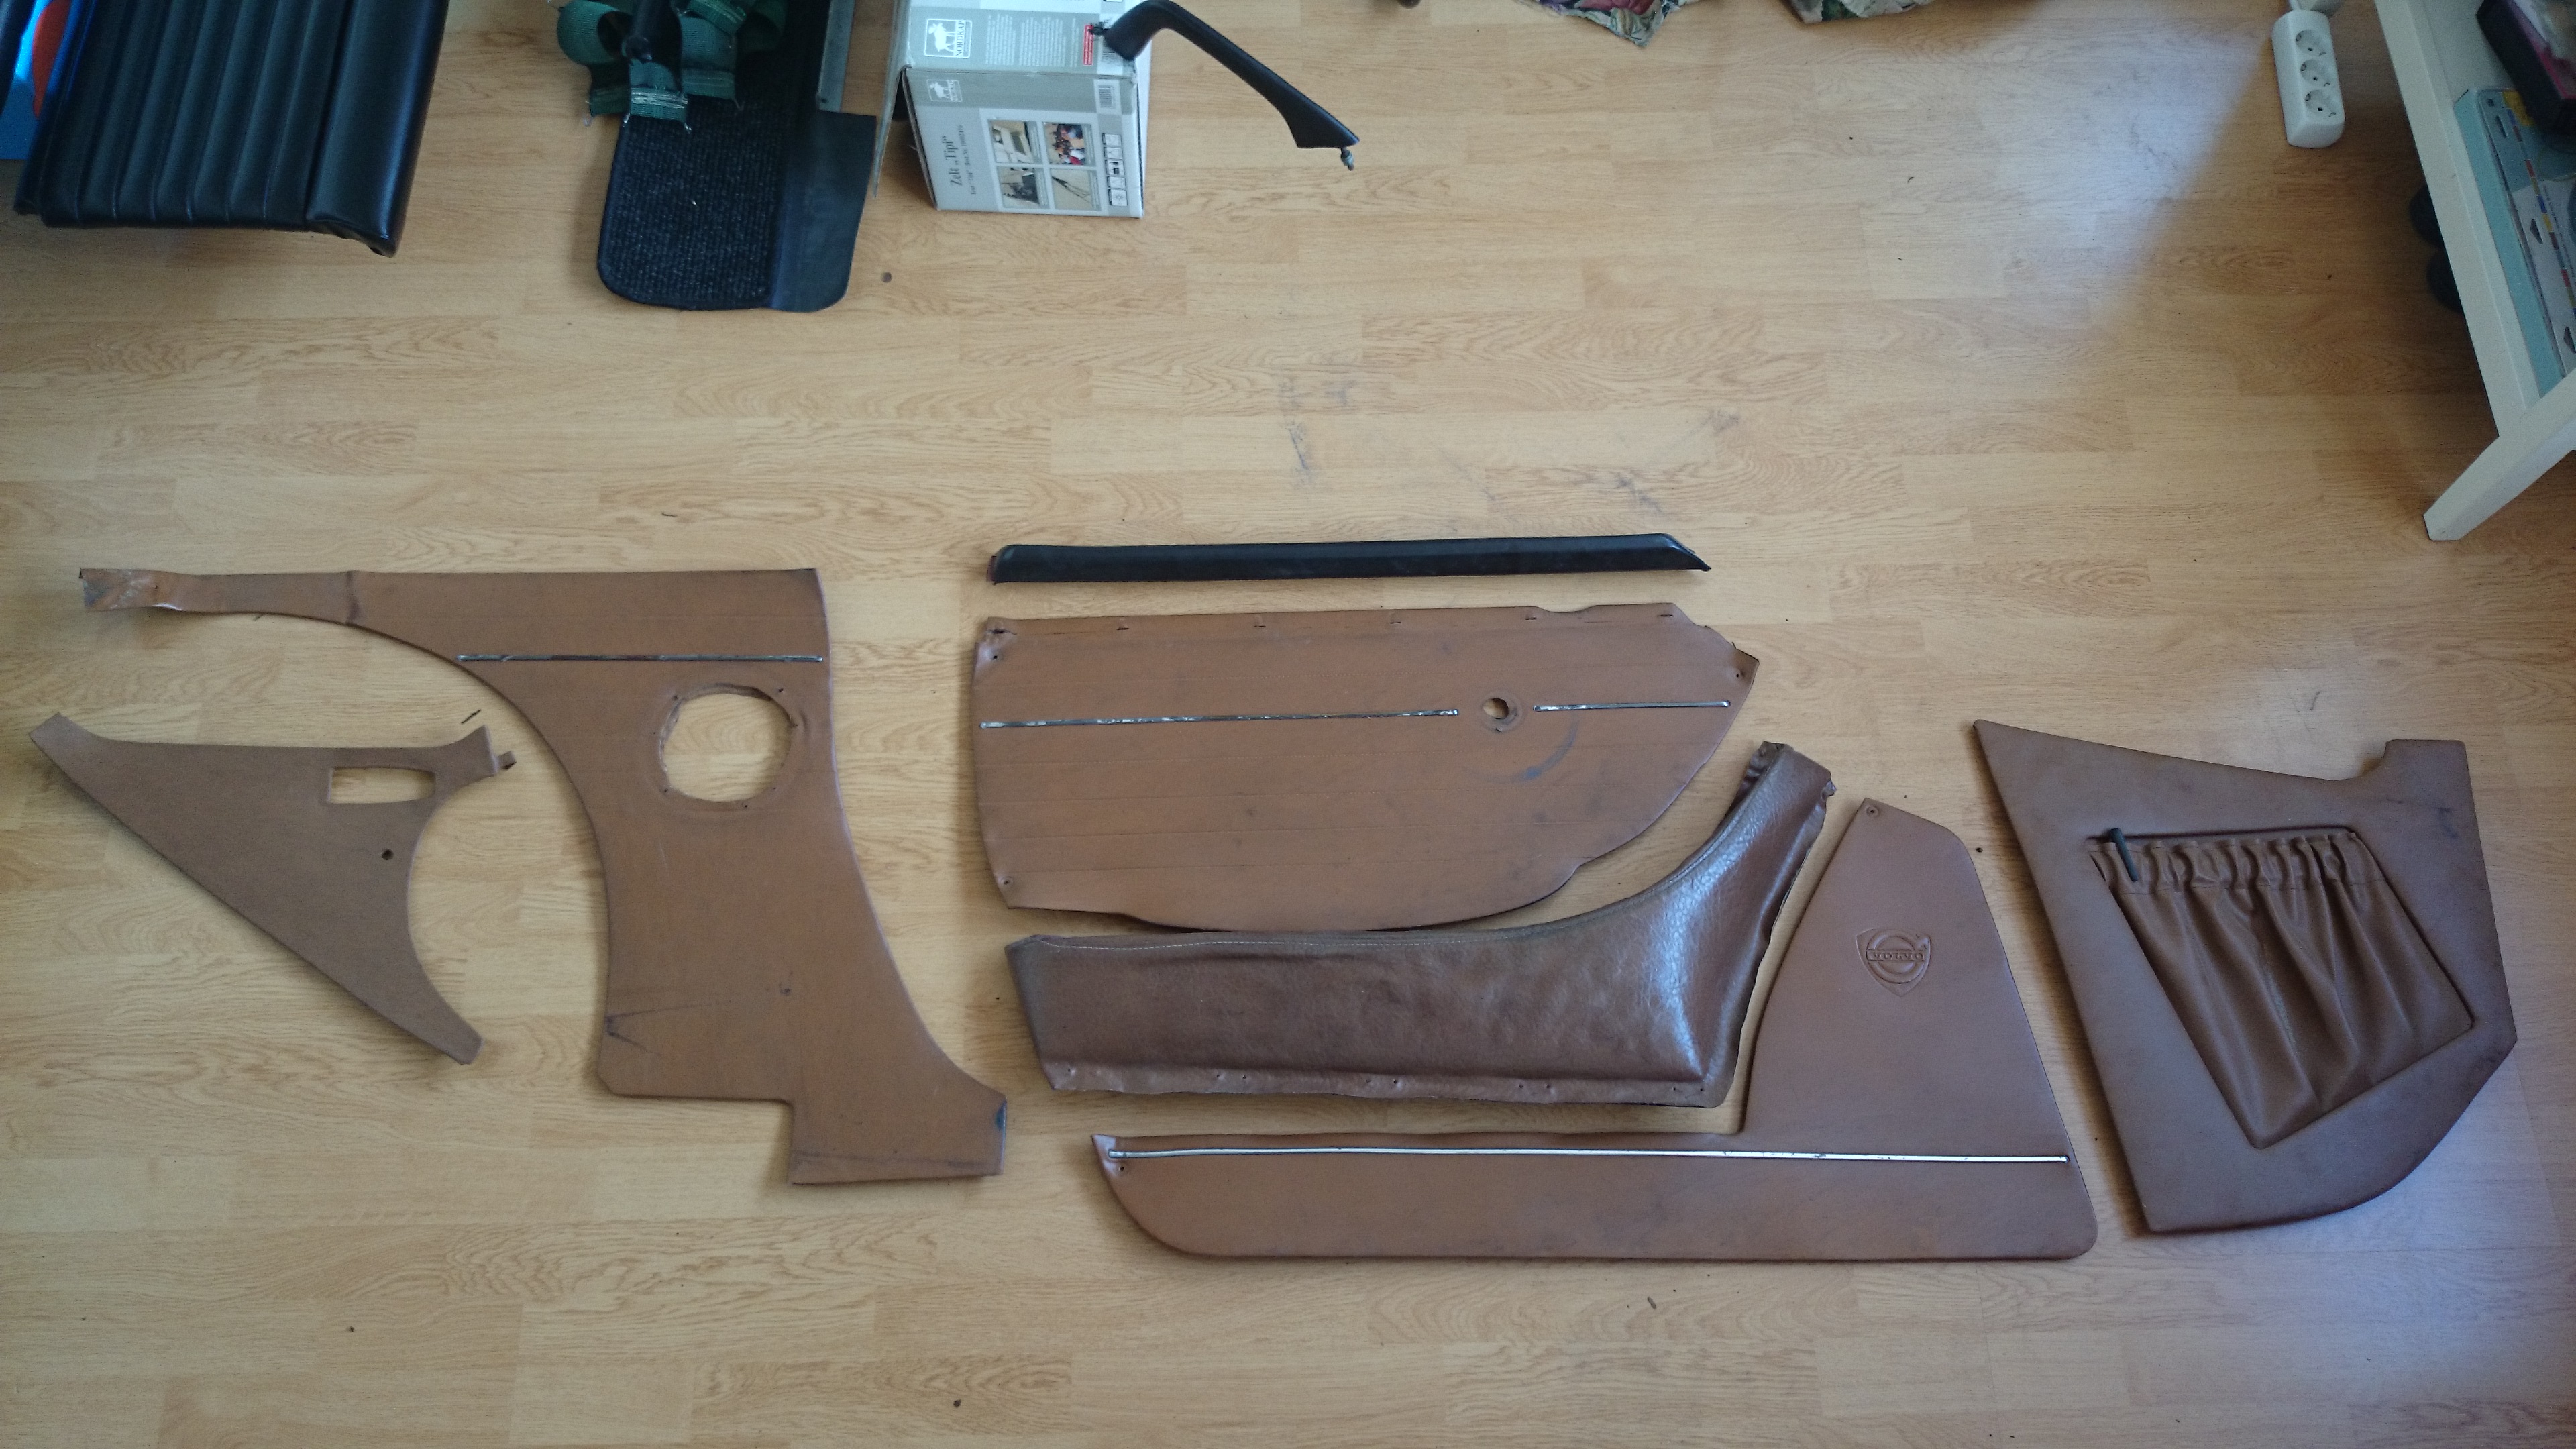
Next job will be to paint the interior panels, but first I have to replace the wooden panels with some waterproof ones and then I can paint the panels.
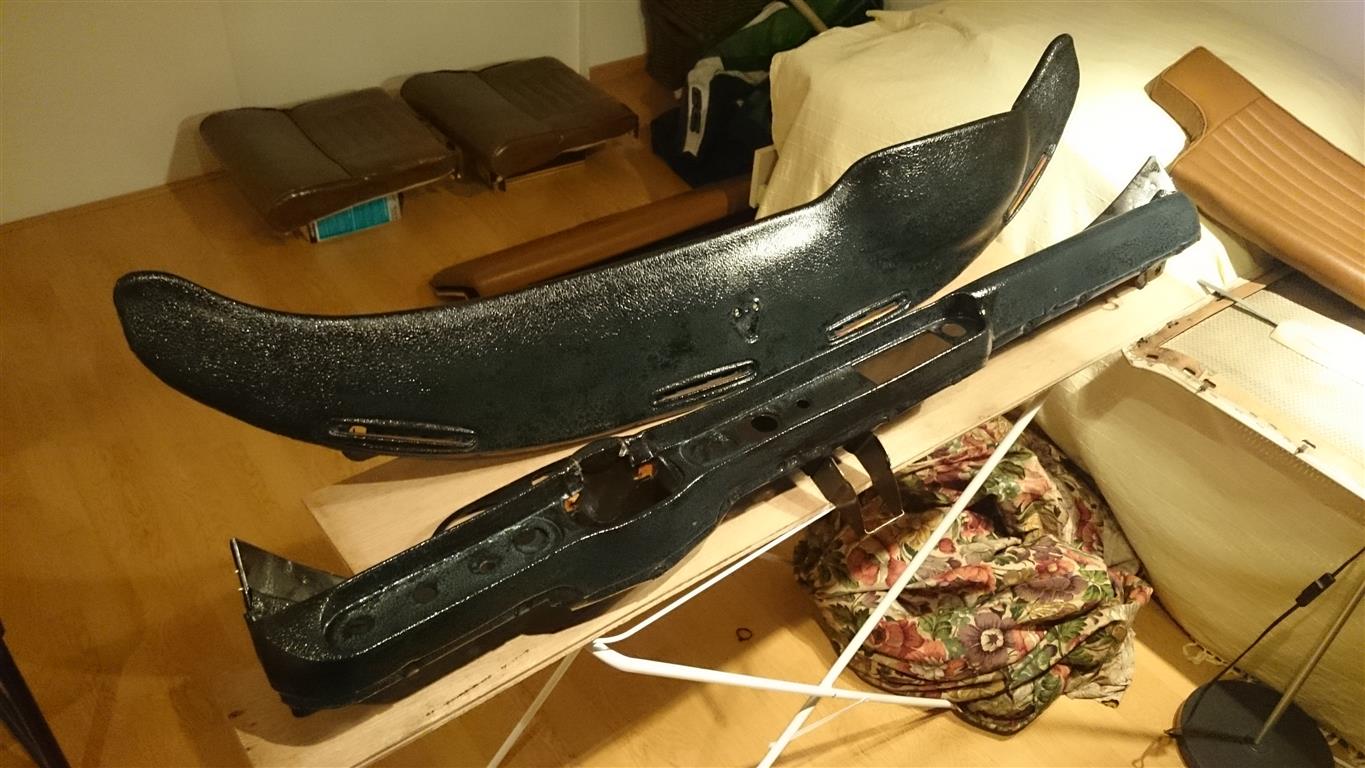
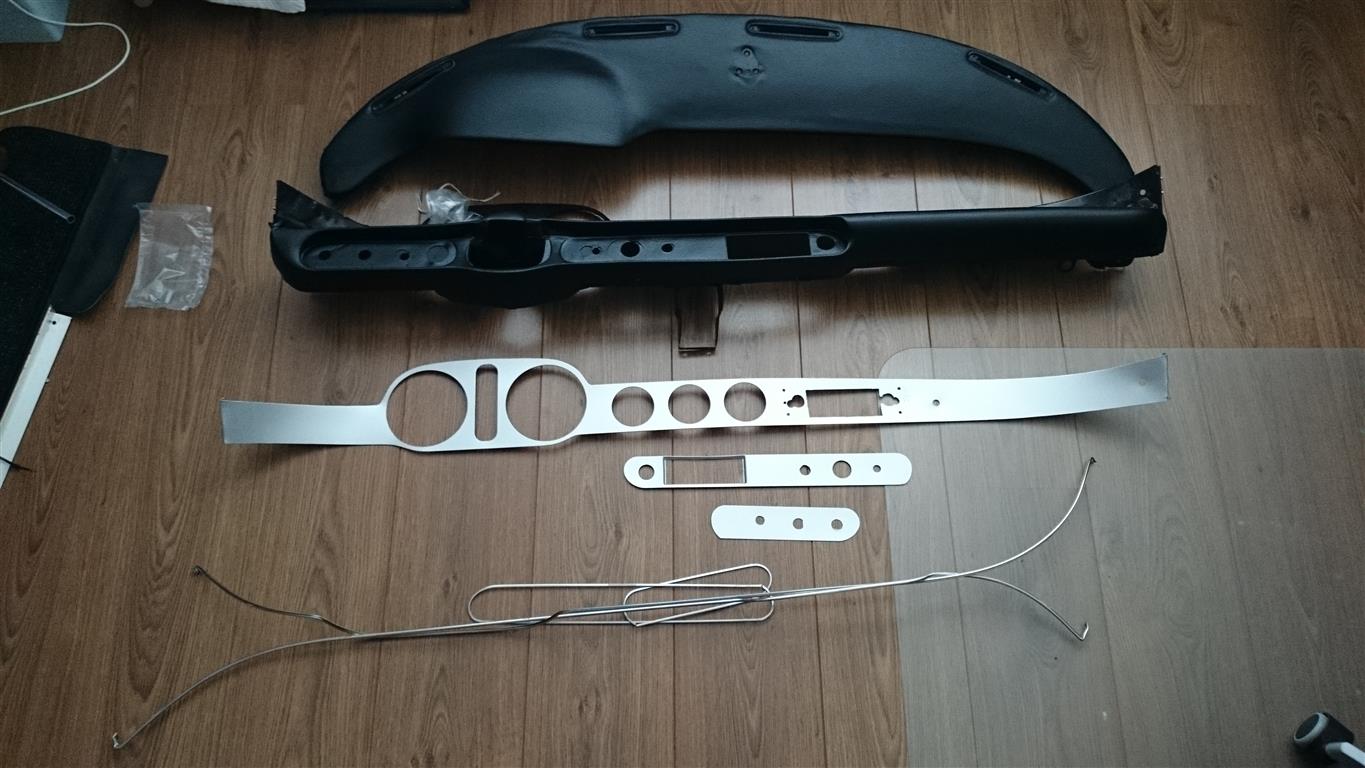
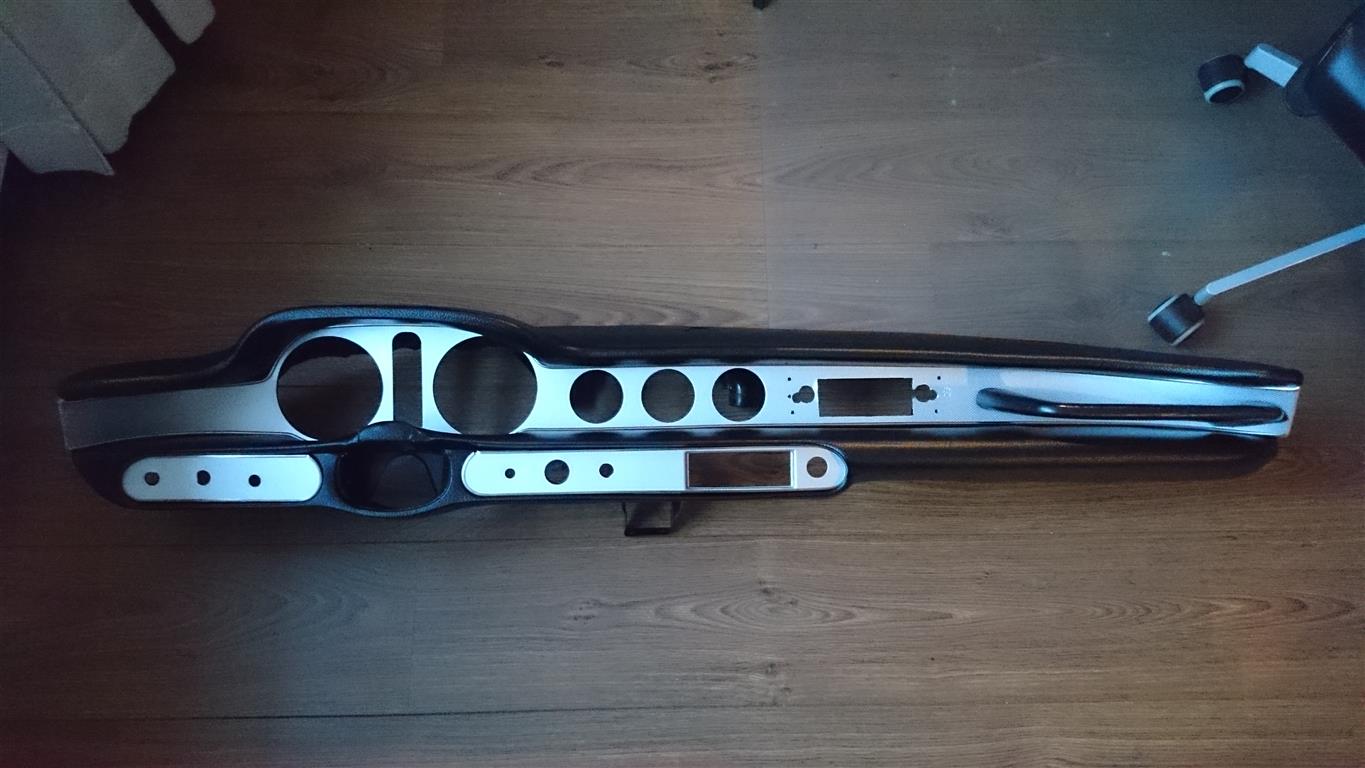
Also the dashboard is finished. I was a bit in doubt if I would repad the whole thing, but this was not necessary. There where only 2 small cracks which I repaired (stop-drilled, filled up and painted) so I decided not to repad it. A repaired and painted fresh almost new dash (the holes will be covered by the radio):
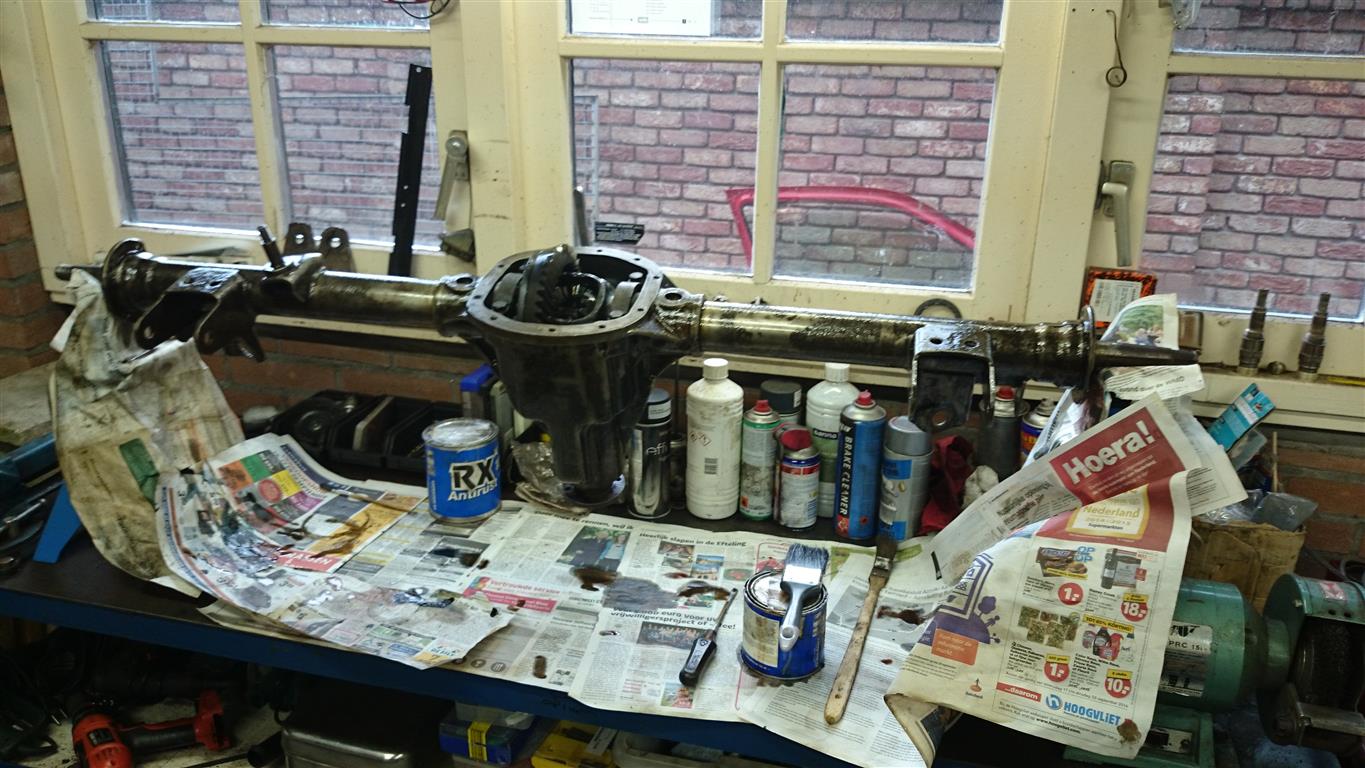
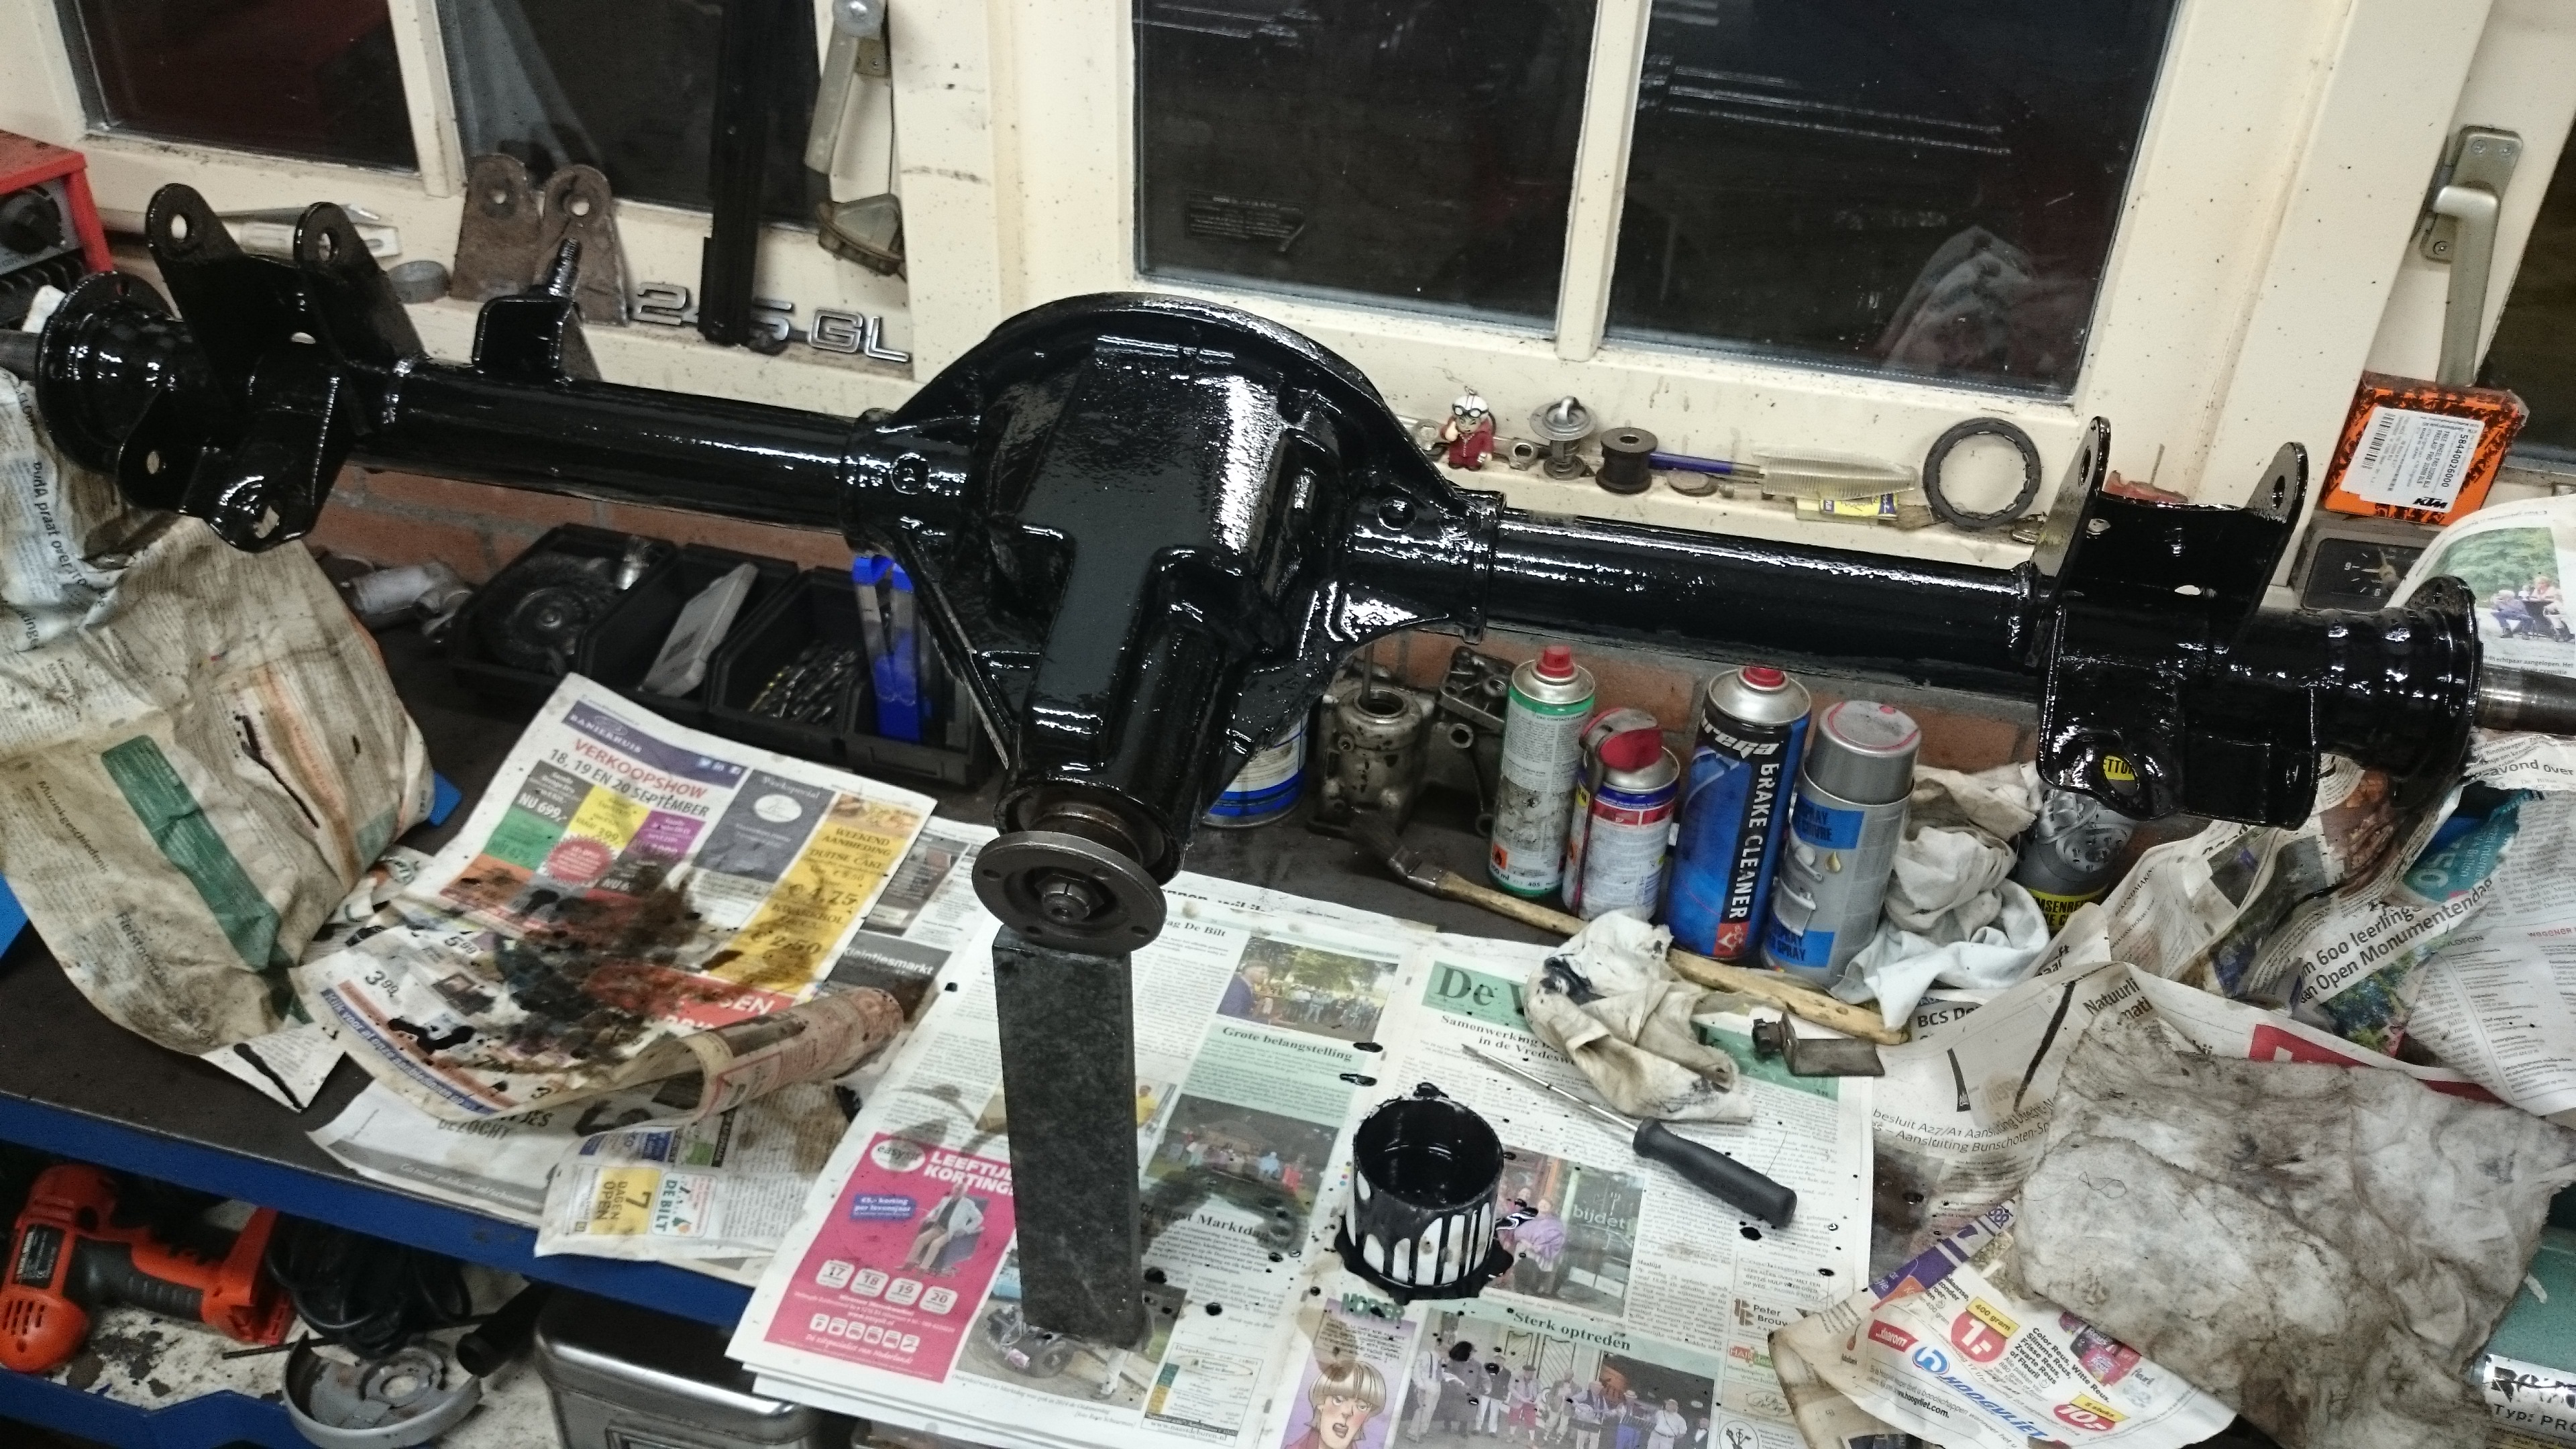
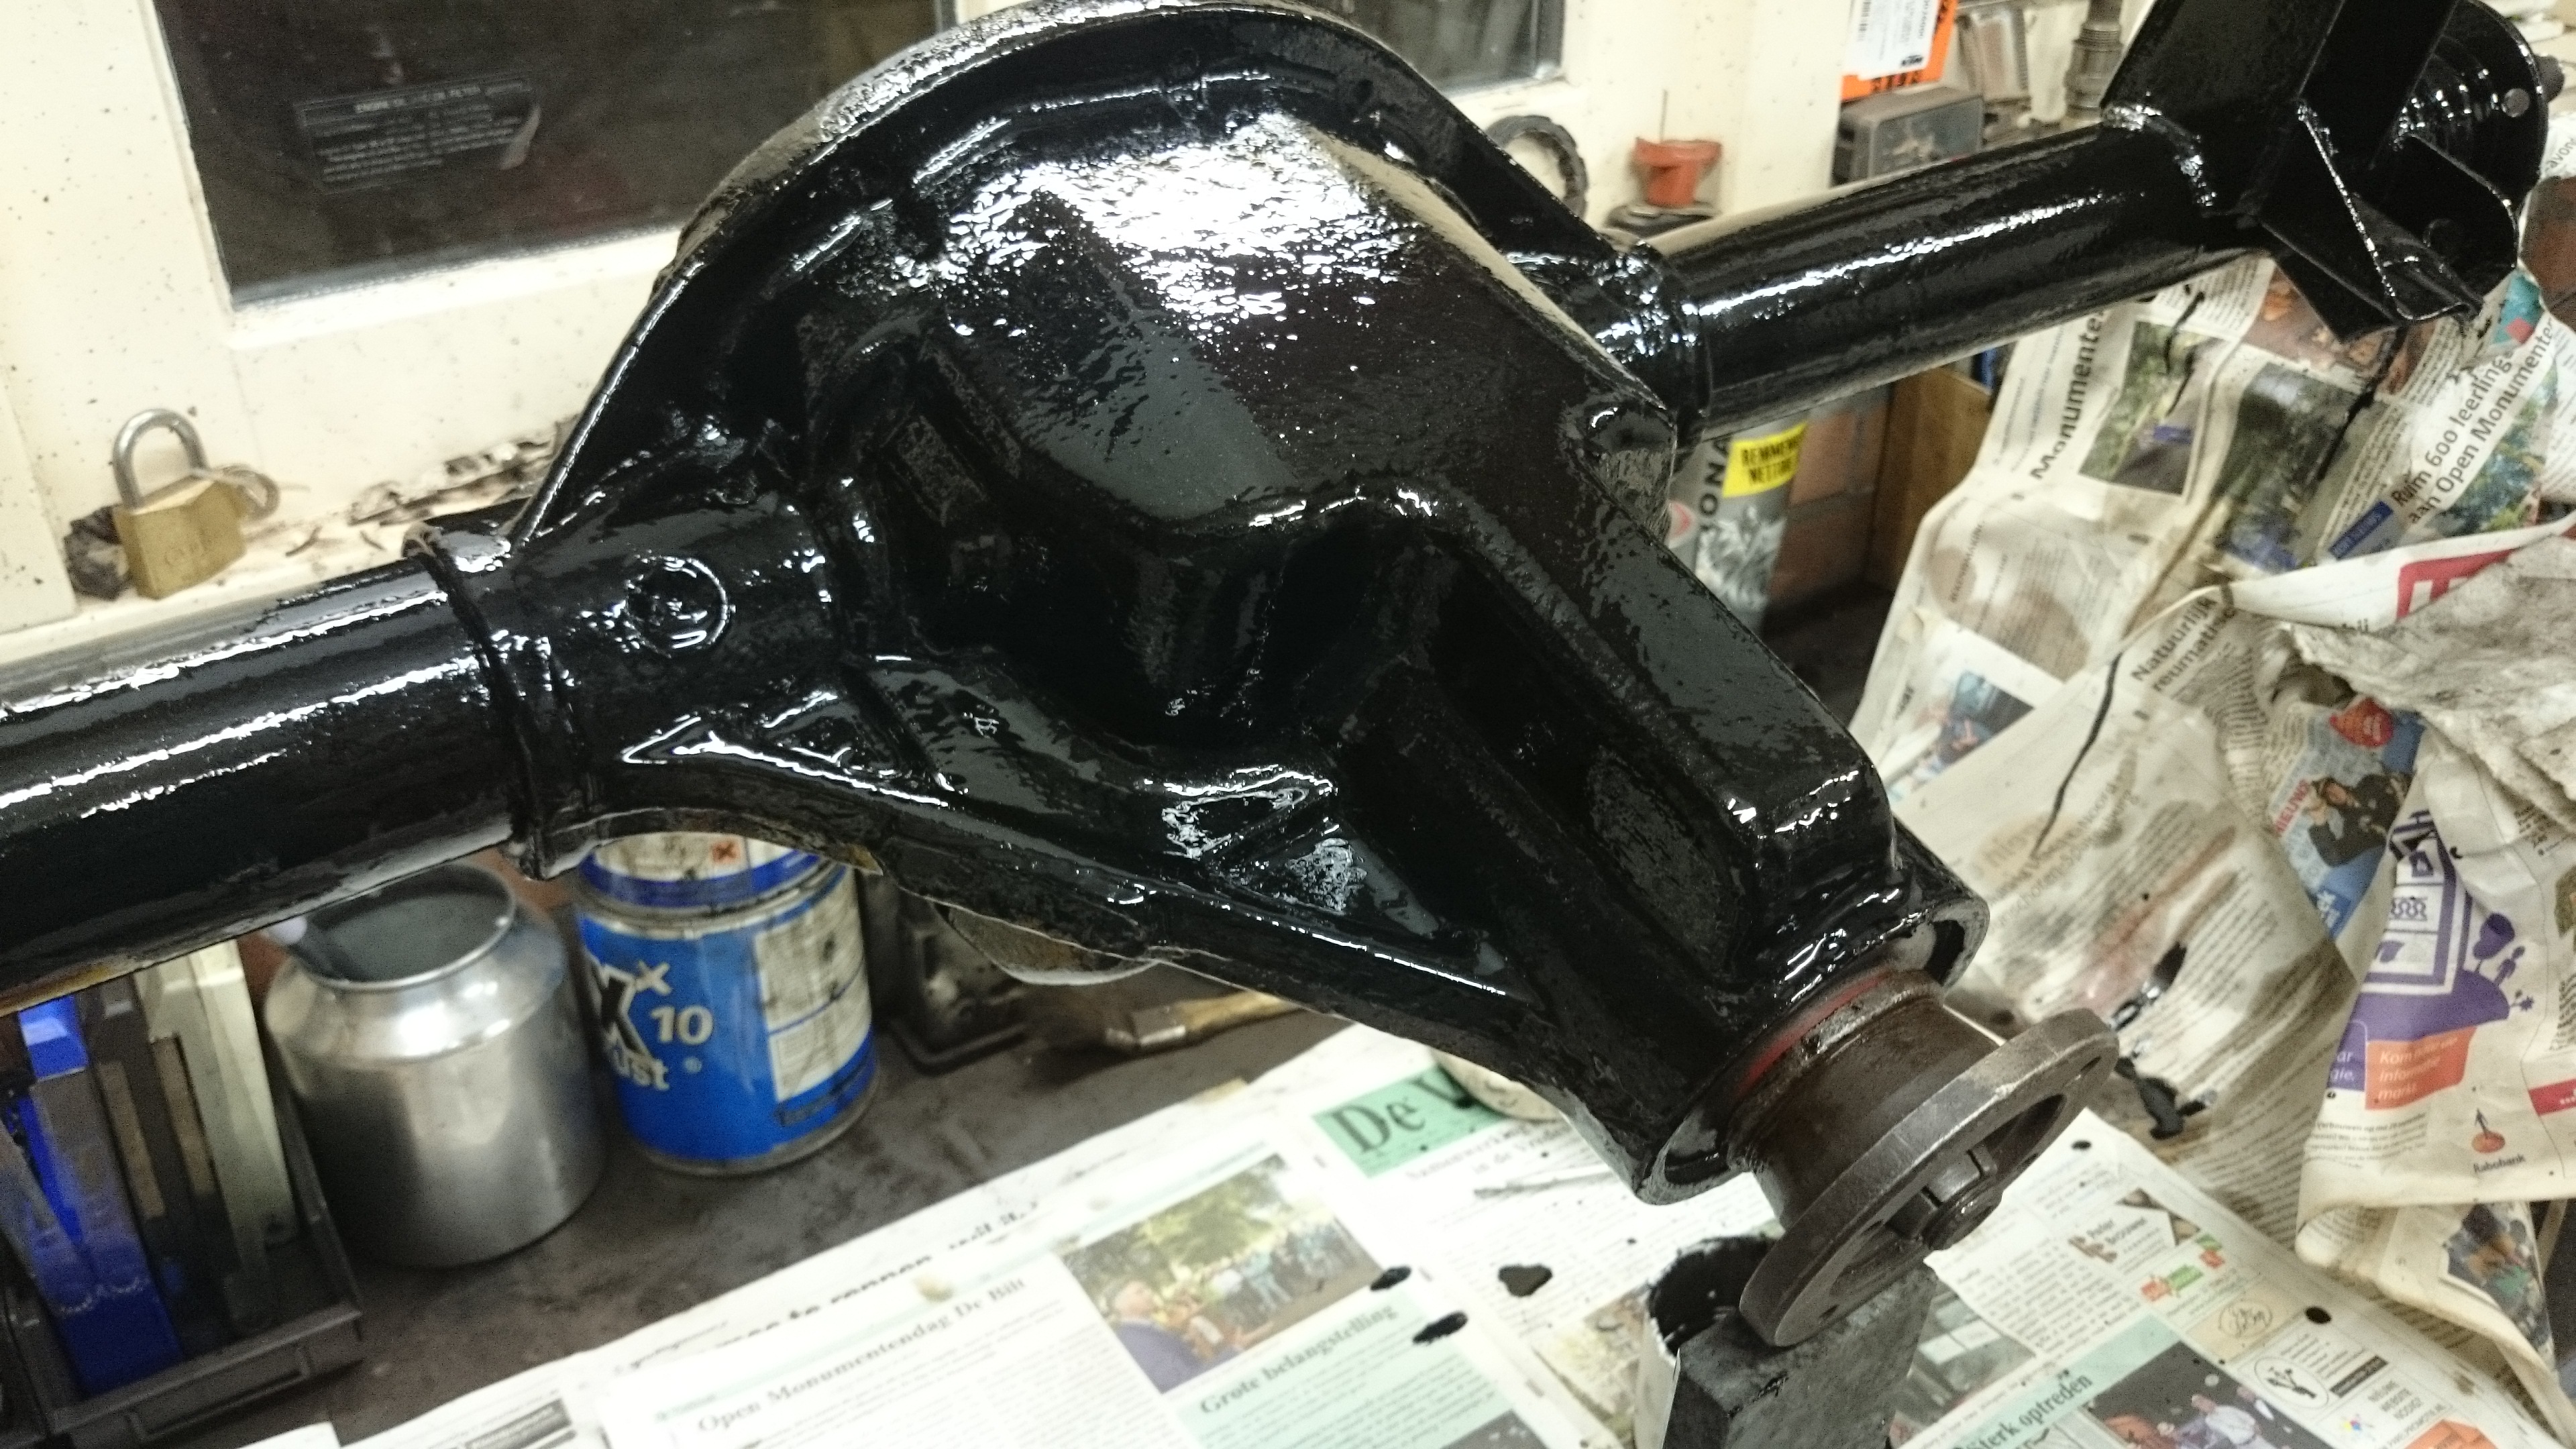
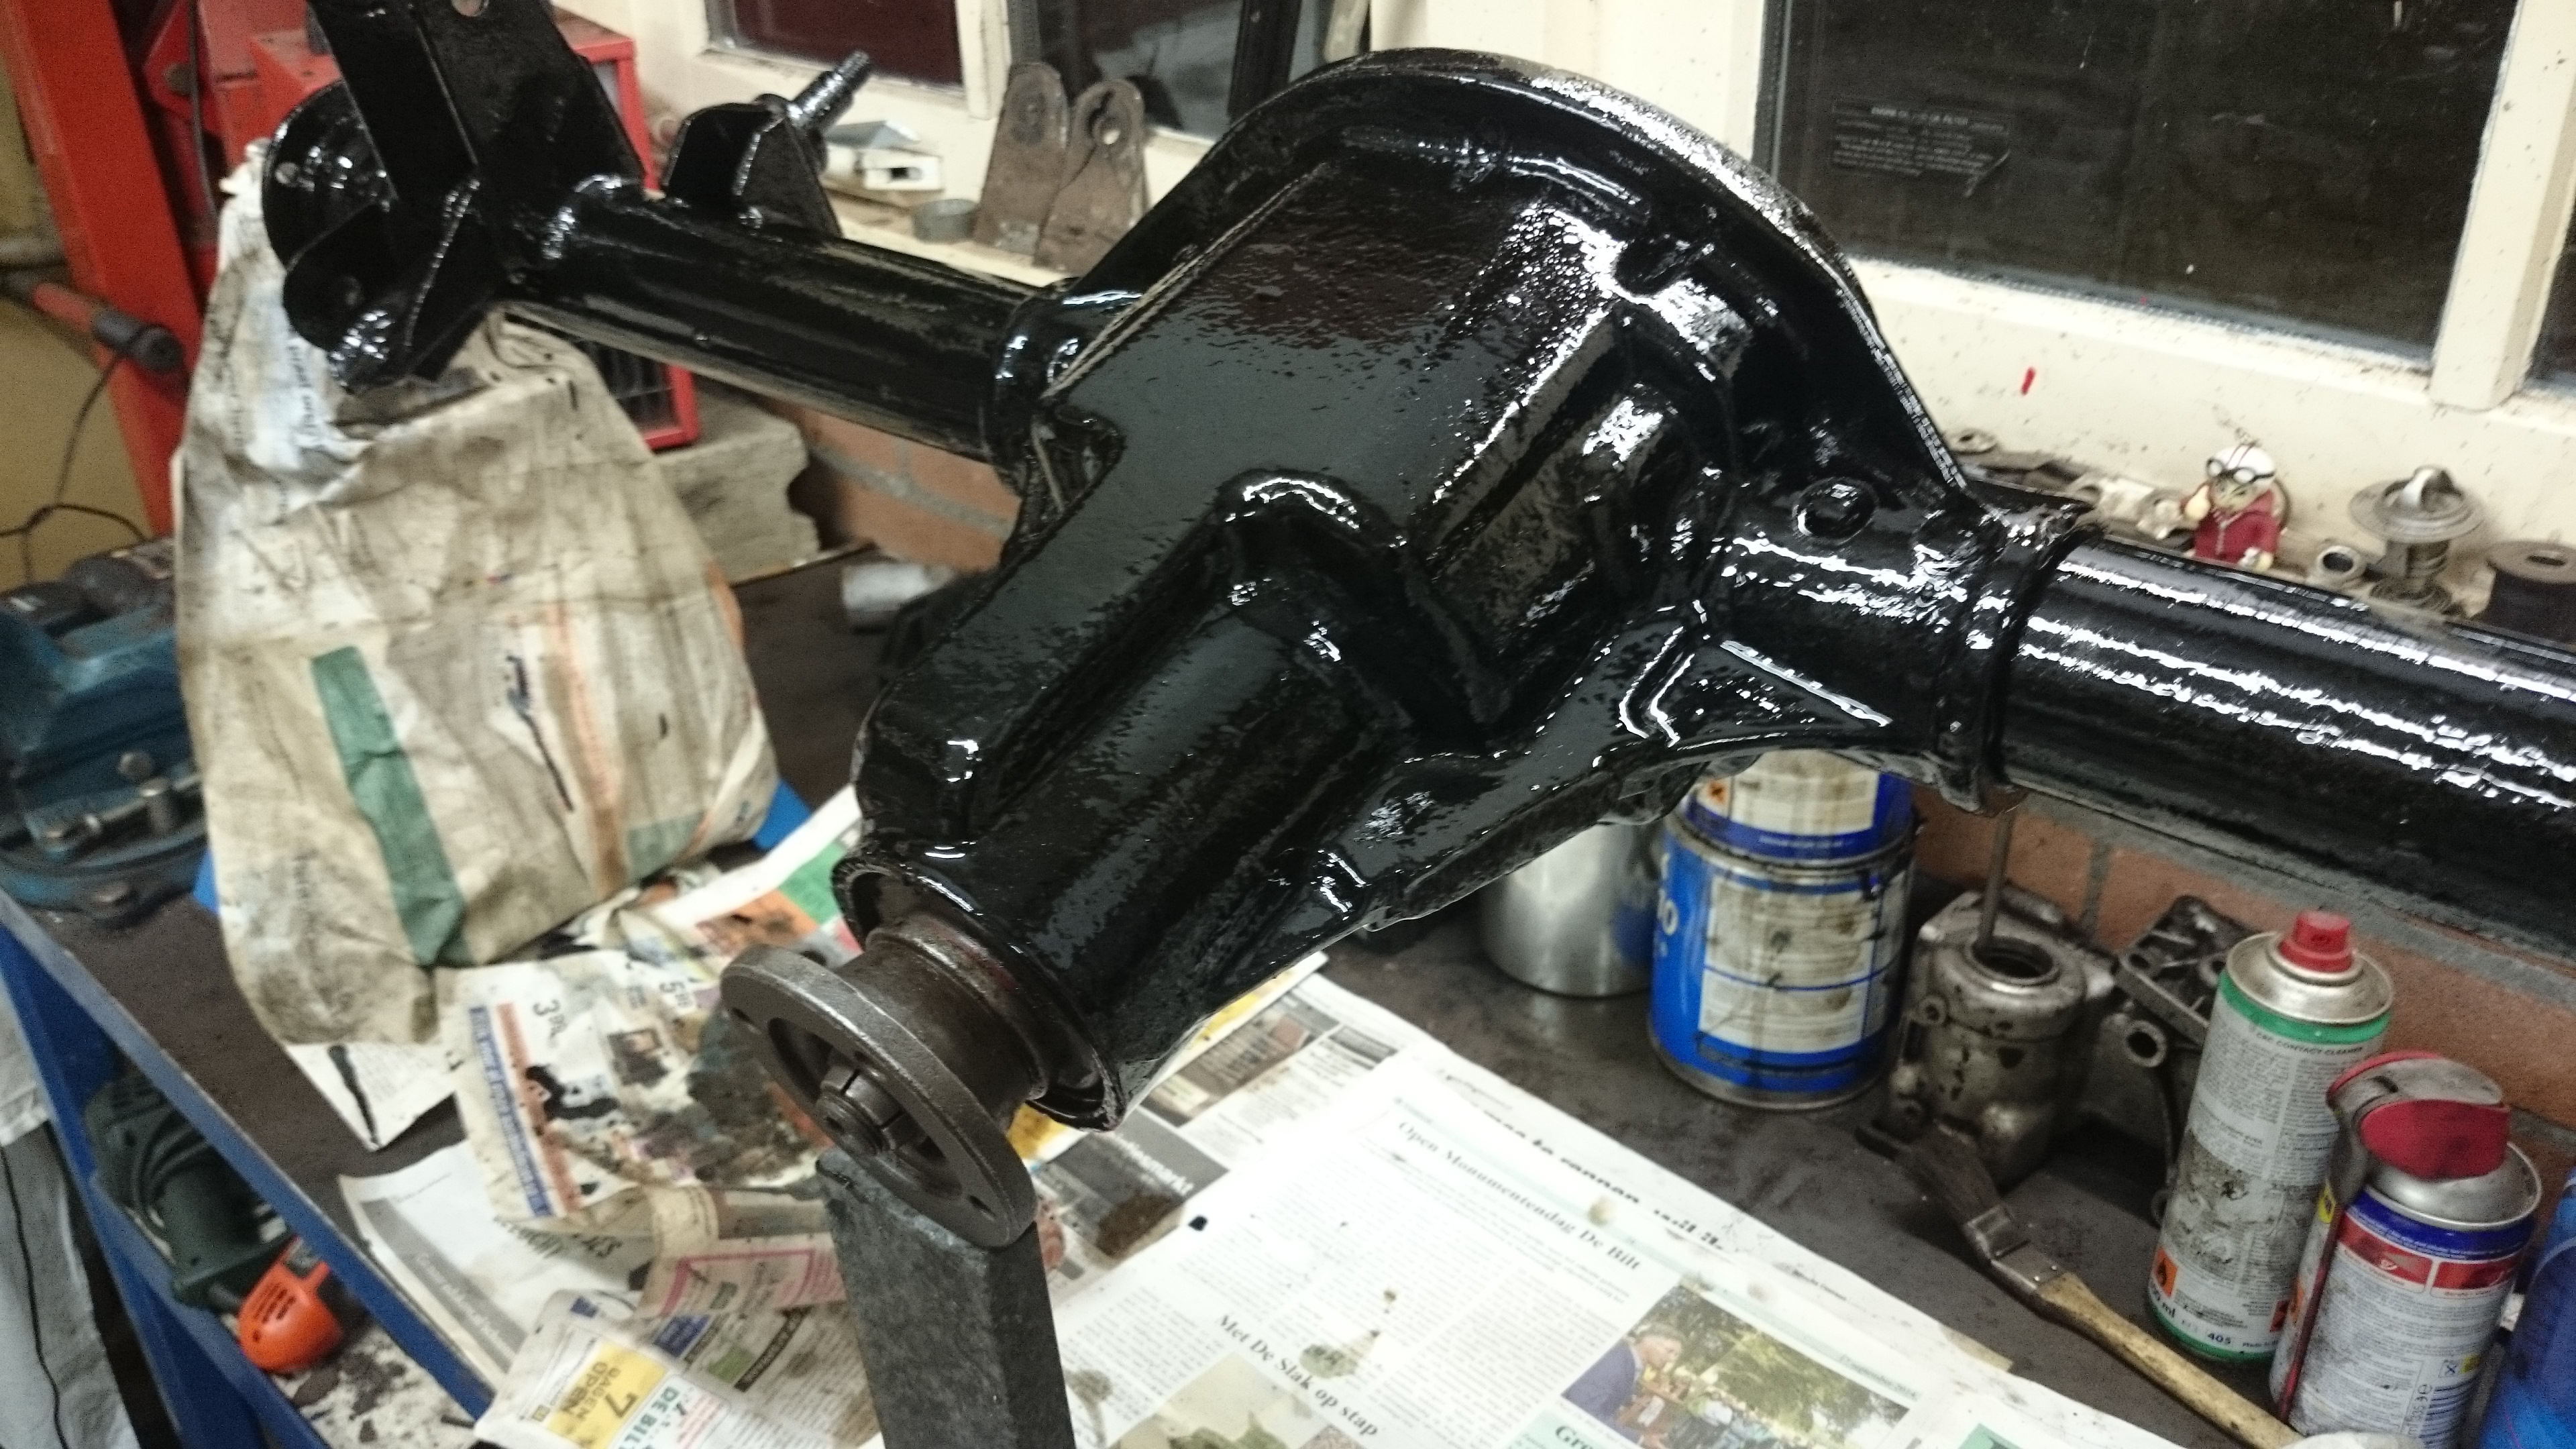
And cleaned up the rear axle and applied the first three layers of paint (1st & 2nd RX5, 3rd 50% RX5 – 50% RX10, next layer 5% RX5 – 95% RX10):
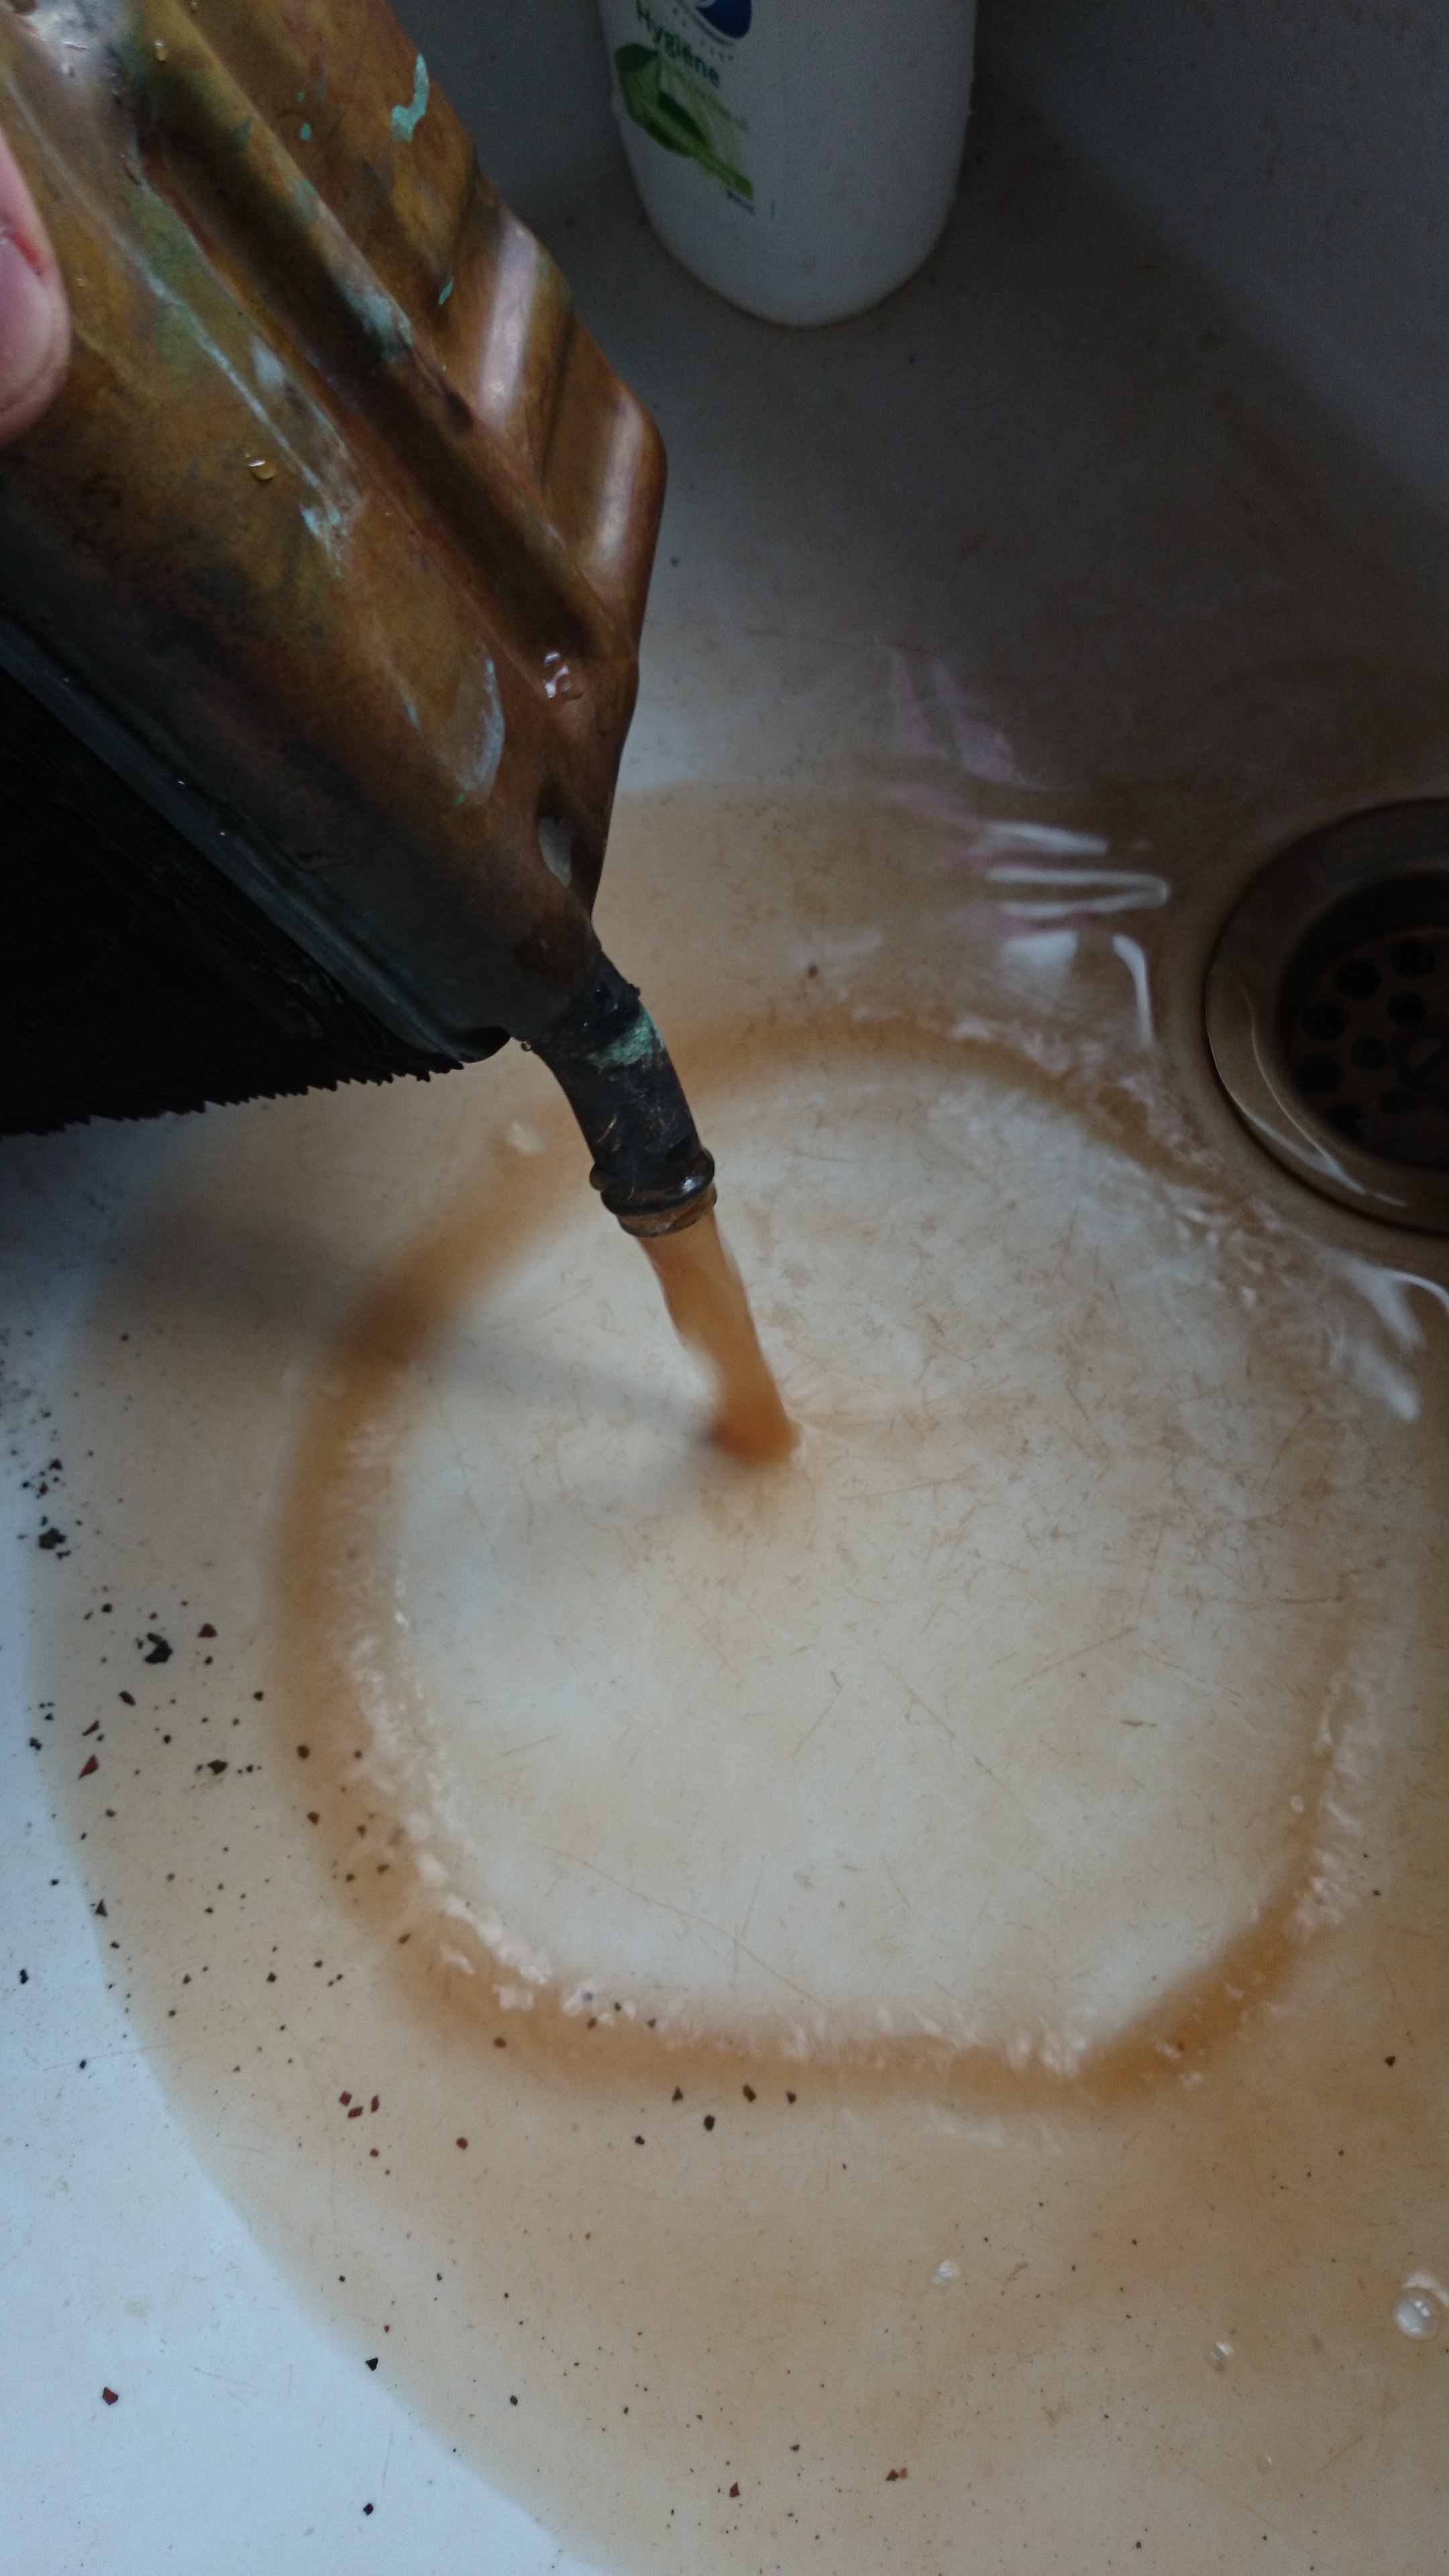
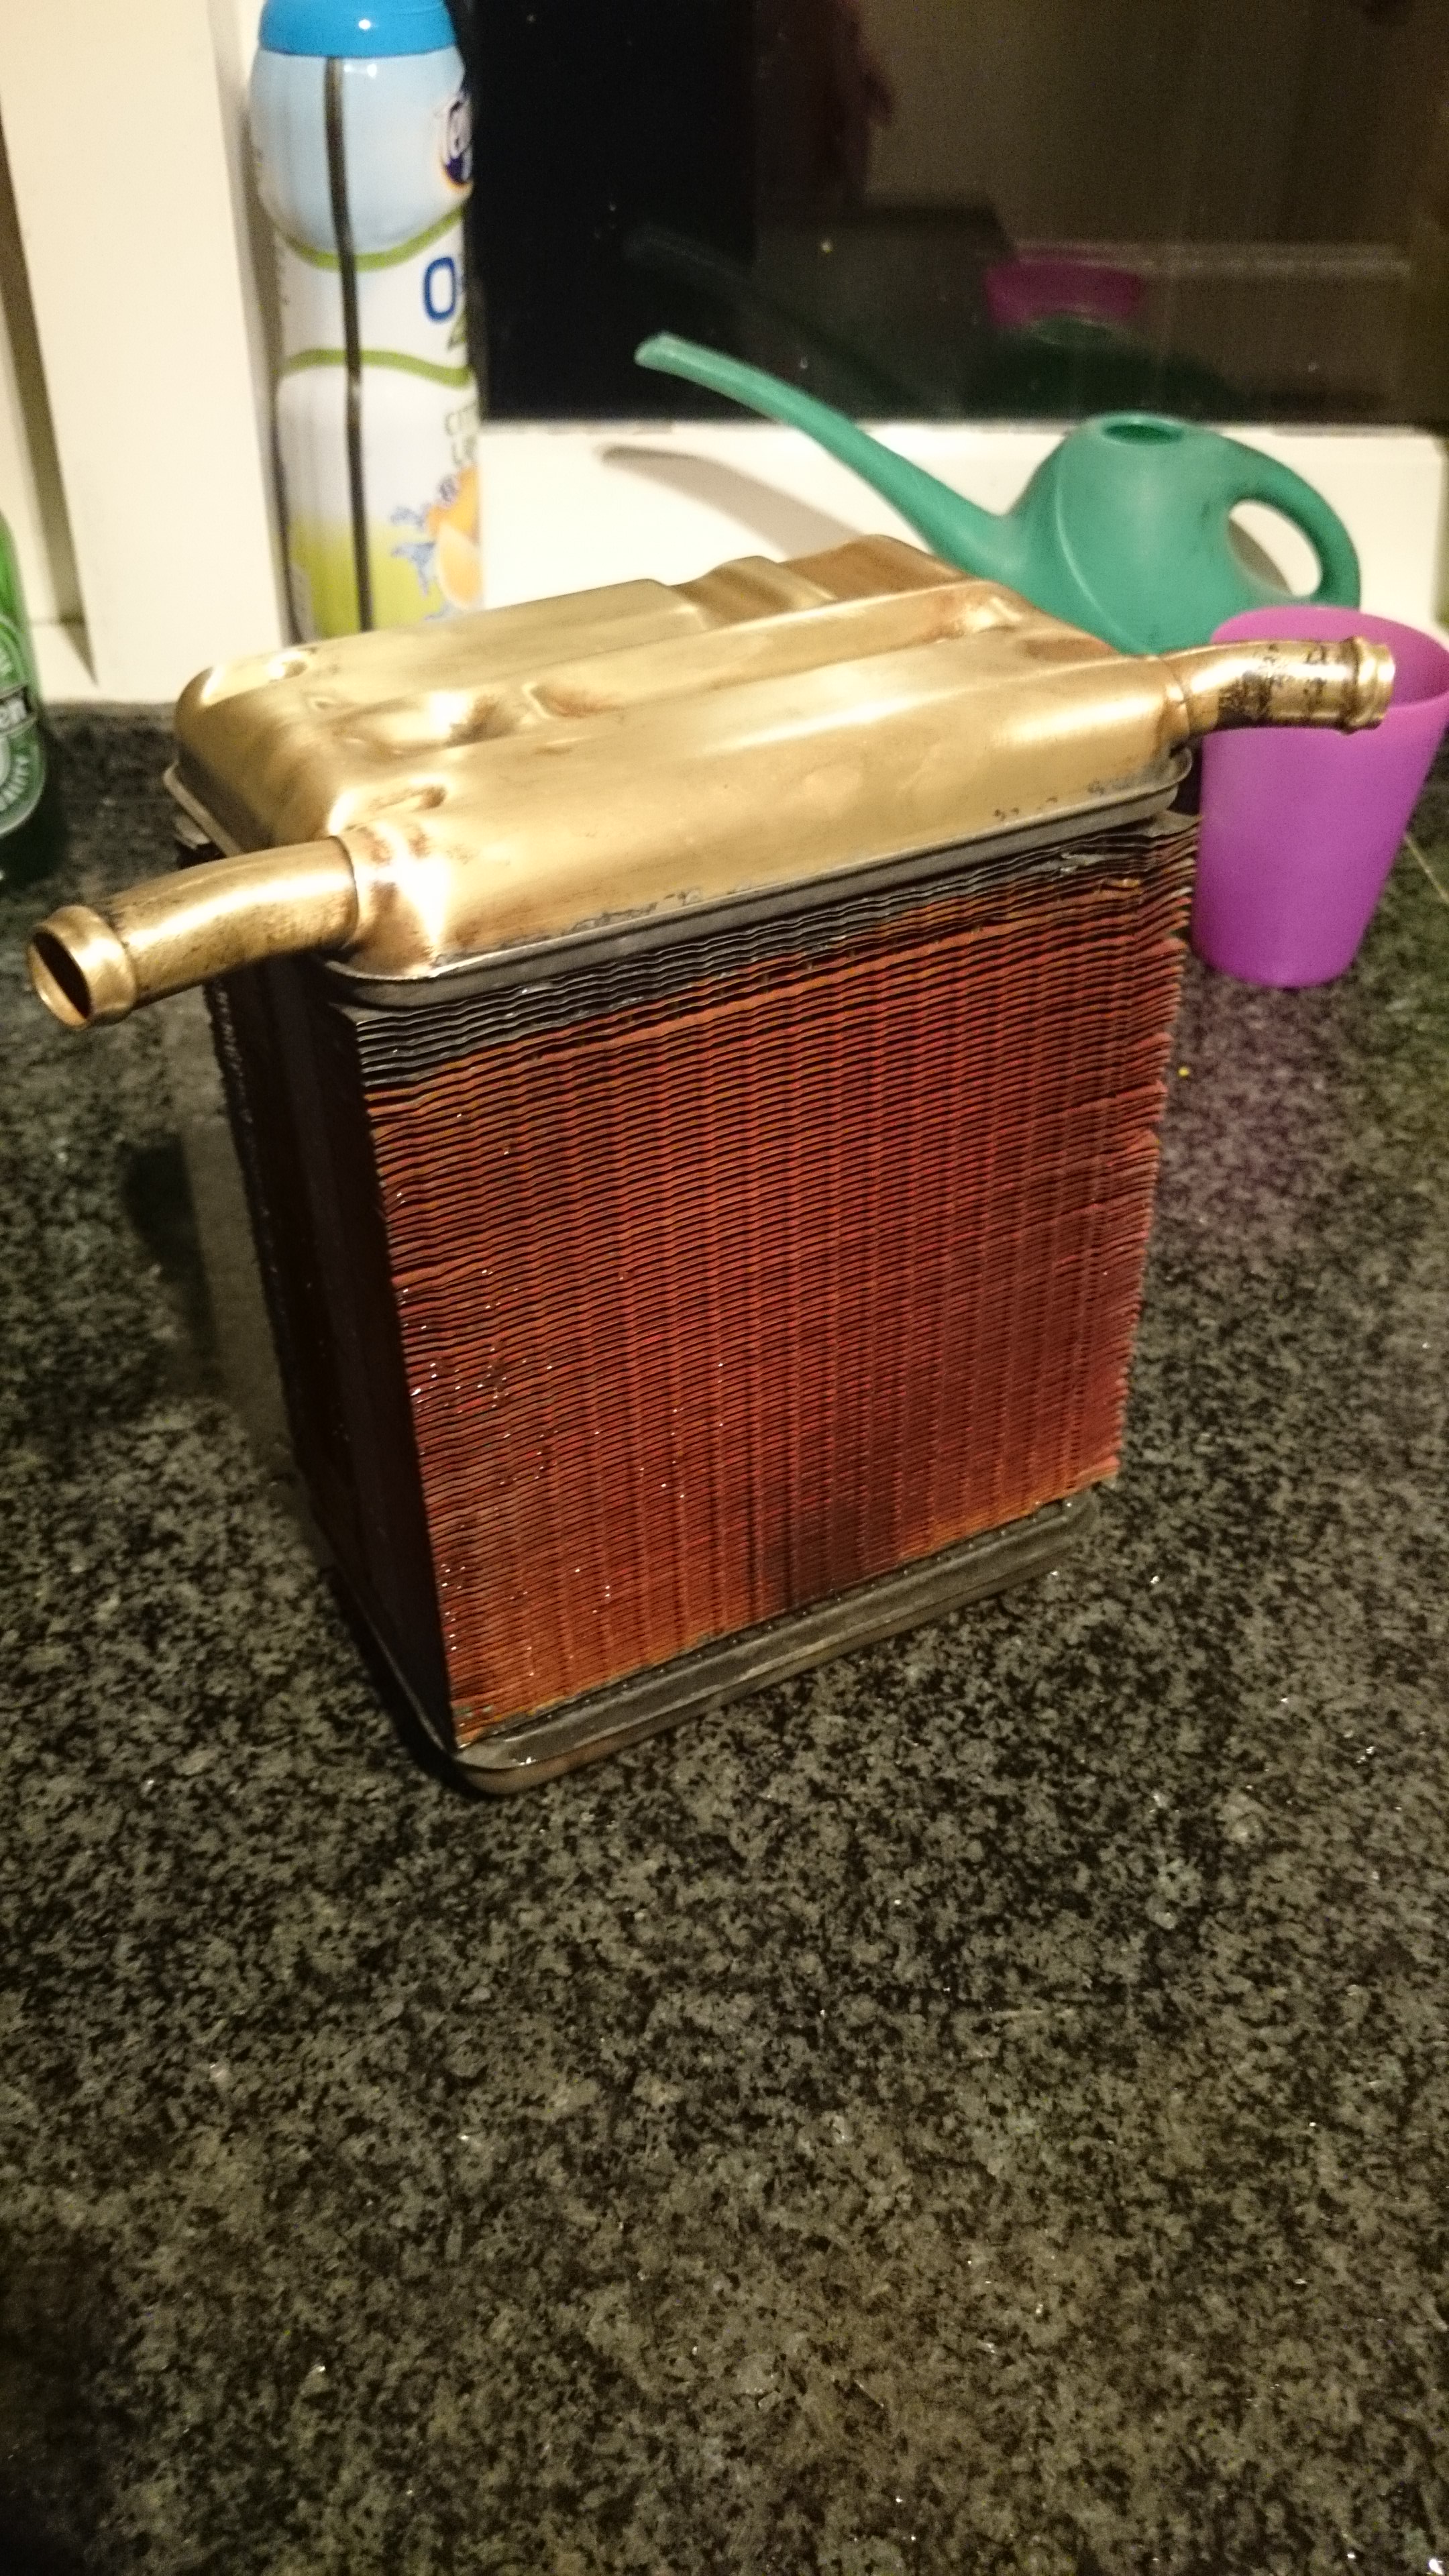
And cleaning out the interior radiator, lots of sludge came out. The thing looks overall very good, possibly I’ll send it to a radiator shop for a check up.
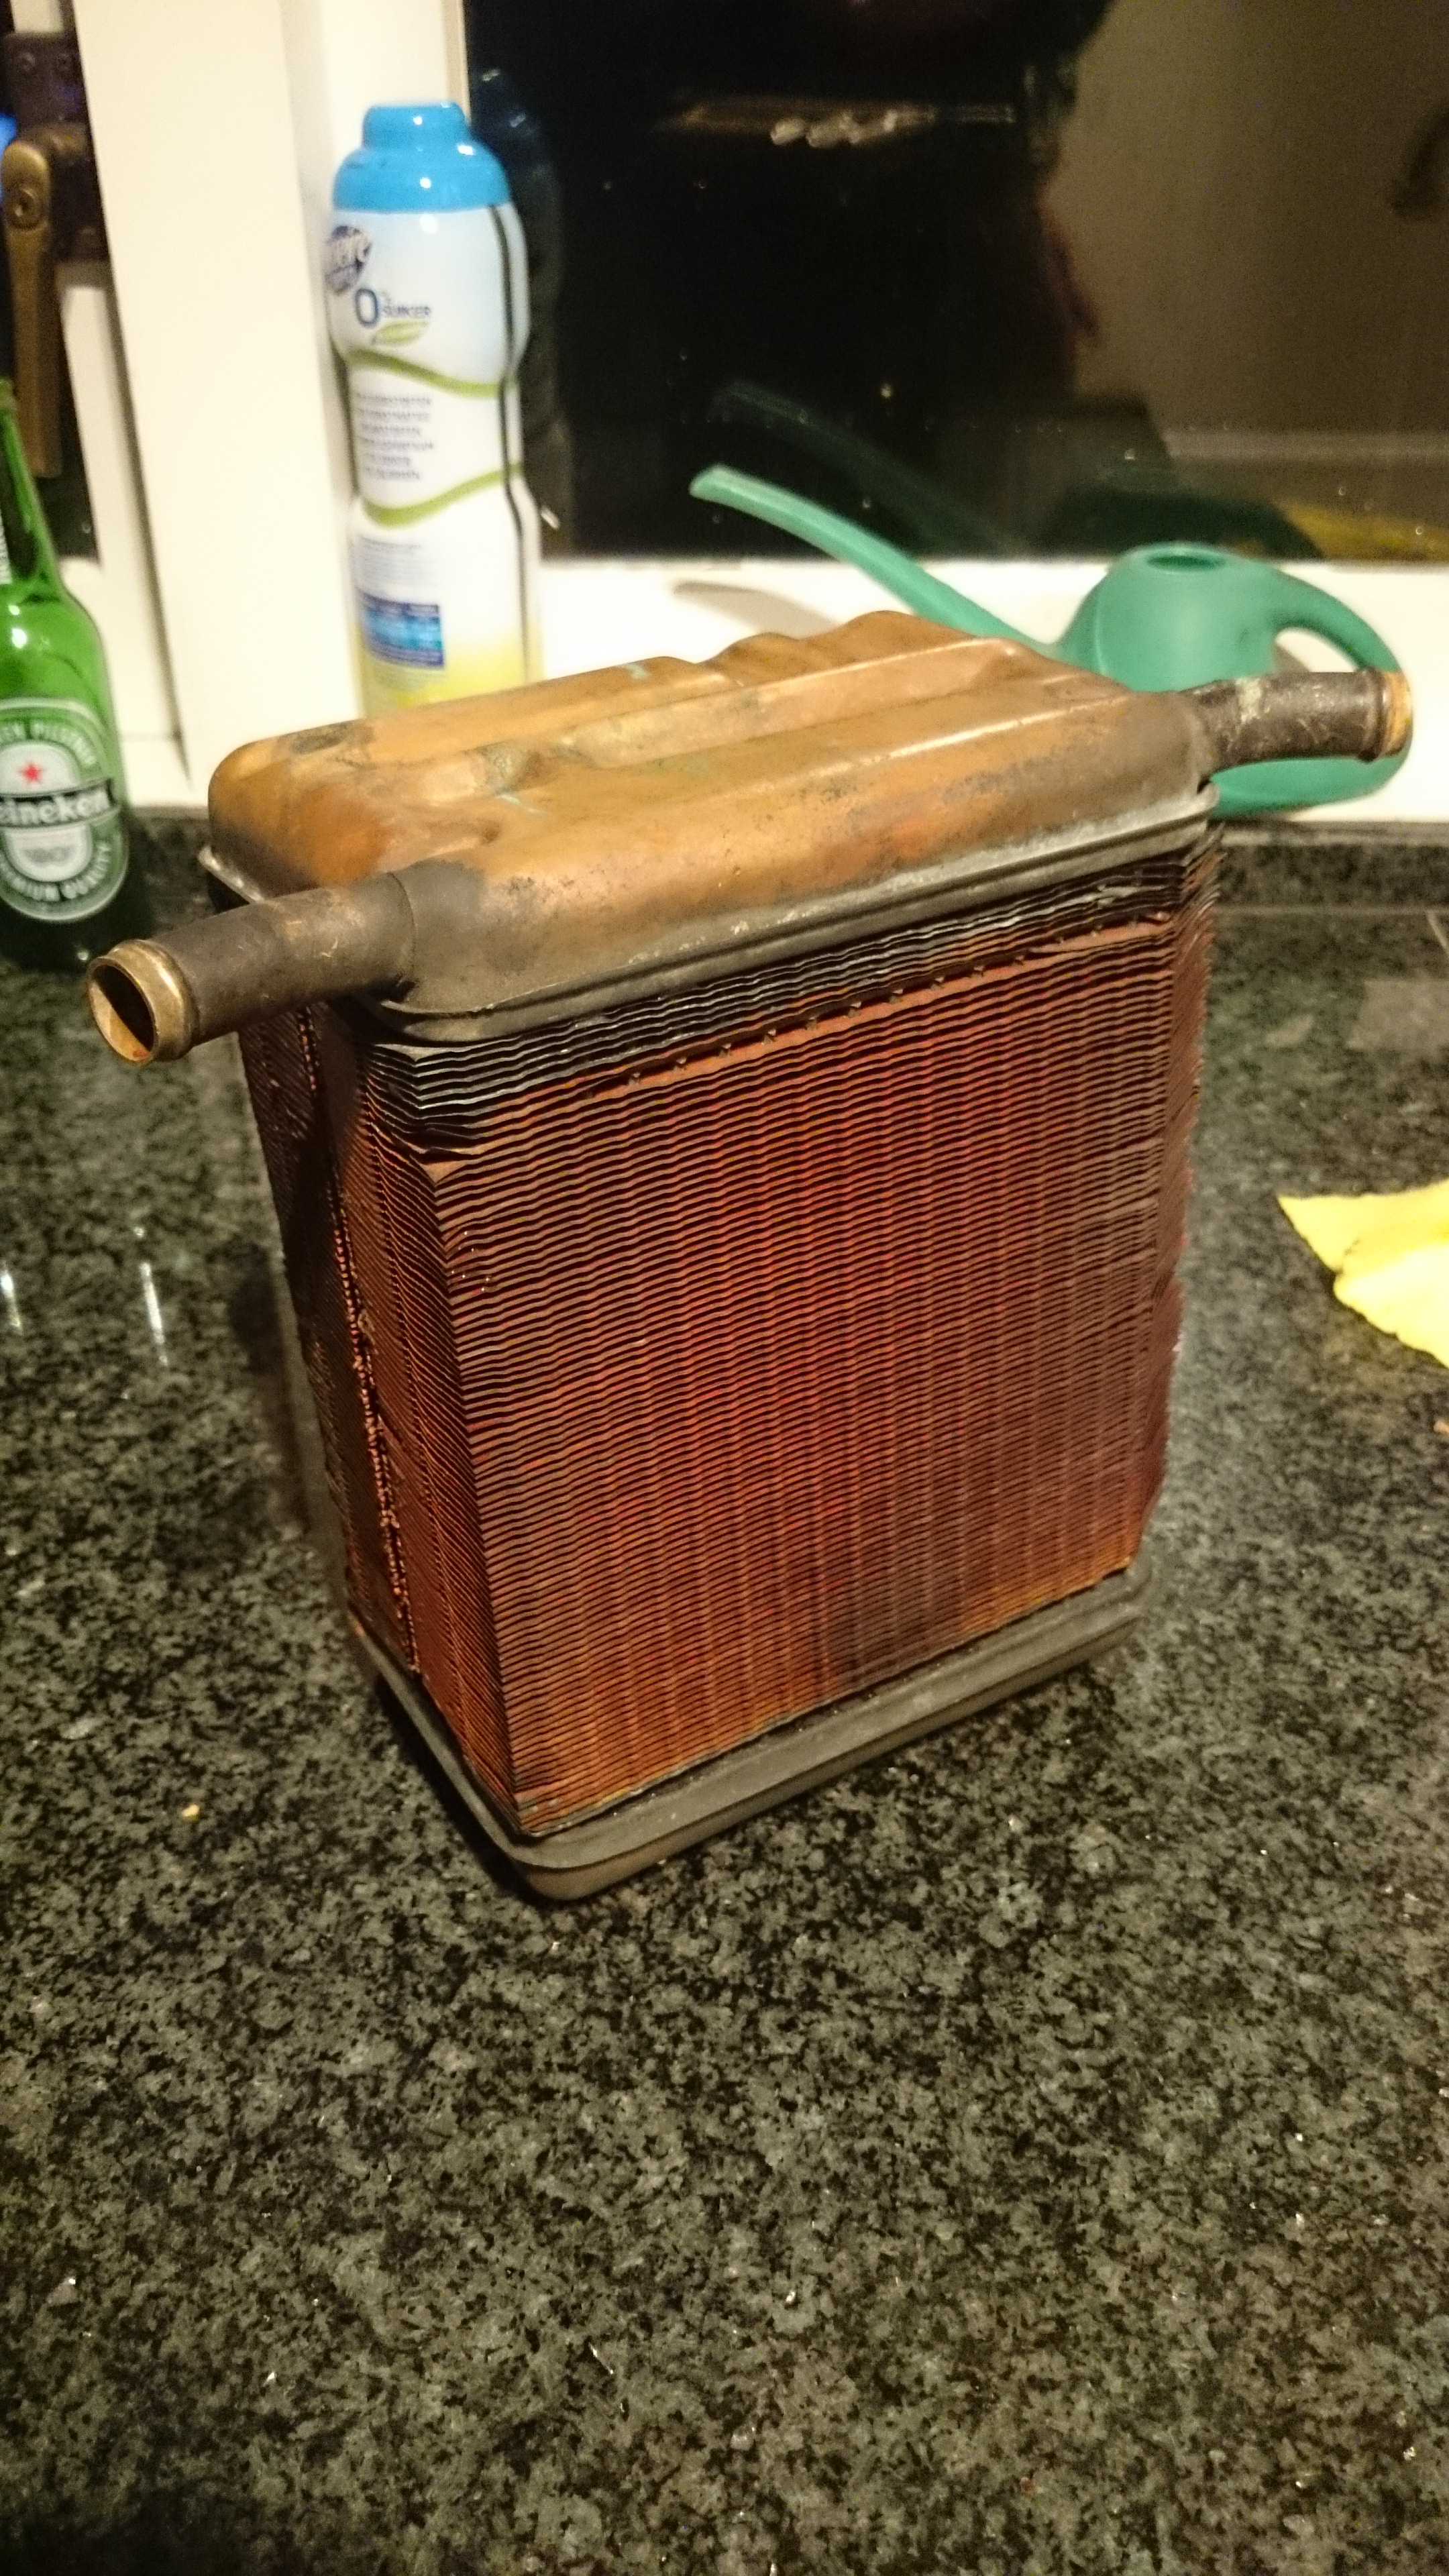
And after some polishing (still have to finish it)
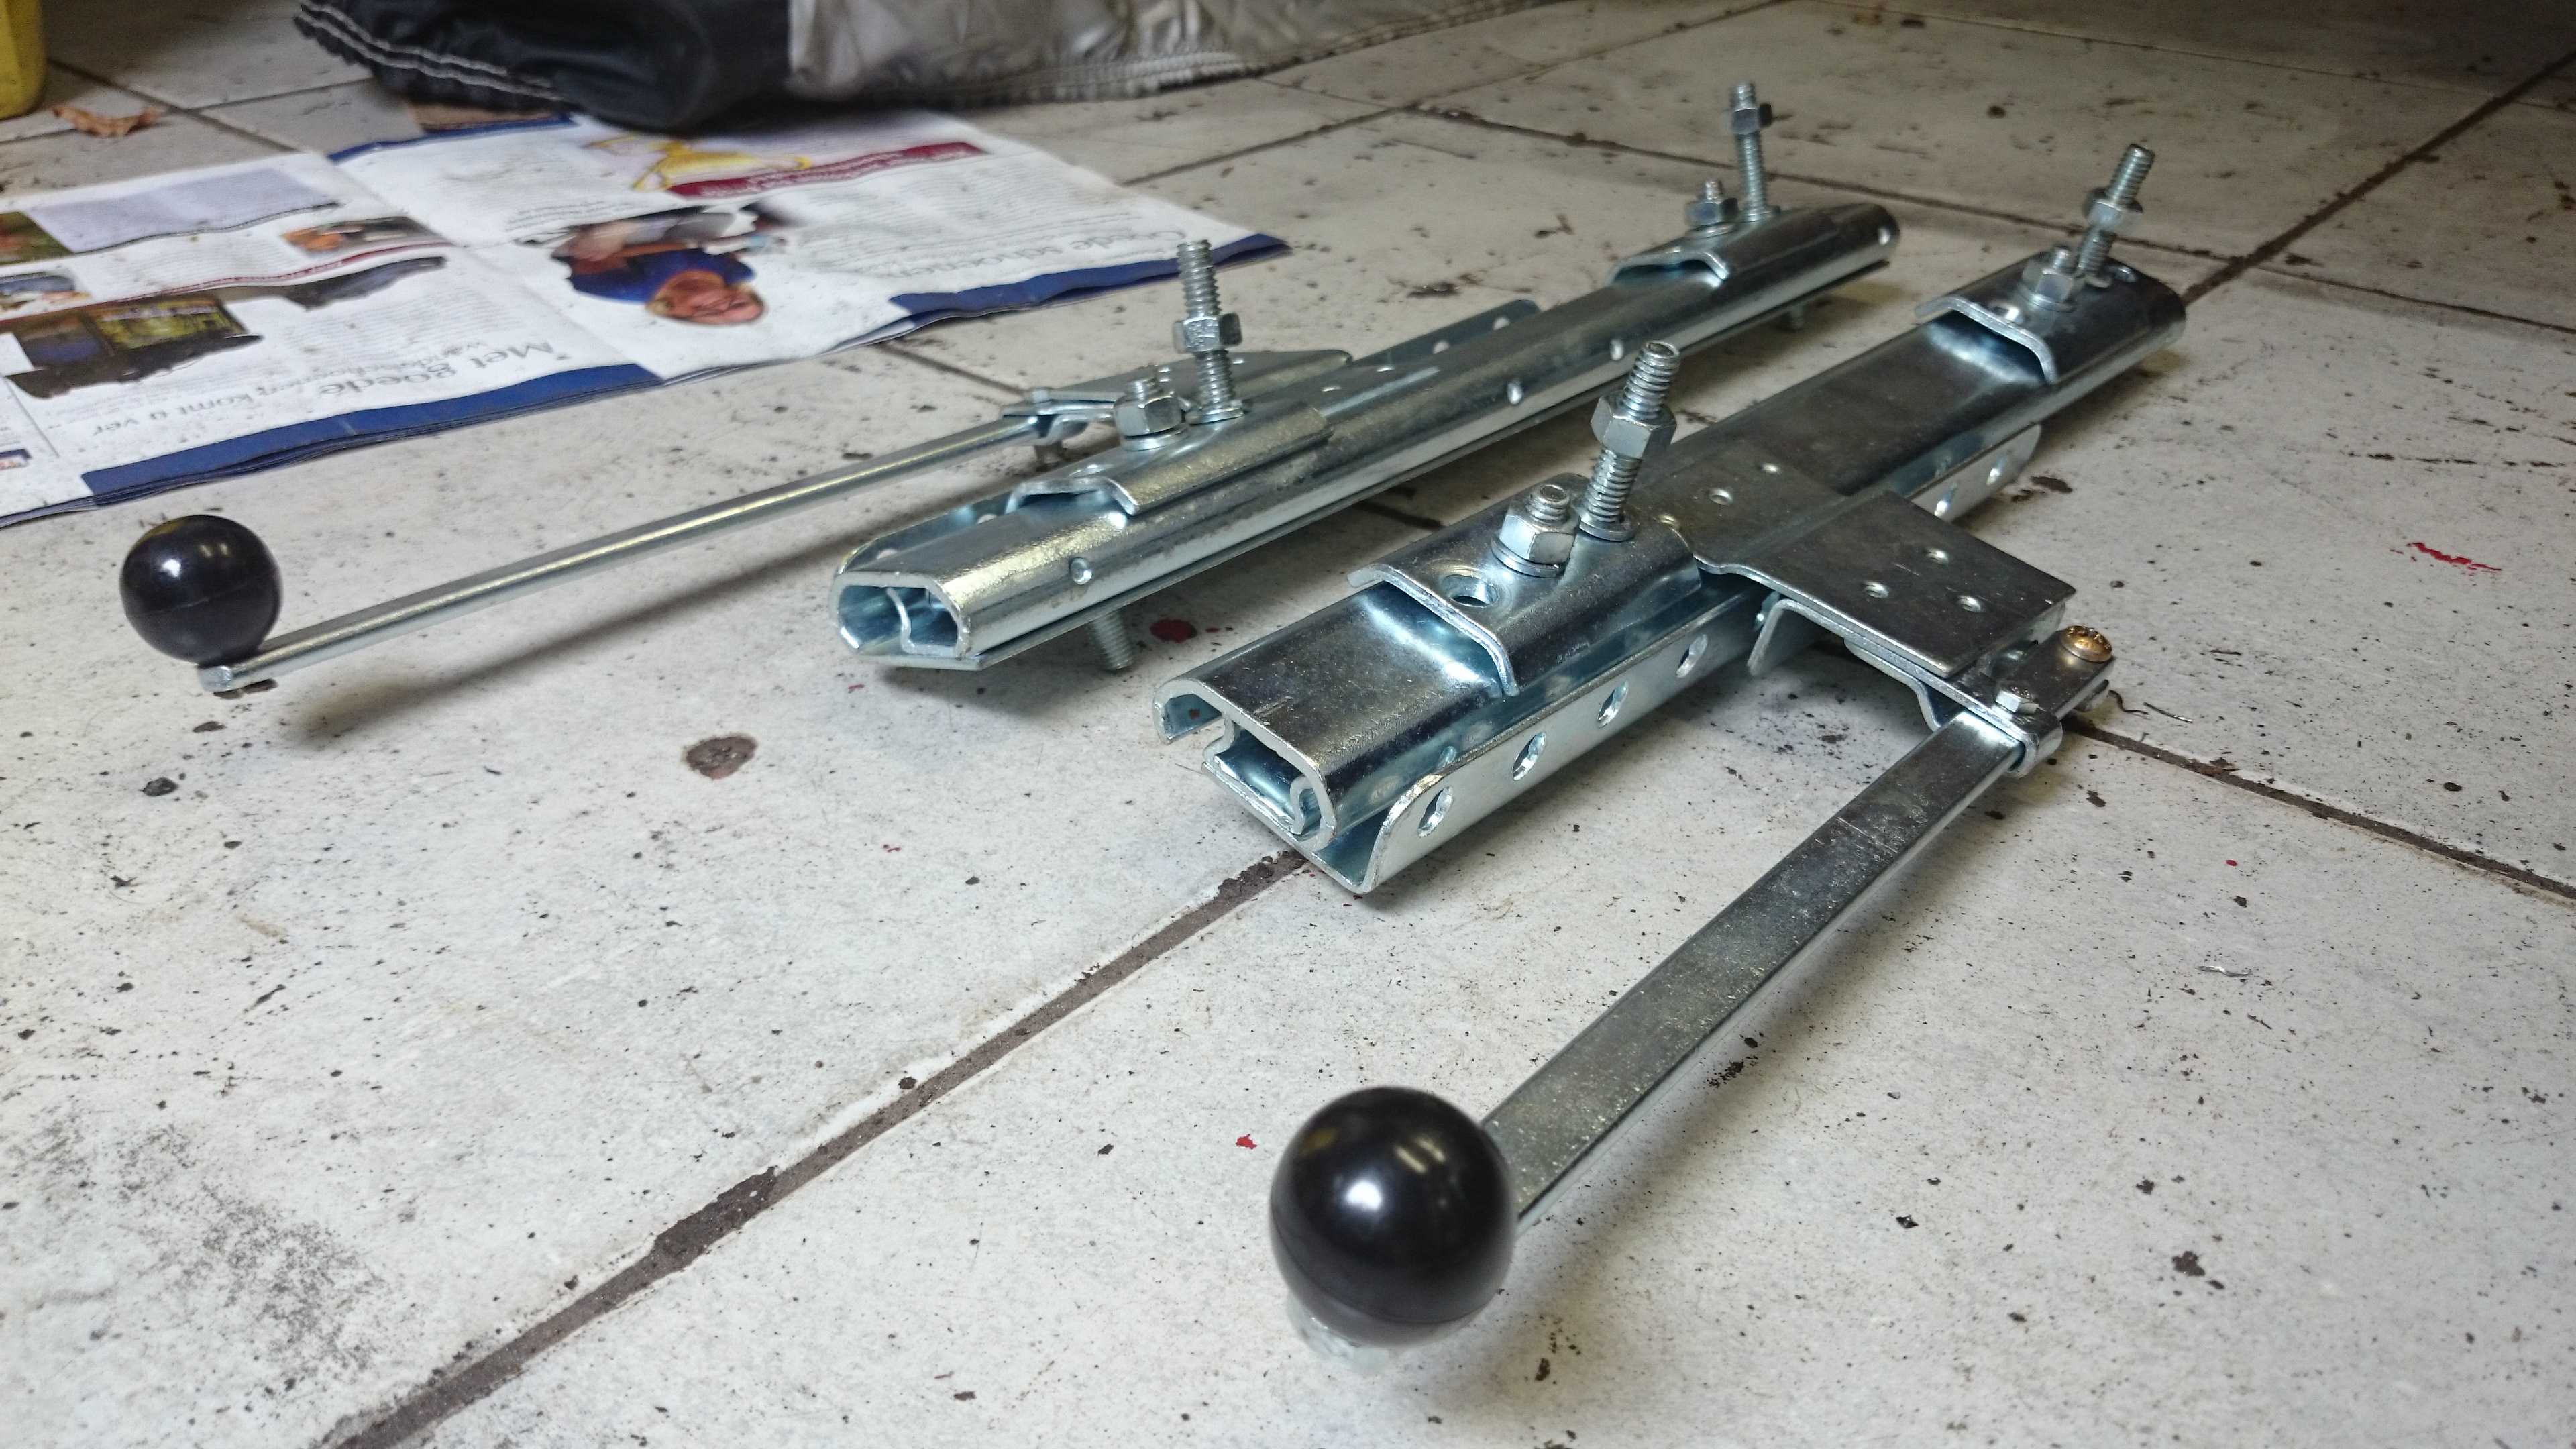
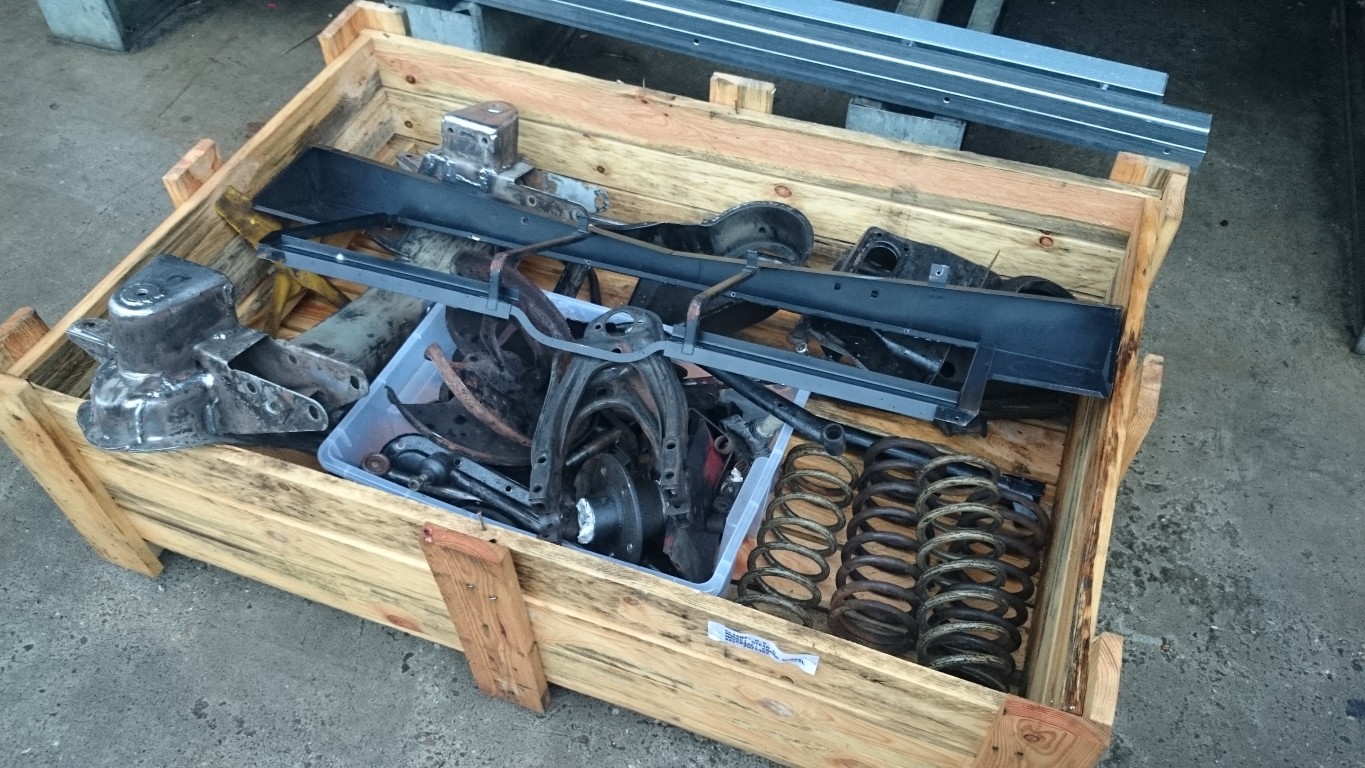
Also all the bolts, nuts and brackets are re-plated. I made pictures of all assemblies previously so now sorting it all.


We repaired the subframe so it is ready for powder coating.
Cut out the damaged top parts of the shock towers
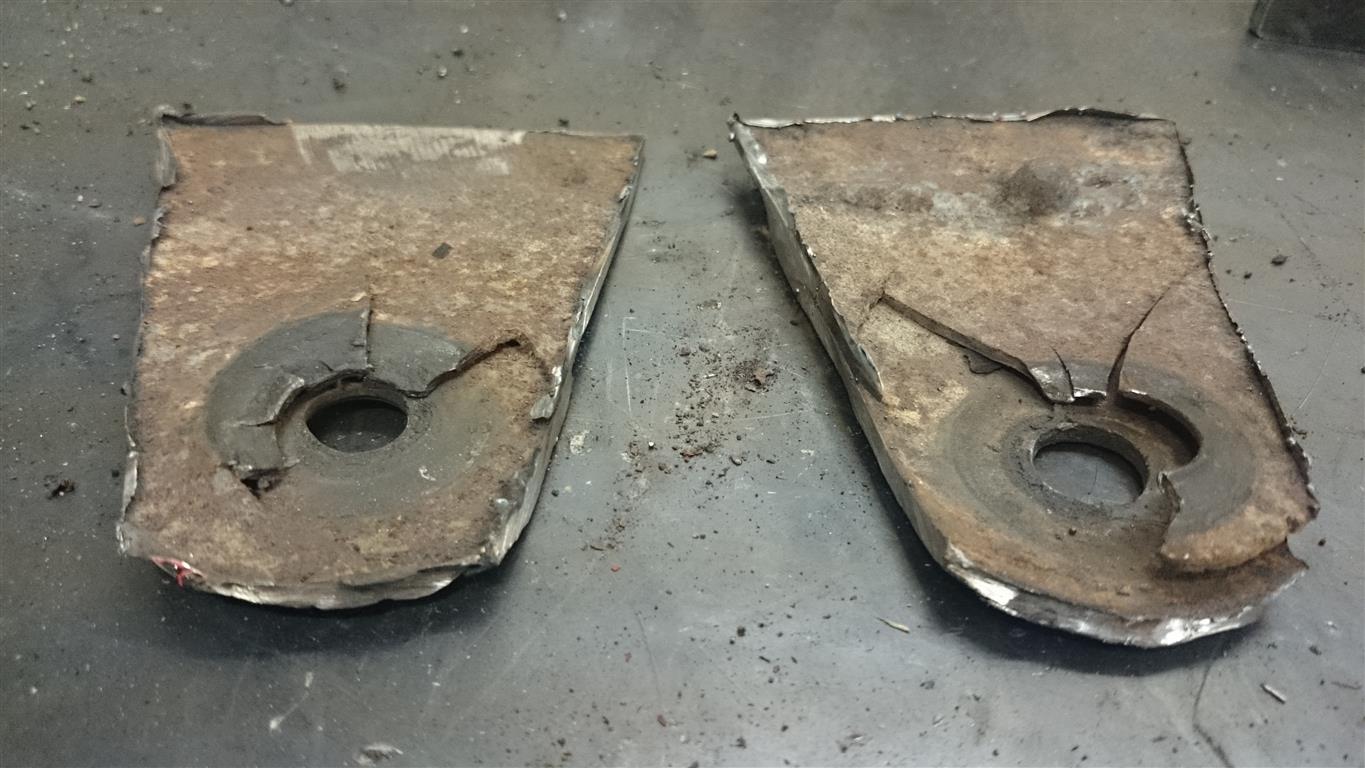


The welds of the lower braces are still ok, no repairing required.


Now that the subframe is ready I dropped off all the parts in need of new paint at the powdercoater (Waayenberg Coatings). Subframe will be coated RAL7040, pulley and cooling fan RAL1004 and the rest just normal black.
I also started sanding down the car, hopefully the painter will be coming over soon so we can discuss a plan of action.