Started cleaning the lower side of the body with a heat blower it comes off oke, but it’s time consuming and messy.
This took about 30 mins, I did some more but still lots to do.

Started cleaning the lower side of the body with a heat blower it comes off oke, but it’s time consuming and messy.
This took about 30 mins, I did some more but still lots to do.
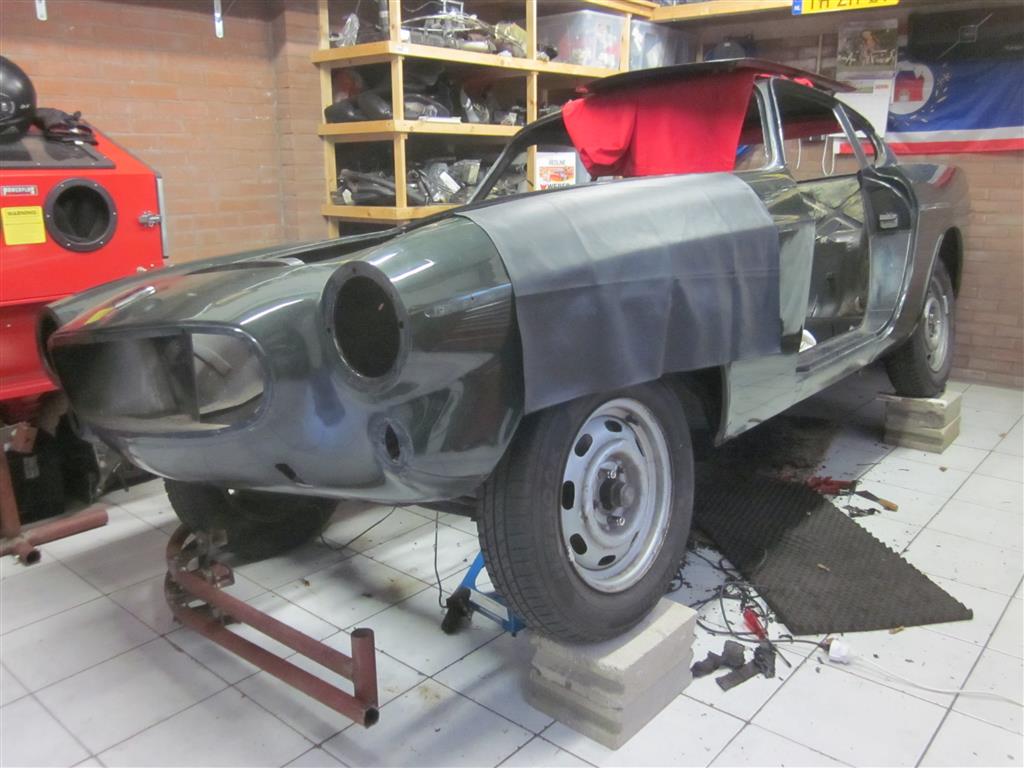
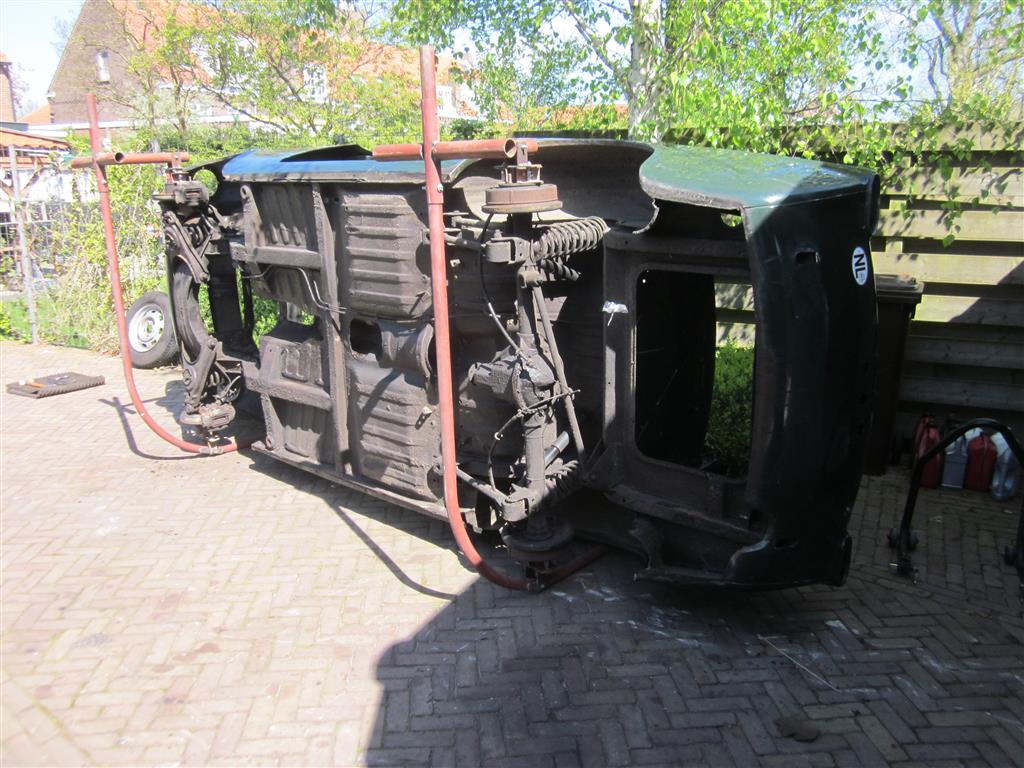
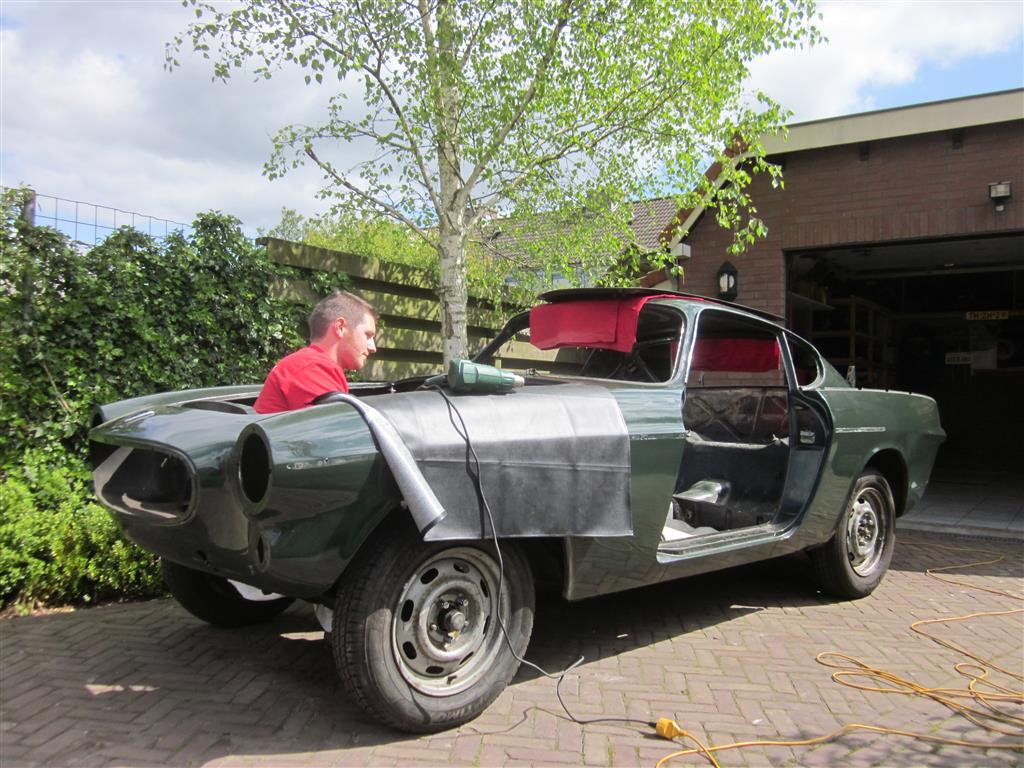
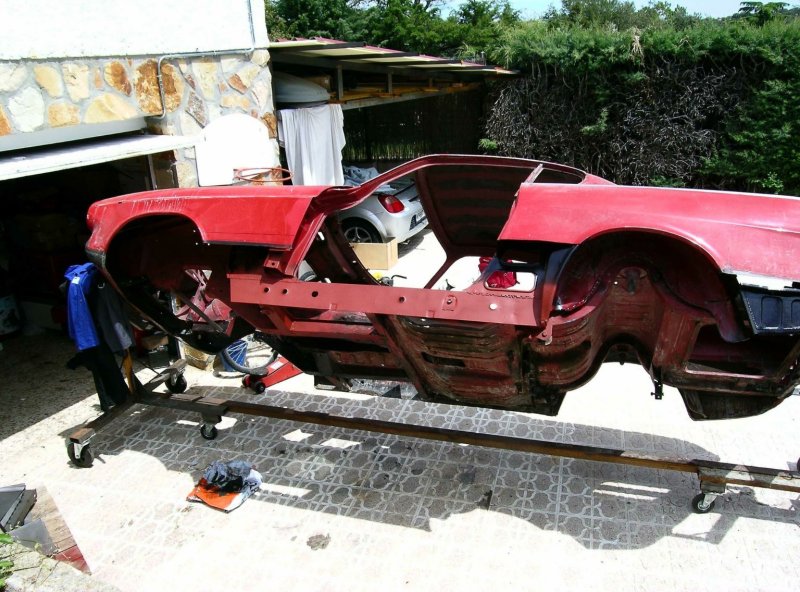
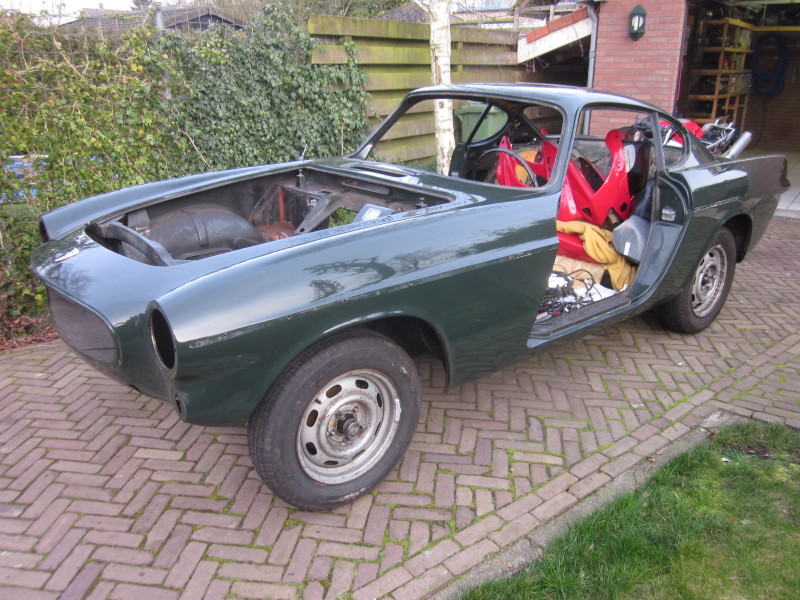
I placed the car in the restoration stand and it works. It´s a very basic rotisserie and it was originally built to fit an Amazon, but a 1800S is almost the same so it was an almost direct fit. The car is now back on its wheels again because the stand needs to be strengthened.
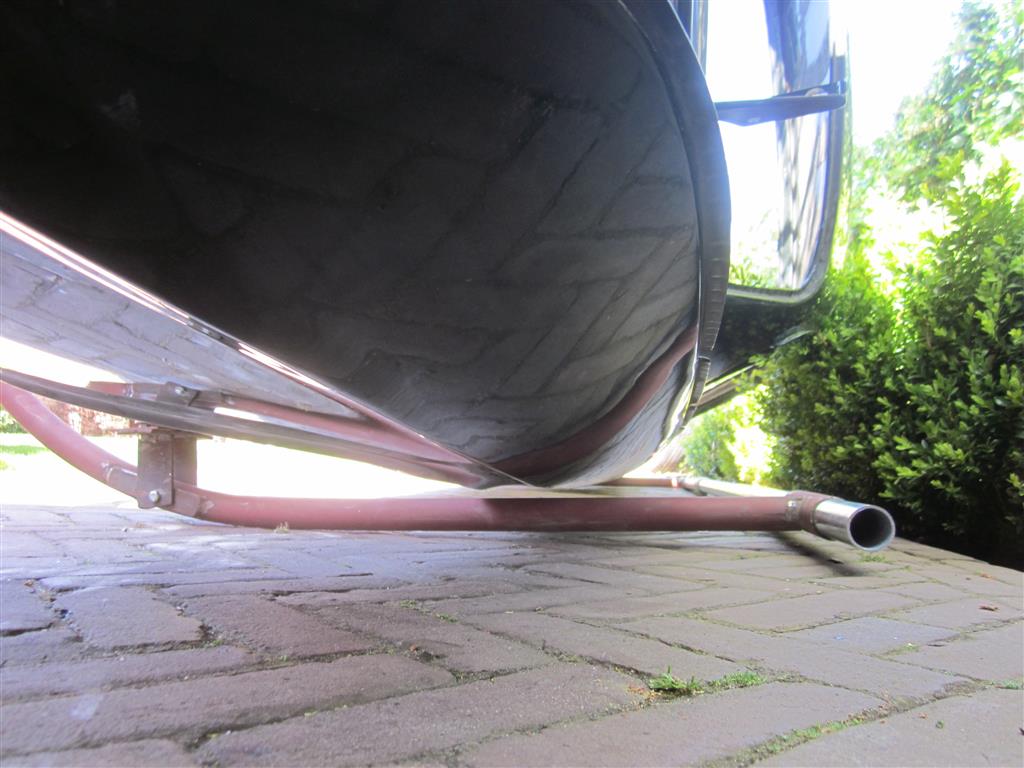
Just enough ground clearance.
I have this sitting in my bookshelf for a long time now and I rediscovered it again. It is a compilation written by one of my favorite (dutch) writers: Martin Bril. Sadly, he died in 2009 which makes it a bit more special. It’s written in Dutch, so this probably won’t be very interesting for international visitors visiting this site.
Martin Bril liked and drove Volvo’s. He wrote some nice columns mentioning these cars over the years and these columns where collected and put together in this book.
Dear Martin, I hope you are still driving you’re Volvo wherever you may be.

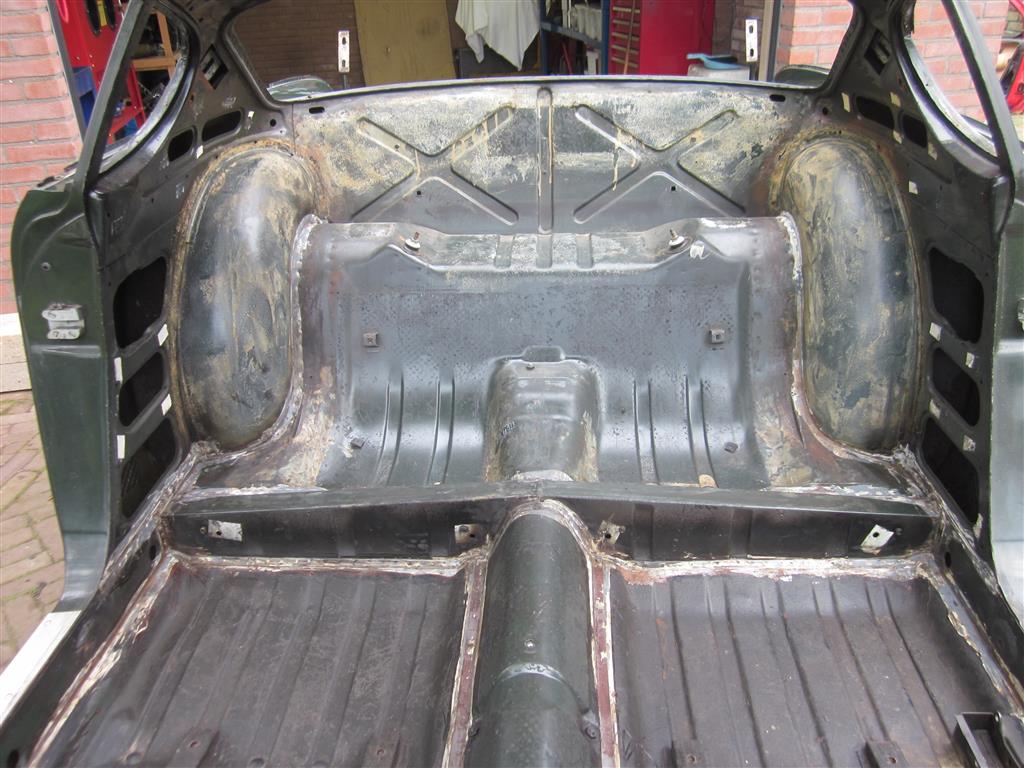
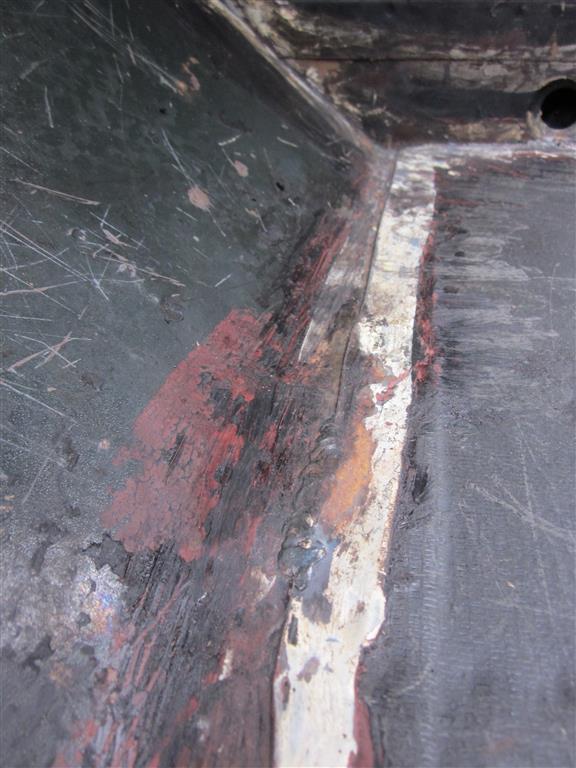
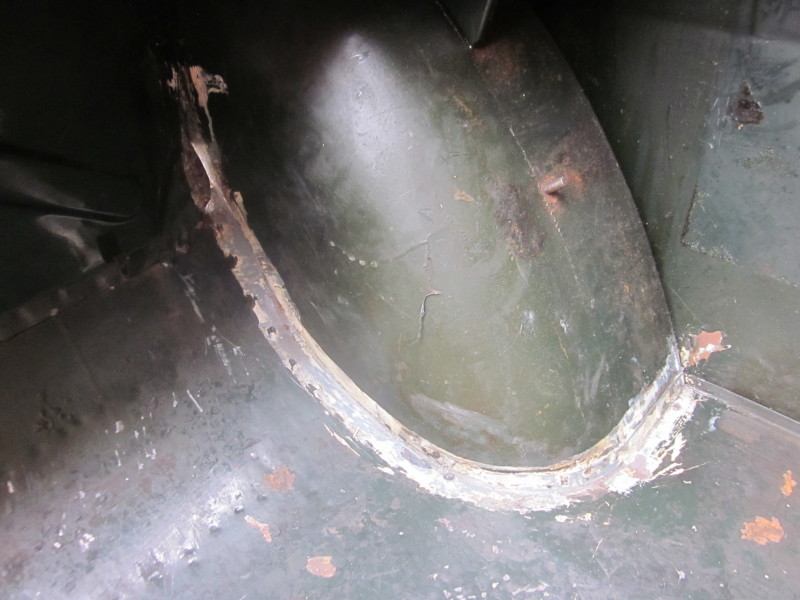
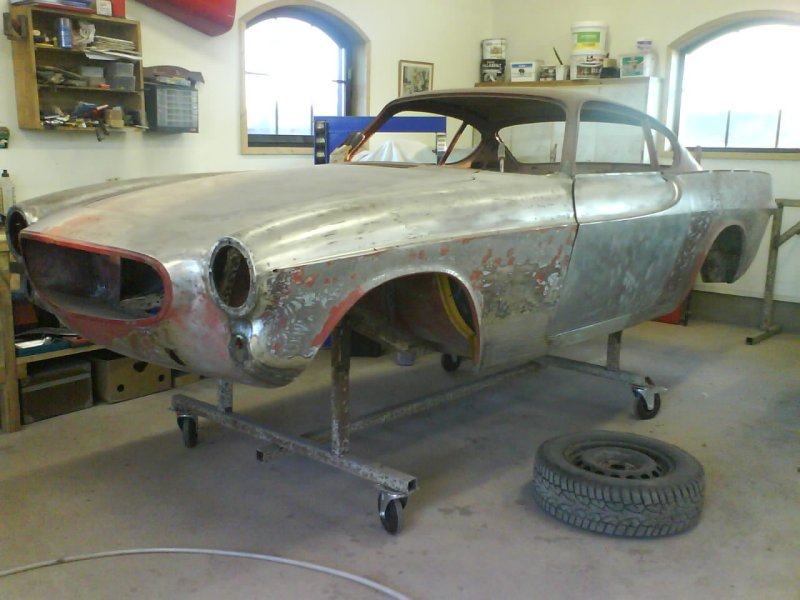
I’m finished with scraping of the seam sealant. And at 2 or 3 places I found a little bit of rust behind the coating.
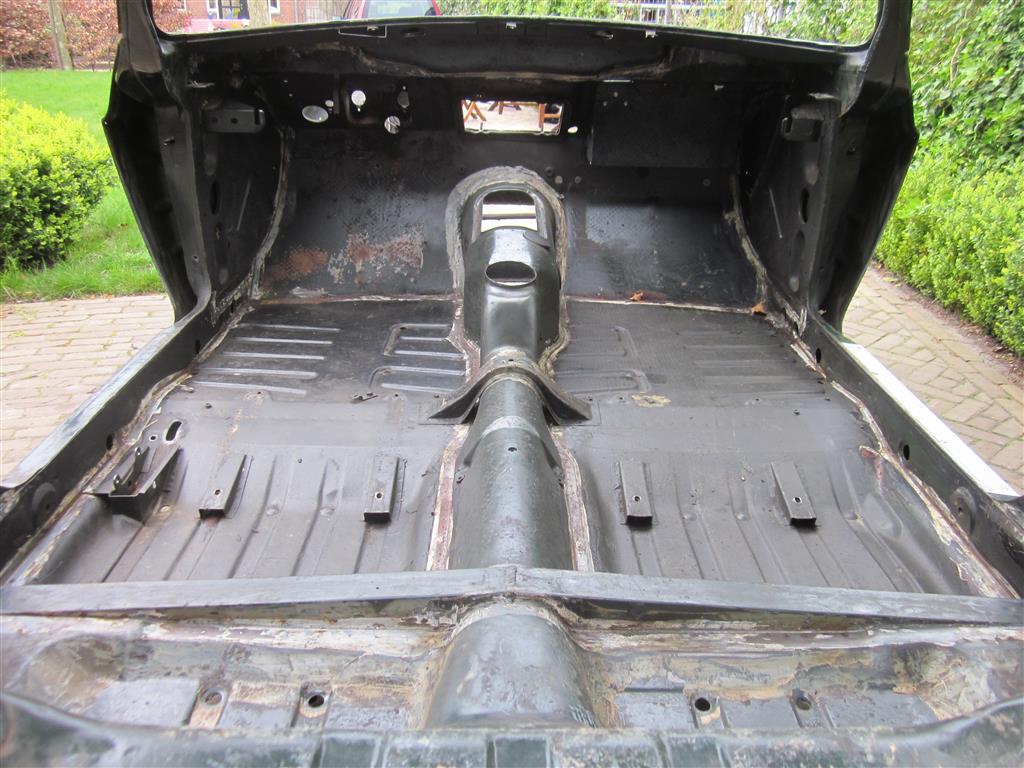
With a small blowtorch and a lot of patience, I got it almost all removed from the interior (trunk, engine bay and interior). I hope it’s good enough for the sand blasting guys. Next is the lower side of the body. The lower side is really going to be alot of work. When the car is painted again I’m not going to use Tectyl again, I want to use something like Dinitrol. This because dinitrol is transparent and this way you can see if there are rusty spots forming over time. With Tectyl you cannot see this. I guess Dinitrol is not as tough as Tectyl, so it provides less protection, but at least you can still see the metal.

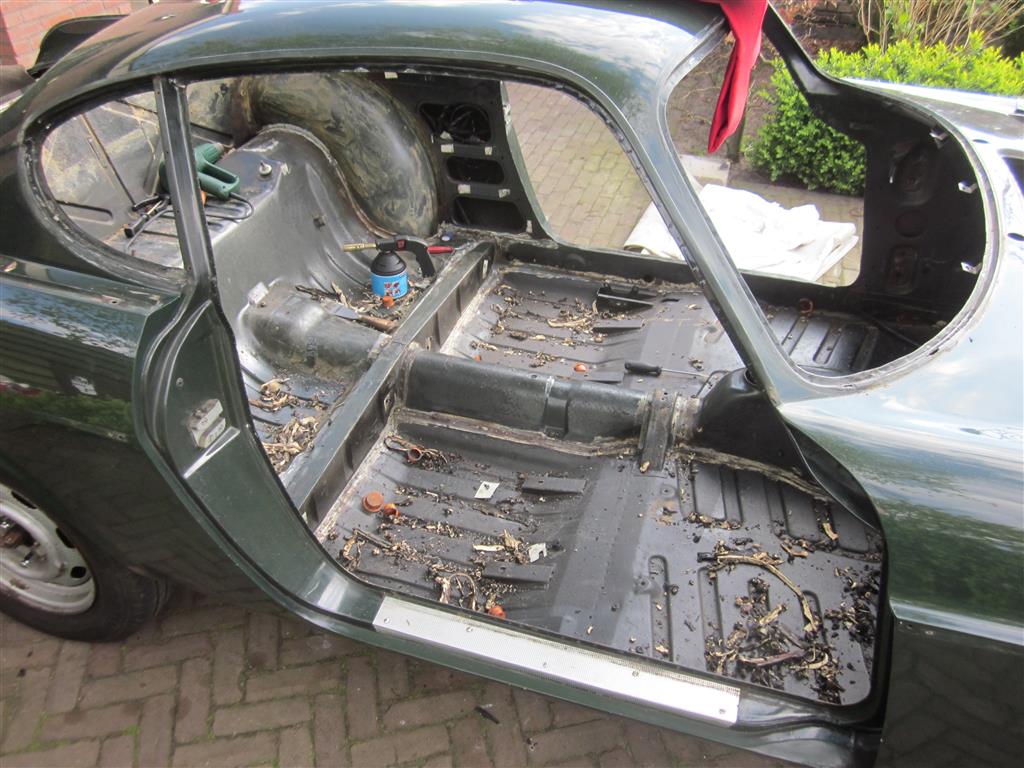
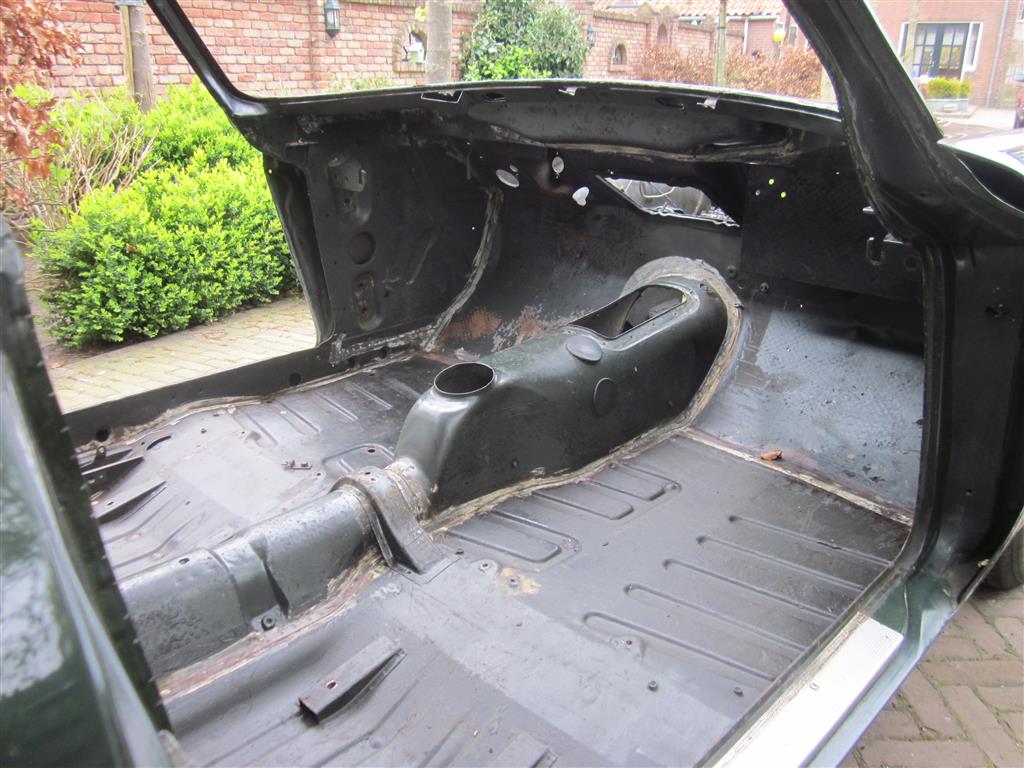
Cleaned up the inside.
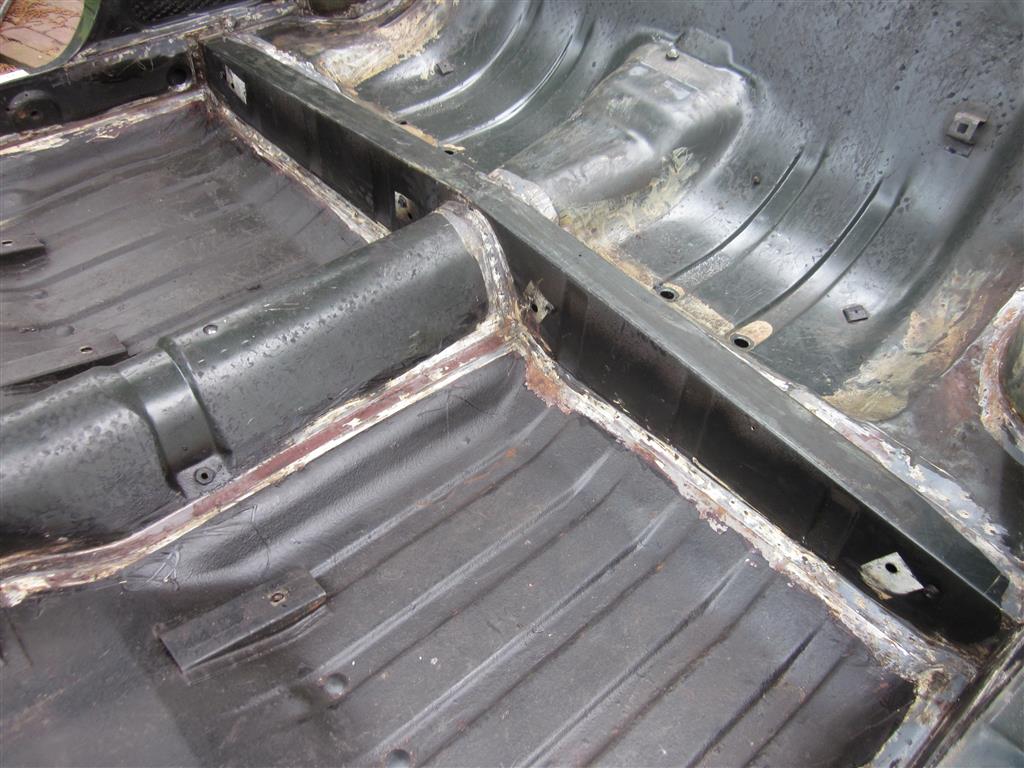
A strange weld at the front. I guess I’m gonna find some more repairs at the lower side of the car, but it would be strange if I wouldn’t find any repairs on a 47 year old car.
I’m getting to know the car inside and out.
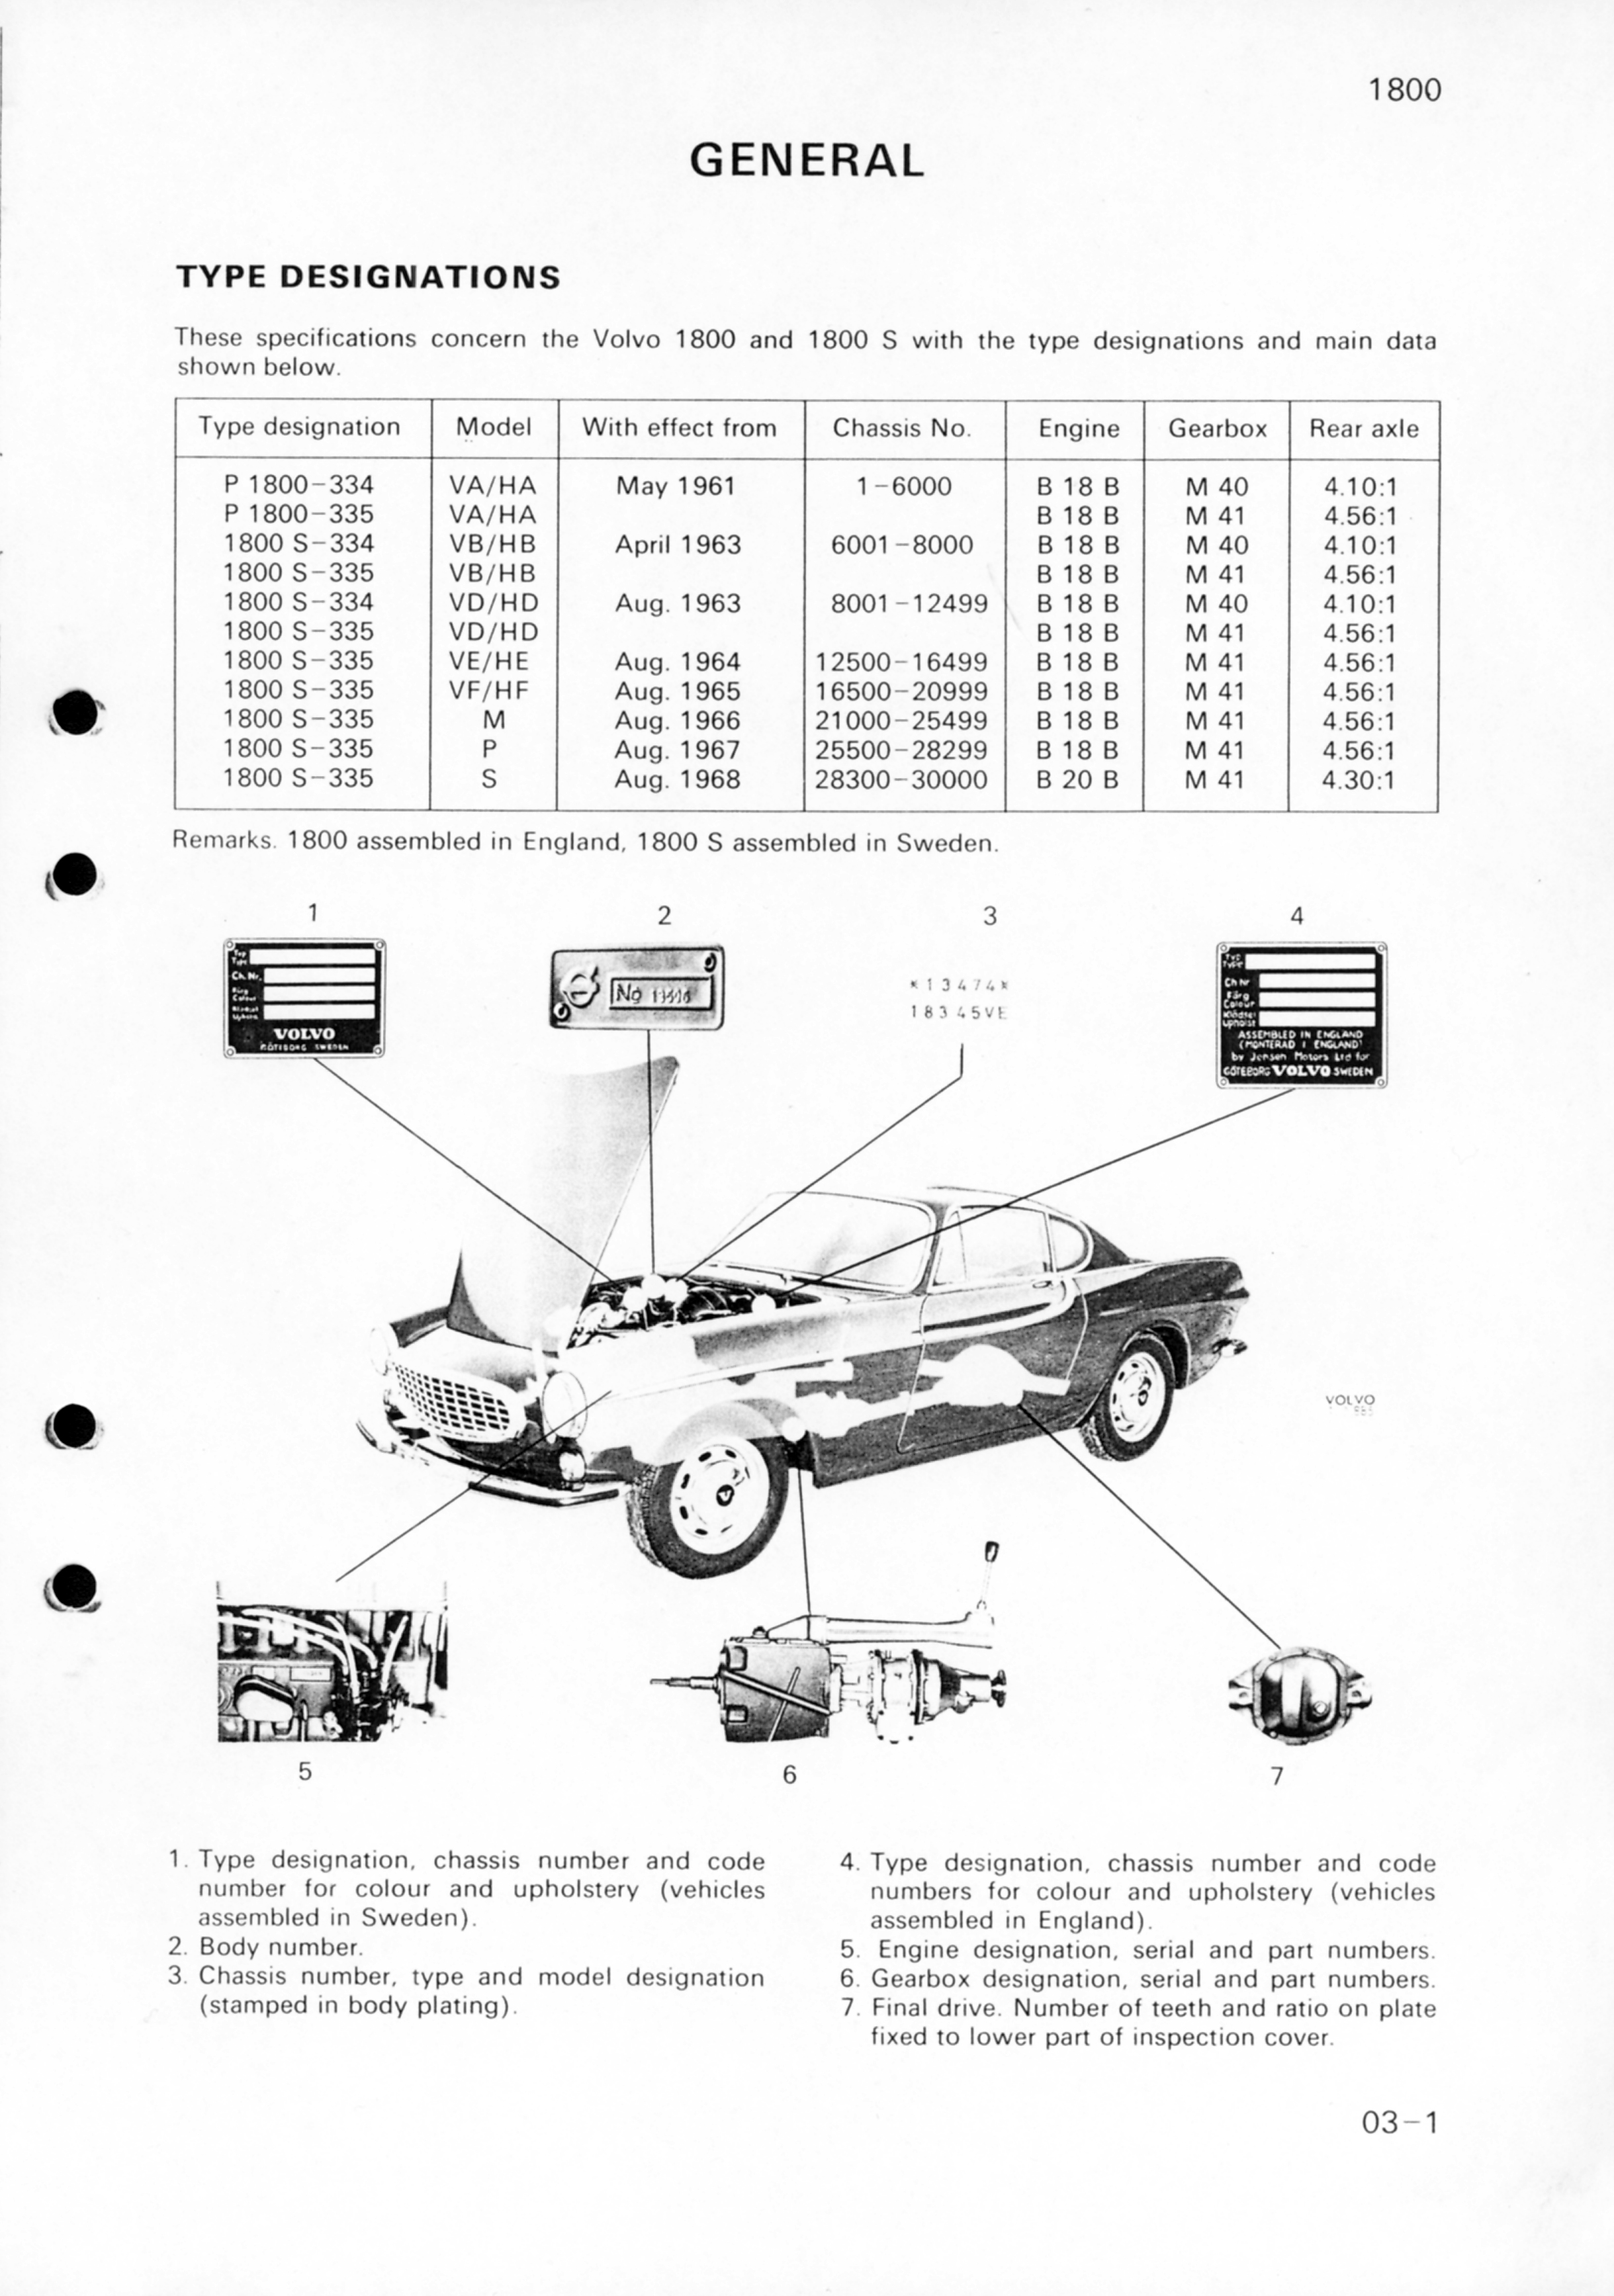
In the process of disassembling the car I found that this 1800S has multiple ID tags, but i’m not sure what they all mean.
VIN number in the RH aft side (ALF = aft looking forward) of the engine bay:
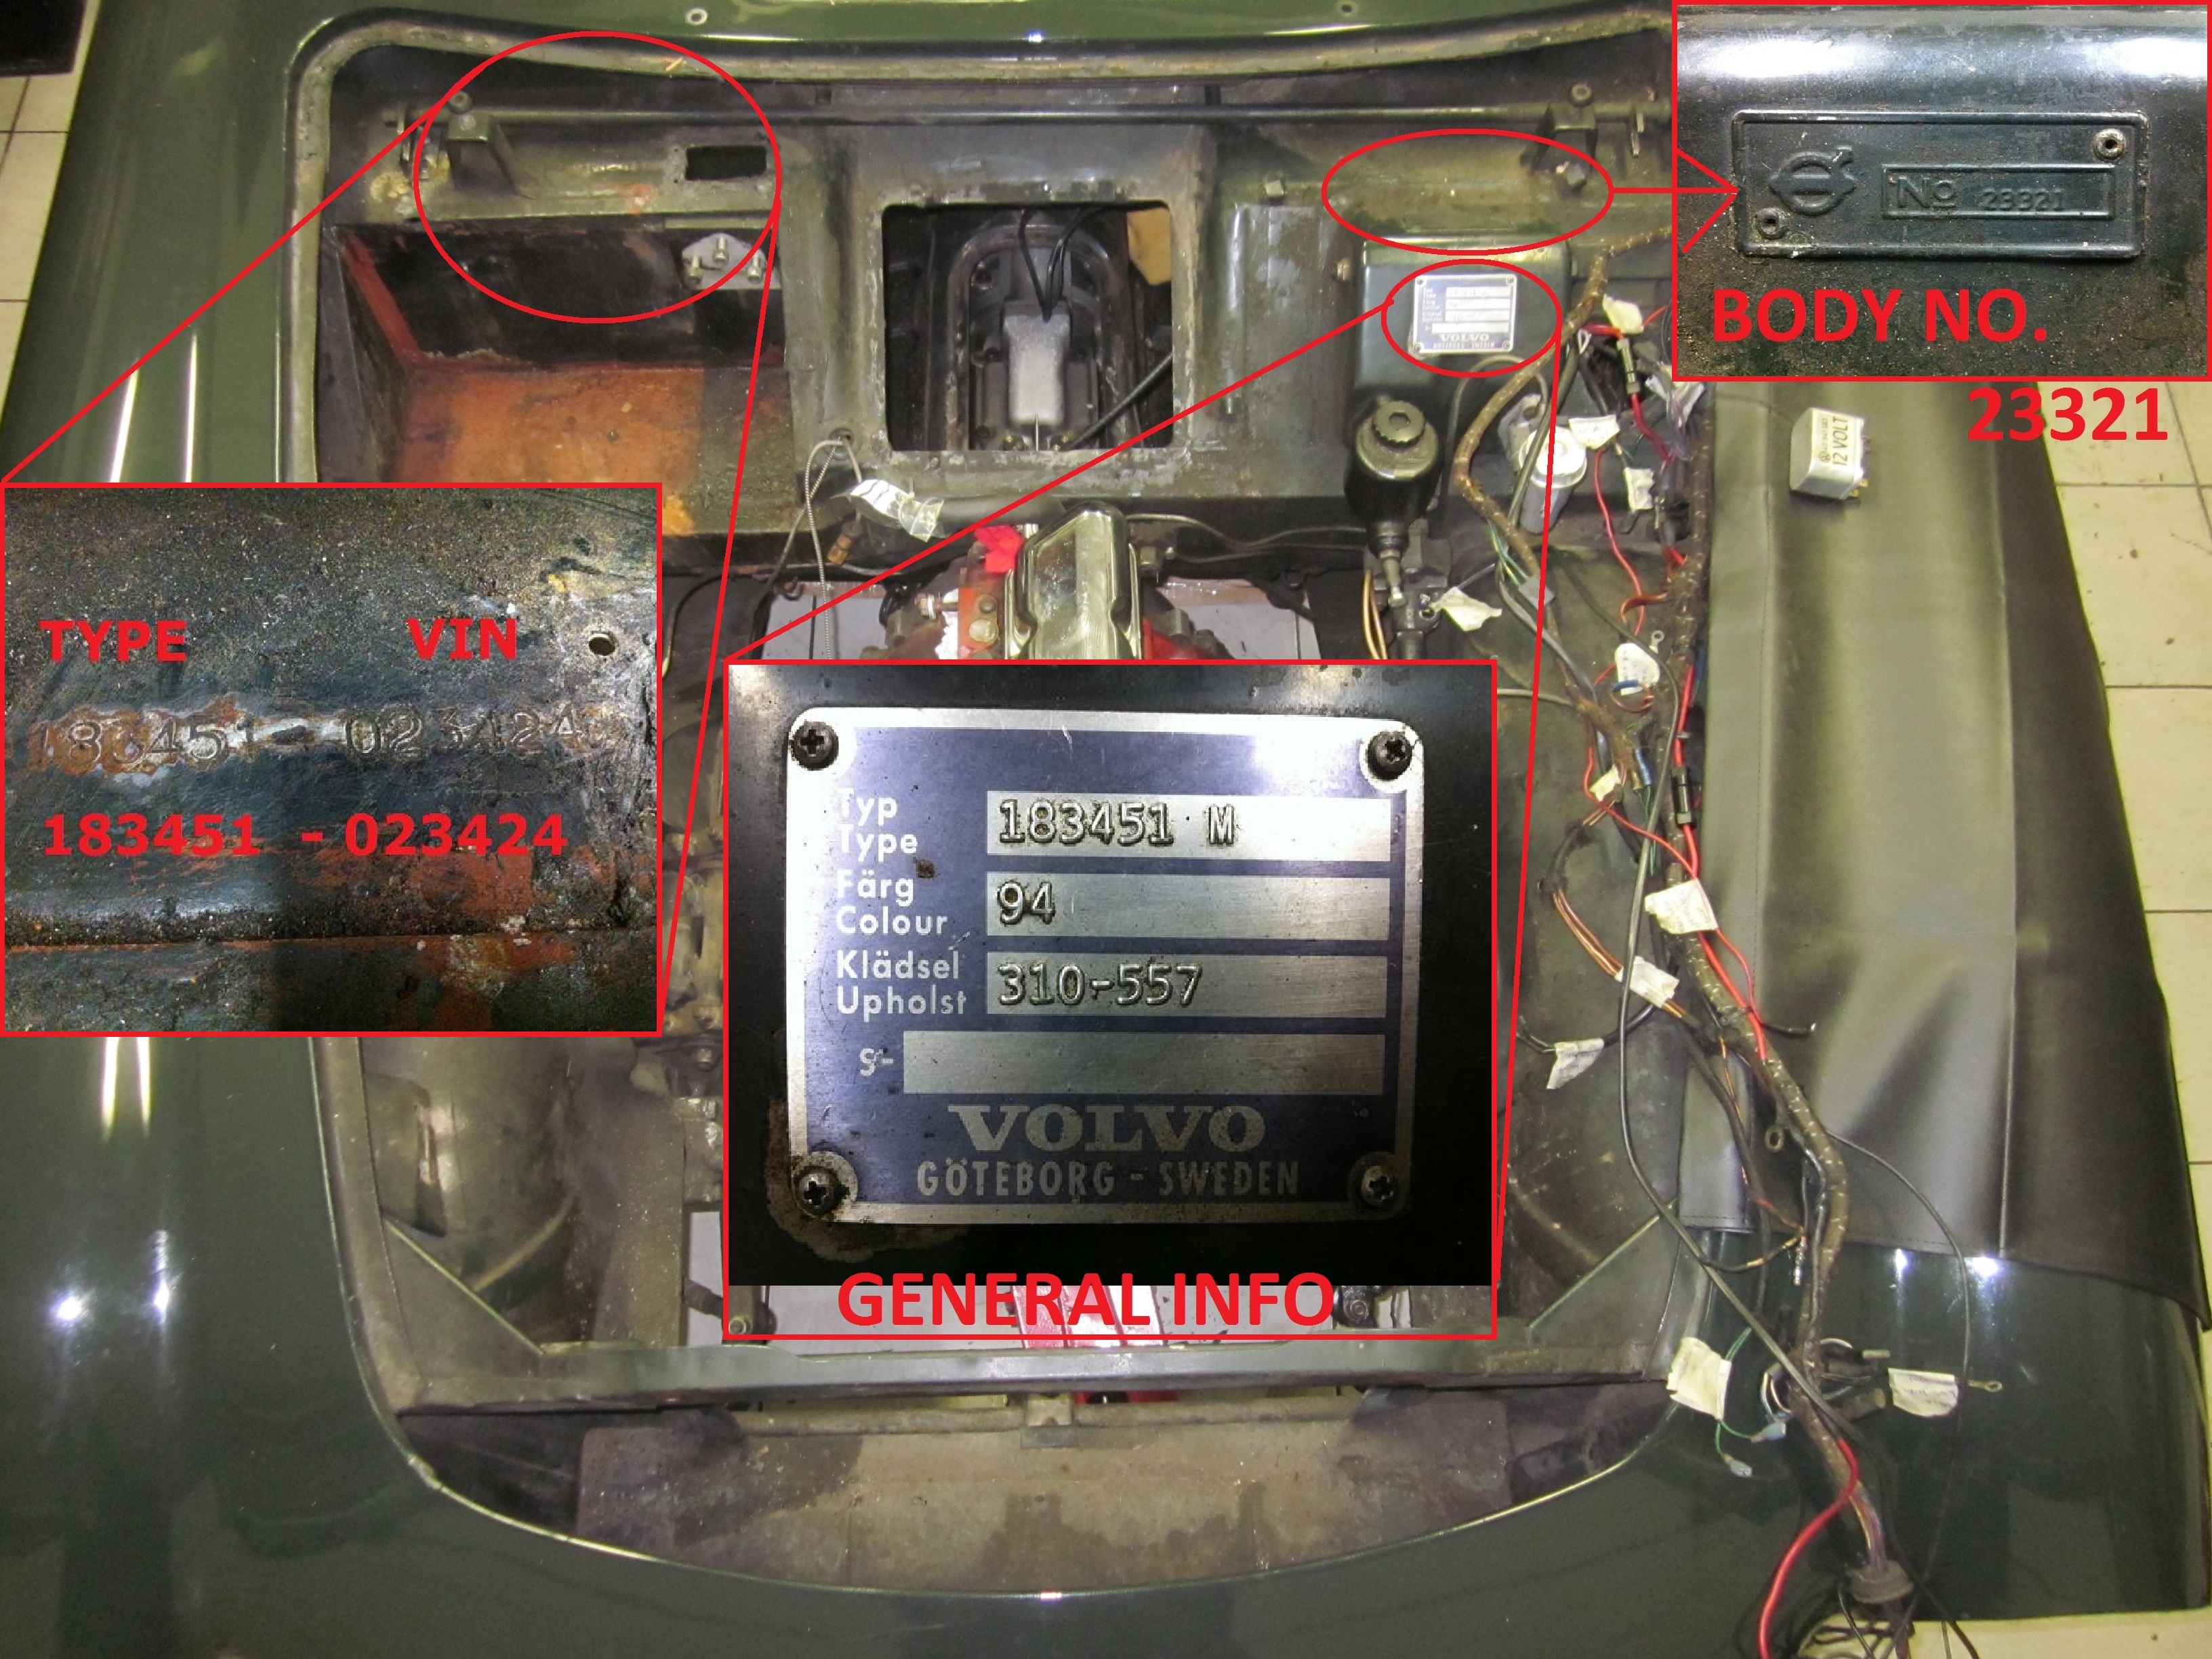

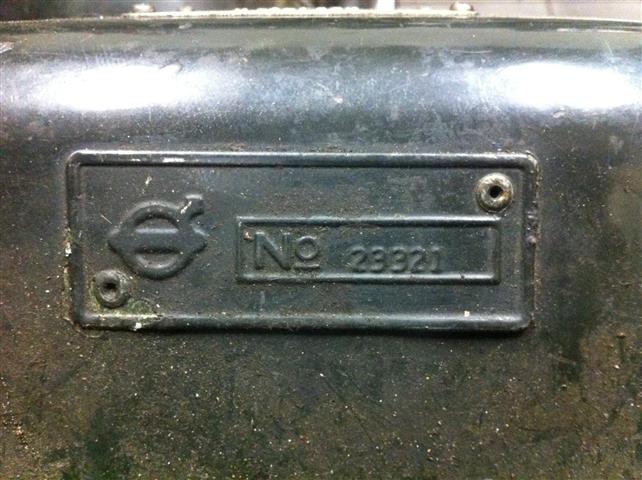
This is the body number. Apparently, this is a manufacture sequence number to help construction of vehicle. Other parts on the car may also have this number written or stamped on the vehicle. But I’m not sure what this means in a practical way. It’s stamped on a plate which is fitted in the LH aft side of the engine bay (see first picture). I’ts almost the same as the VIN number.
ID tag in the LH aft side of the engine bay with info about type, colour and upholstery (colour of seats, carpet etc.).

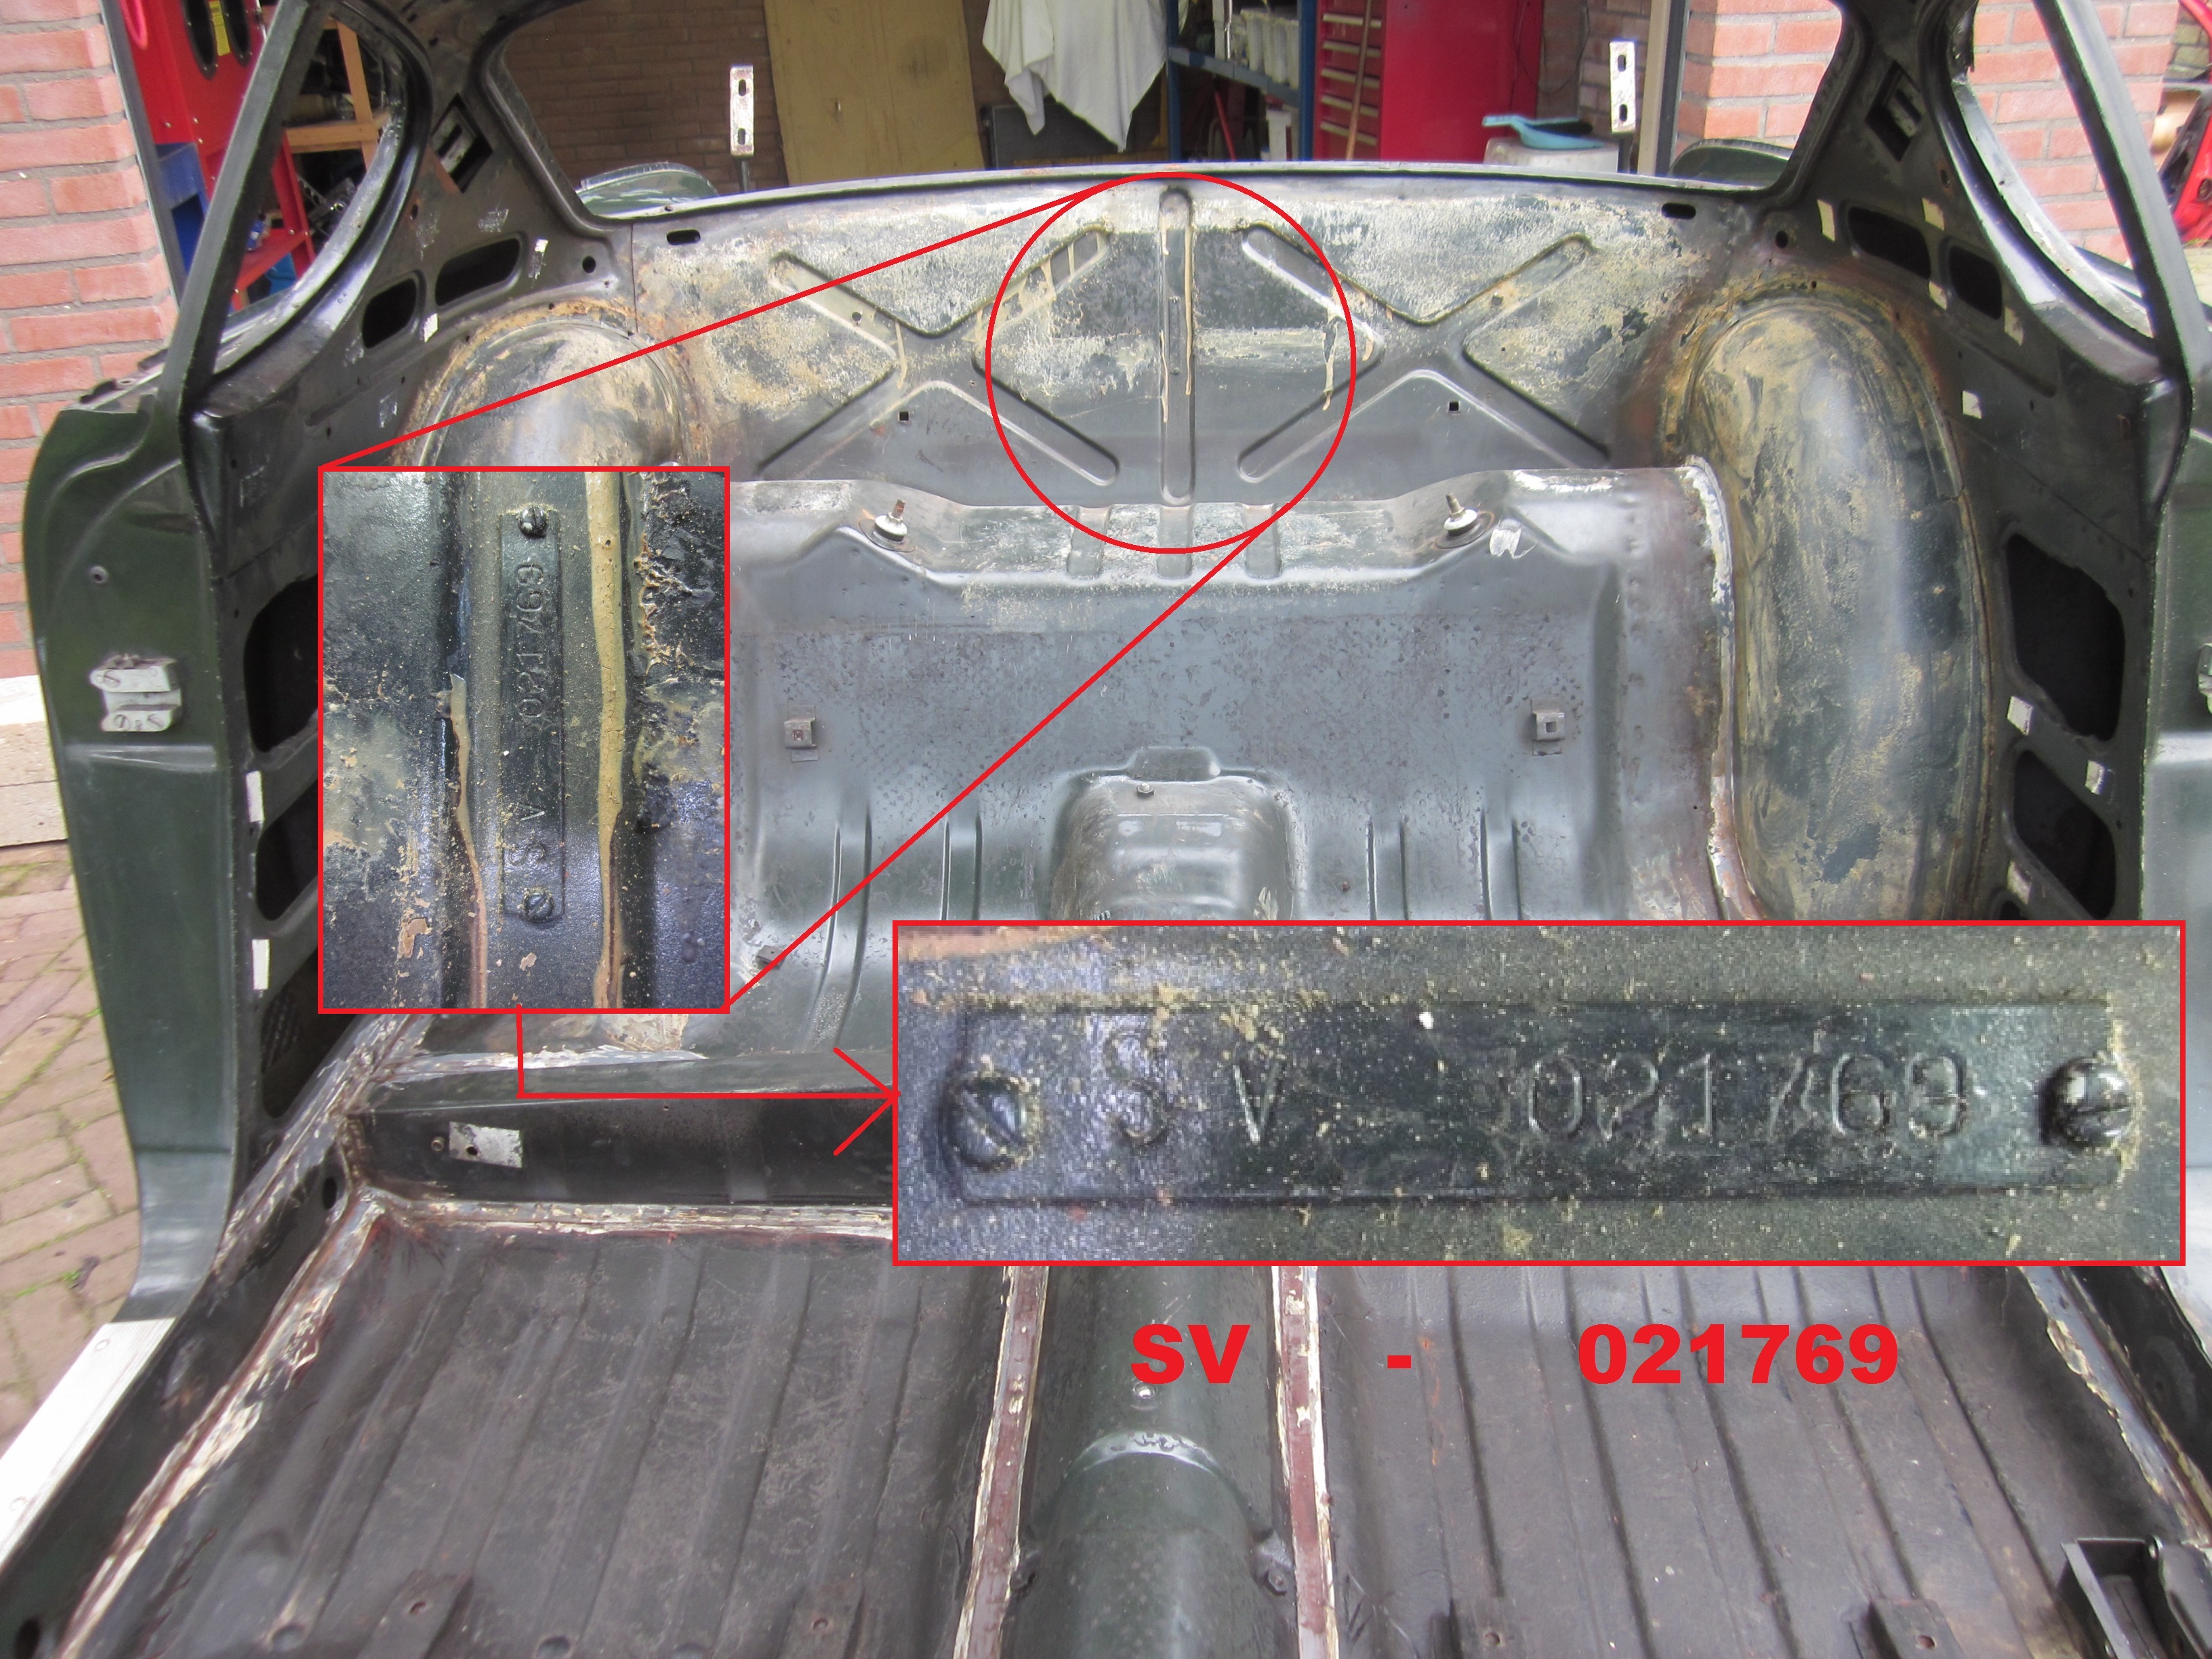
I also found this tag which is fitted behind the backseat, but I have no idea what the number, SV021769, means. Again in kind of looks like a VIN number, but I have no idea what the relation with this number to the actual VIN number of the car would be. It’s also not mentioned in the image with the ID tags below.
I had sent an email to Volvo Sweden to check if they had more info about my car, and today I got a reaction:
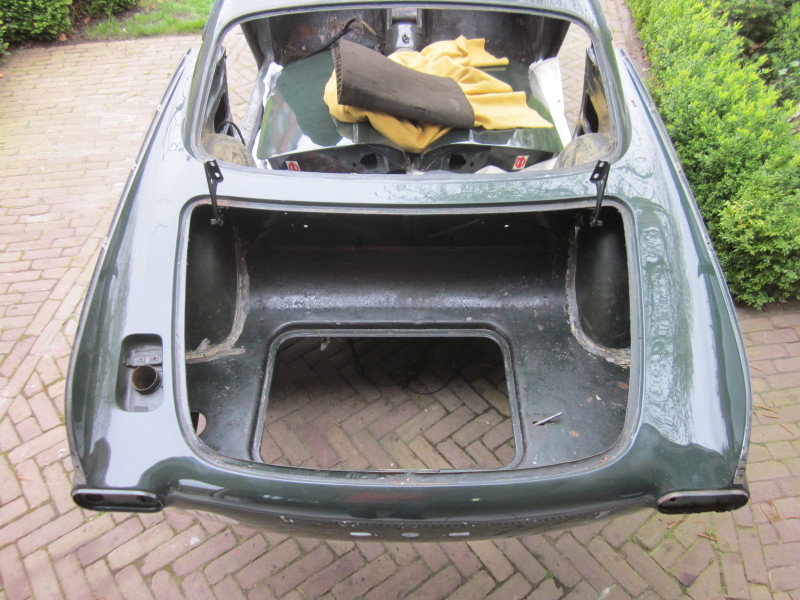
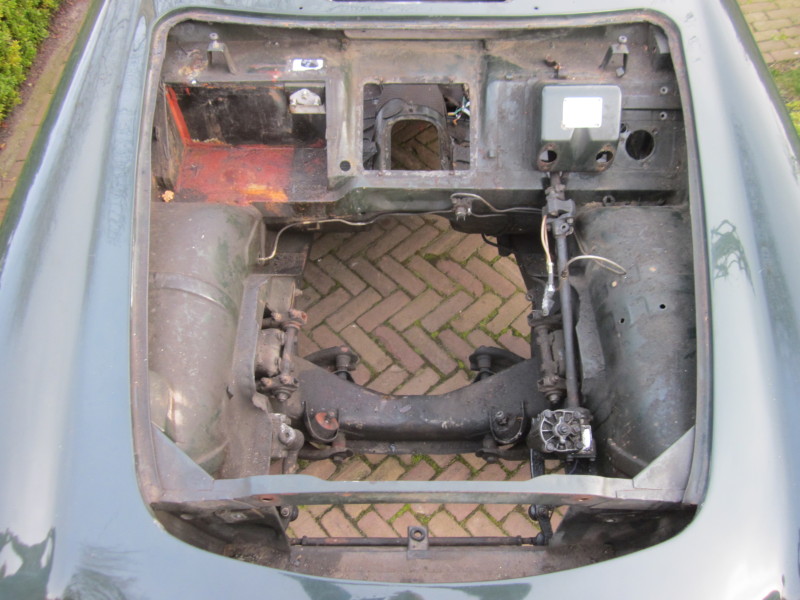
Everything is removed from the interior, so finally the real fun work can begin… Removing all the glue, adhesives, sealant, isolation panels, dirt etc etc. Especially the sealant at the seams is really difficult. But working with plastic scrapers, a fire torch and lots of patience does the job. The interior is almost done, just some more sealant at the seams has to be removed.

When the interior is finished, I can start with the underside of the car. This will take the most work because underneath the car is completely covered in a 1/2 cm thick layer of tectyl. For this work I have a restoration stand, kinda like as in the image below. It is fitted on the wheel hubs, so the frond and aft suspensions cannot be removed from the car.
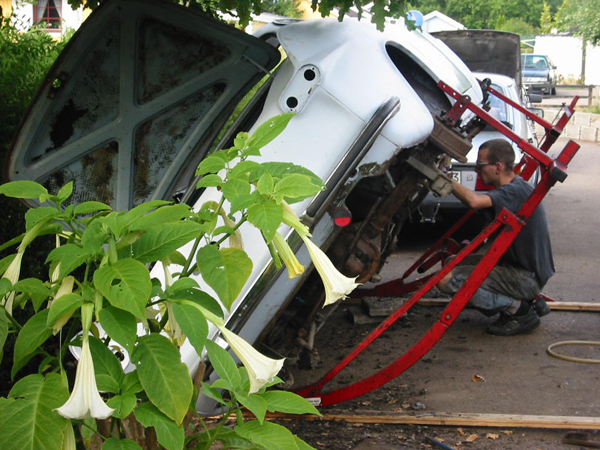
This would even be better, but it would not fit in my garage:
I’m going to fabricage something like this so I can easily move the car:
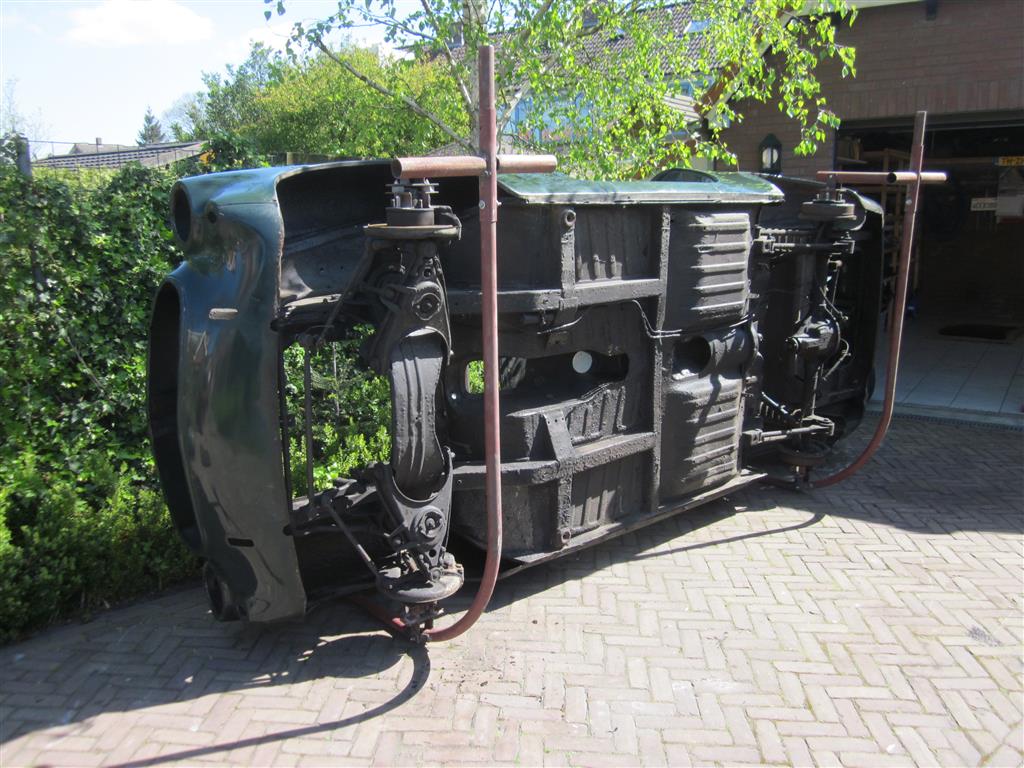
Or I could just do it without and throw it on its side like this.. 😉

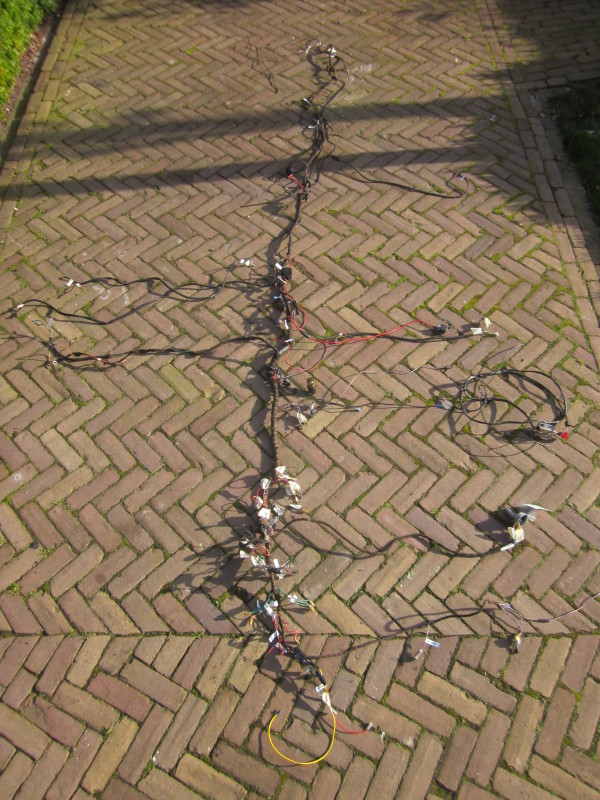
I removed the wire loom from the car and it is completely labeled now. Now I have to search for the correct wires, connectors etc etc. I’ve also removed some of the last parts so the car is almost completely empty now.

I did some extensive cleaning of the engine with solvent and a steel wire brush, quite a messy job.
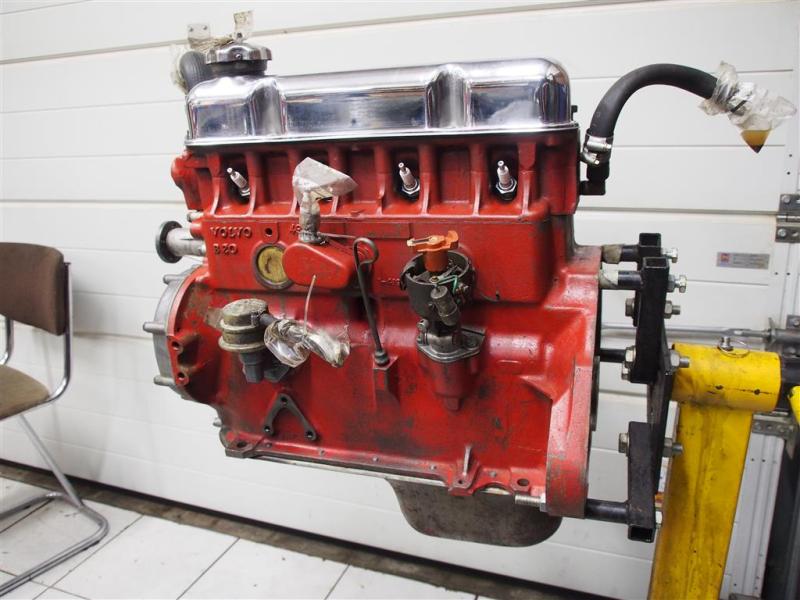
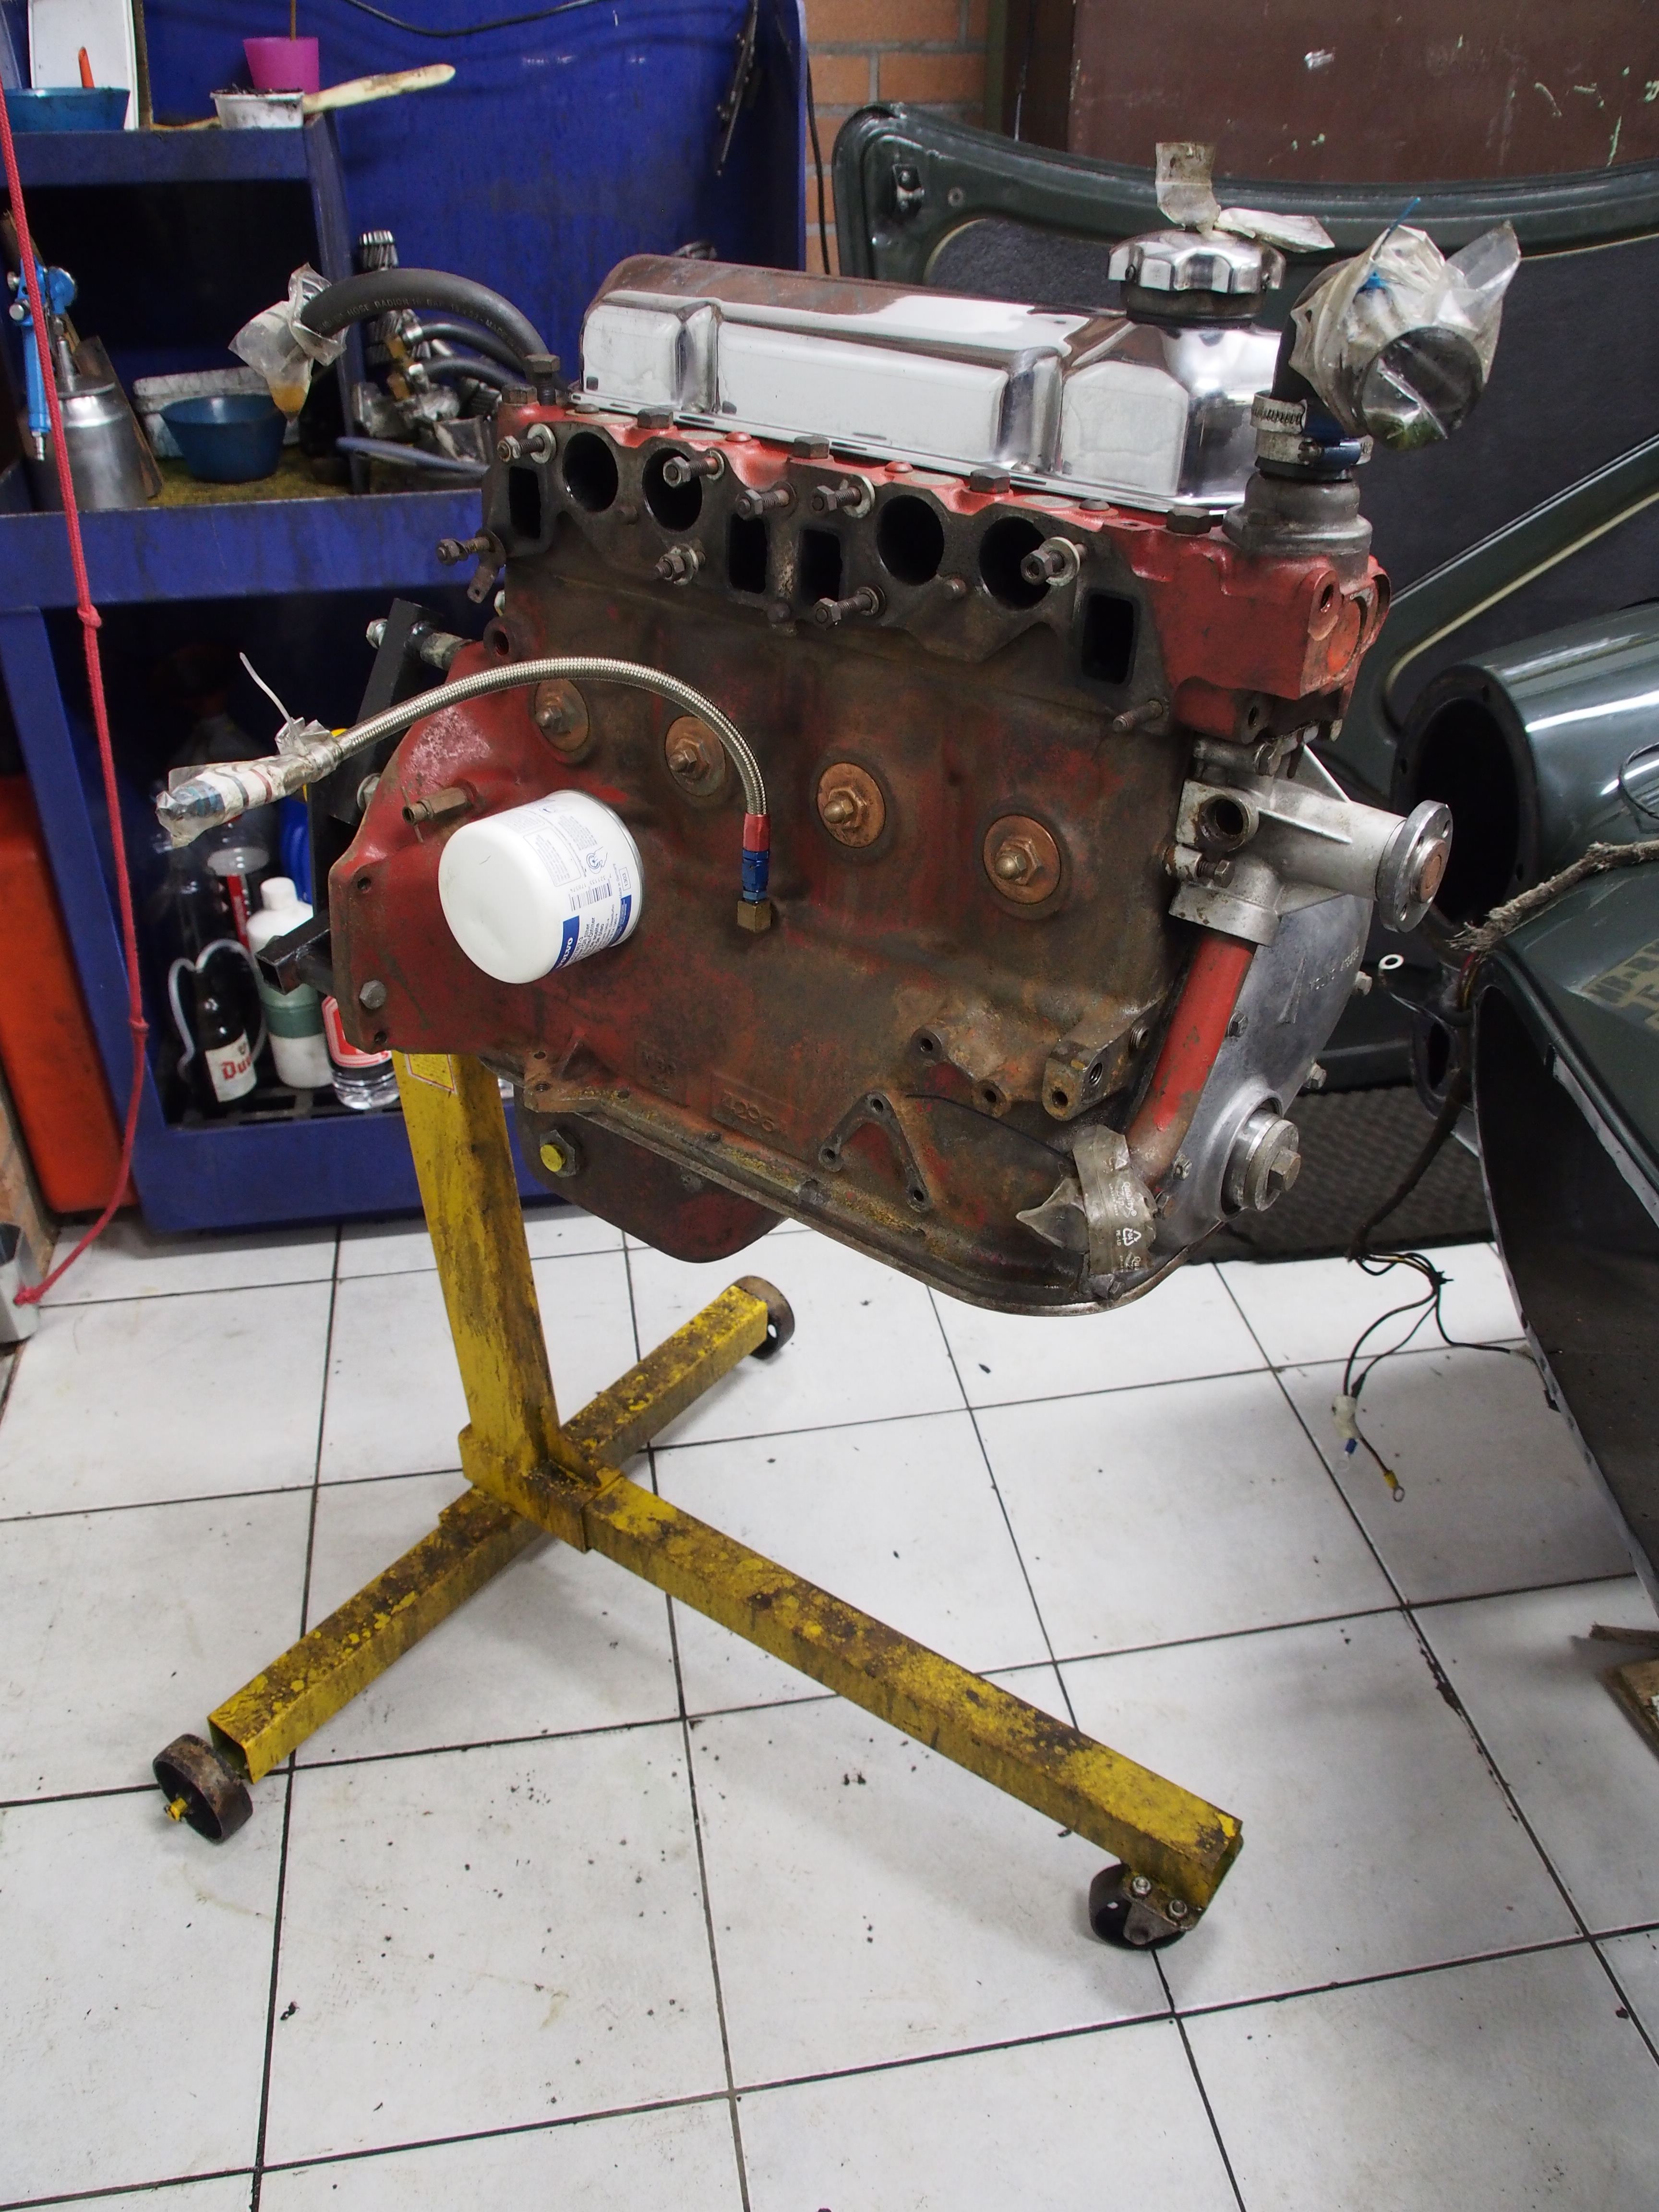
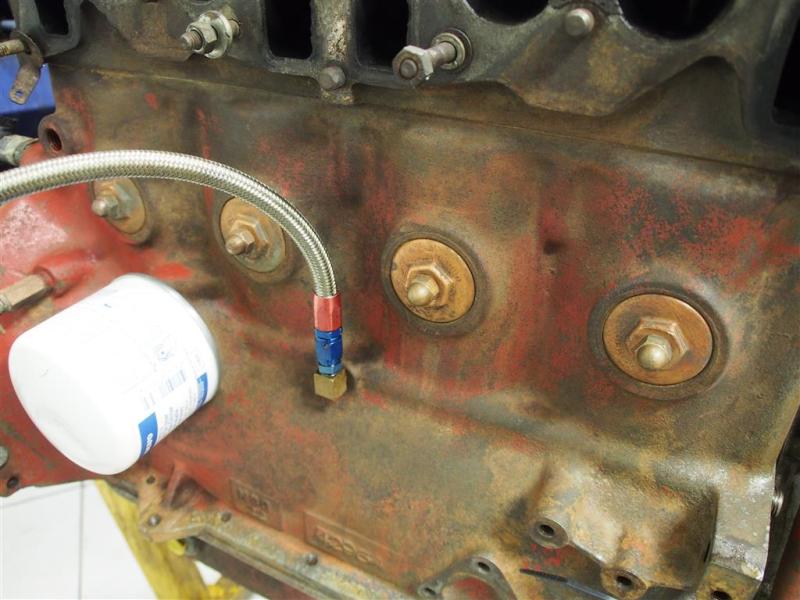
These freeze plugs don’t look very original, I have never seen these kind of plugs. I wonder what the function of the nuts in the plugs are.
And I got a very nice present today.
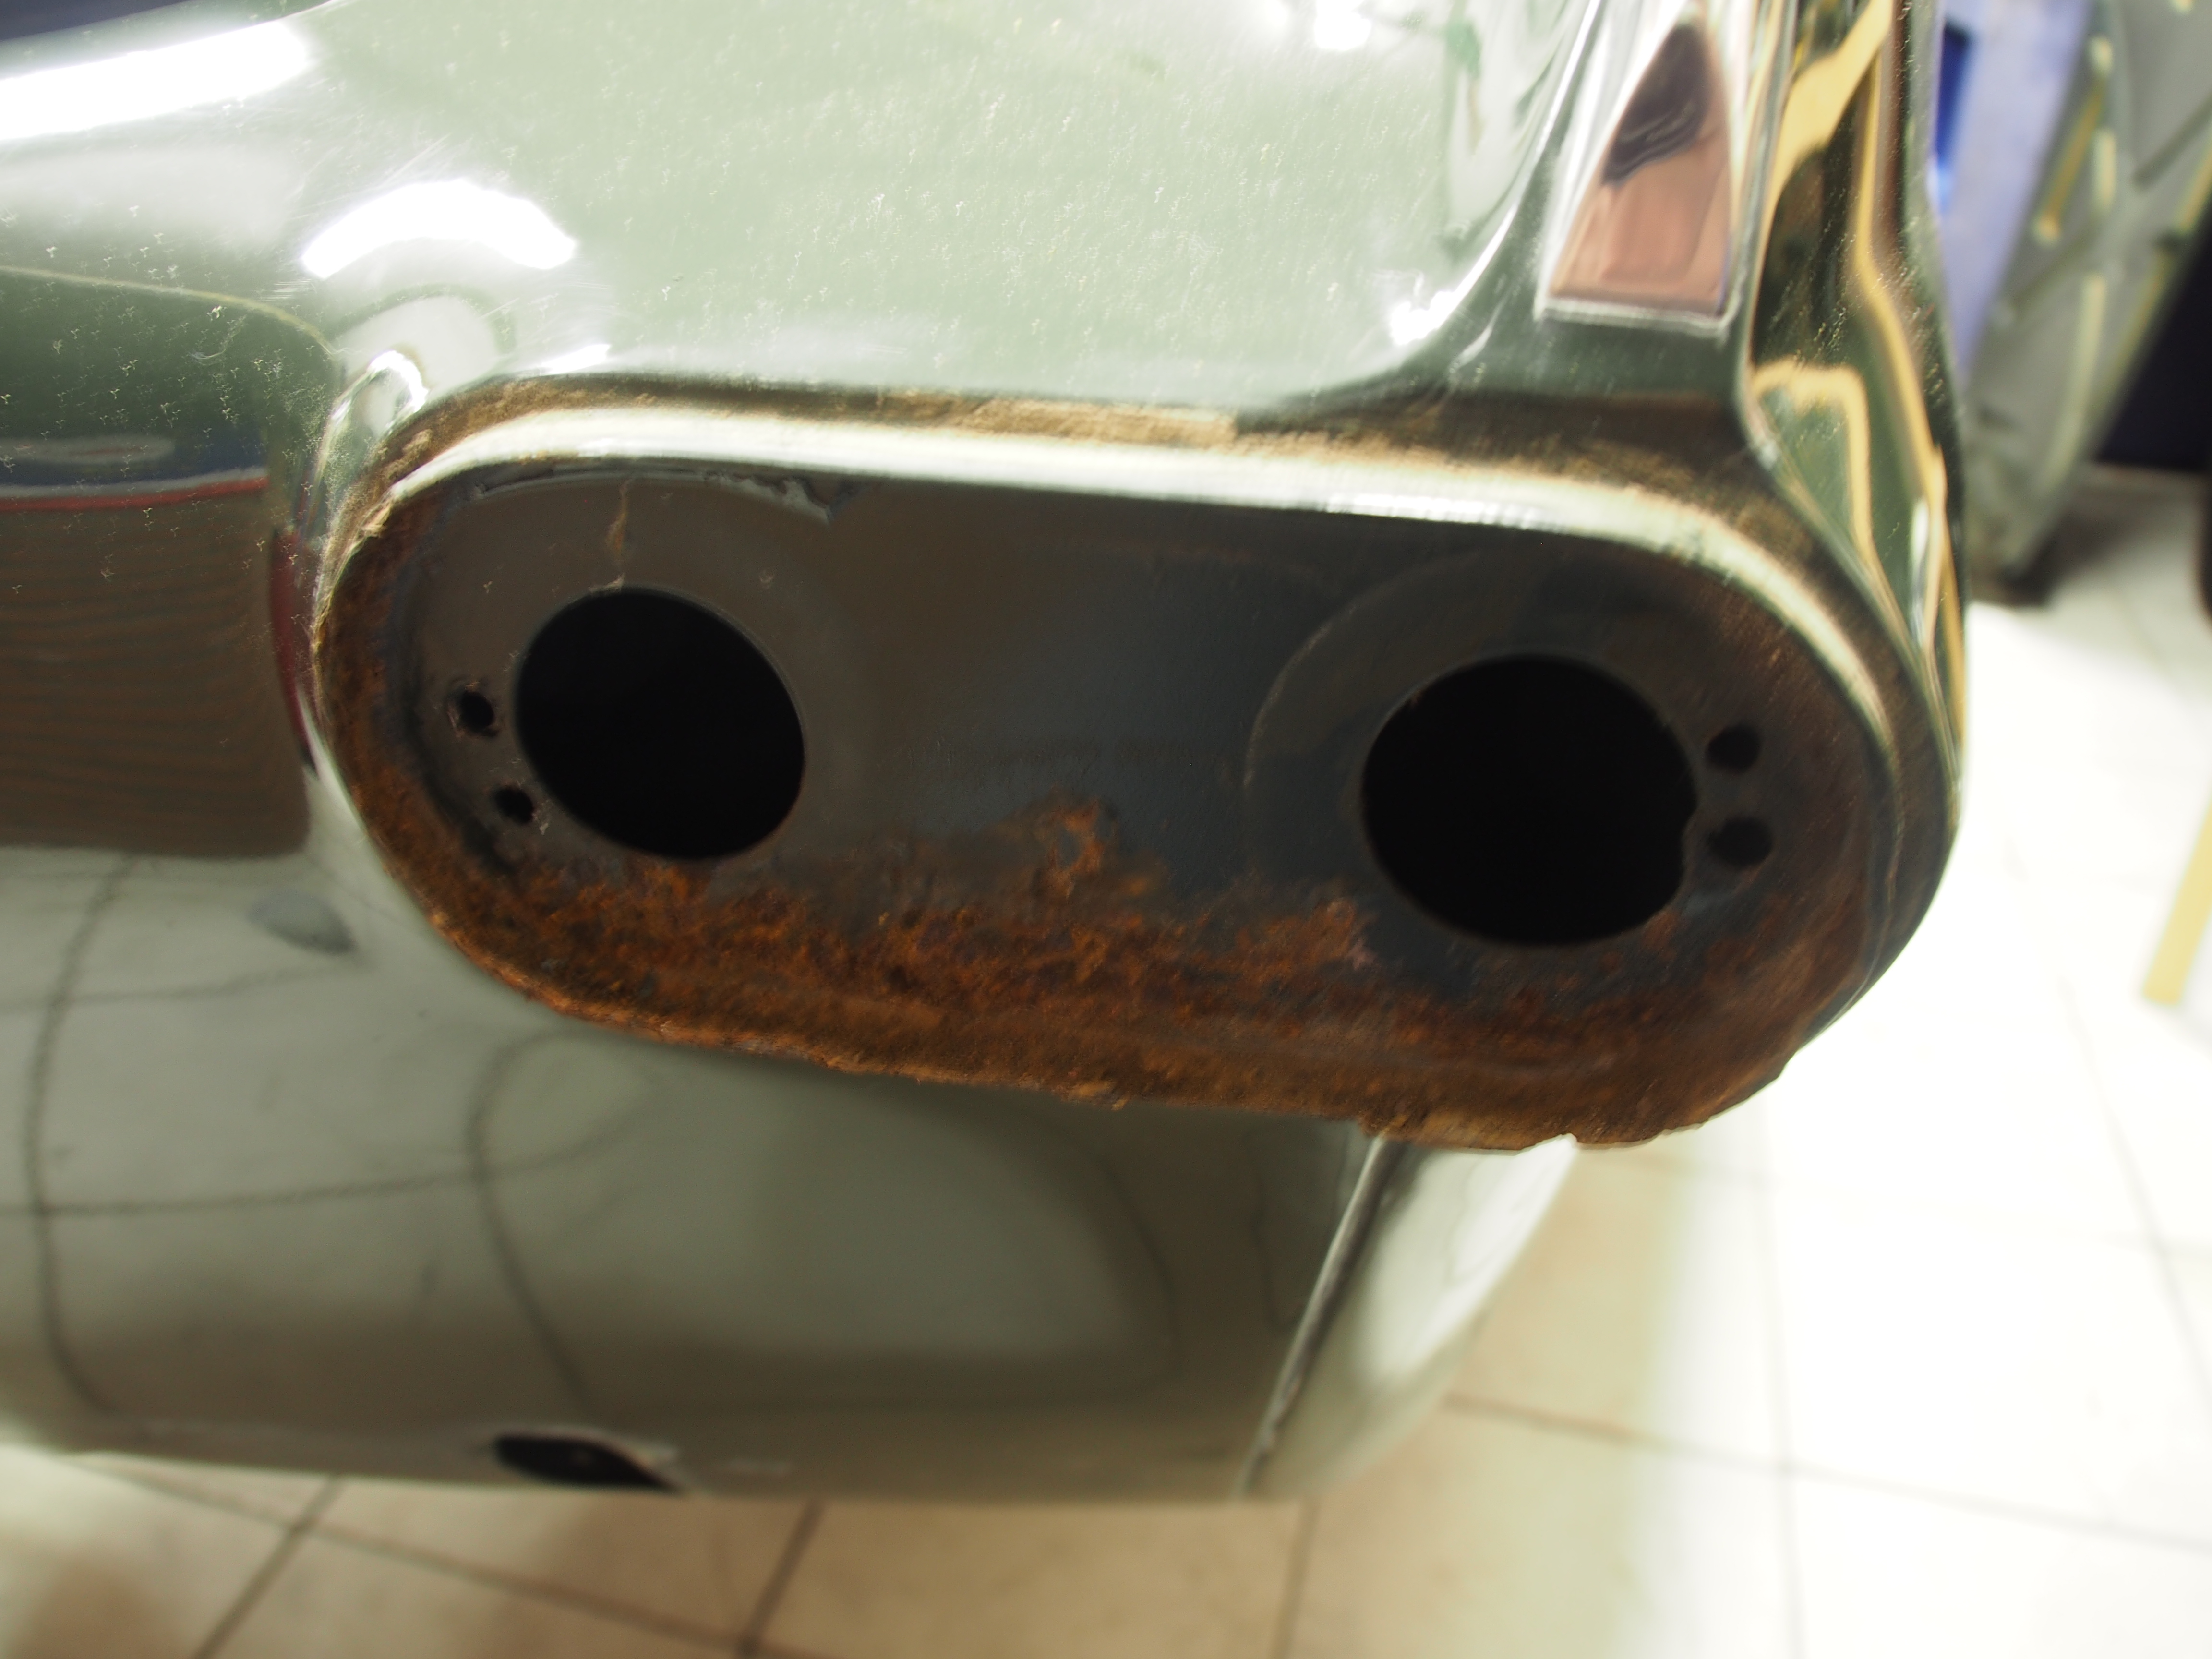
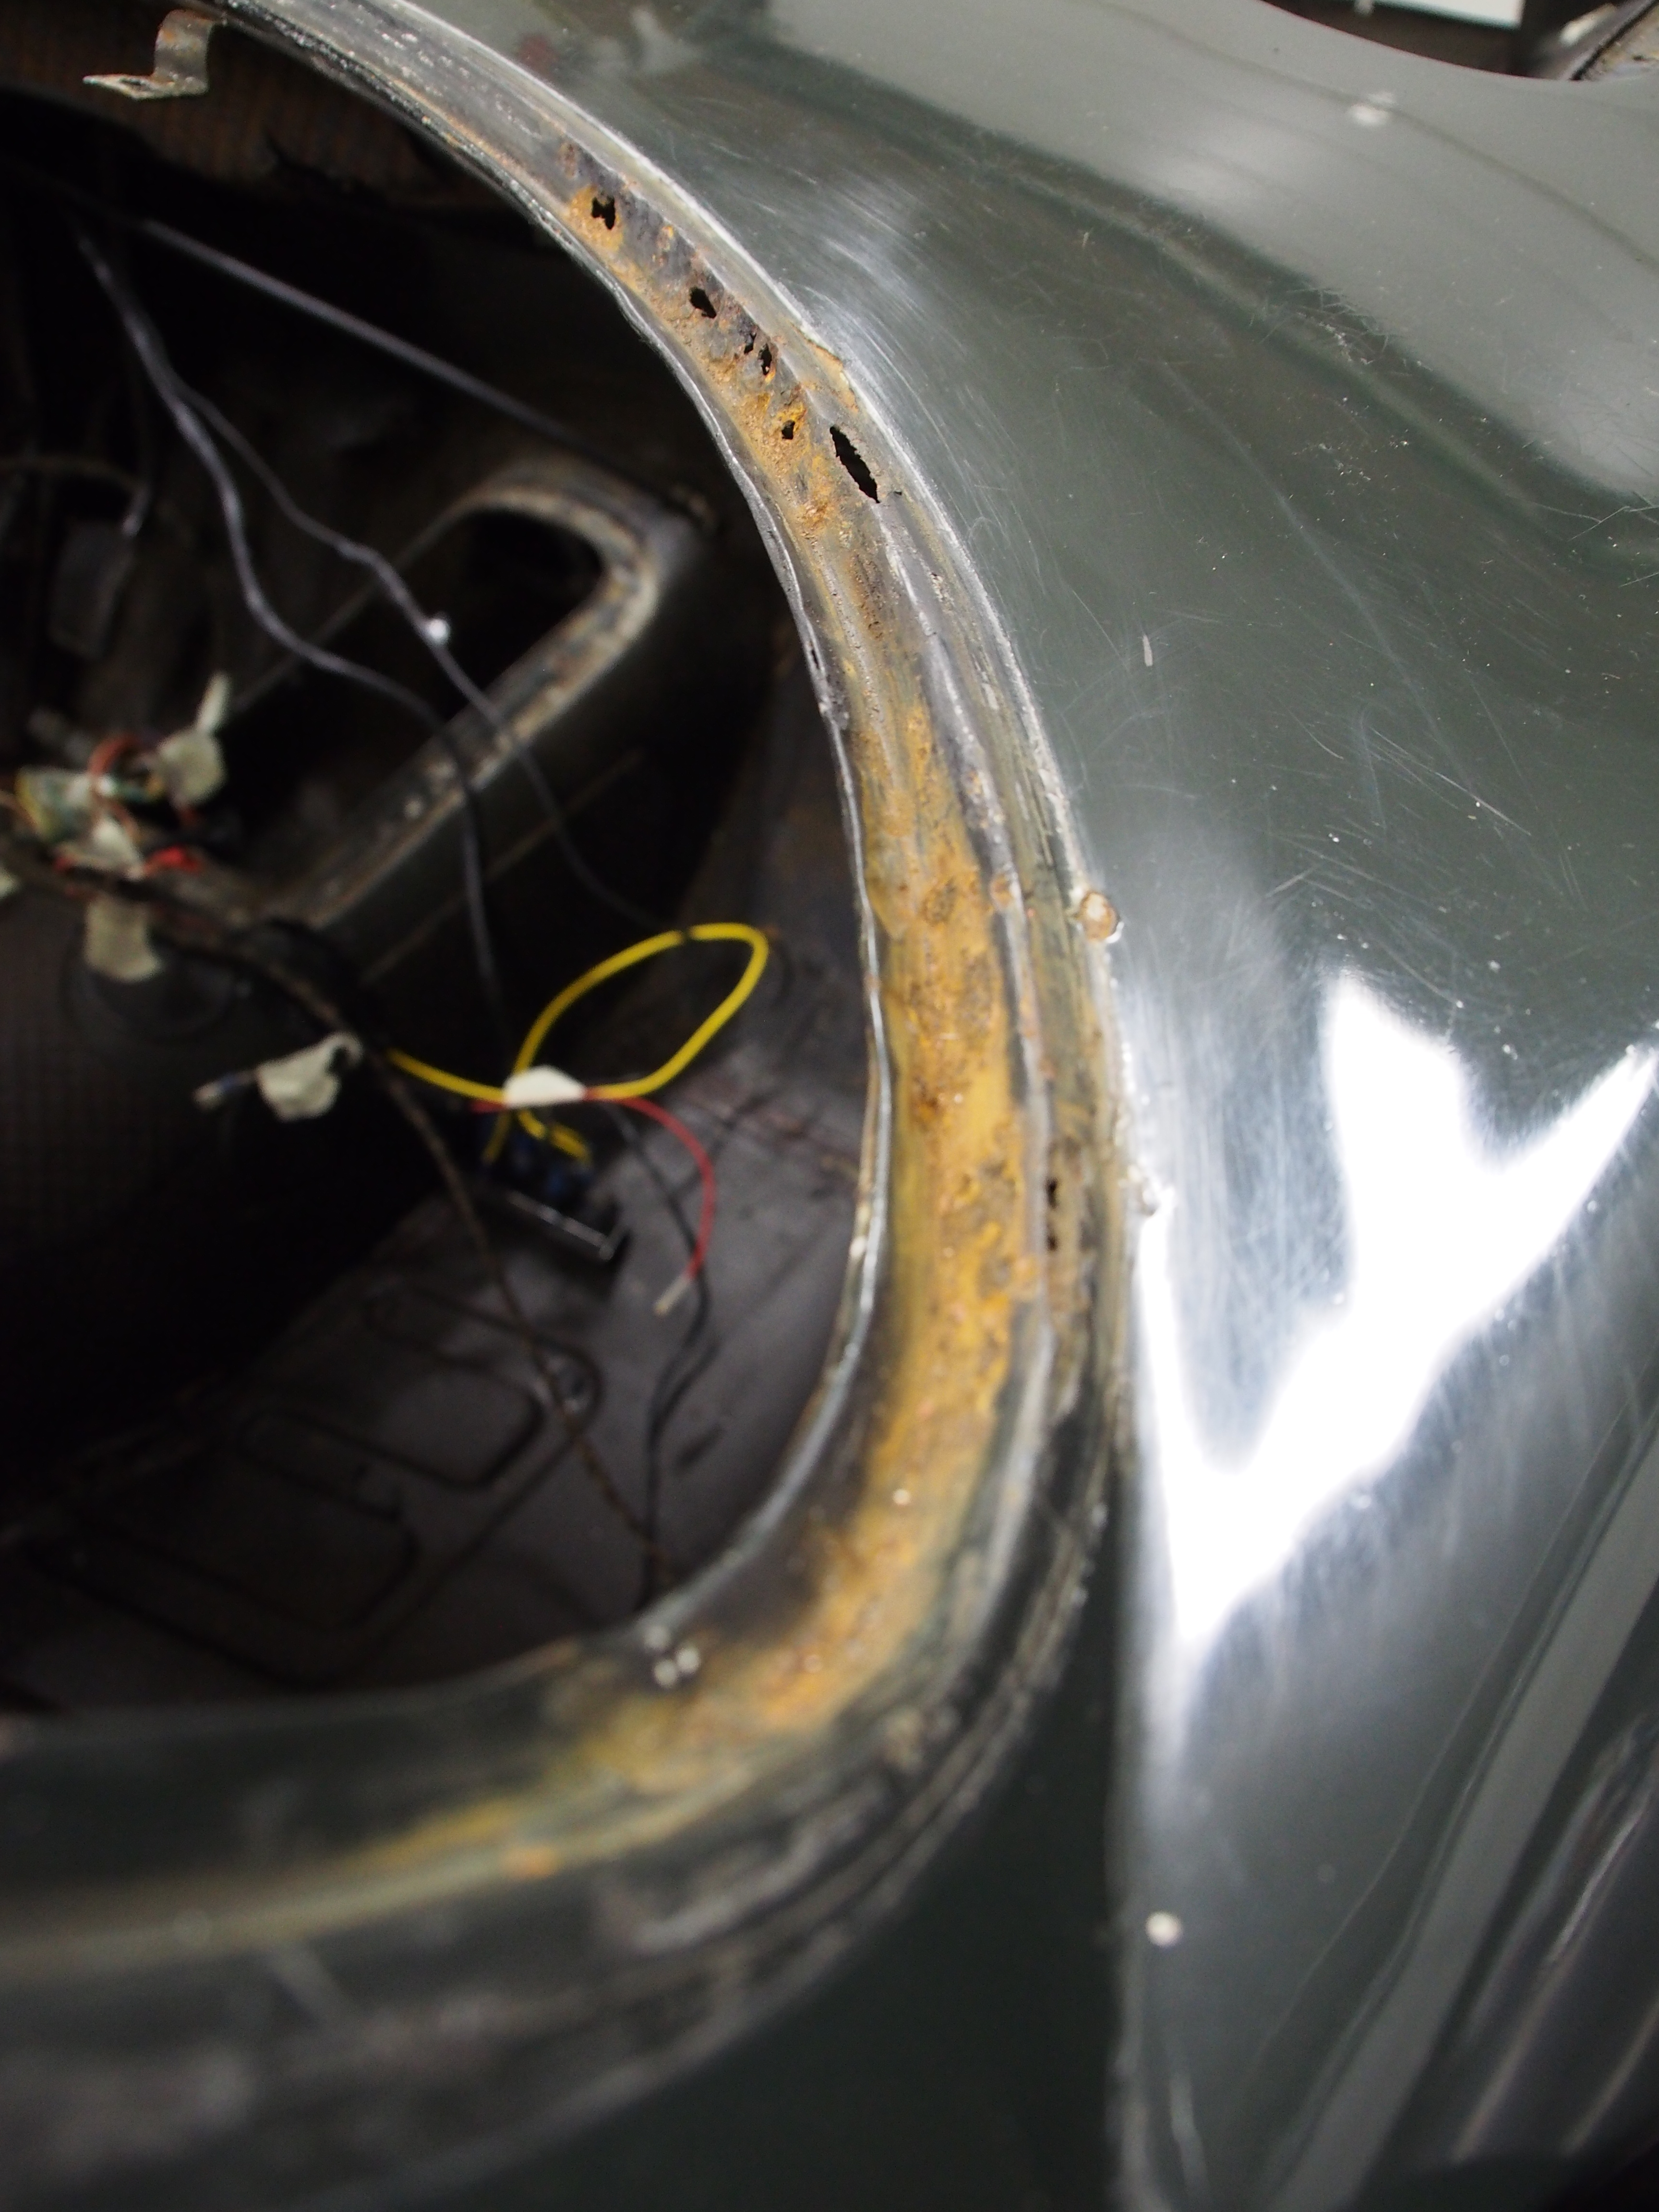
These are the bad spots in the metal of the car which I have found until now. It could be worse, but the car does needs some repairs. As I cannot repair it myself, I have to find someone or a shop who can do the job.
Rust at the RH aft light housing.
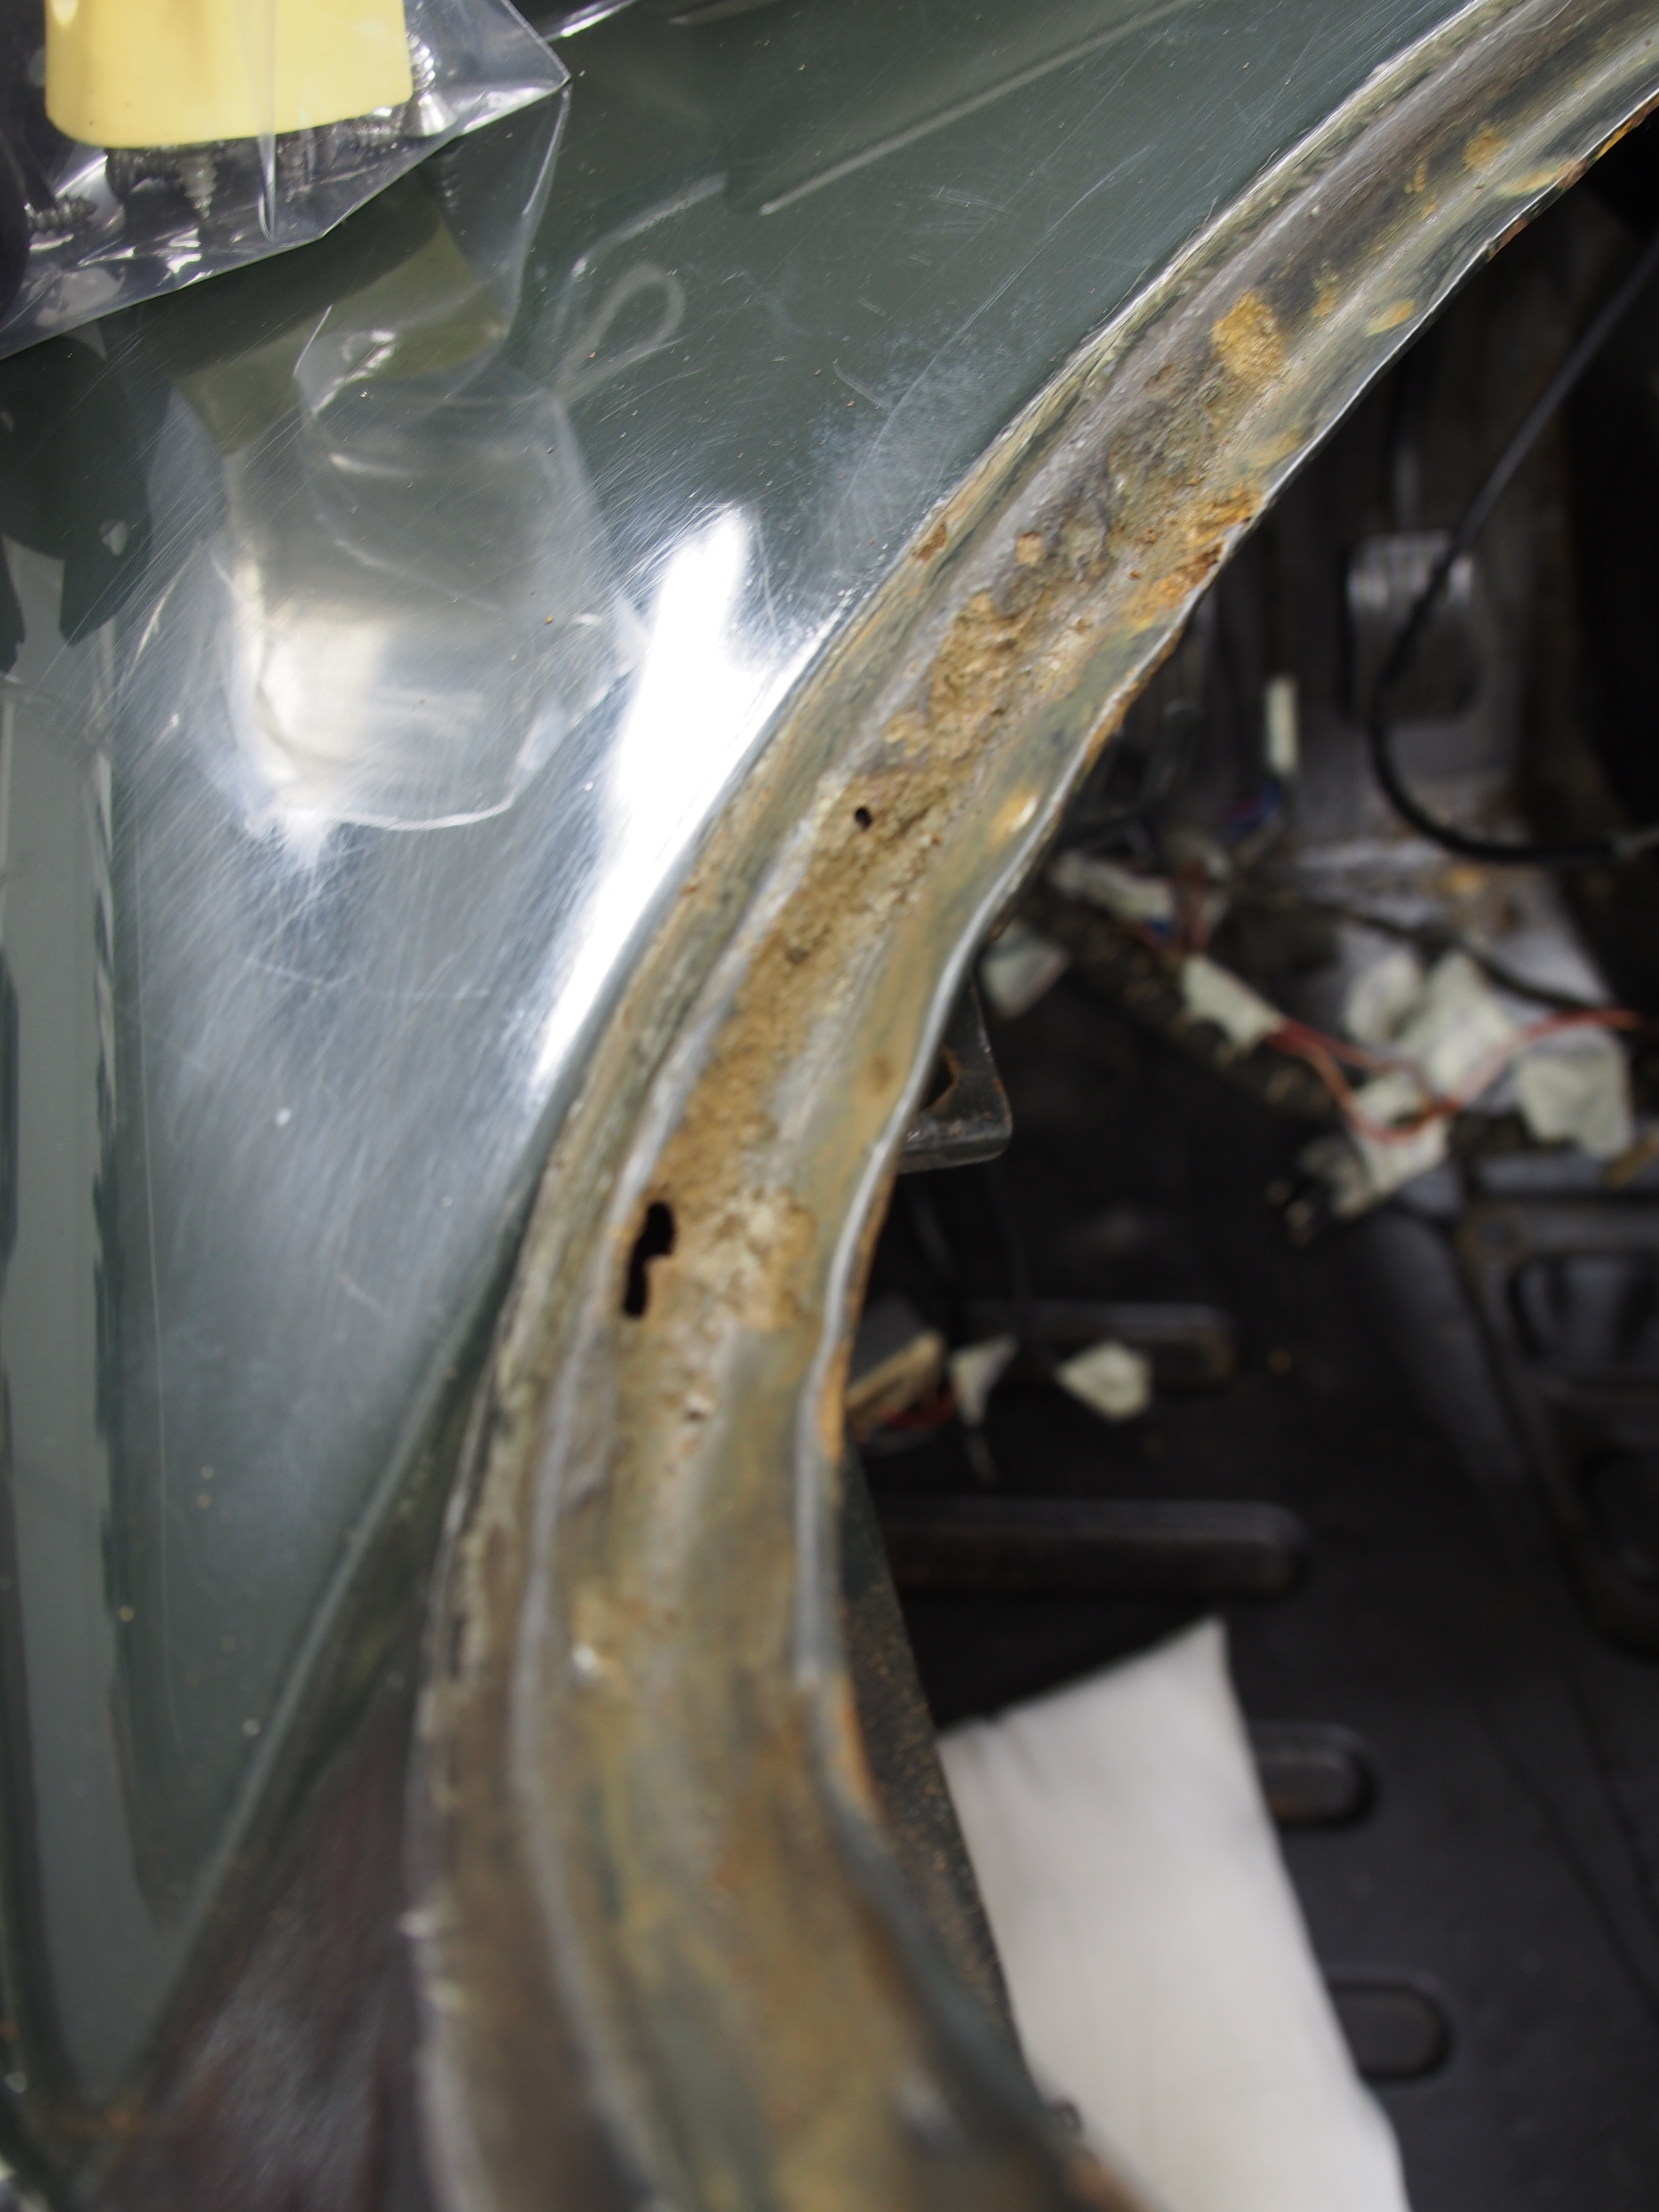
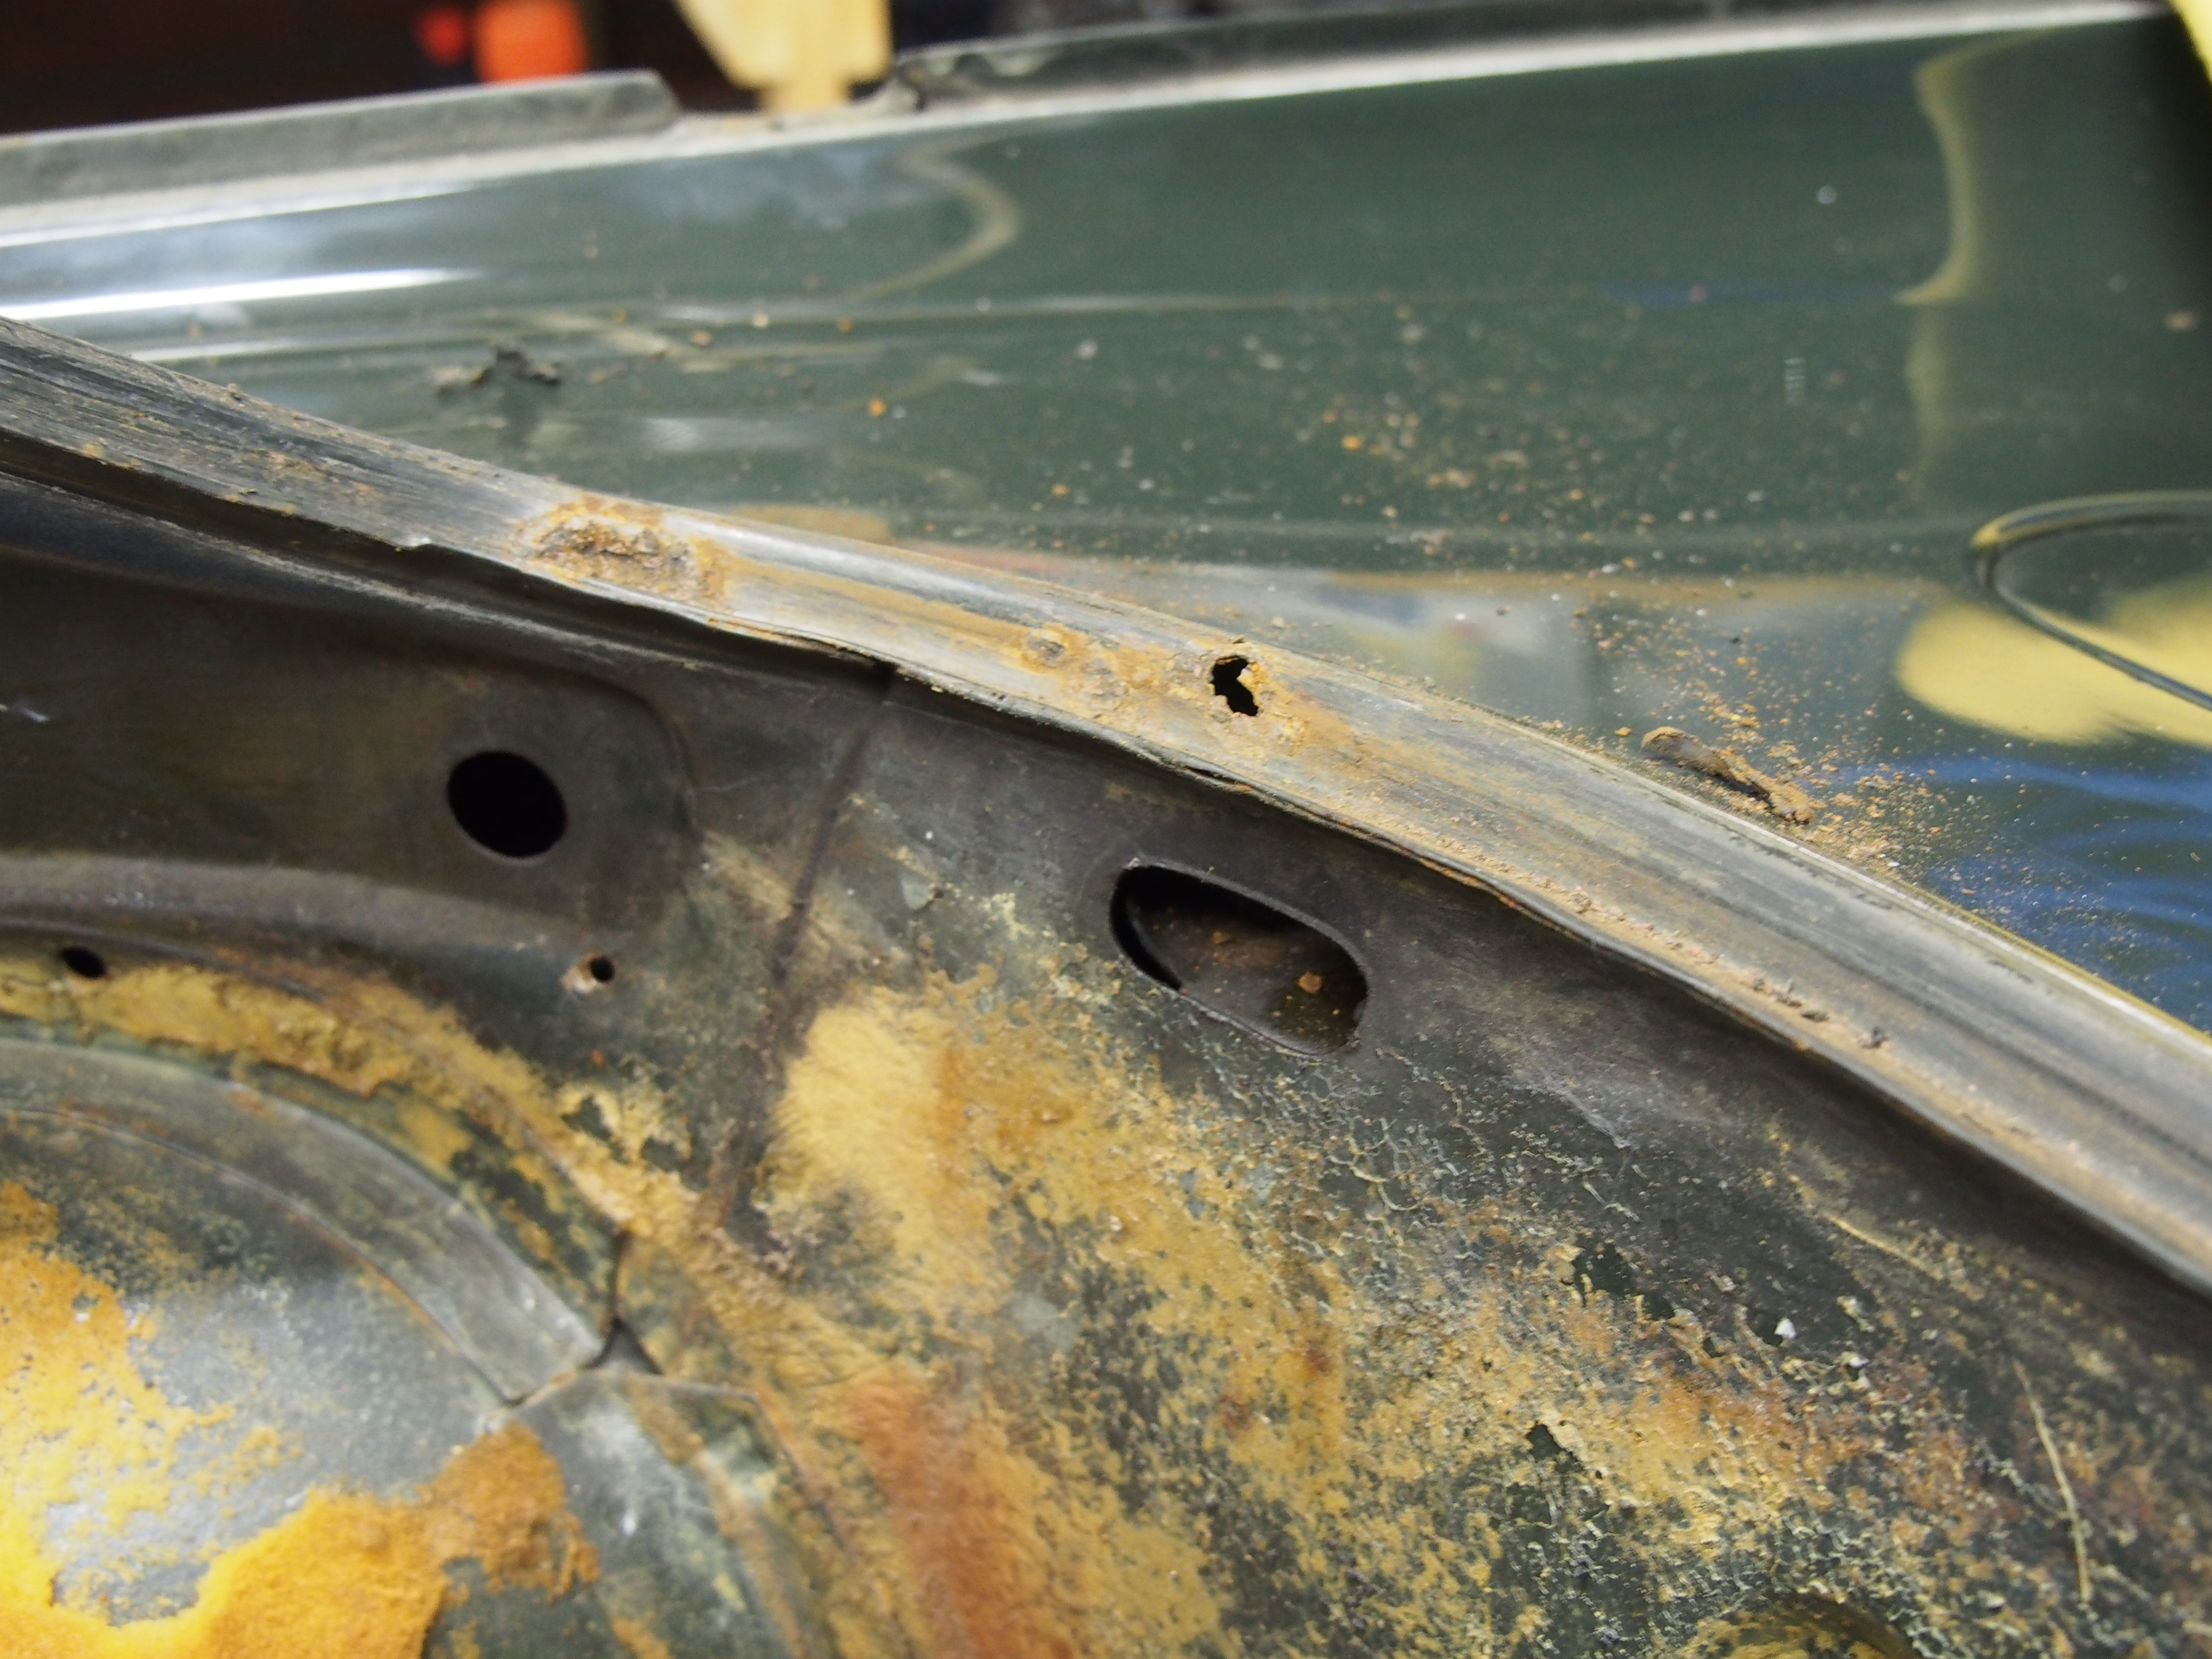
FWD winscreen.
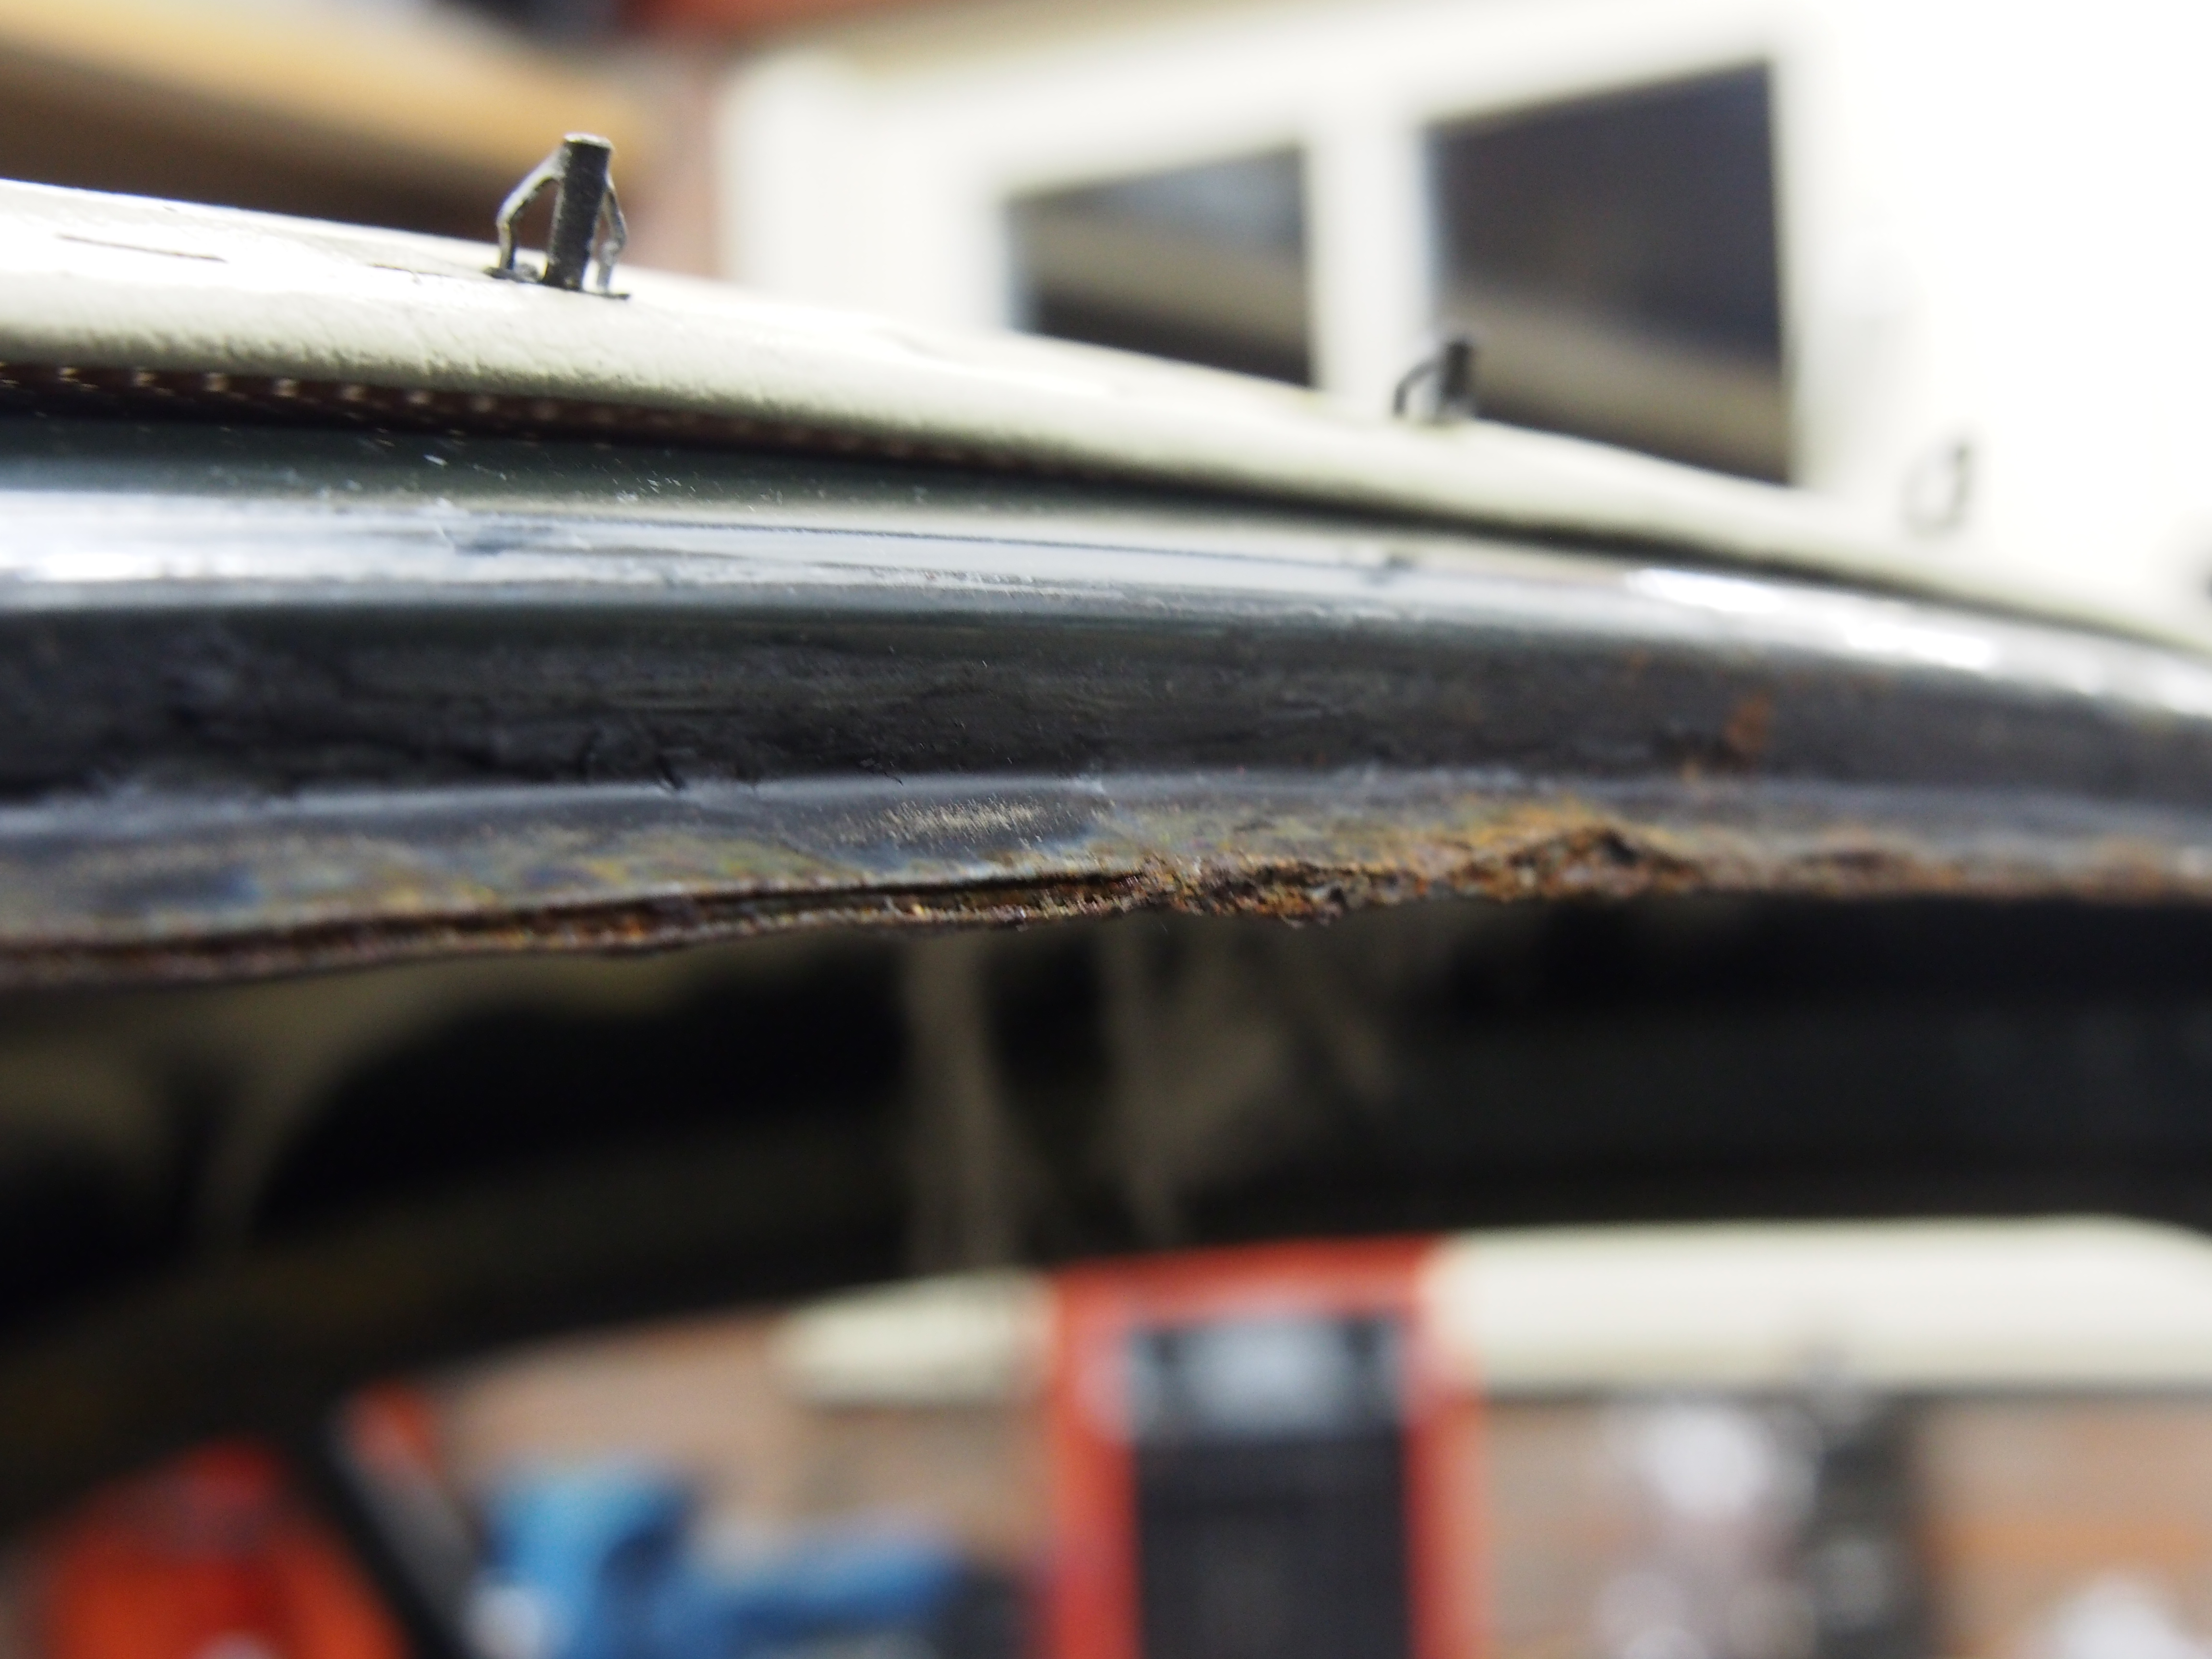
FWD windscreen RH lower corner.
FWD windscreen LH lower corner.
LH headlight housing, inside the front fender. The RH side is a bit the same, beginning rust.


Aft windscreen RH lower corner.
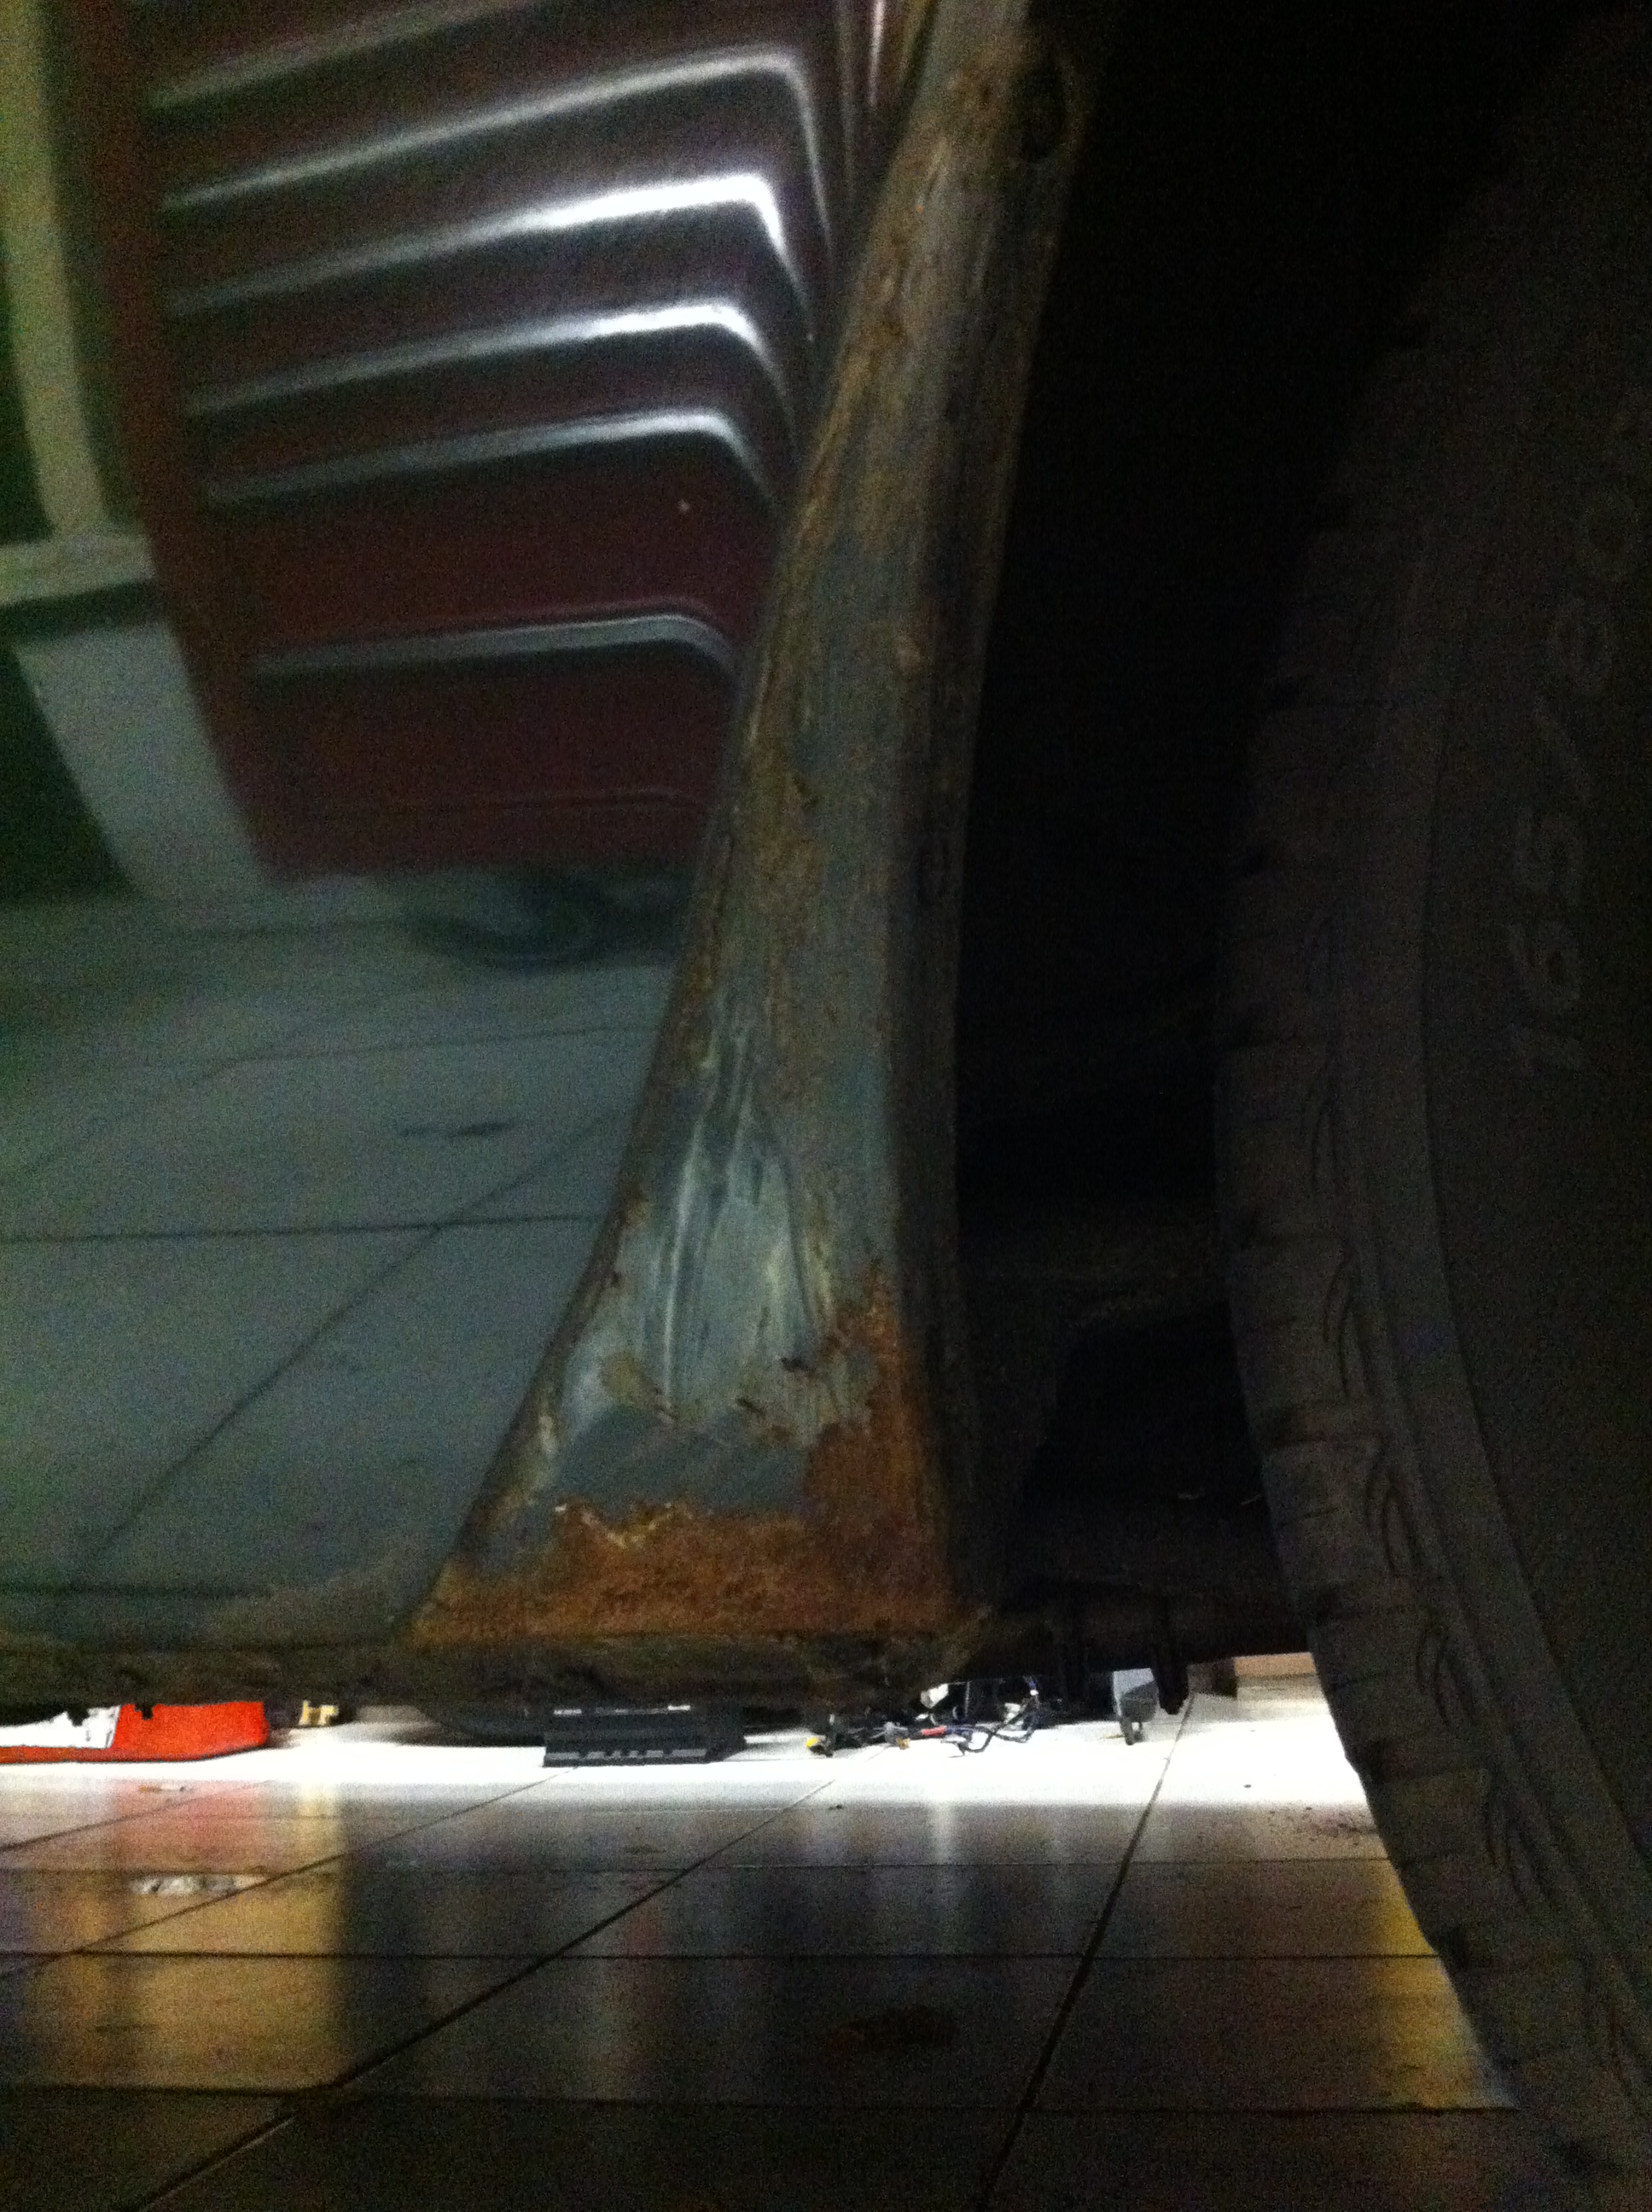
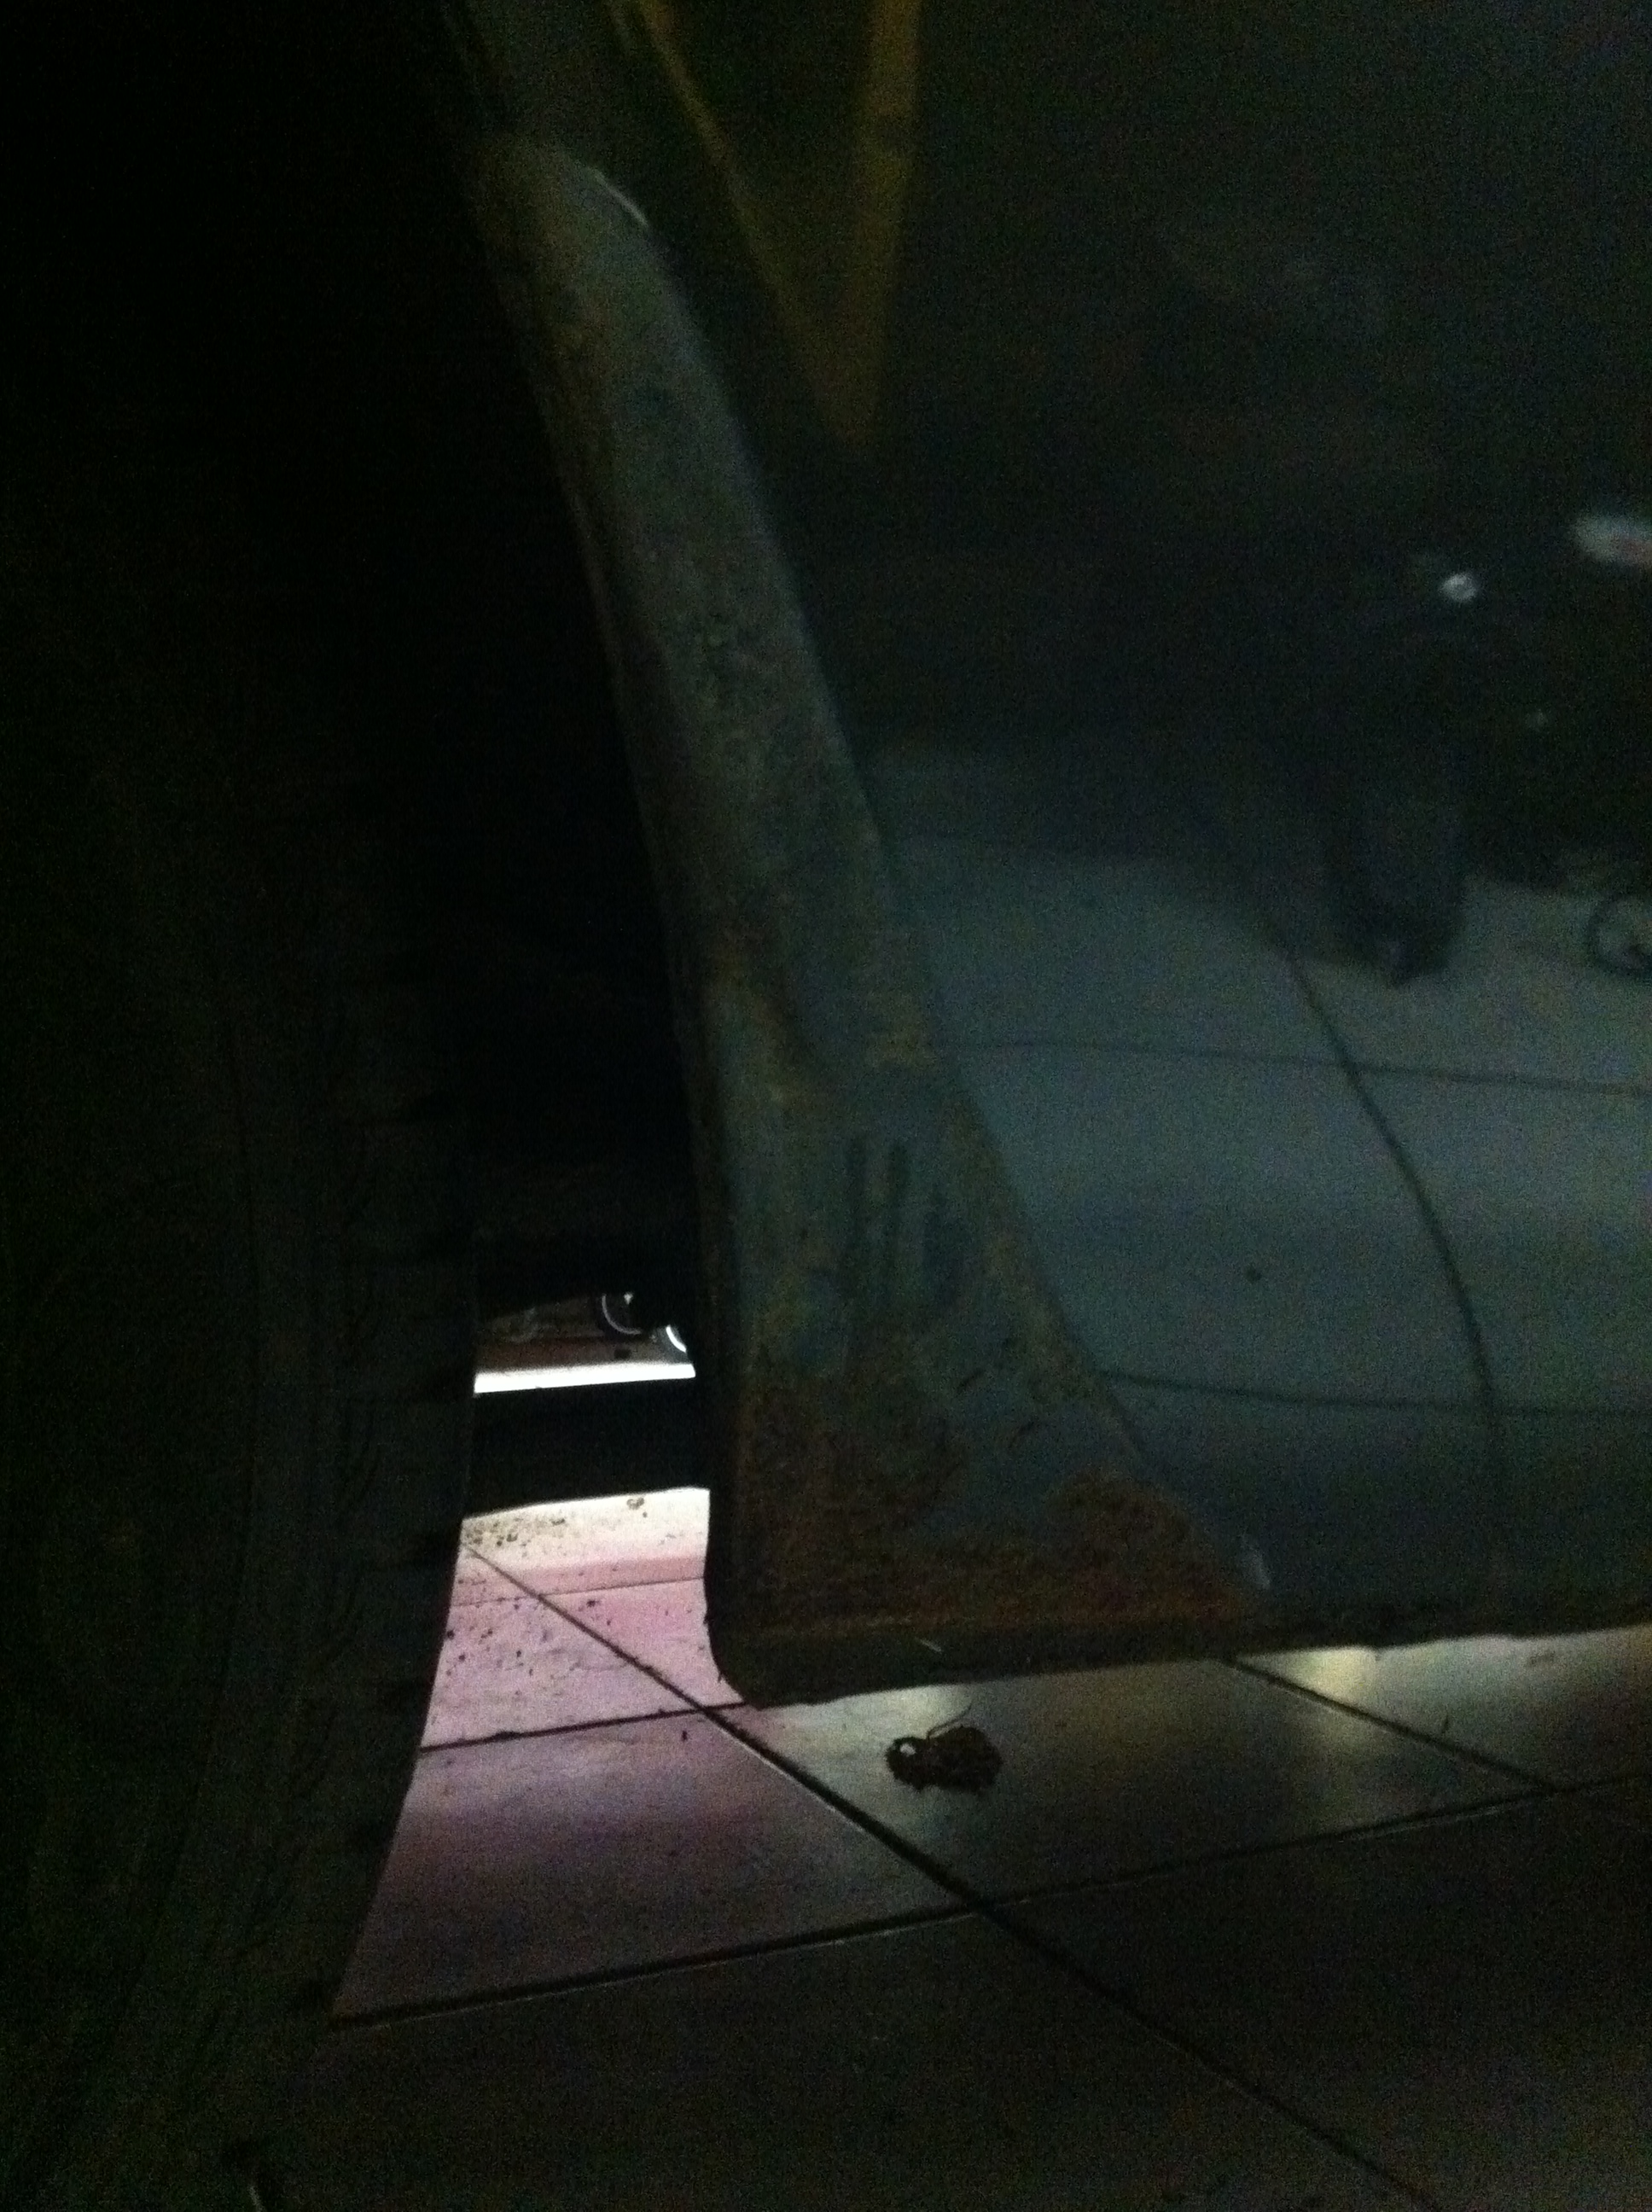
Beginning rust behind AFT fender covers.

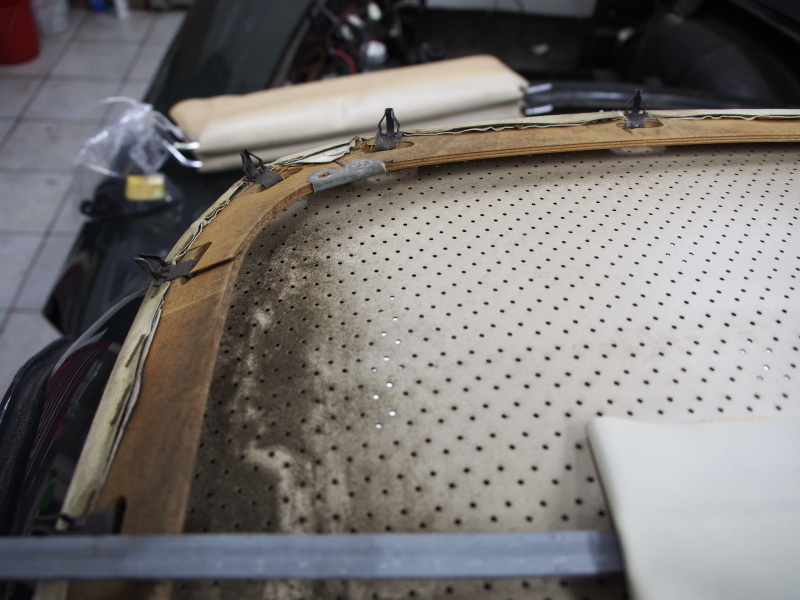
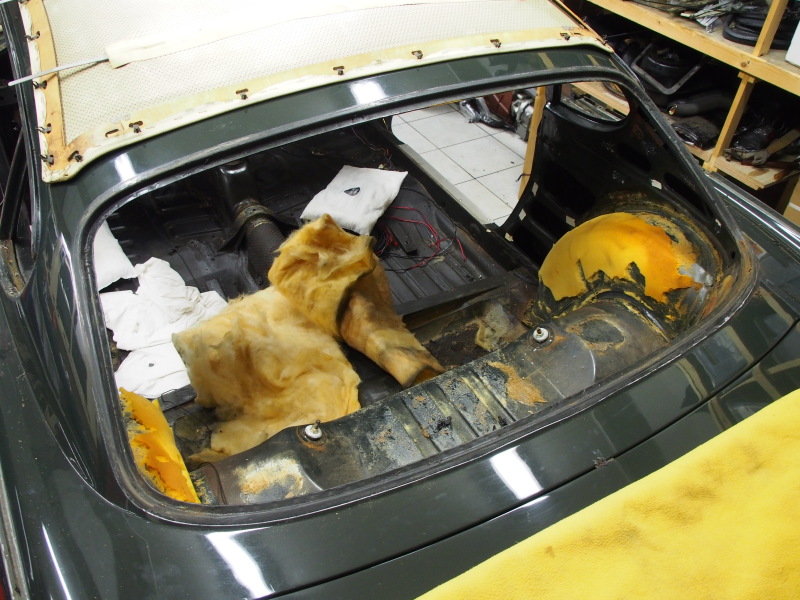
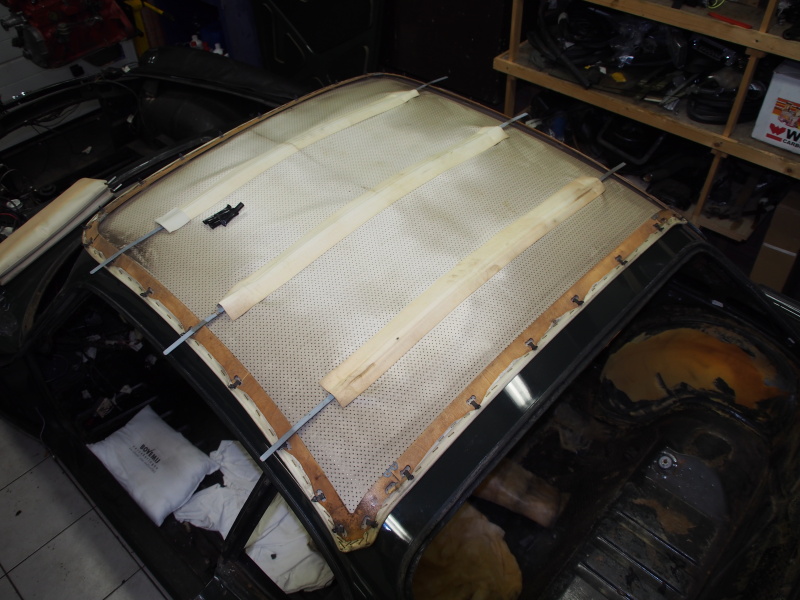
First removed the windscreens and then the headliner. The liner I removed with the help of my brother, this was quite the painstaking job, as the ceiling will damage very easy. The wood all around is 47 years old and consists of 2 layers of glued together fine wood, this because it has to be flexible to fit in the curves of the roof. This glue has deteriorated after 47 years of service and can easily let go when the frame is forced into too sharp bends.
Luckily we removed it almost completely intact. The ceiling does need some attention. Maybe treat the wood with some sort of wood-dye and paint the ceiling? I still have to find out how to do this. Again, luckily there is lots of info to be found on the web about this.
The windscreens where also an easy job. We found some more small rusty spots hiding behind the windscreen rubbers. Again a good indication that this is the right time to take on this job. Next time I will make a summary of the visible rusty spots.
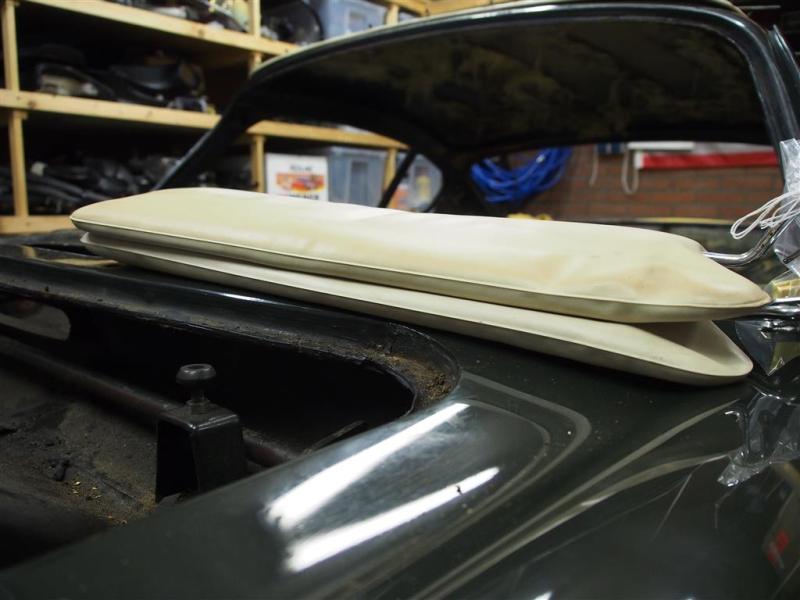
The sunshades are also worn. I read some articles about how to restore them. Apparently you can cut them open and fill them with some sort of foam wich will harden up. This way you can give the sunshades their original form back again. Also see: http://volvo1800s.up2dateprojecten.nl/restauratie/zonnekleppen-ontroesten/
Here you can see a small damage, the wood has cracked a bit. Not a big problem I guess.