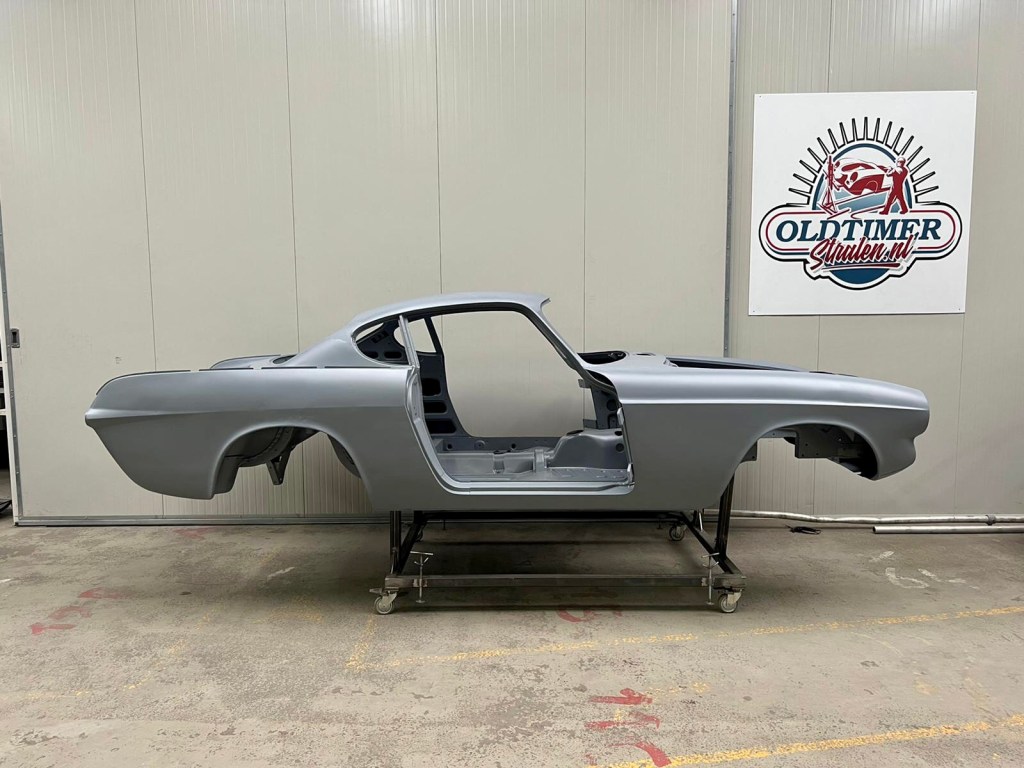
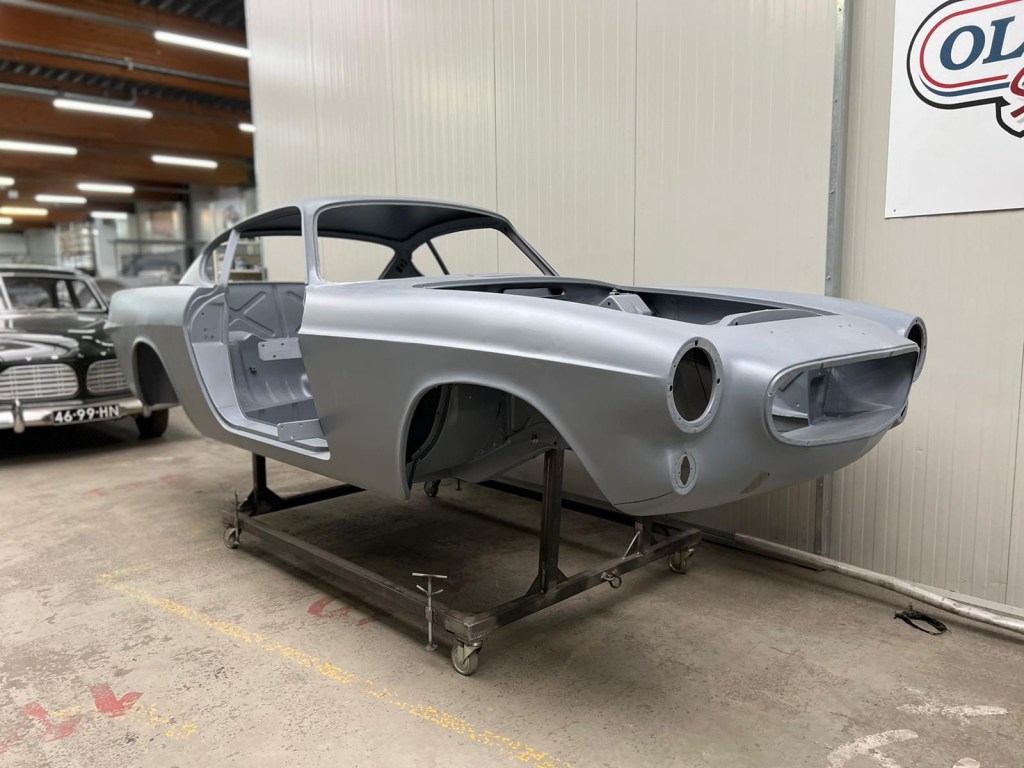
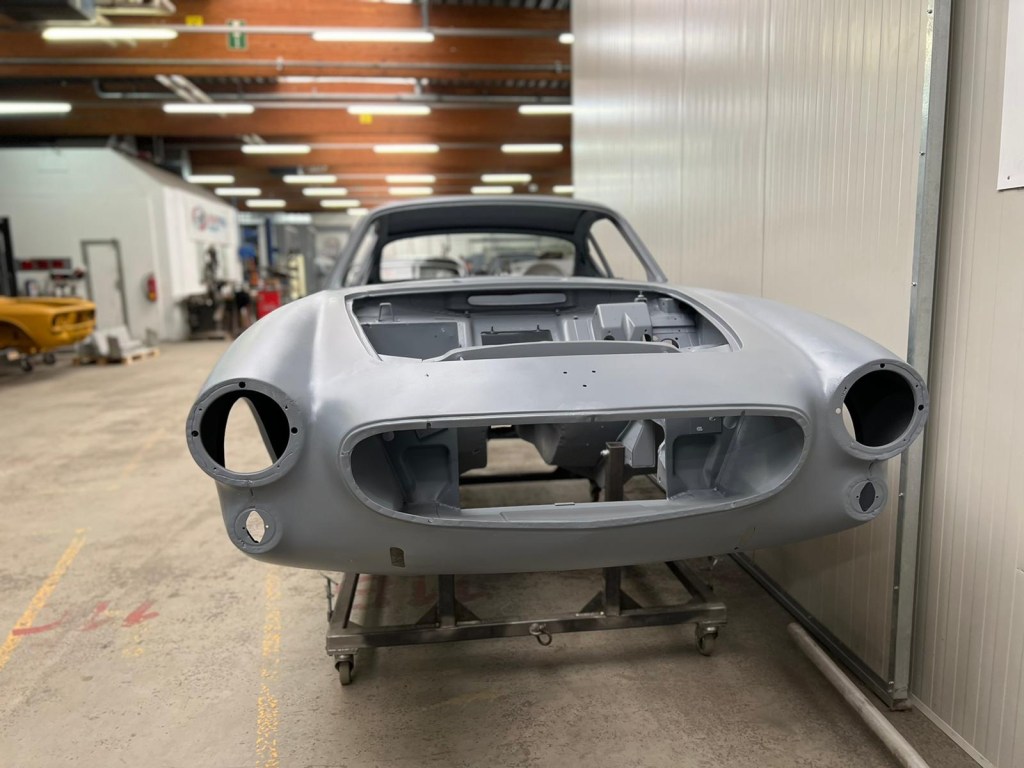
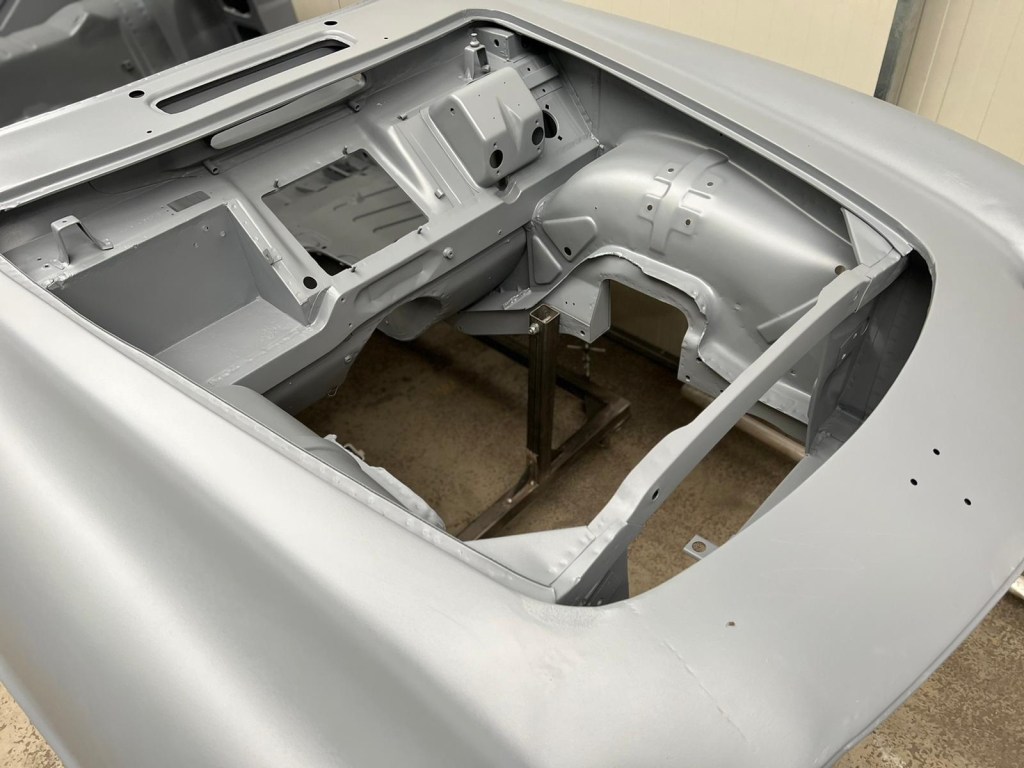
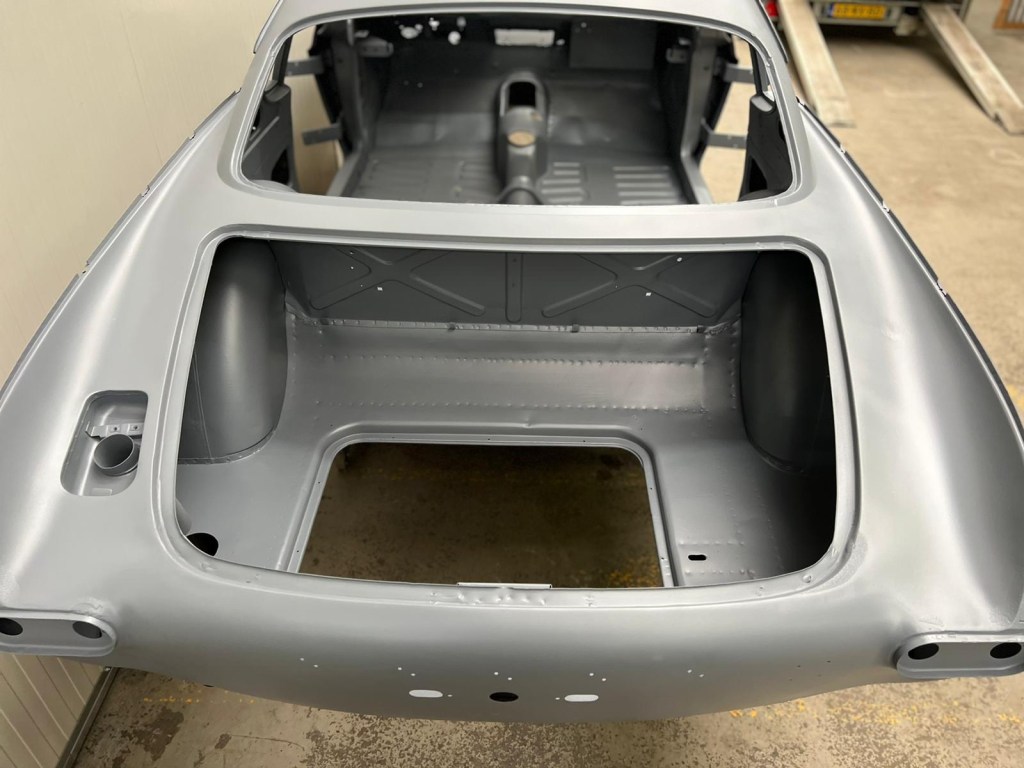
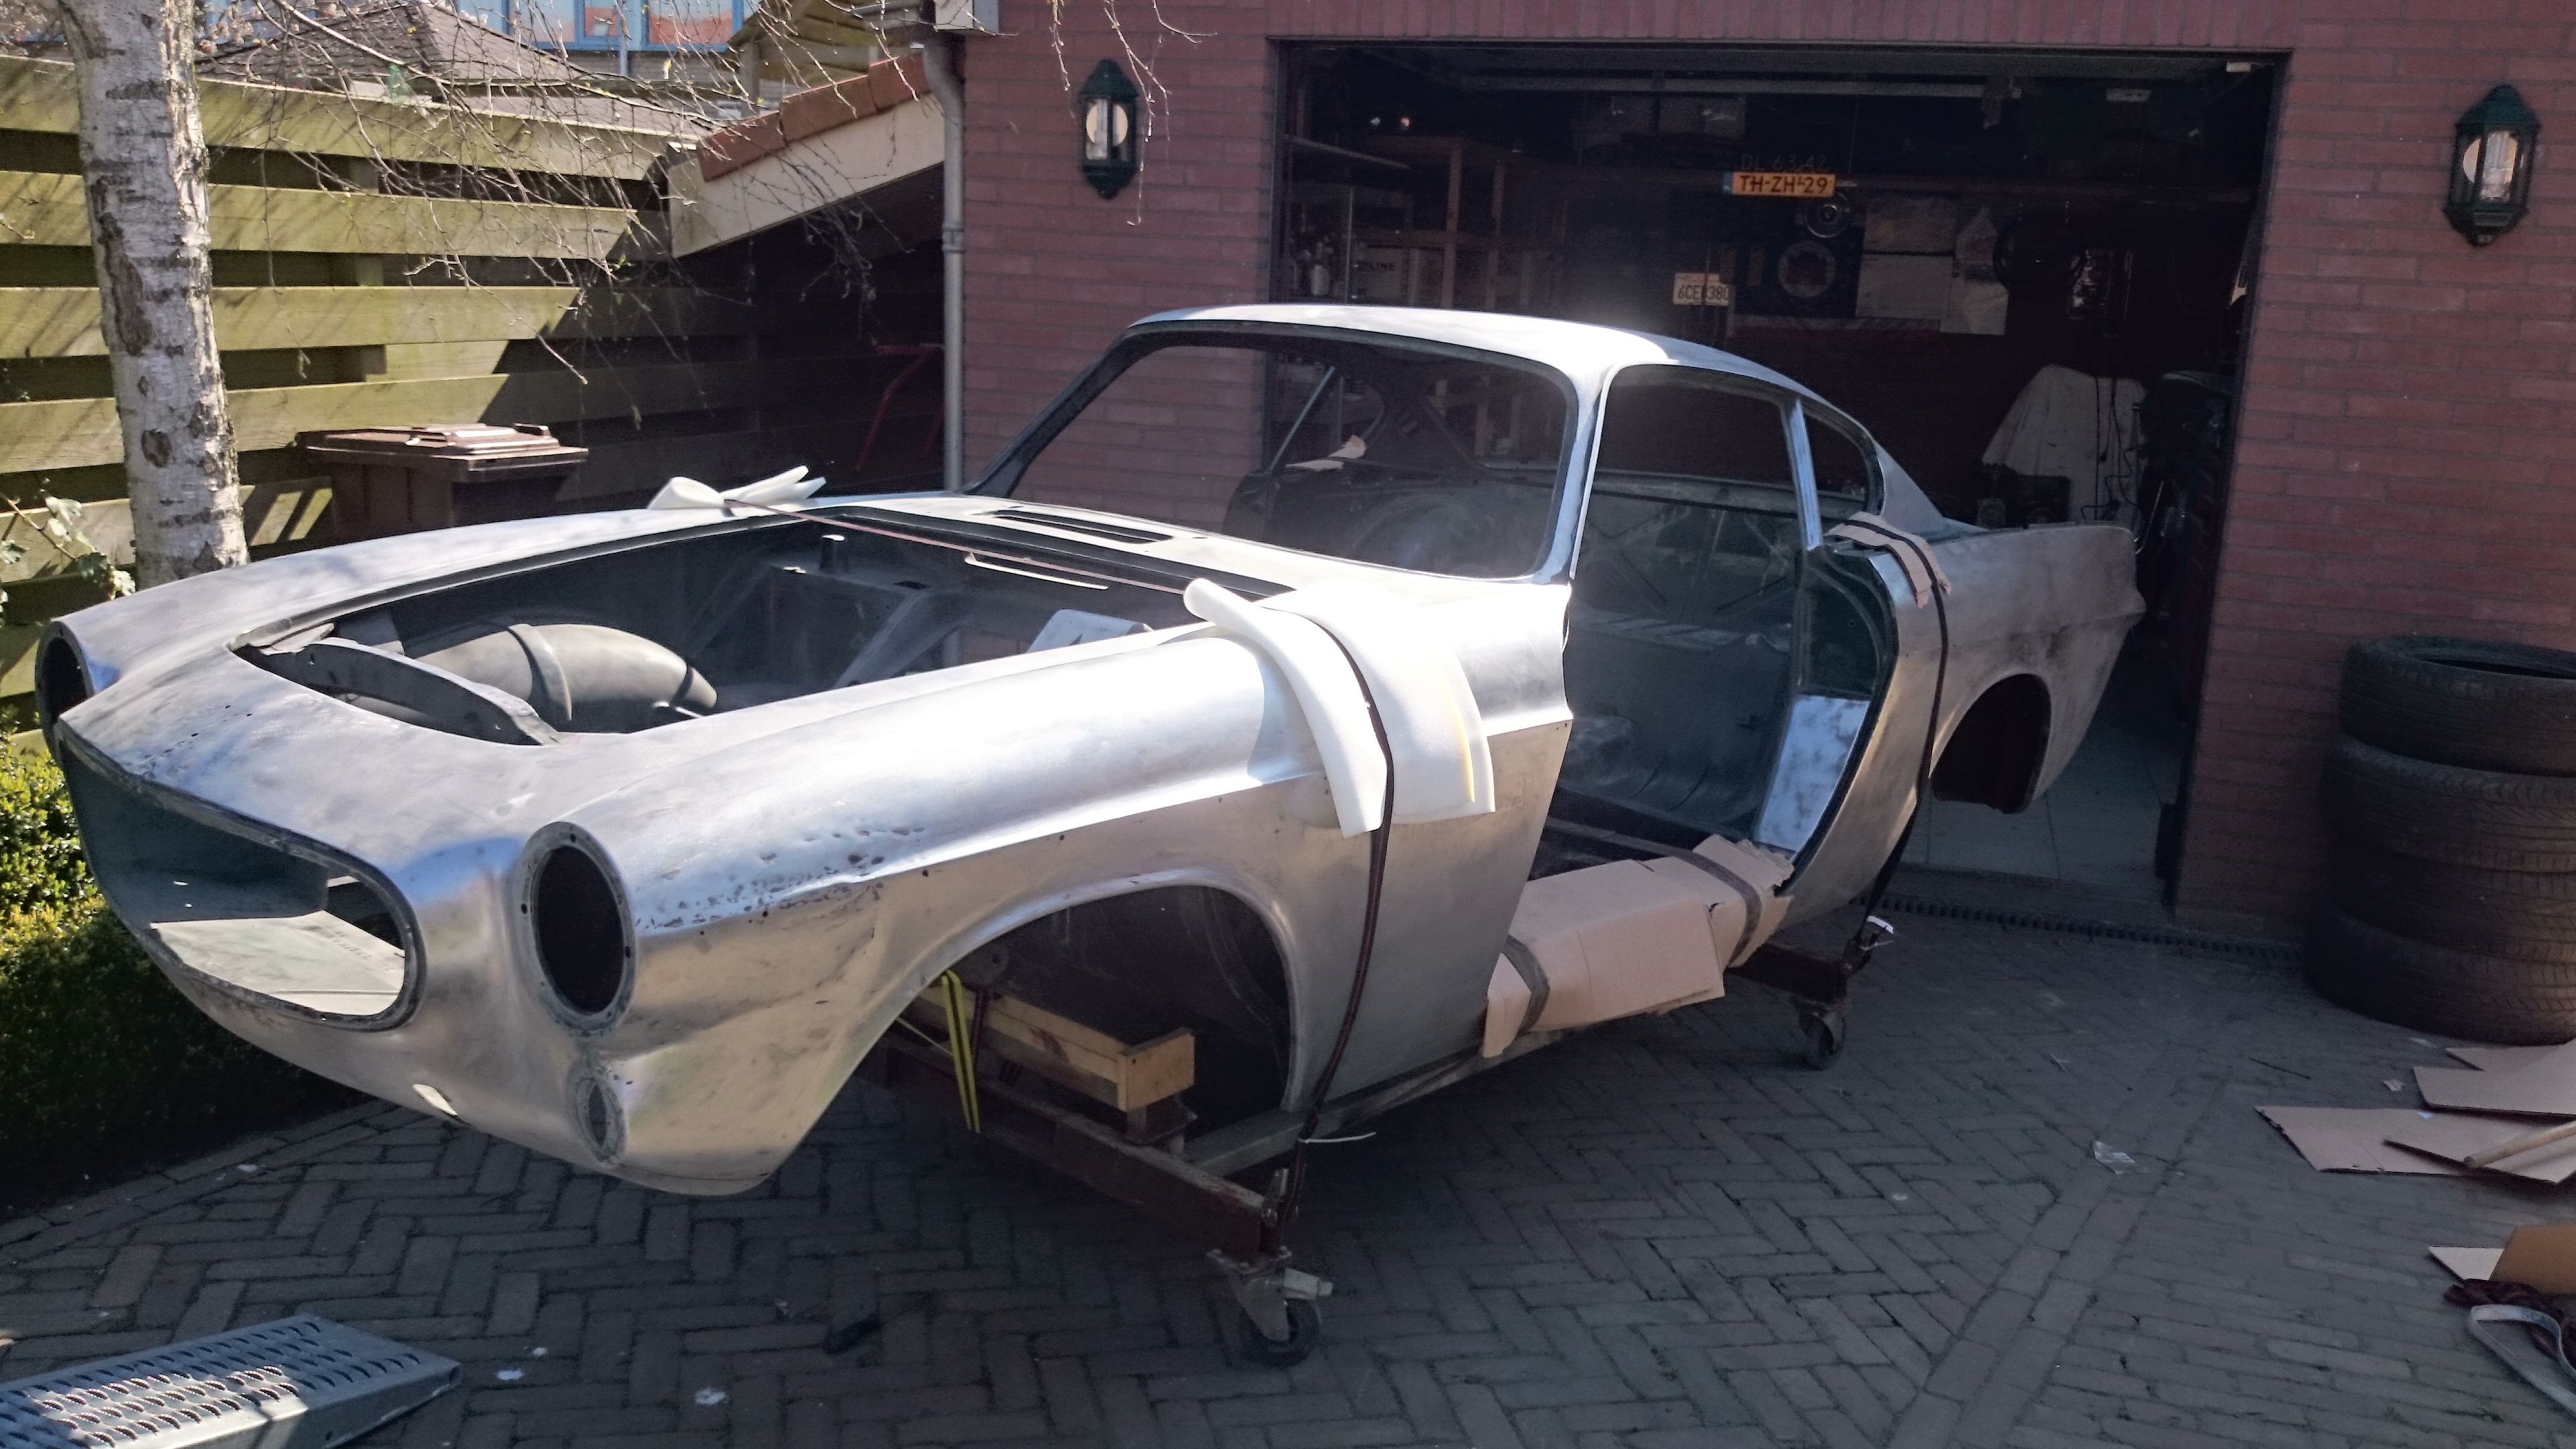
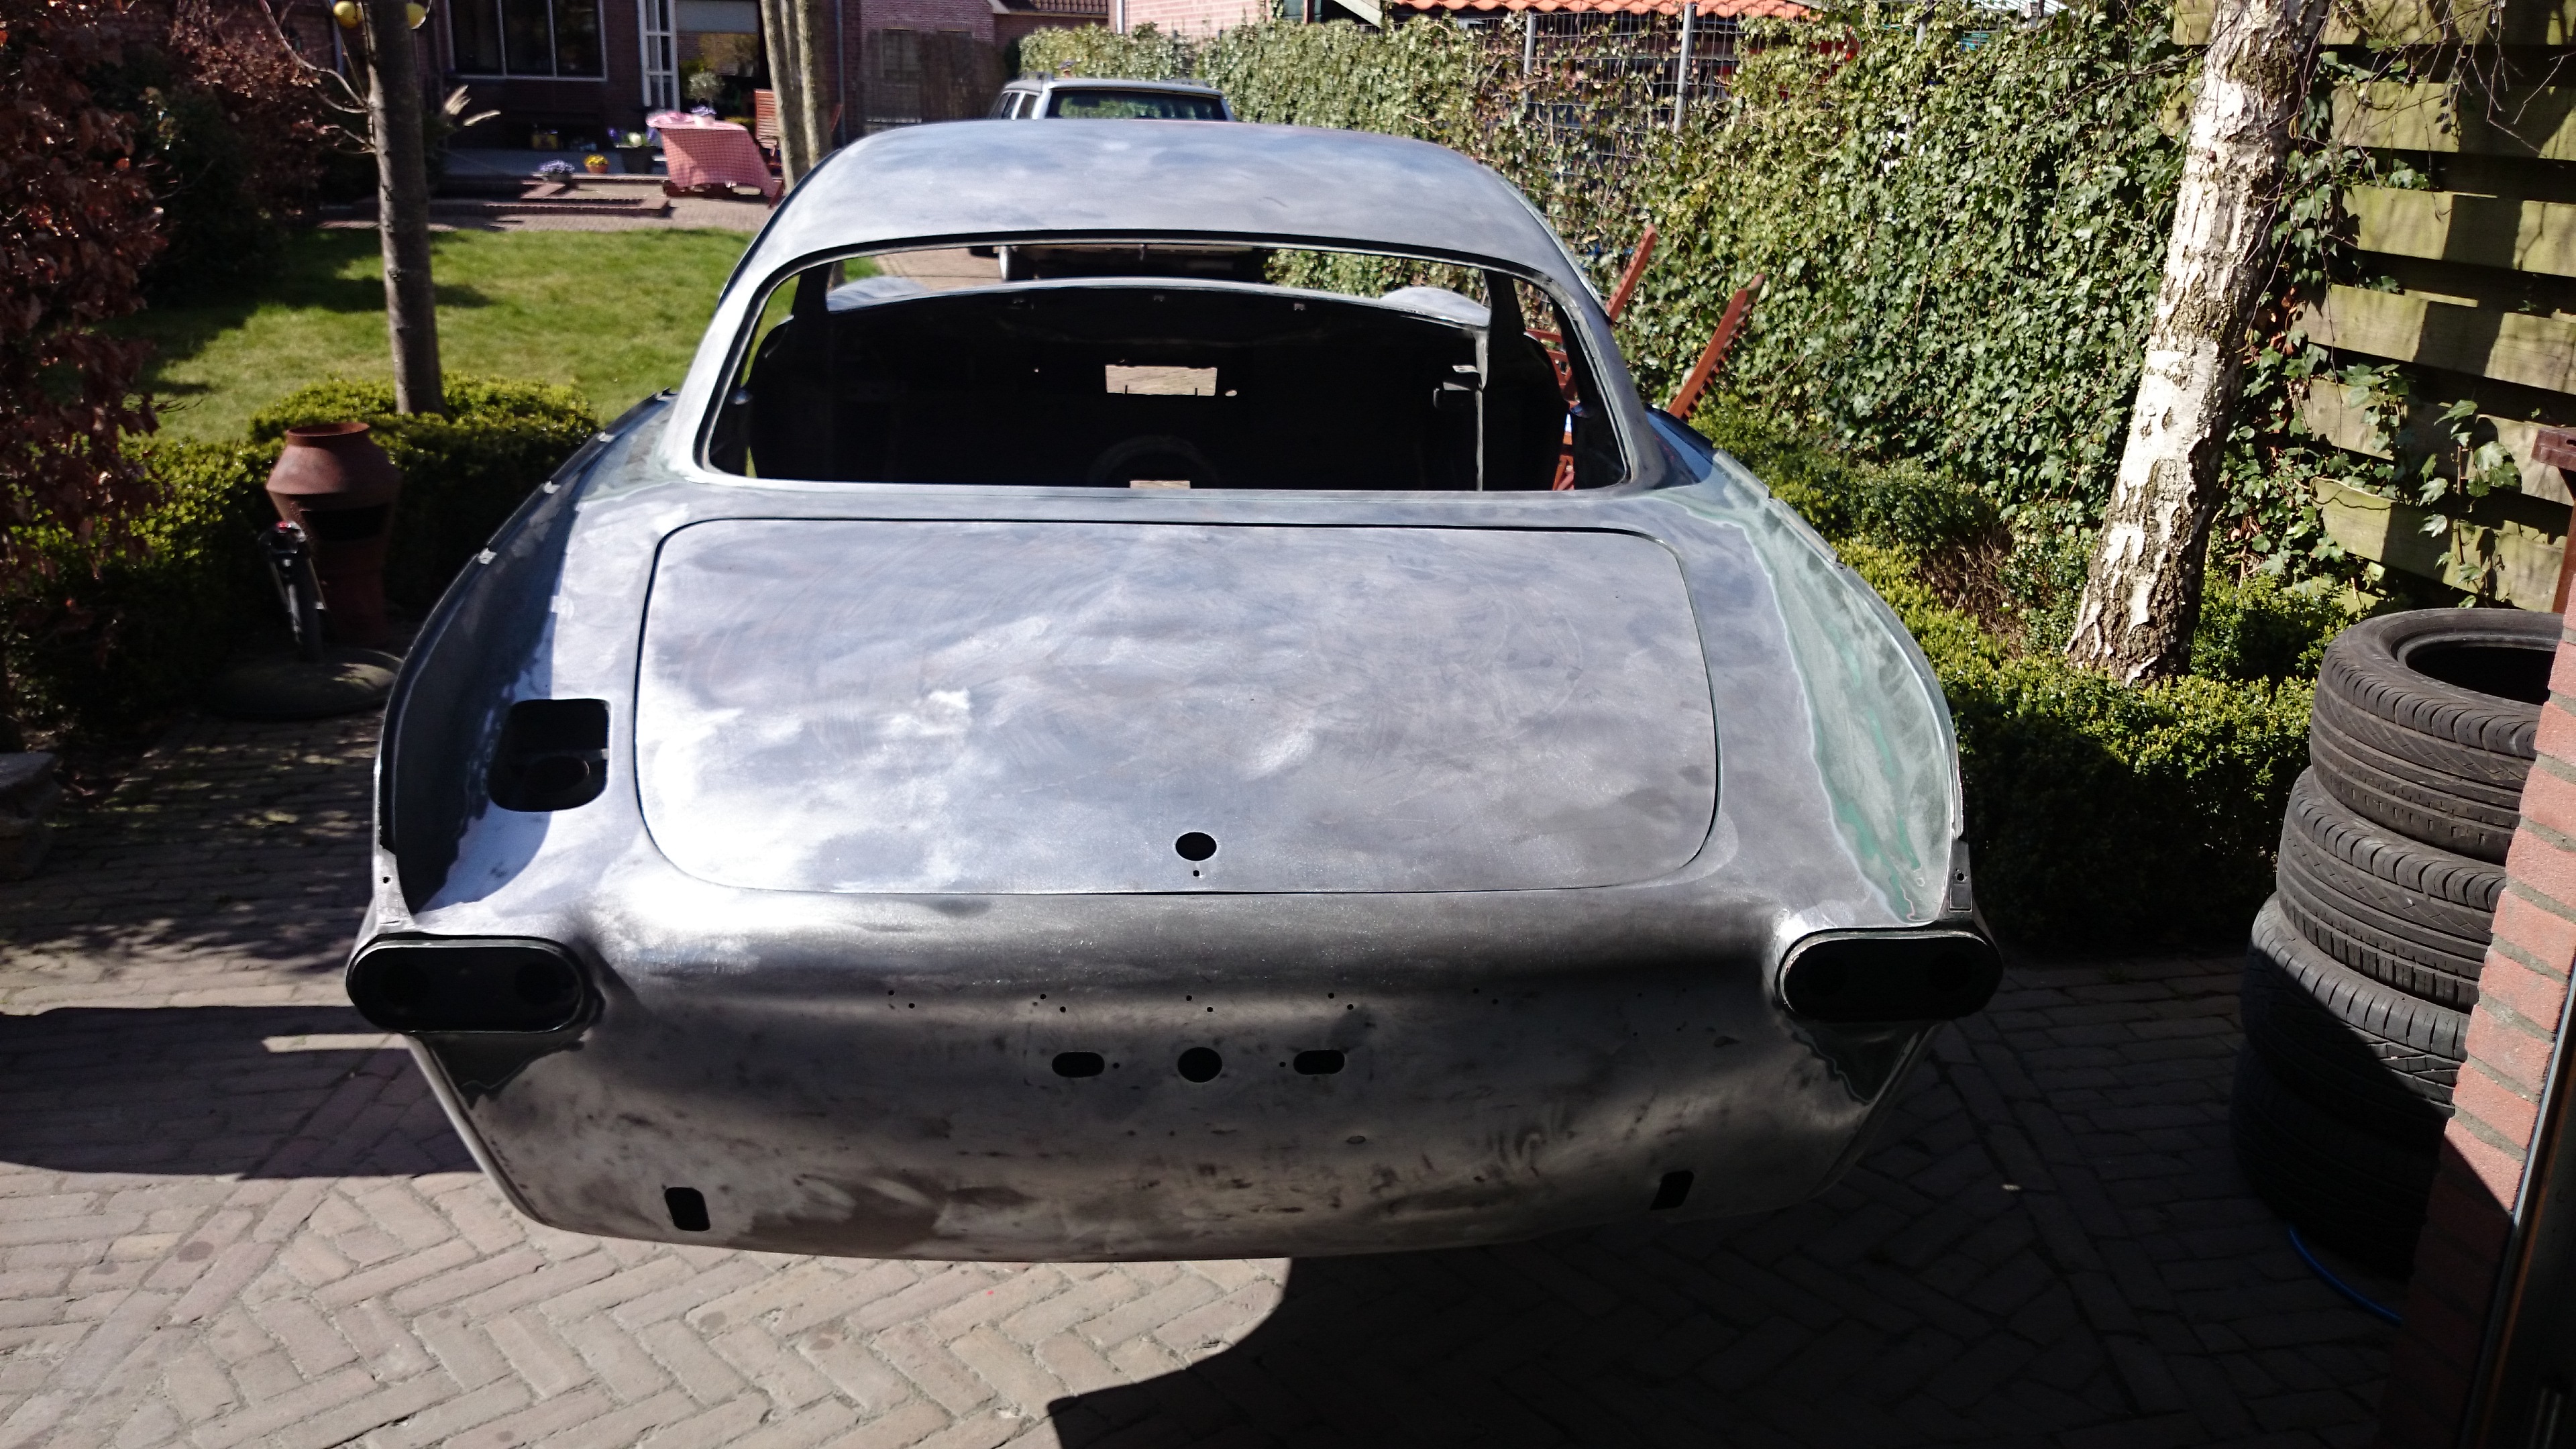
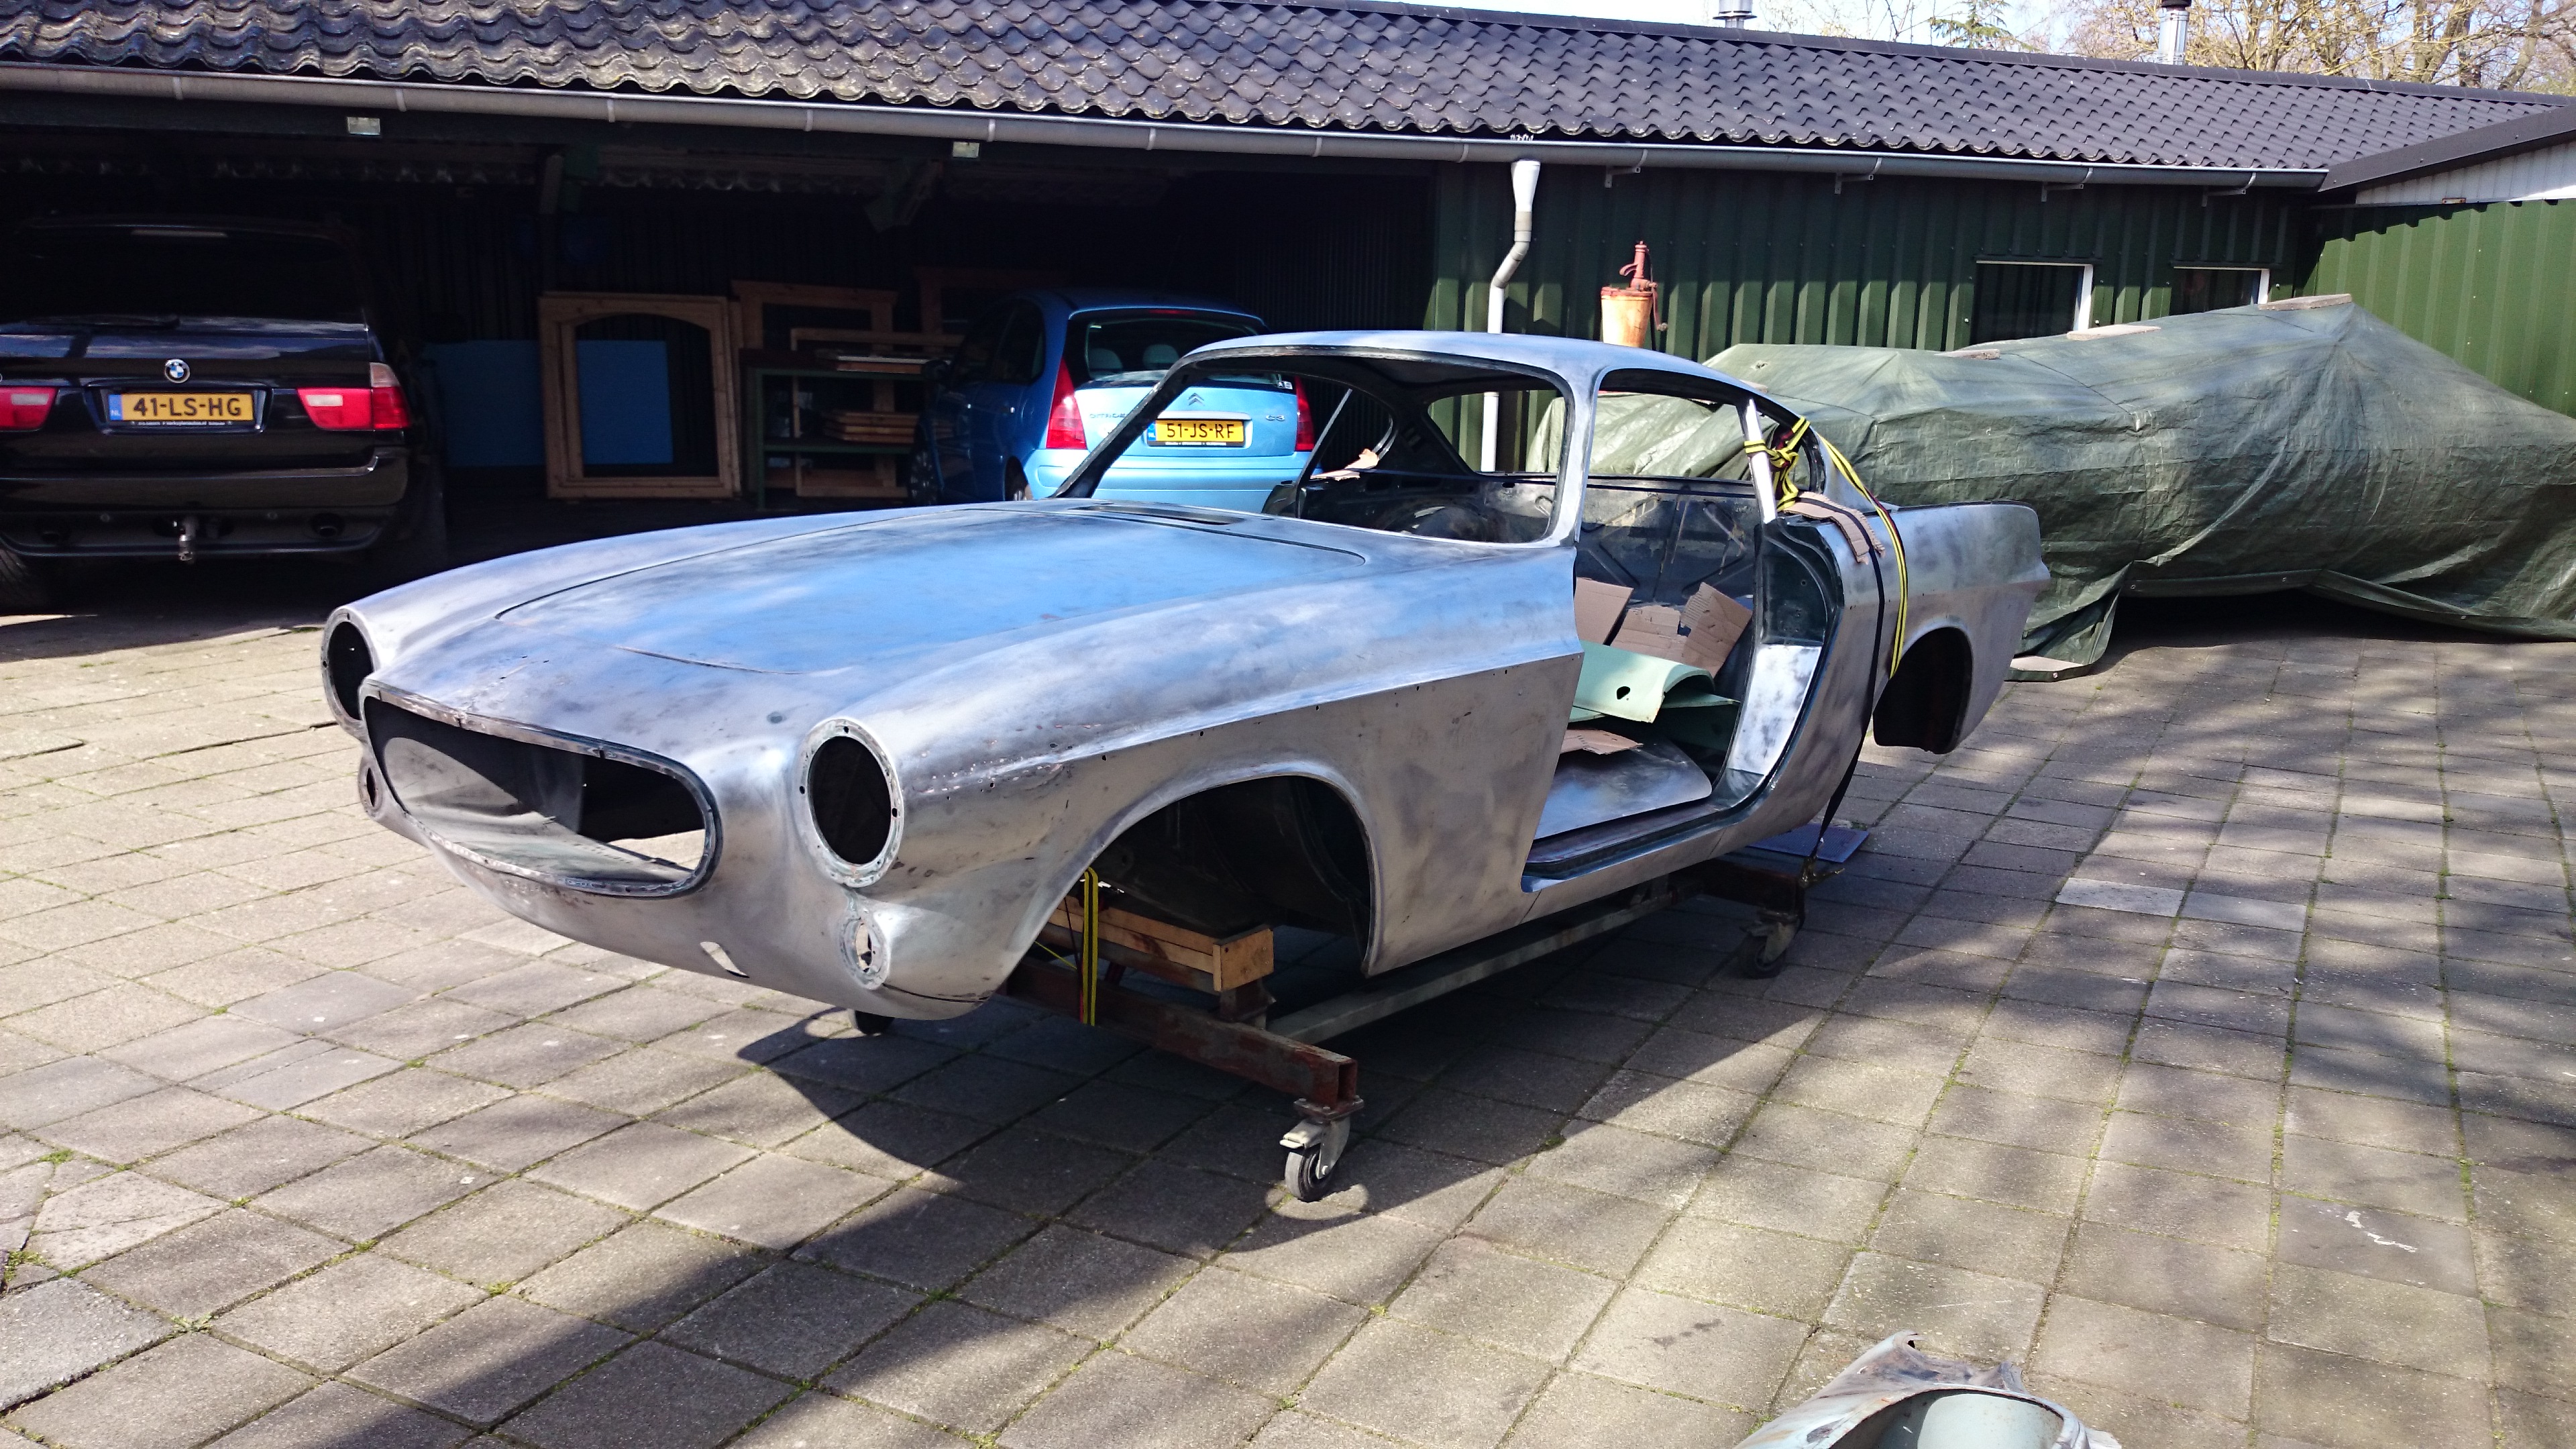
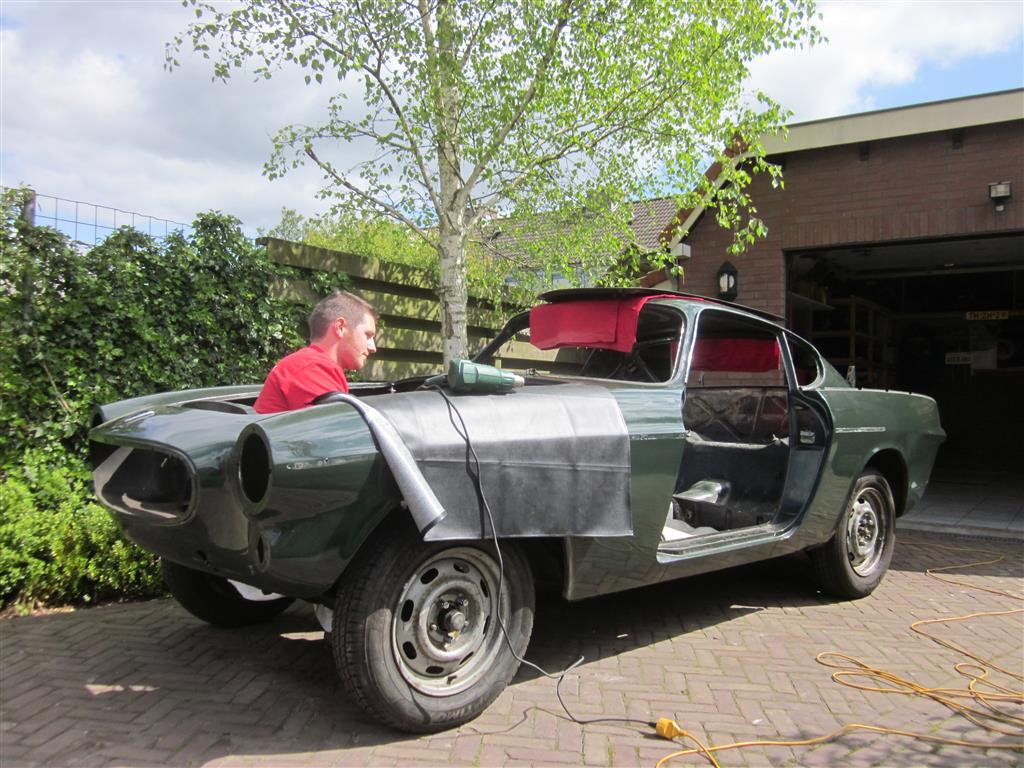
After al these years the welding and sheetmetal stuff is FINALLY done and the body including doors, hood and trunk lid have been lightly shot blasted and painted in epoxy primer. Next: get the car painted!


After al these years the welding and sheetmetal stuff is FINALLY done and the body including doors, hood and trunk lid have been lightly shot blasted and painted in epoxy primer. Next: get the car painted!
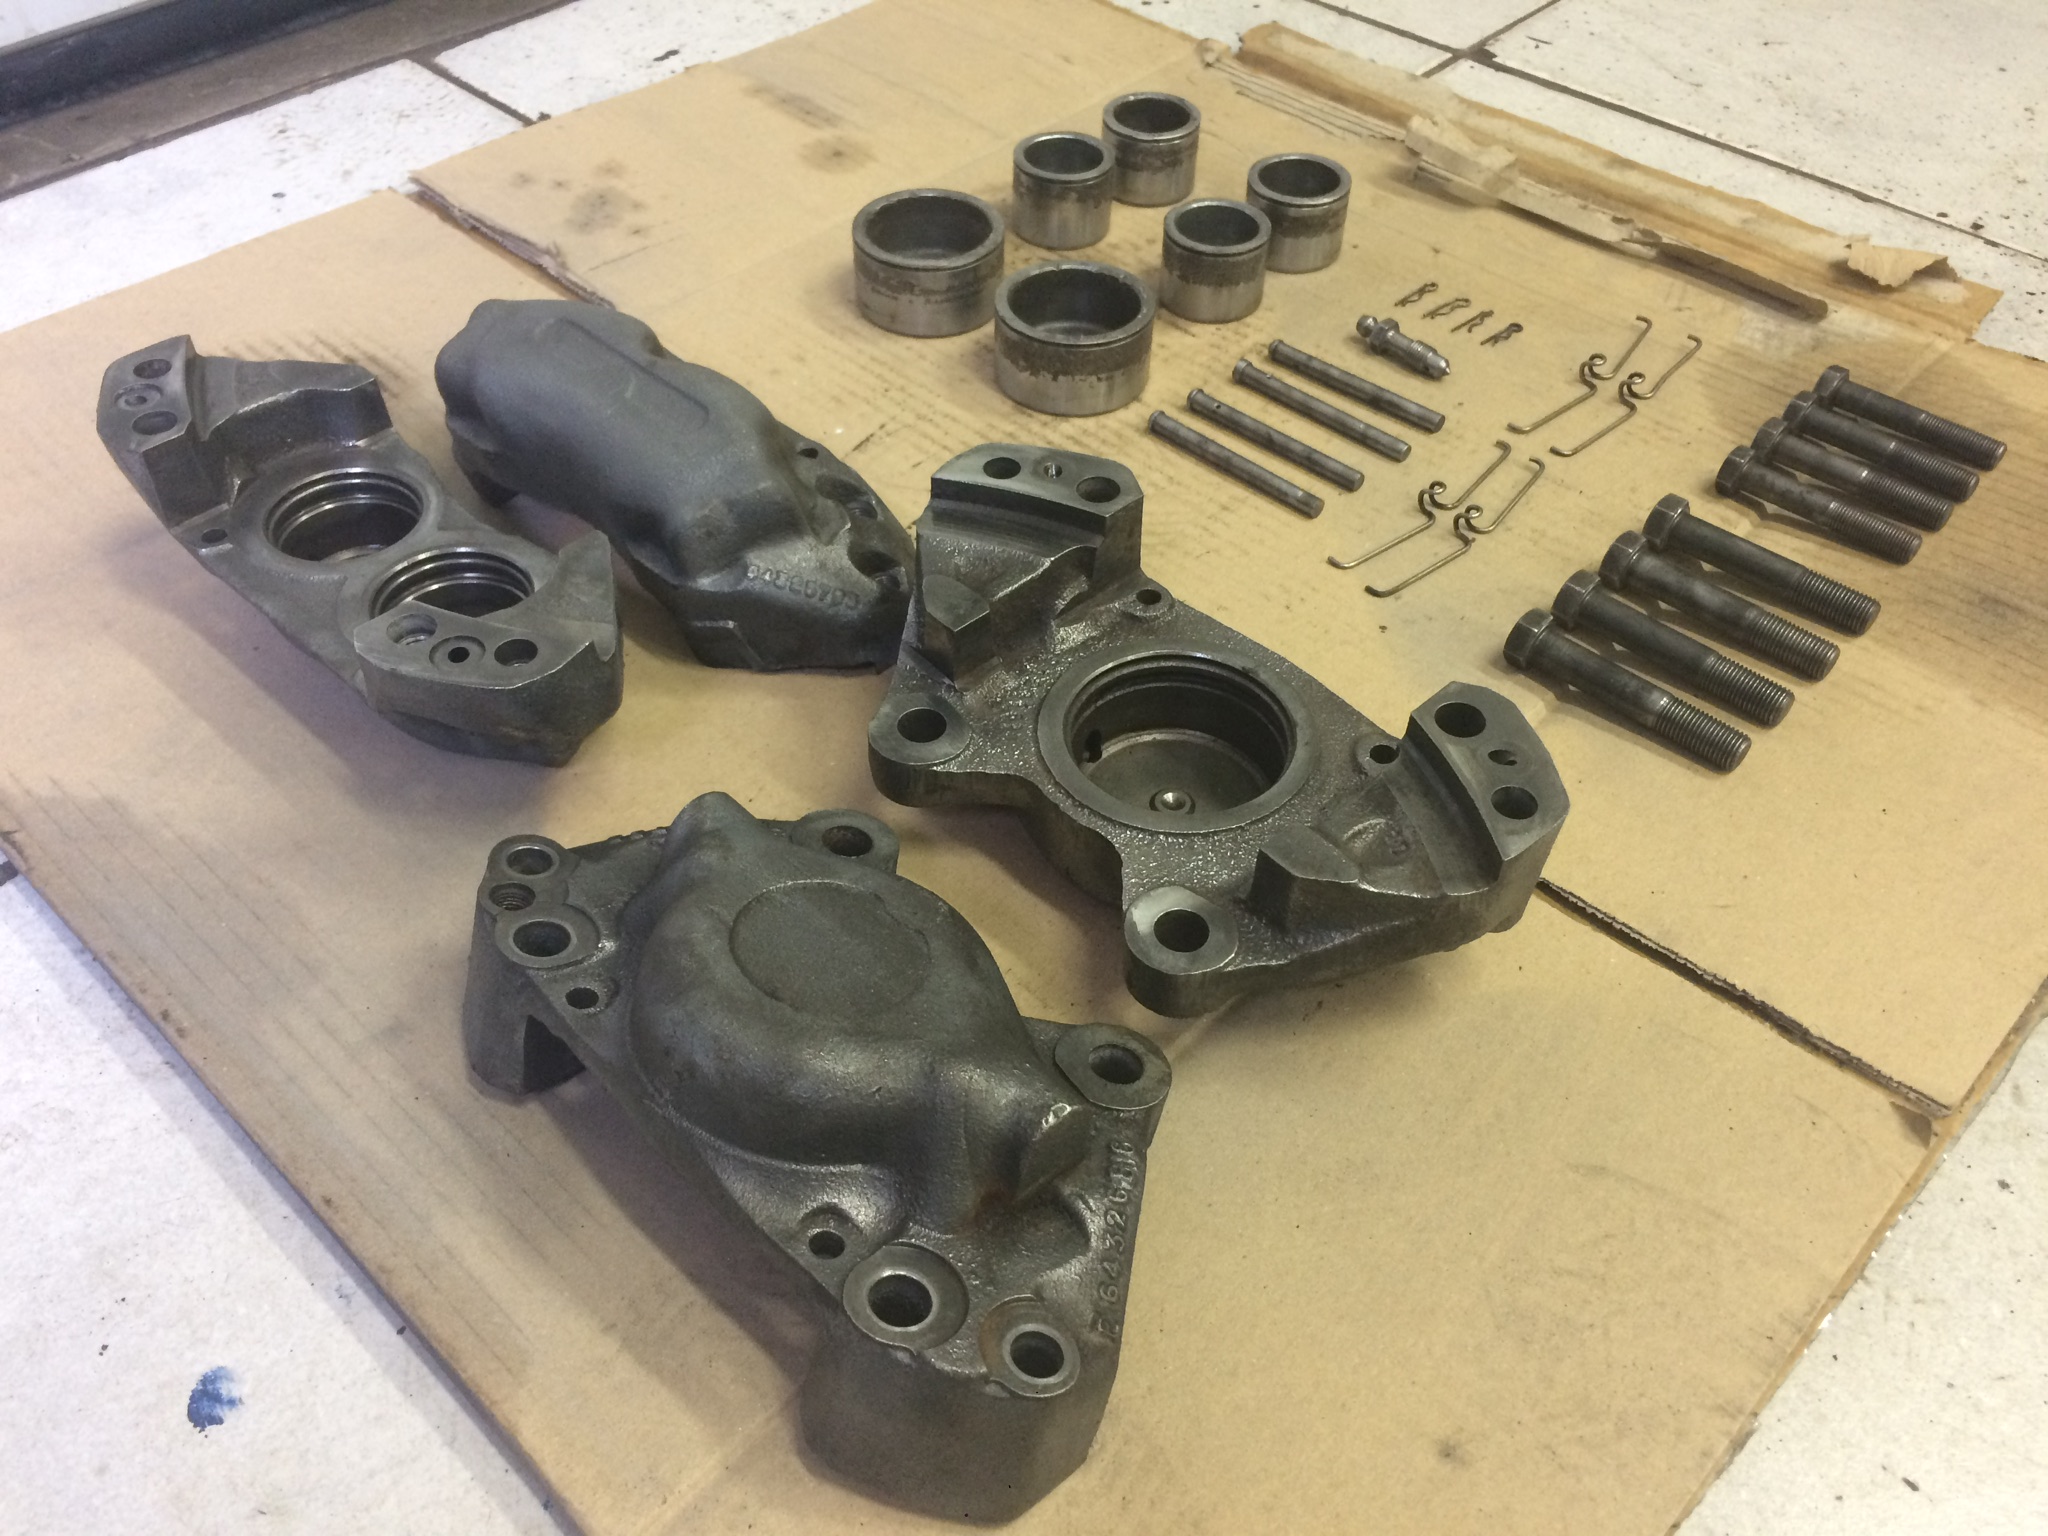
The pistons where stuck in the calipers, but after a little pursuation I got them out.


Then clean it all up to prep for painting. The bolts, clips, pistons and brake pad pins will go with the second batch to be zinc plated. The seals are all pretty much shot, so ordered a new kit.
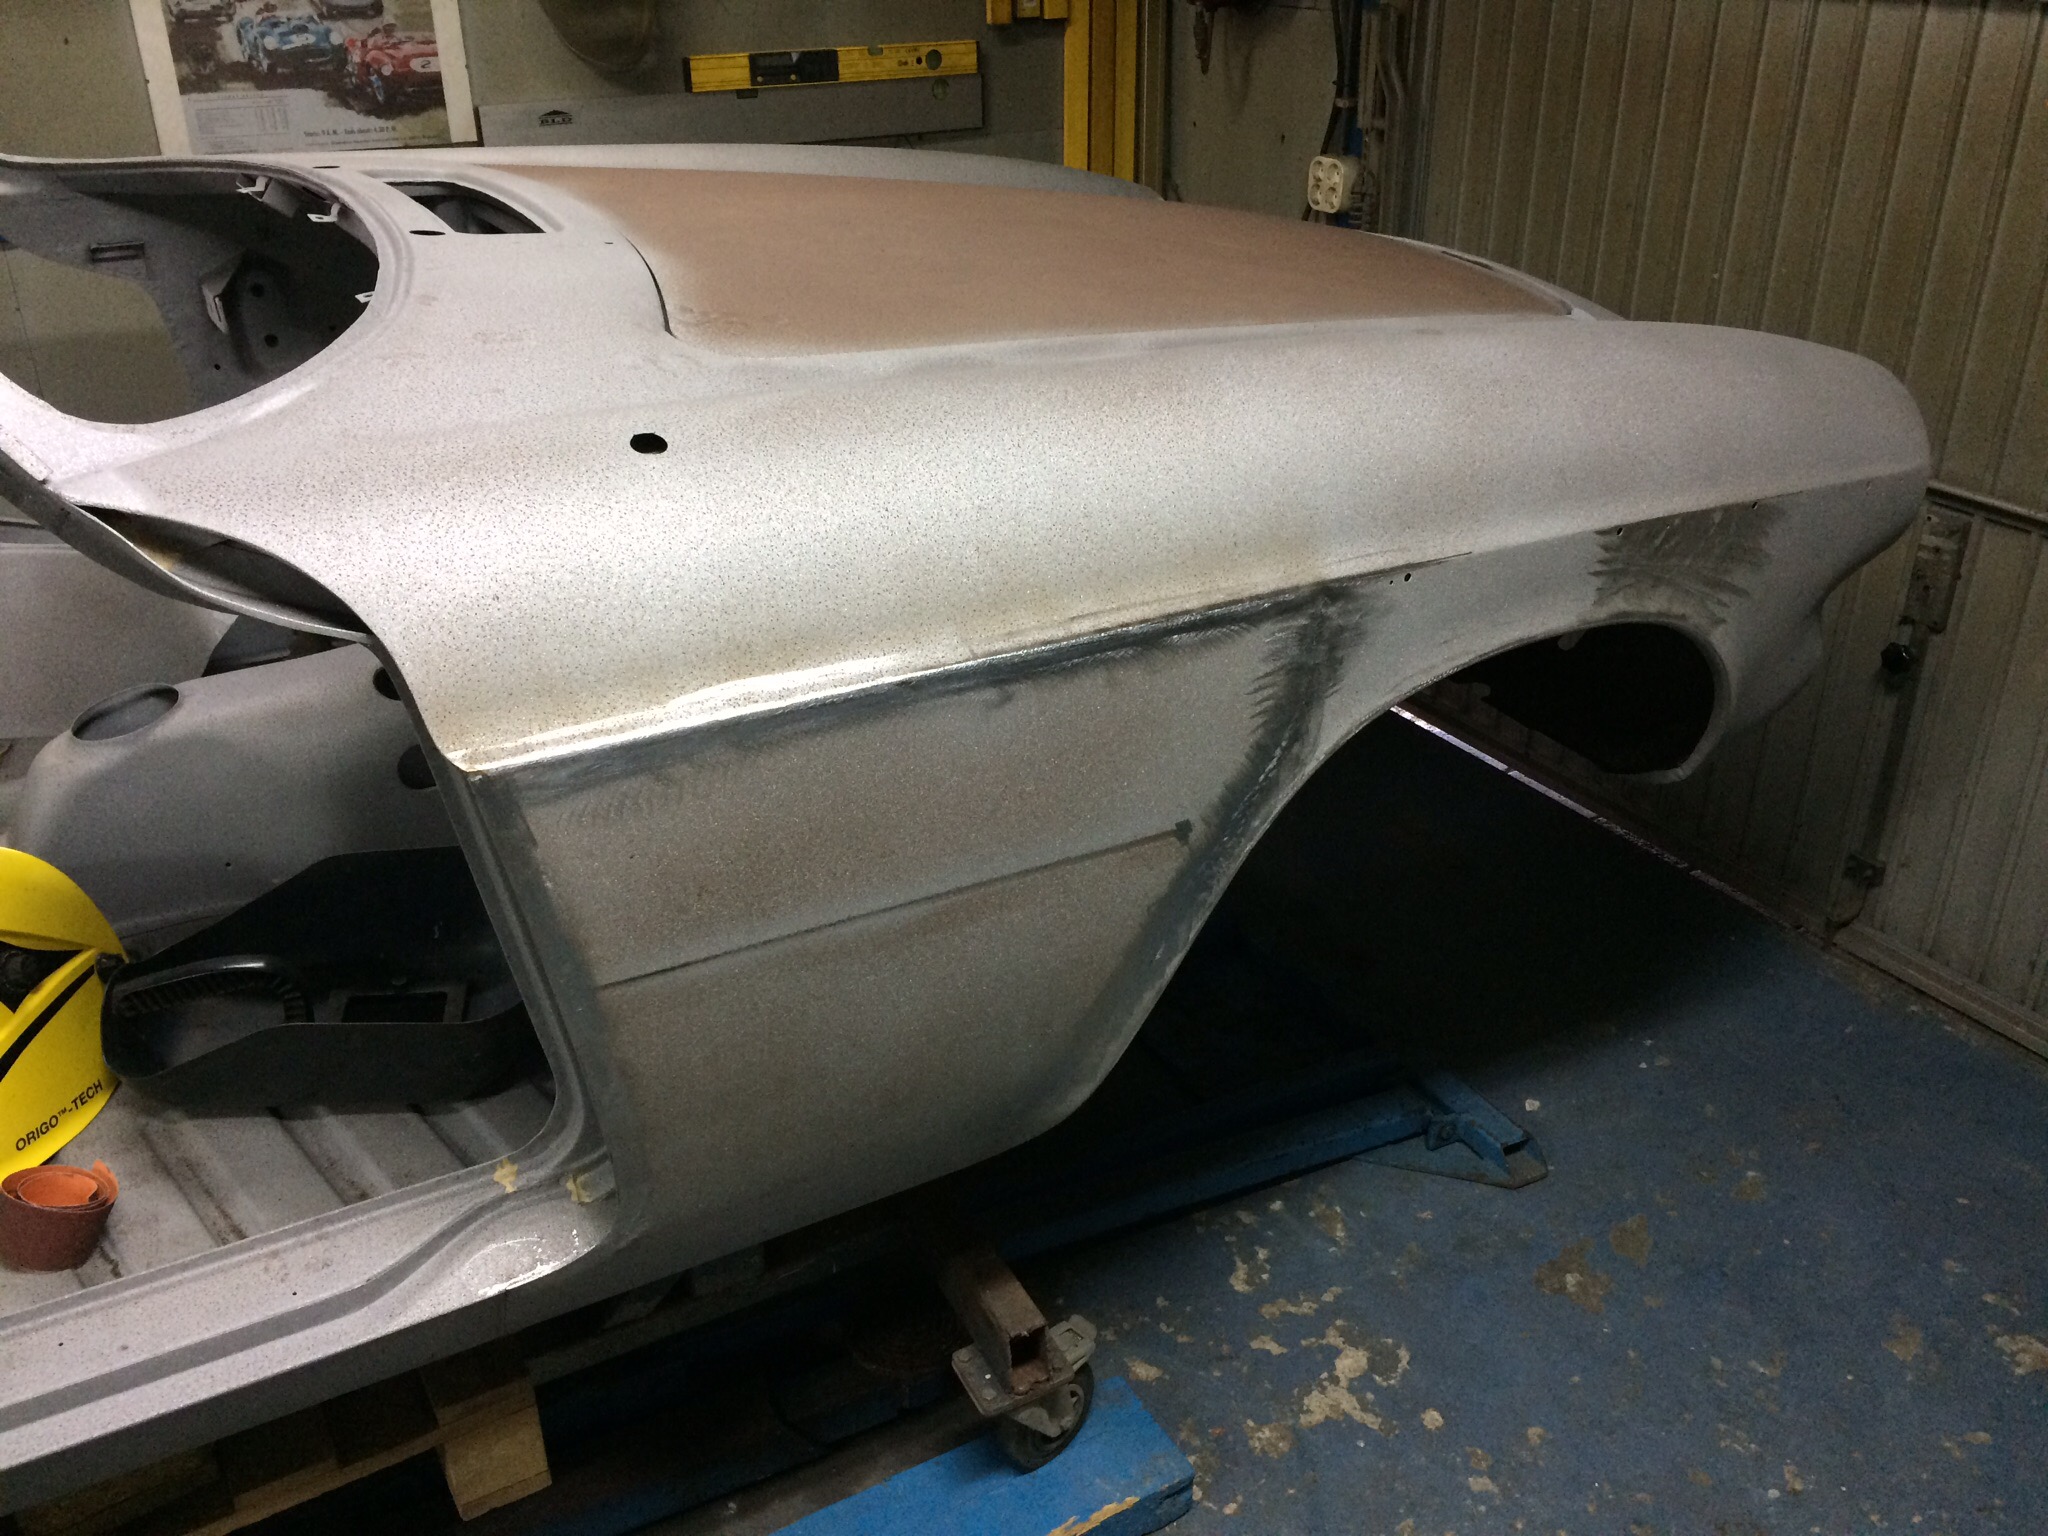
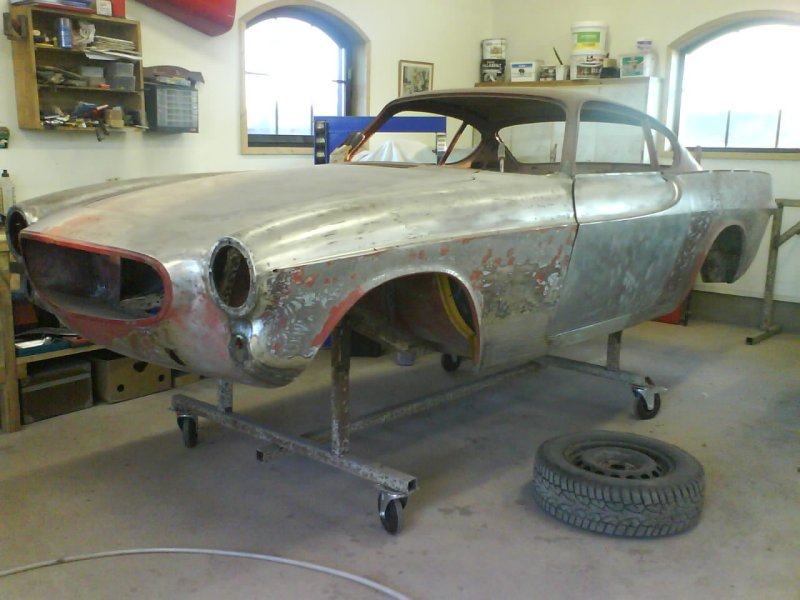
Two years since my last update, about time for a new one. Progress on the car is slow. Lots of bodywork was neccessary because of some rust and many old poorly repaired damages covered under layers of filler. They all where redone in a proper way. Now the body is nearly finished and I hope I can drop it off at a paint shop within a few months.
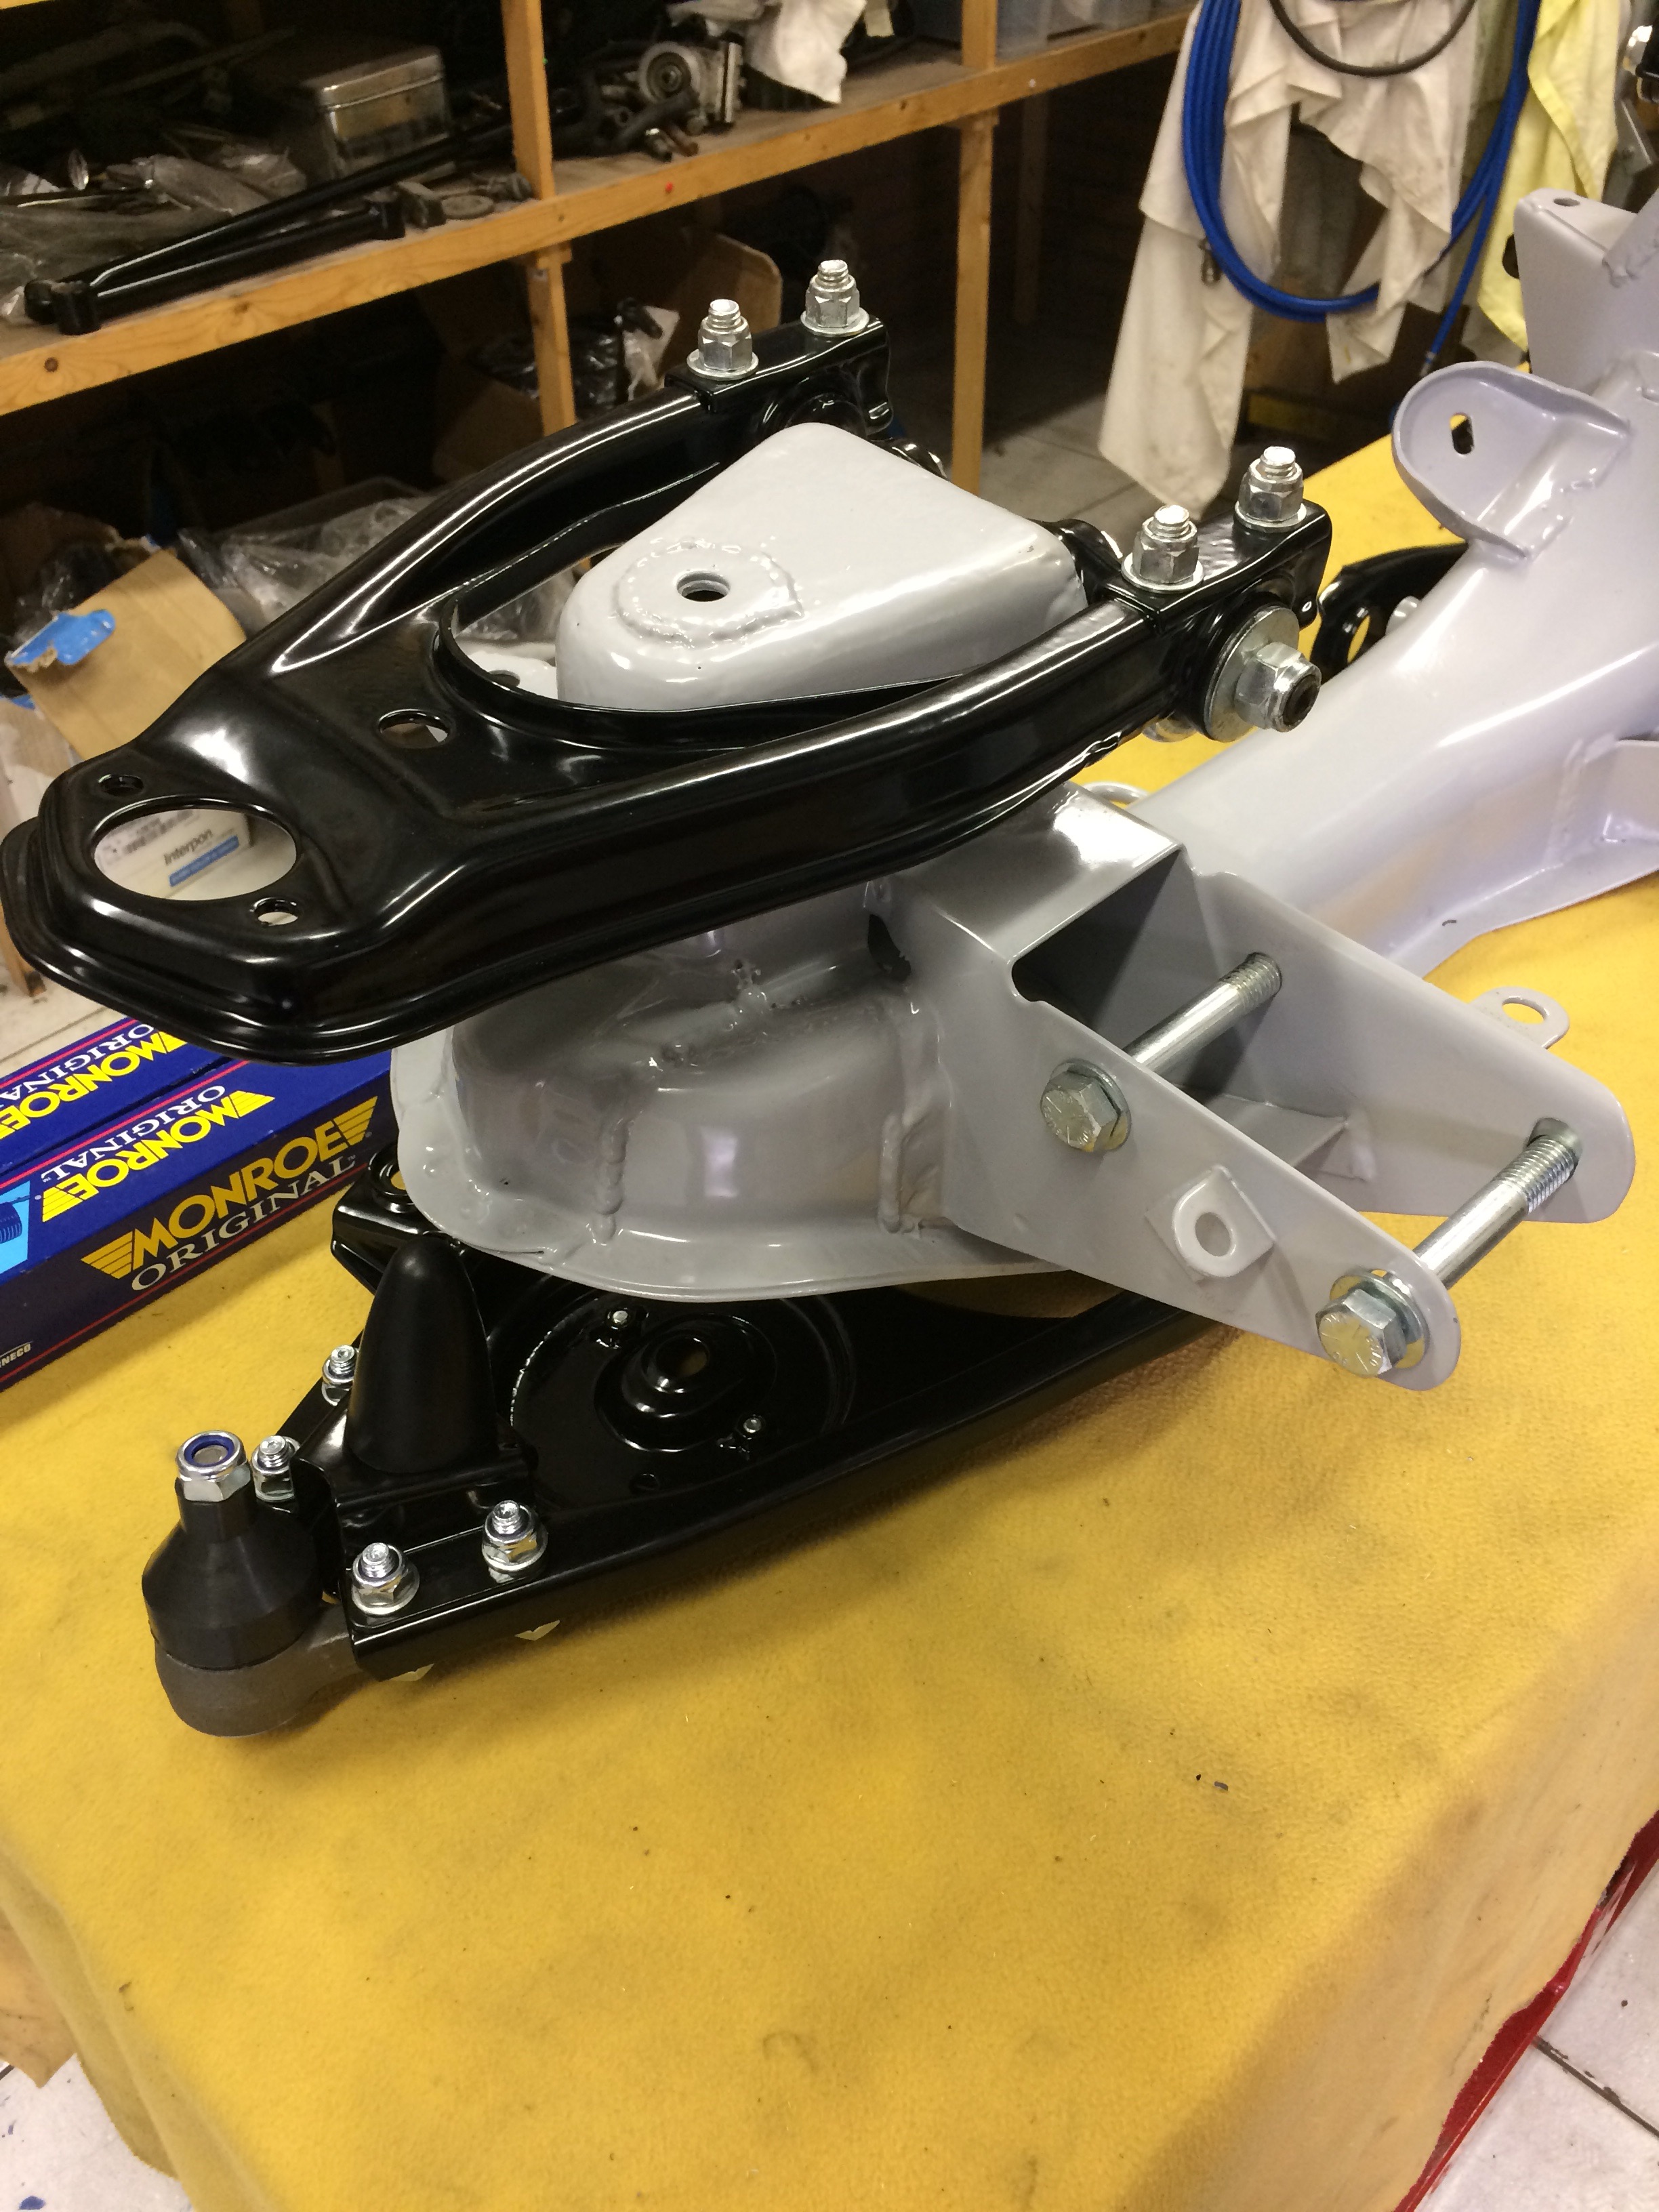
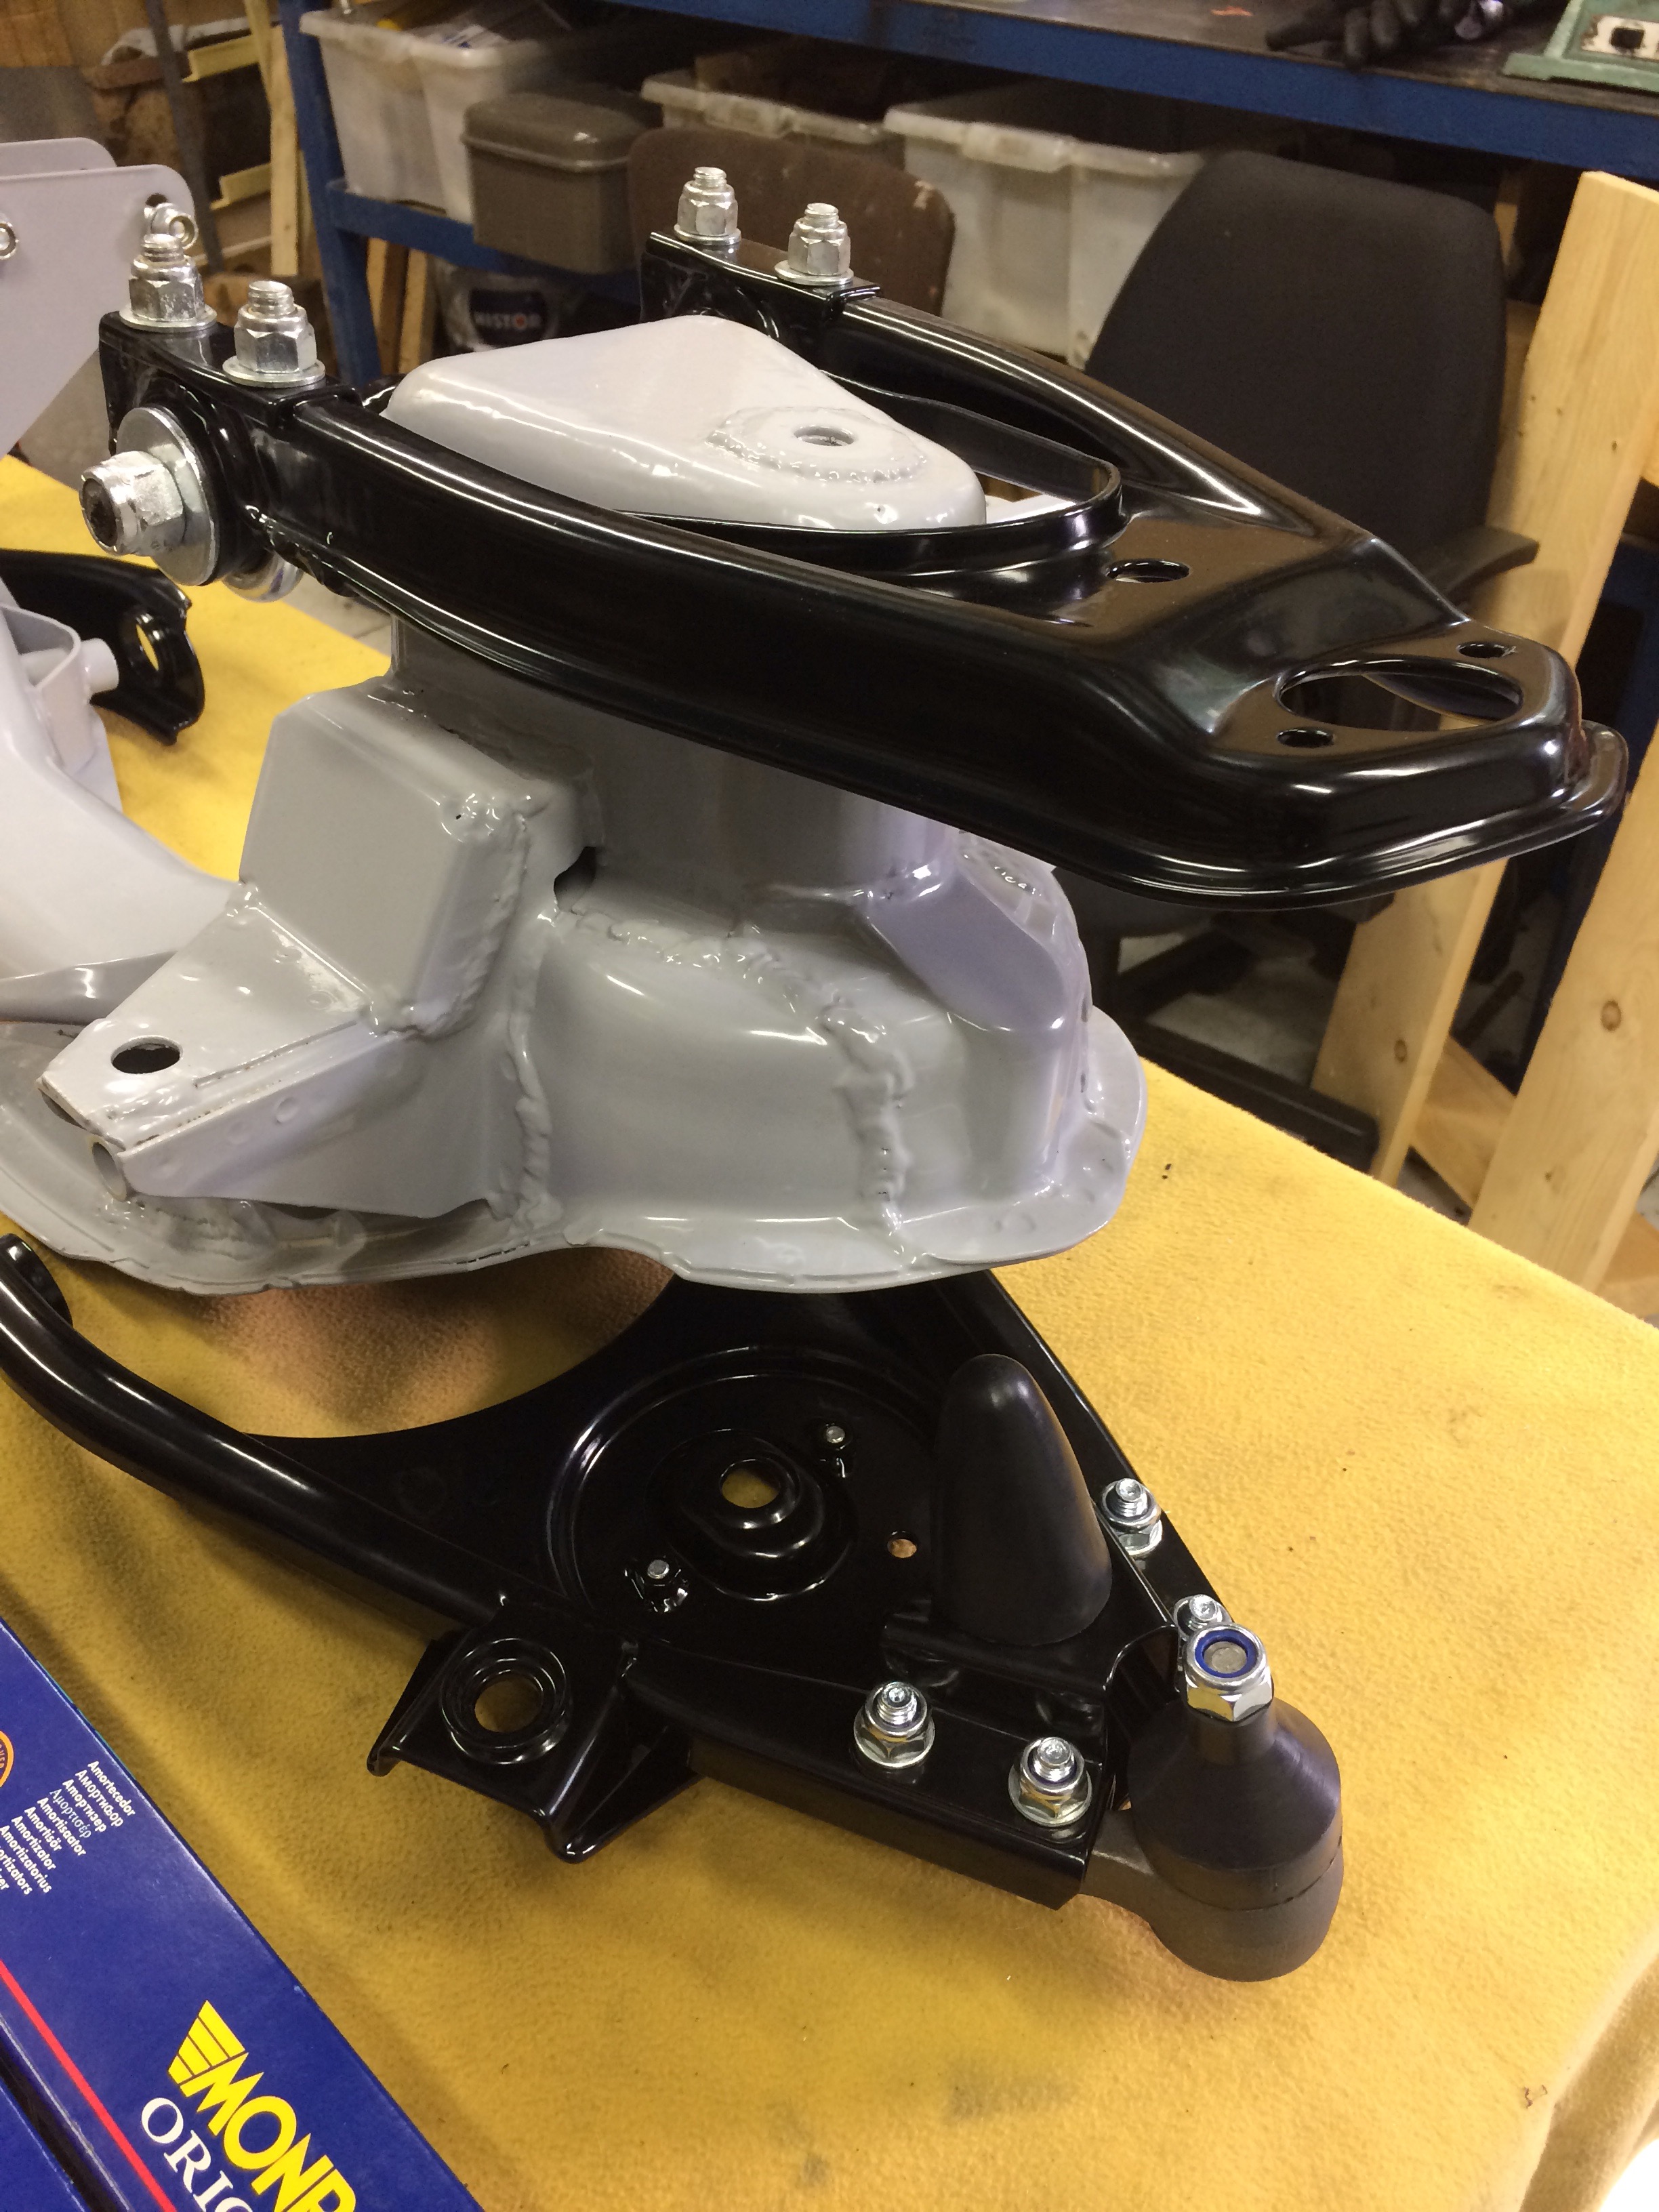
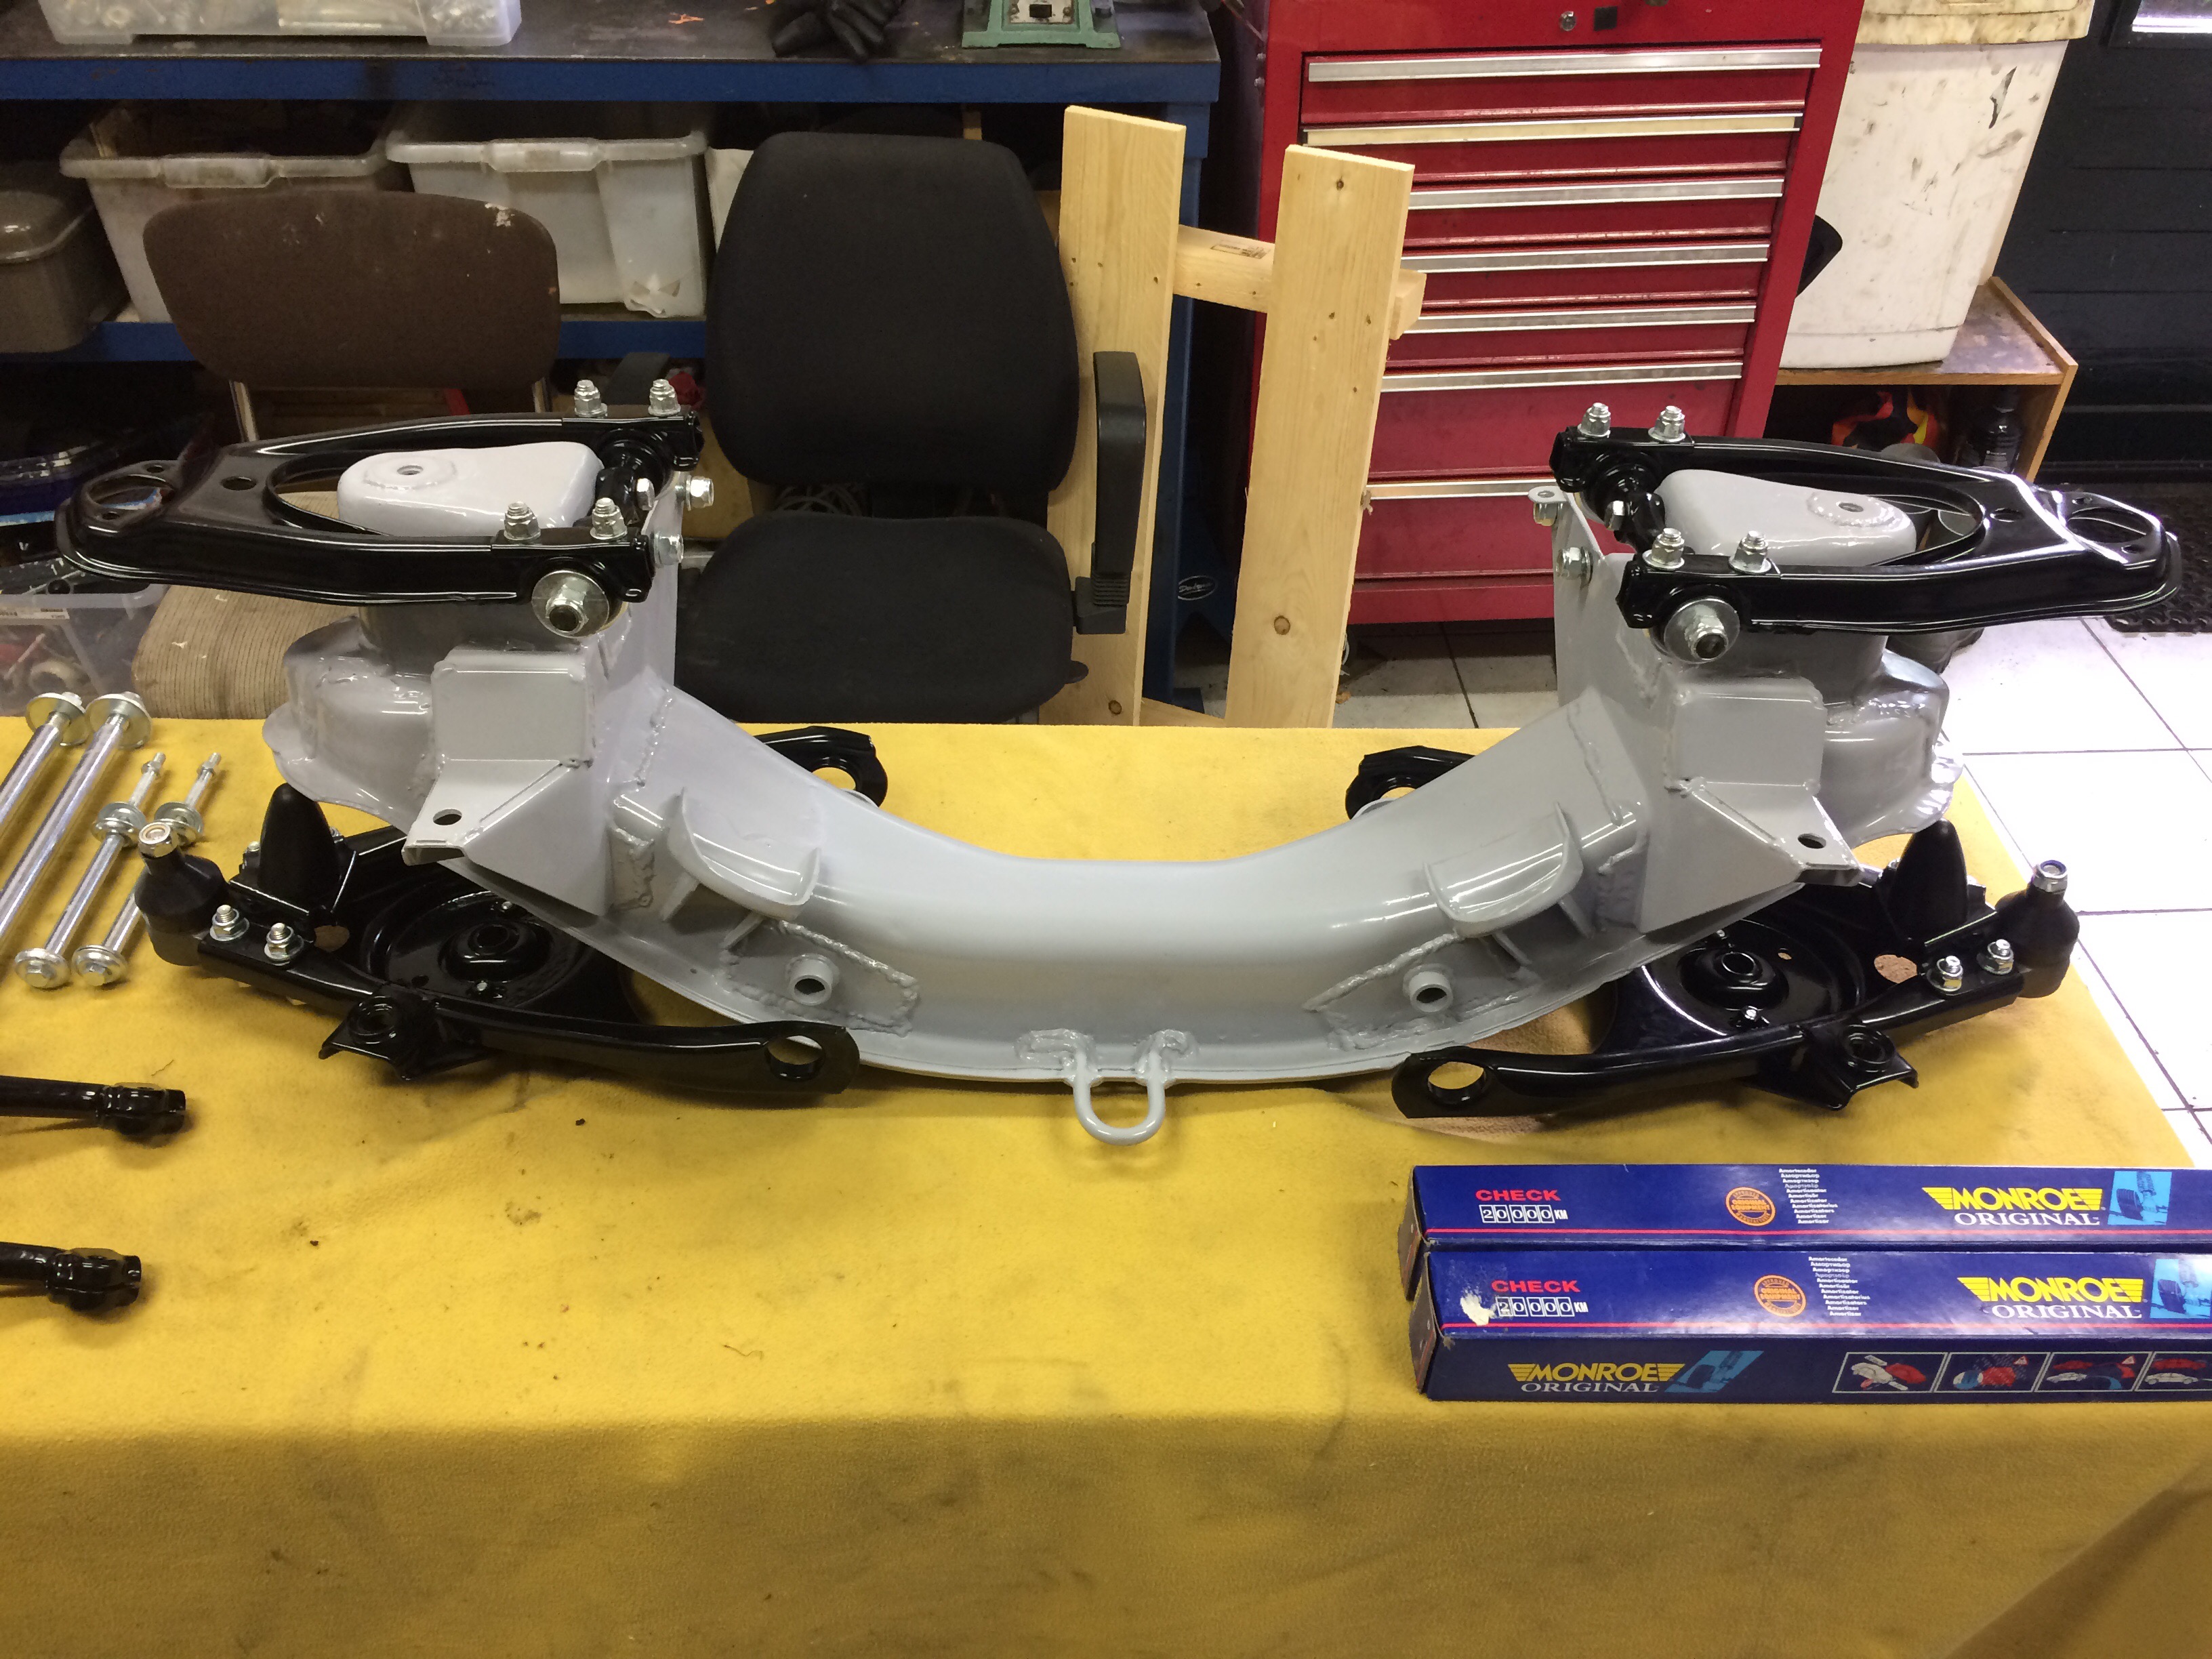
I’m also busy rebuilding the front suspension and the rear suspension will be next. This so the car can get back on its wheels after painting.

As I am finished with largely removing of all the tectyl and sanding down the car (including doors, trunk and hood lid) so time to take it to the bodyshop.

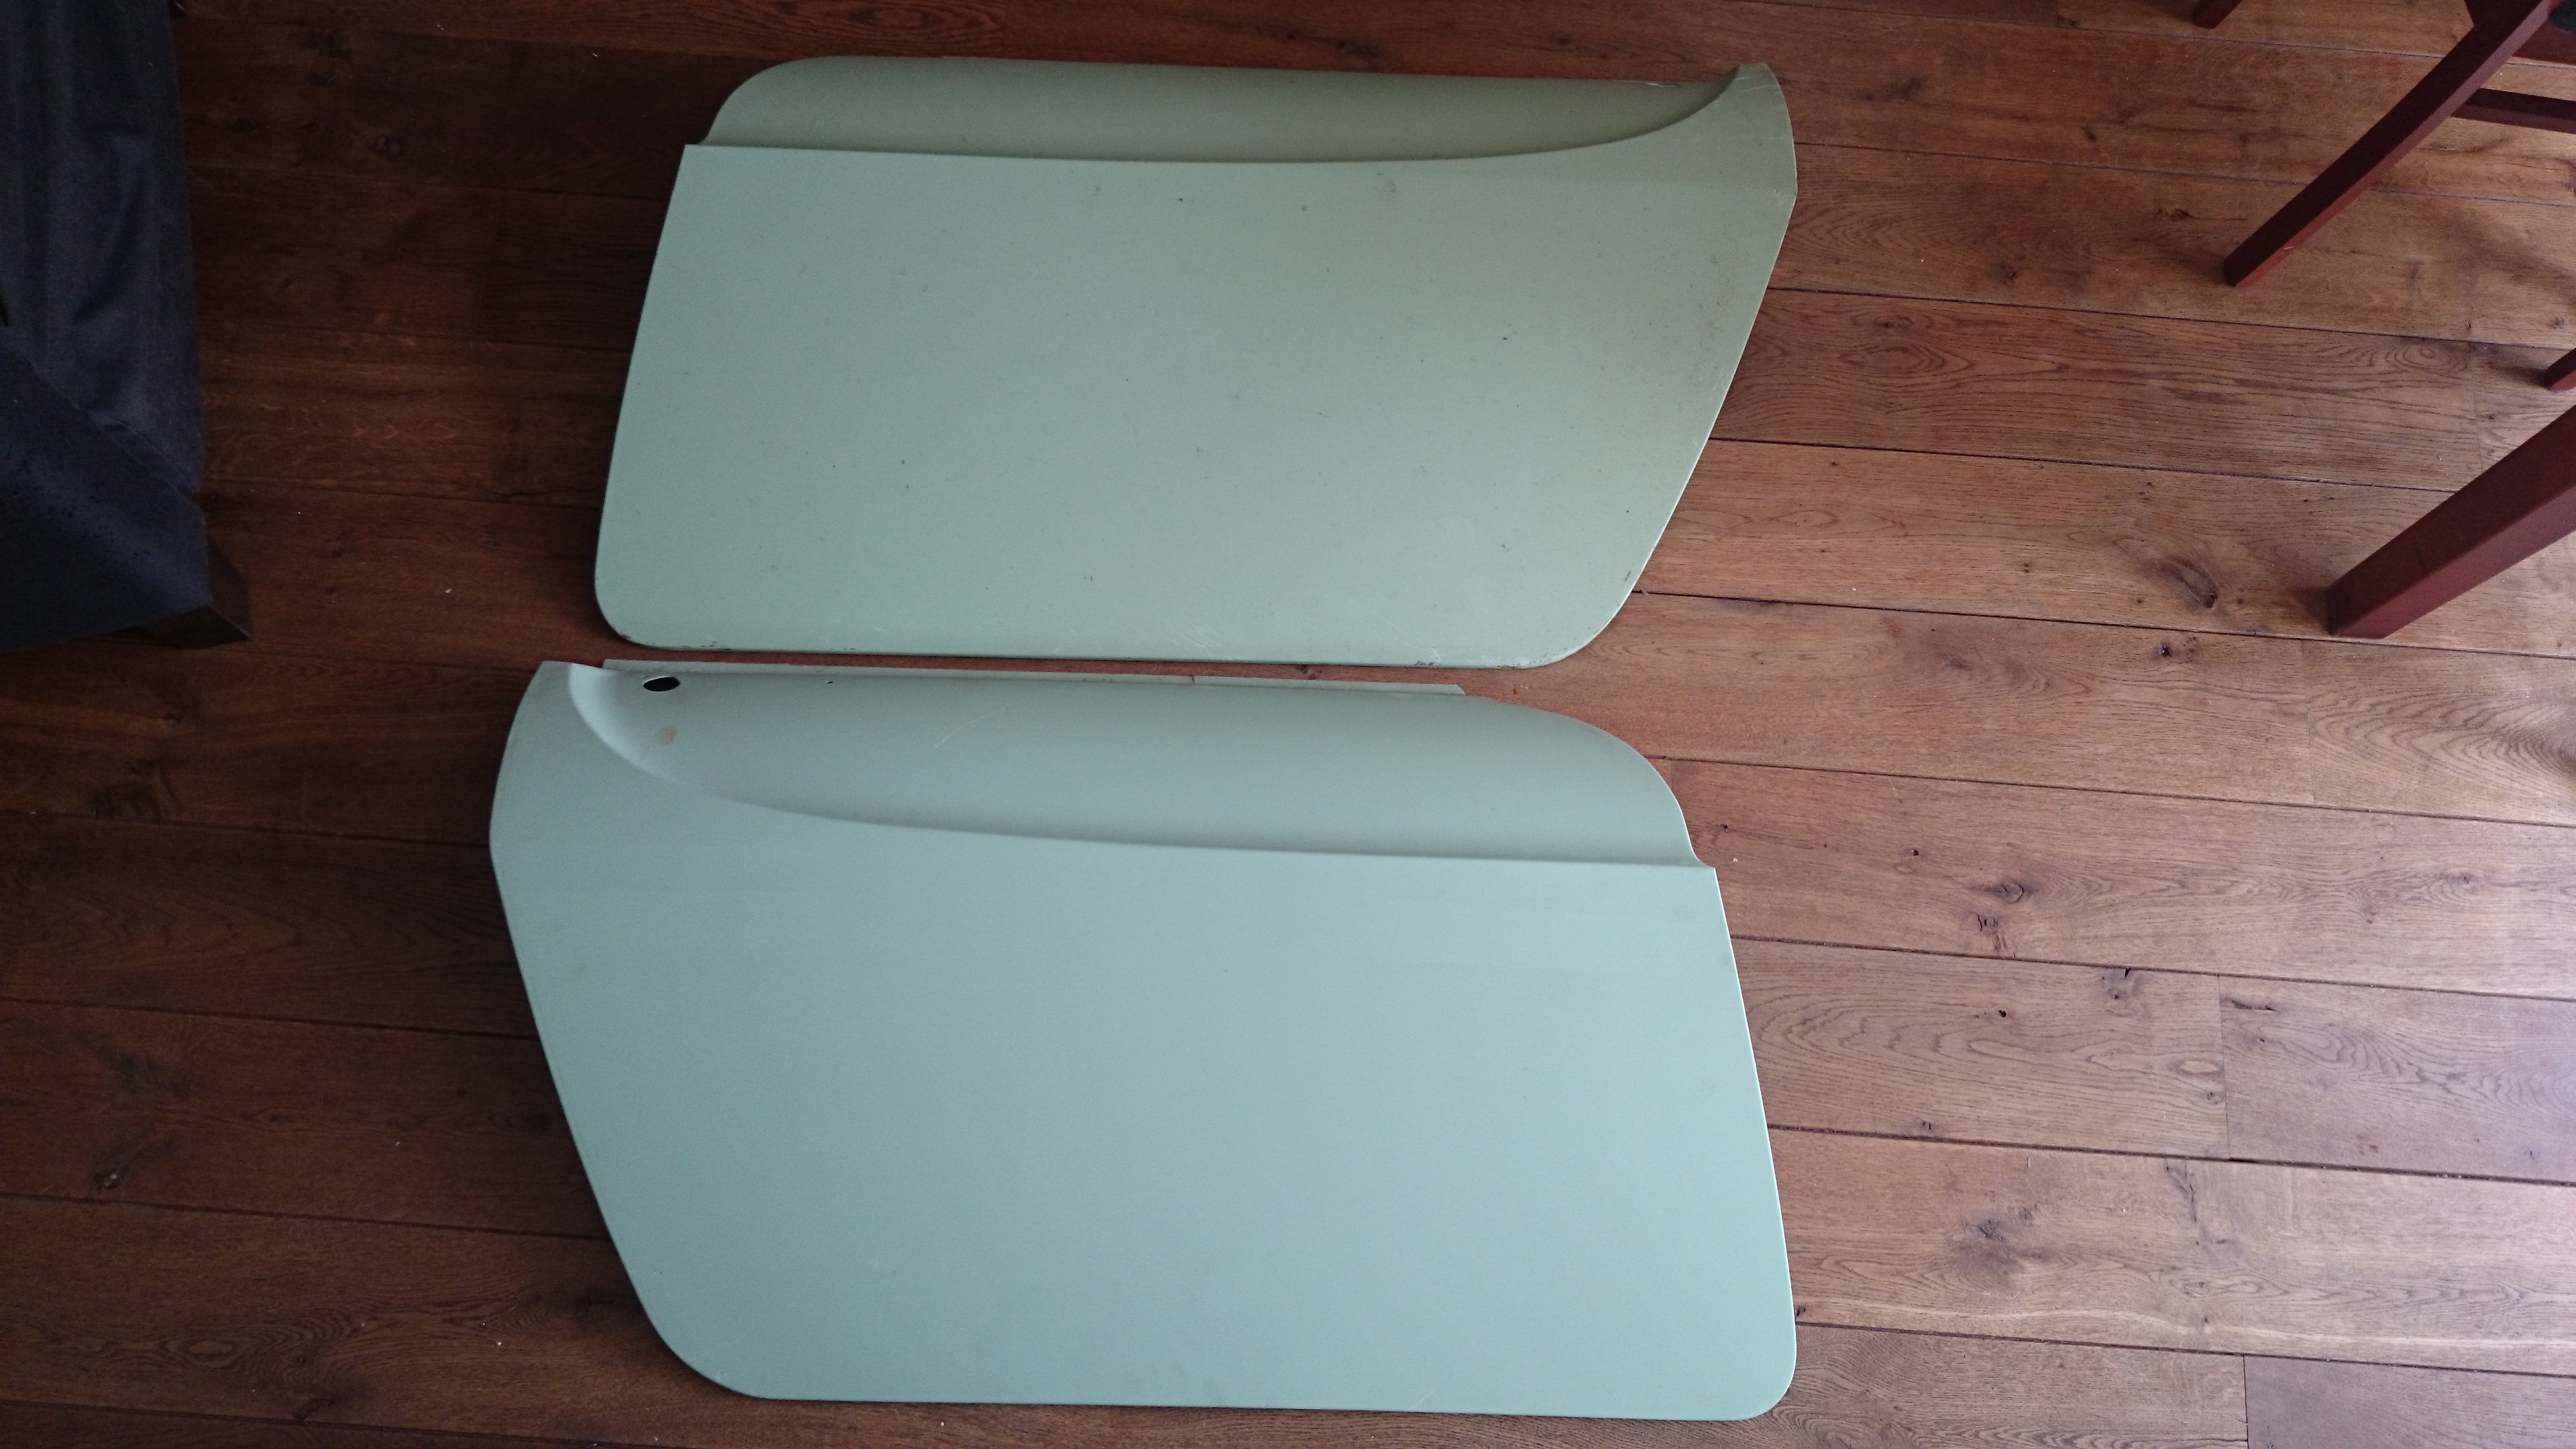
Doors, trunk and hood lid sanded down to bare metal.
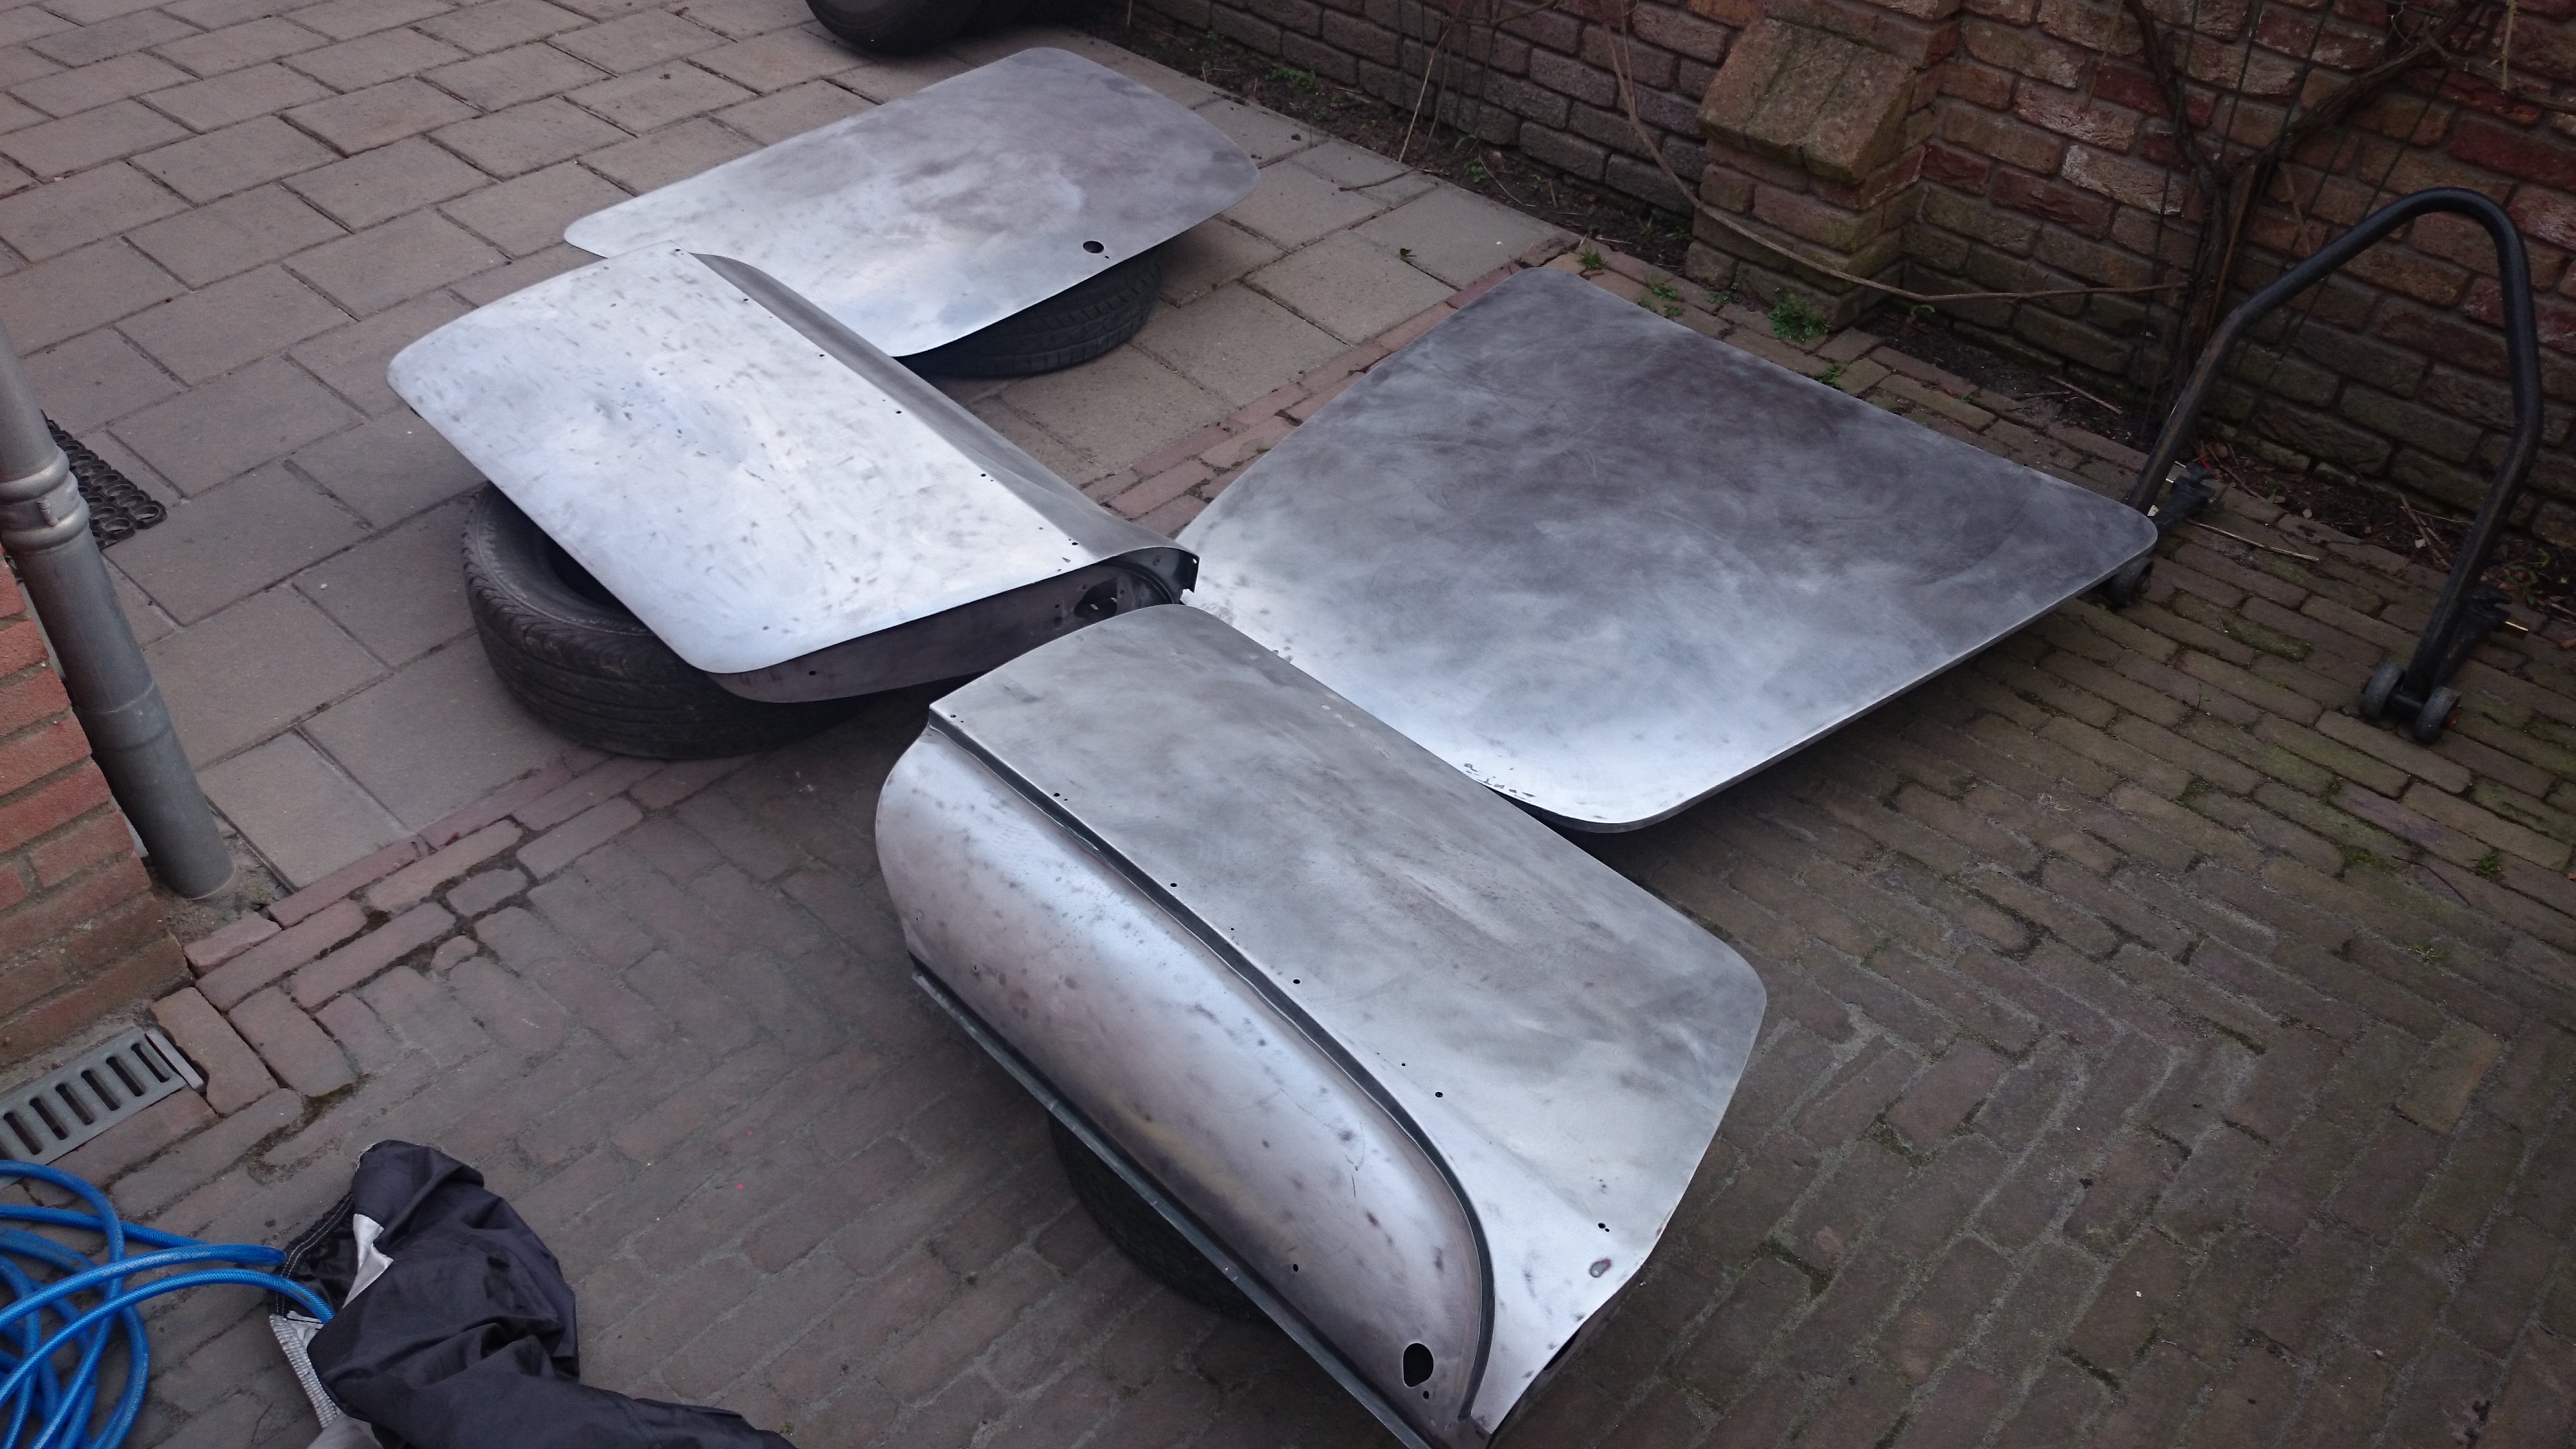
Door skin of both doors are pretty much banged up, so I got some NOS door panel skins.
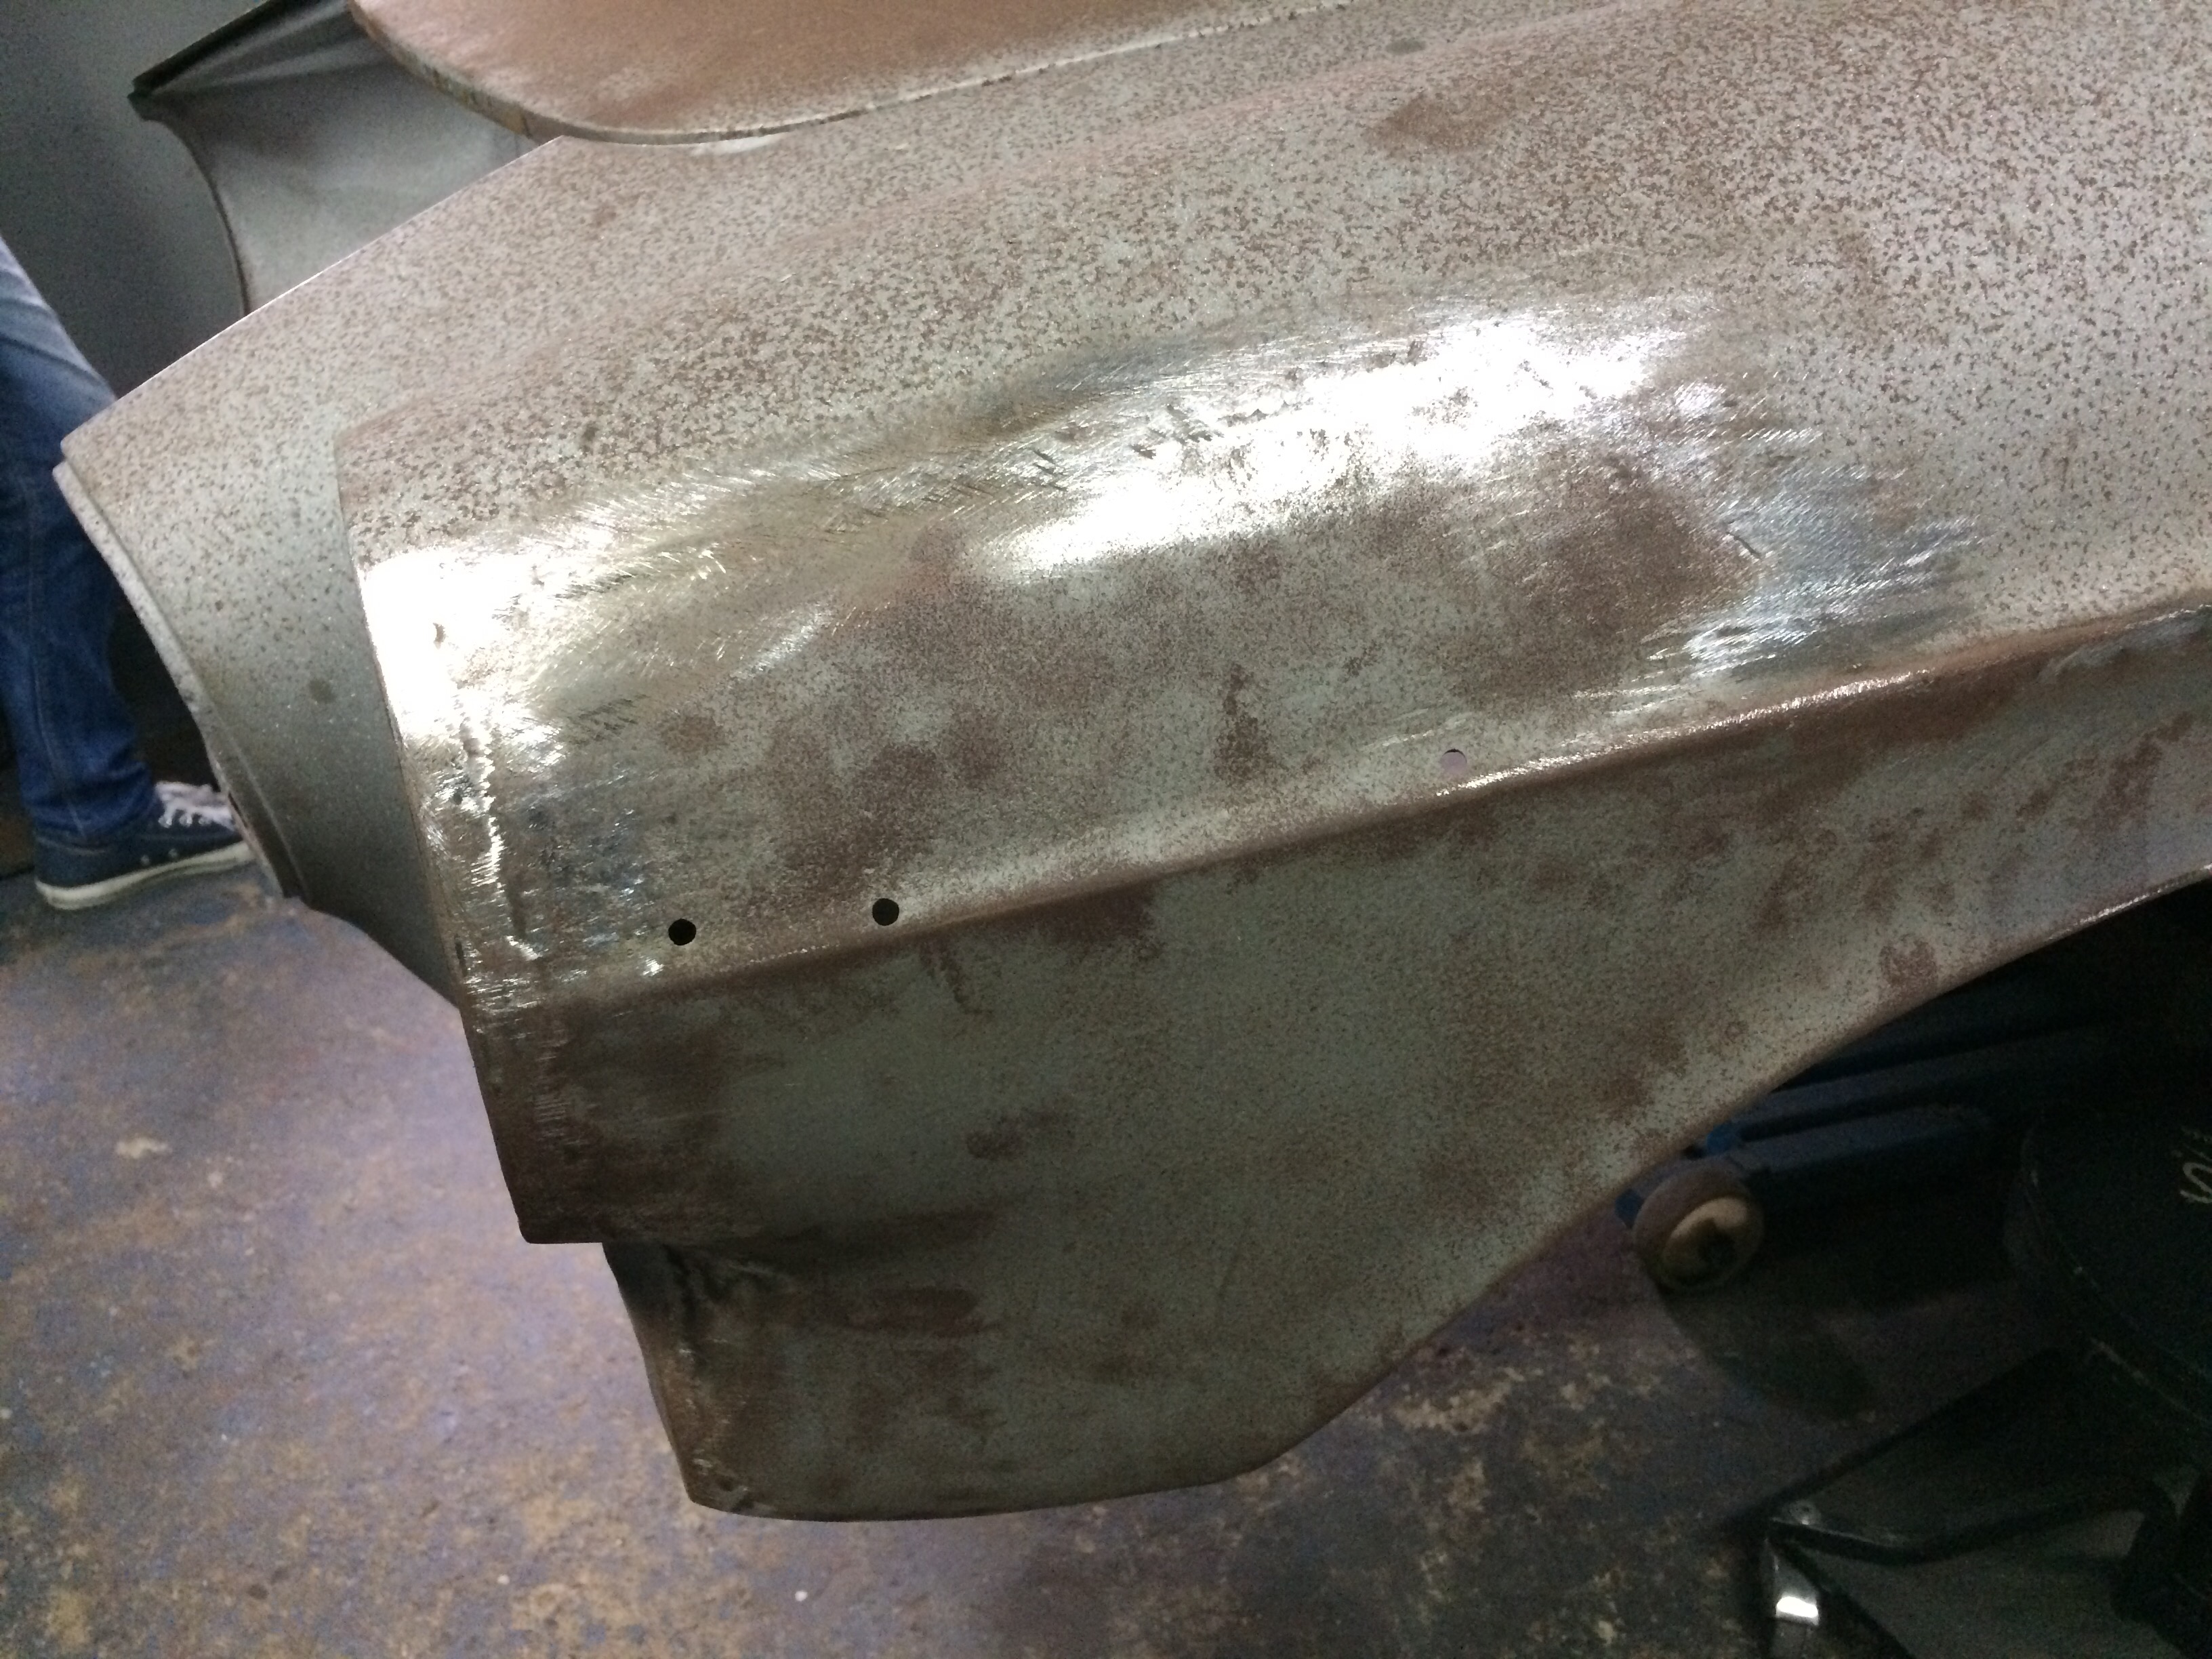
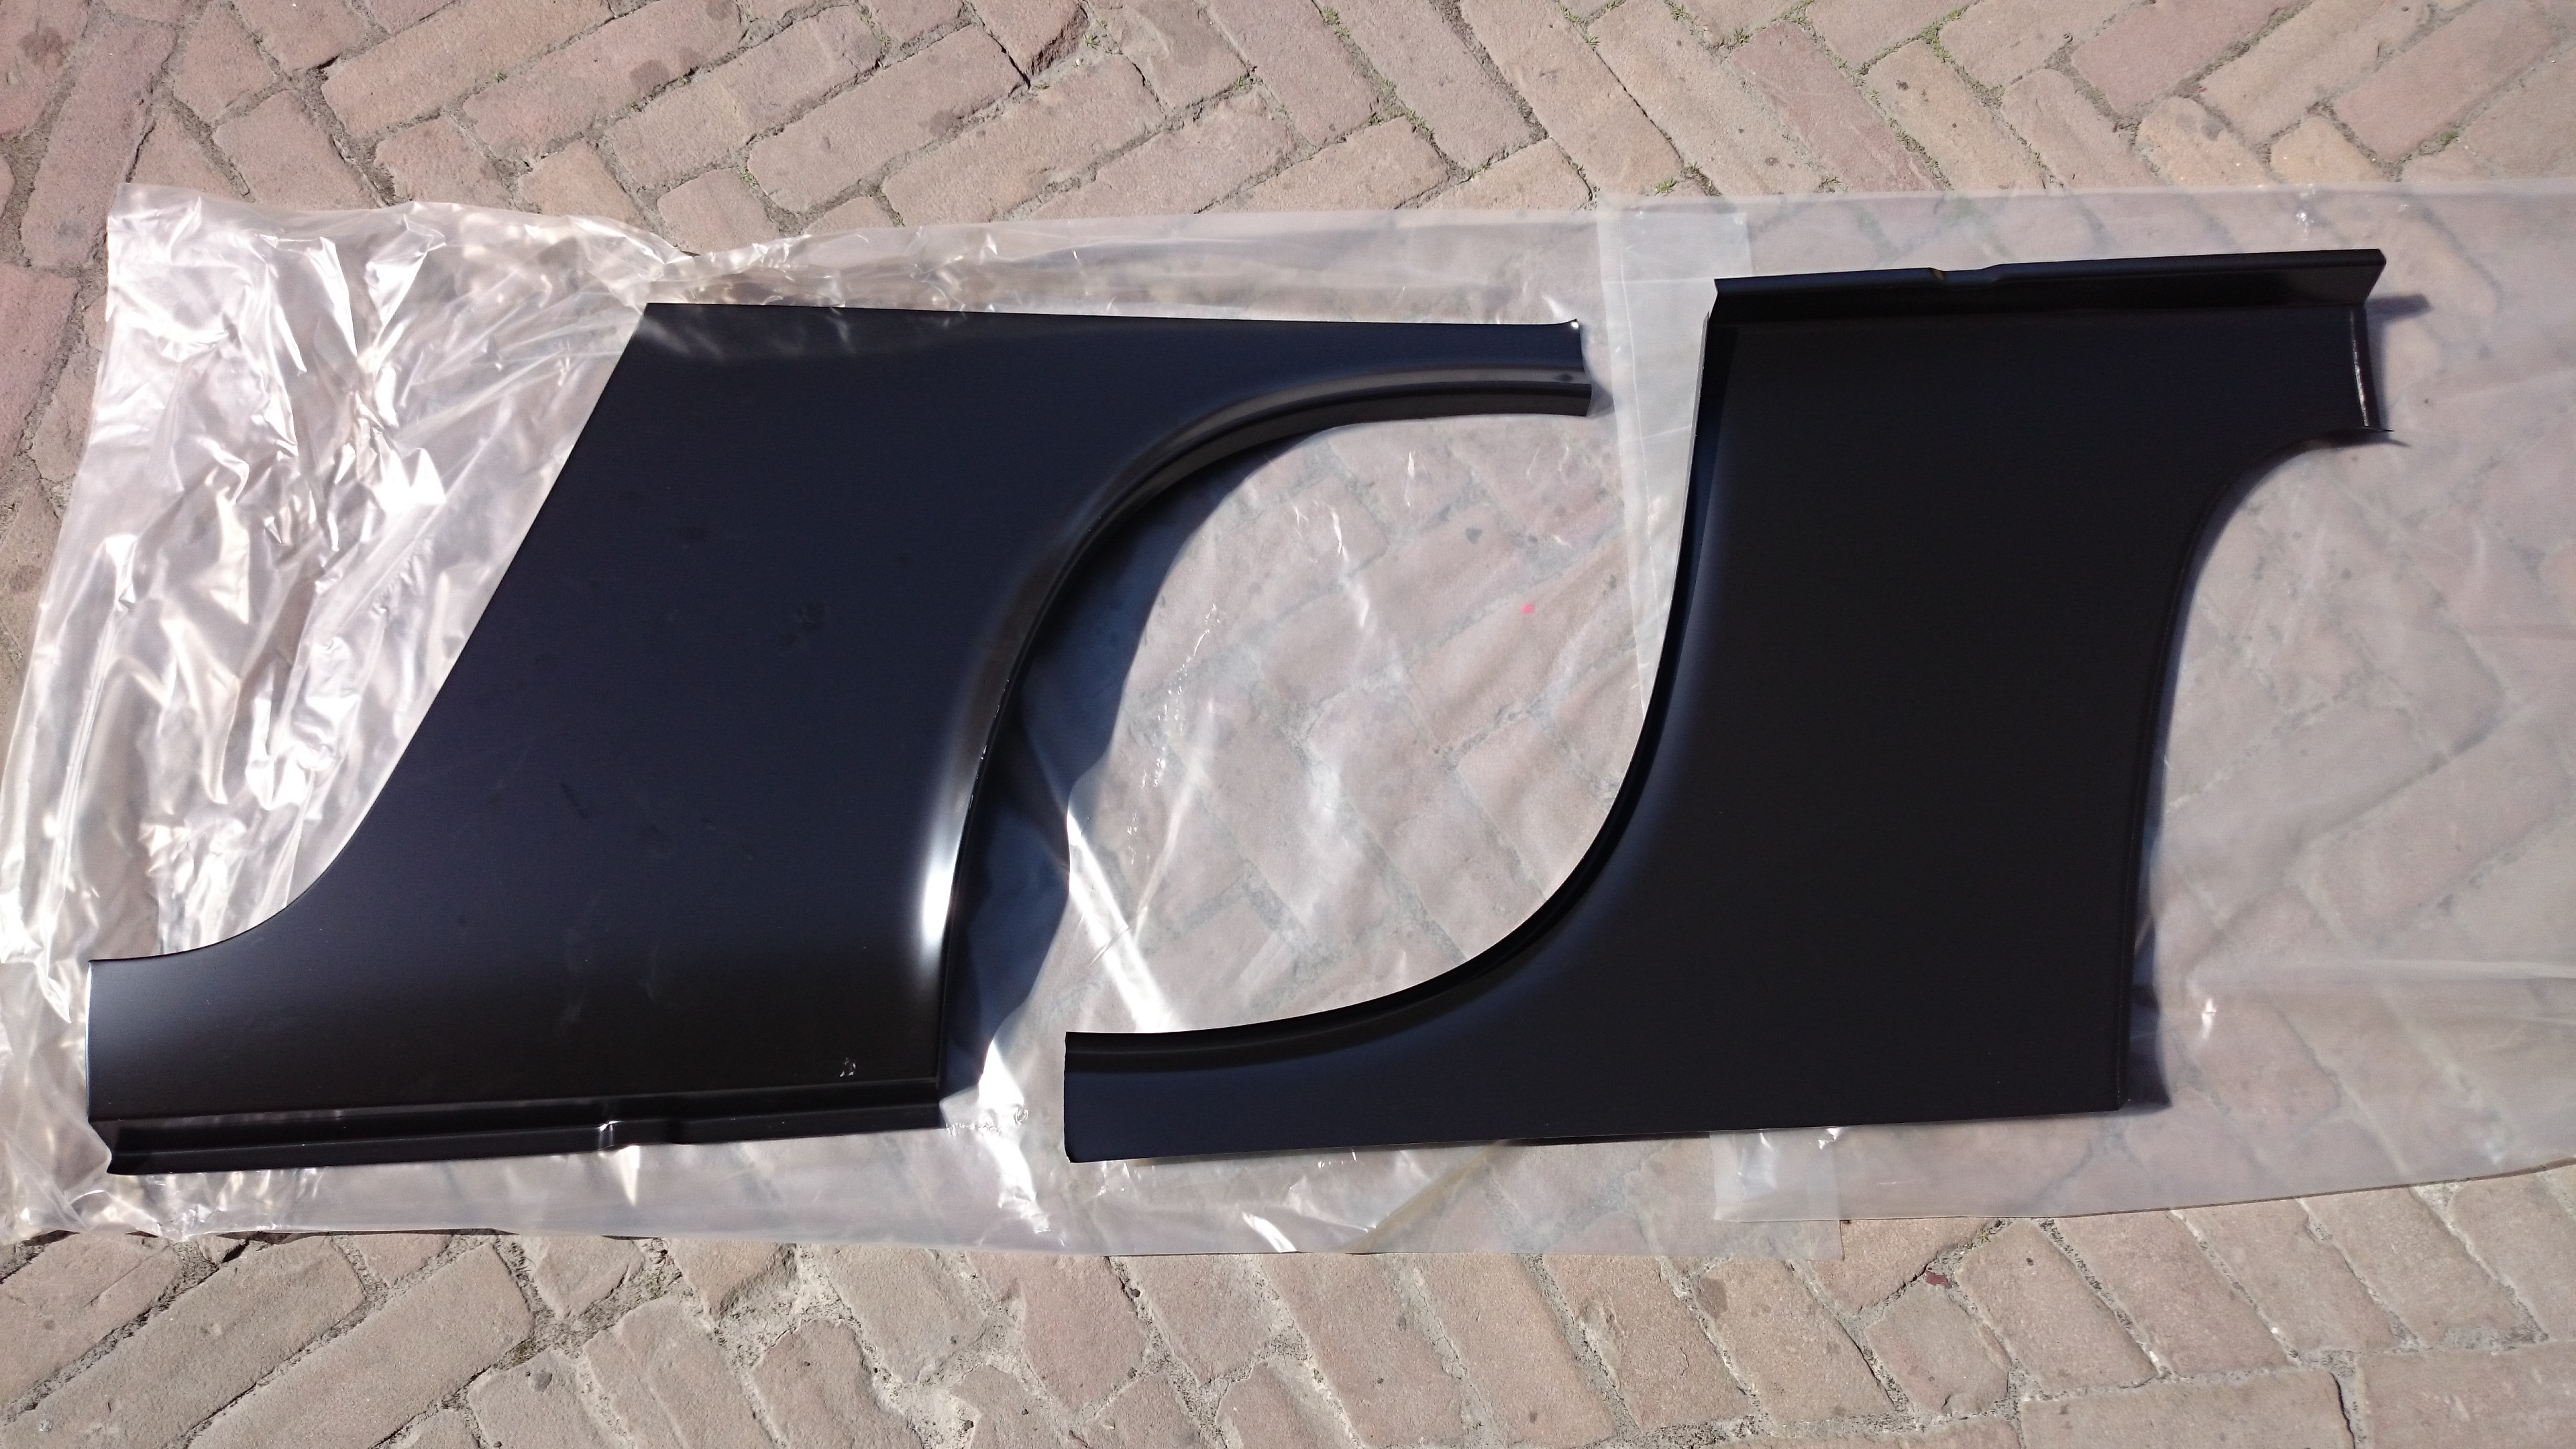
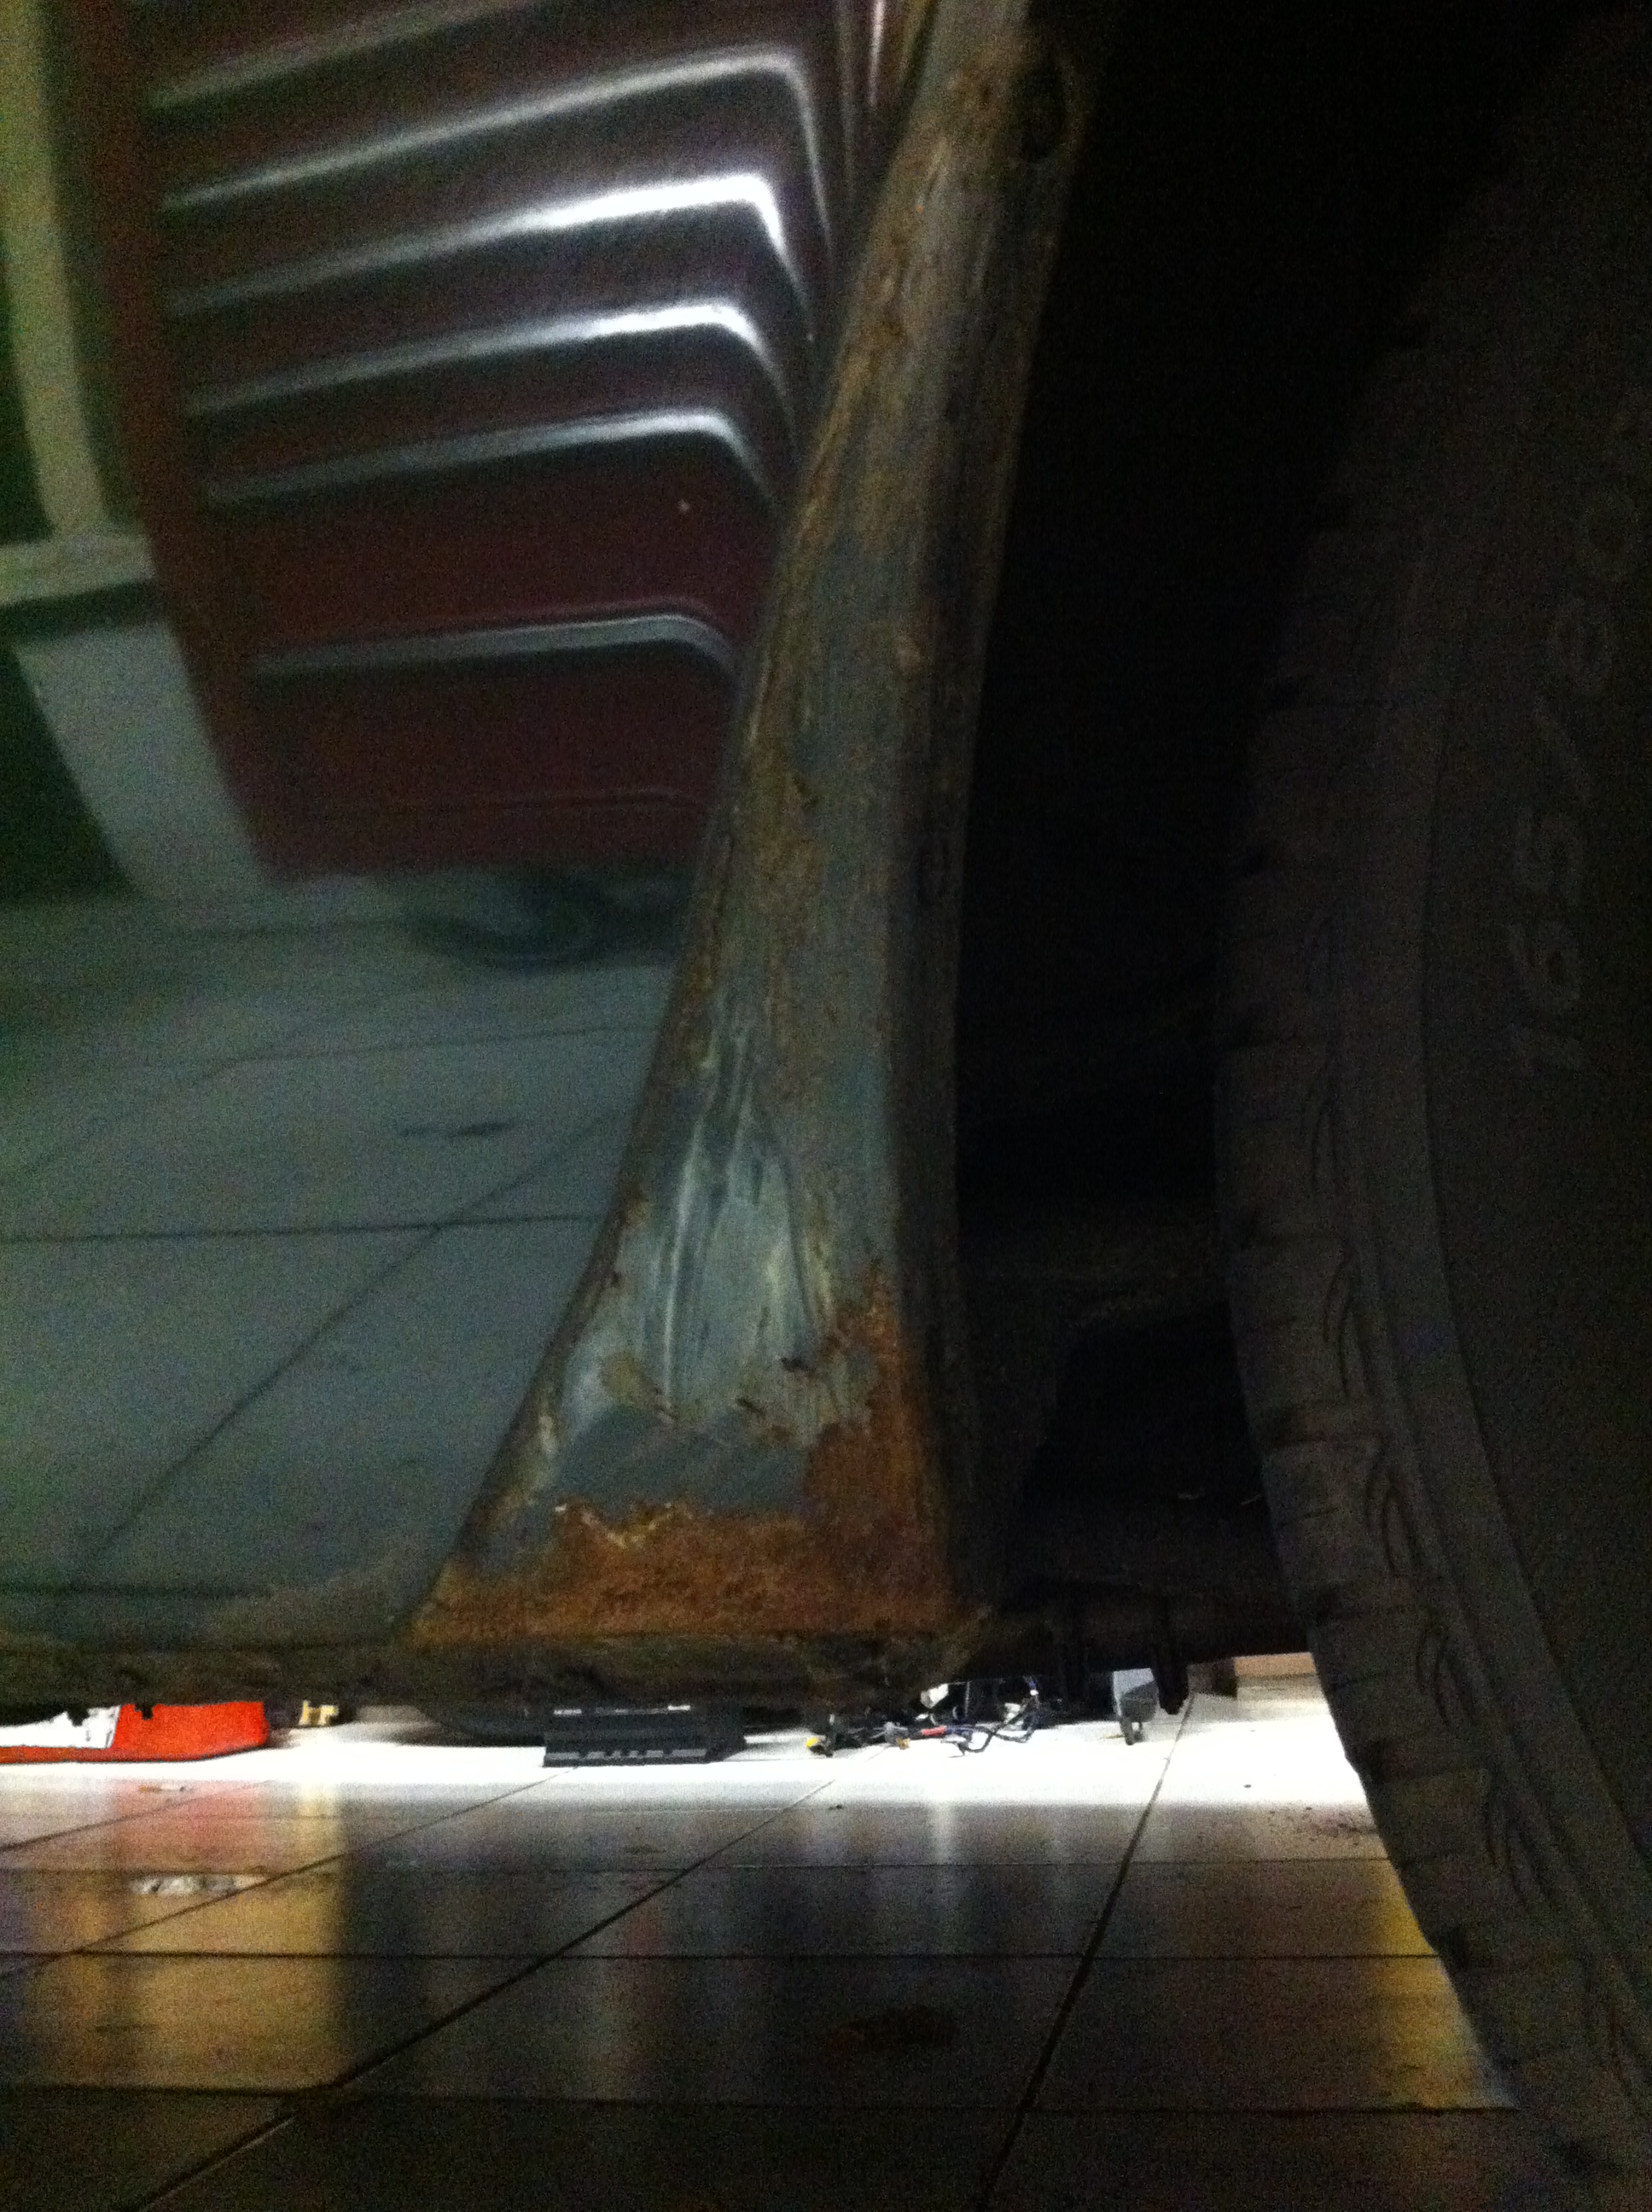
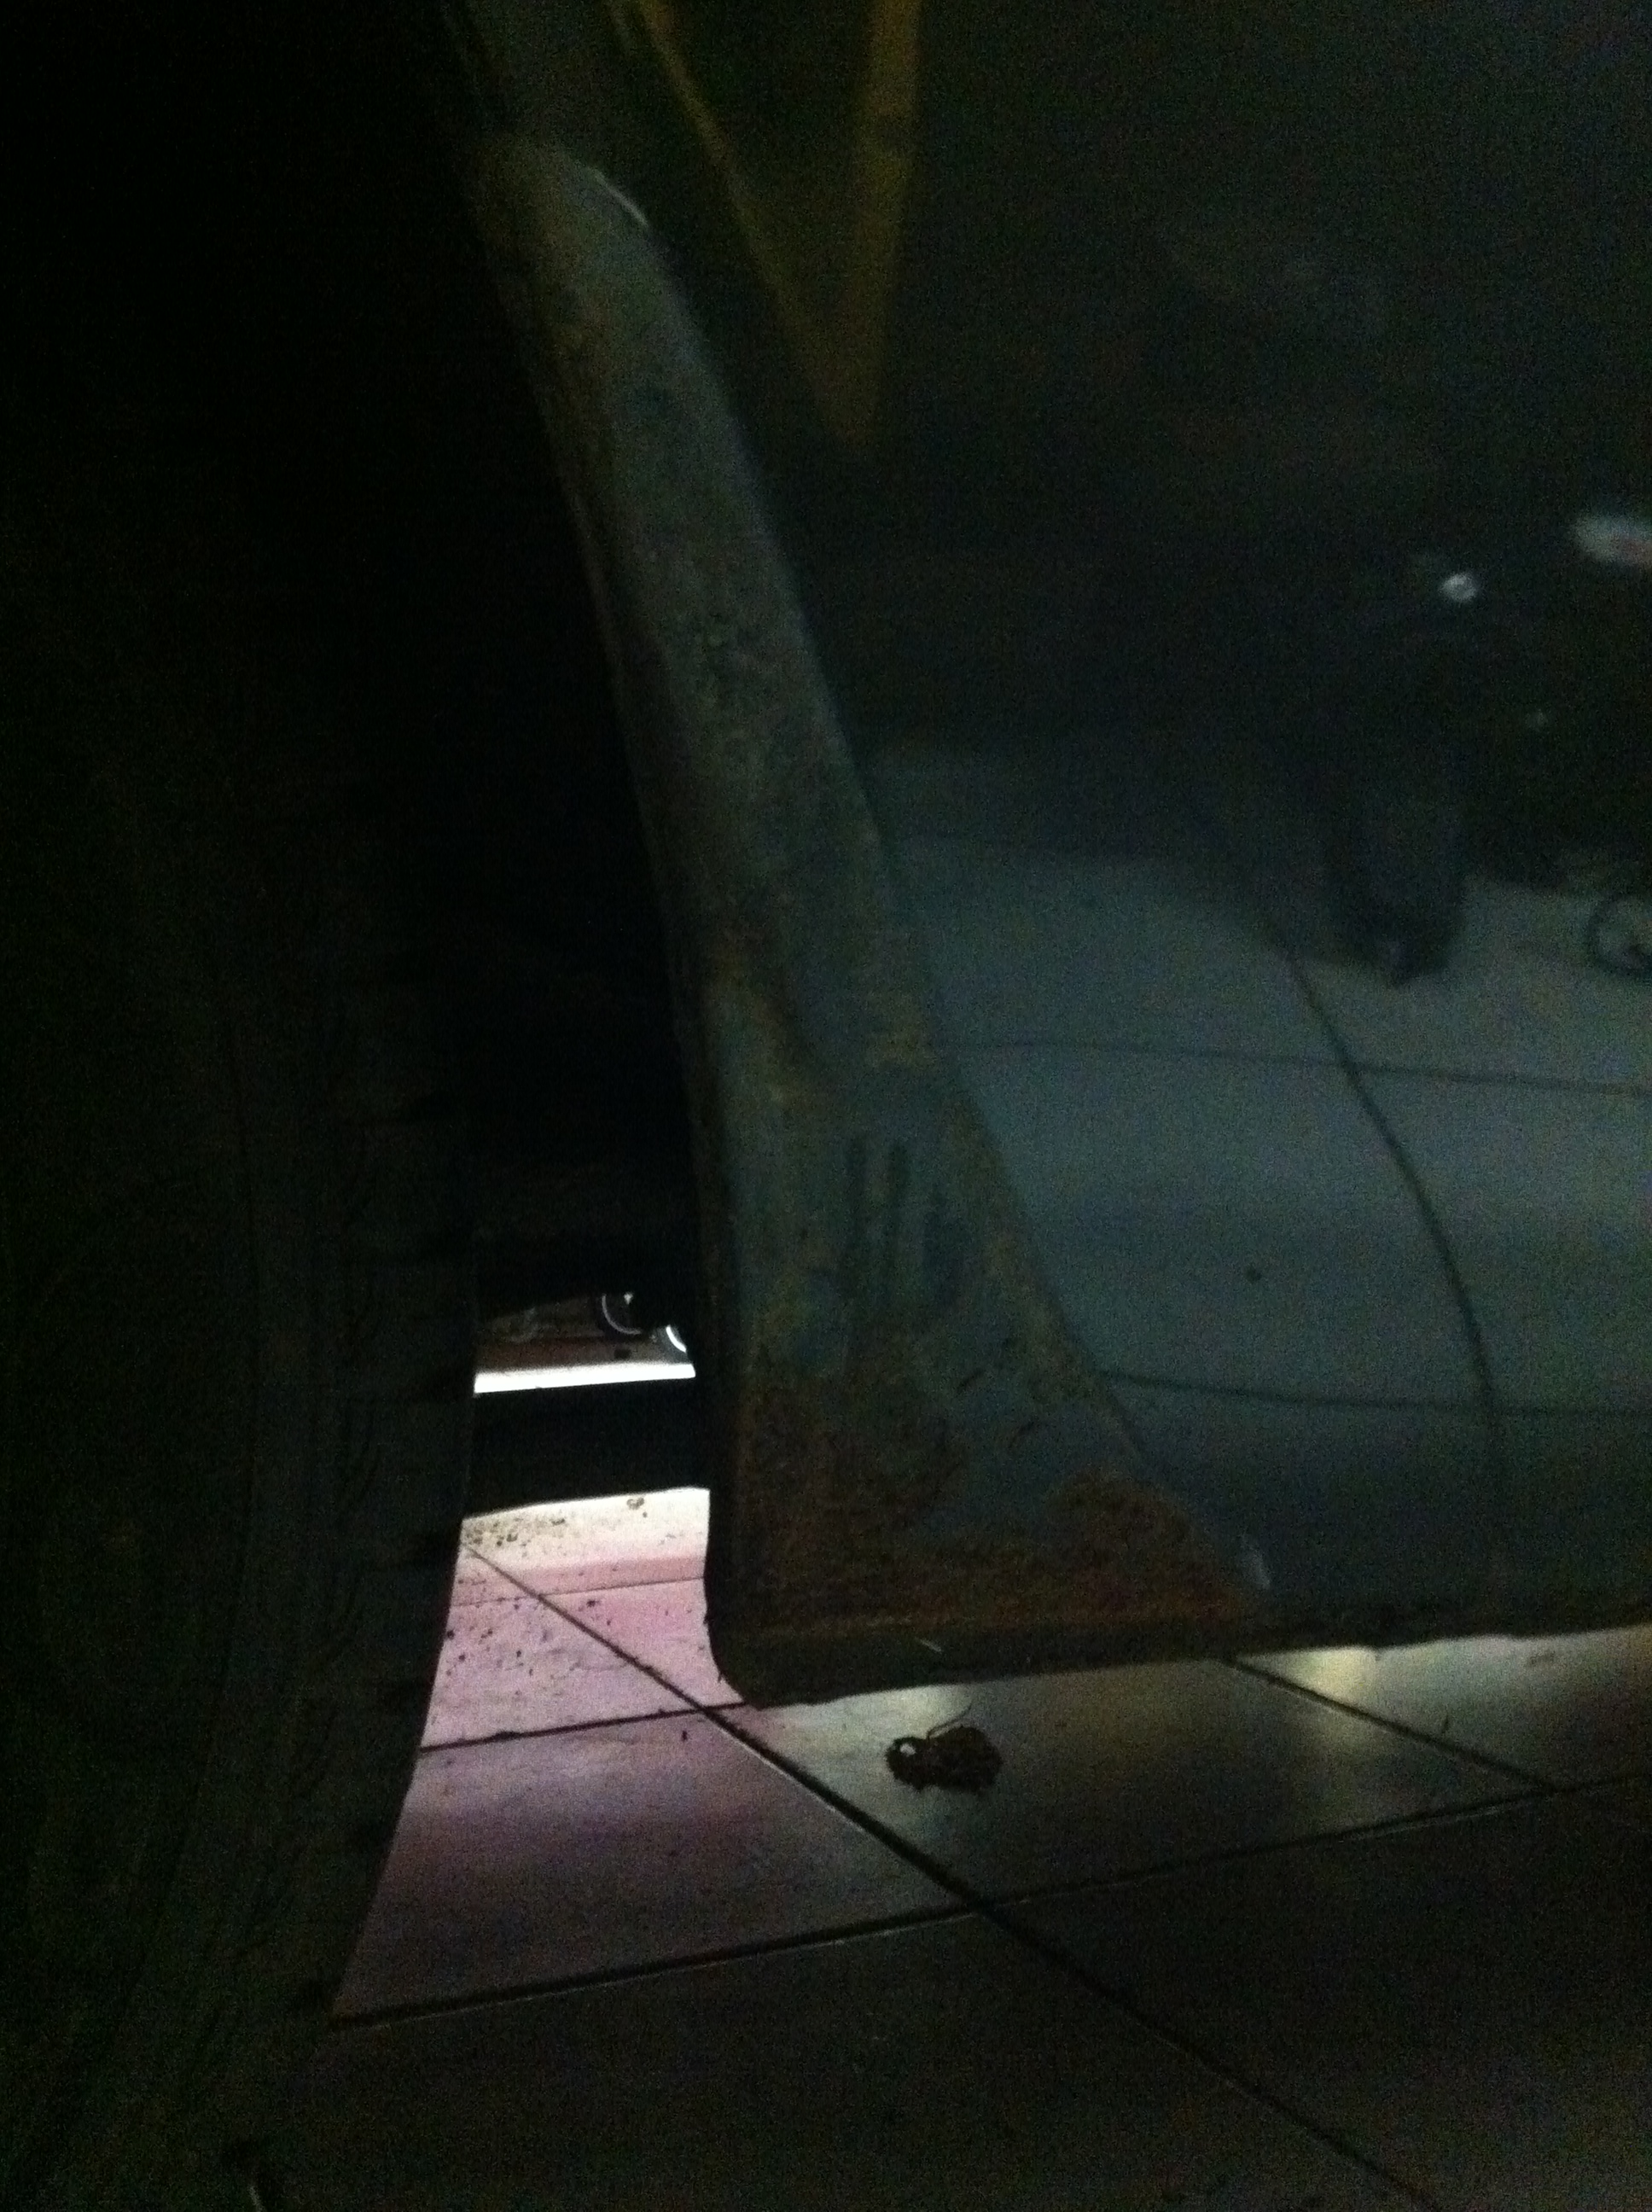
I also found 2 new panels to repair the rust in the rear fender in front of the rear wheels.
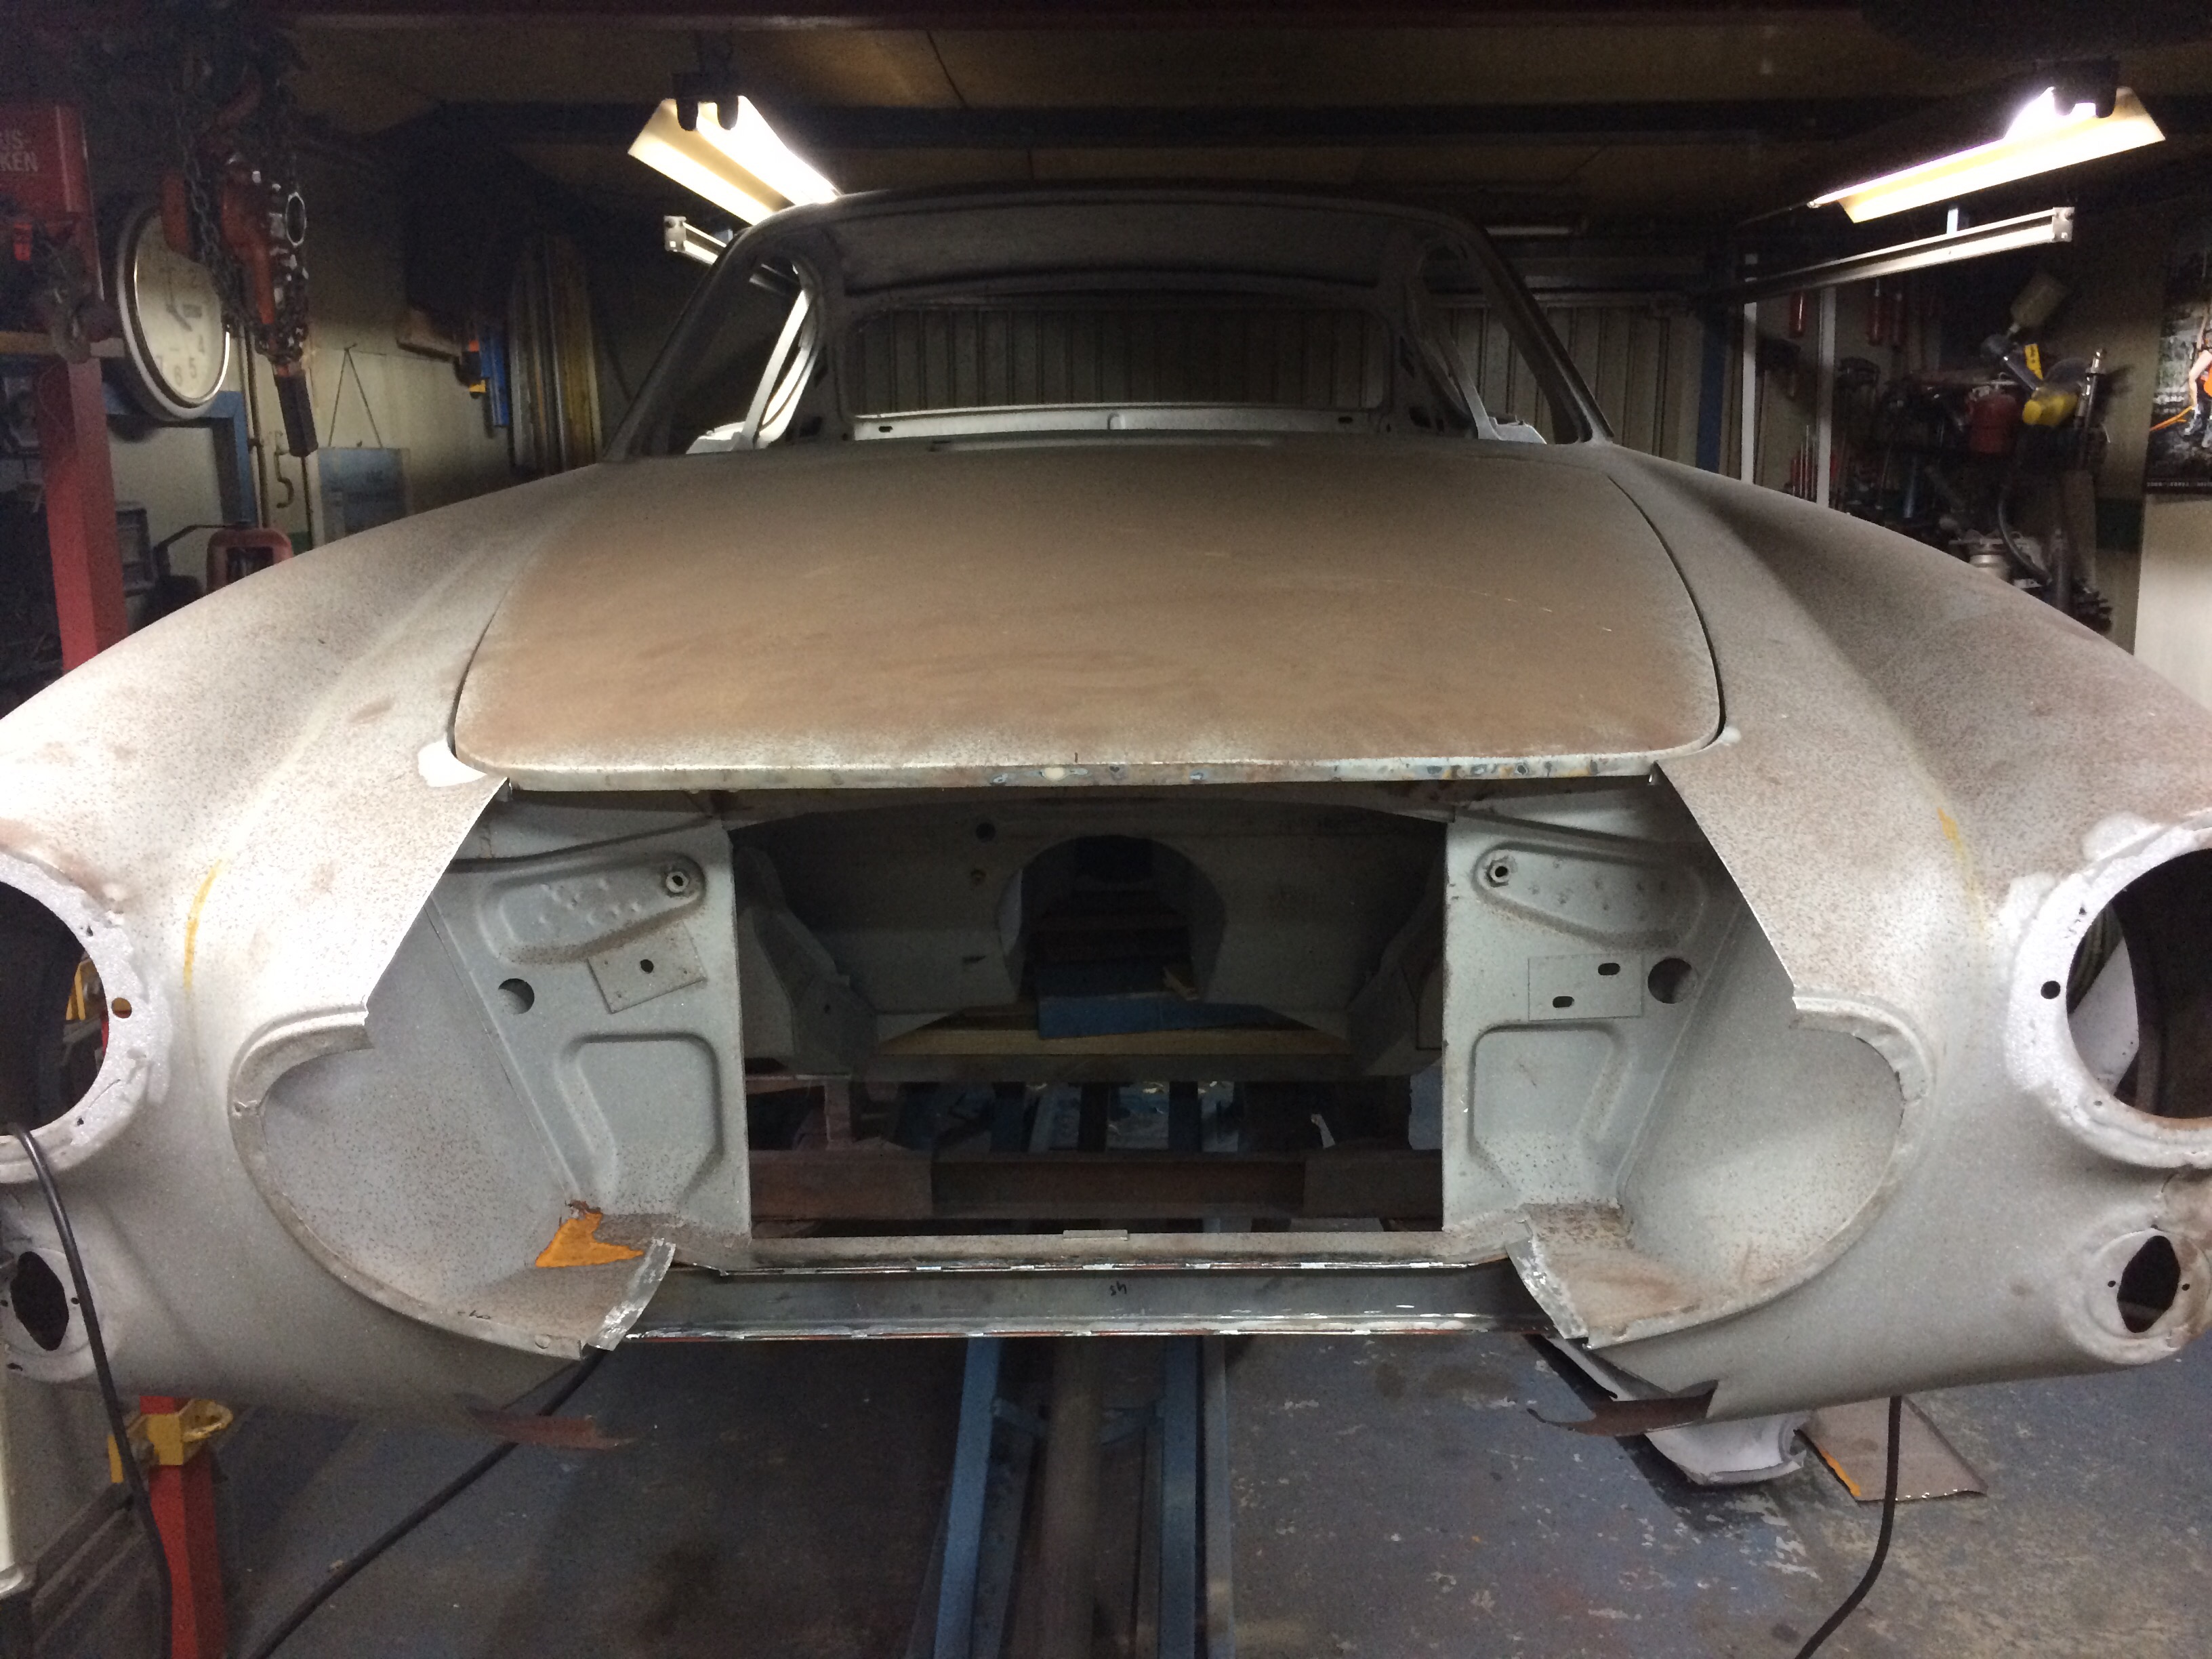
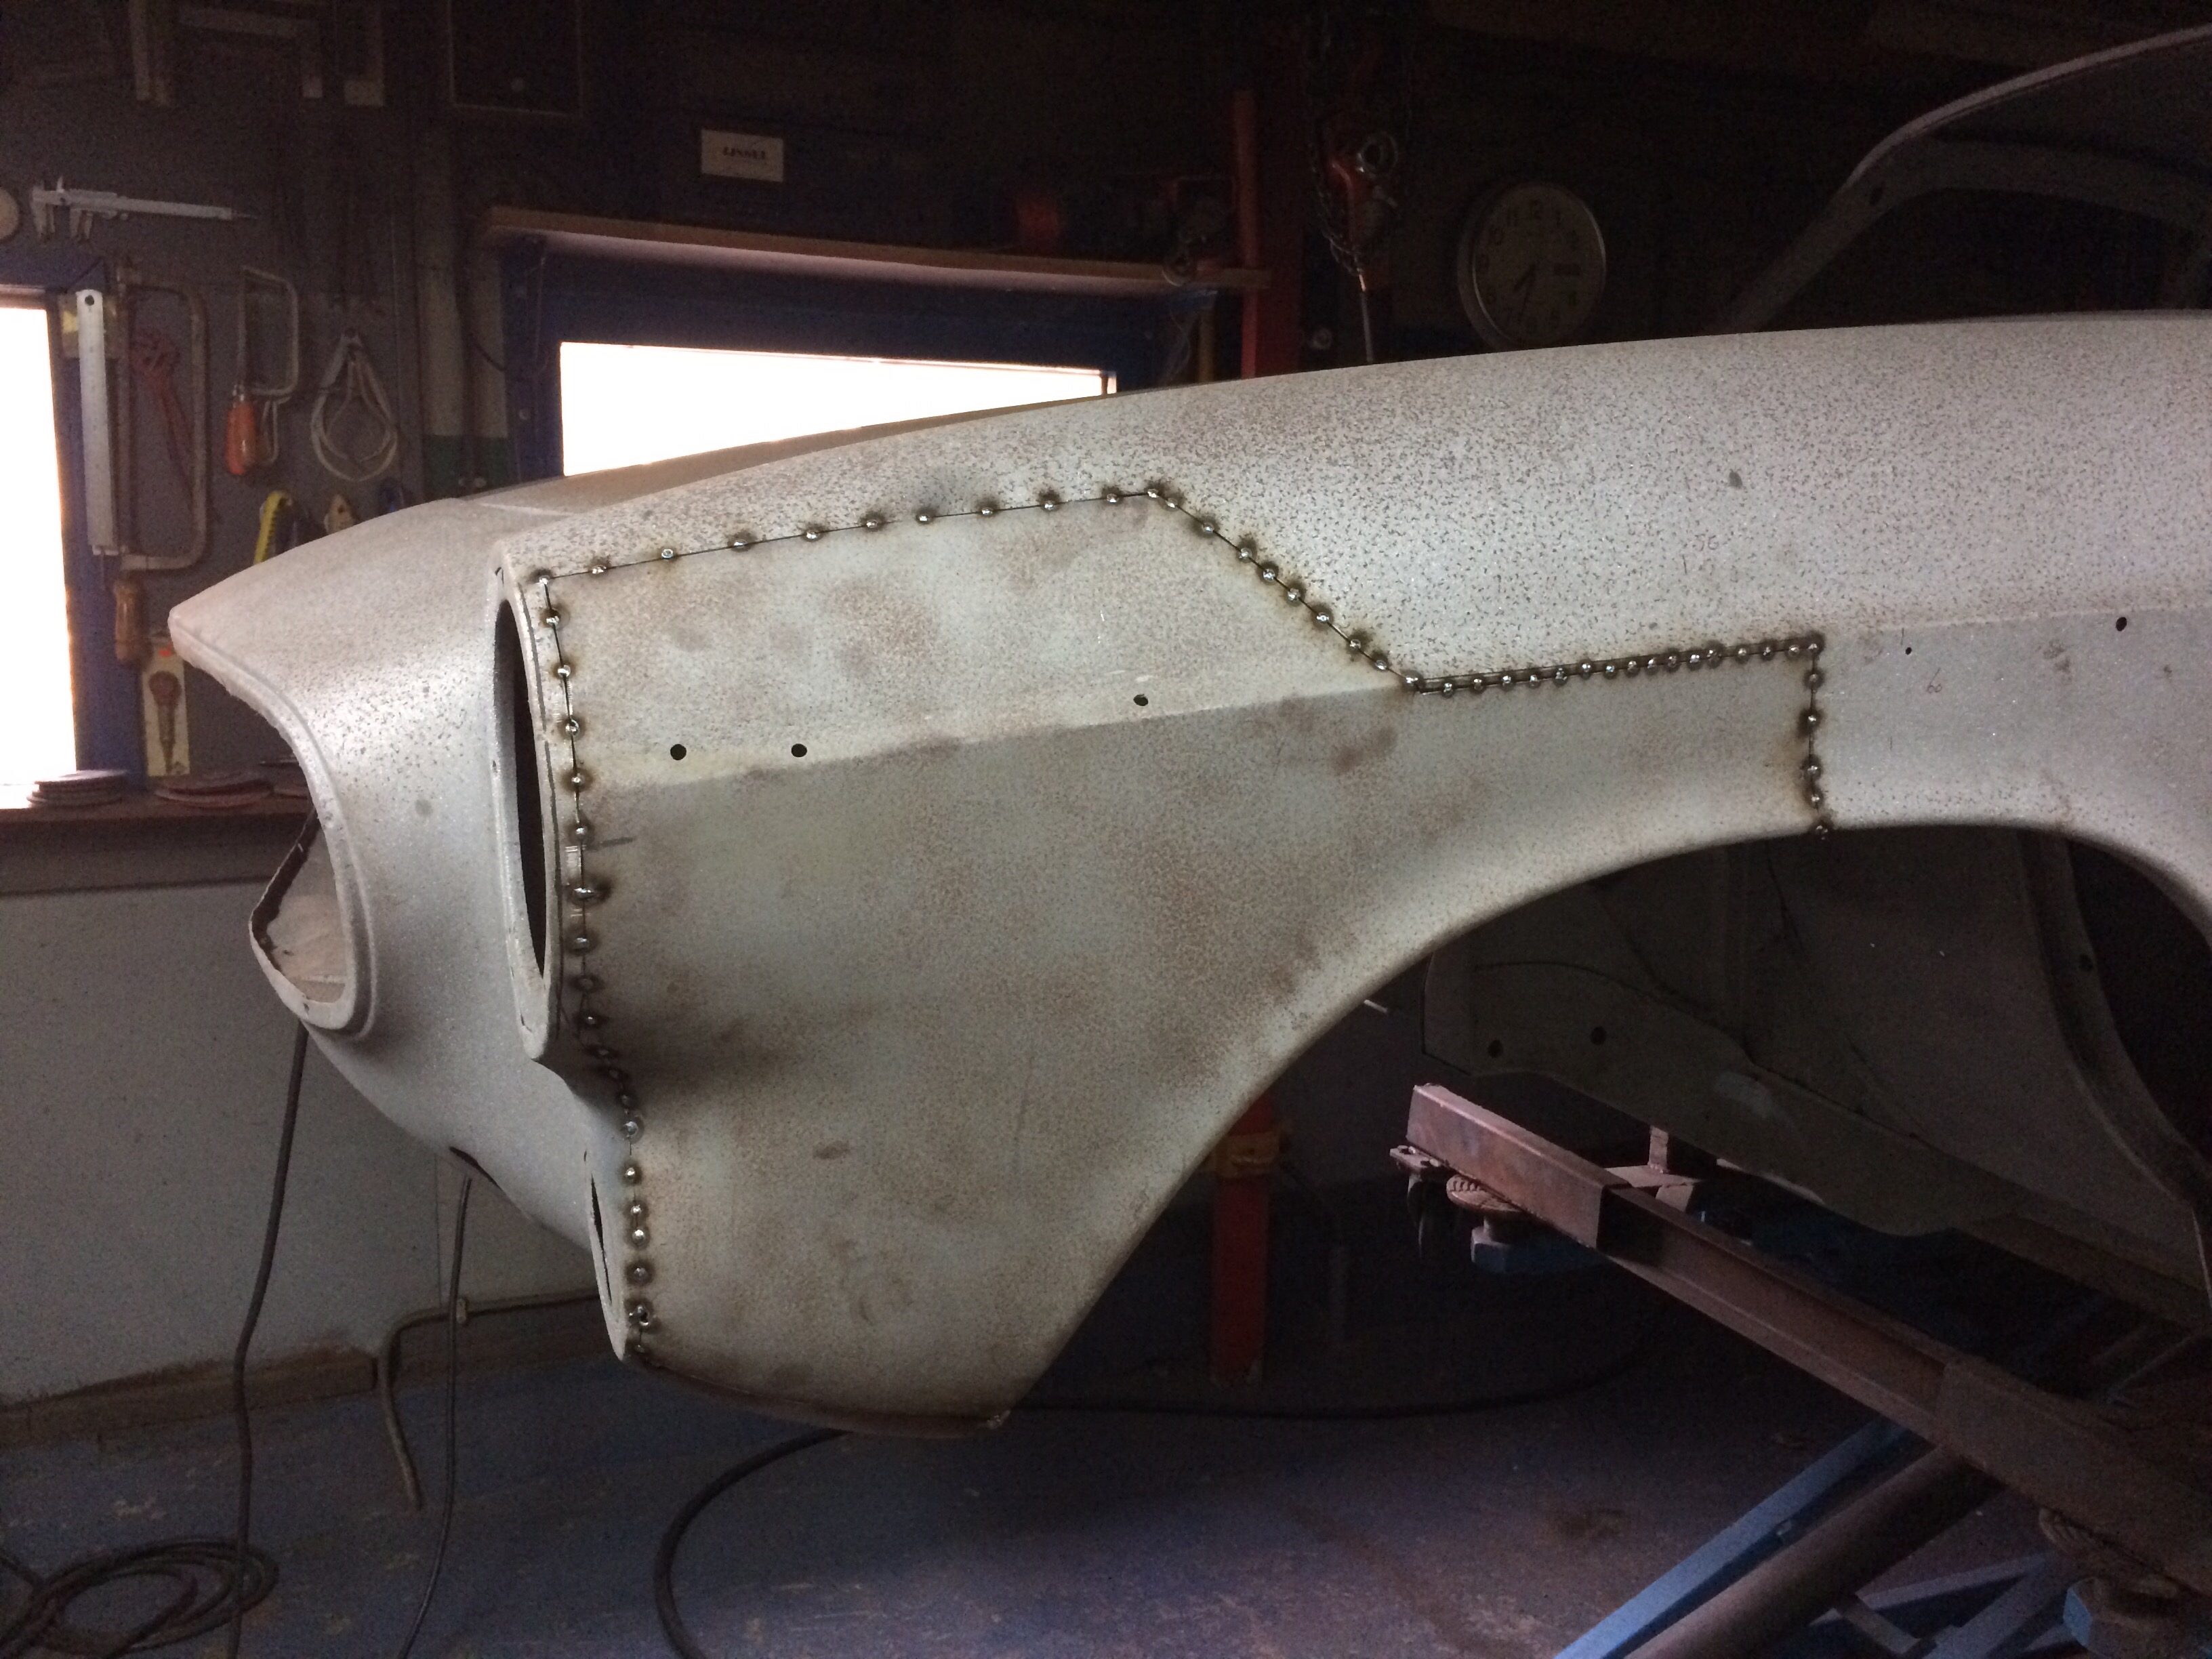
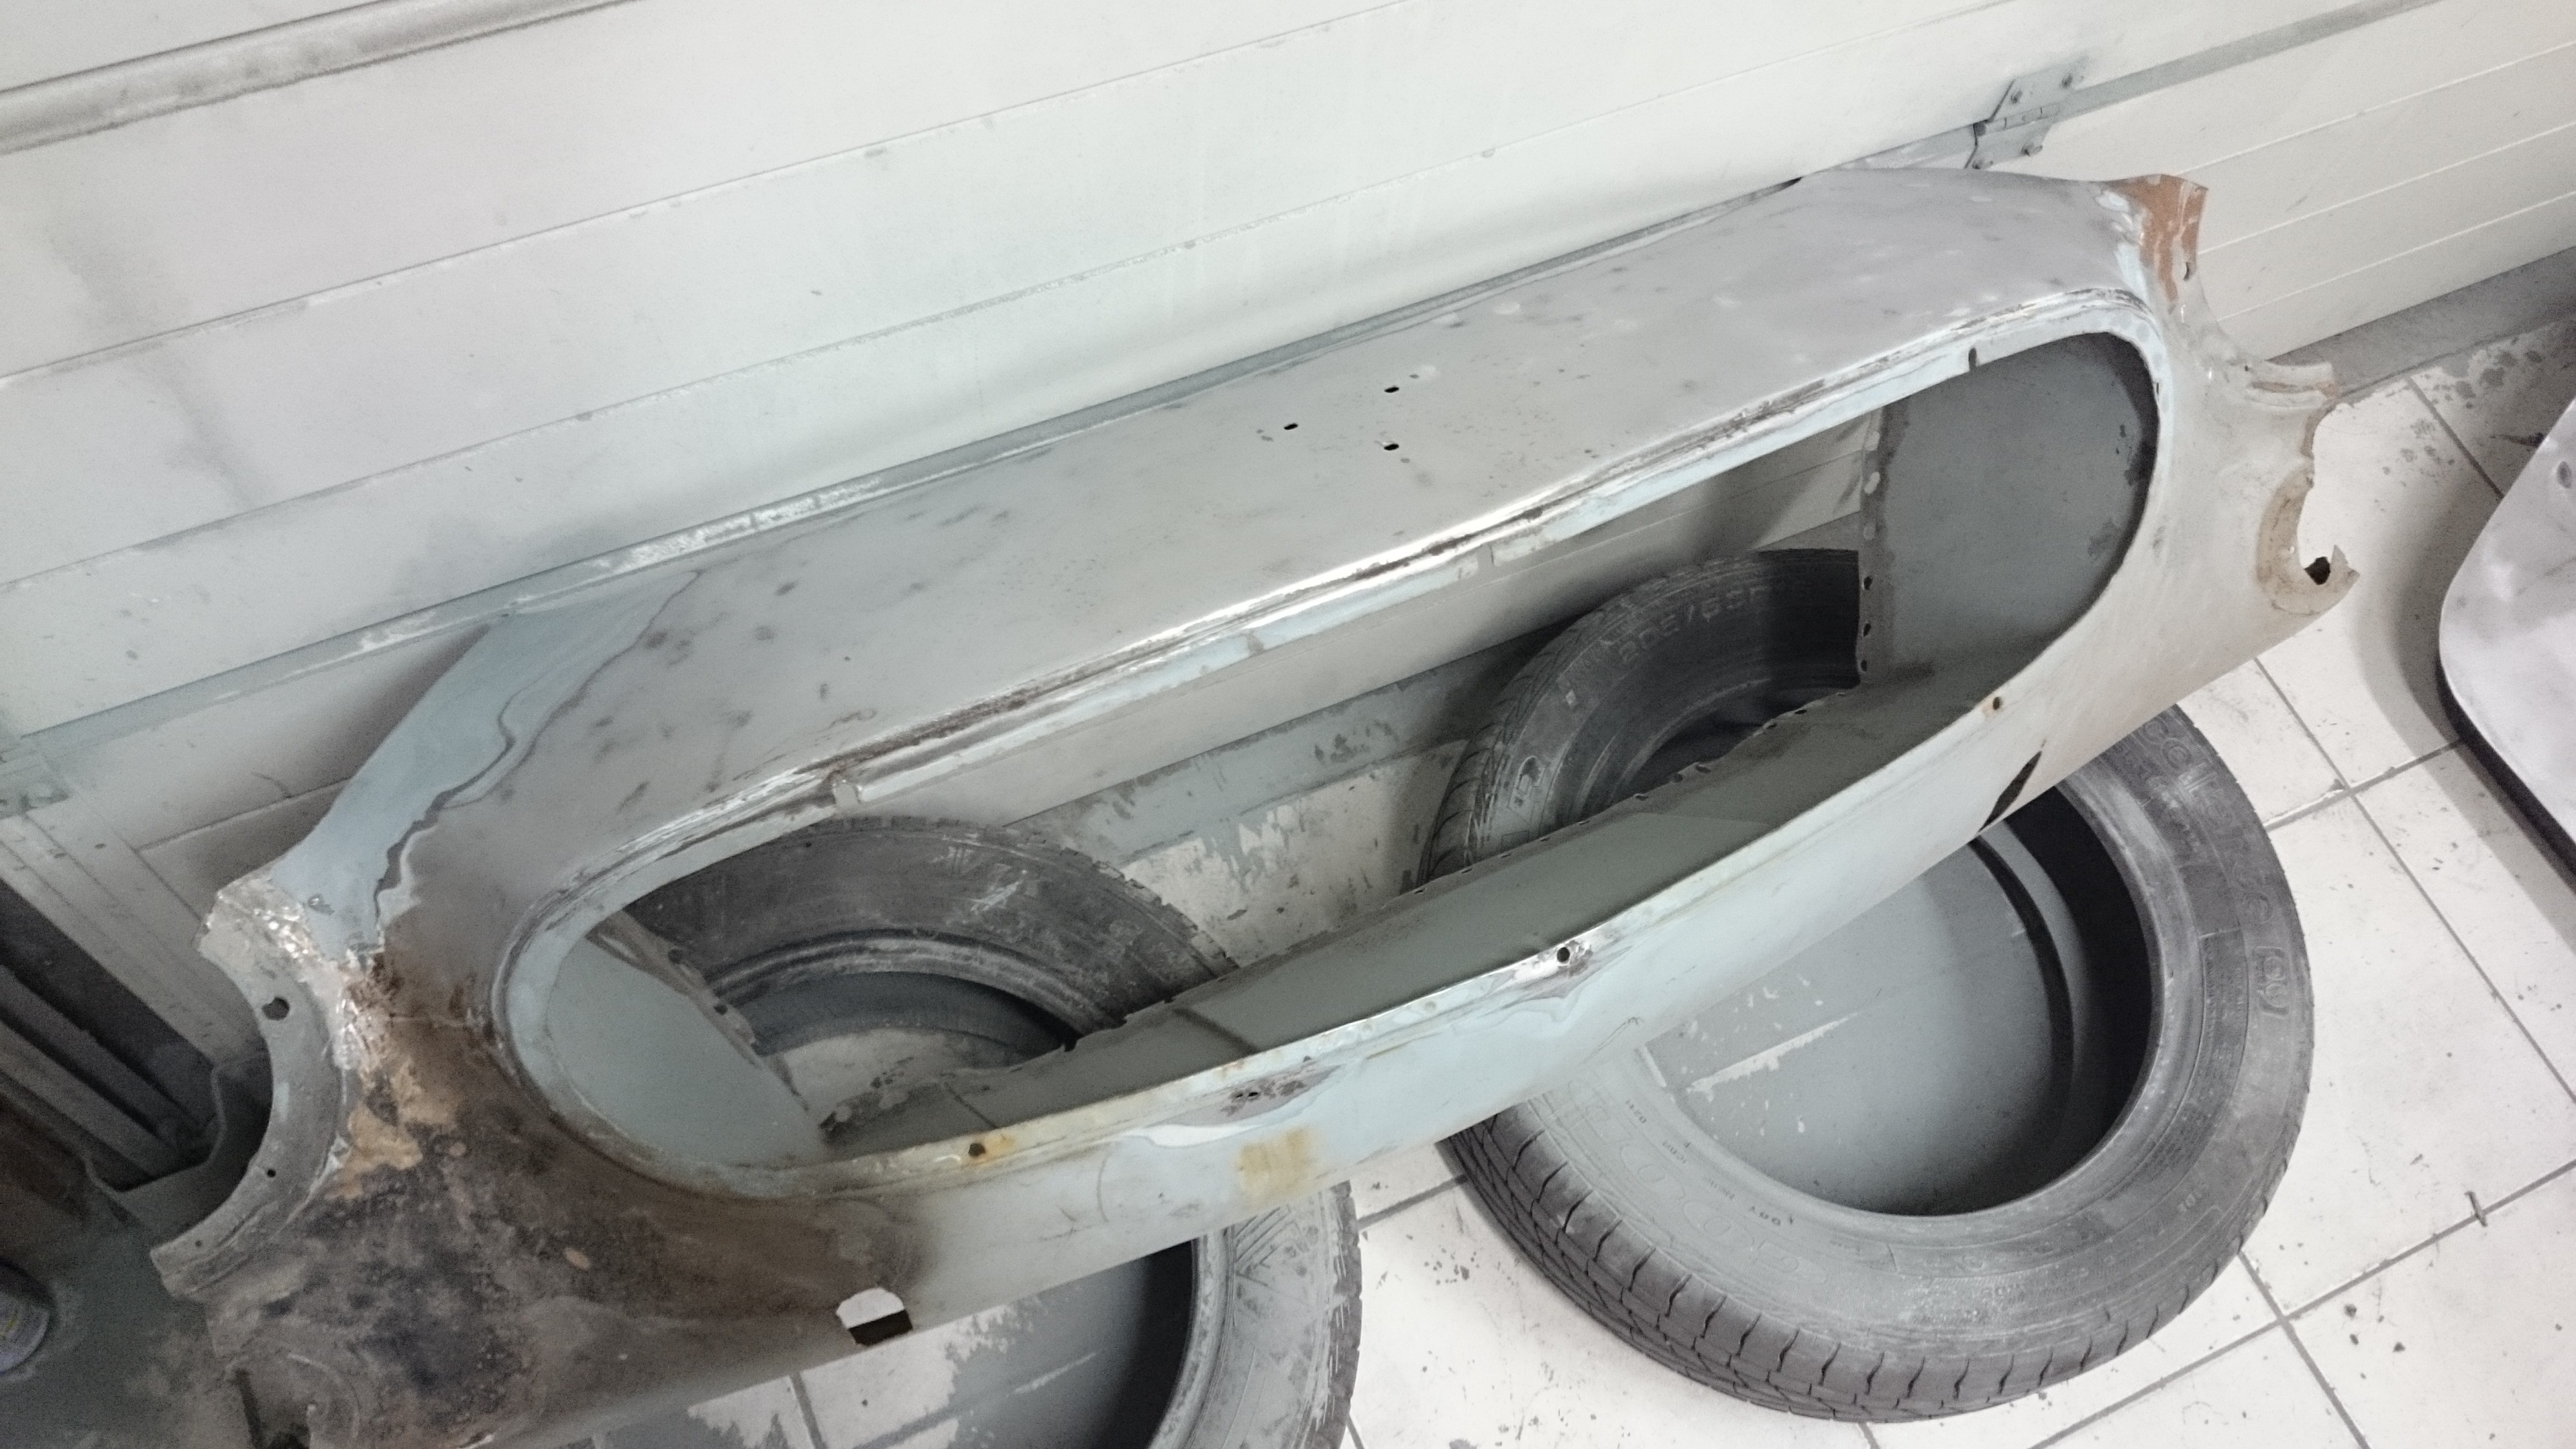
As I said in a previous post, the upper panel on the nose is also damaged so I got a good 2nd hand replacement part.
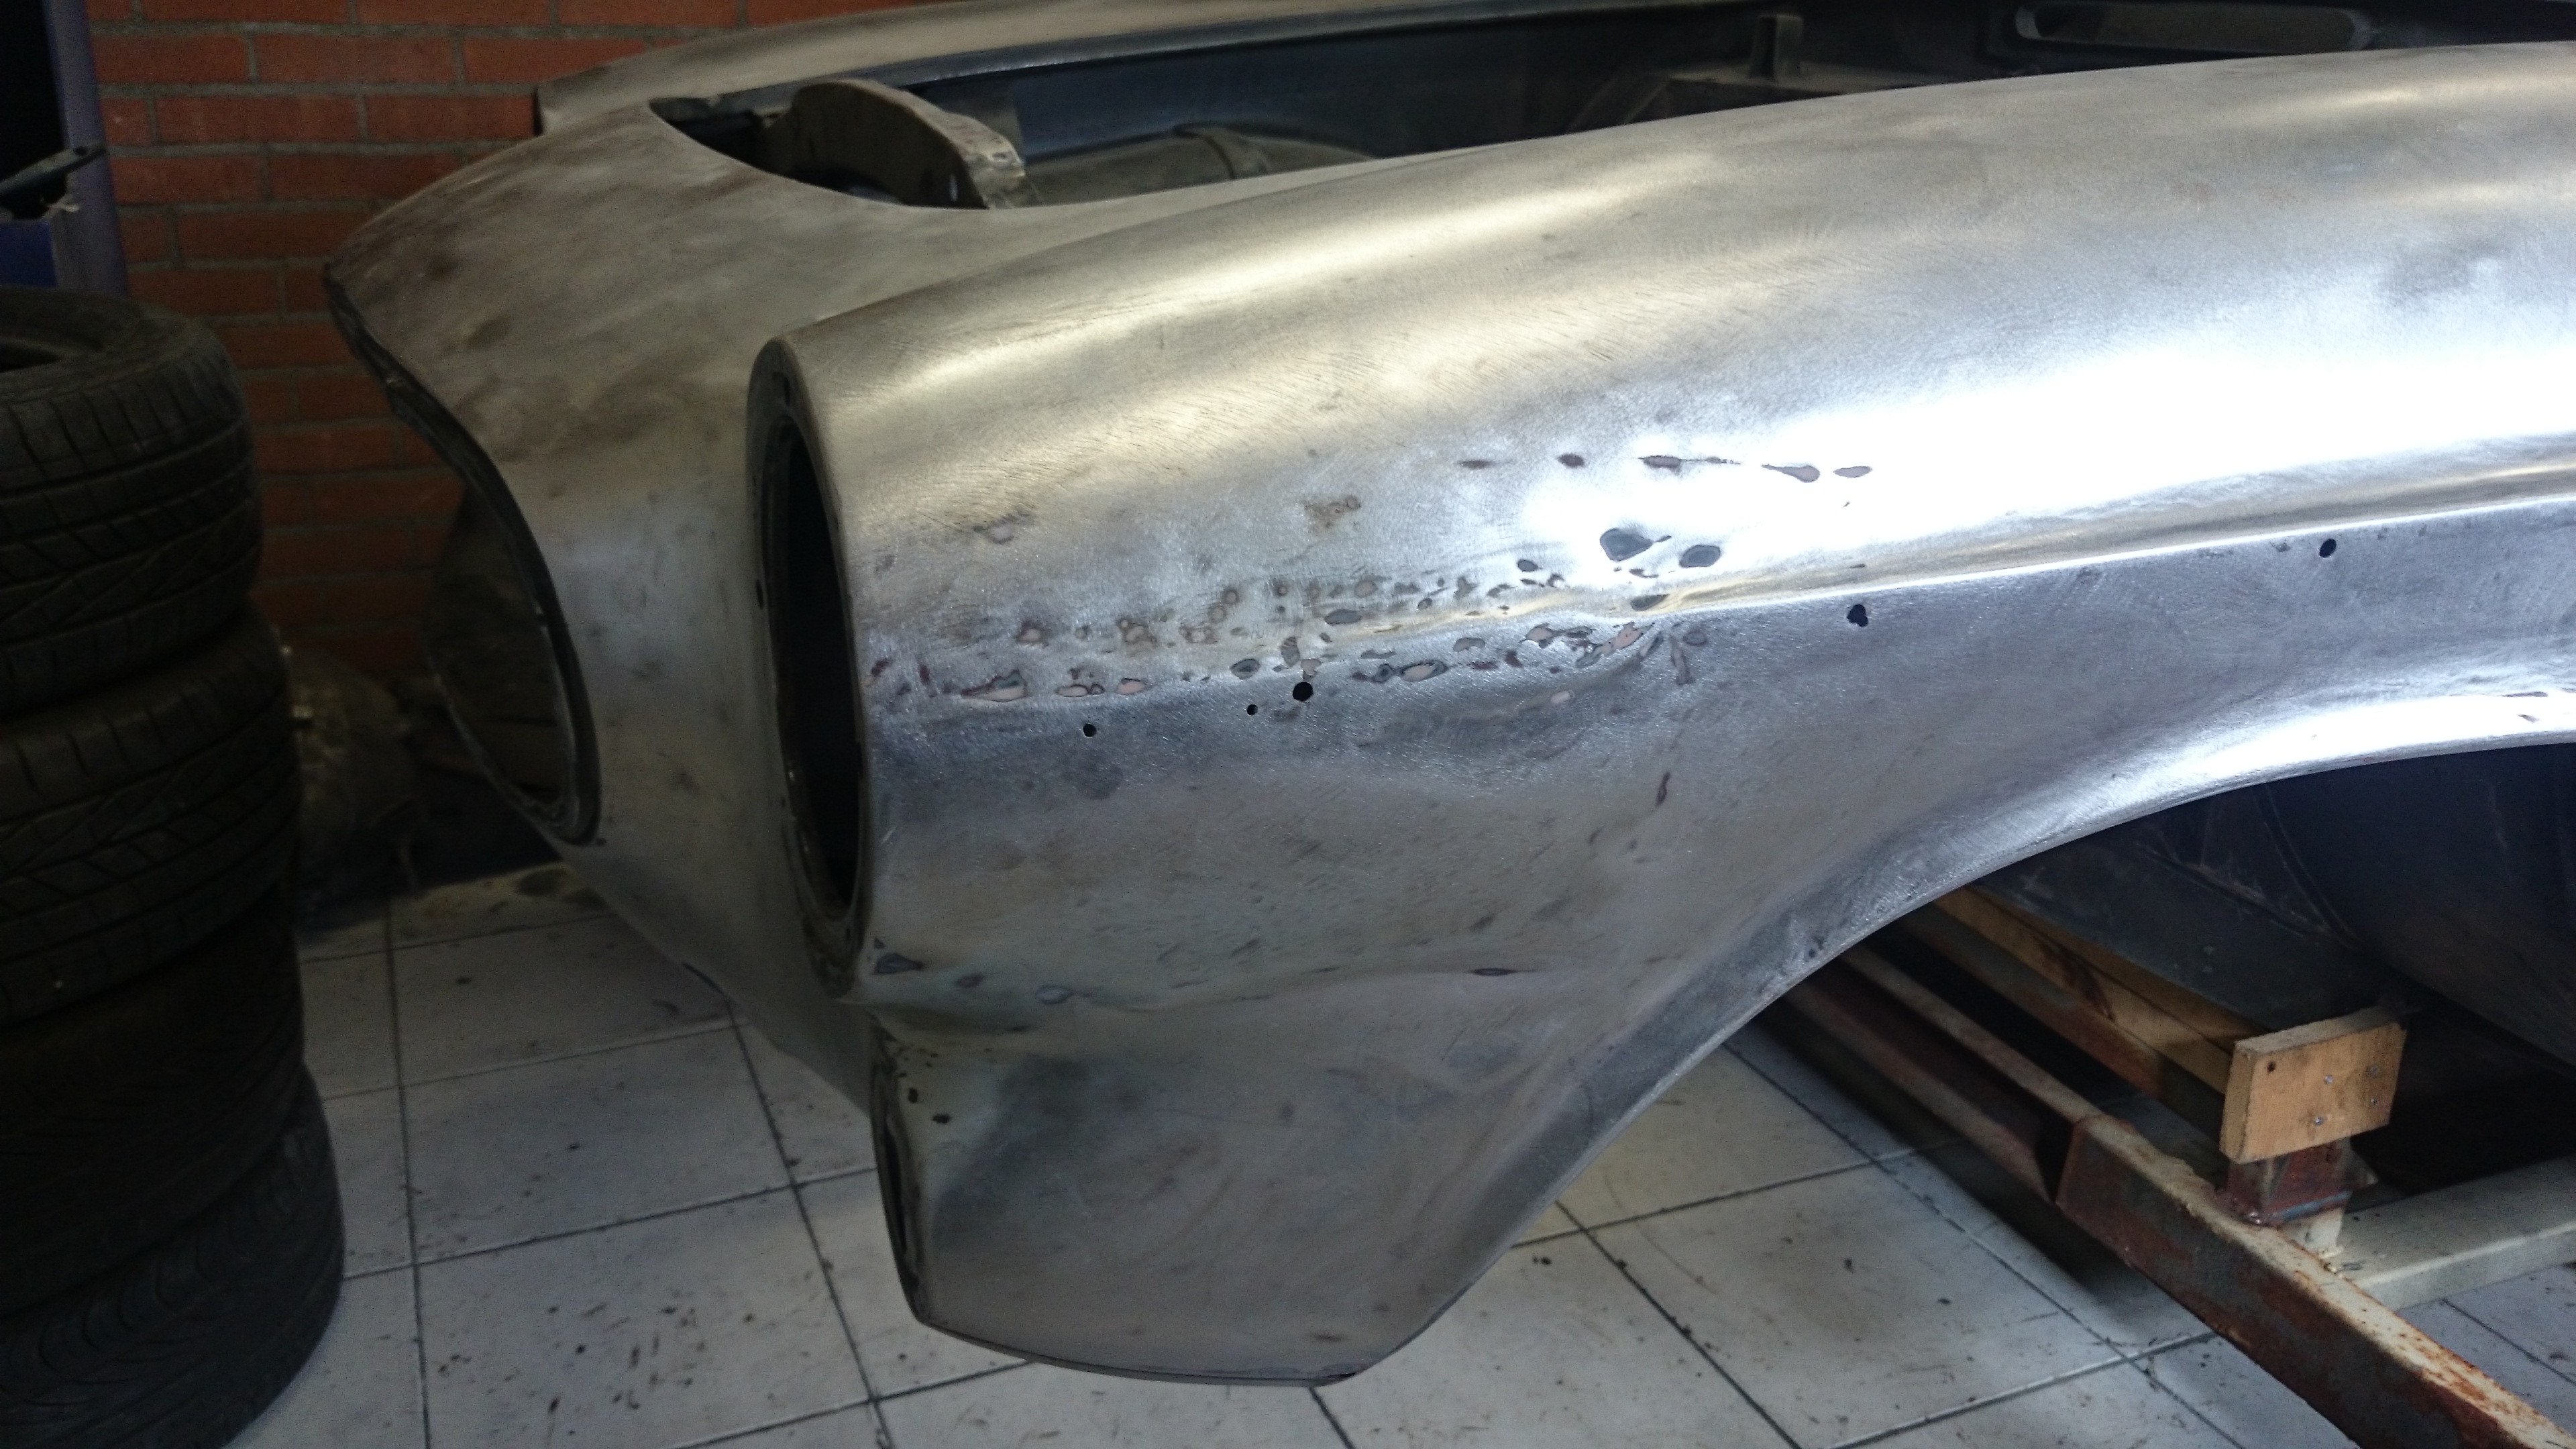
Furthermore there are 2 more damages which will probably need new panels, so I’m still looking replacement panels for this. Damage on the LH FWD side and RH fender:


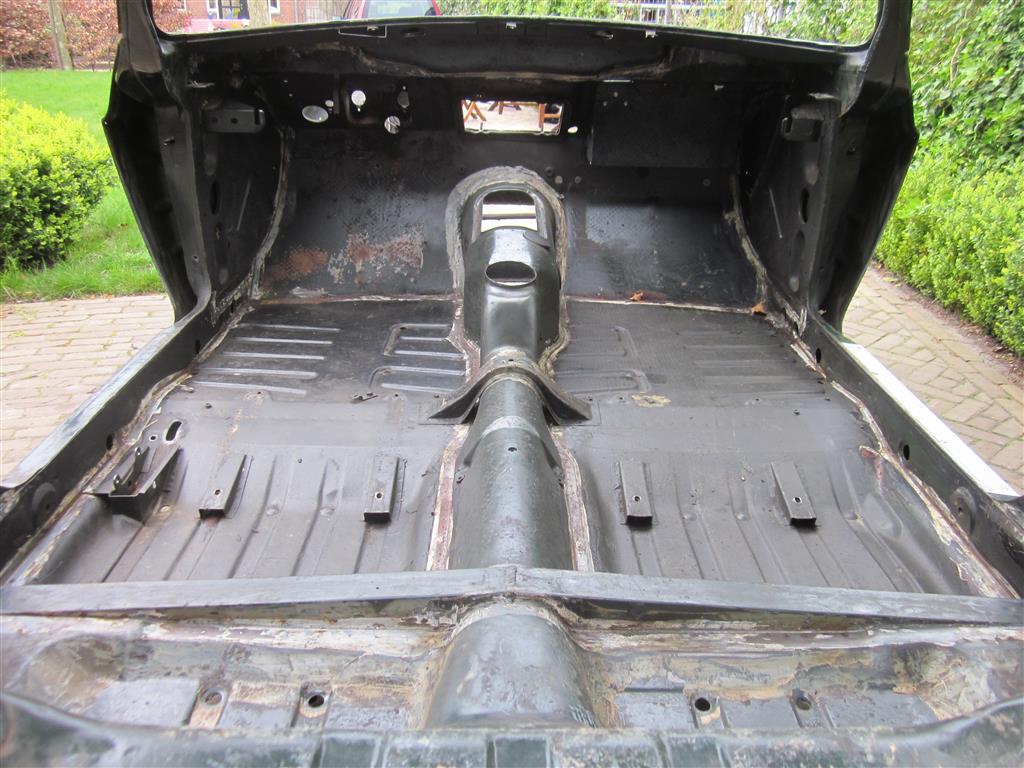
The floorpanels where the last parts where I had to remove some tectyl, so from now on no more scraping.


Put the car on a trailer

And dropped it off at the bodyshop.
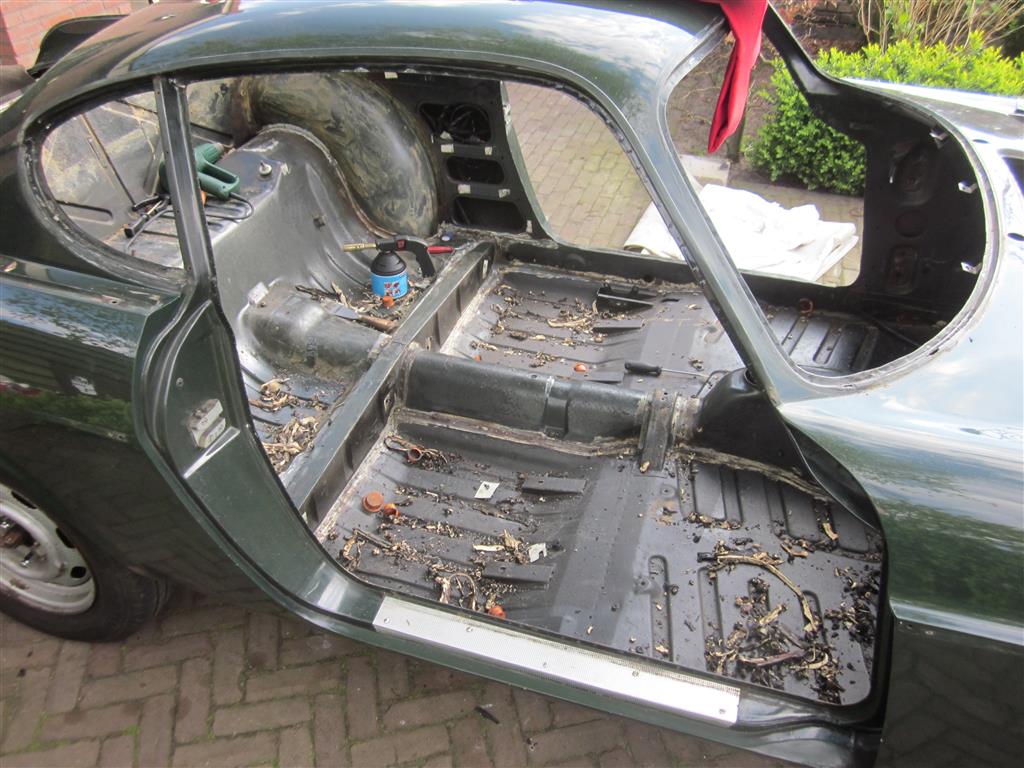
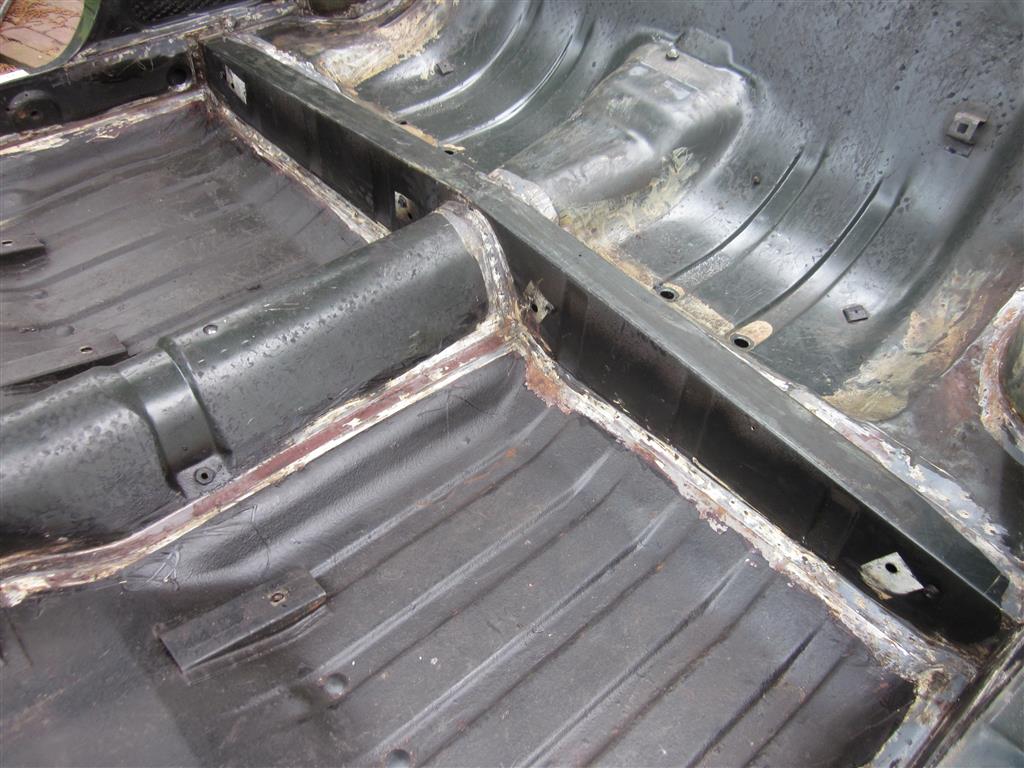
I’m finished with scraping of the seam sealant. And at 2 or 3 places I found a little bit of rust behind the coating.
With a small blowtorch and a lot of patience, I got it almost all removed from the interior (trunk, engine bay and interior). I hope it’s good enough for the sand blasting guys. Next is the lower side of the body. The lower side is really going to be alot of work. When the car is painted again I’m not going to use Tectyl again, I want to use something like Dinitrol. This because dinitrol is transparent and this way you can see if there are rusty spots forming over time. With Tectyl you cannot see this. I guess Dinitrol is not as tough as Tectyl, so it provides less protection, but at least you can still see the metal.

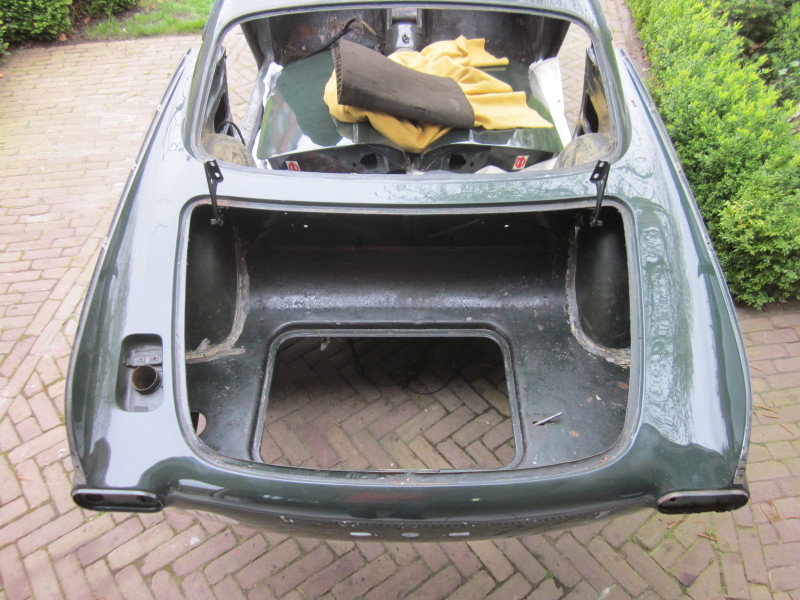
Cleaned up the inside.
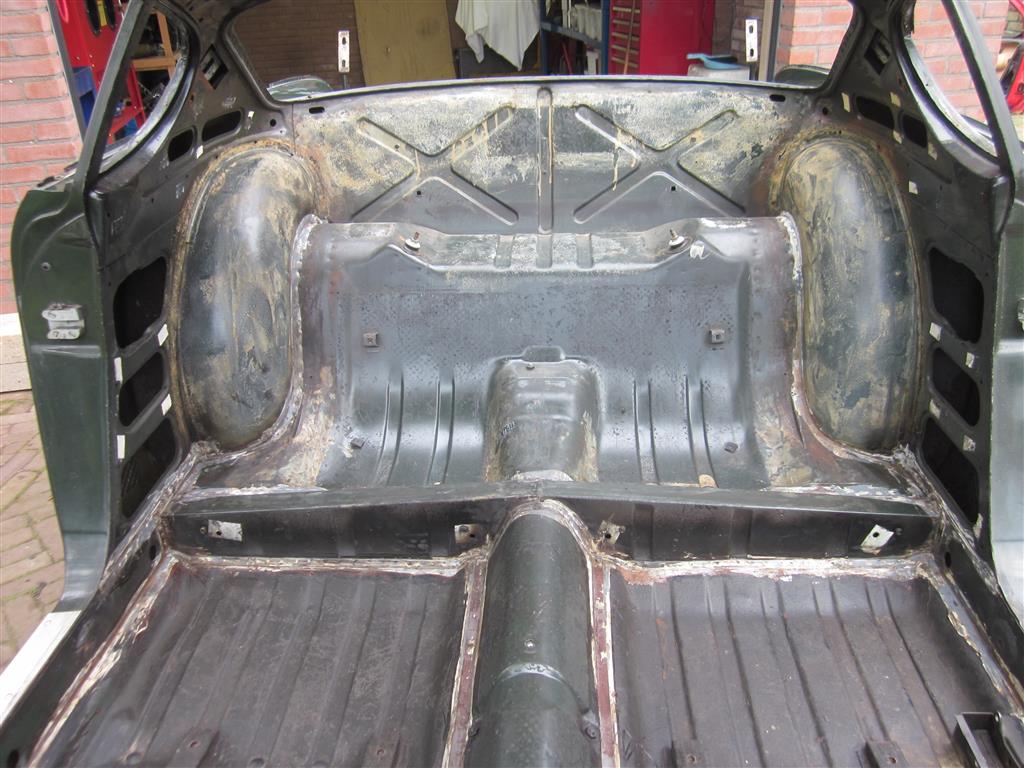
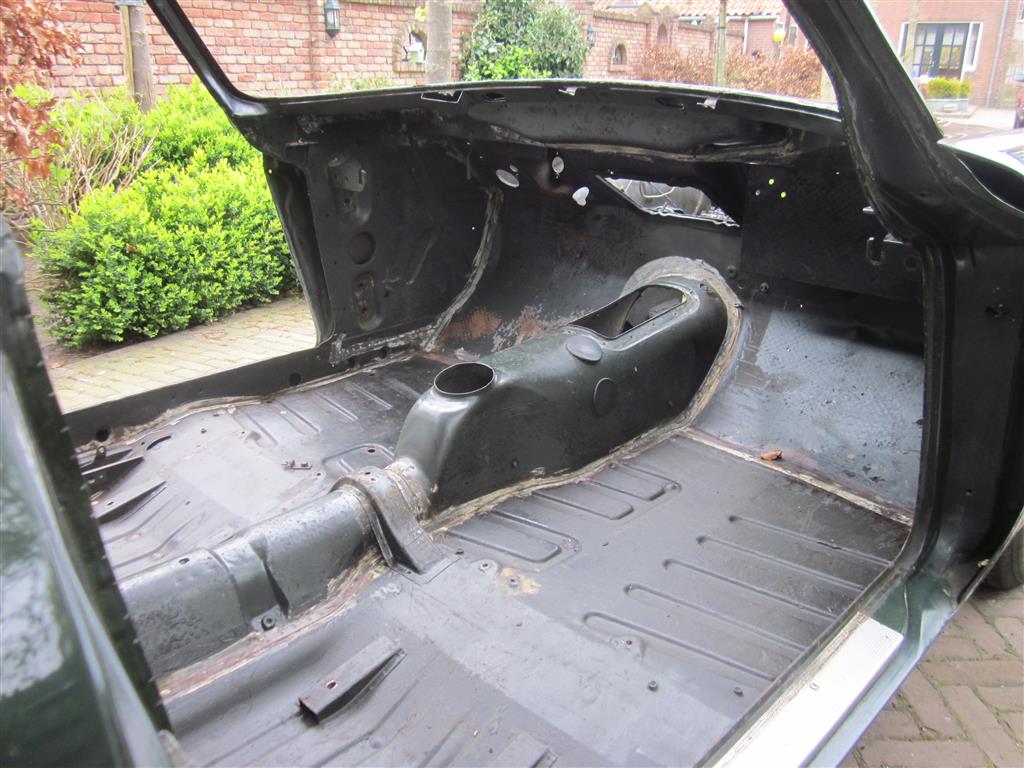
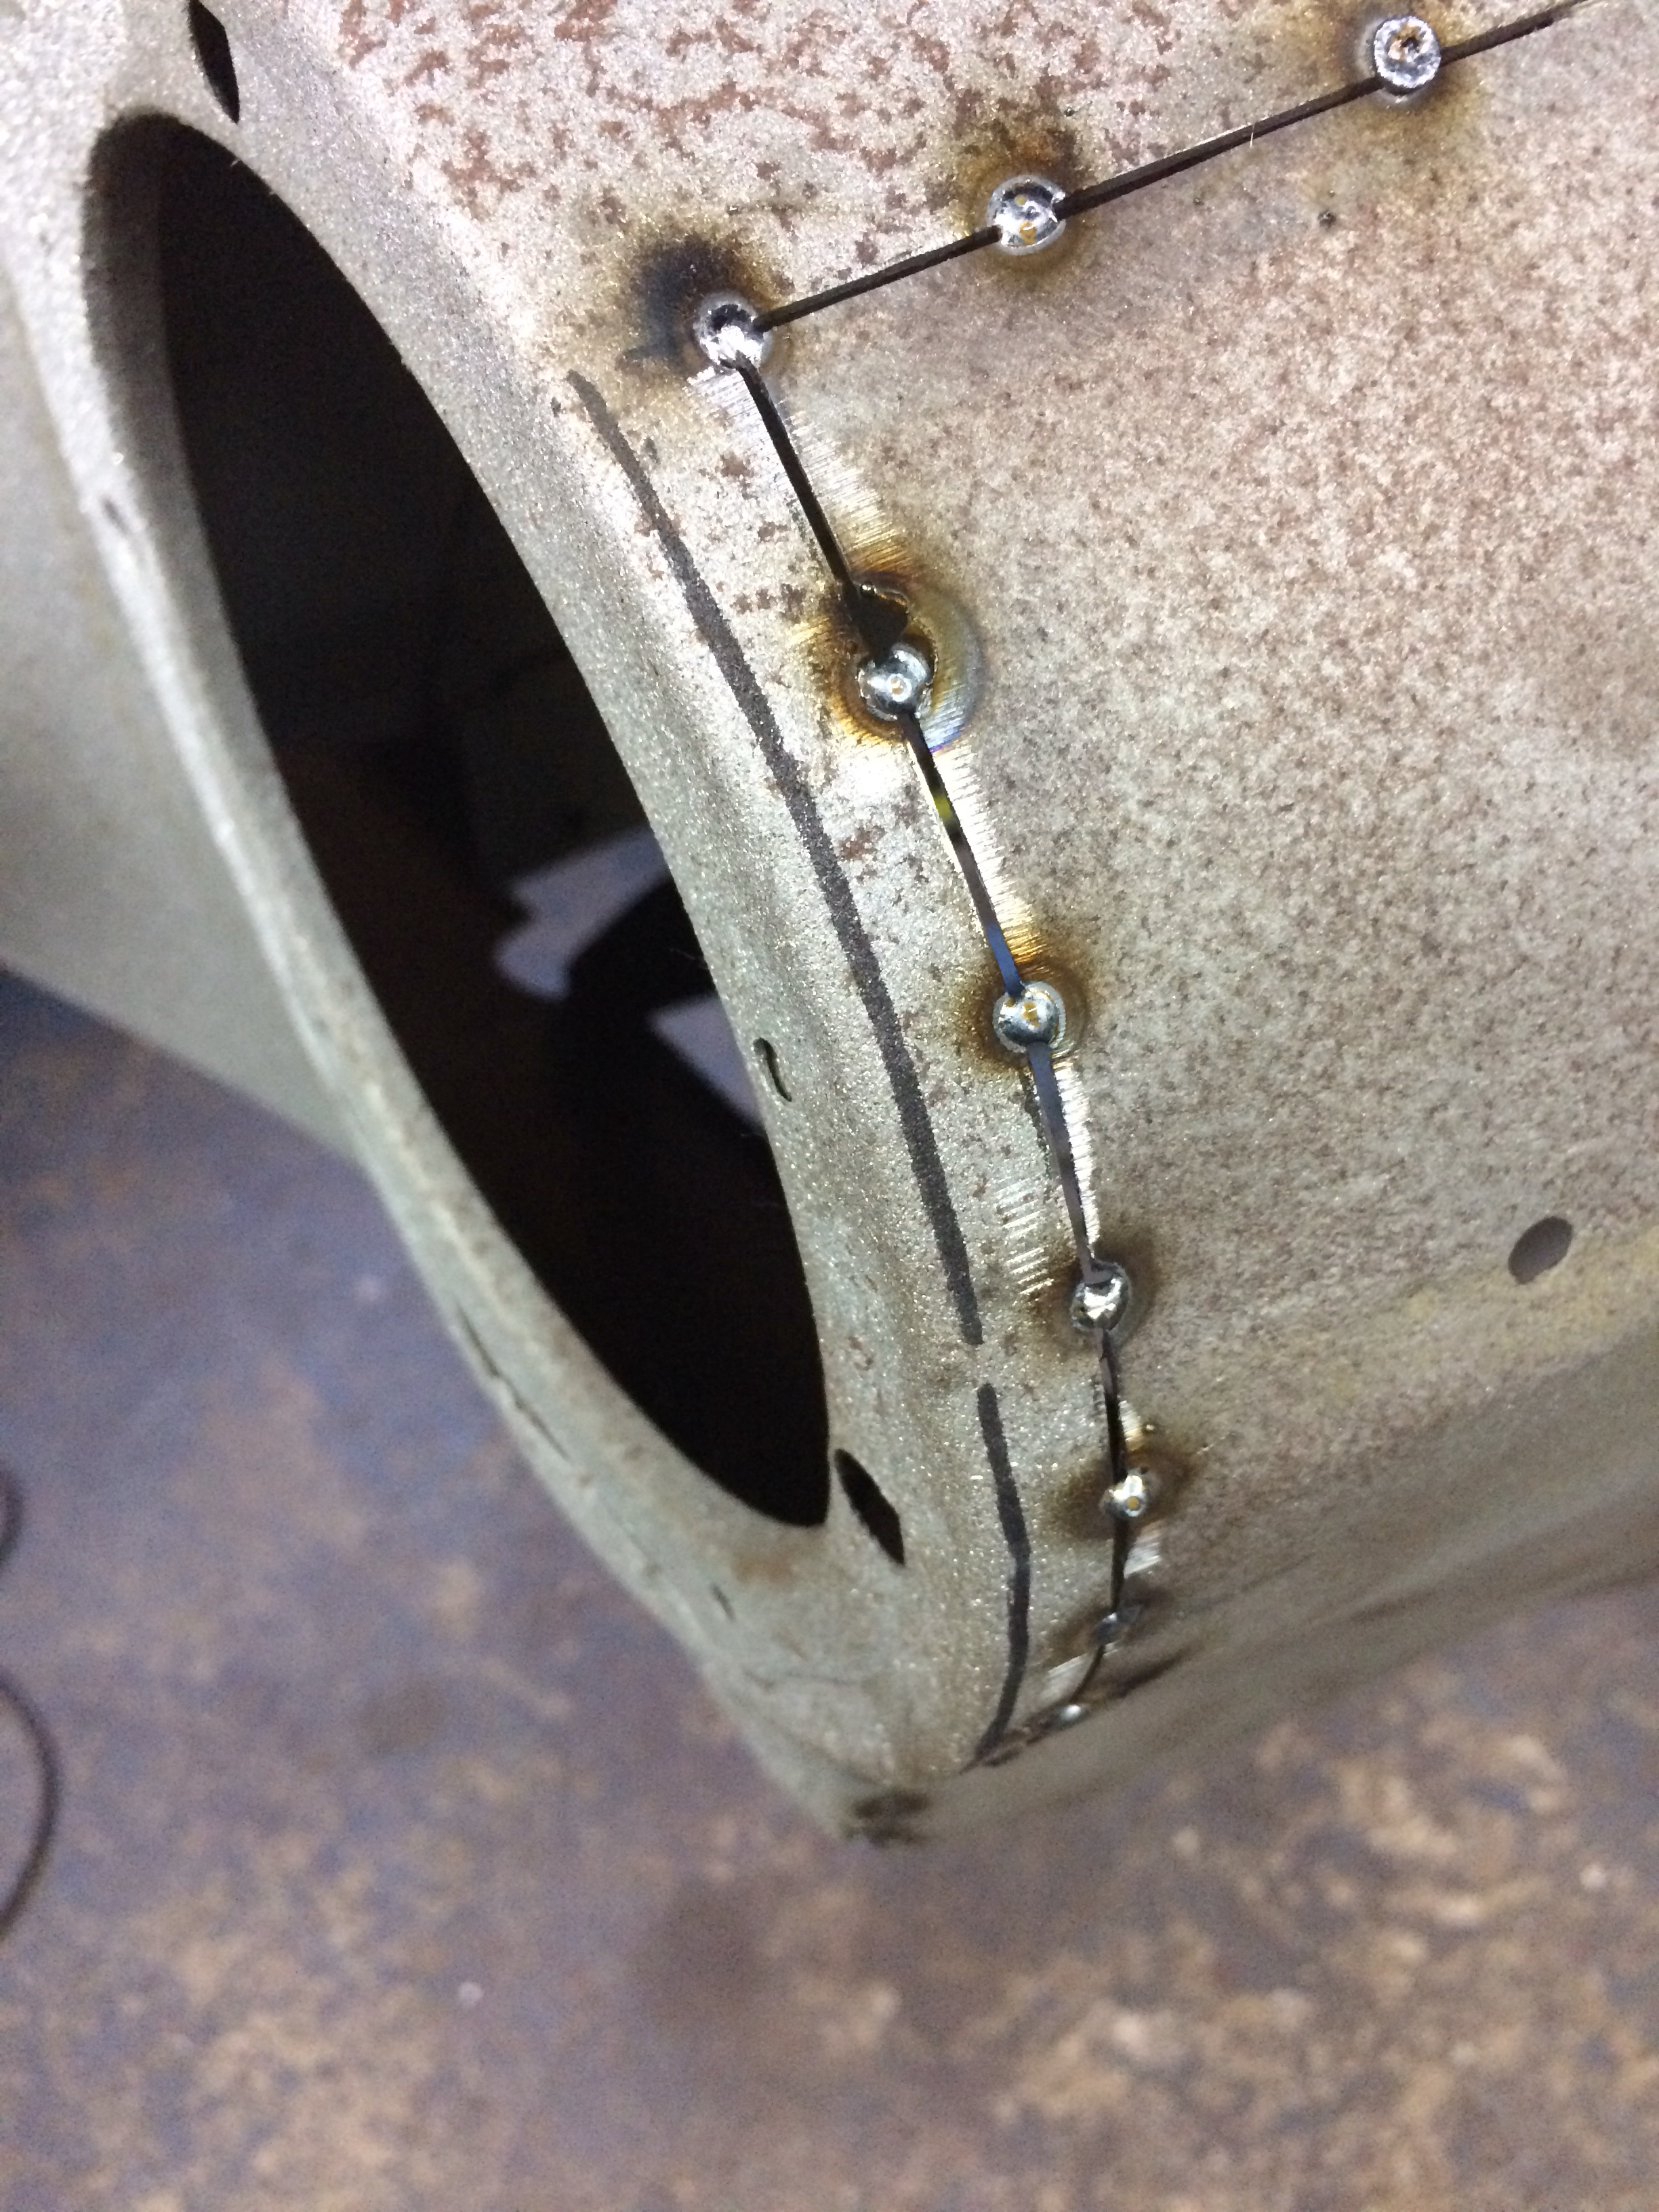
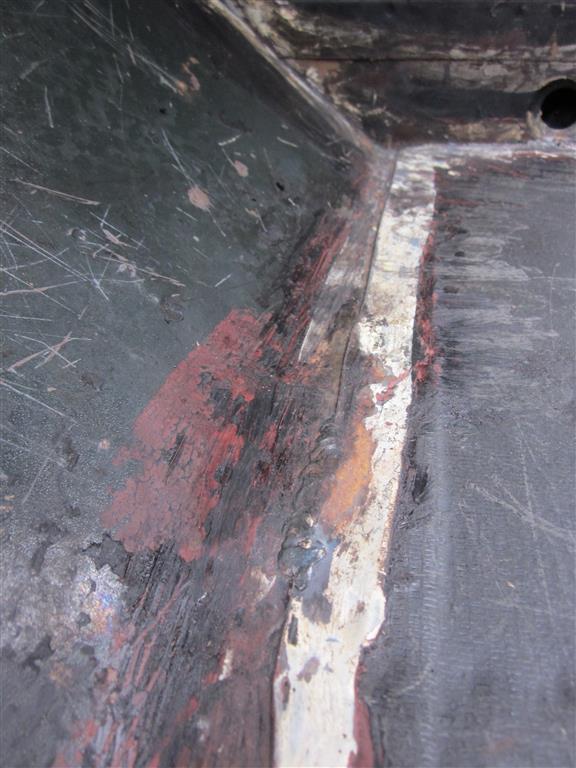
A strange weld at the front. I guess I’m gonna find some more repairs at the lower side of the car, but it would be strange if I wouldn’t find any repairs on a 47 year old car.
I’m getting to know the car inside and out.
Everything is removed from the interior, so finally the real fun work can begin… Removing all the glue, adhesives, sealant, isolation panels, dirt etc etc. Especially the sealant at the seams is really difficult. But working with plastic scrapers, a fire torch and lots of patience does the job. The interior is almost done, just some more sealant at the seams has to be removed.

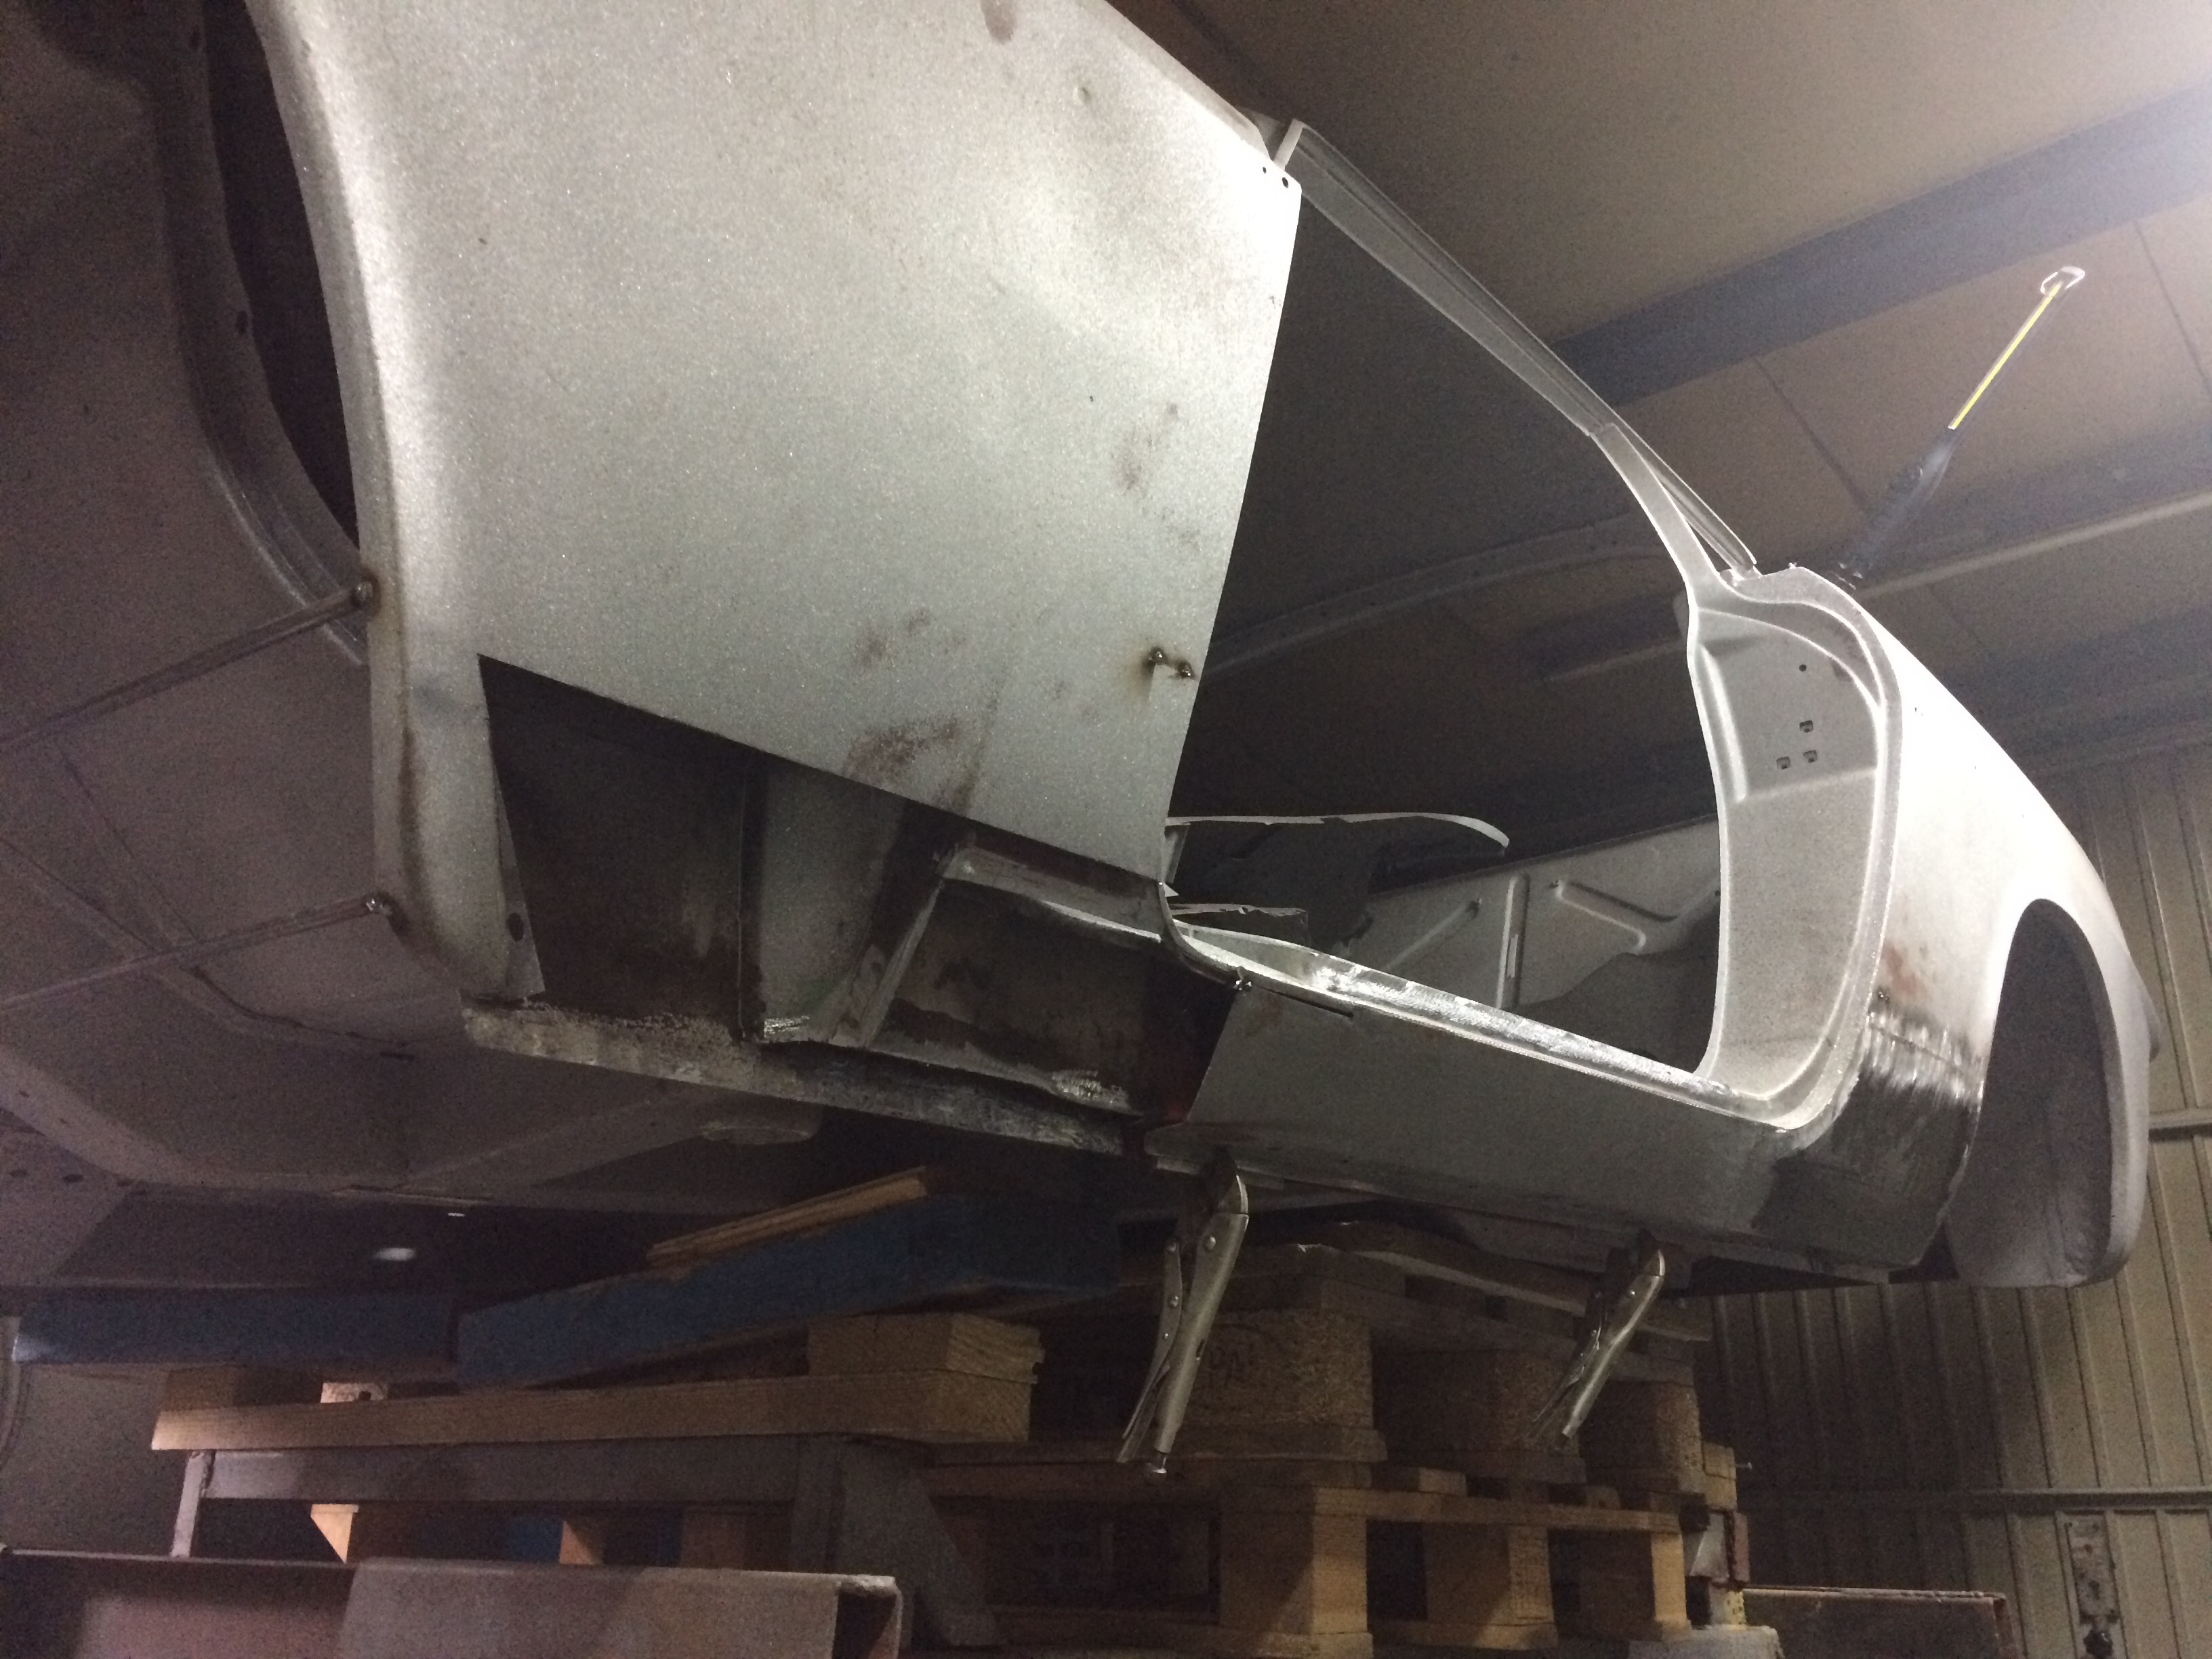
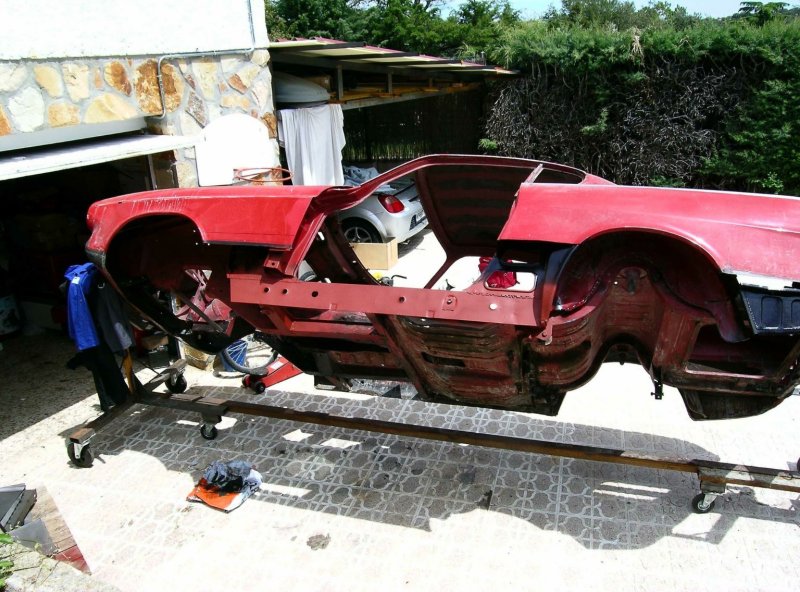
When the interior is finished, I can start with the underside of the car. This will take the most work because underneath the car is completely covered in a 1/2 cm thick layer of tectyl. For this work I have a restoration stand, kinda like as in the image below. It is fitted on the wheel hubs, so the frond and aft suspensions cannot be removed from the car.
This would even be better, but it would not fit in my garage:
I’m going to fabricage something like this so I can easily move the car:
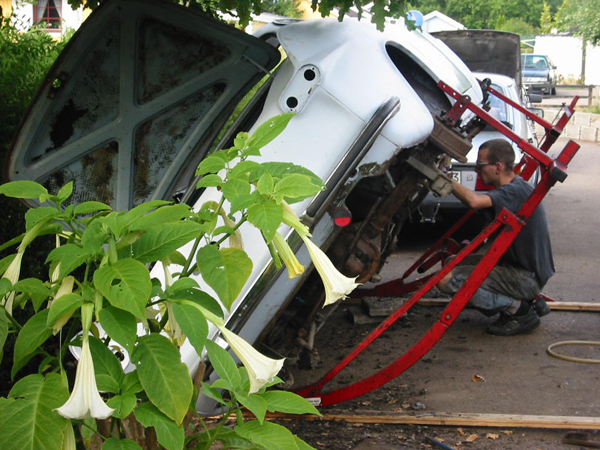
Or I could just do it without and throw it on its side like this.. 😉

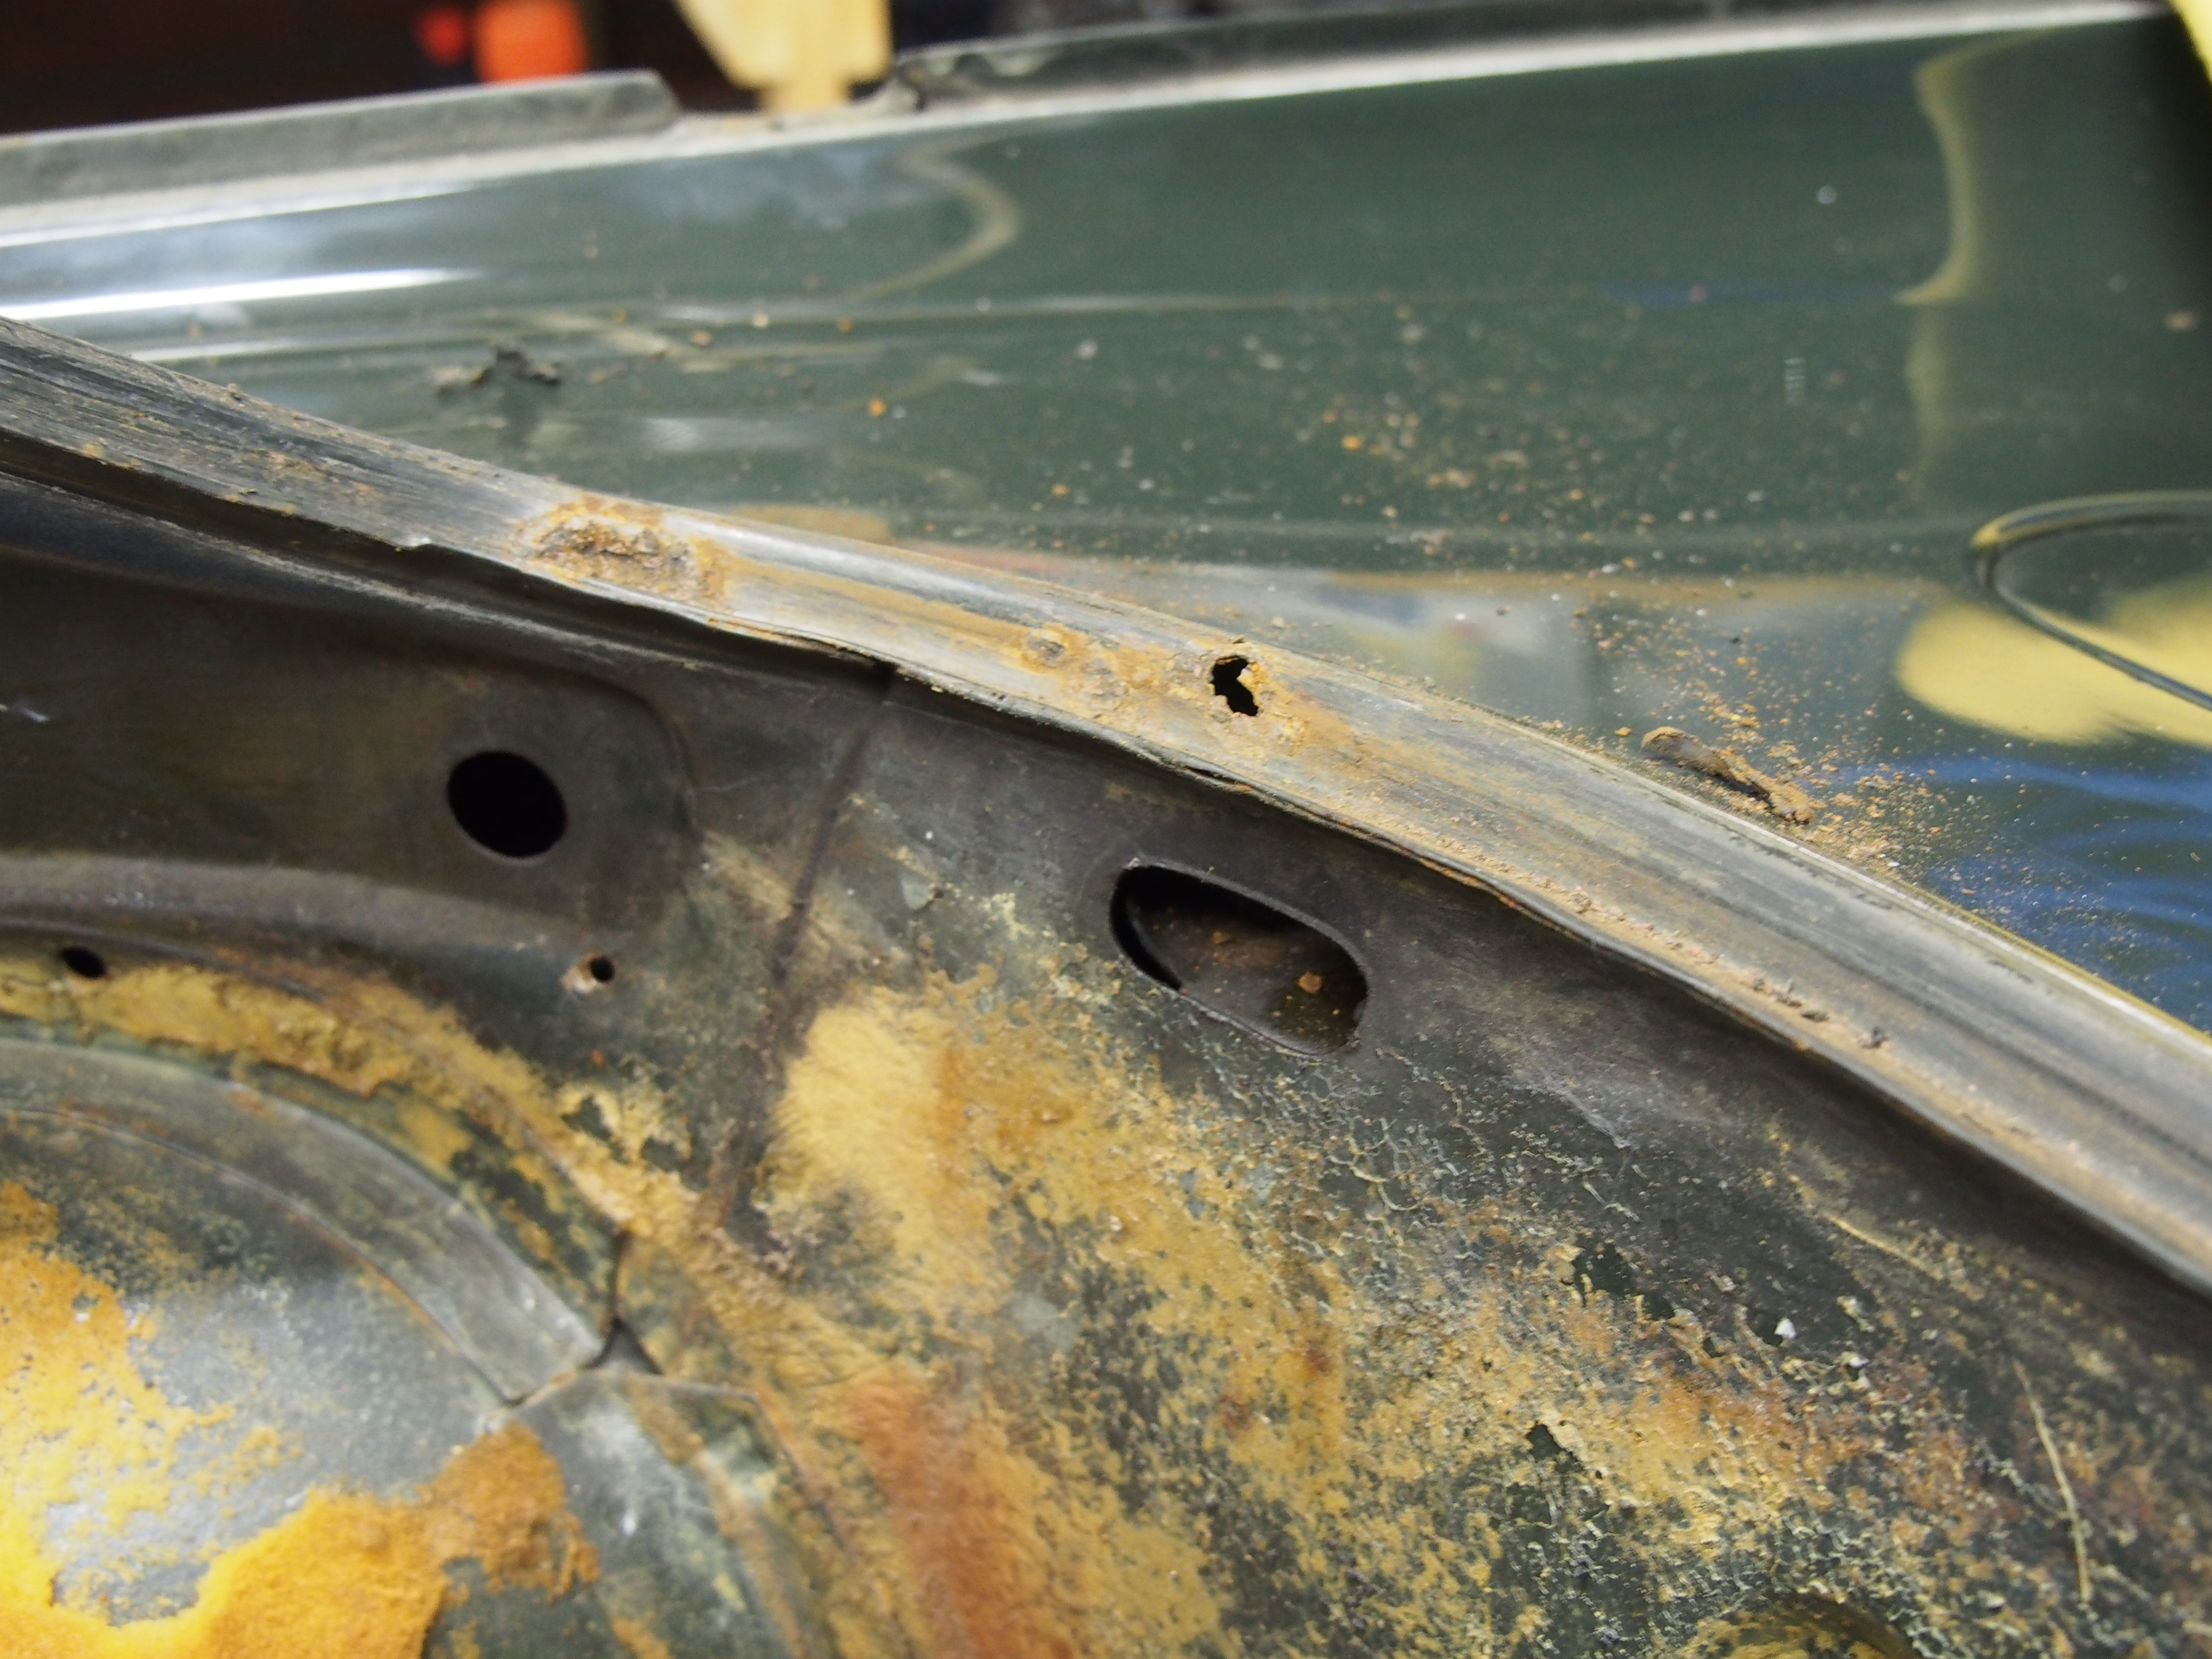
These are the bad spots in the metal of the car which I have found until now. It could be worse, but the car does needs some repairs. As I cannot repair it myself, I have to find someone or a shop who can do the job.
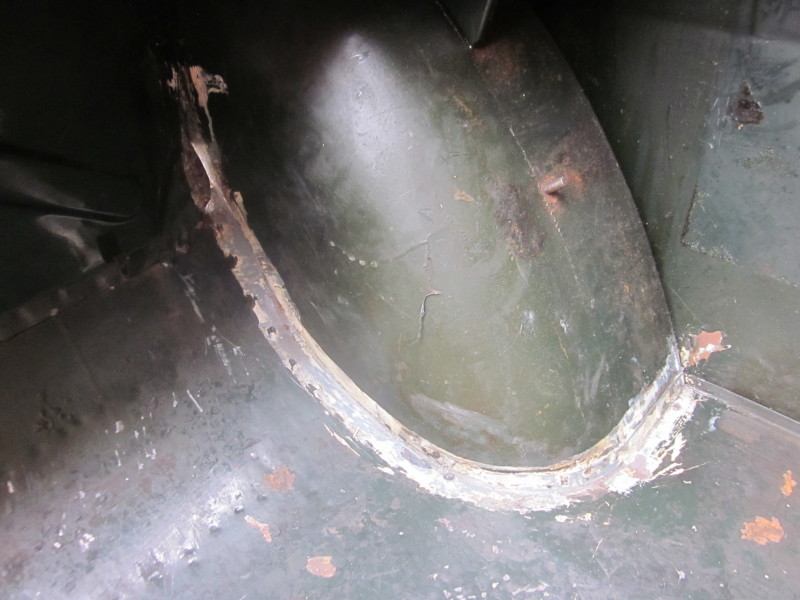
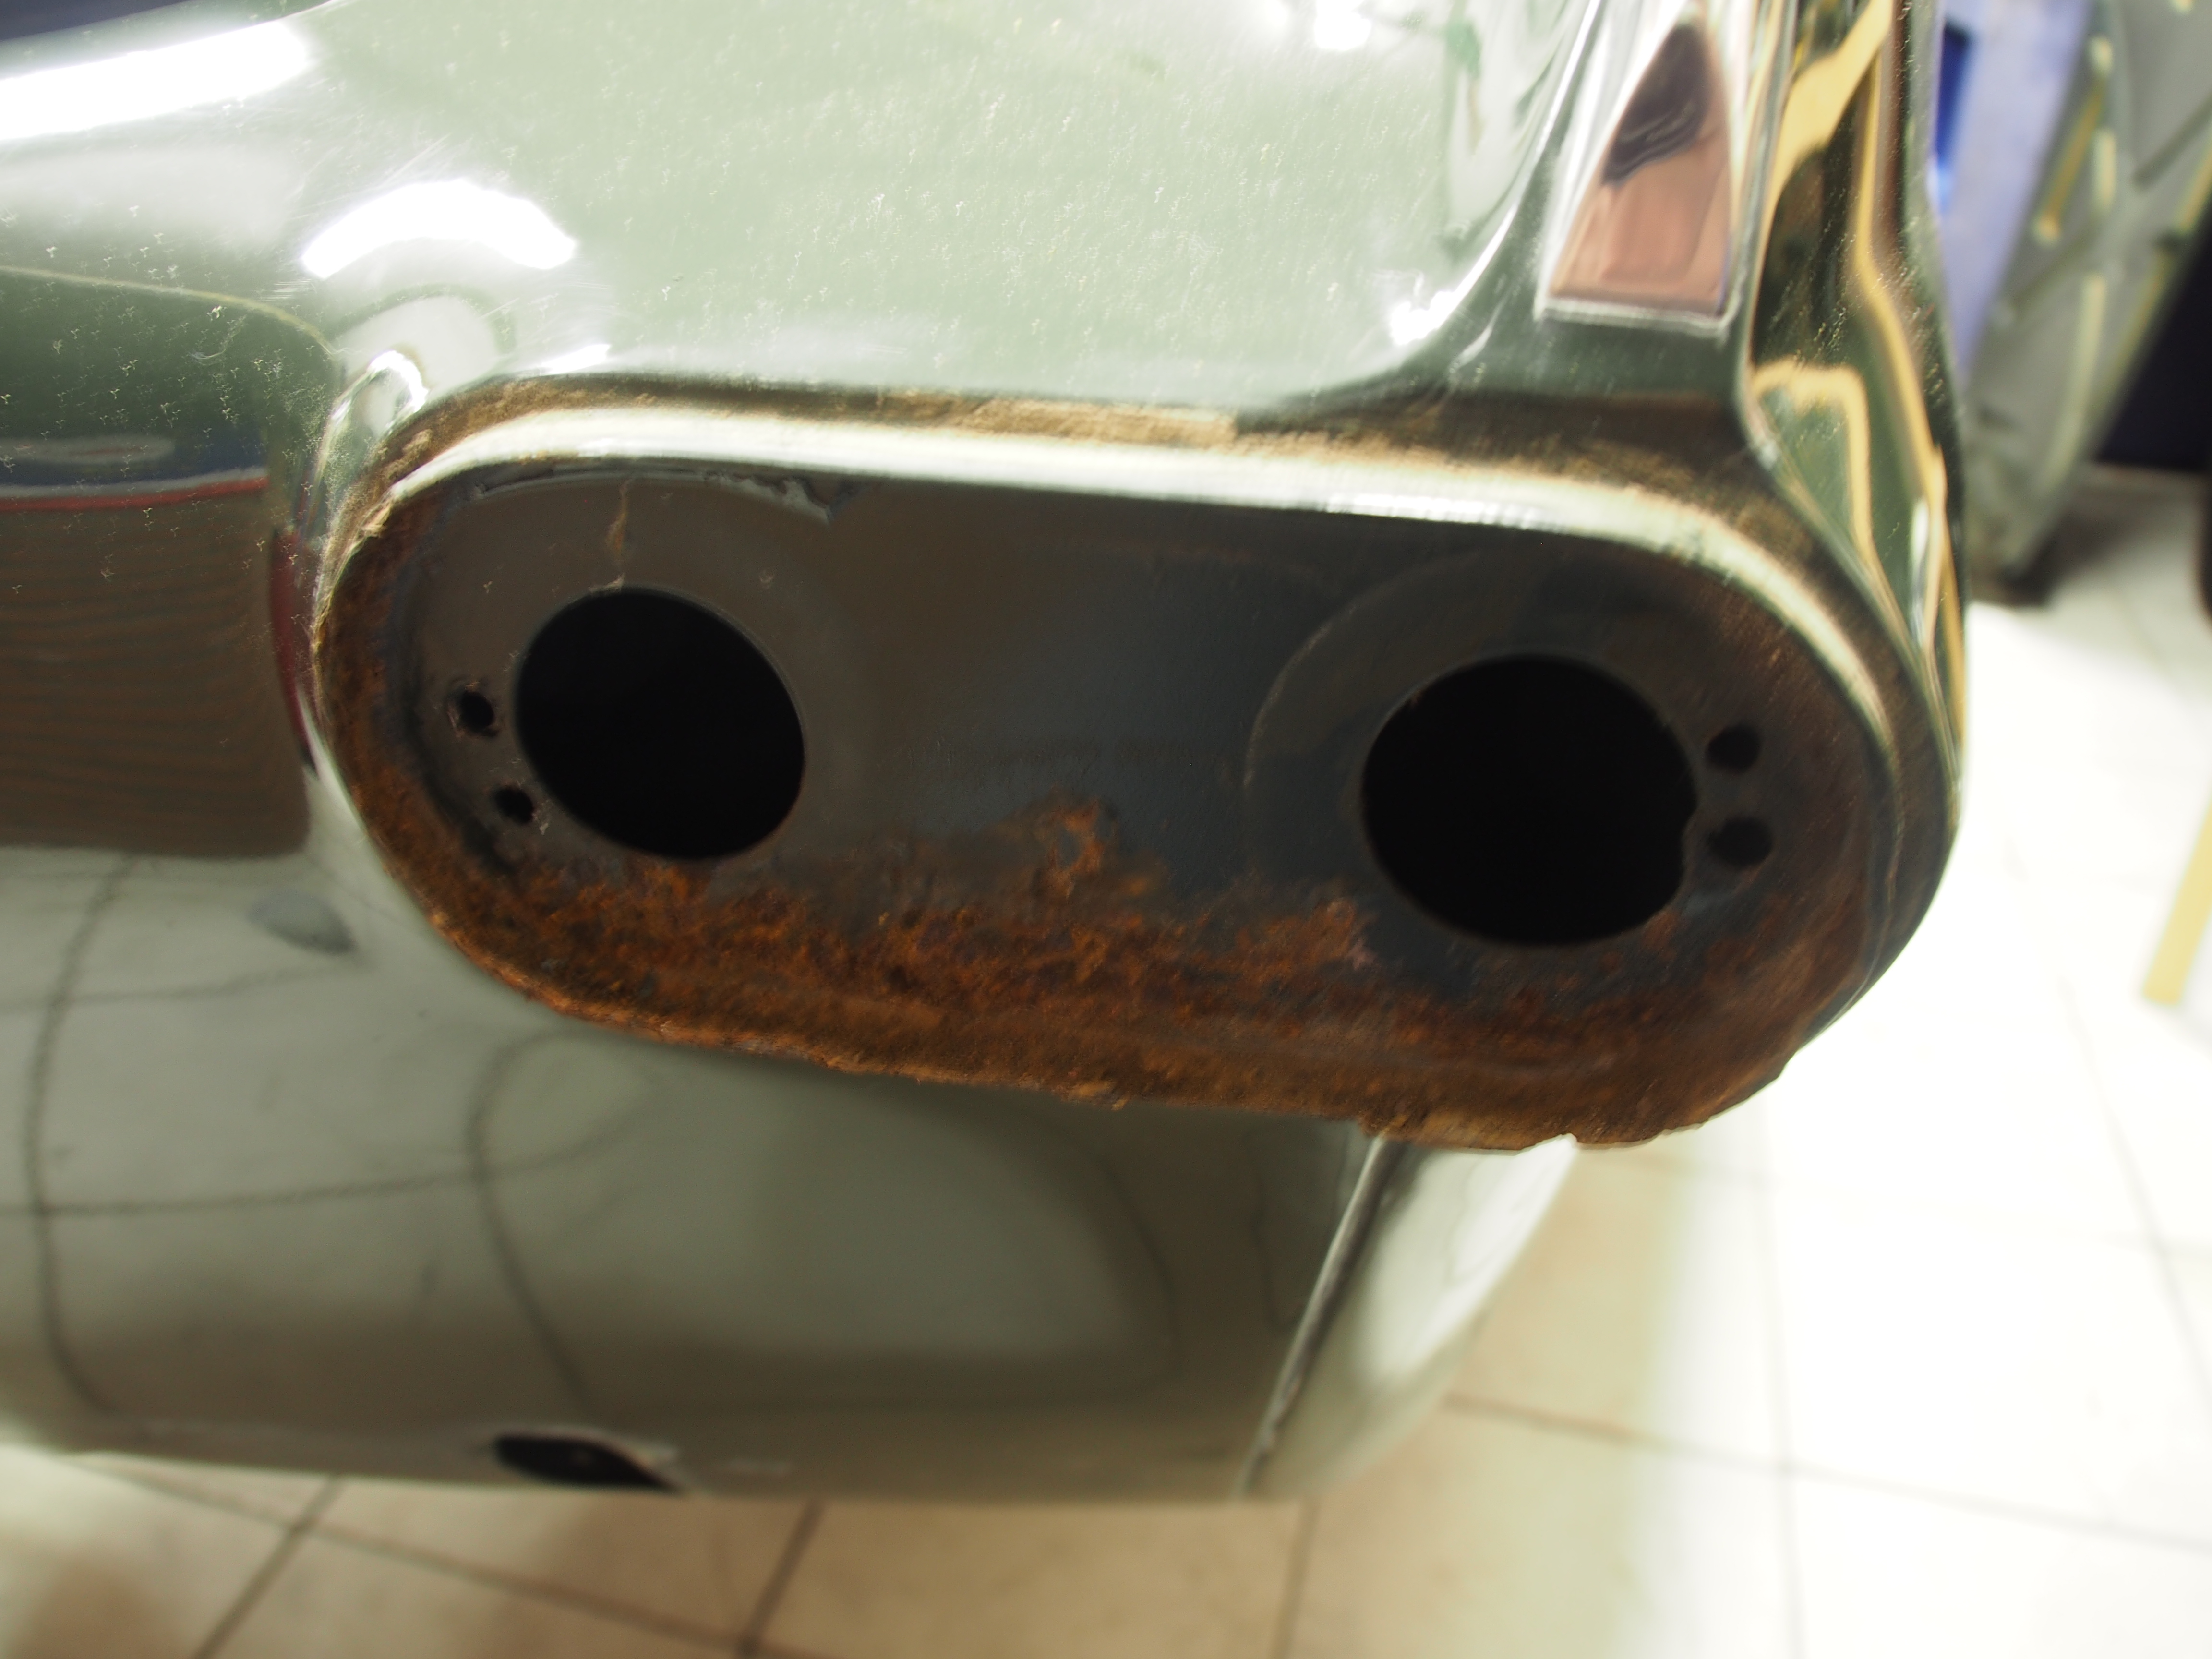
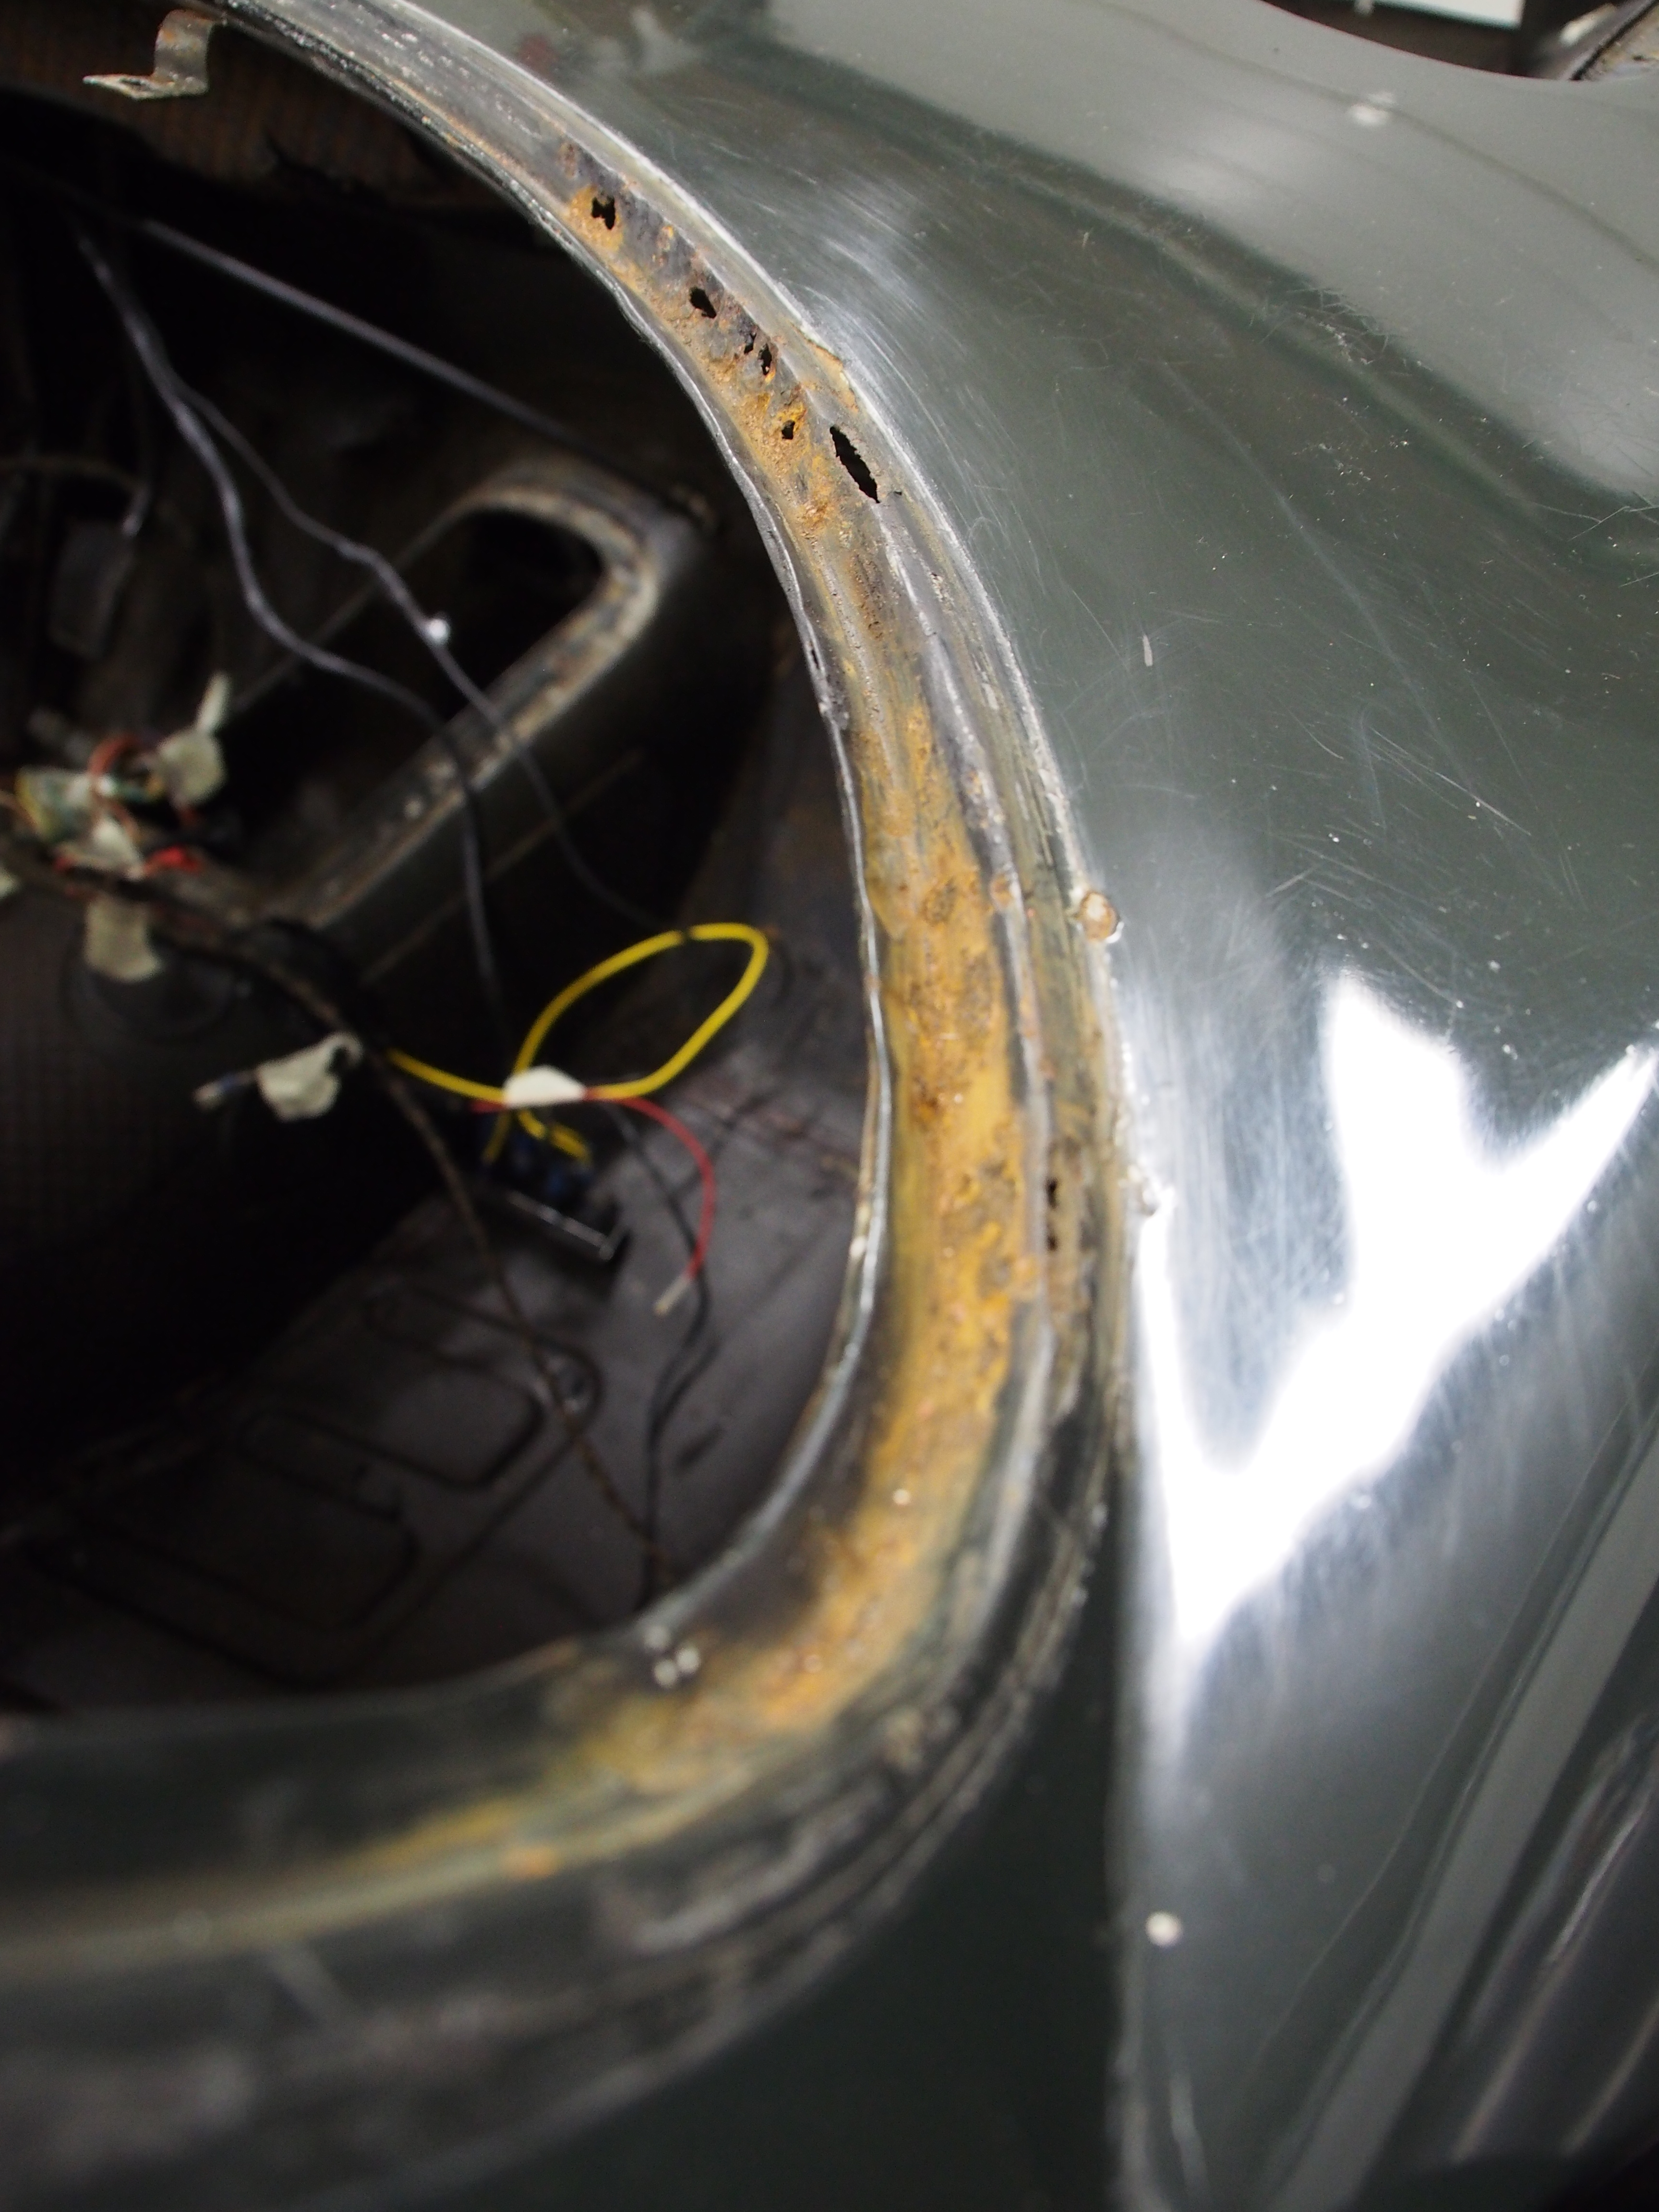
Rust at the RH aft light housing.
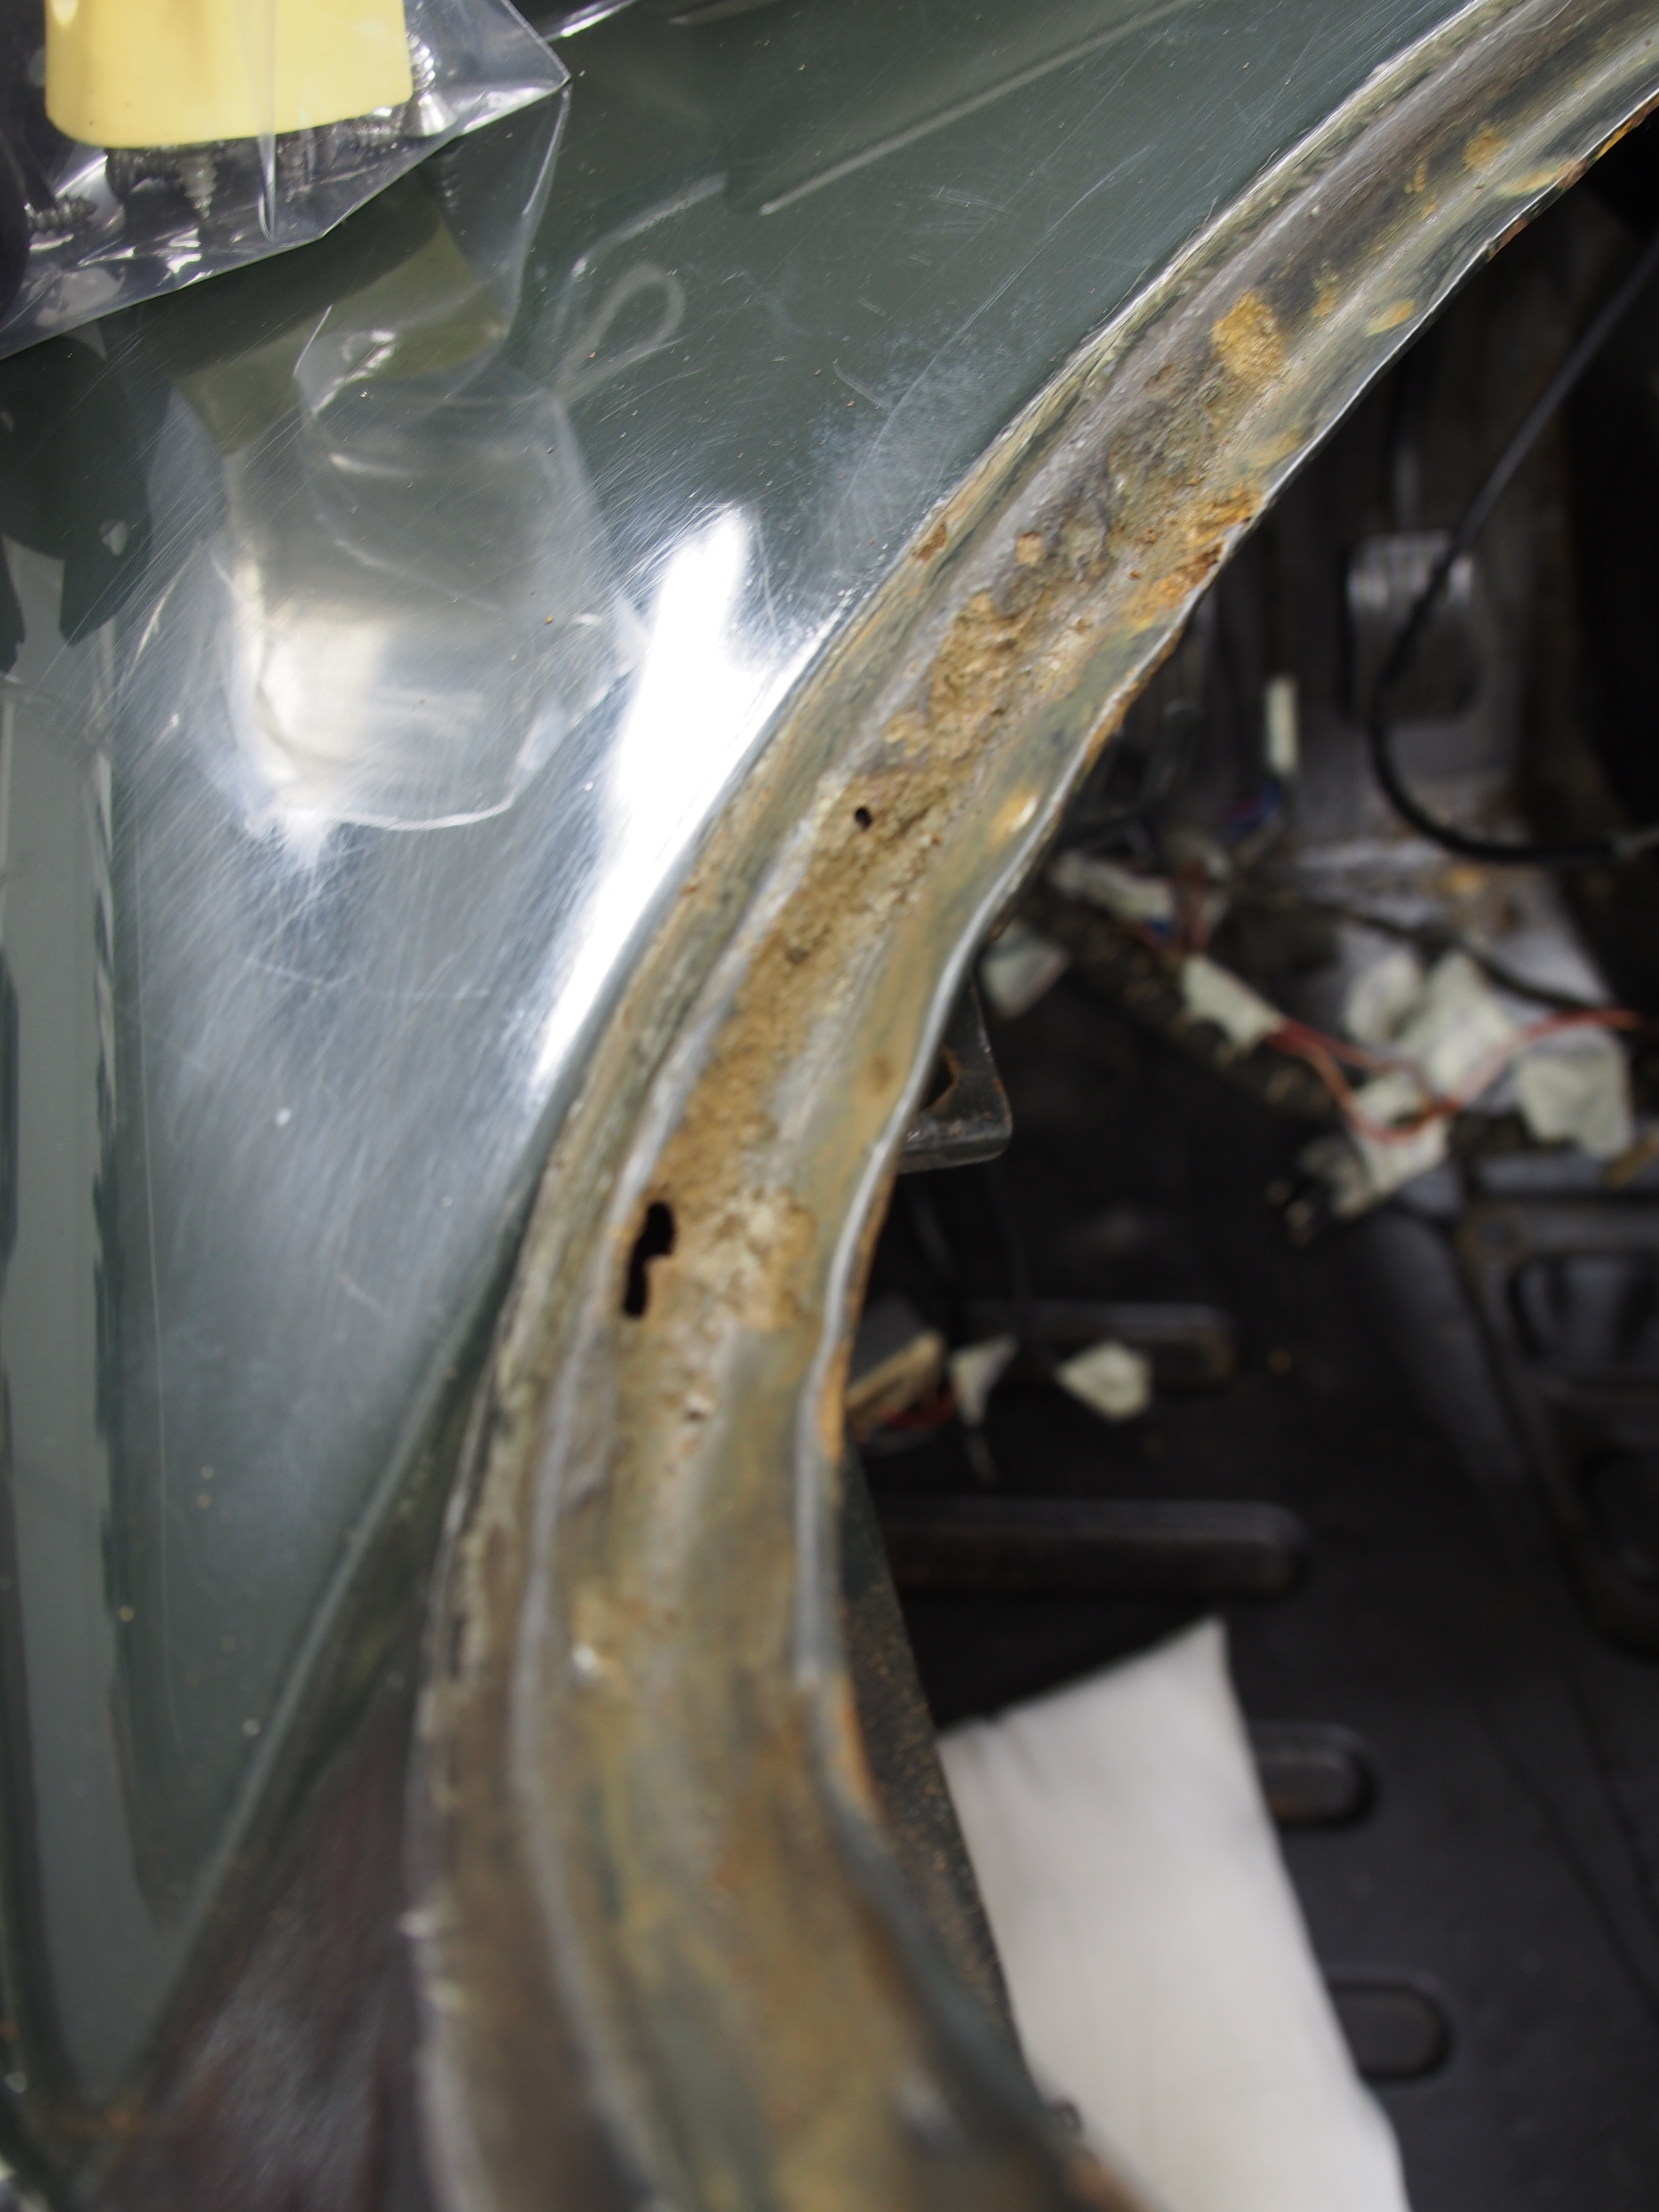
FWD winscreen.
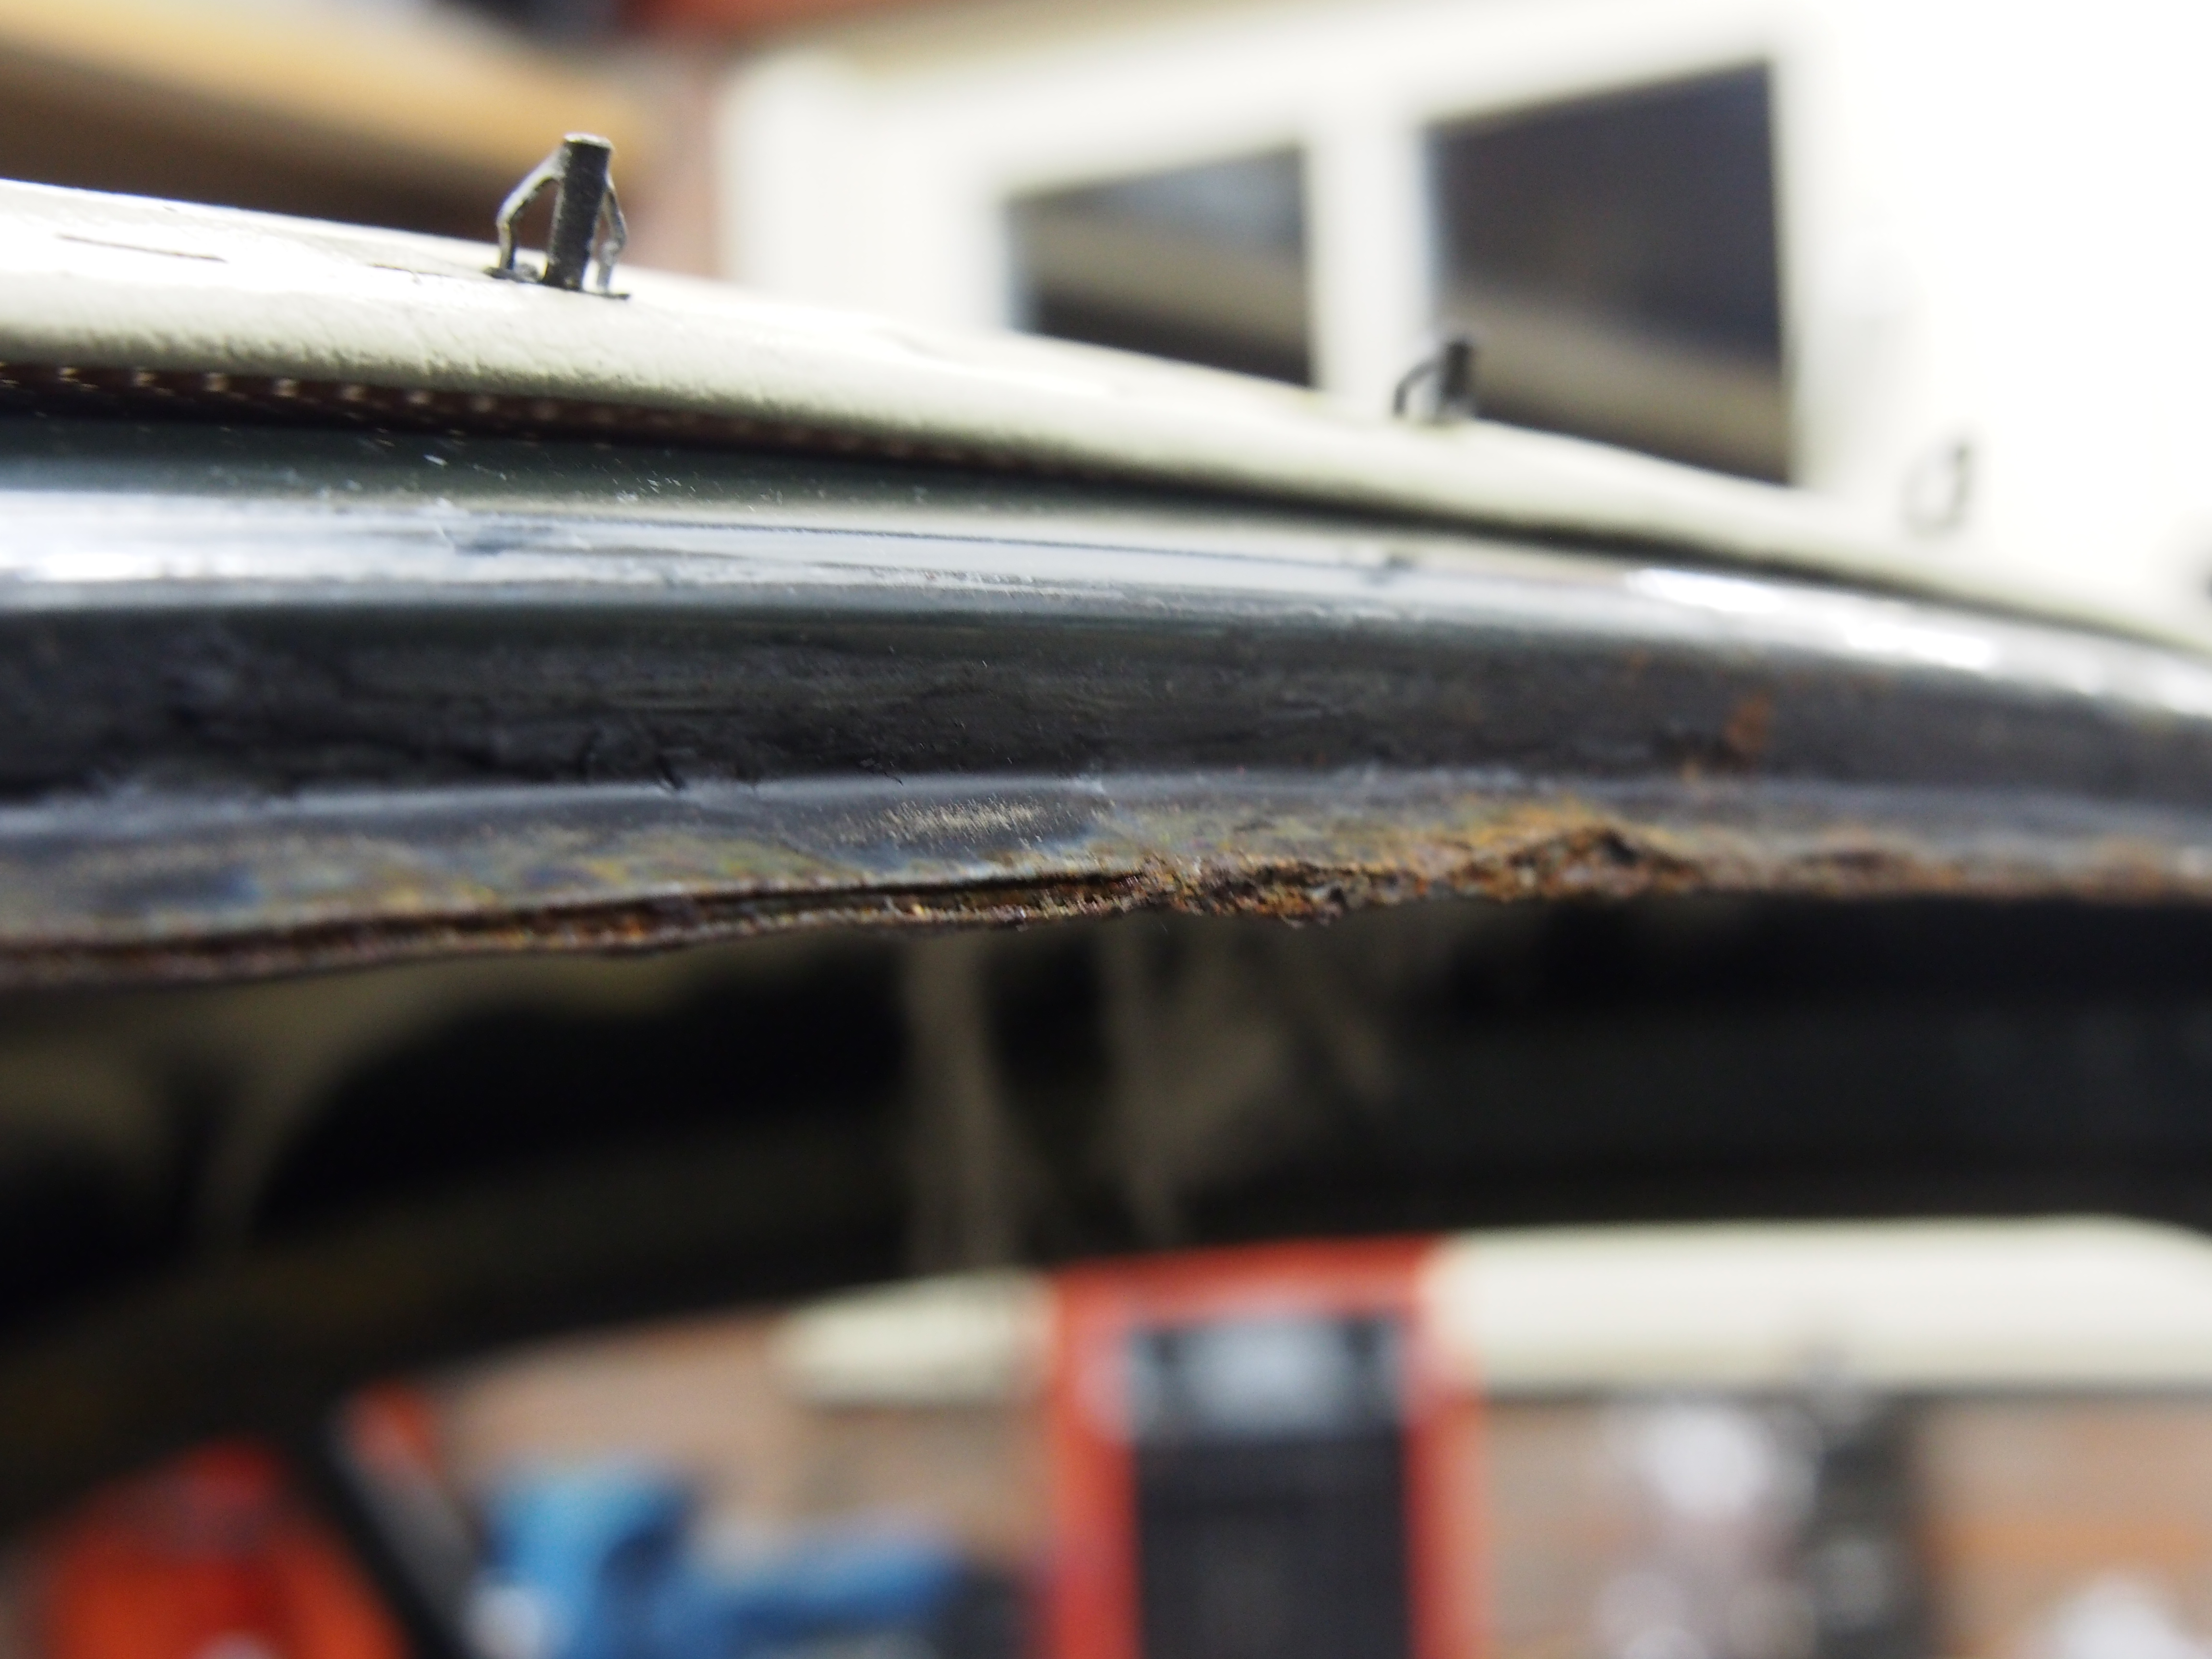
FWD windscreen RH lower corner.
FWD windscreen LH lower corner.
LH headlight housing, inside the front fender. The RH side is a bit the same, beginning rust.


Aft windscreen RH lower corner.
Beginning rust behind AFT fender covers.

I started with removing some of the coating at the inside of the RH front fender to get a better view of the state of the body. The car had been treated with a coating on the under- and inside of the car somewhere in the early ’00’s. This probably protected the body, but it can also hide any (beginning) rust. This means lots of extra work scraping all around the car… 
