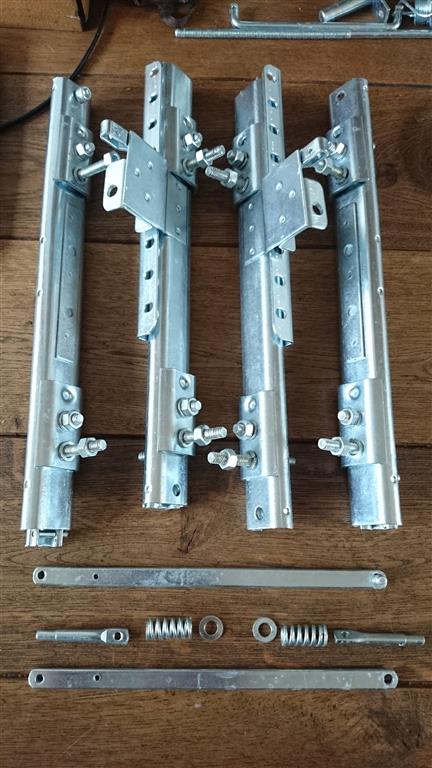
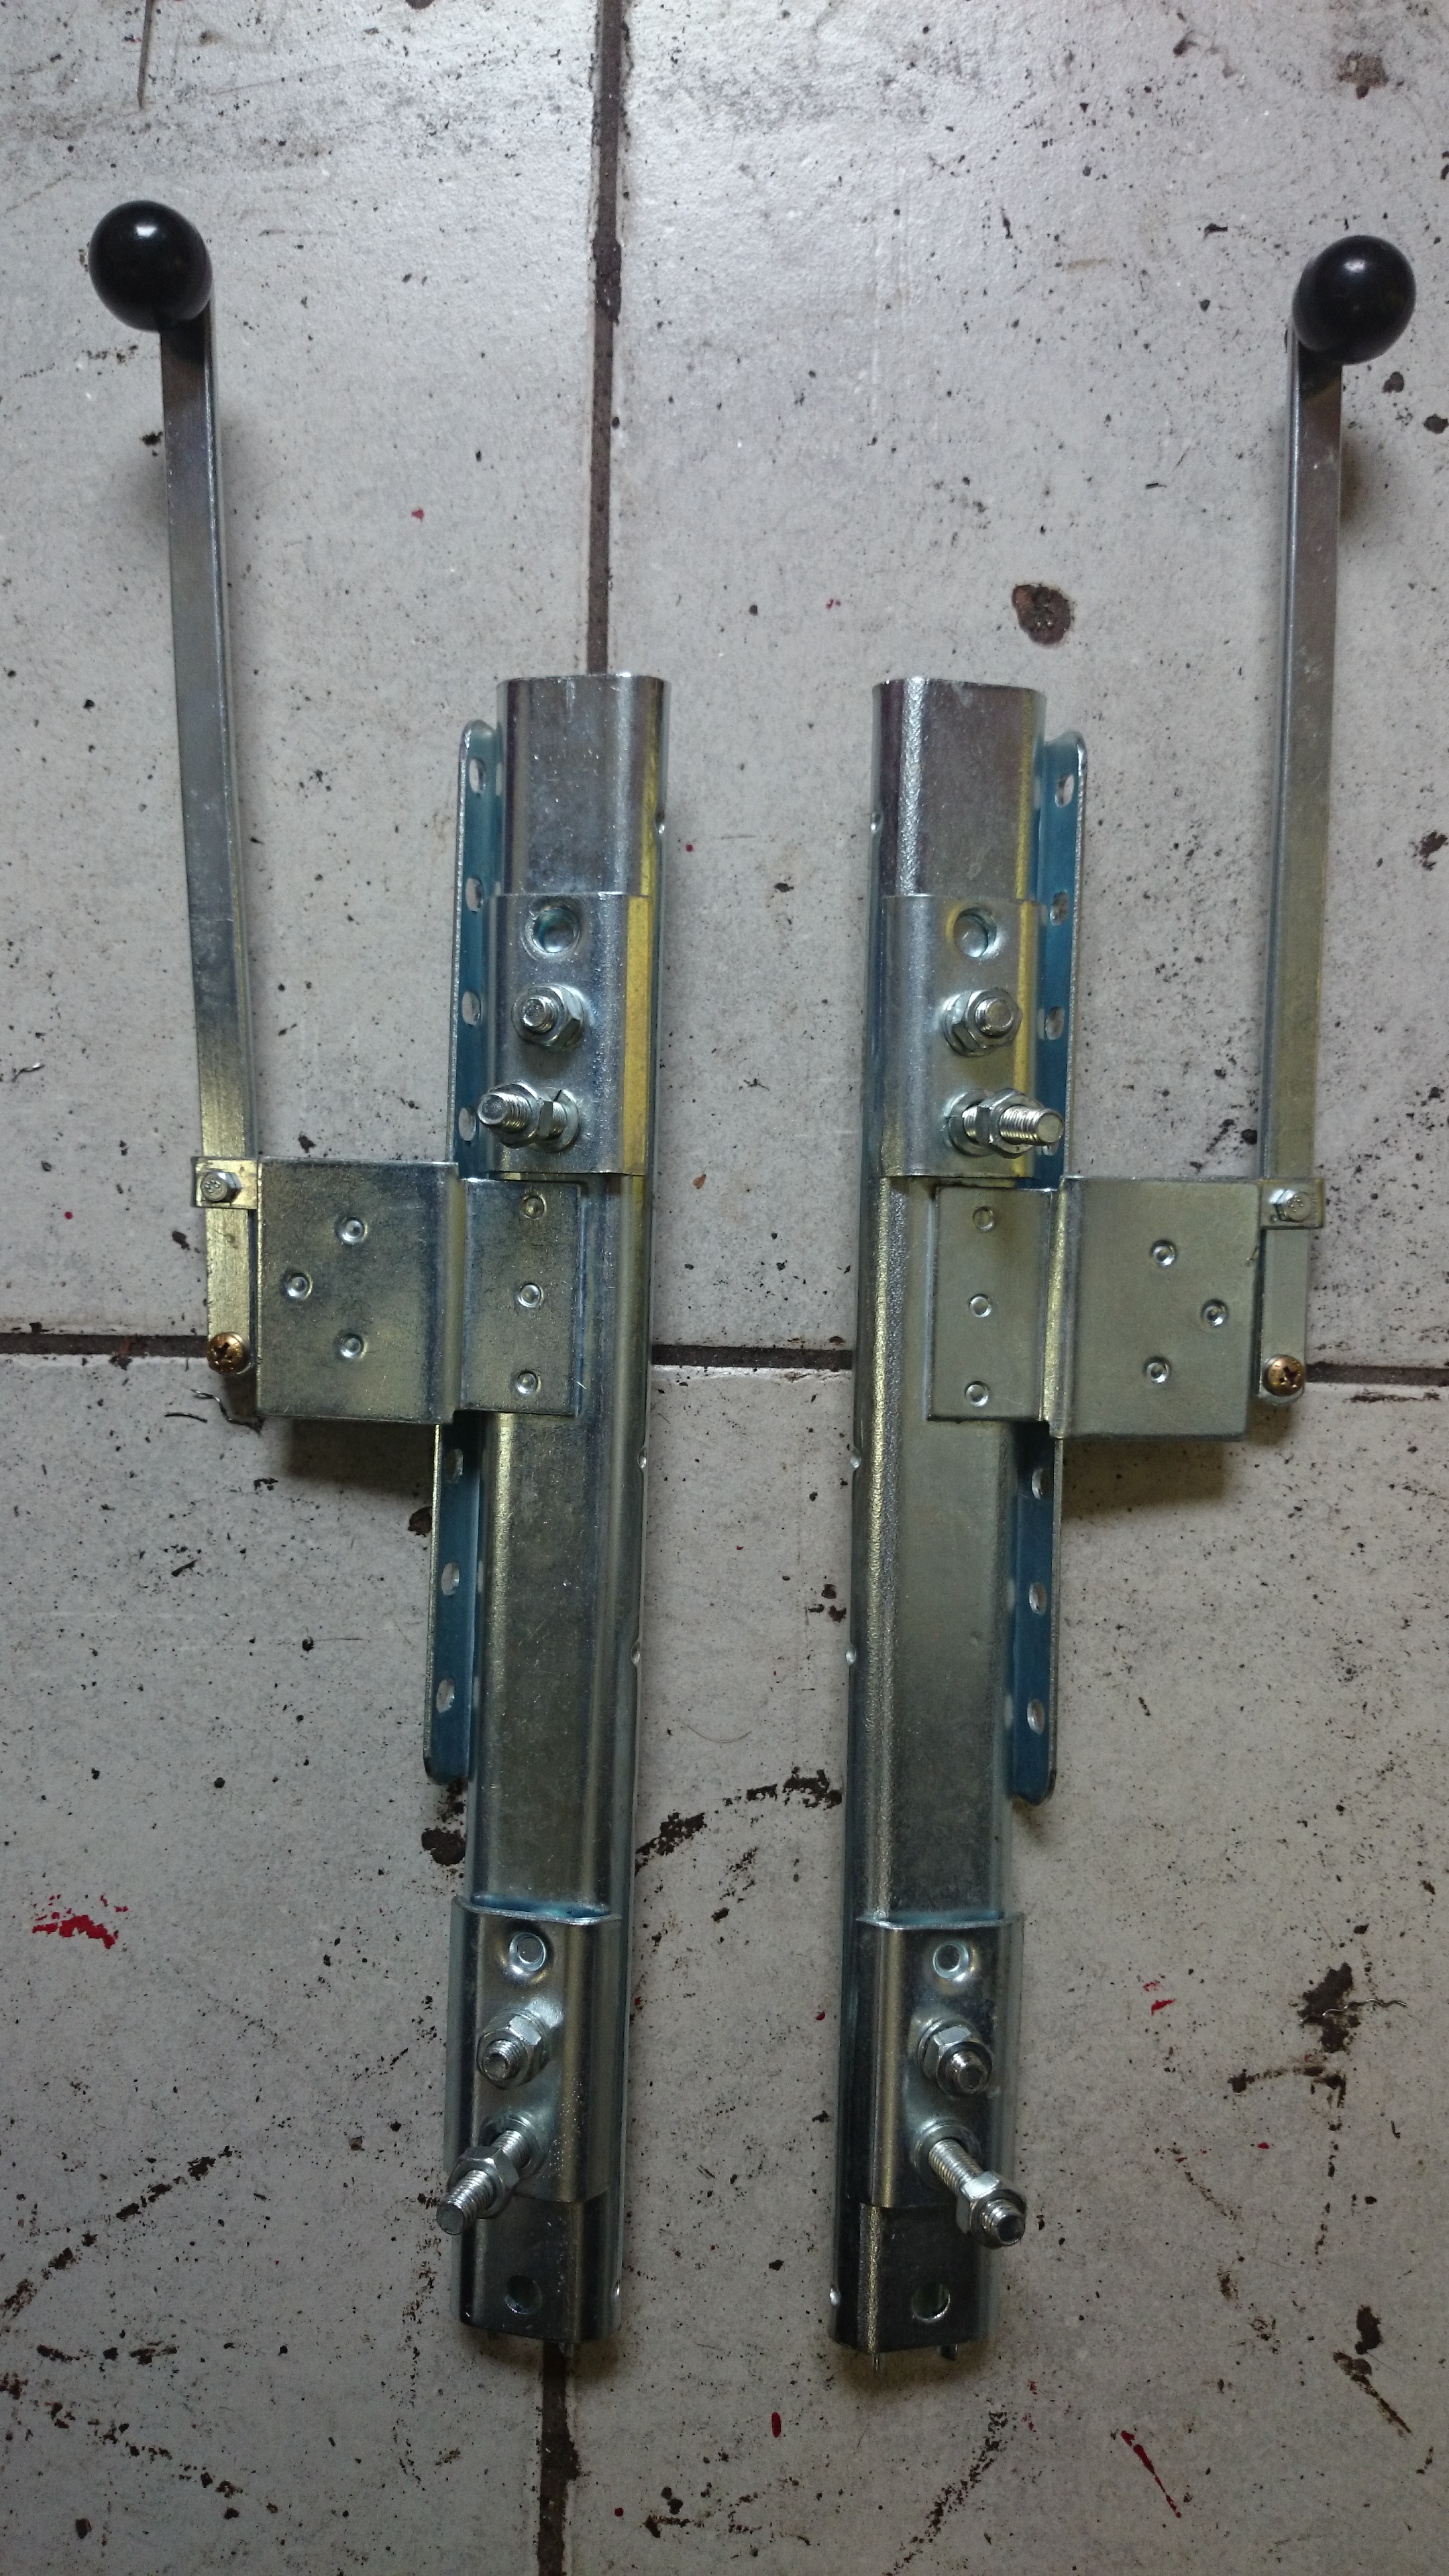
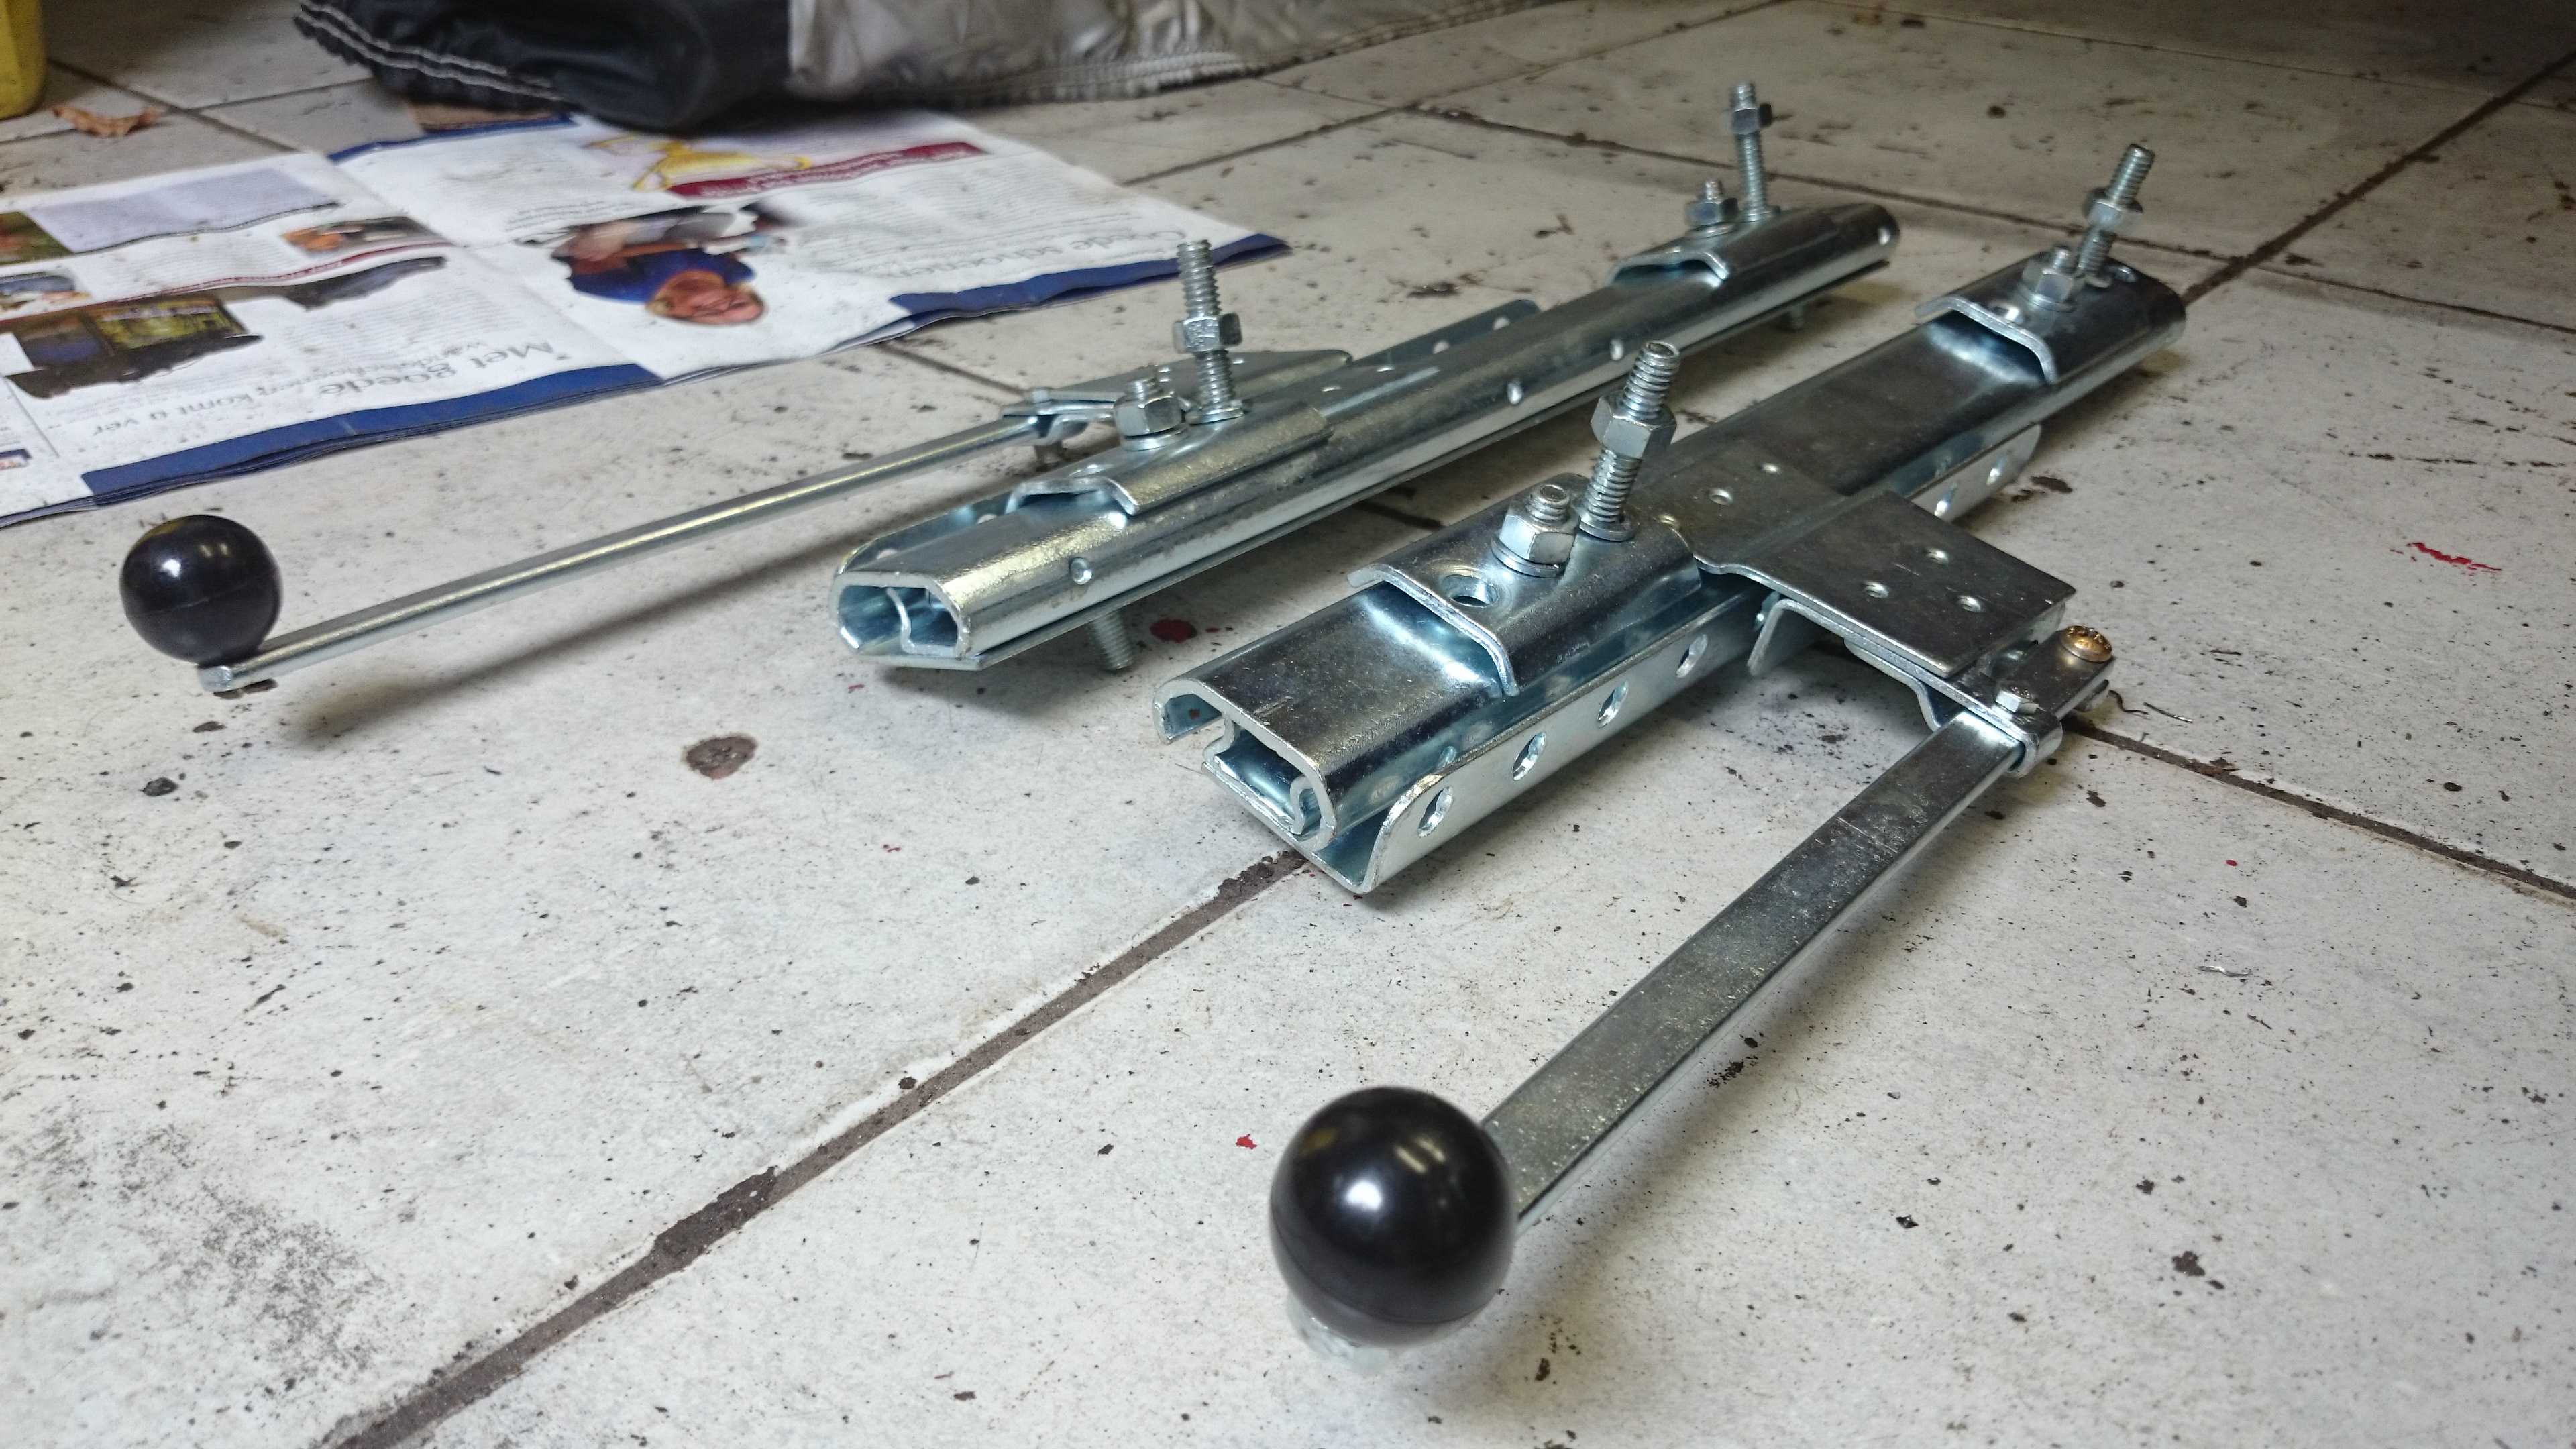
Parts zinc plated, gears and linkages lubricated and tested.
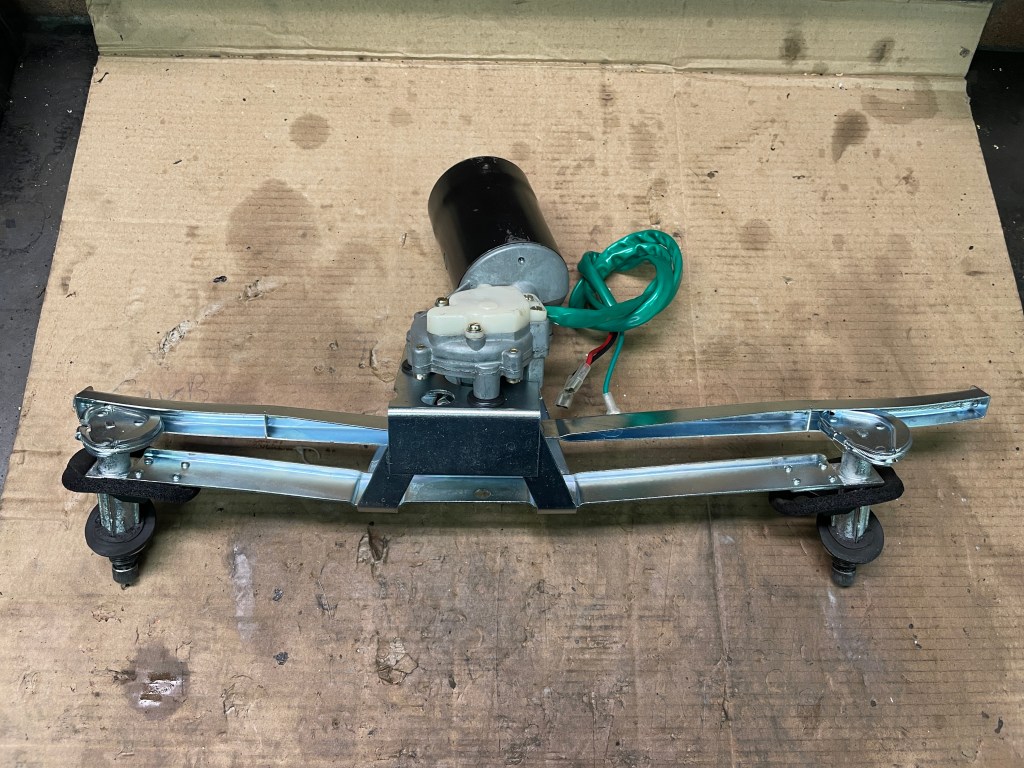
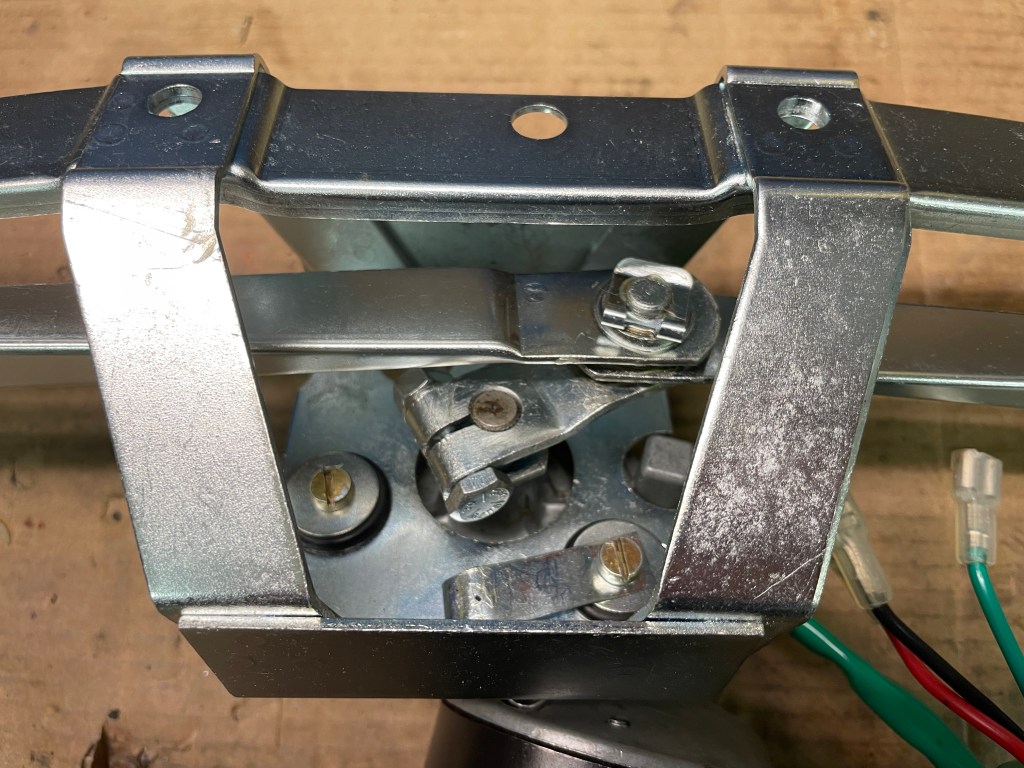
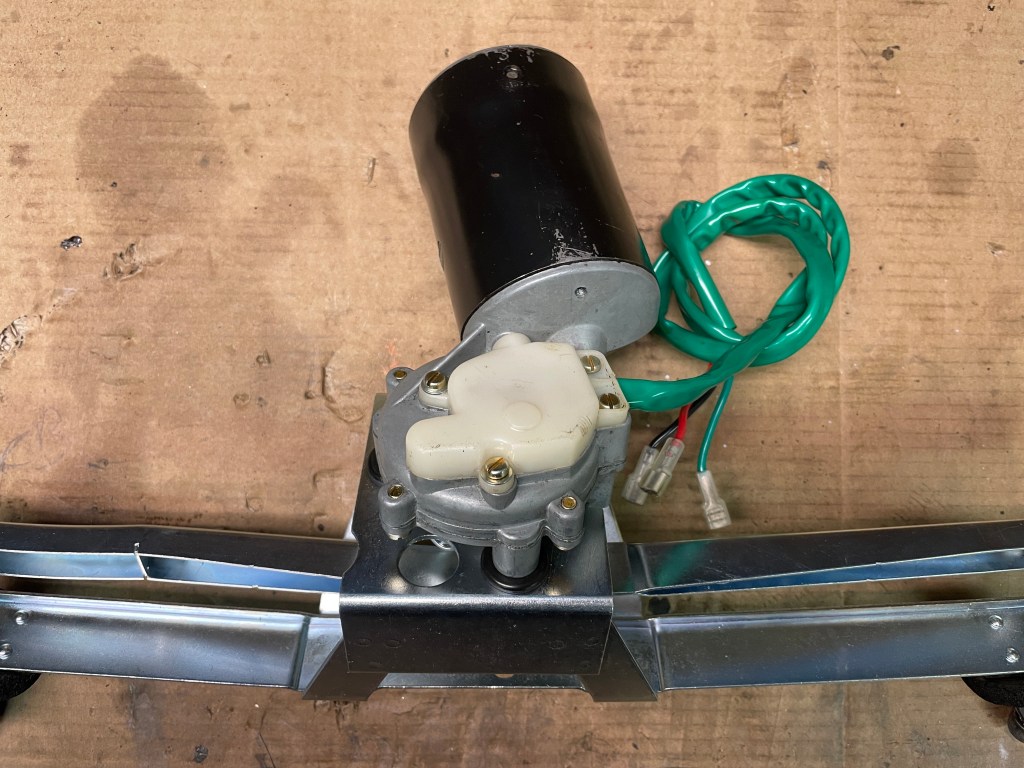
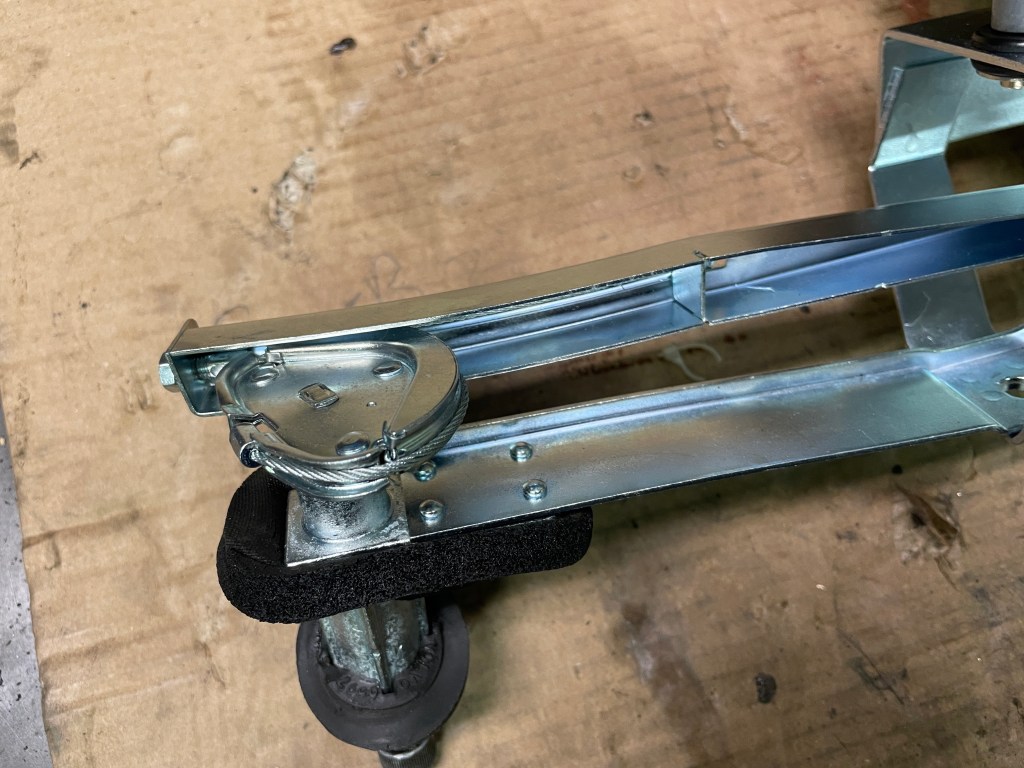
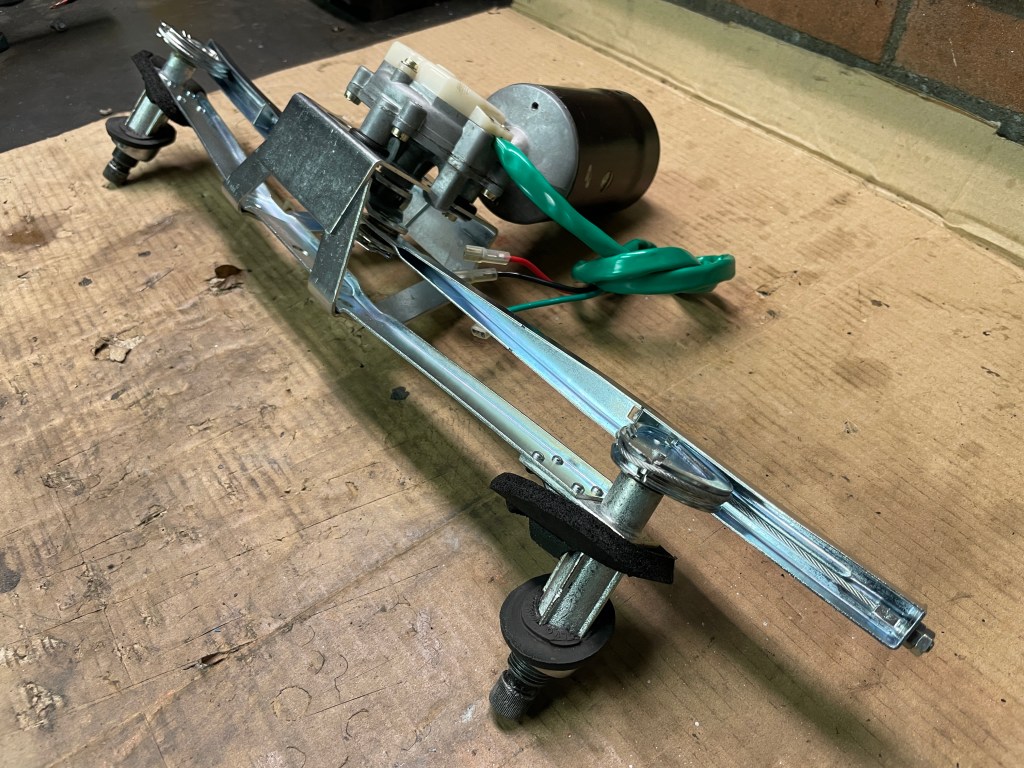
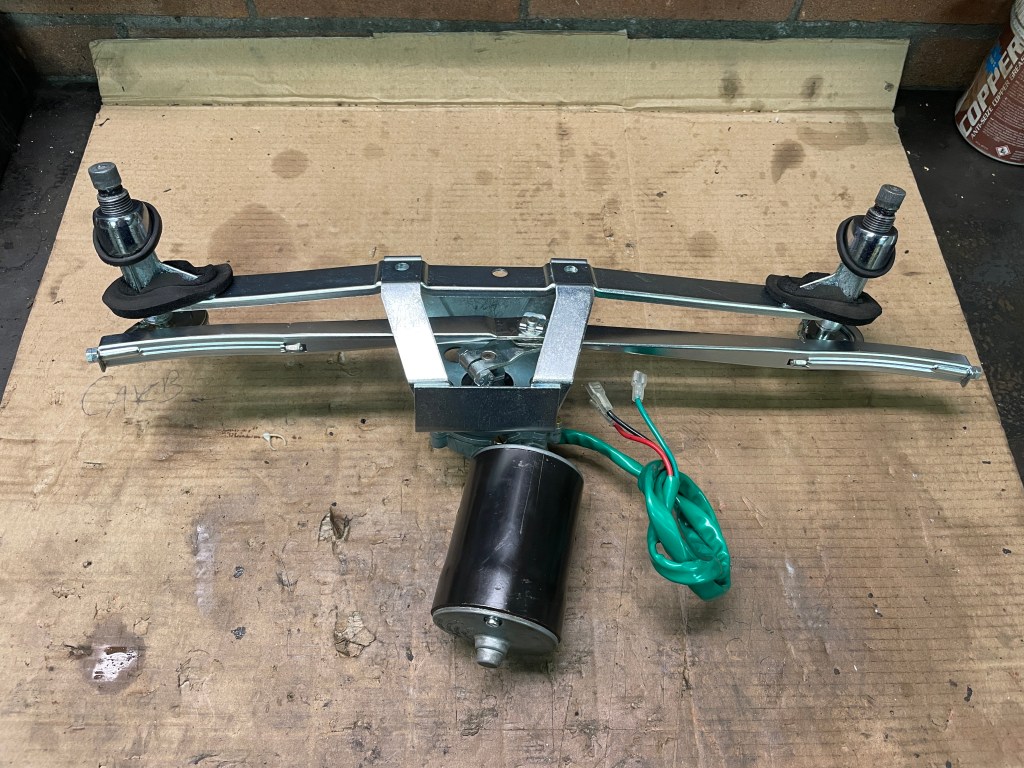

Parts zinc plated, gears and linkages lubricated and tested.
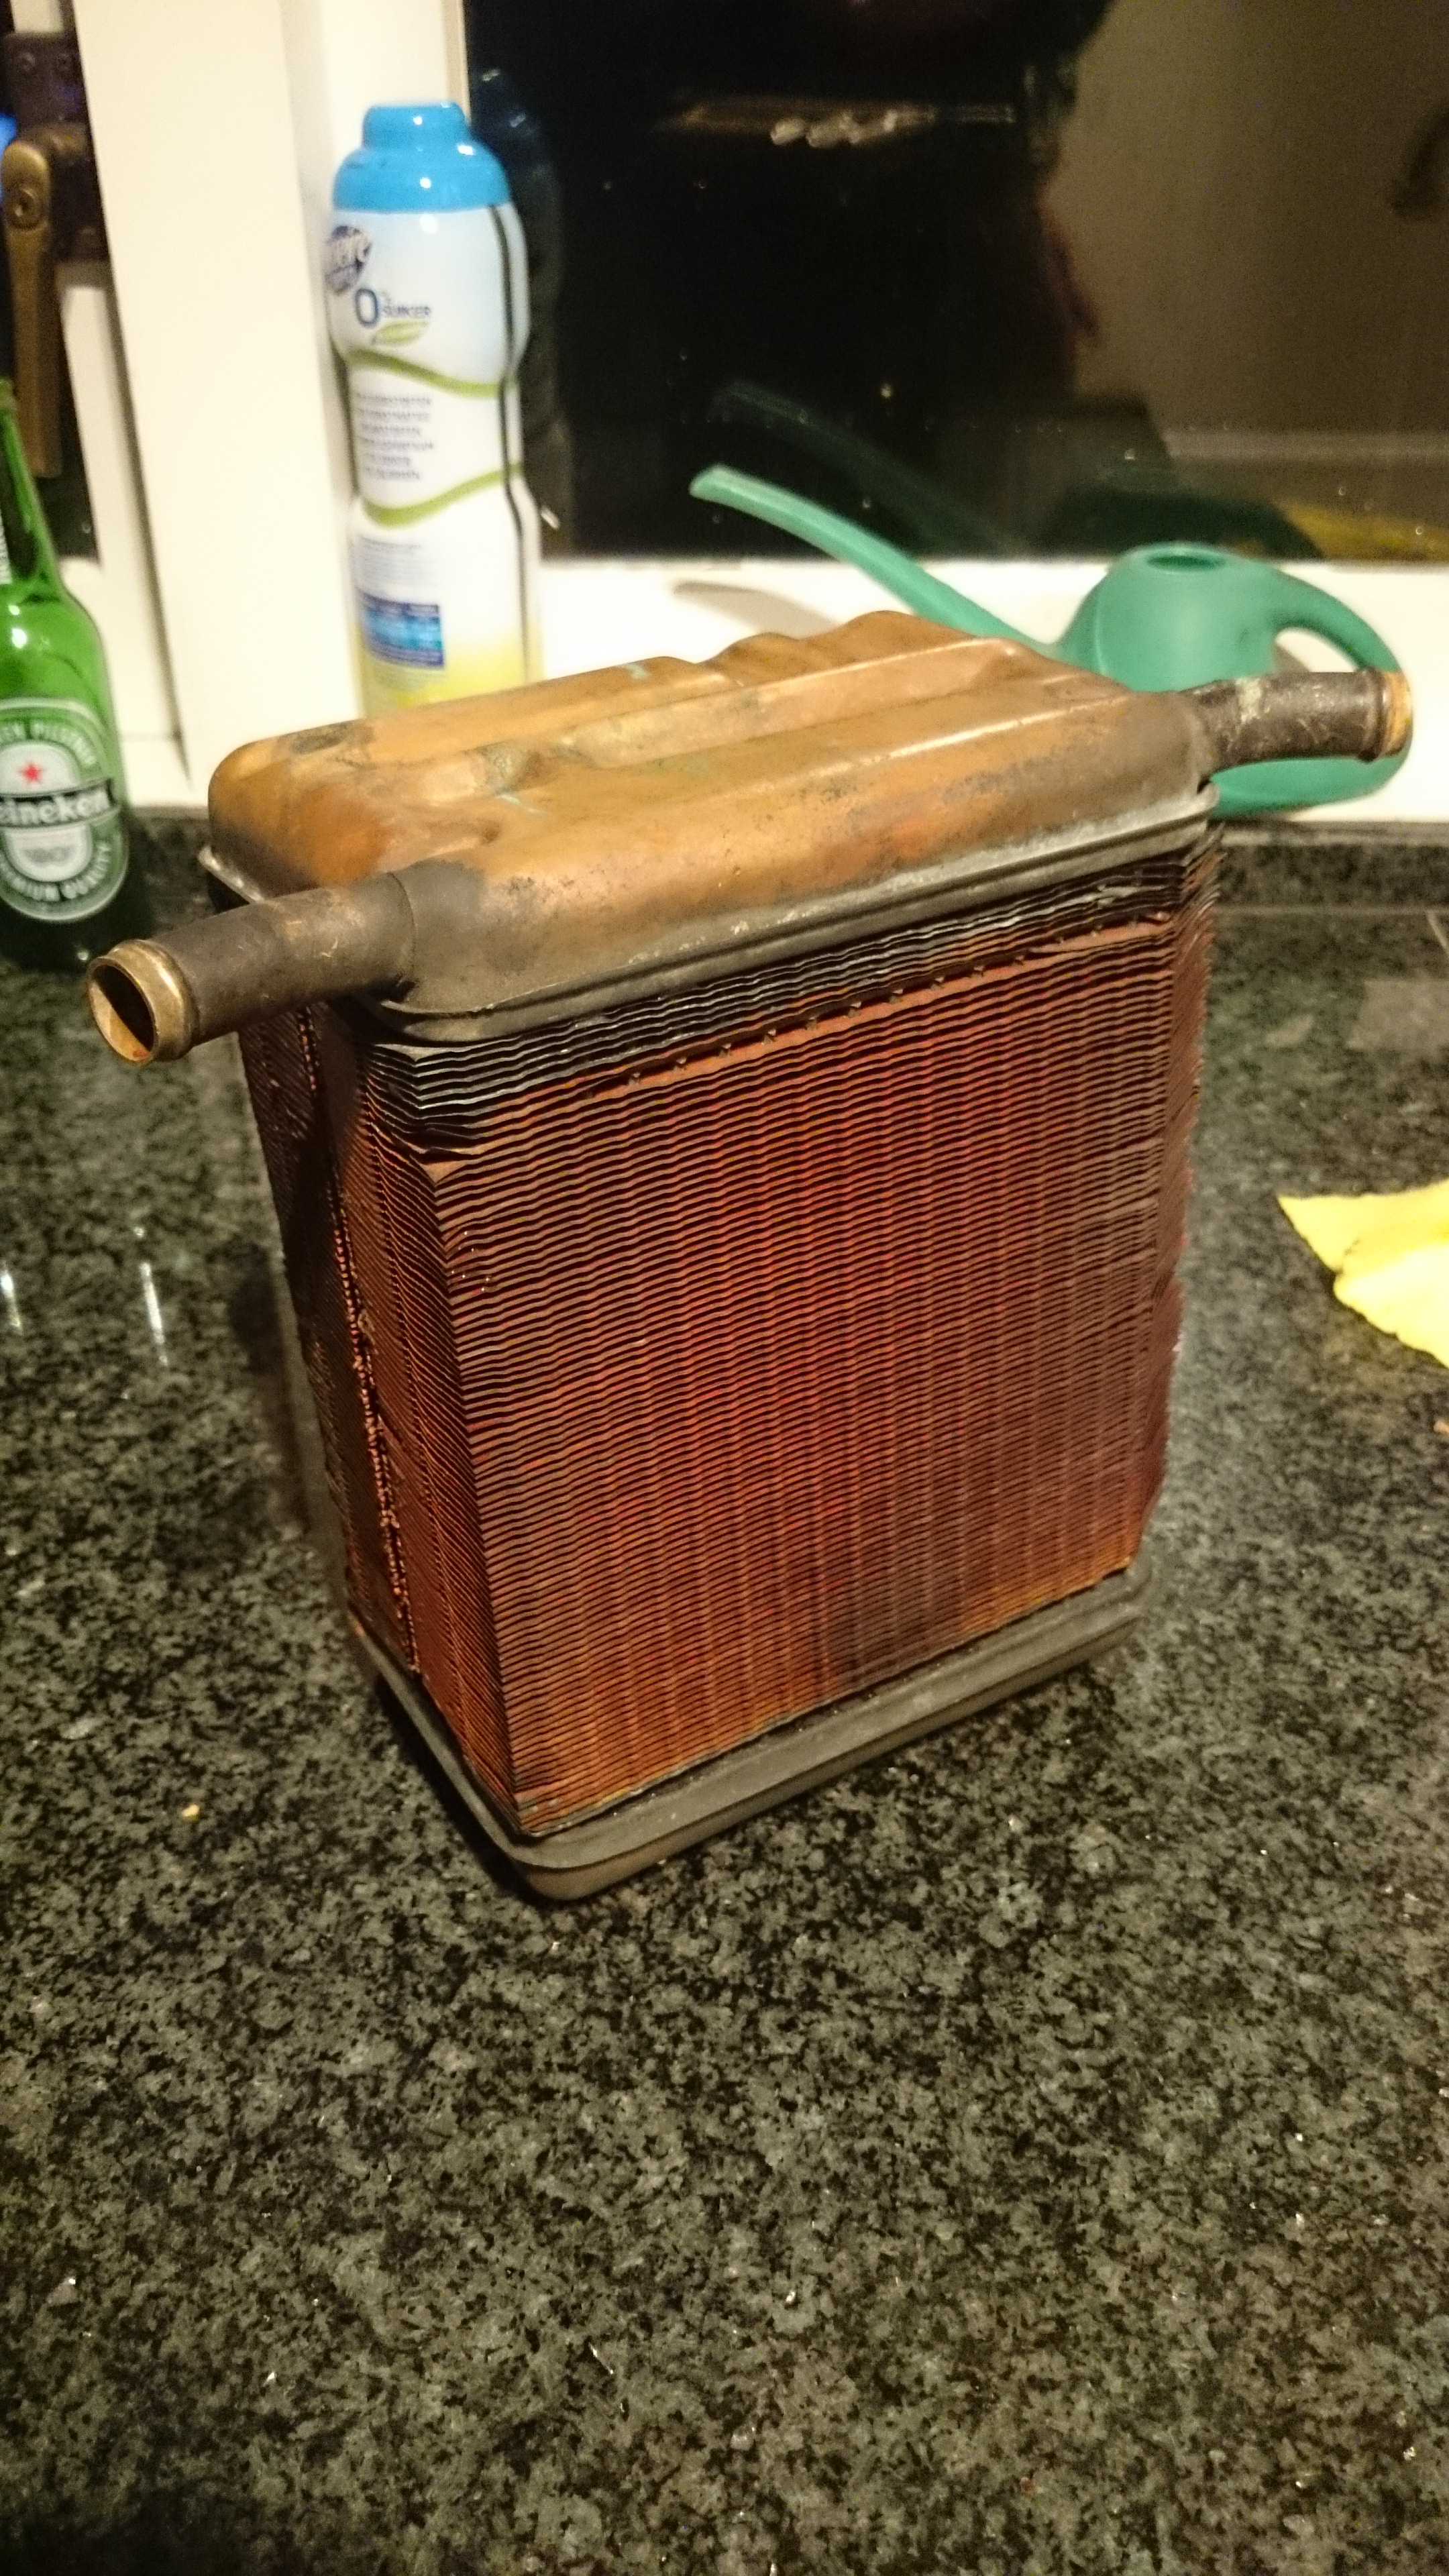
A rebuild heater, painted, new packings and seals, core repaired and cleaned and the motor tested and cleaned.


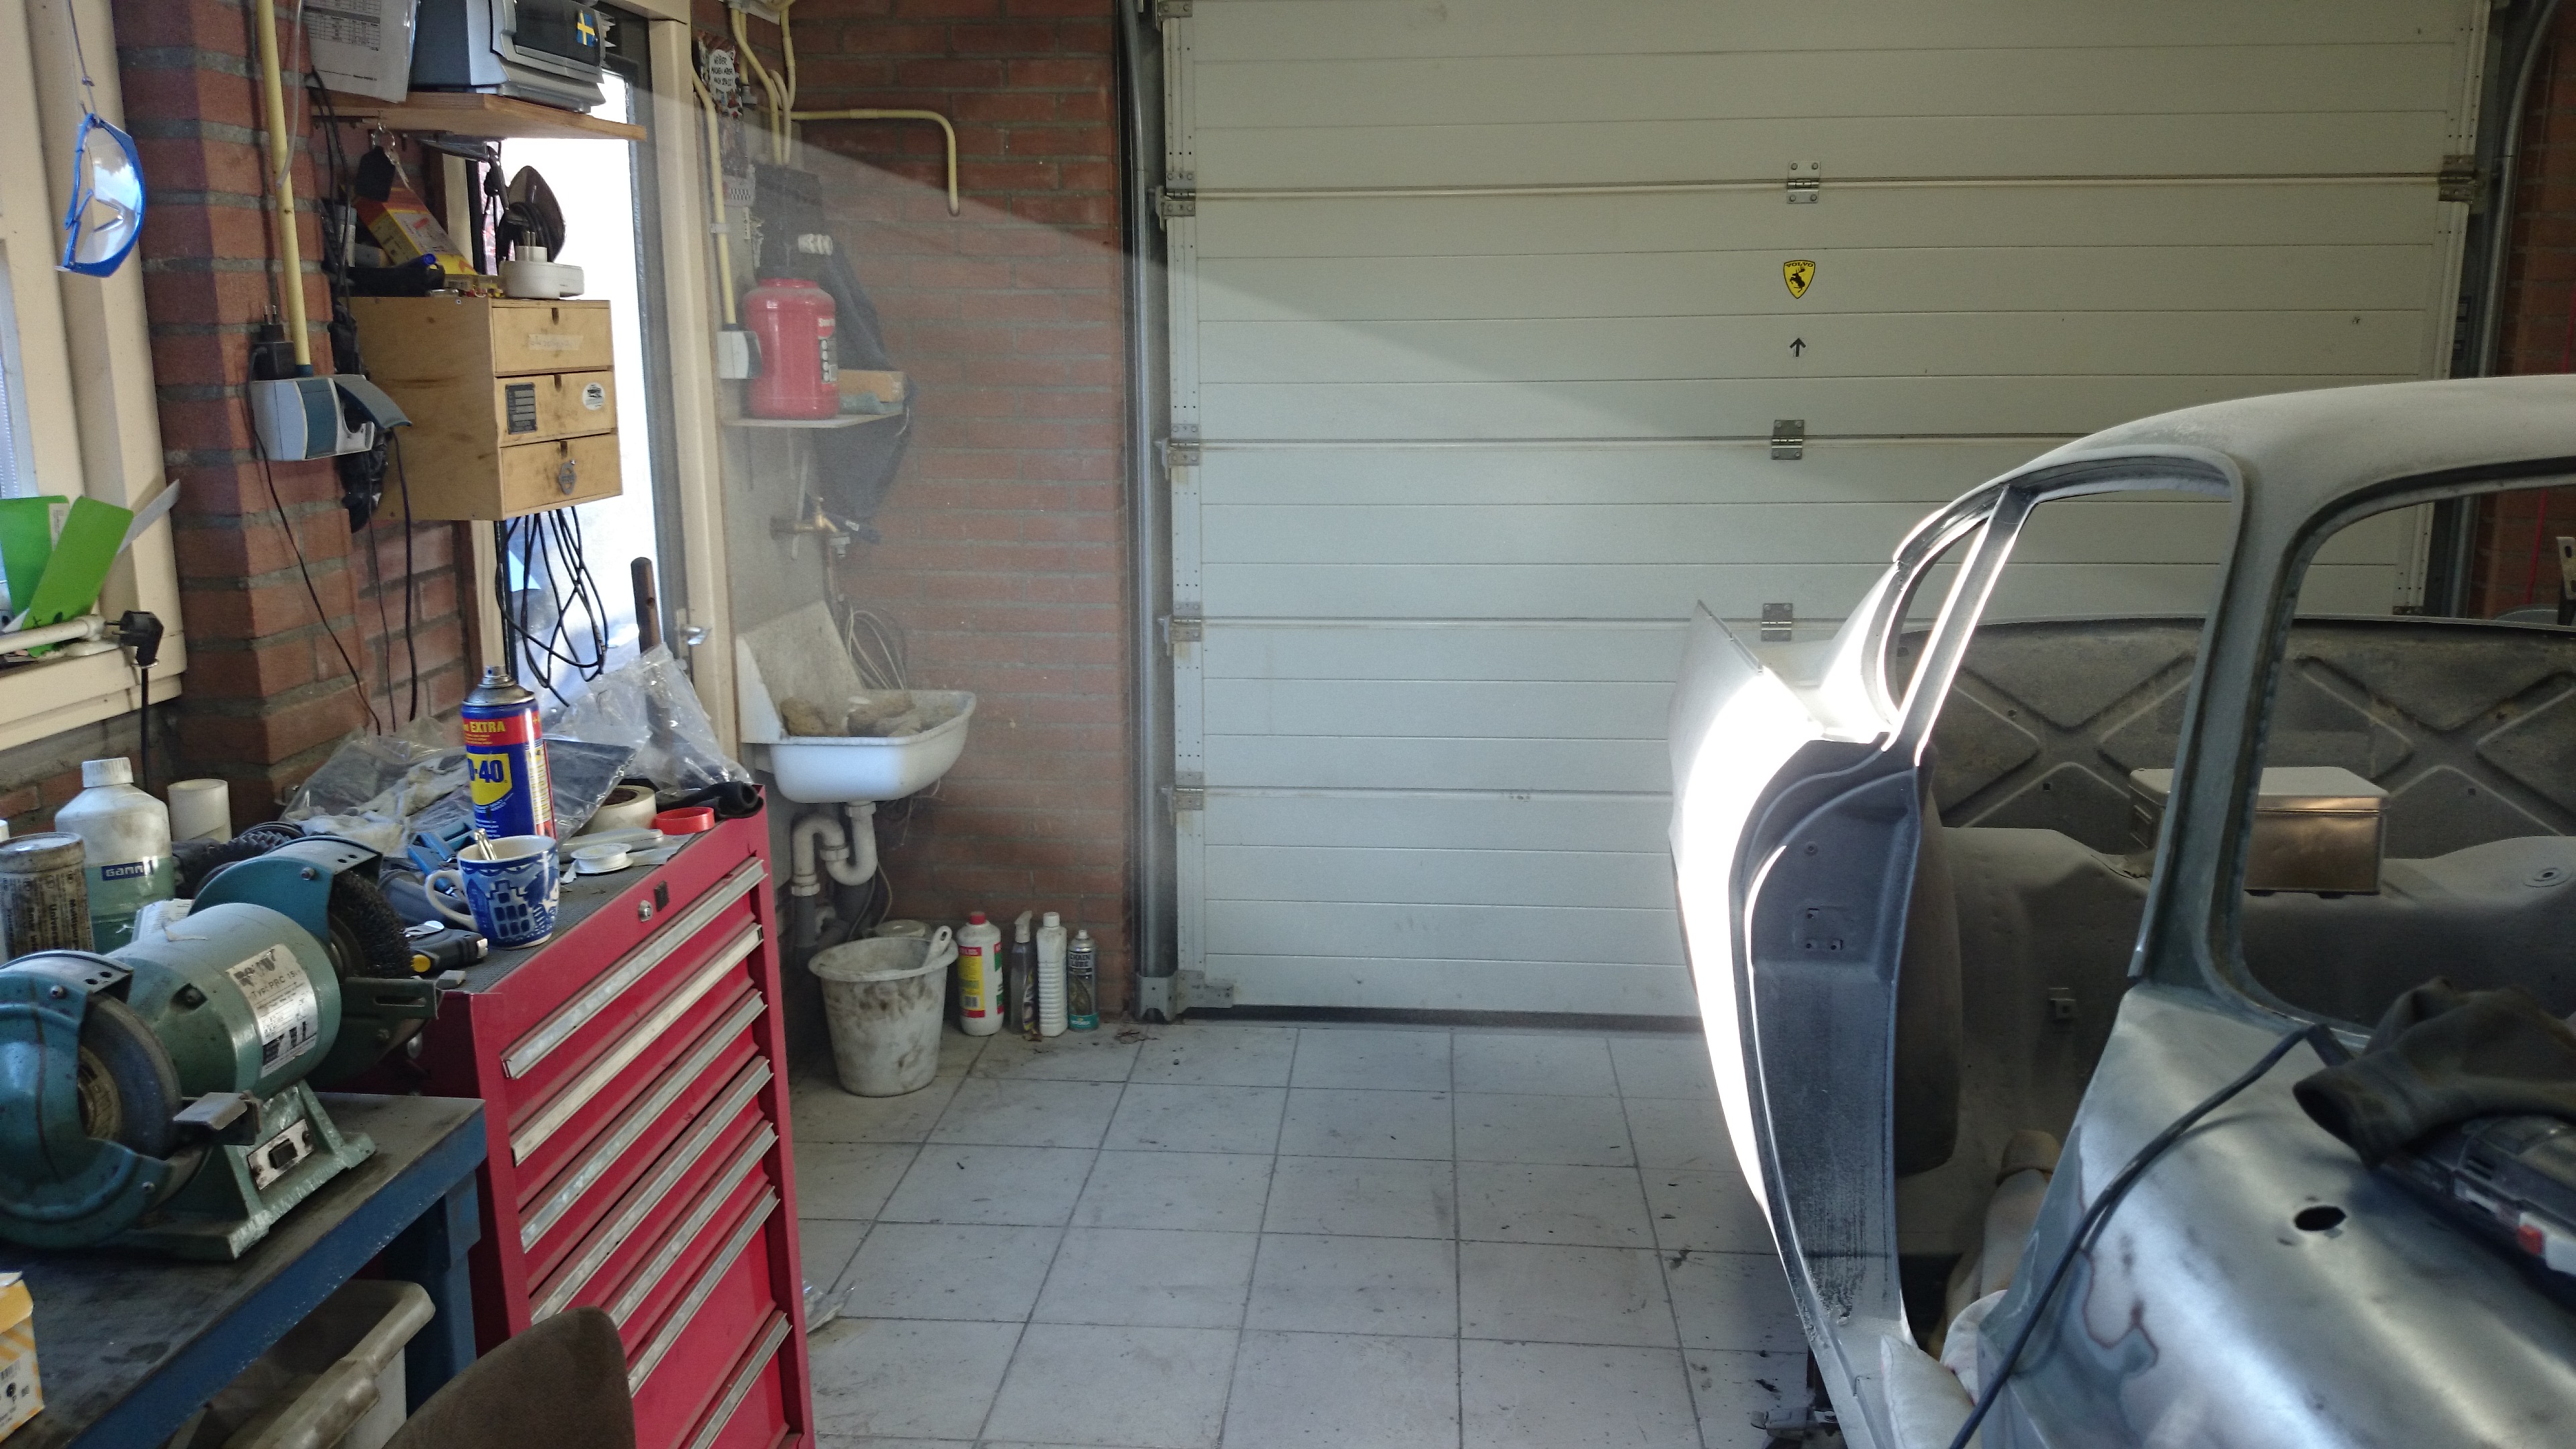
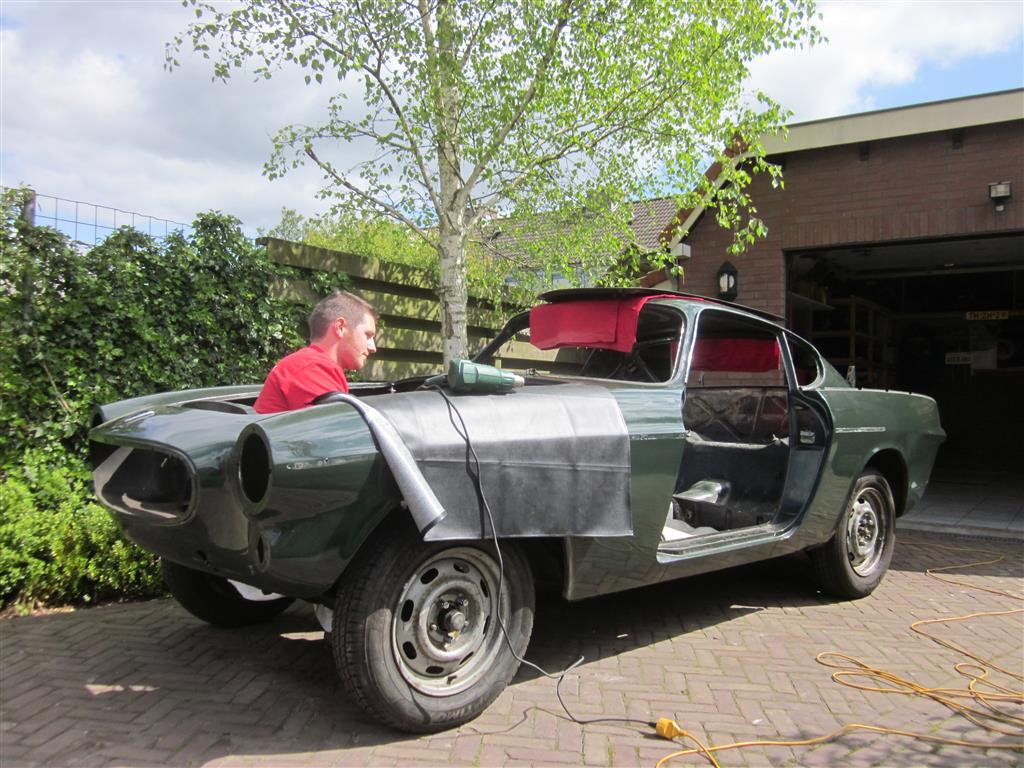
While sanding down the car the dust gives a nice effect with the sunlight.
Recently the guy who is going to do the sheet metal work and welding came by to look the car overr. I will sand down the car to bare metal as much as possible and in a couple of weeks I will bring the car over to him. First thing then is sand blasting andthen he he will start with the repair off all the bad spots and do some modifications. Unfortunately he allready could see some bad rusty spots of which I thought would be not much of a problem, so there will be some major cutting and welding.

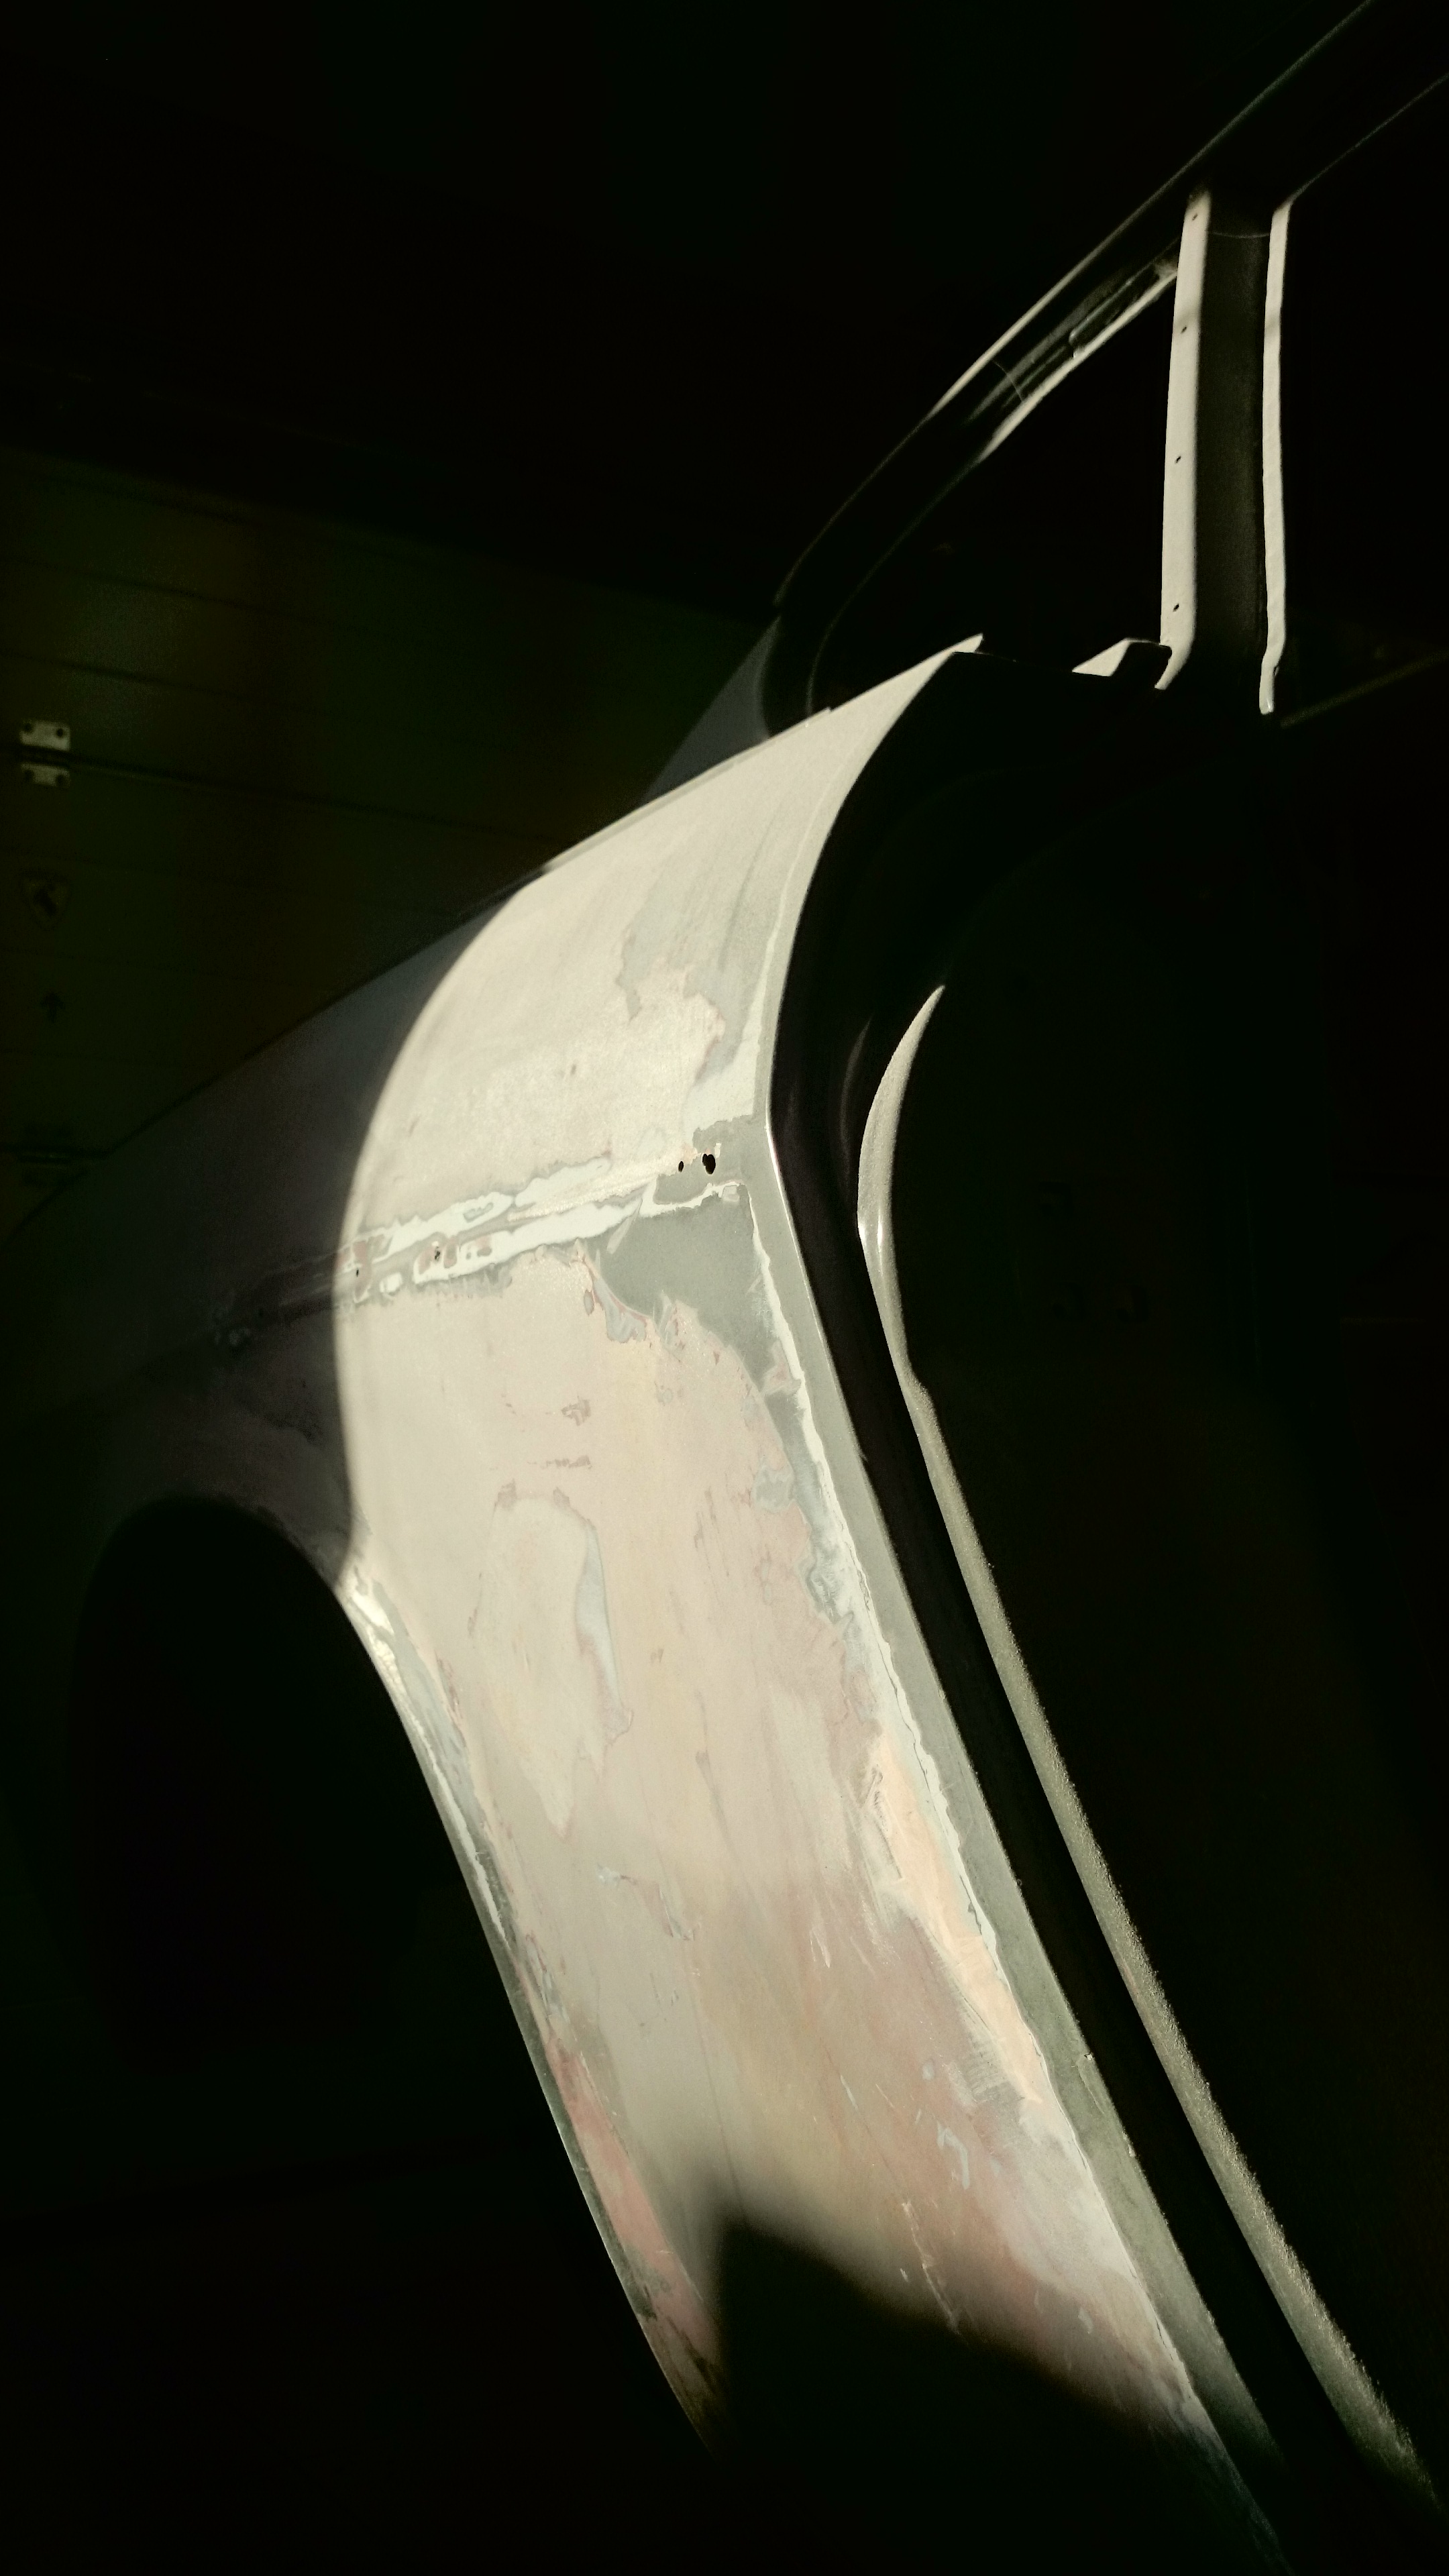
Sanding down the filler creates a lot of dust, and discoveries of more hidden damages.

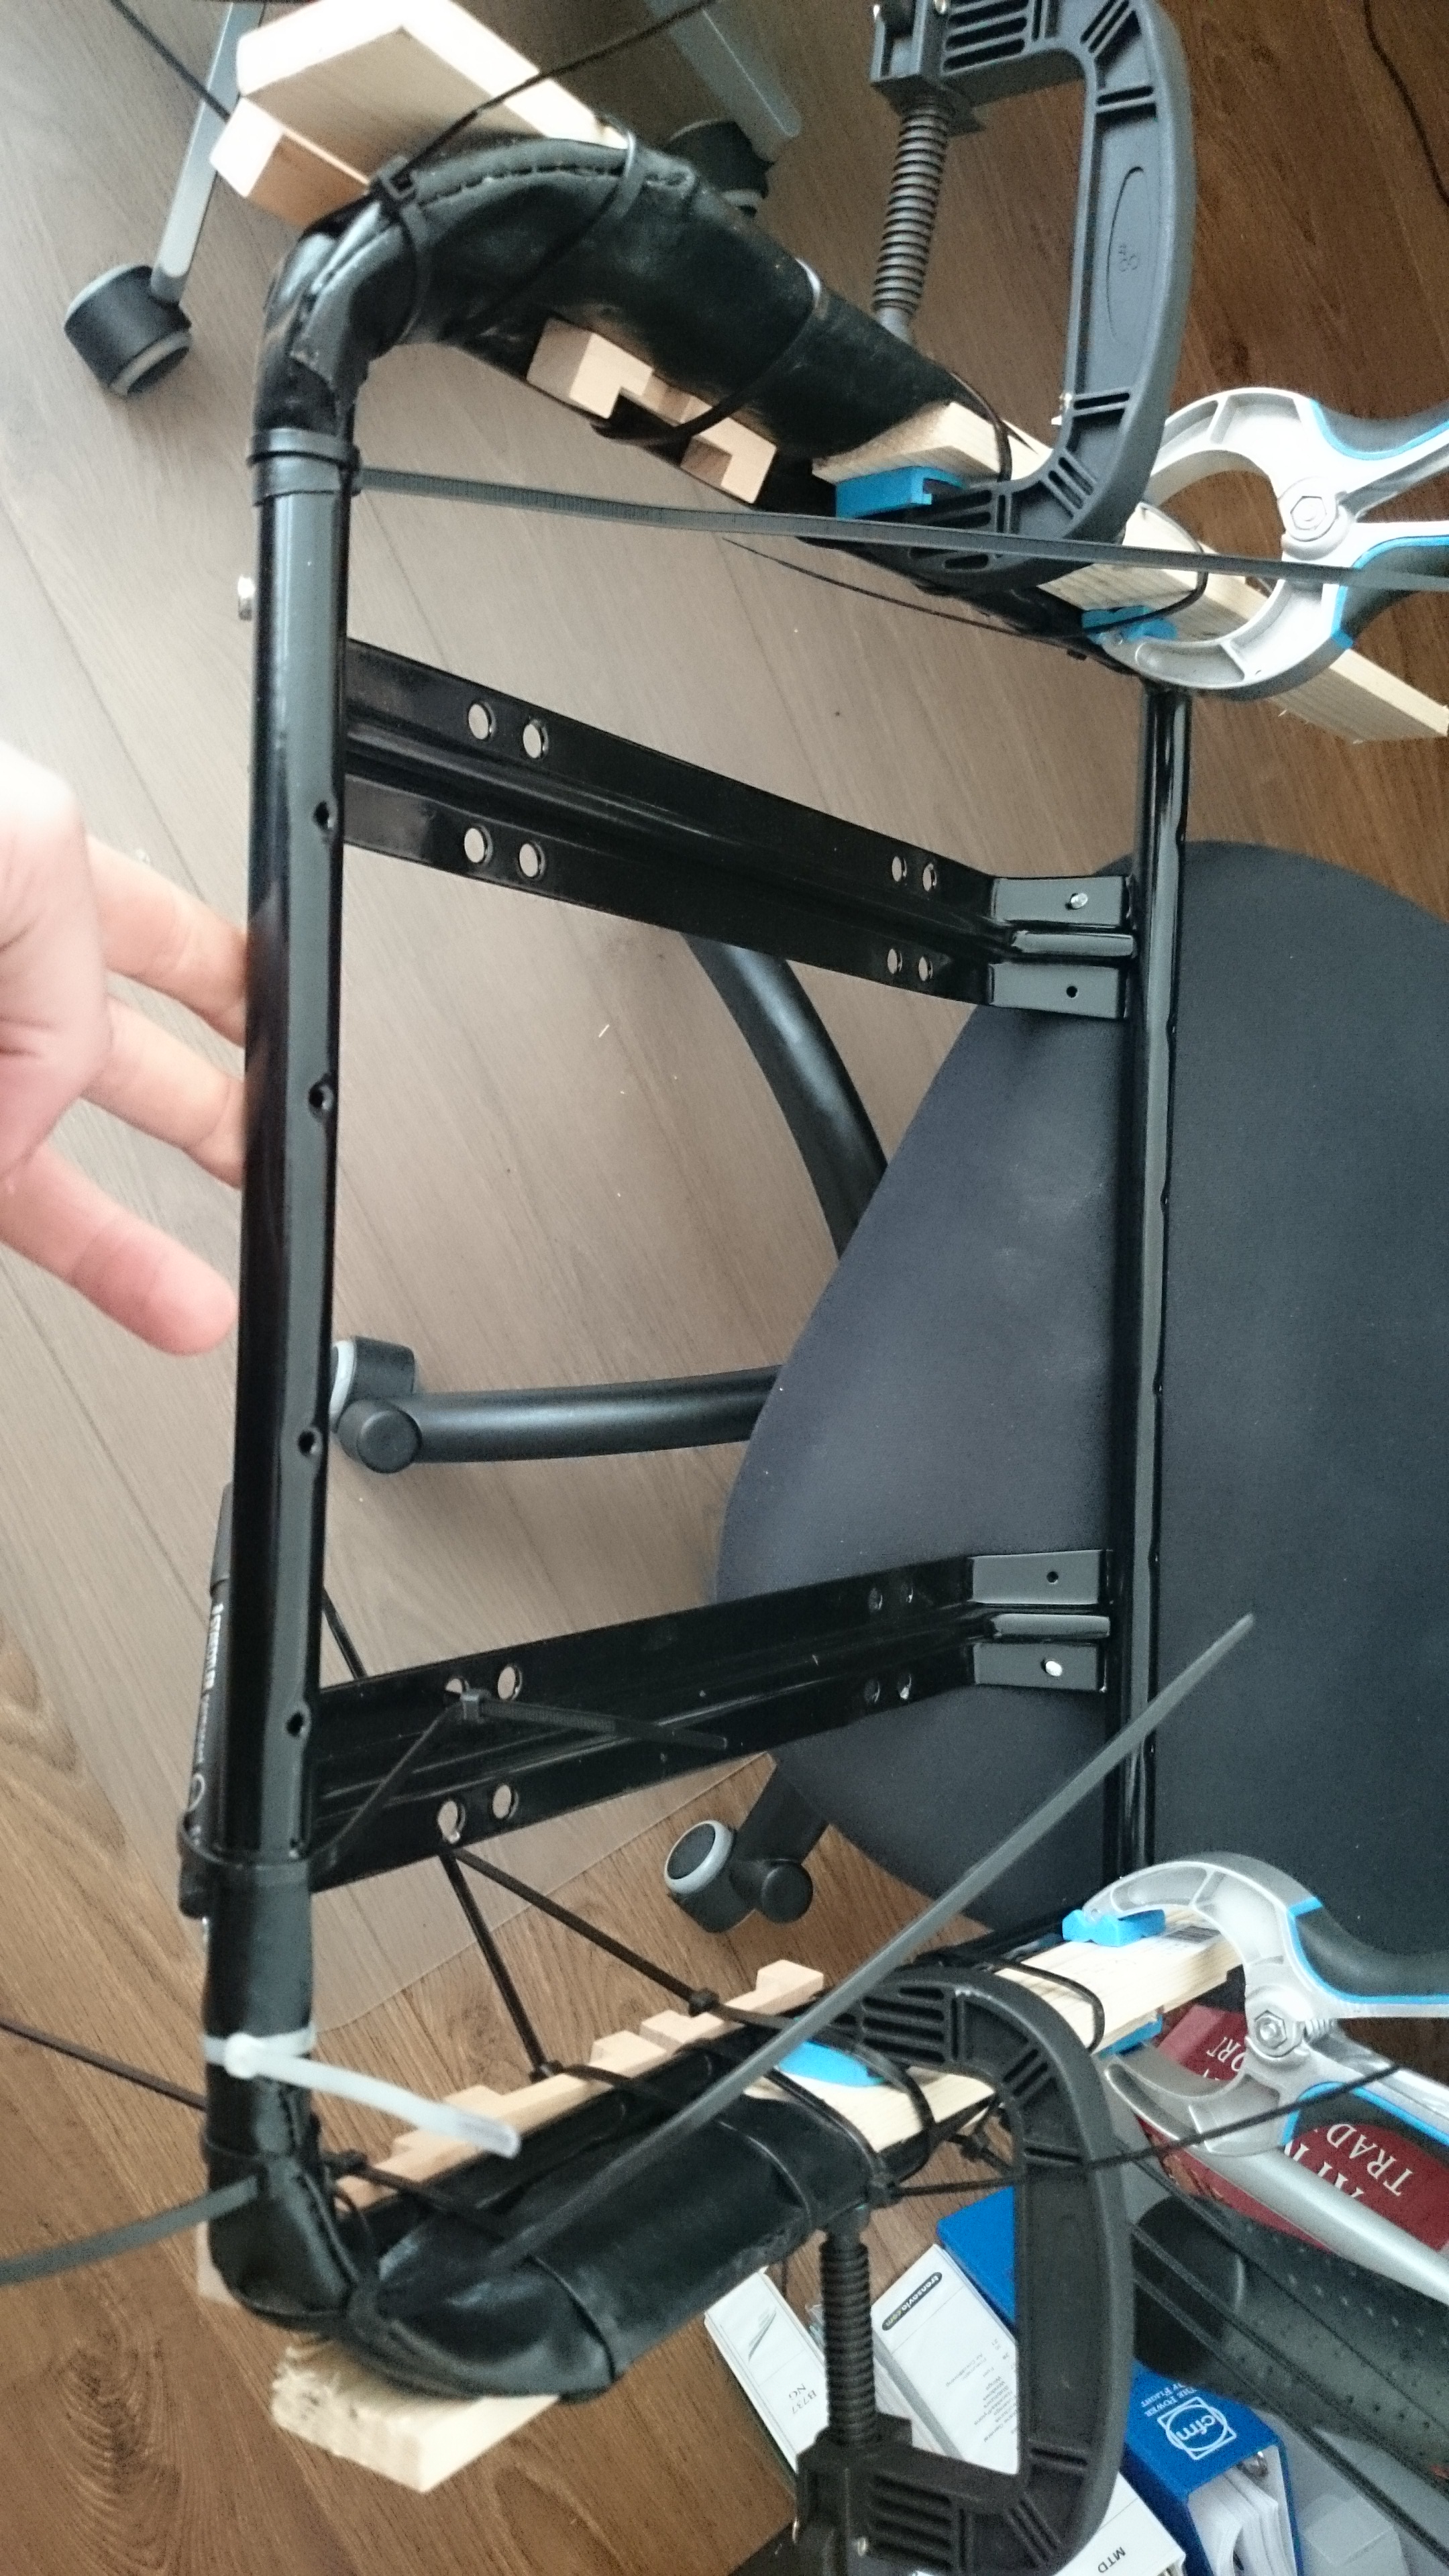
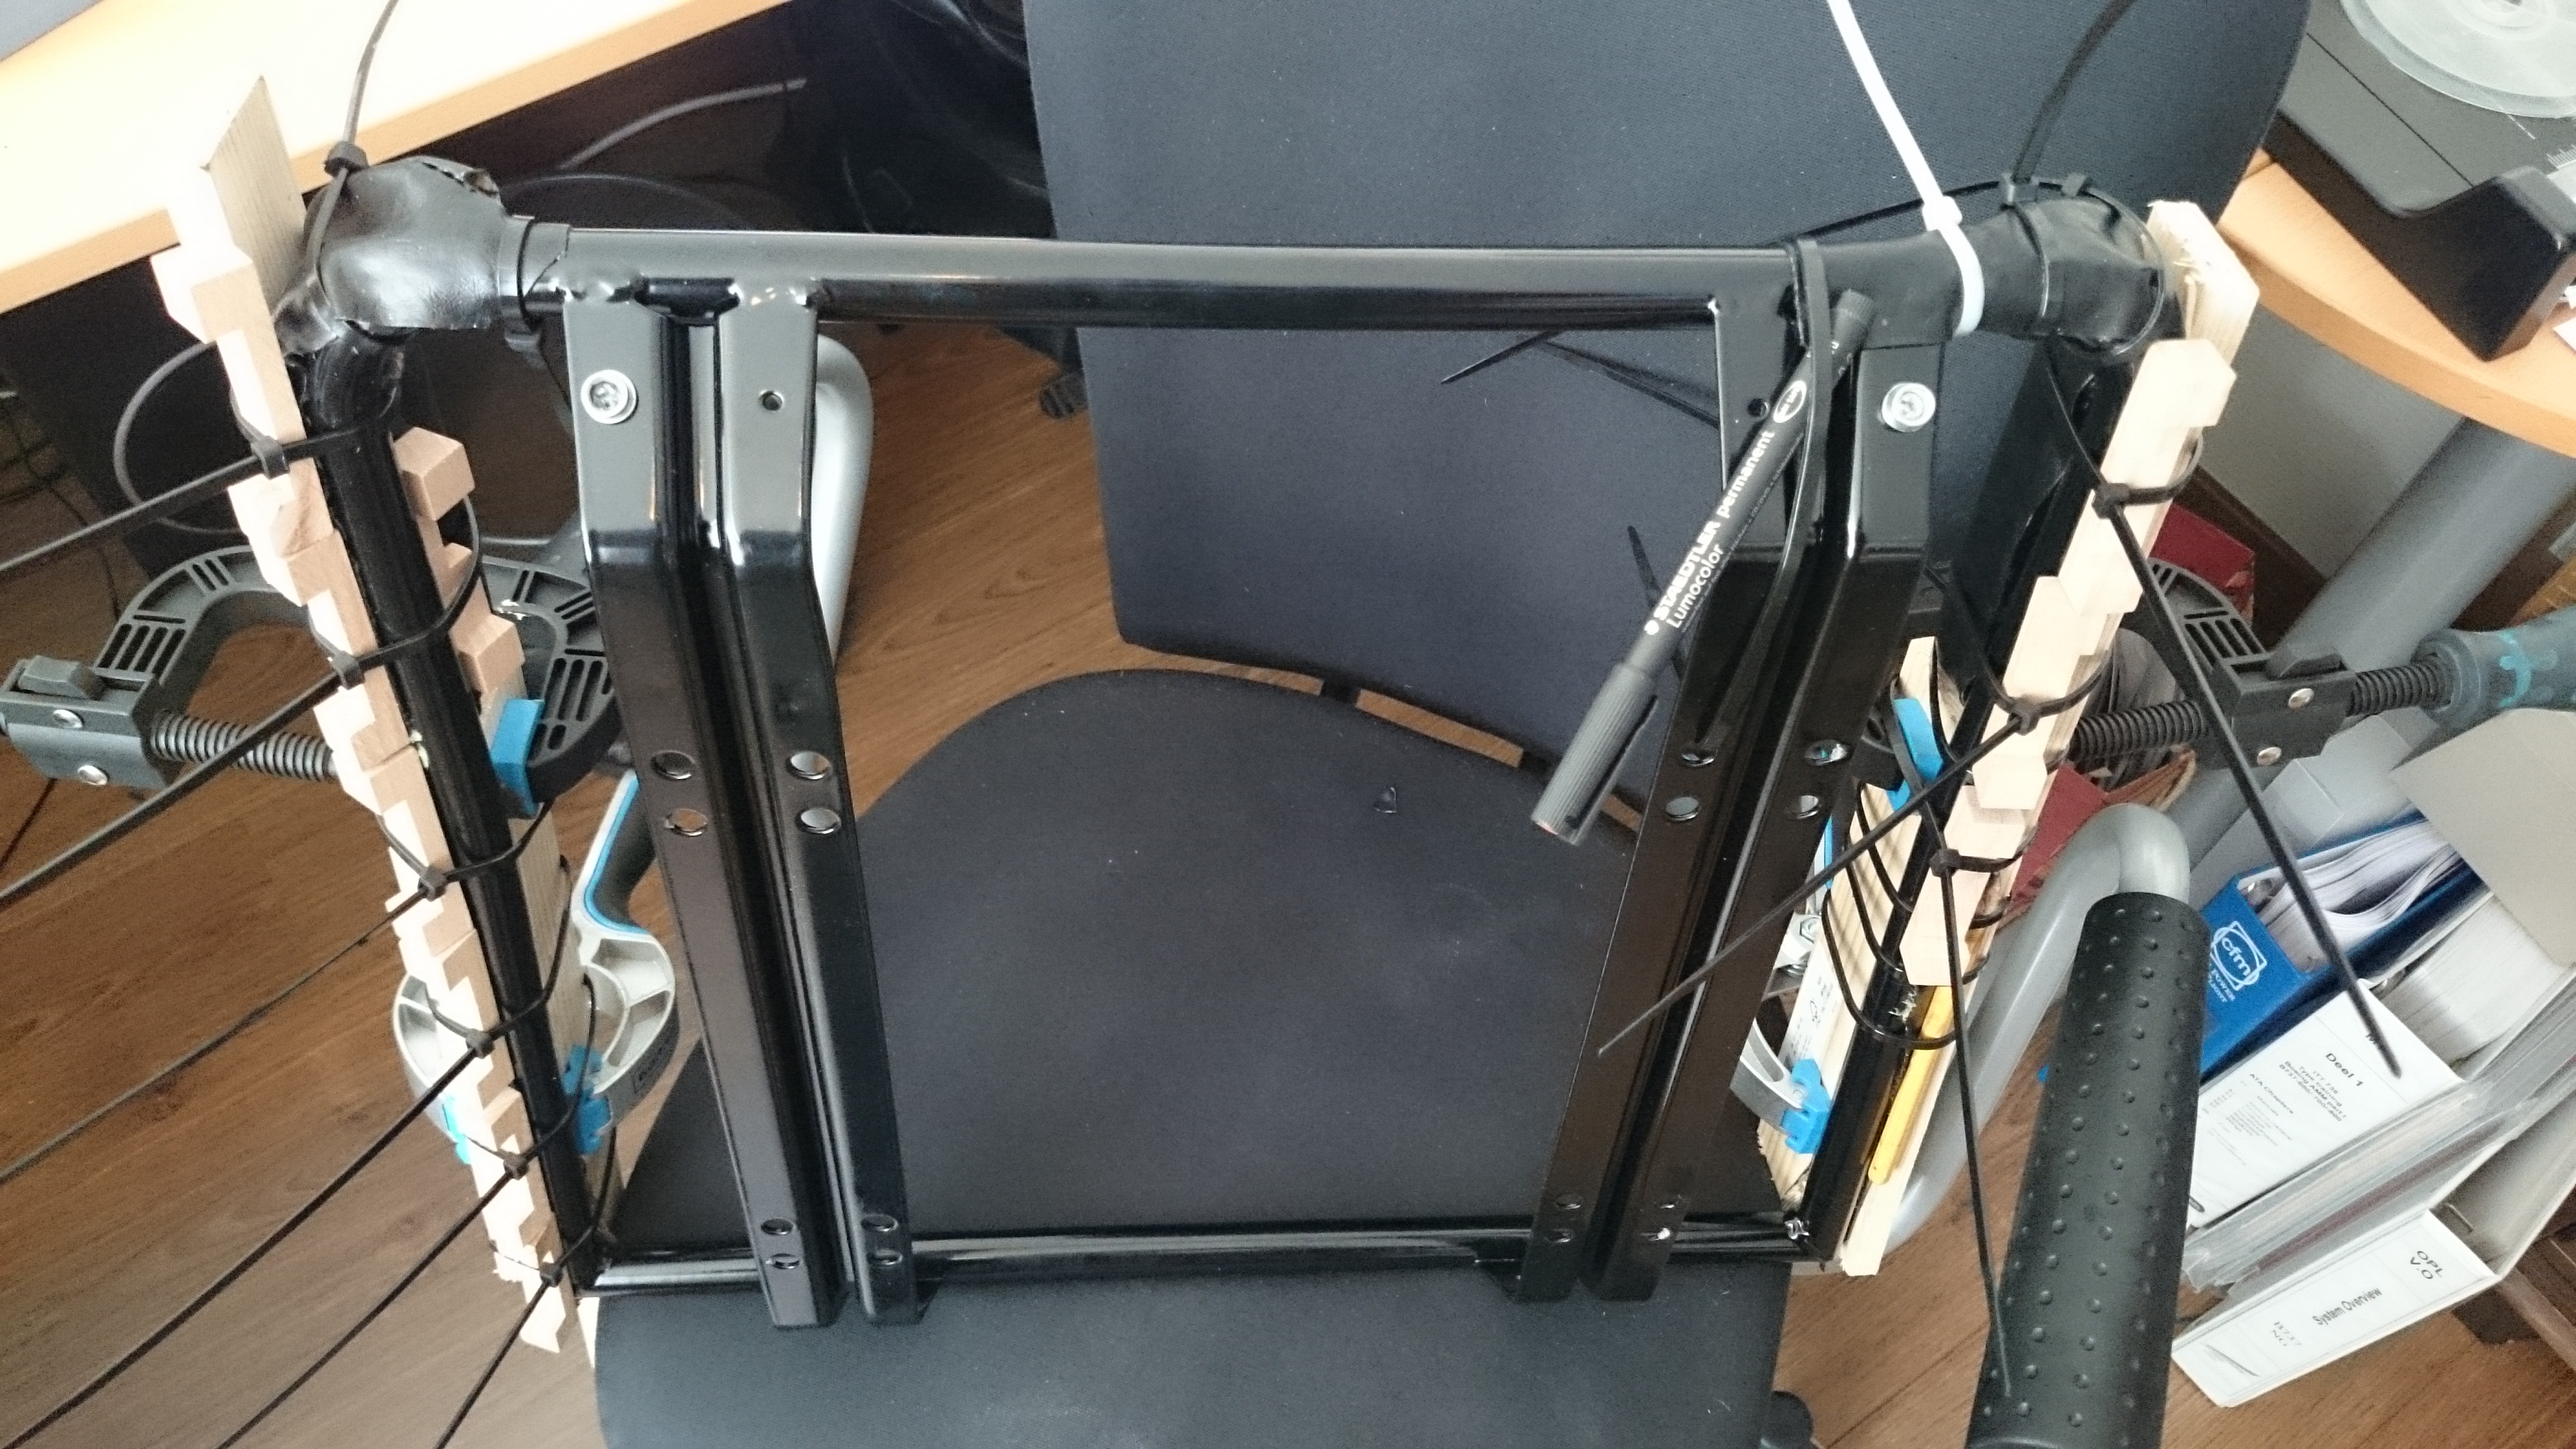
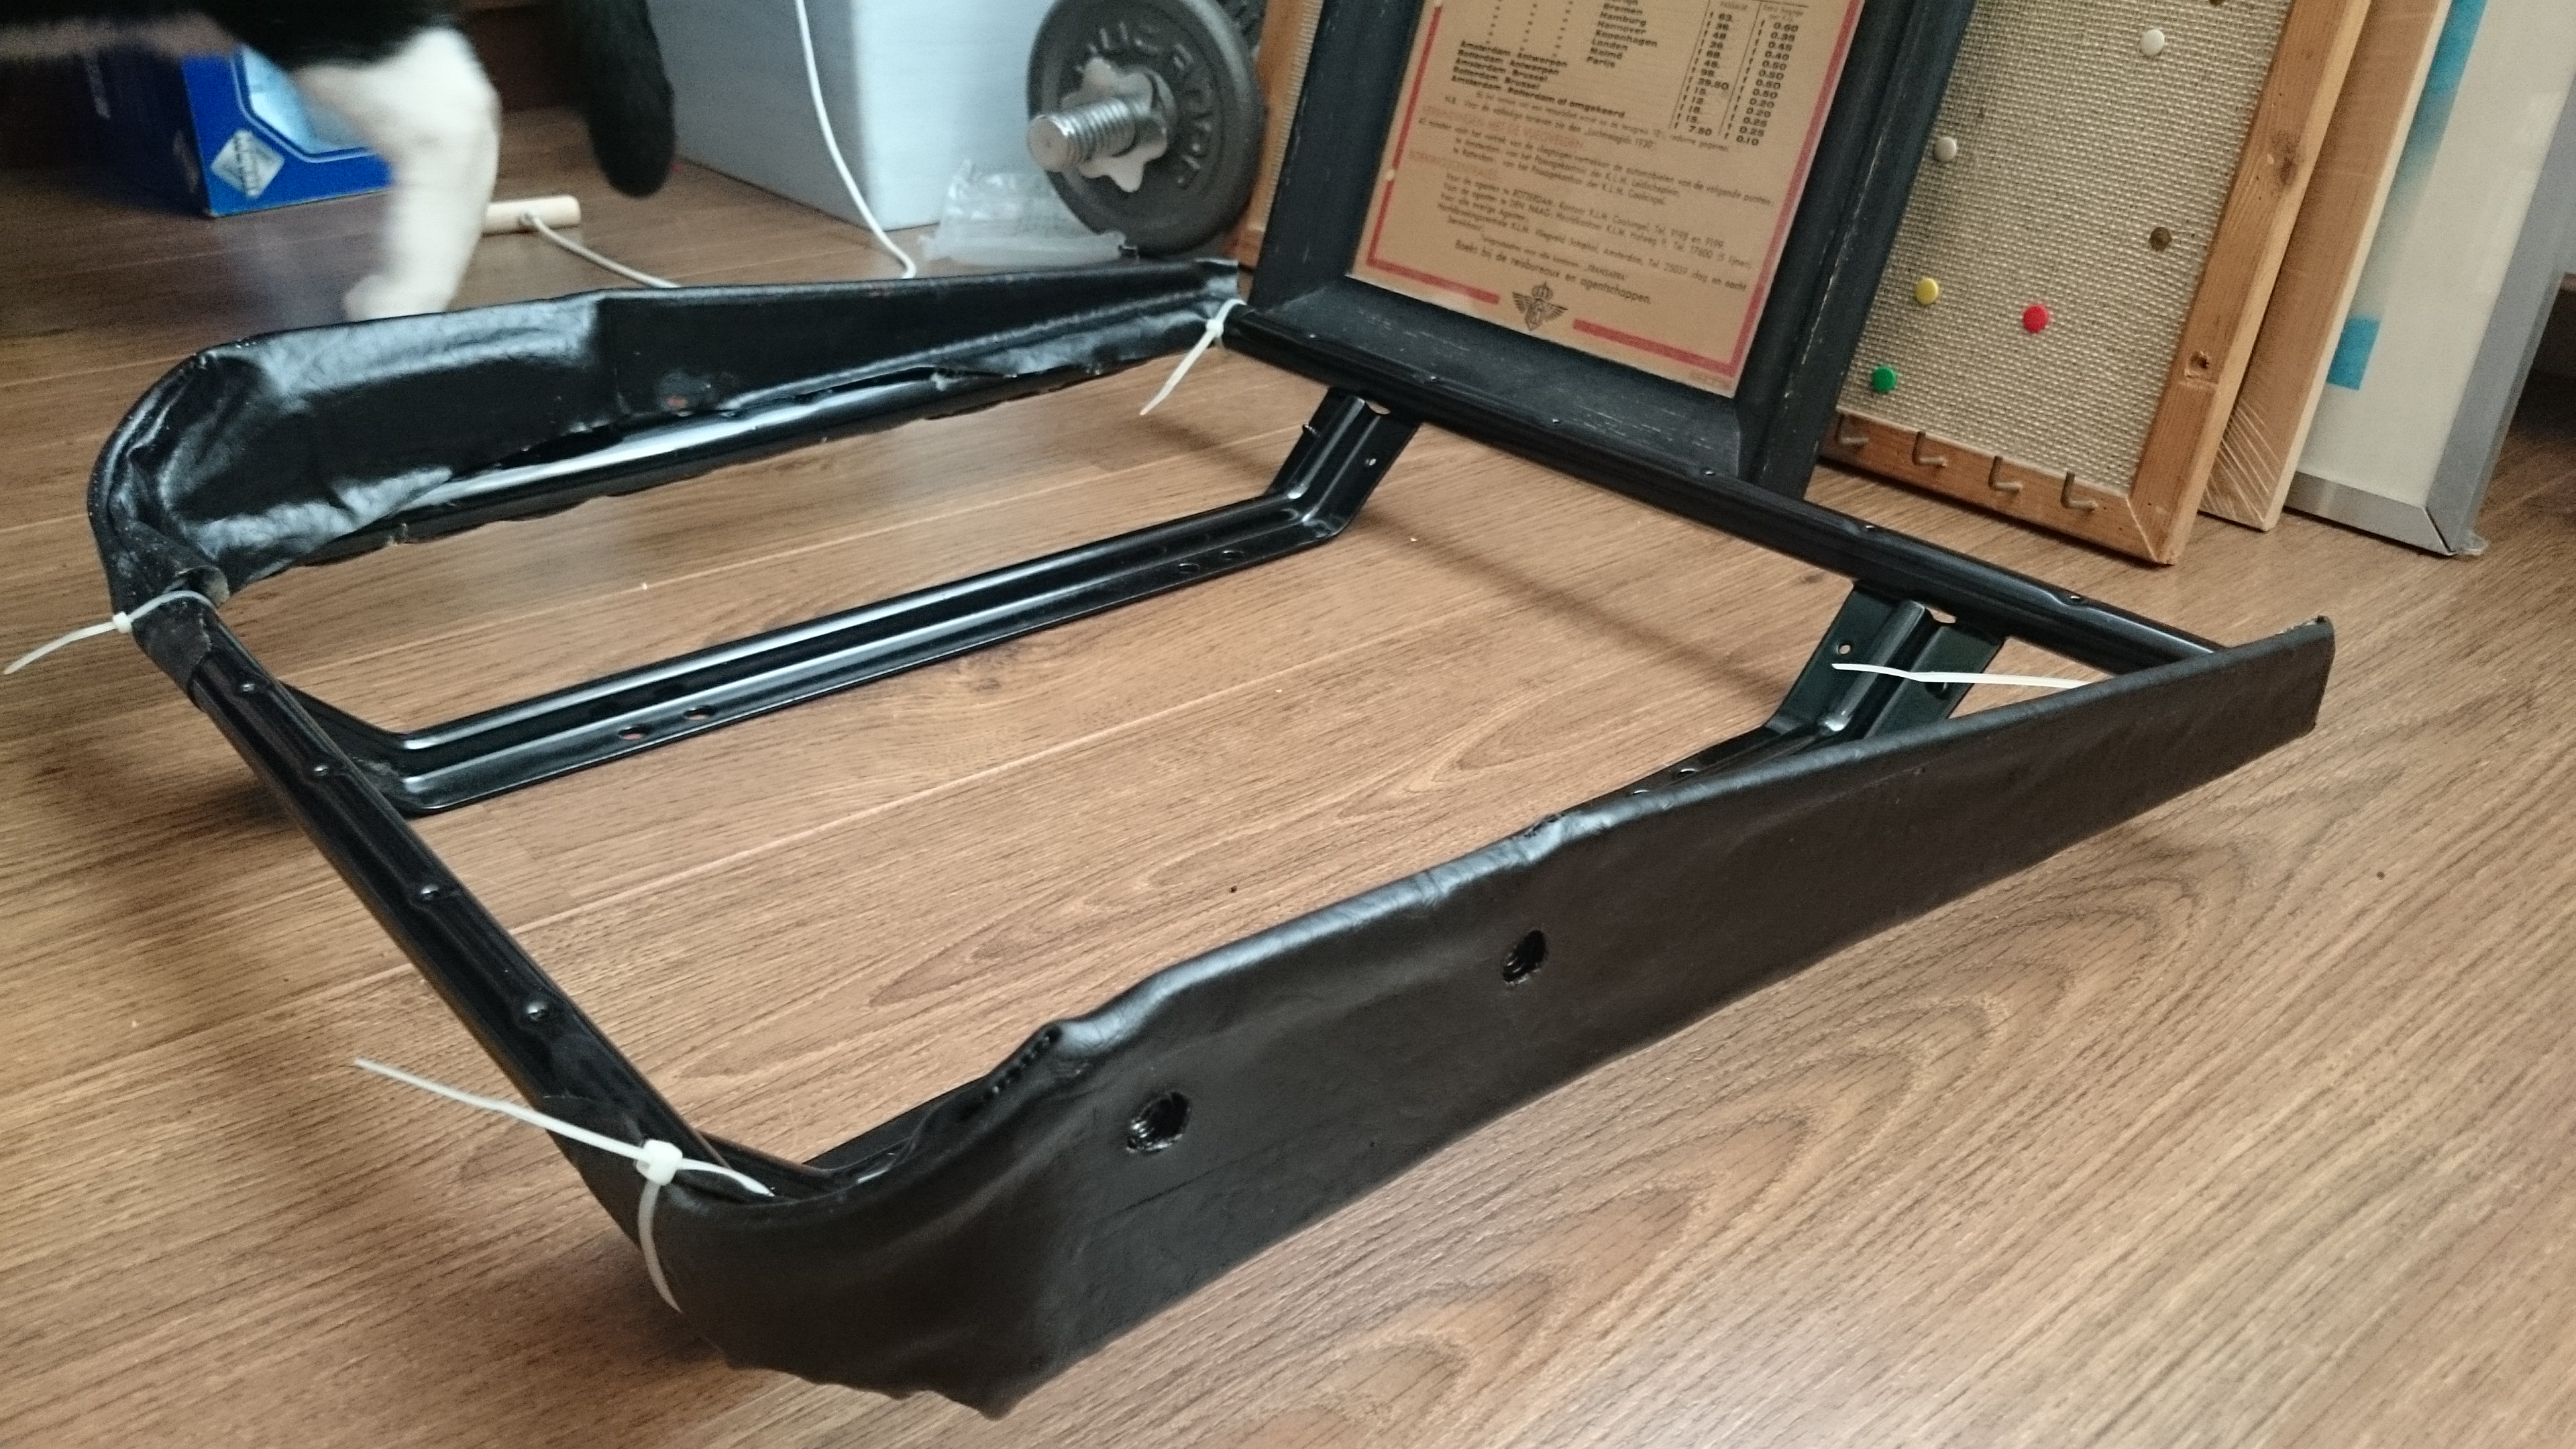
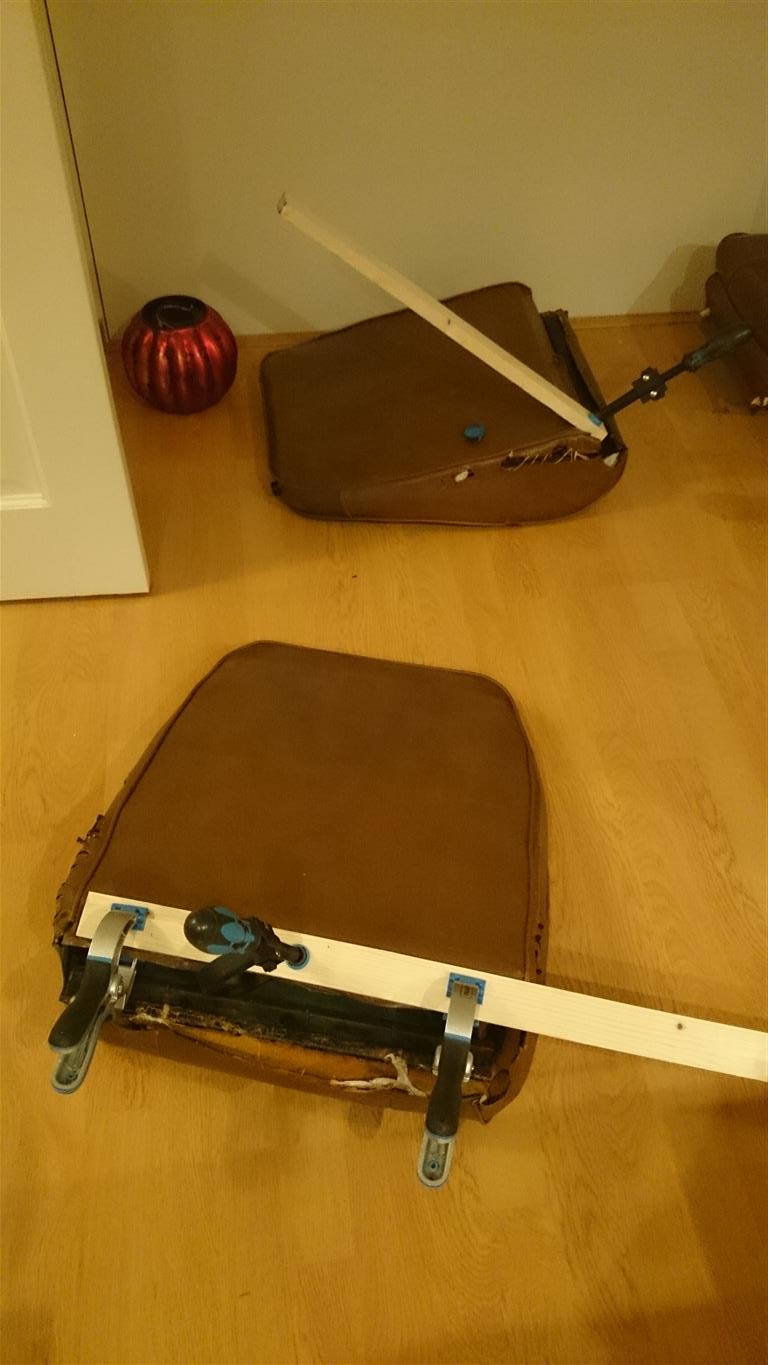
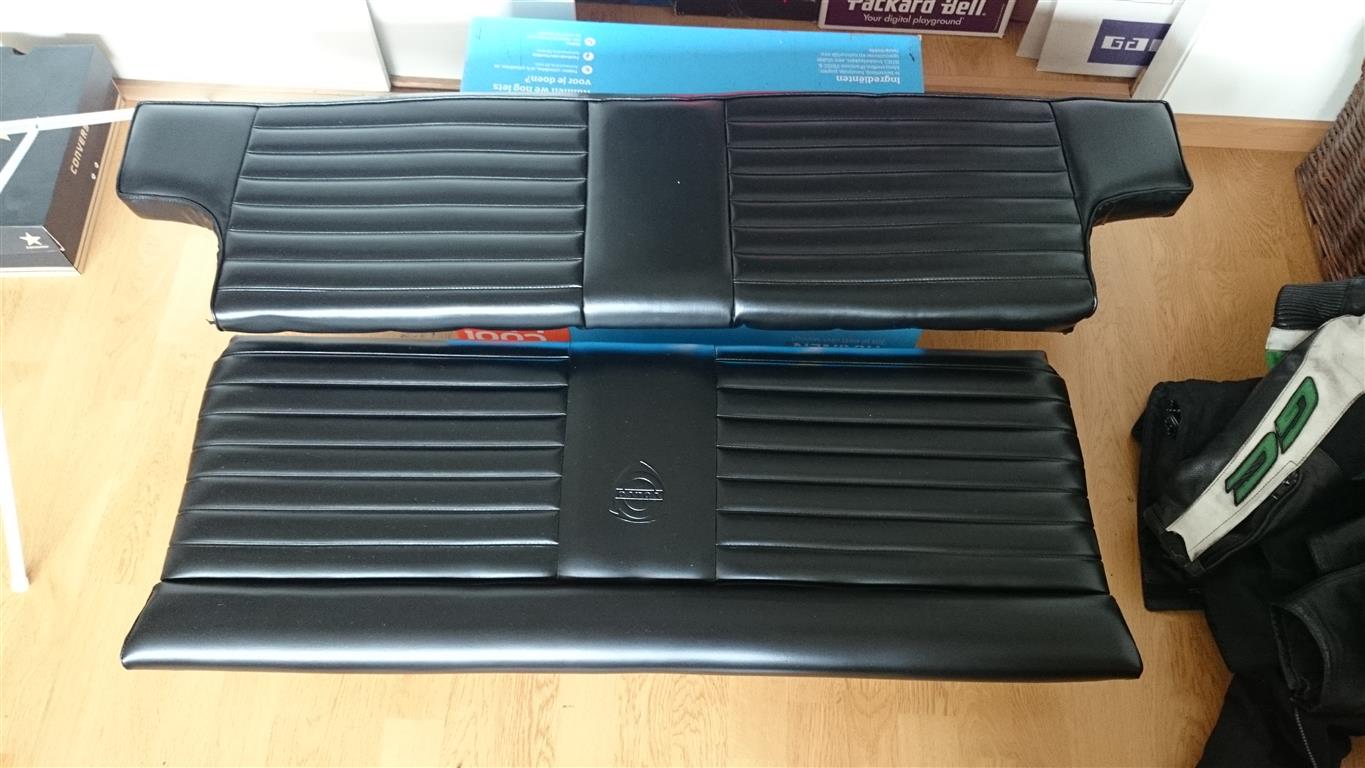
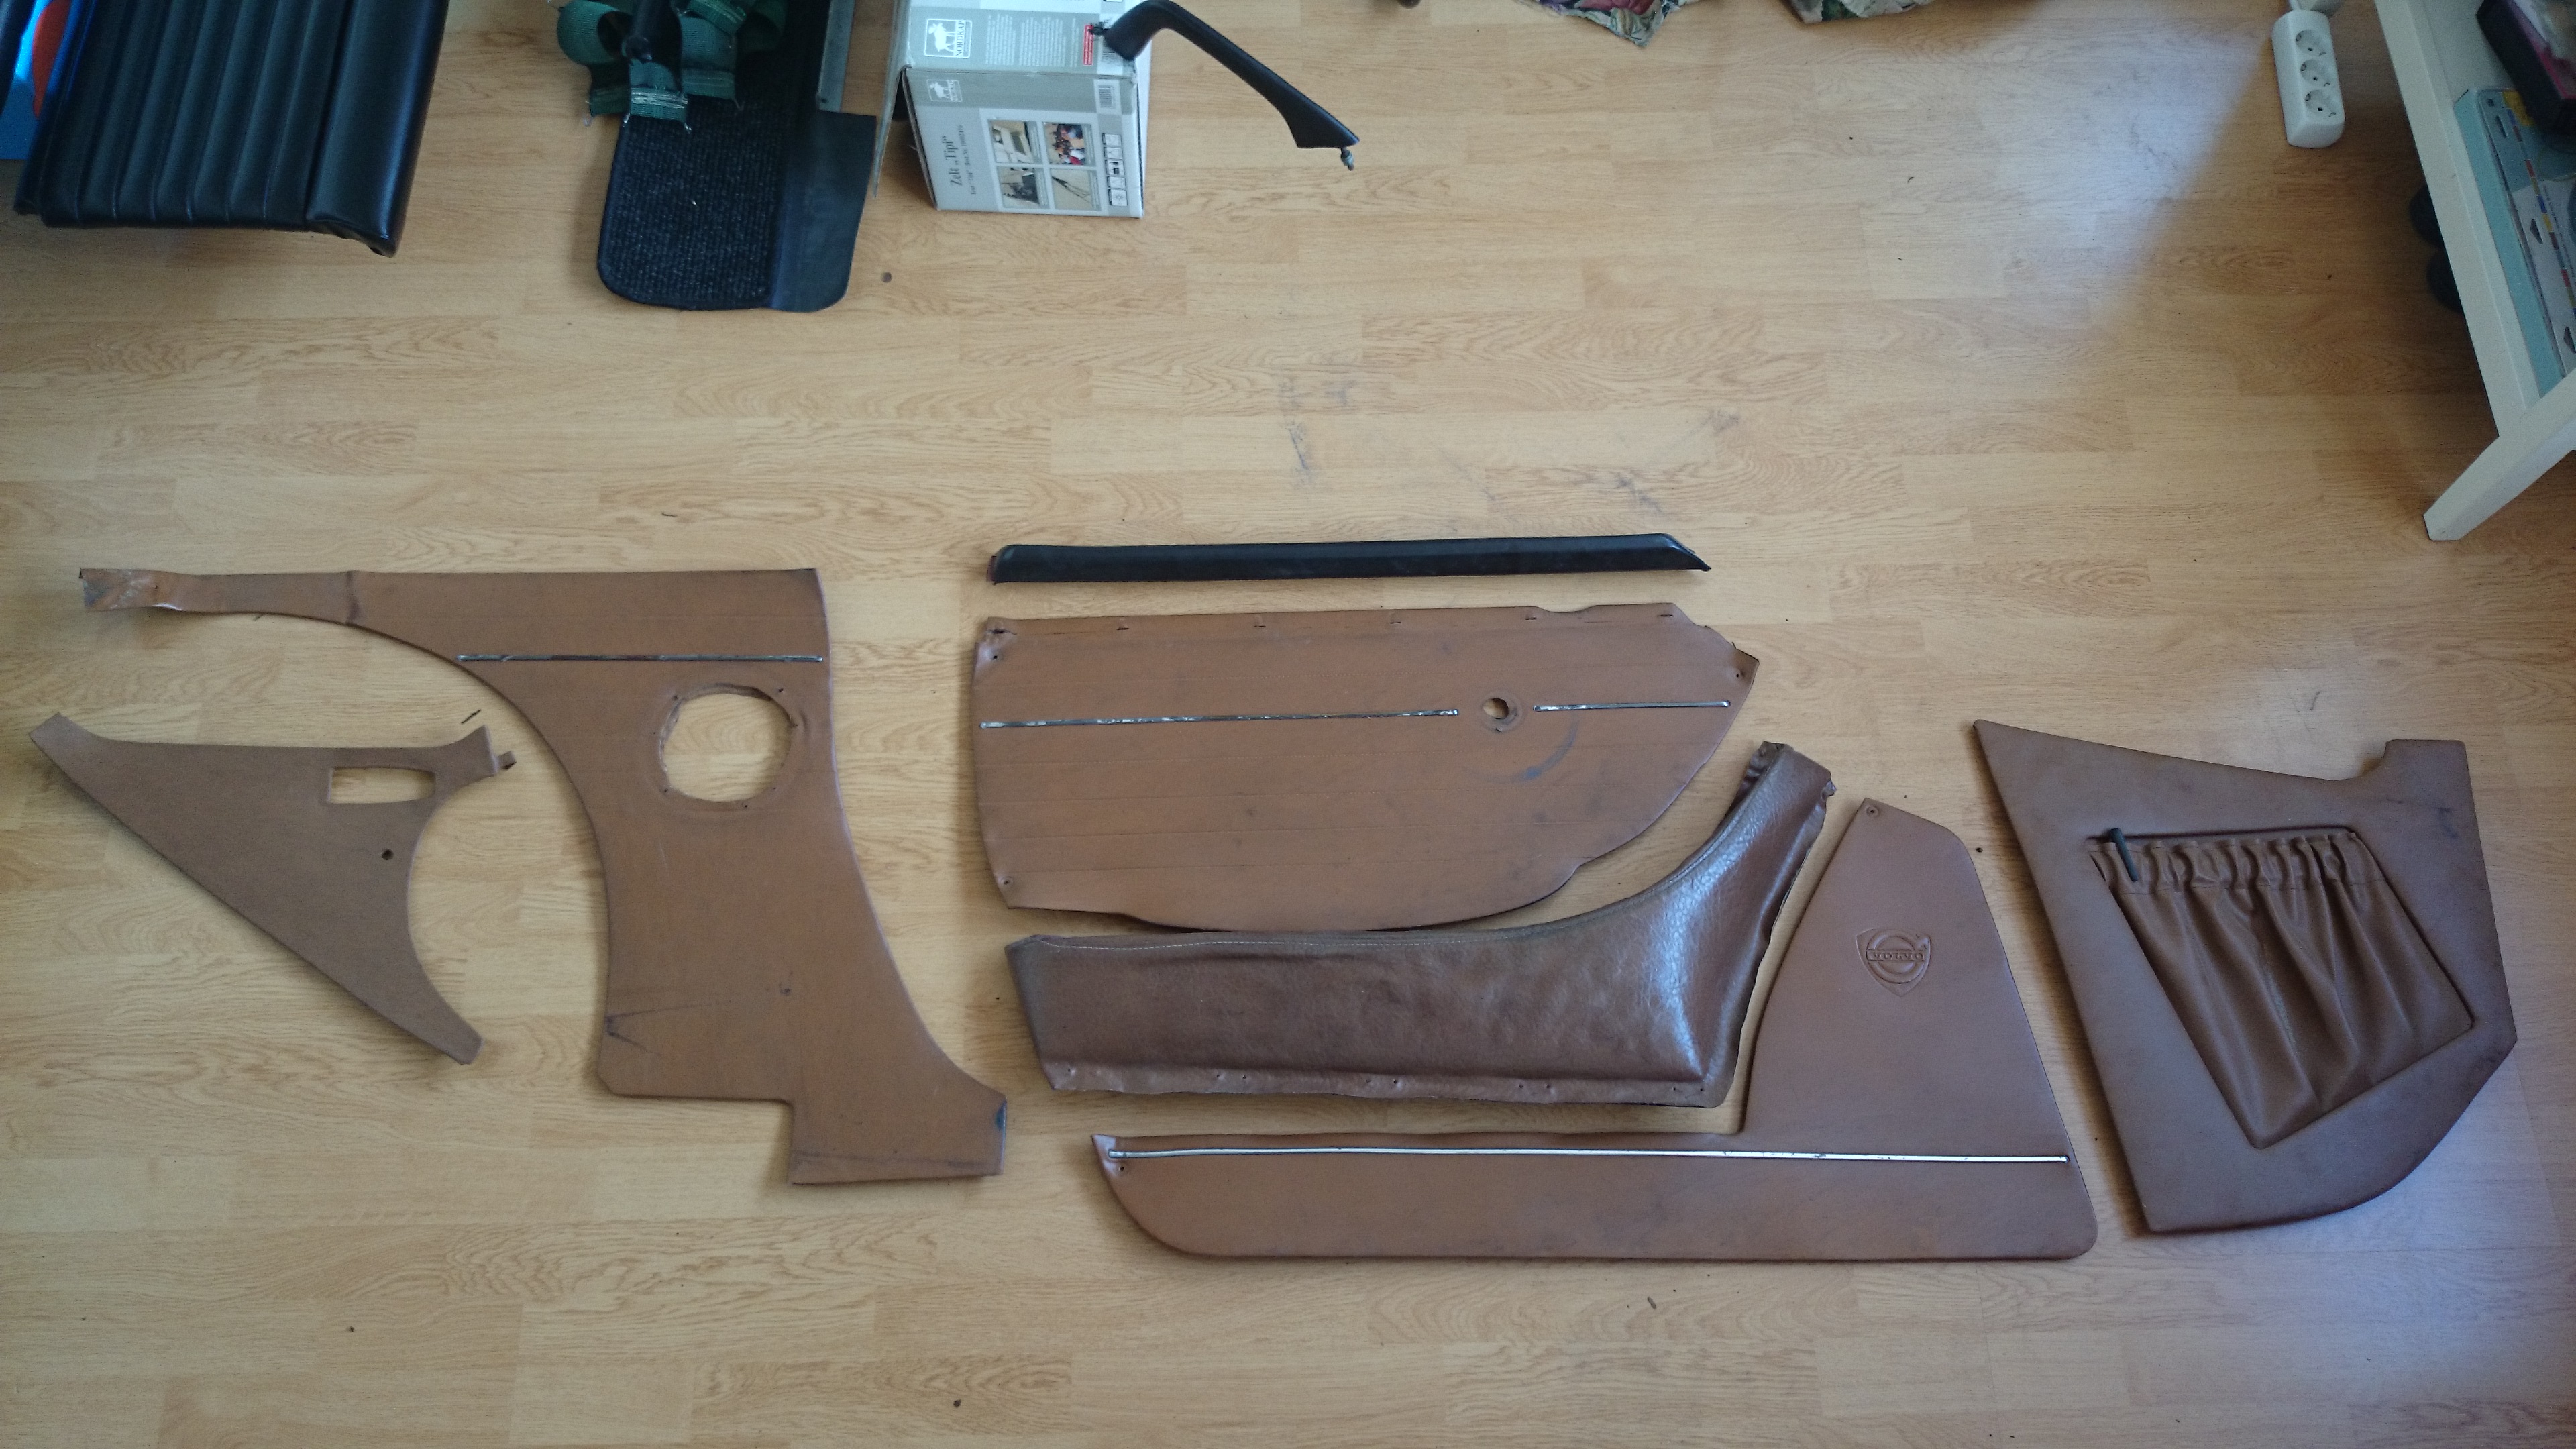
Also did some interior work. I glued the two patches of leather (which I painted) on the second seat bottom frame, quite a time consuming job. Now wait for the glue to dry and I can put the seats completely back together. Possibly I will paint another layer of black leatherpaint on the patches, because they got damaged during the gluing.
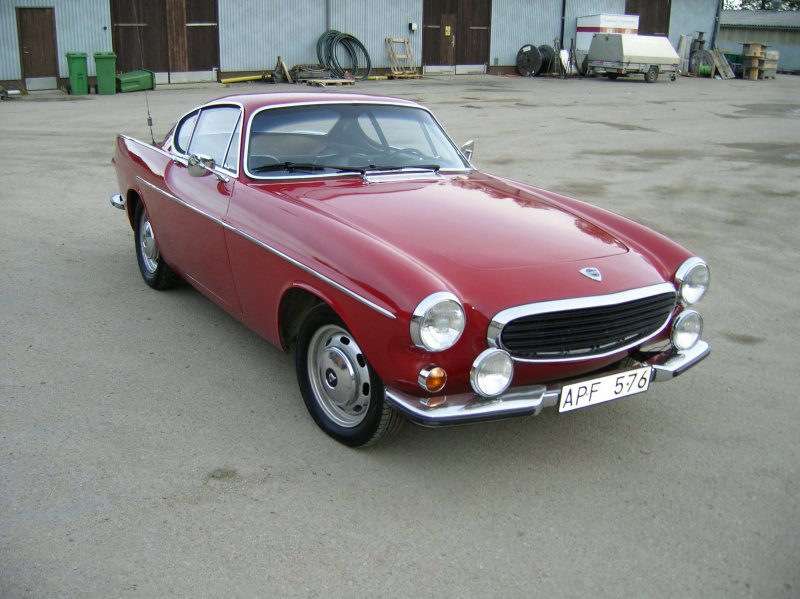
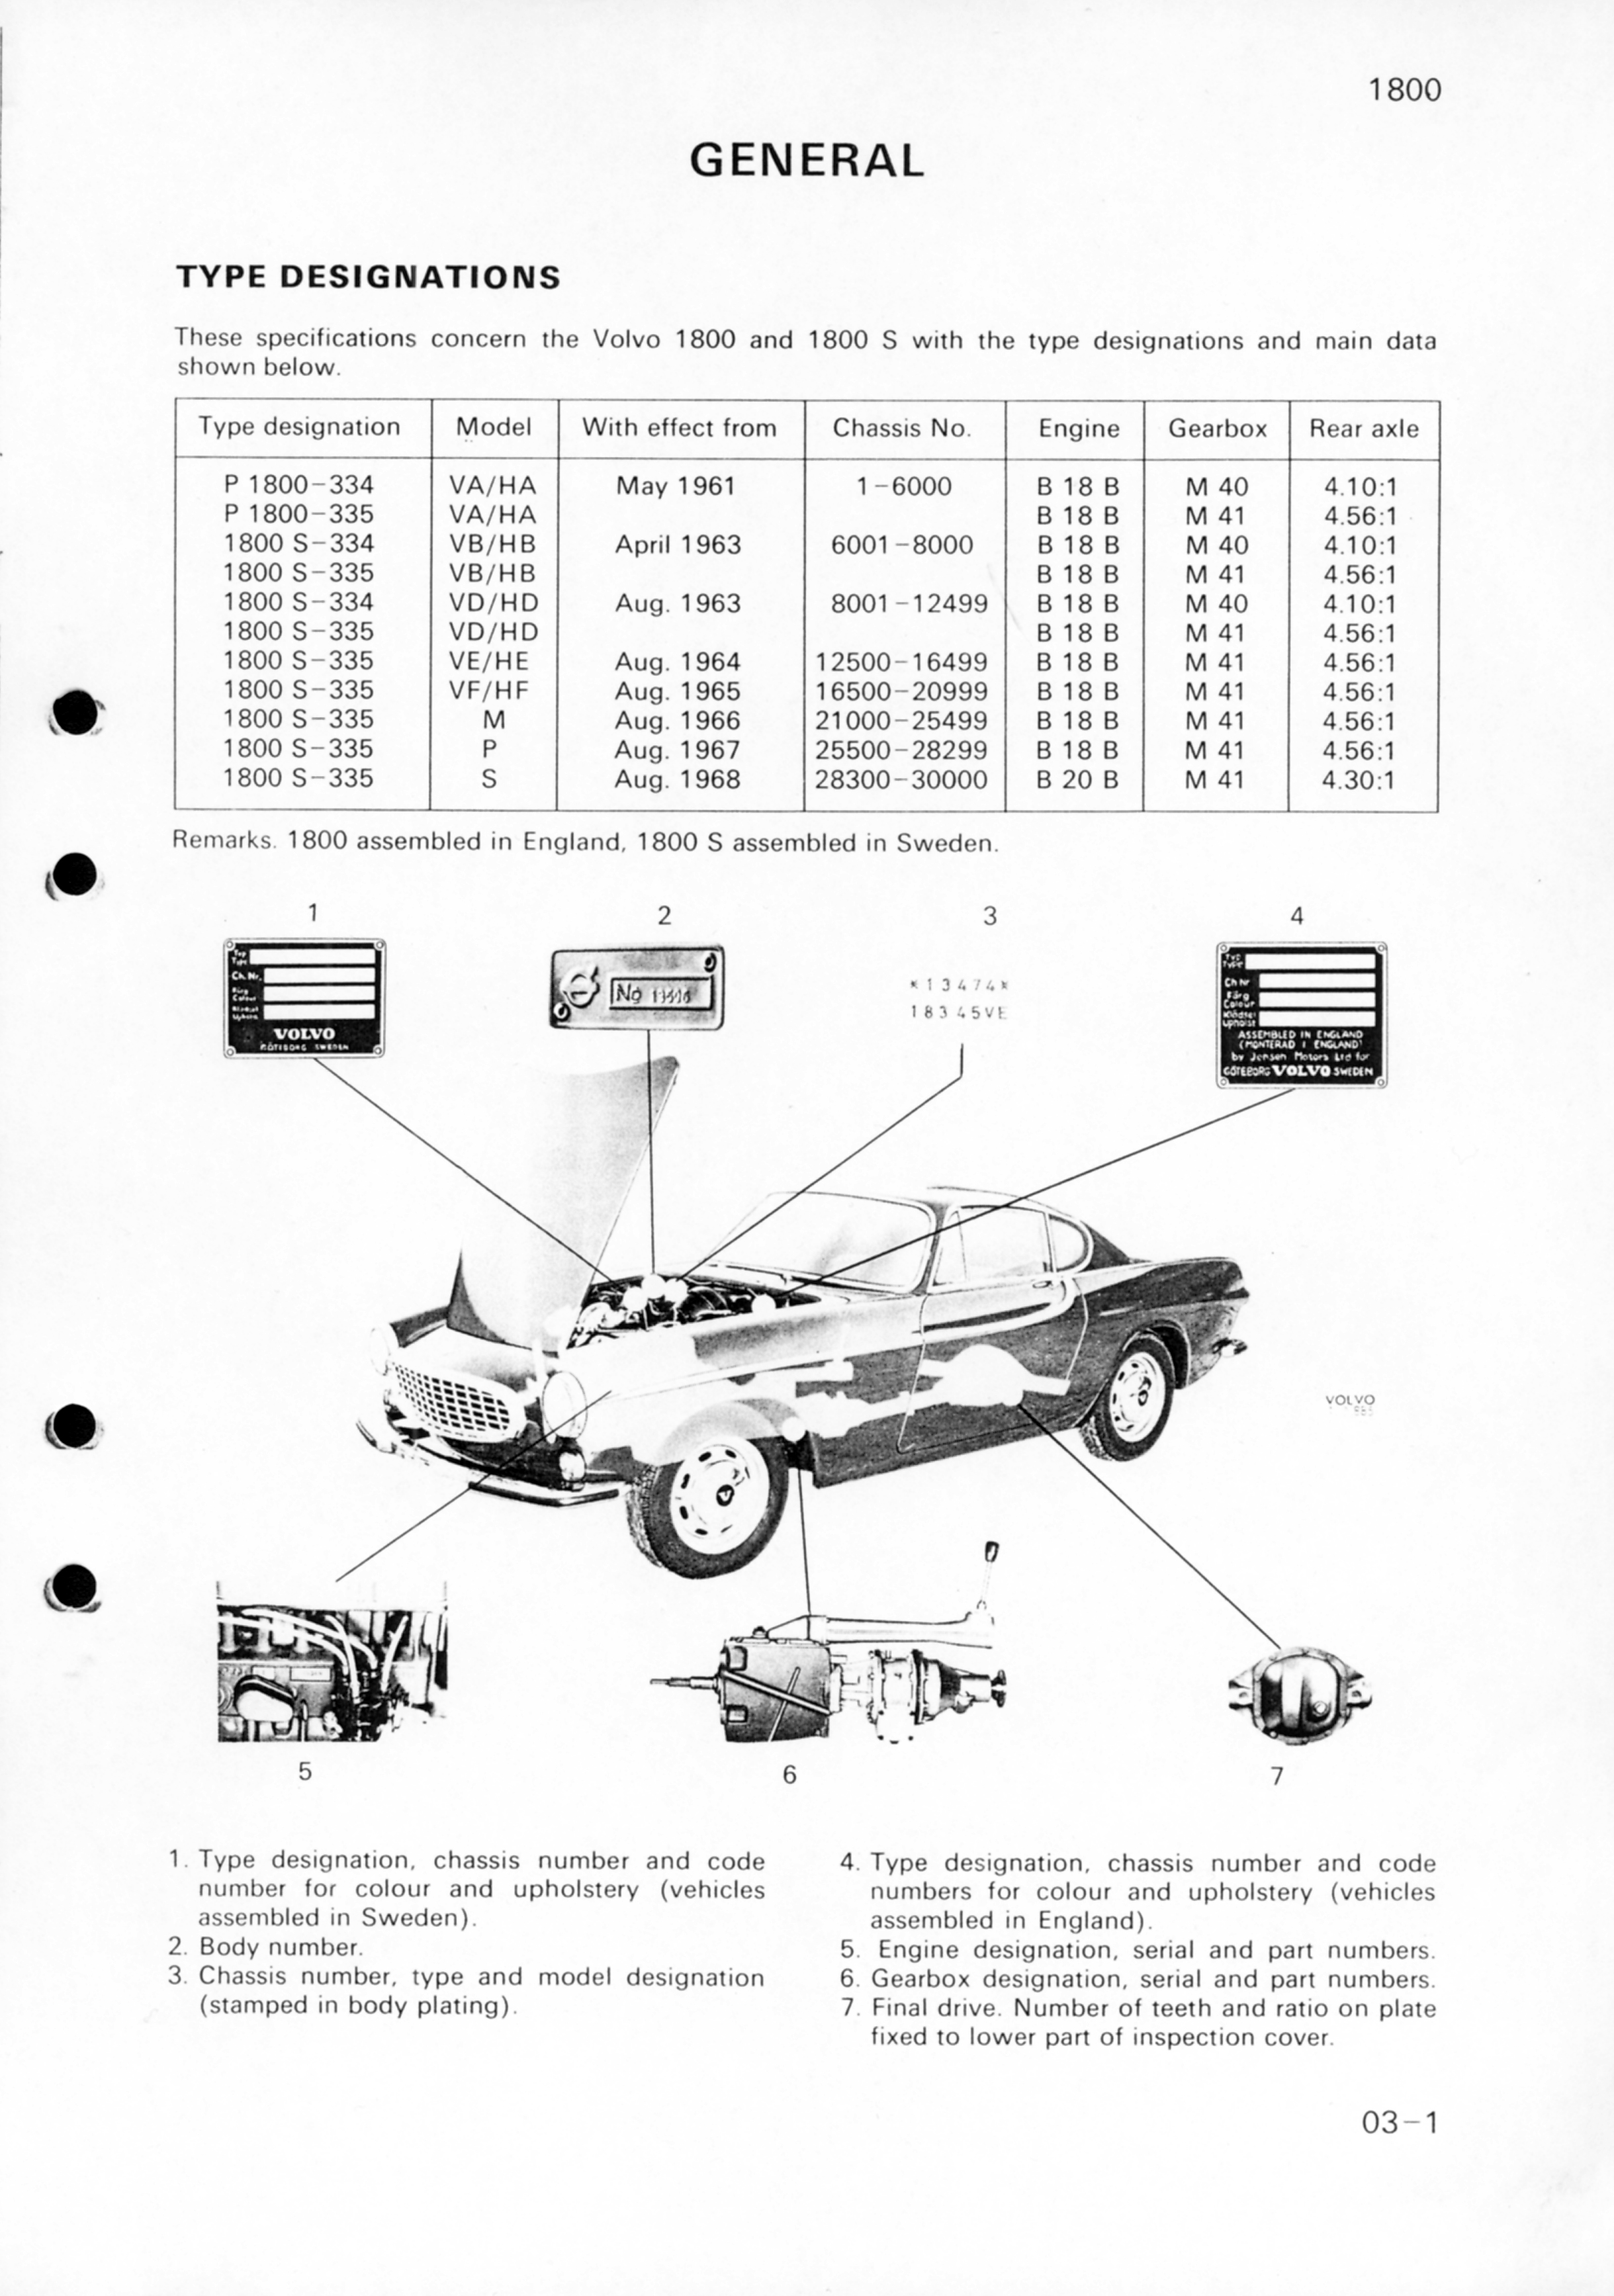
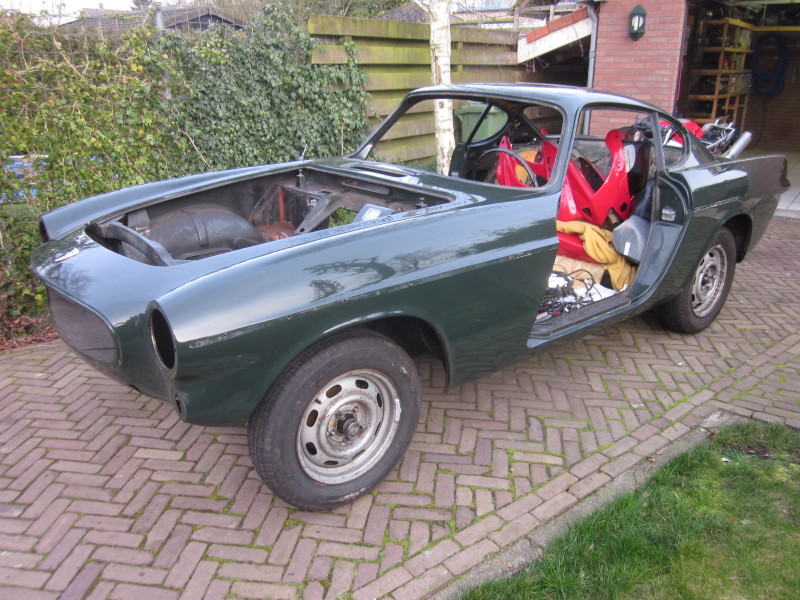
So I´ve decided the color of the car will be red. Volvo used two kinds or red color on 1800´s, color code #70 on early P1800´s of 1961 – 1962 and code #46 on 1800’s from 1963 until 1973. As I would like to keep things fairly original, I should use #46 as this is the red which was used on a 1967 1800S.


For example, a car painted in #70 (above) and #46 (below):

Lots of info about the Volvo colors can be read at: http://www.volvotips.com/index.php/general/volvo-color-codes/.
Last moth I’ve did some work on the interior and as I decided the color of the car will be red, I am going with the red-black exterior-interior combination, like this:
http://volvo1800pictures.com/main/main_gallery_1800S_67_php.php
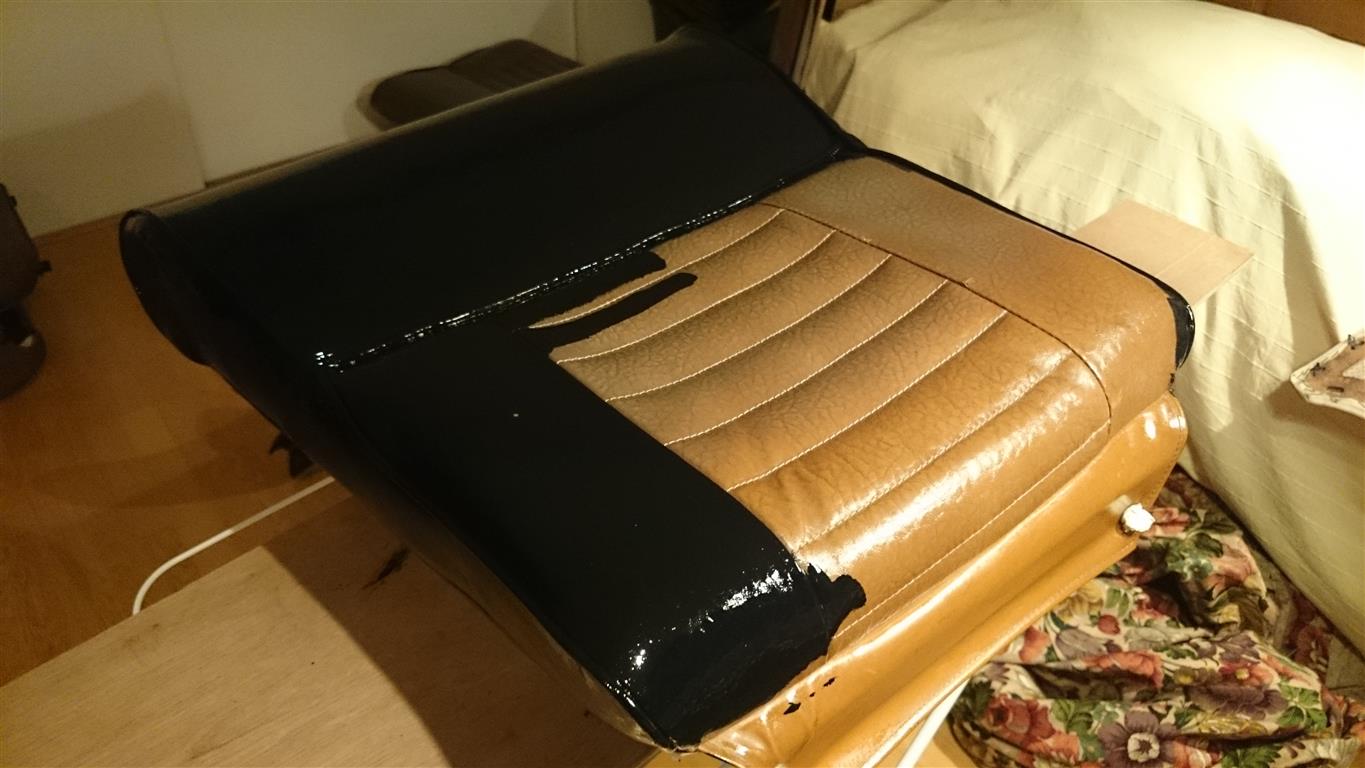
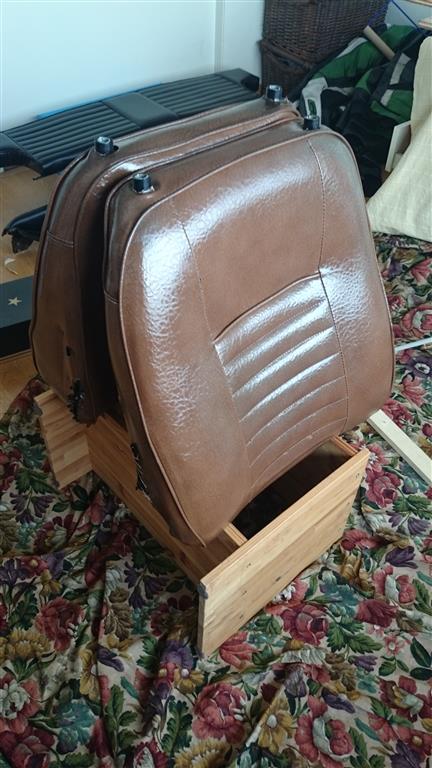
So, red exterior, black seats and panels and red carpet. Searching for a nice 2nd hand, not rotten away black 1800s interior would not going to be an easy find. Impossible I found out later on. I also checked out of curiosity what it would cost if you would buy it all new, this would be around €2500. Not an option for my financial situation. So, after some searching on the net I found some people who painted their seats with leatherpaint with pretty good results and a good price – quality. So I painted the interior black:
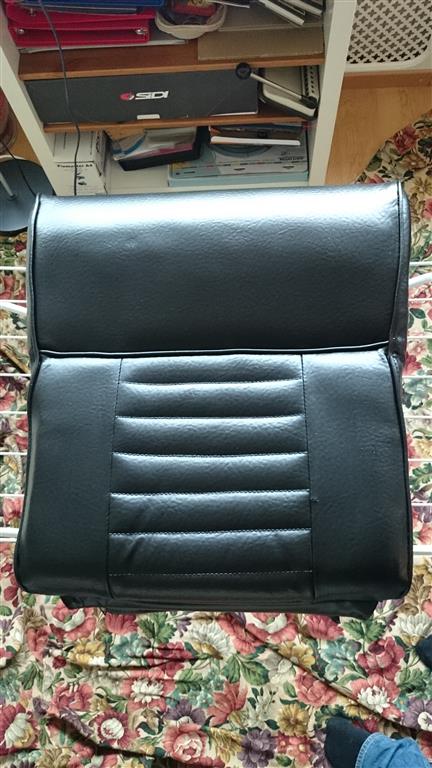
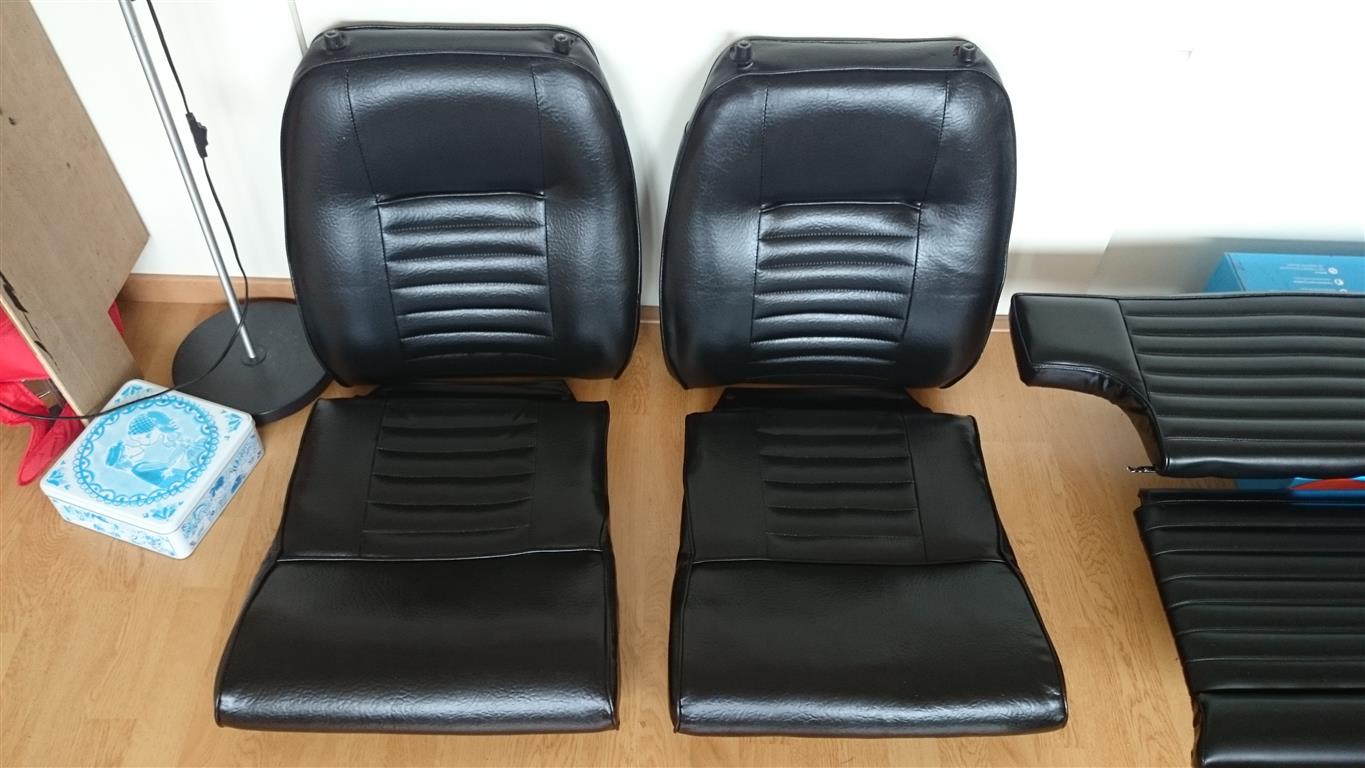
First some repairs and clean everything thoroughly. My seats are in good condition so no heavy tears or worn out cushions, perfect to be painted.
Then the paint. It dries pretty quickly.

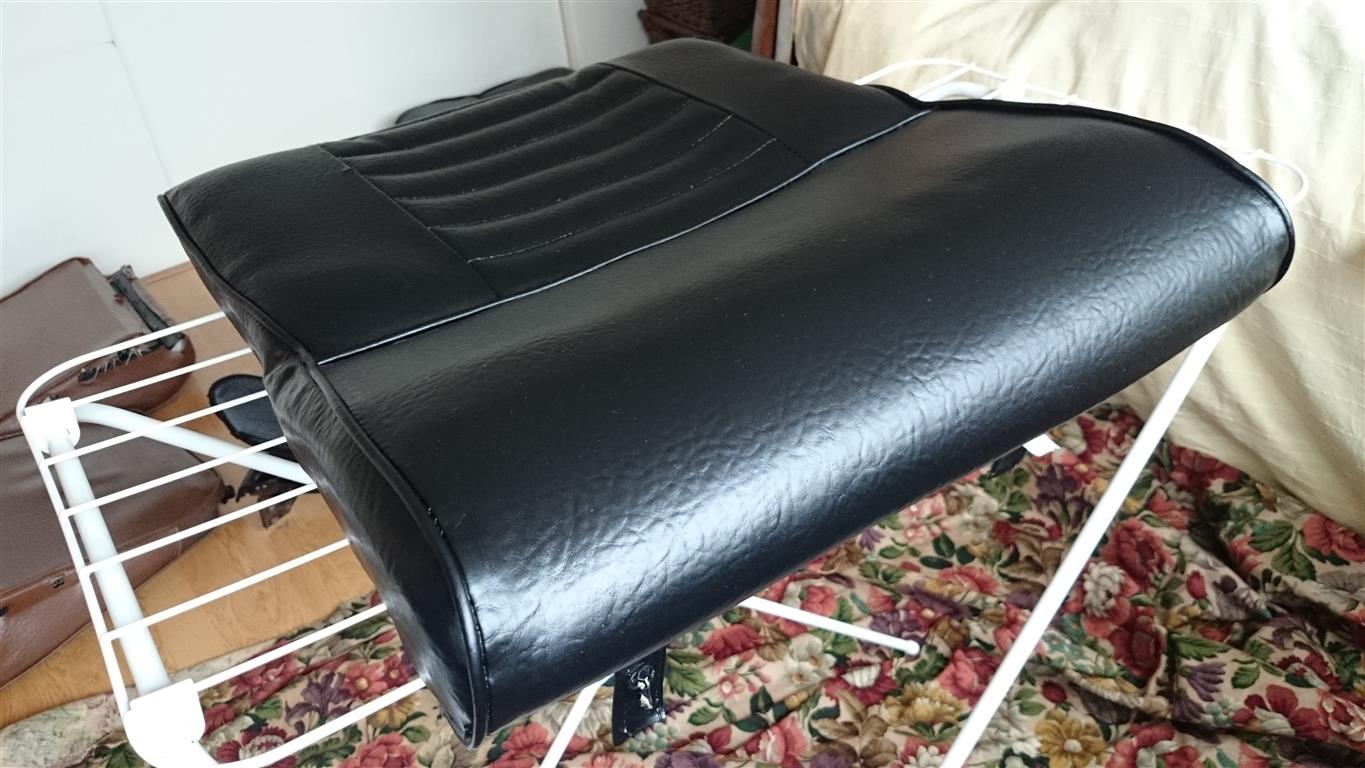
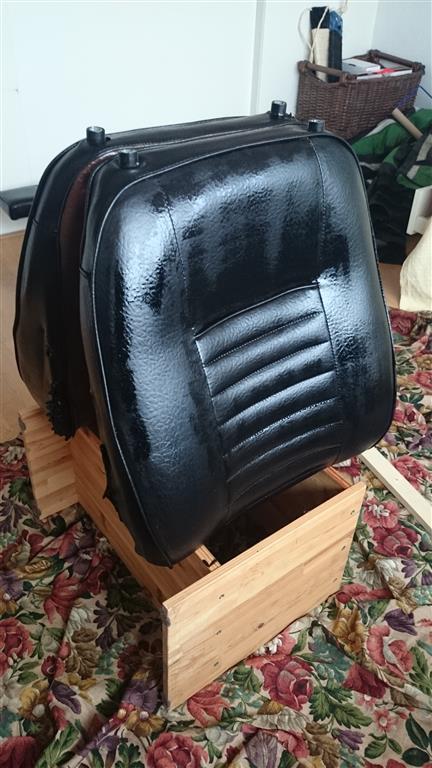
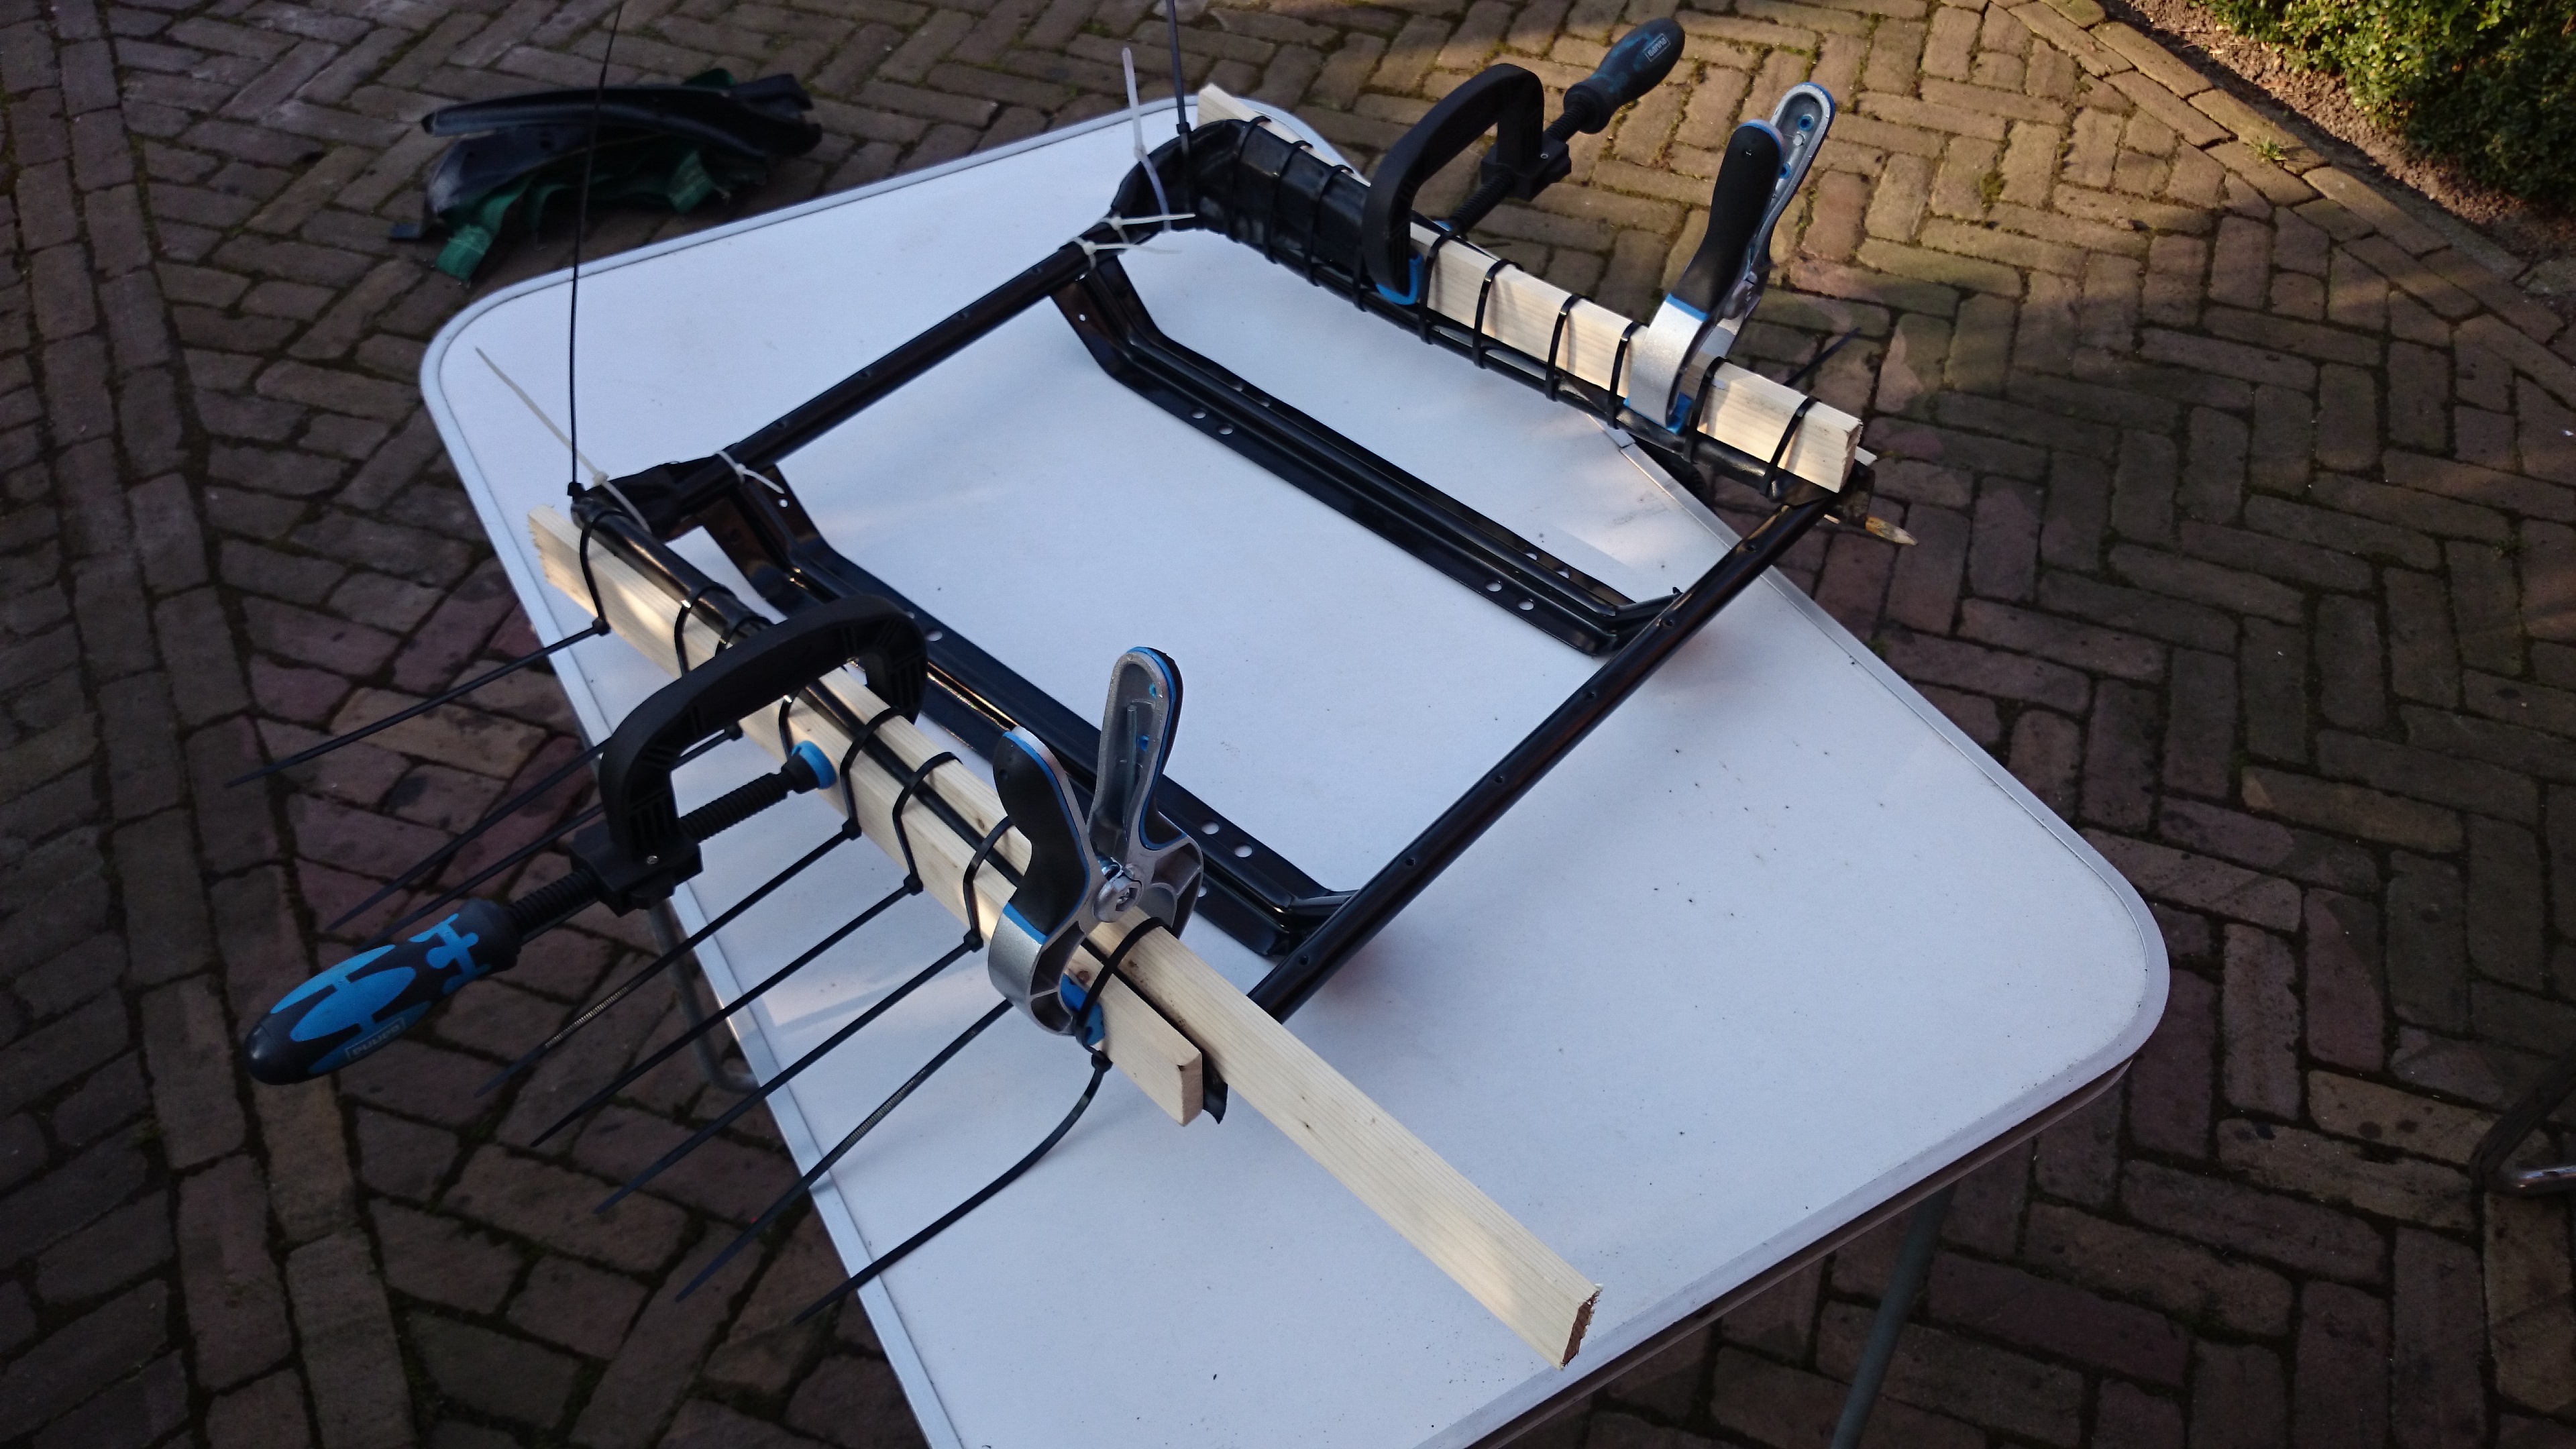
The seat support and brackets are powedercoated and all nuts, bolts and seat rails are nickle-plated so all shiny. I’m assembling the seats now.

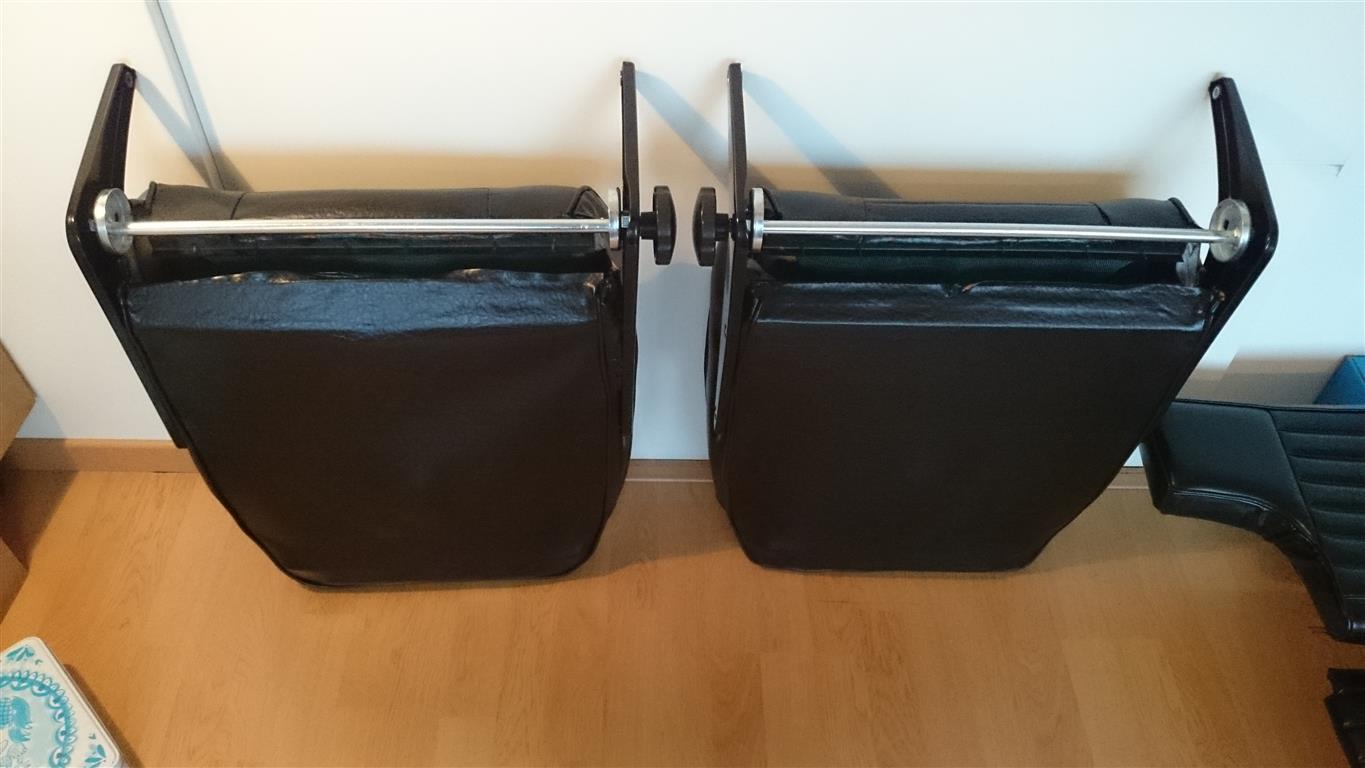


I had to tap the threads of the 5/16 nuts in the seat bottom base, which were accidentally powdercoated, and gluing the covers on the bum frame.
Next job will be to paint the interior panels, but first I have to replace the wooden panels with some waterproof ones and then I can paint the panels.
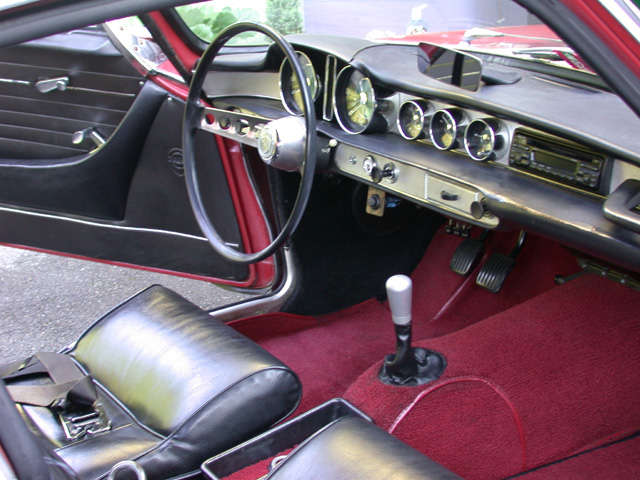
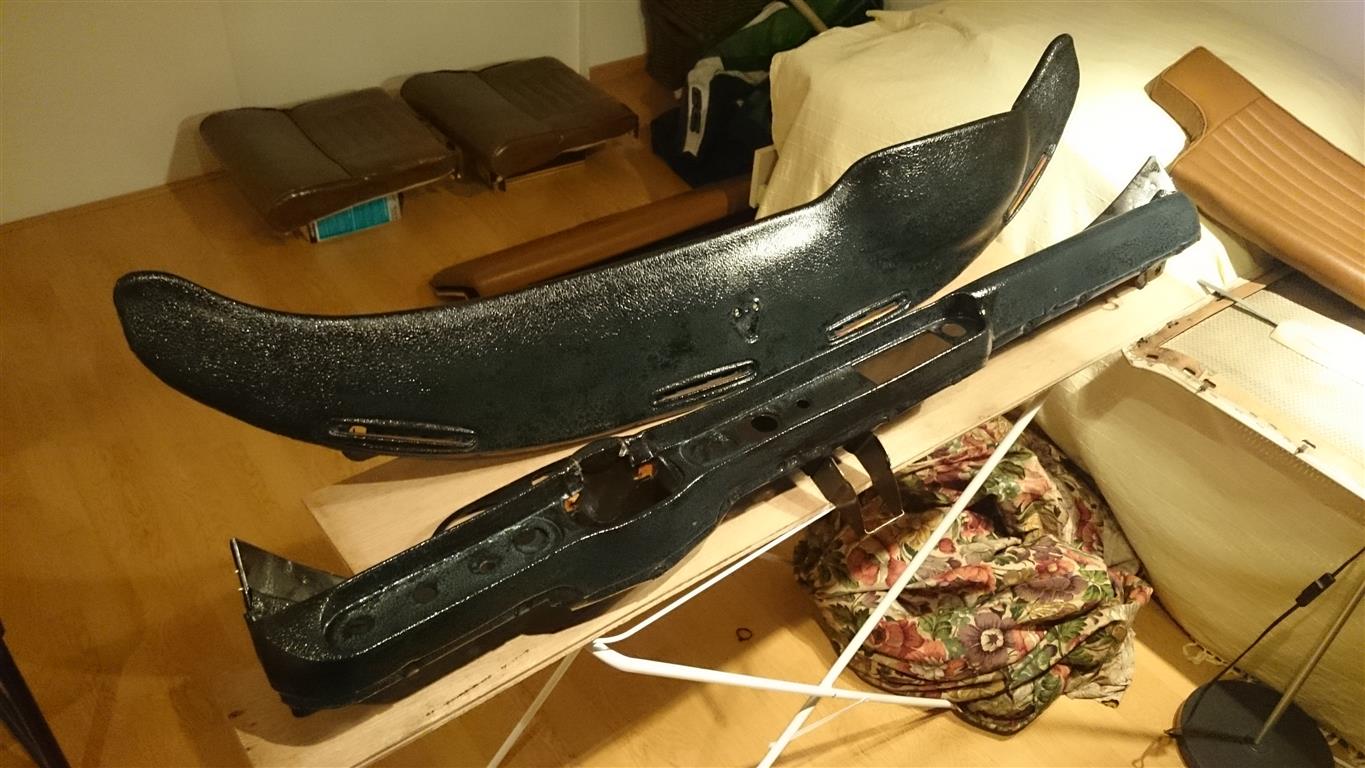
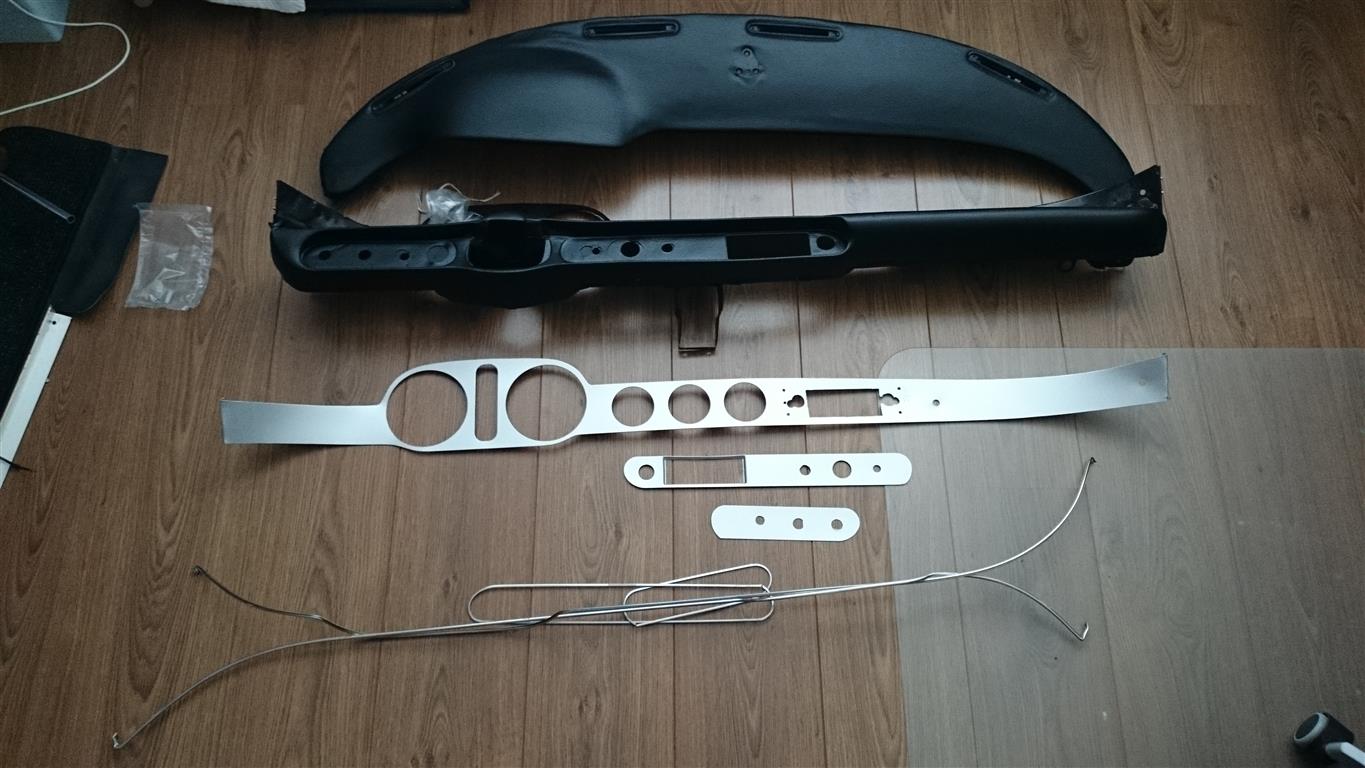
Also the dashboard is finished. I was a bit in doubt if I would repad the whole thing, but this was not necessary. There where only 2 small cracks which I repaired (stop-drilled, filled up and painted) so I decided not to repad it. A repaired and painted fresh almost new dash (the holes will be covered by the radio):
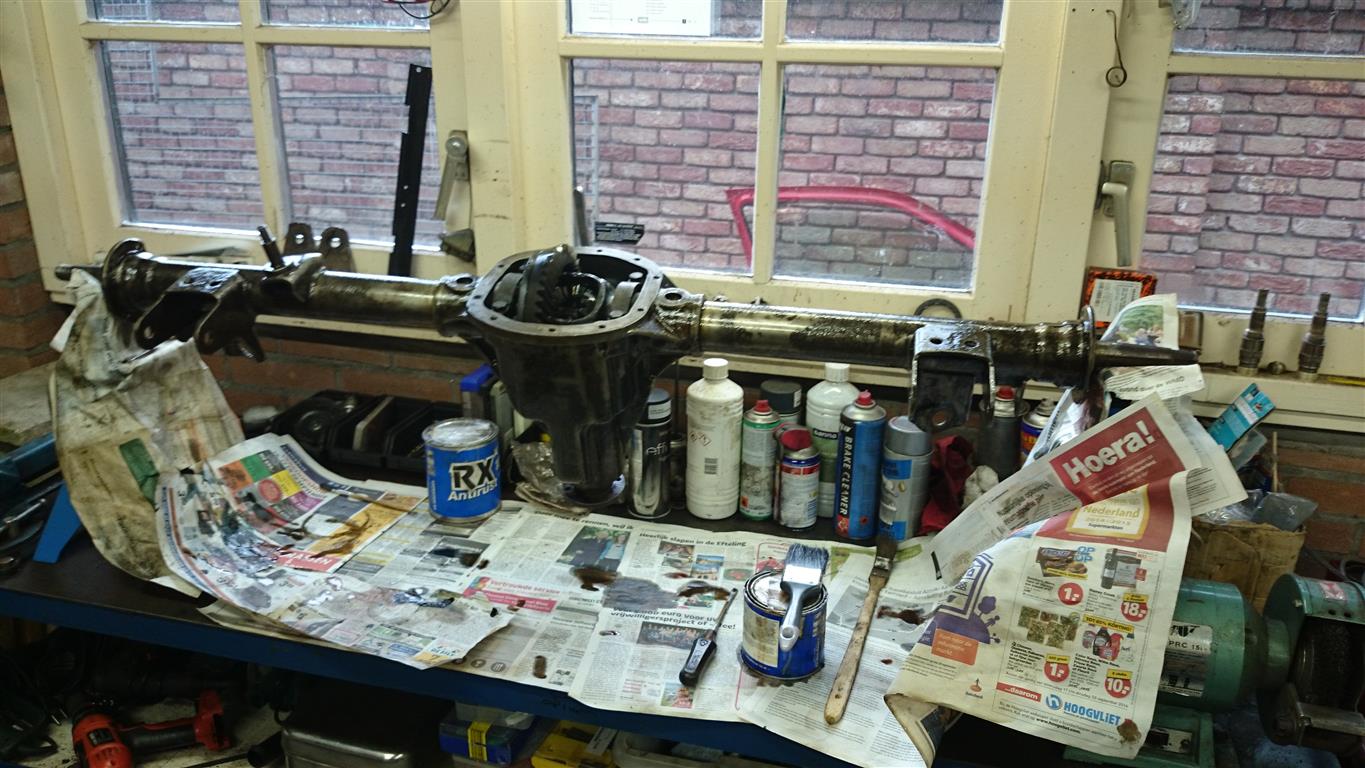
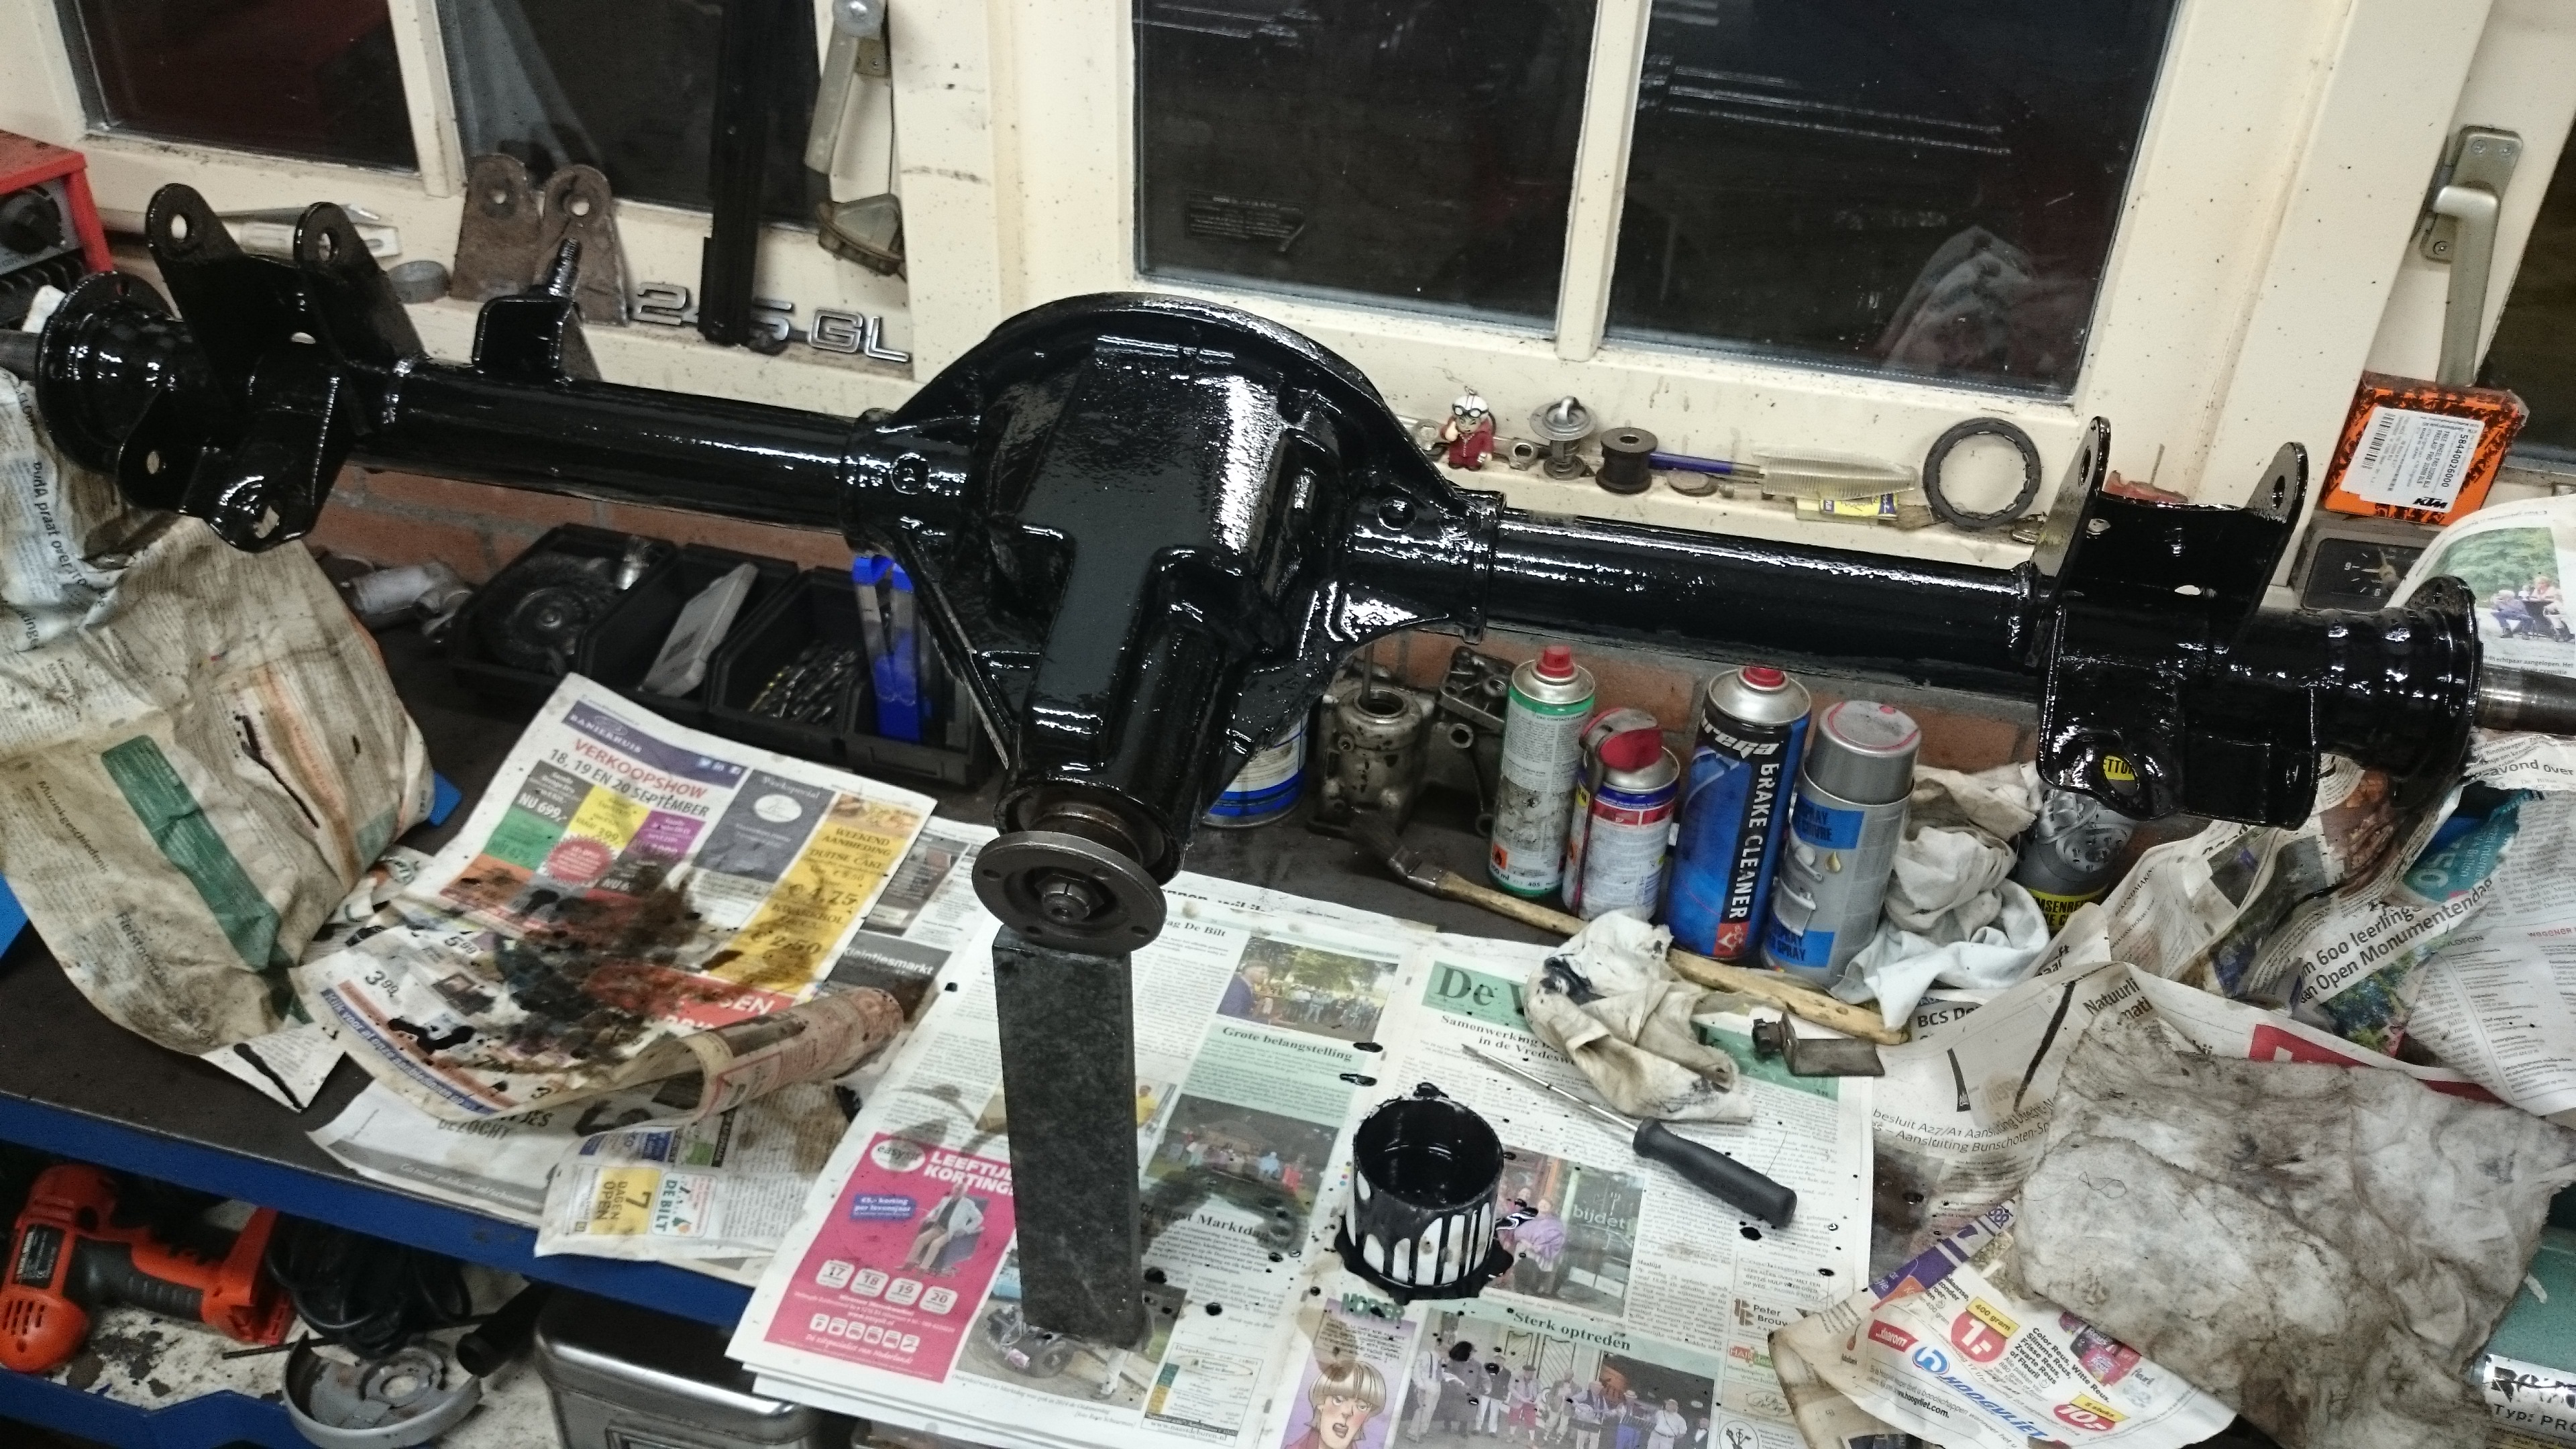
And cleaned up the rear axle and applied the first three layers of paint (1st & 2nd RX5, 3rd 50% RX5 – 50% RX10, next layer 5% RX5 – 95% RX10):
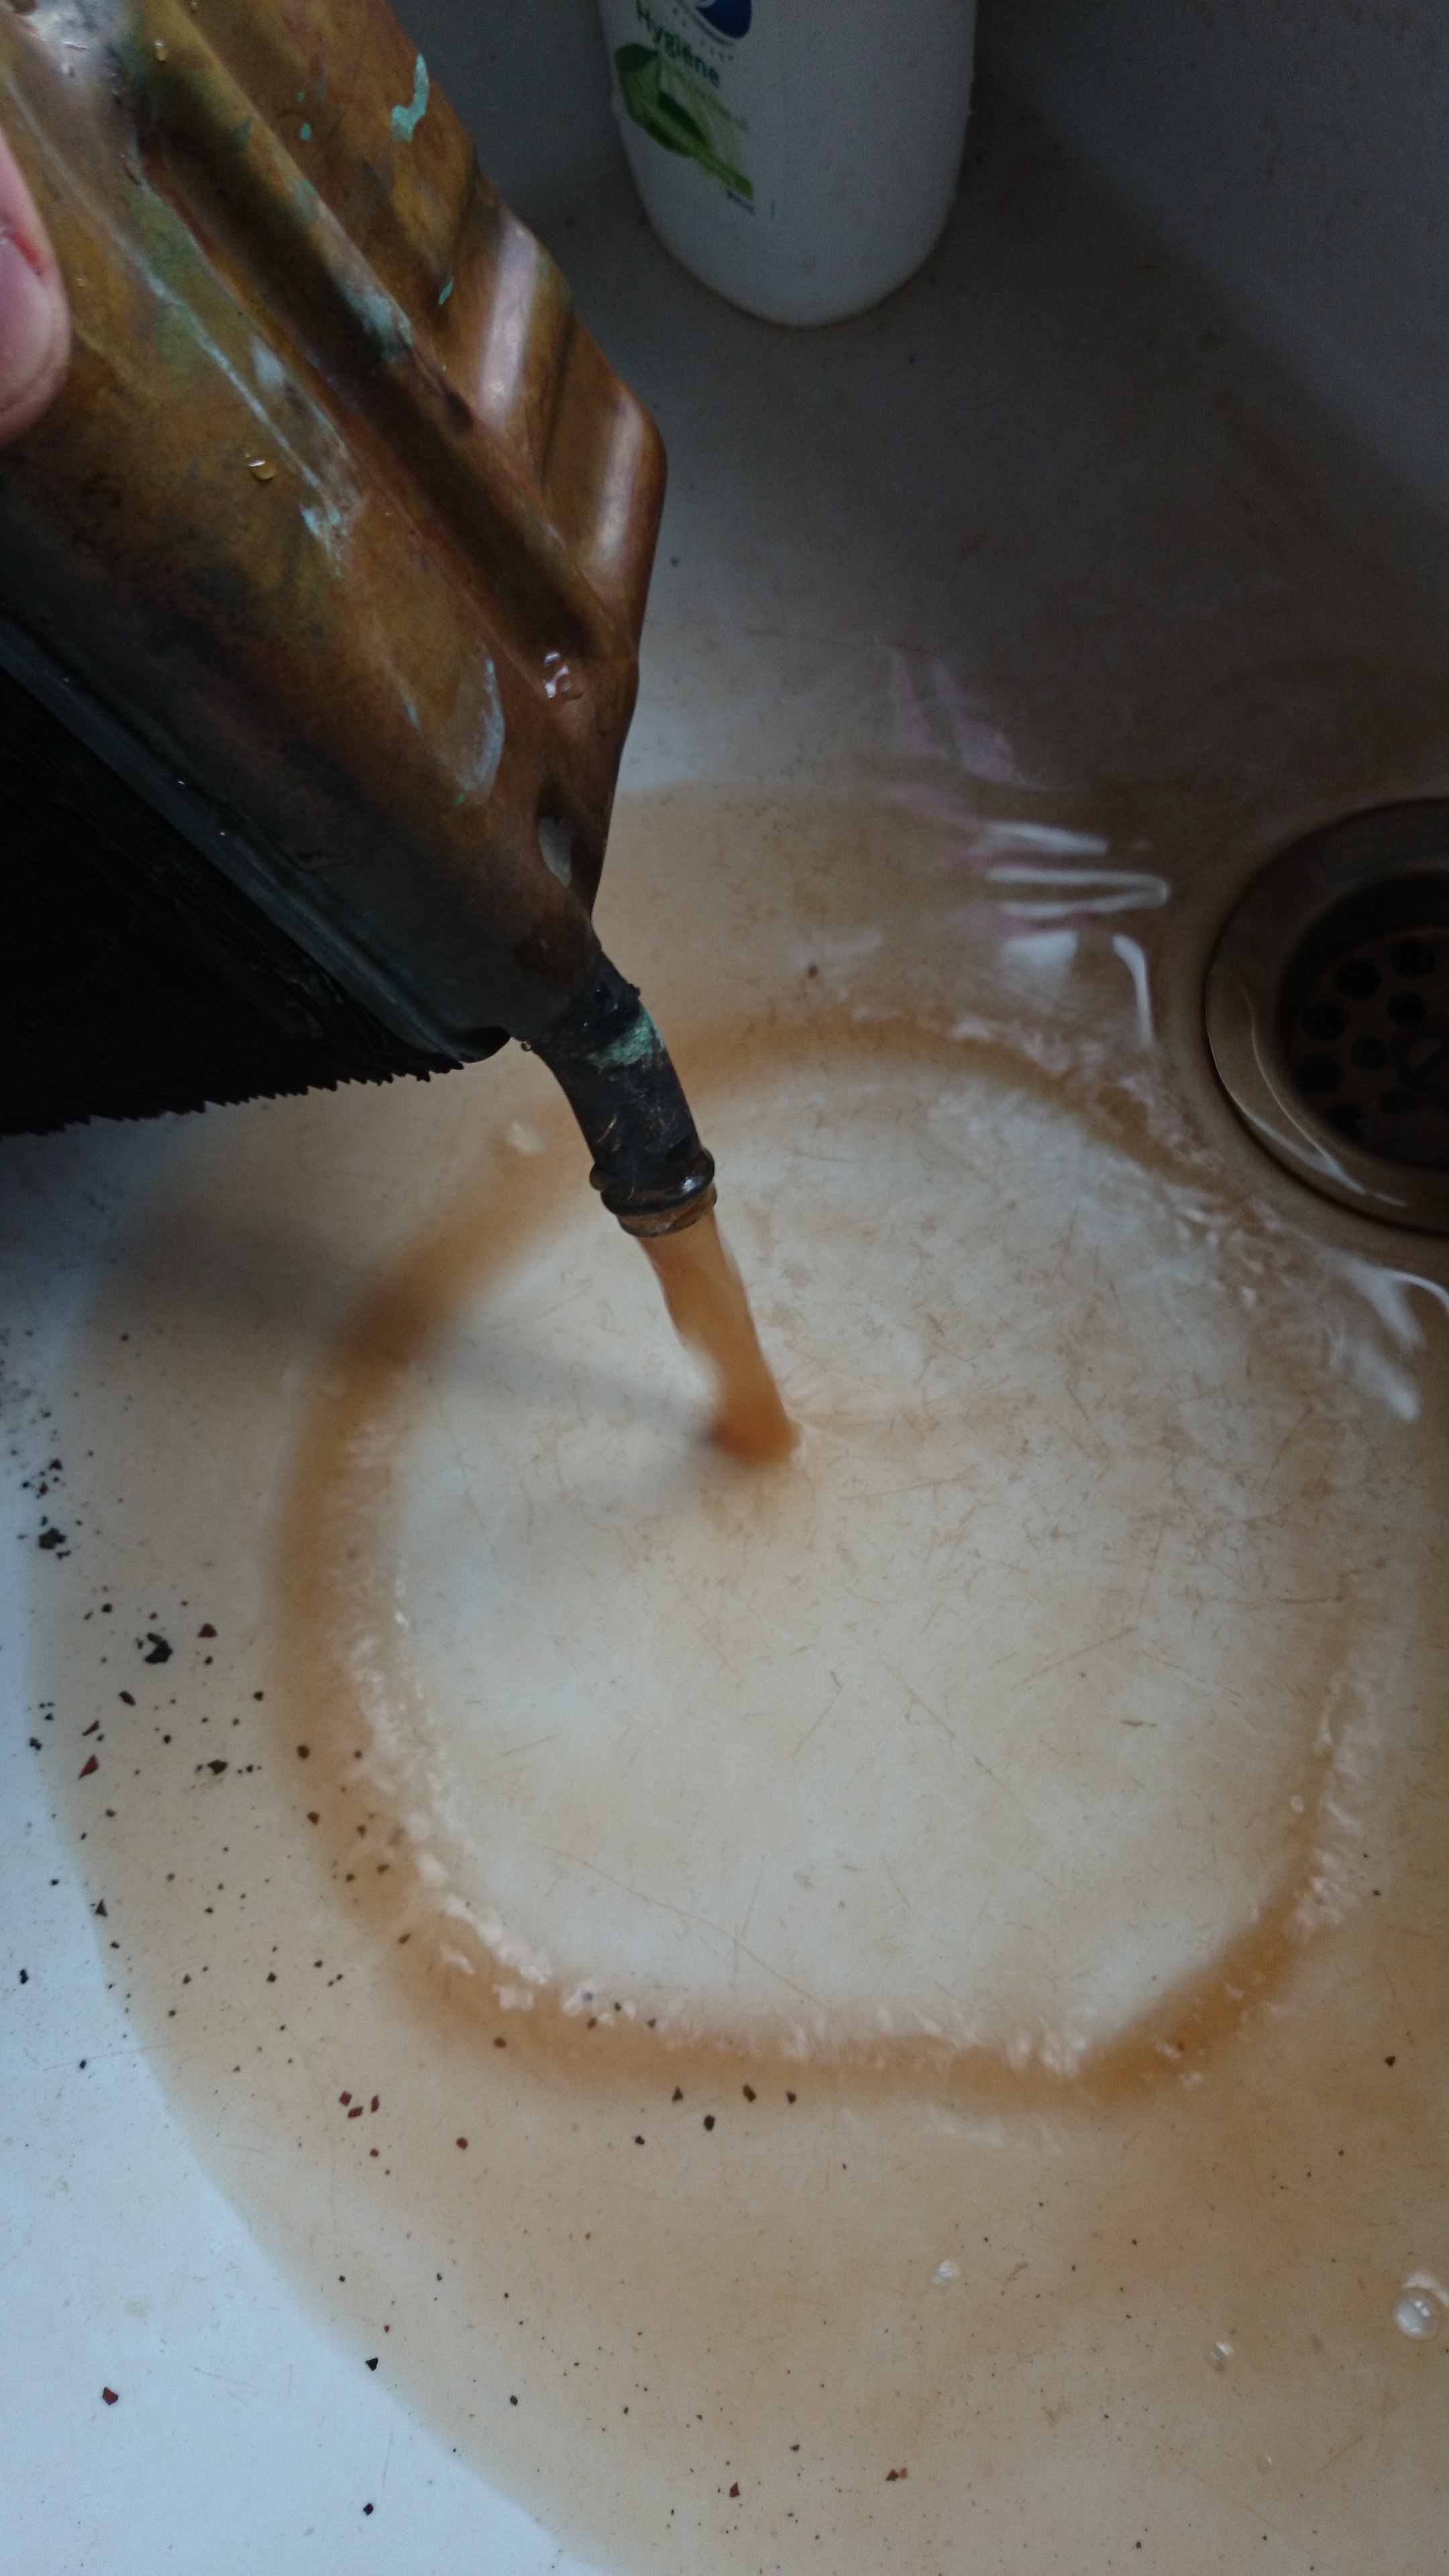
And cleaning out the interior radiator, lots of sludge came out. The thing looks overall very good, possibly I’ll send it to a radiator shop for a check up.
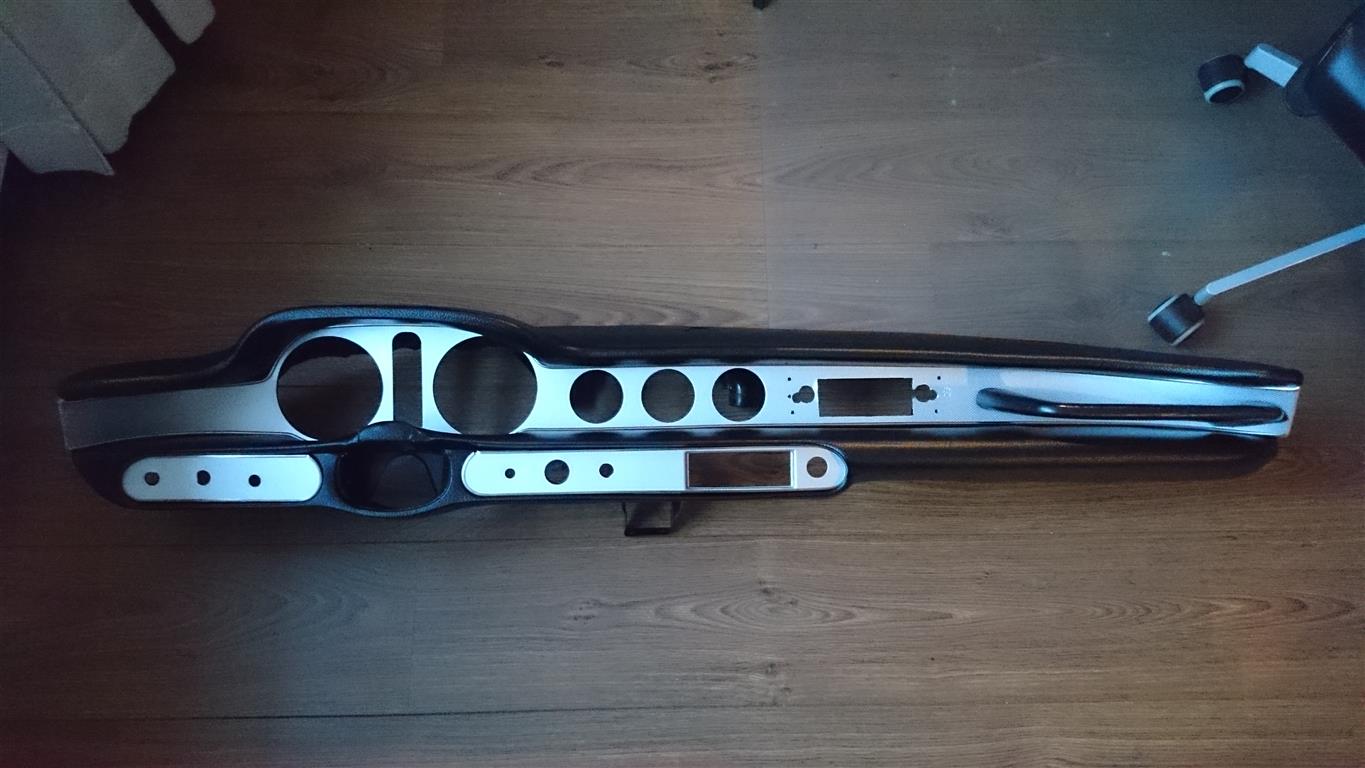
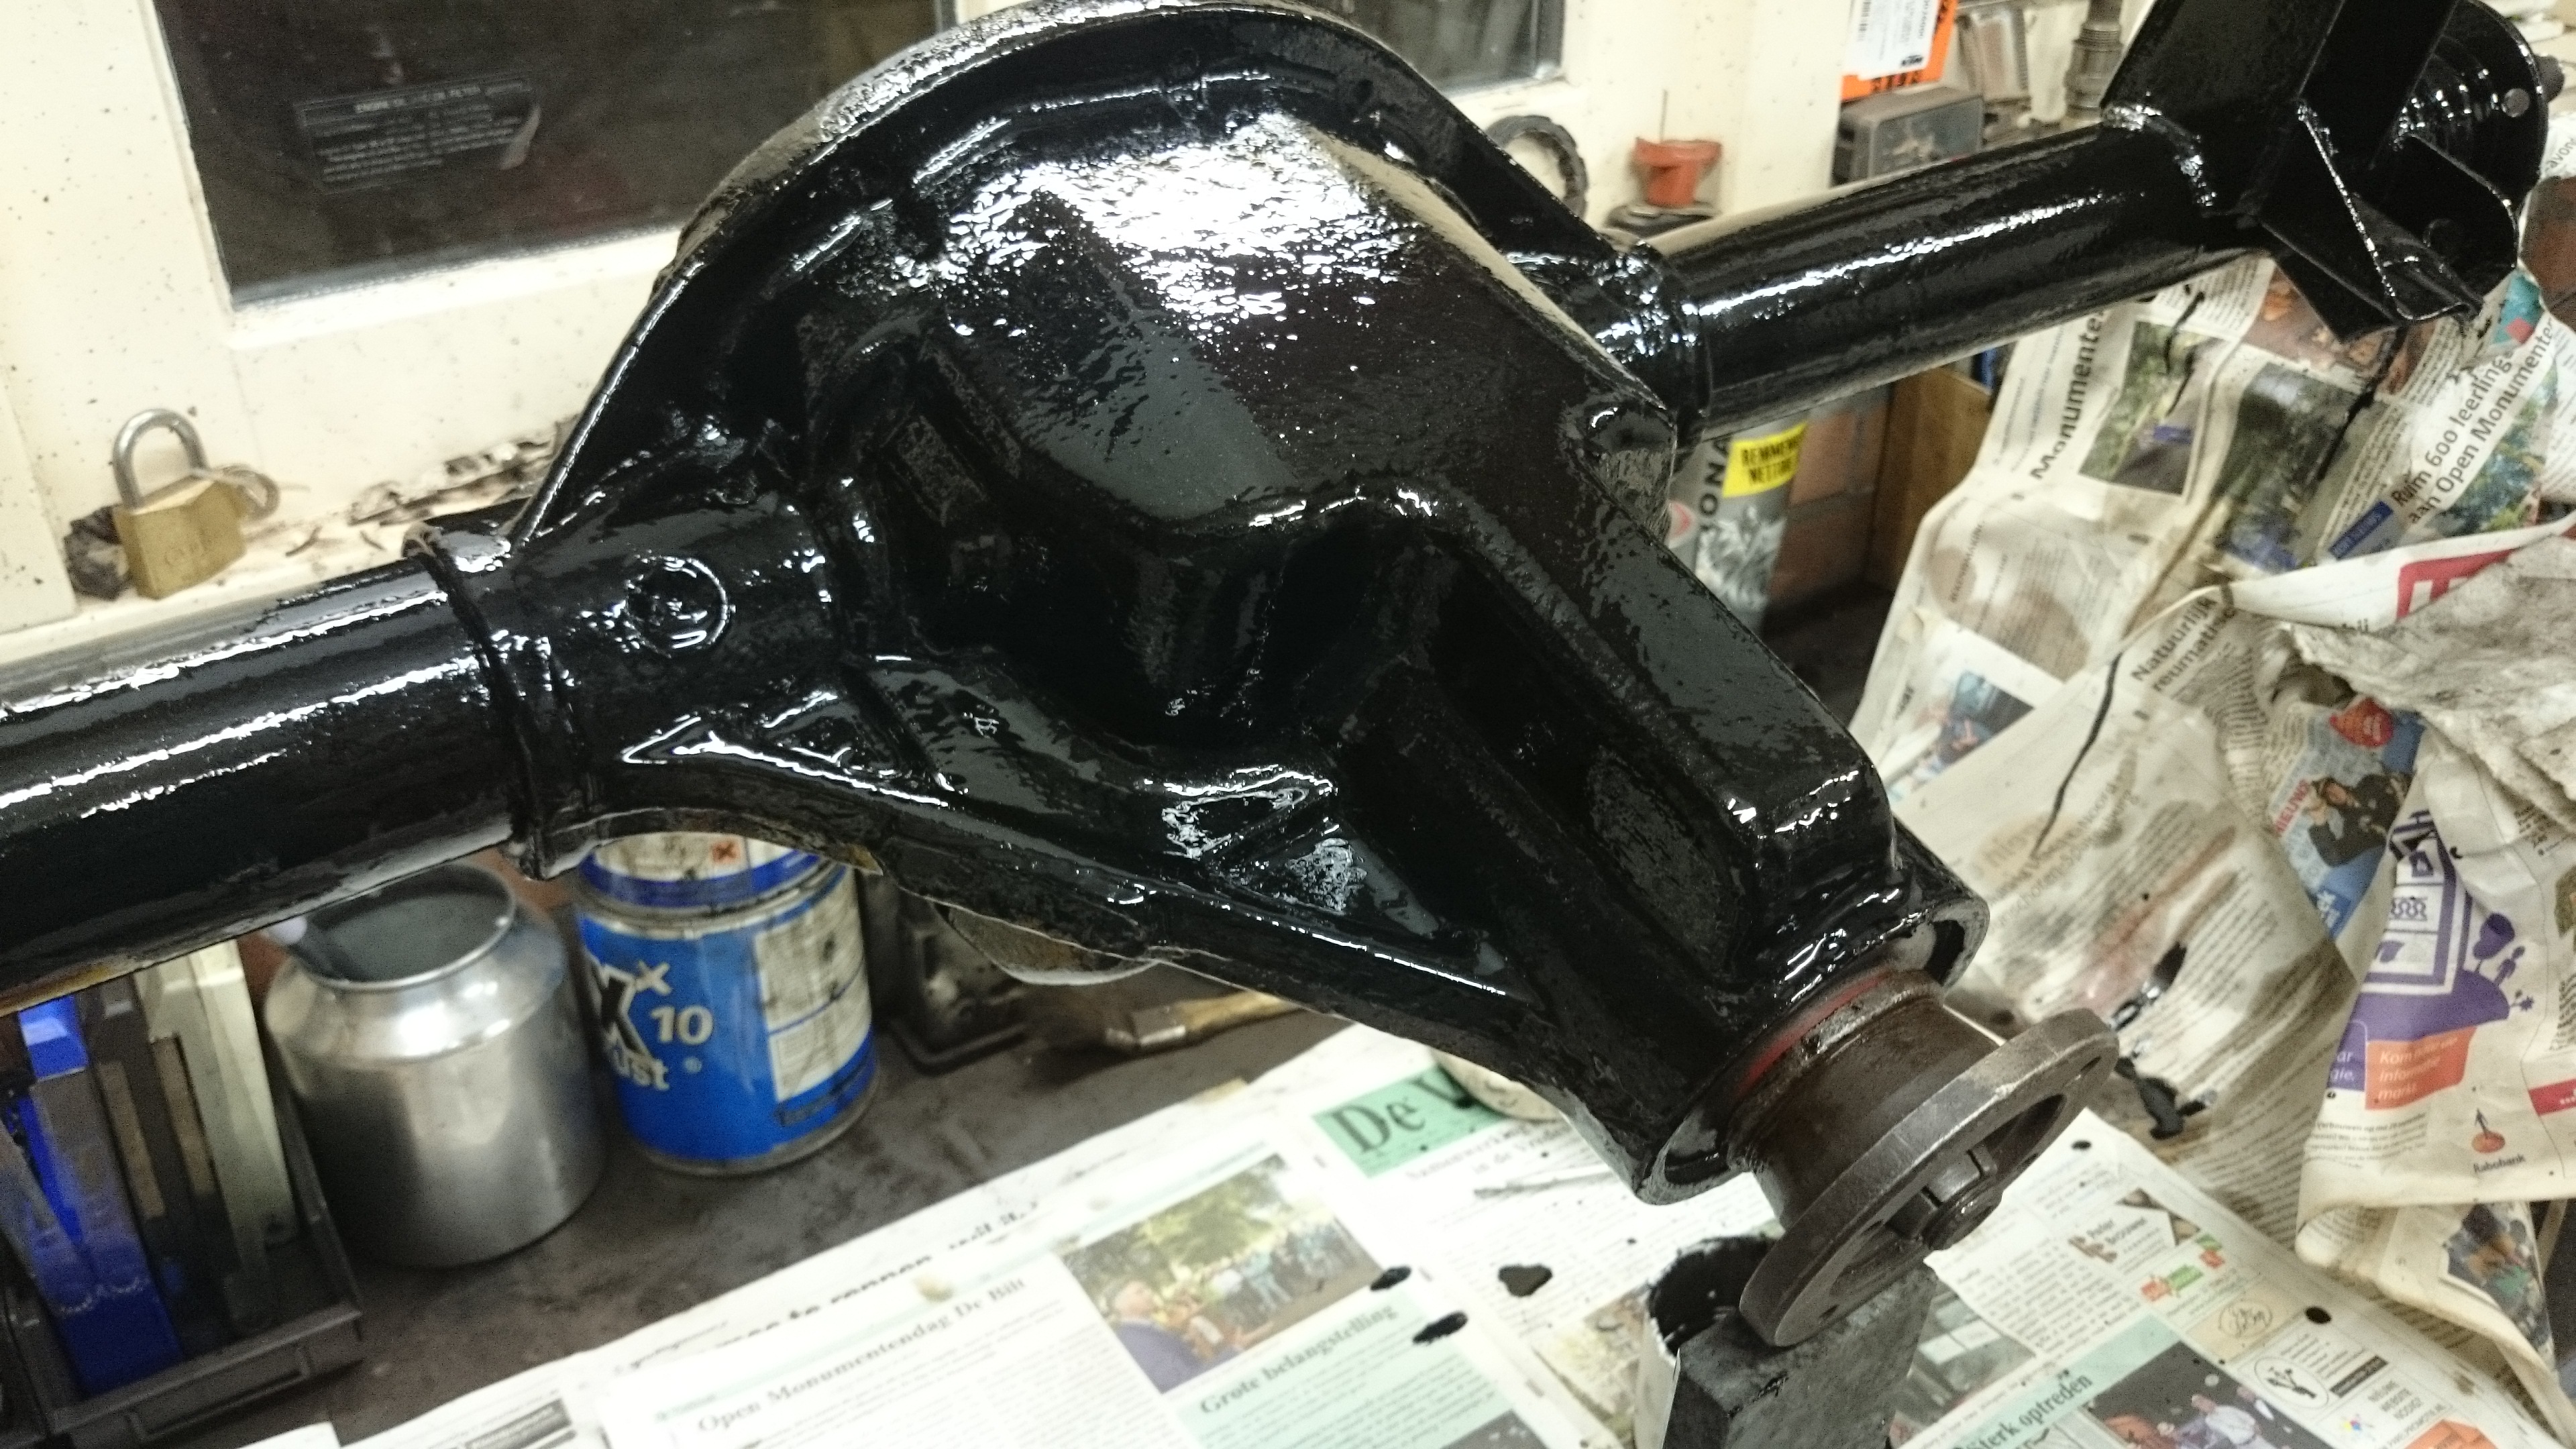
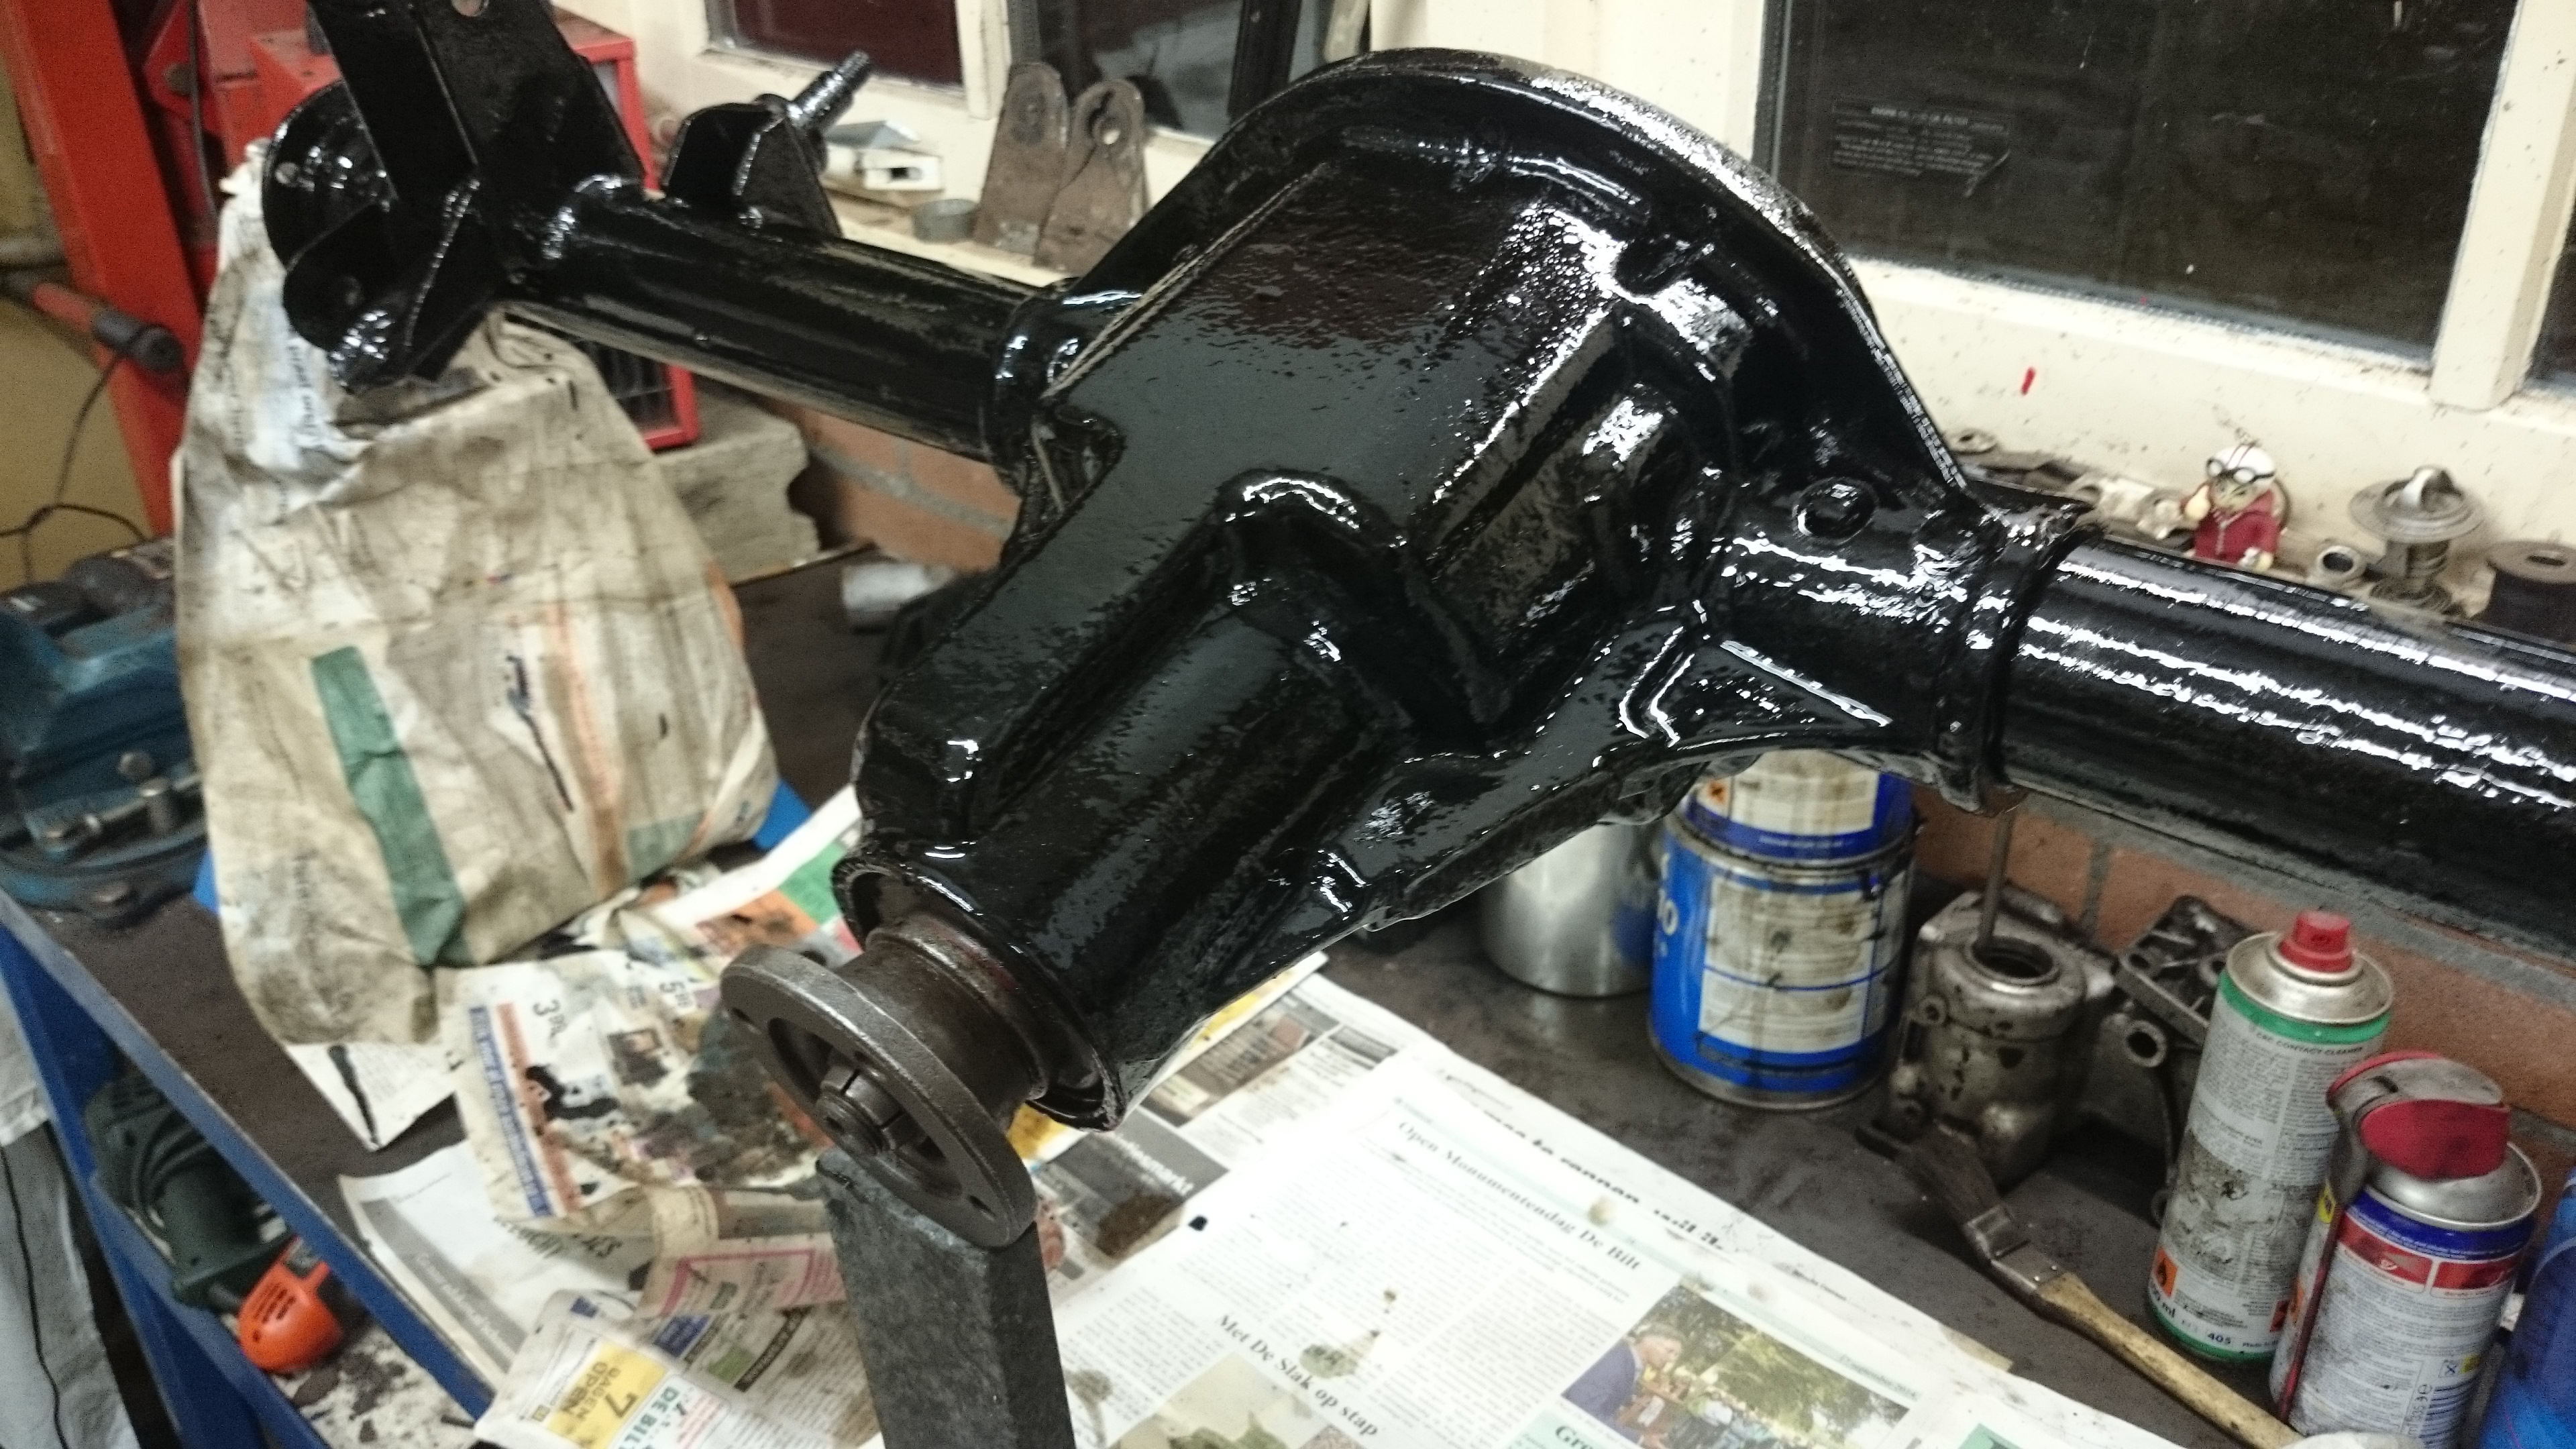
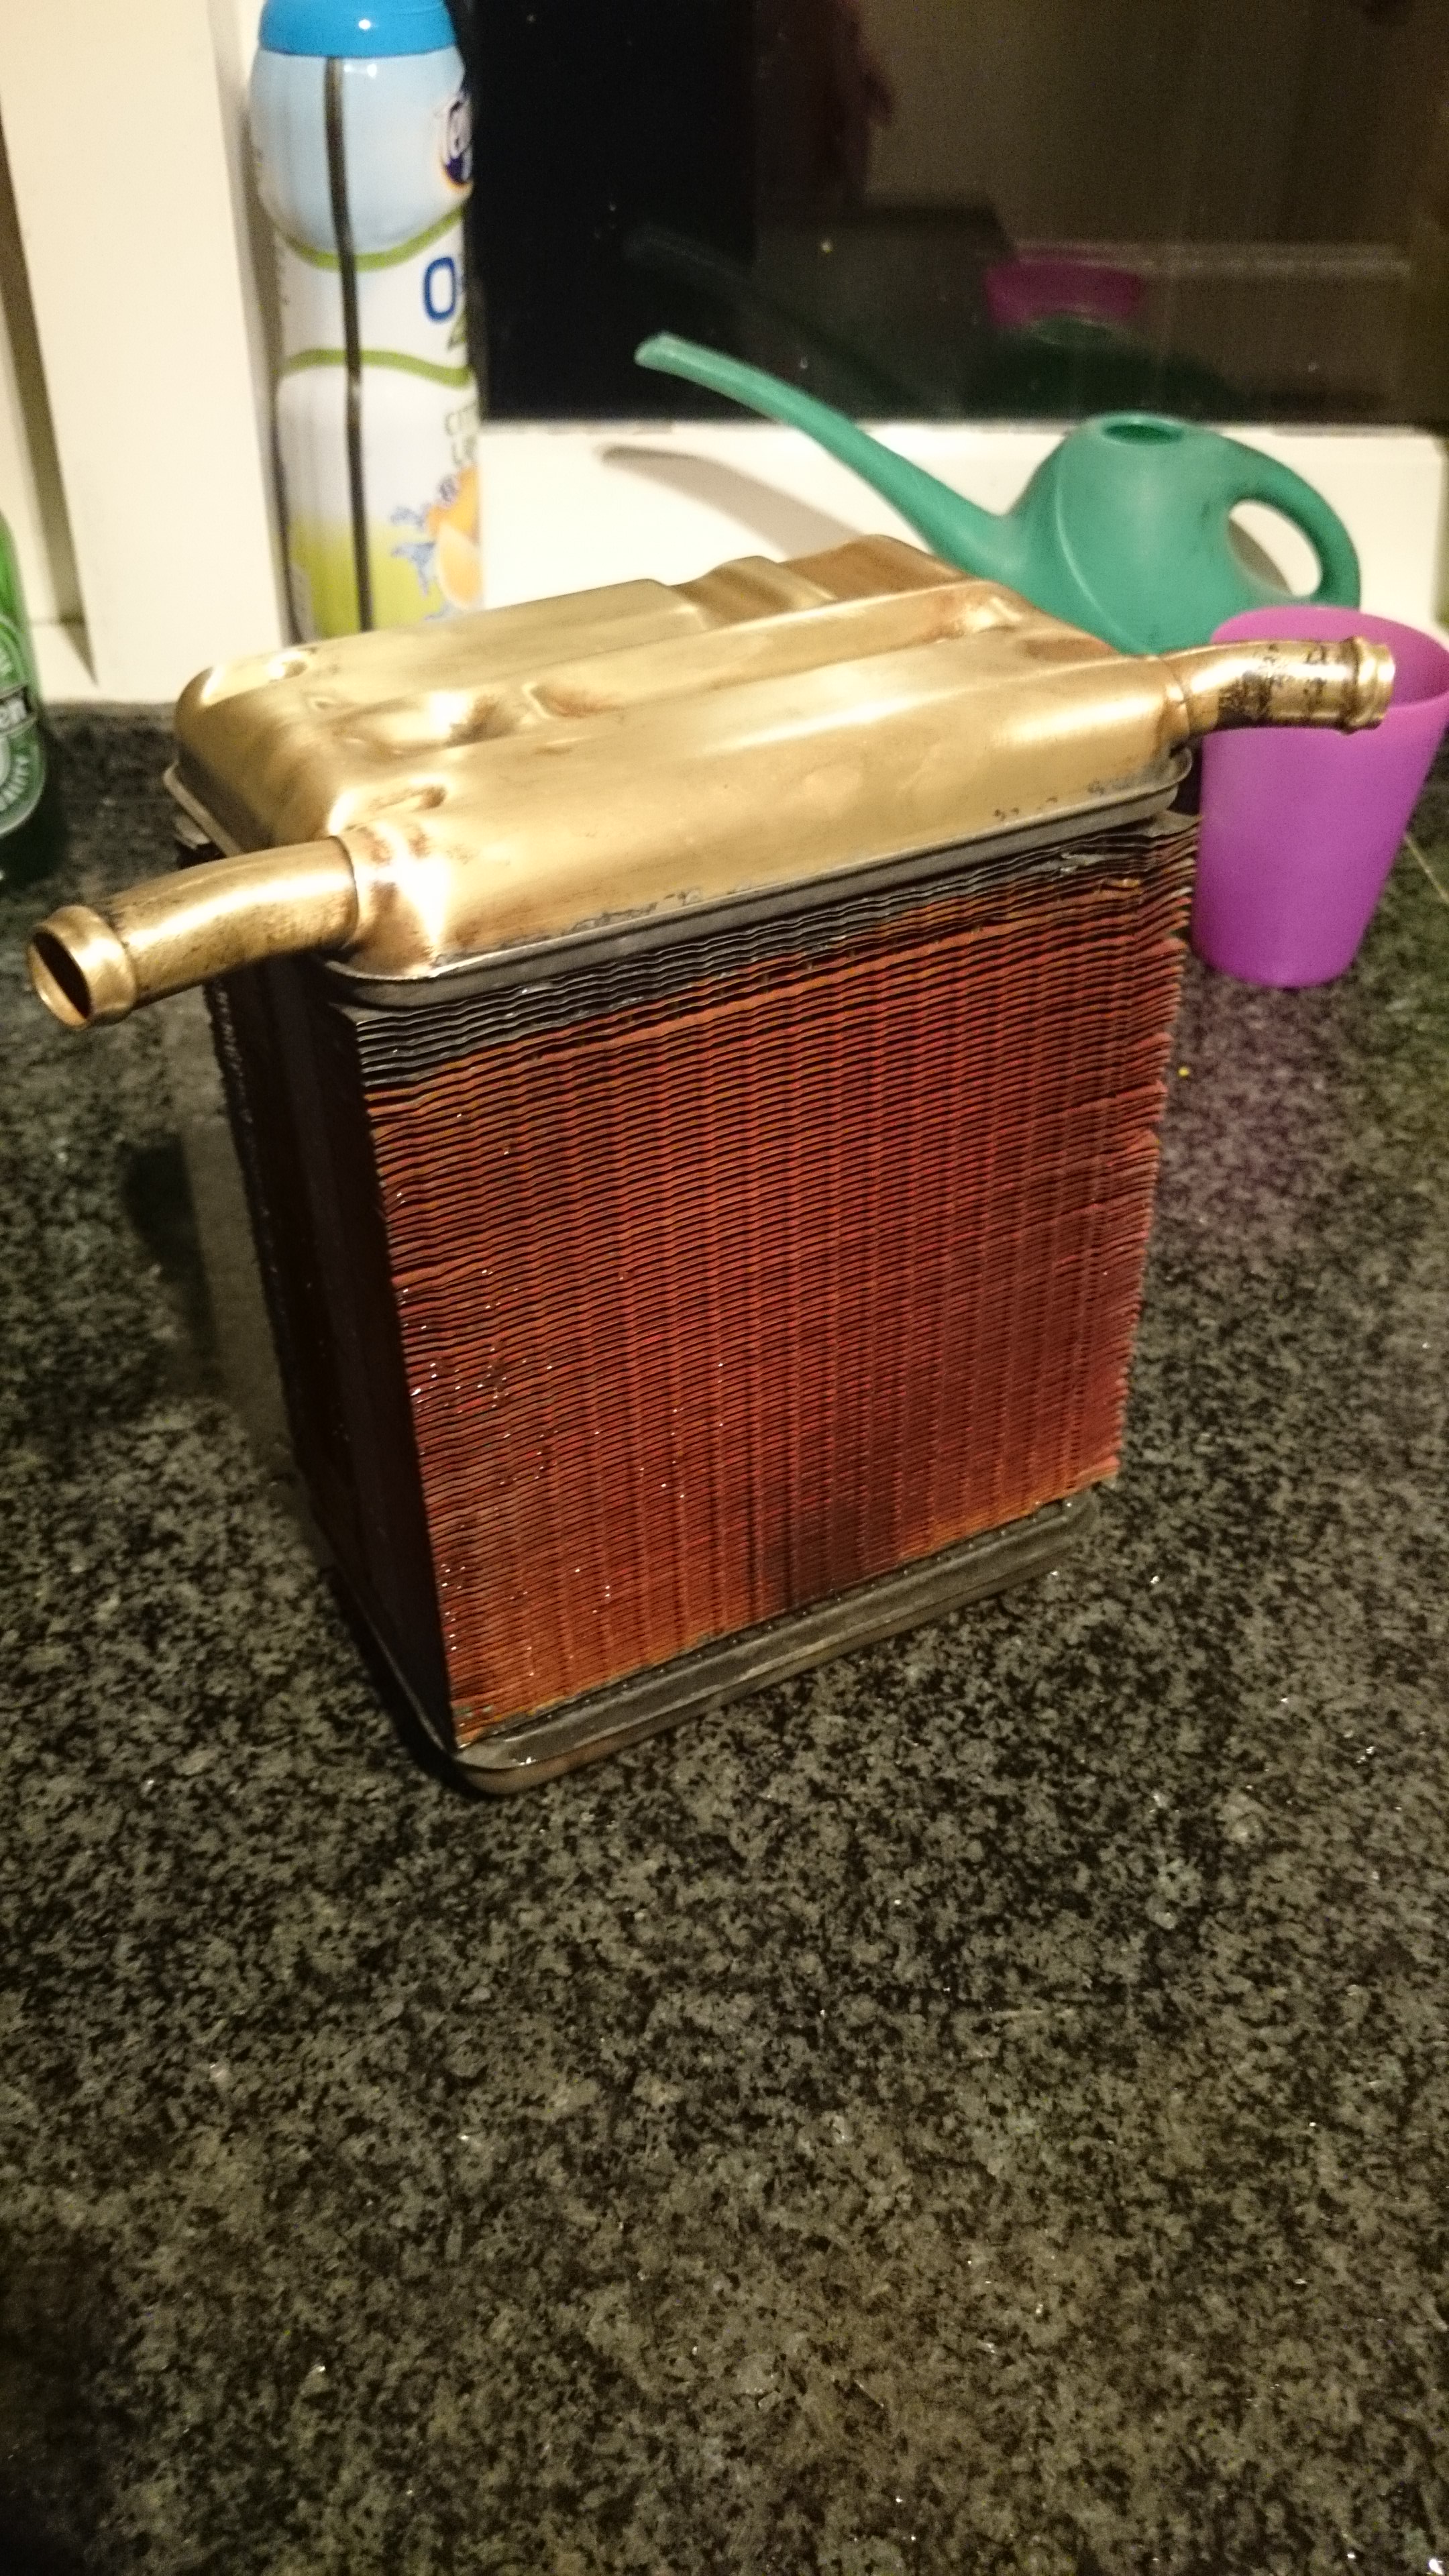
And after some polishing (still have to finish it)
Also all the bolts, nuts and brackets are re-plated. I made pictures of all assemblies previously so now sorting it all.


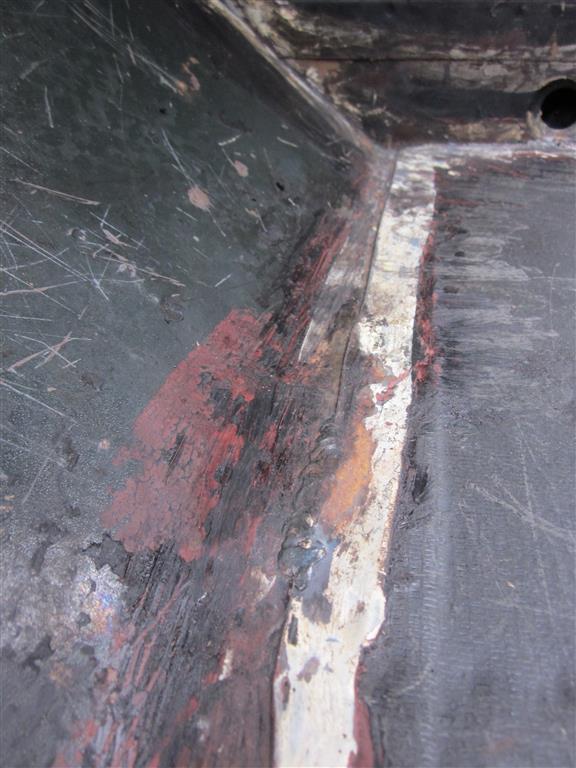
I’m finished with scraping of the seam sealant. And at 2 or 3 places I found a little bit of rust behind the coating.
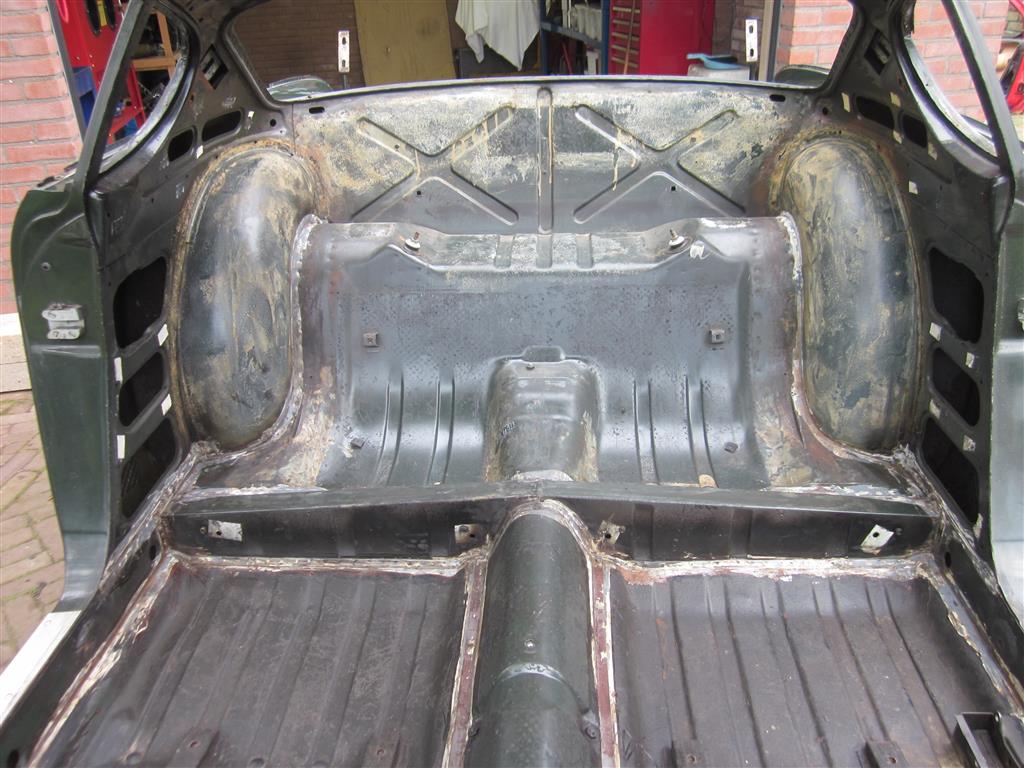
With a small blowtorch and a lot of patience, I got it almost all removed from the interior (trunk, engine bay and interior). I hope it’s good enough for the sand blasting guys. Next is the lower side of the body. The lower side is really going to be alot of work. When the car is painted again I’m not going to use Tectyl again, I want to use something like Dinitrol. This because dinitrol is transparent and this way you can see if there are rusty spots forming over time. With Tectyl you cannot see this. I guess Dinitrol is not as tough as Tectyl, so it provides less protection, but at least you can still see the metal.

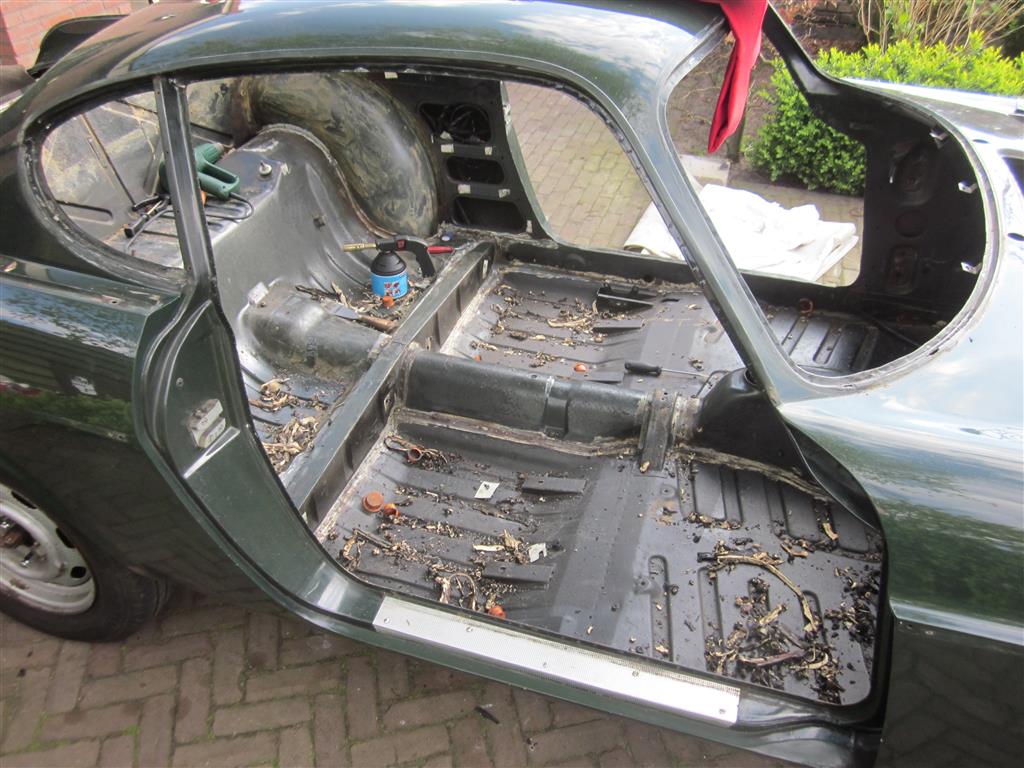
Cleaned up the inside.
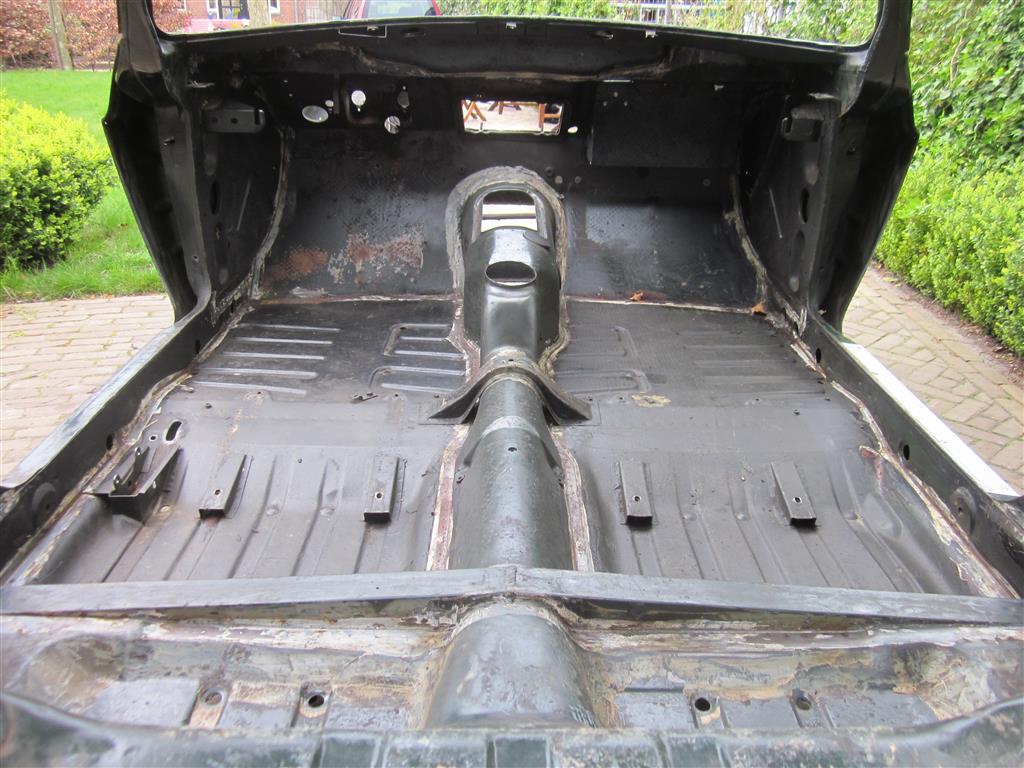
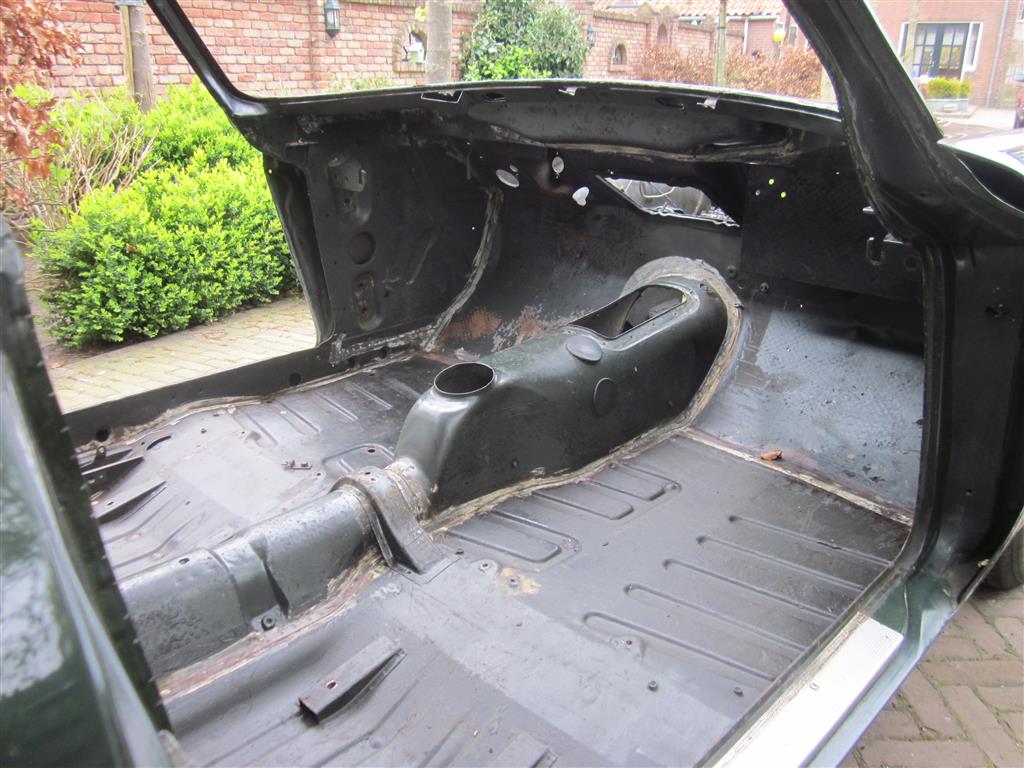
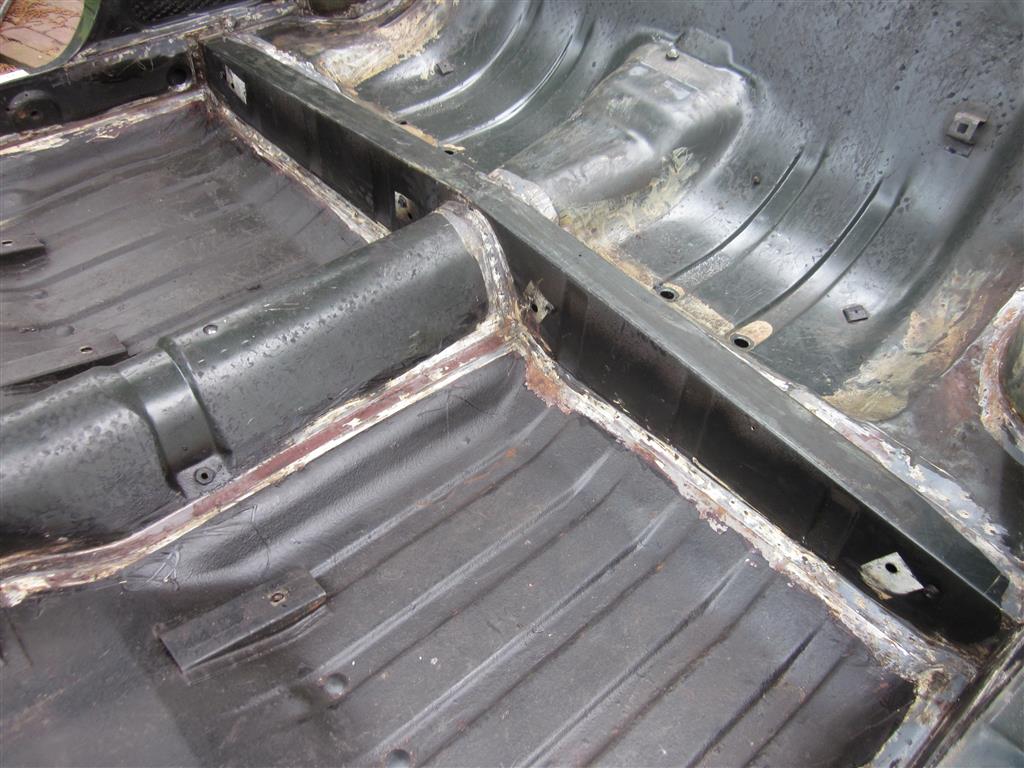
A strange weld at the front. I guess I’m gonna find some more repairs at the lower side of the car, but it would be strange if I wouldn’t find any repairs on a 47 year old car.
I’m getting to know the car inside and out.
In the process of disassembling the car I found that this 1800S has multiple ID tags, but i’m not sure what they all mean.
VIN number in the RH aft side (ALF = aft looking forward) of the engine bay:
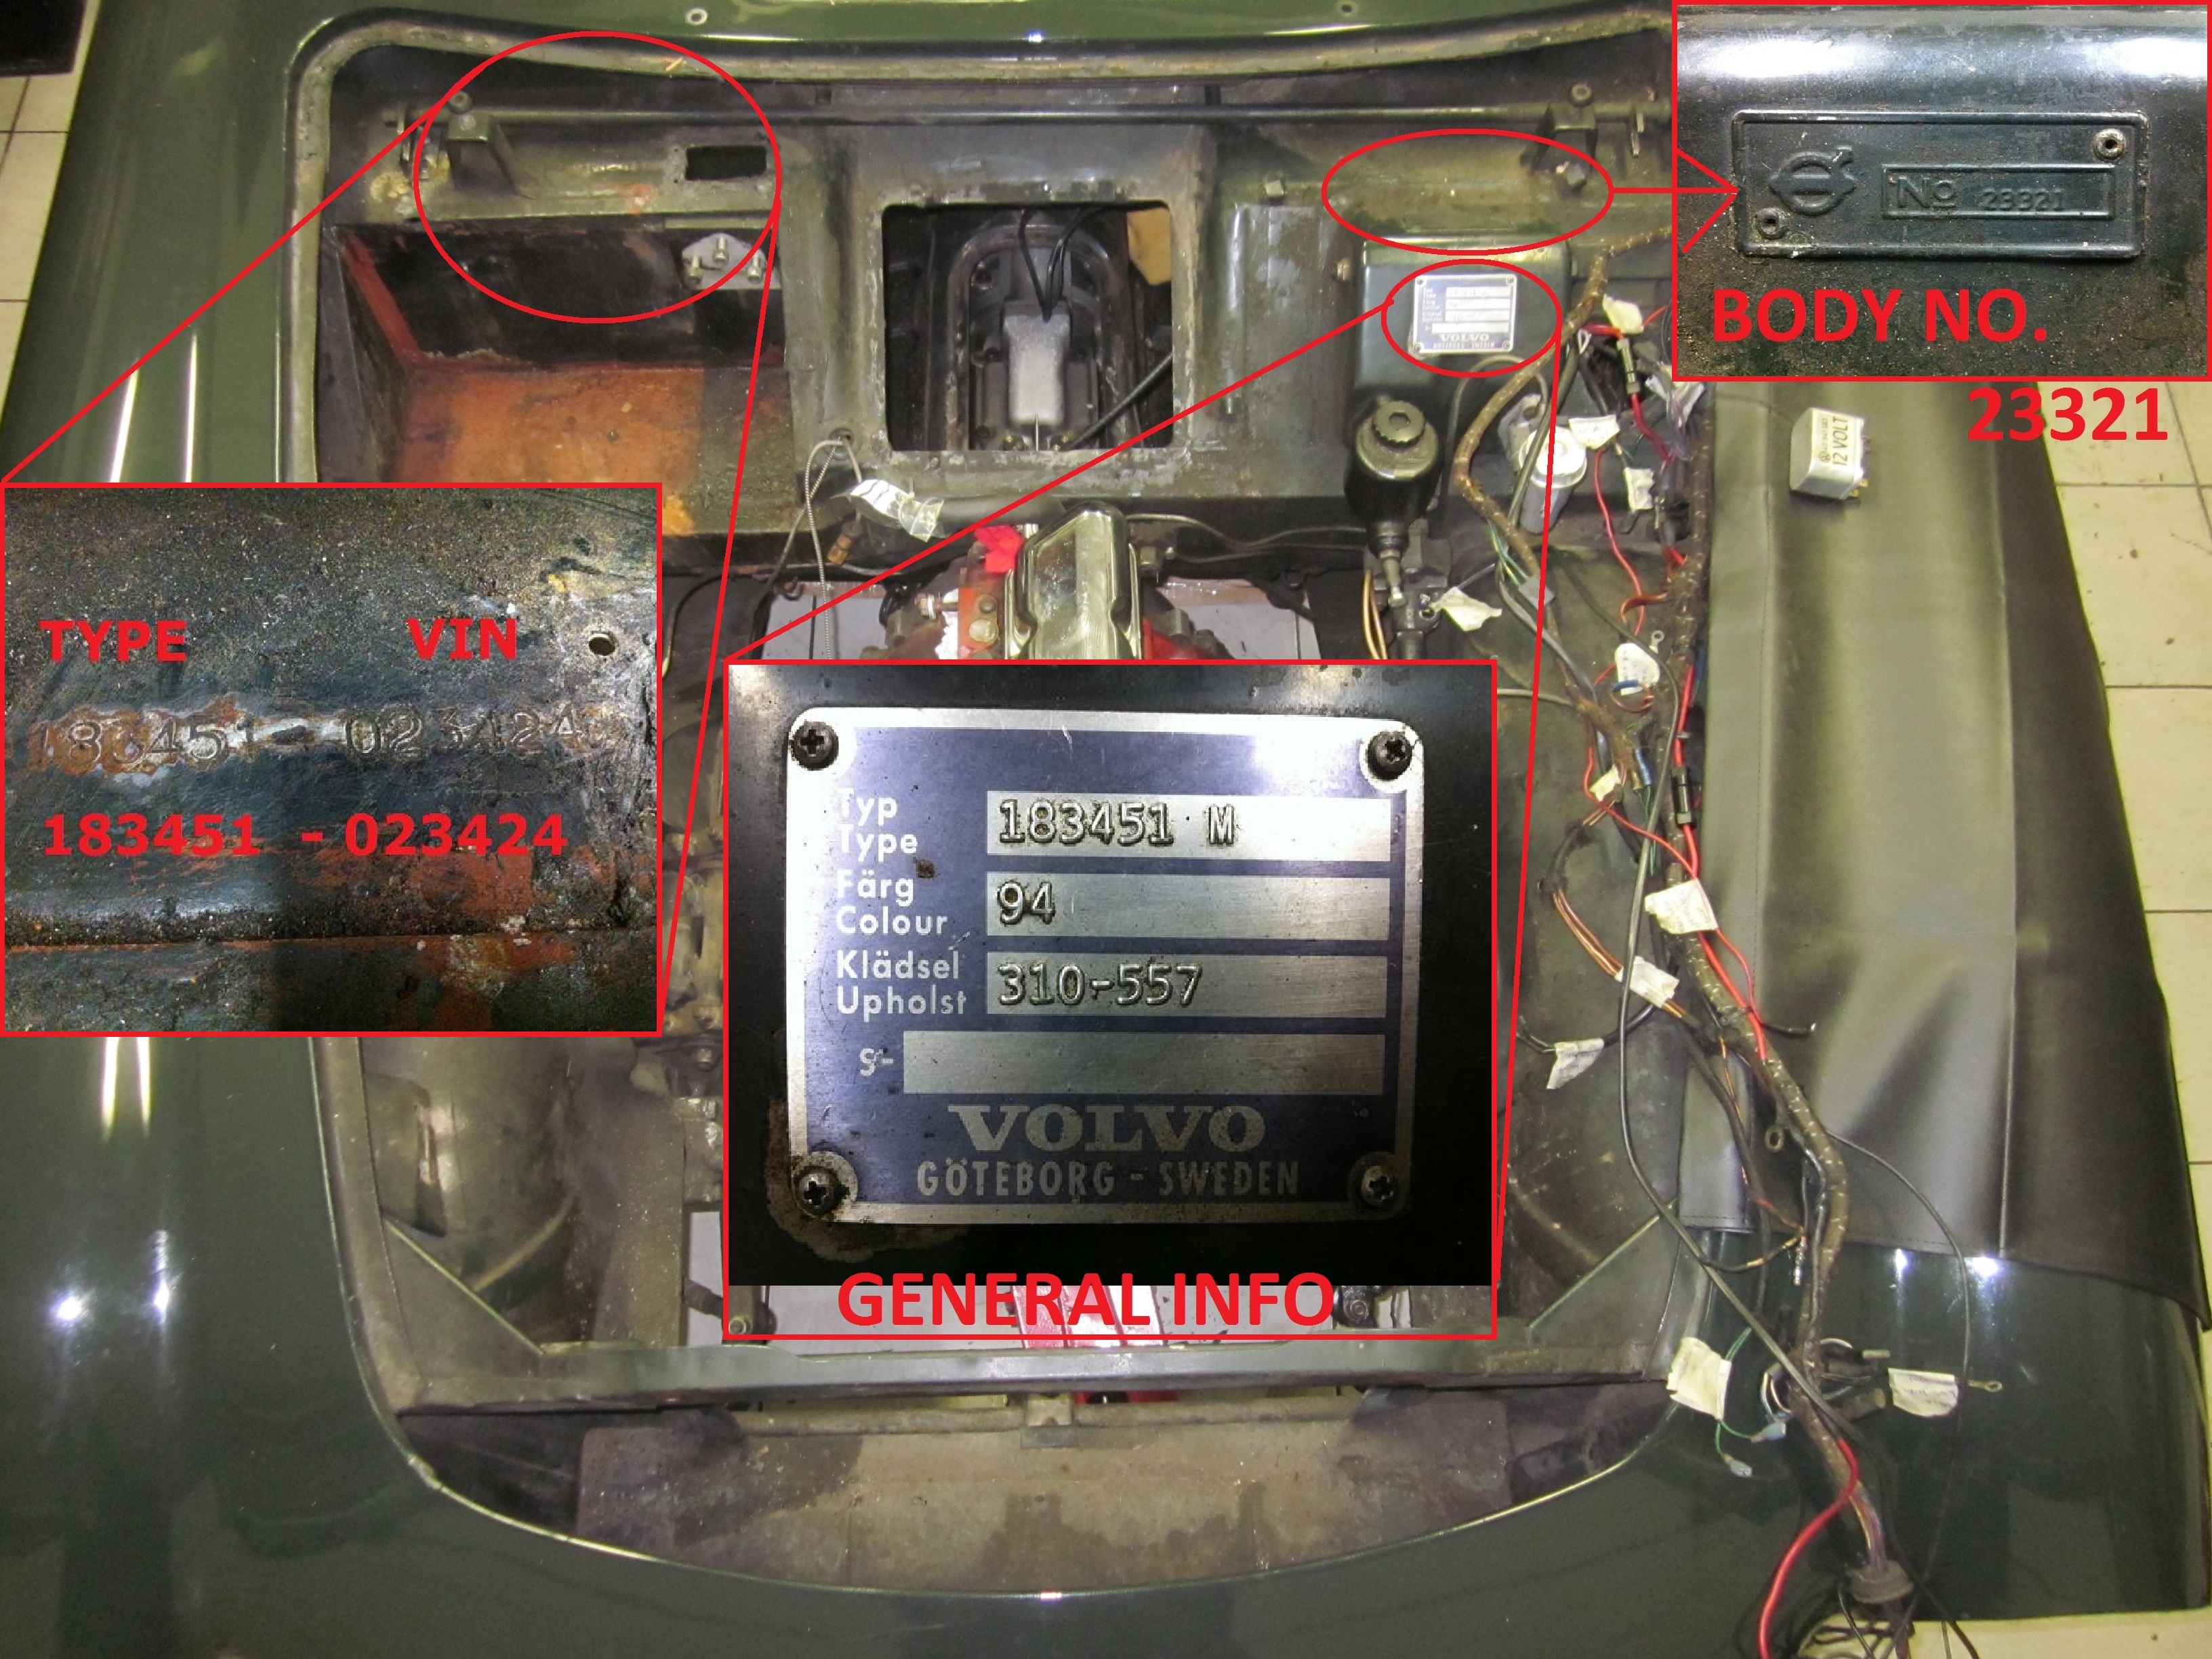

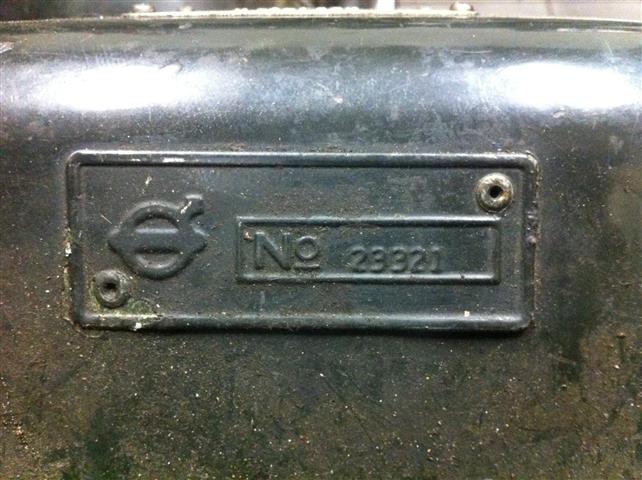
This is the body number. Apparently, this is a manufacture sequence number to help construction of vehicle. Other parts on the car may also have this number written or stamped on the vehicle. But I’m not sure what this means in a practical way. It’s stamped on a plate which is fitted in the LH aft side of the engine bay (see first picture). I’ts almost the same as the VIN number.
ID tag in the LH aft side of the engine bay with info about type, colour and upholstery (colour of seats, carpet etc.).

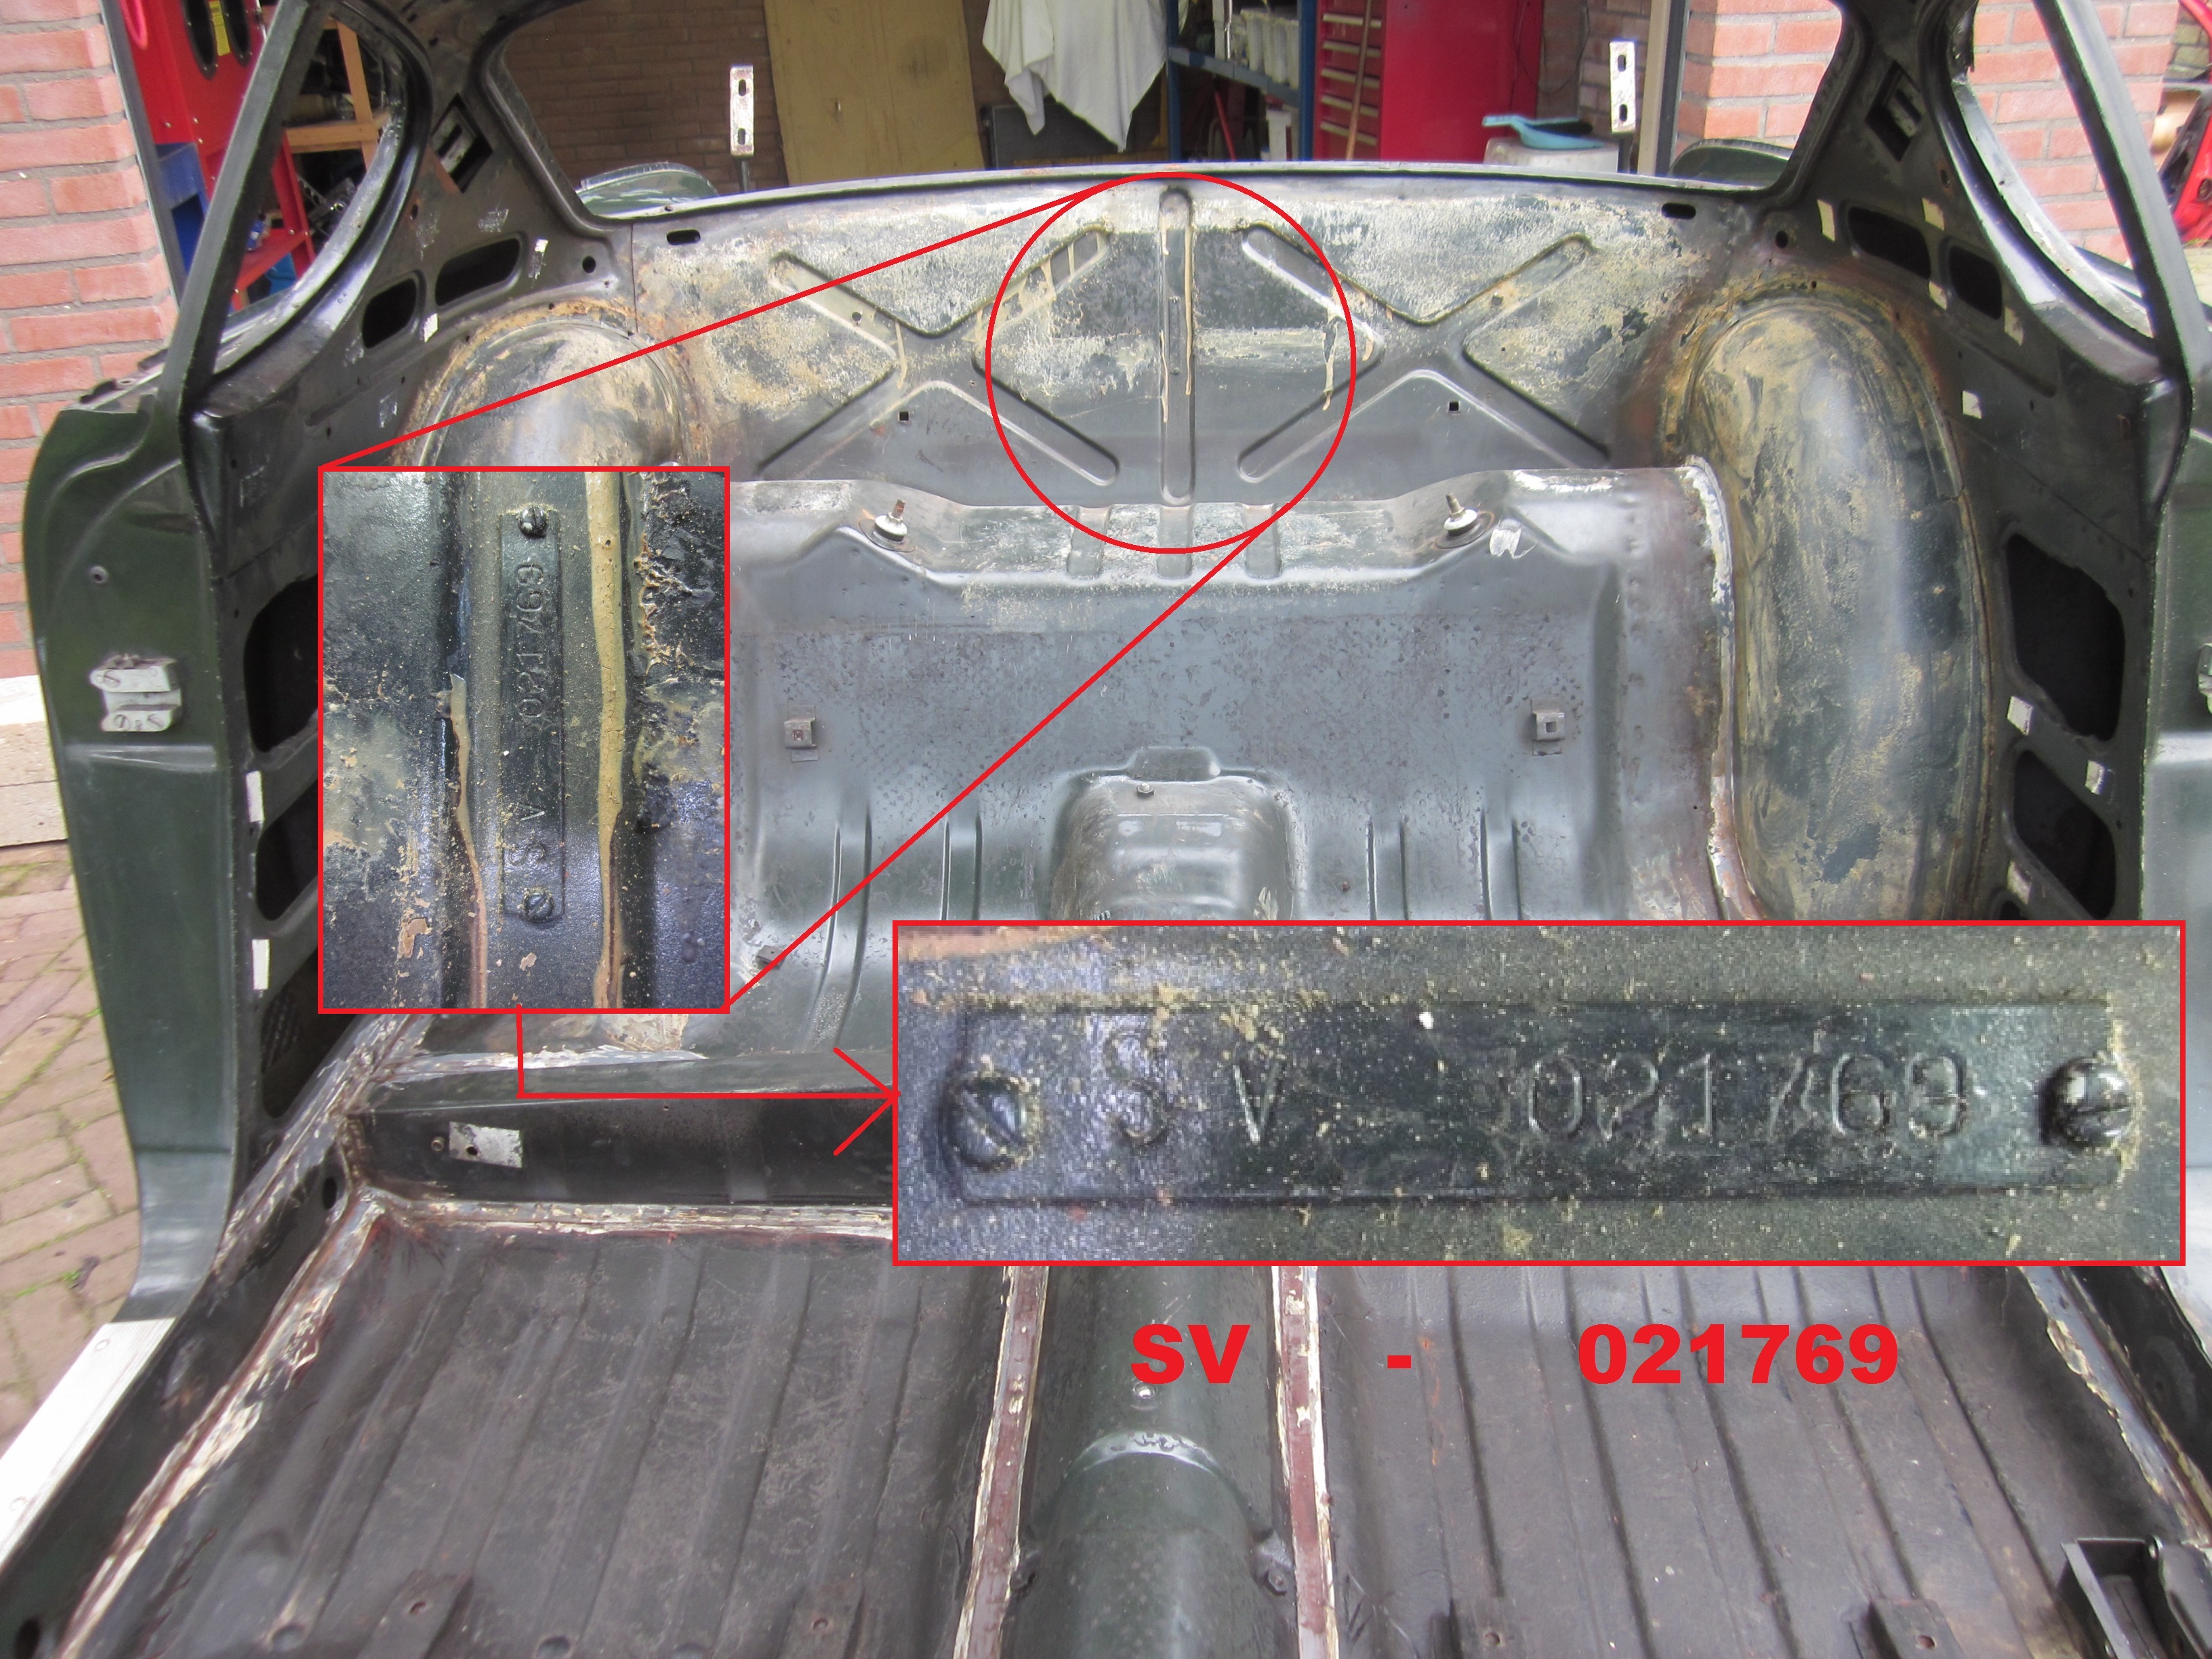
I also found this tag which is fitted behind the backseat, but I have no idea what the number, SV021769, means. Again in kind of looks like a VIN number, but I have no idea what the relation with this number to the actual VIN number of the car would be. It’s also not mentioned in the image with the ID tags below.
I had sent an email to Volvo Sweden to check if they had more info about my car, and today I got a reaction:
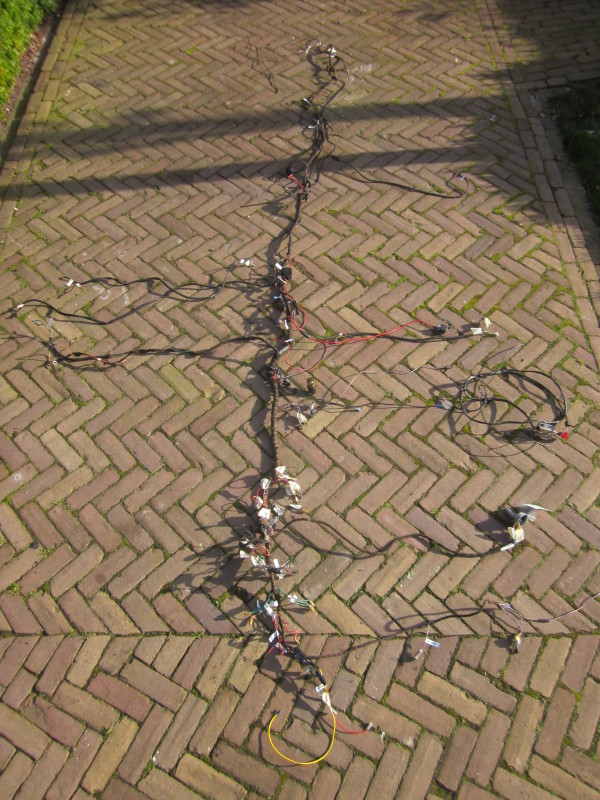
I removed the wire loom from the car and it is completely labeled now. Now I have to search for the correct wires, connectors etc etc. I’ve also removed some of the last parts so the car is almost completely empty now.

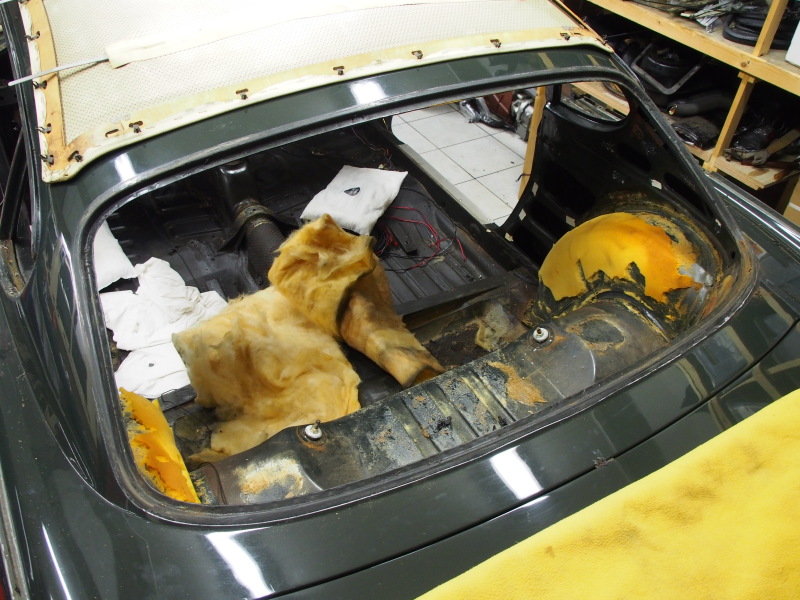
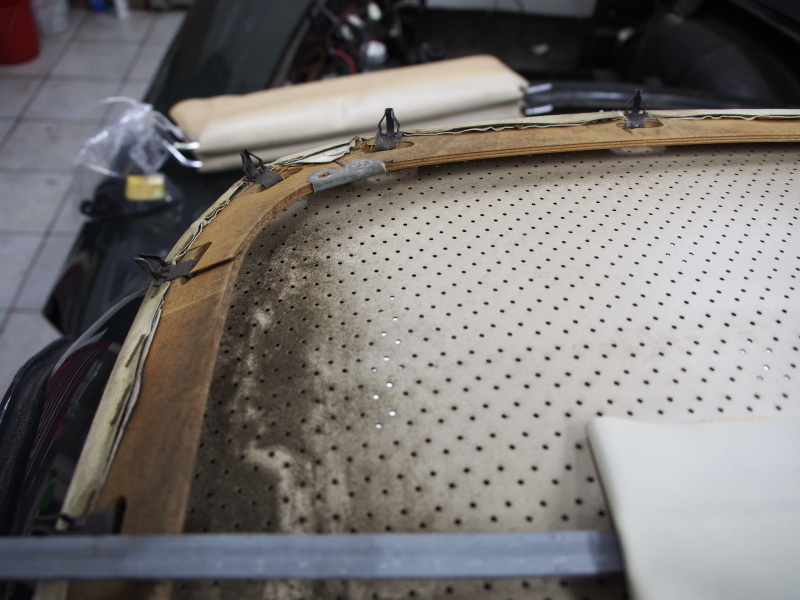
First removed the windscreens and then the headliner. The liner I removed with the help of my brother, this was quite the painstaking job, as the ceiling will damage very easy. The wood all around is 47 years old and consists of 2 layers of glued together fine wood, this because it has to be flexible to fit in the curves of the roof. This glue has deteriorated after 47 years of service and can easily let go when the frame is forced into too sharp bends.
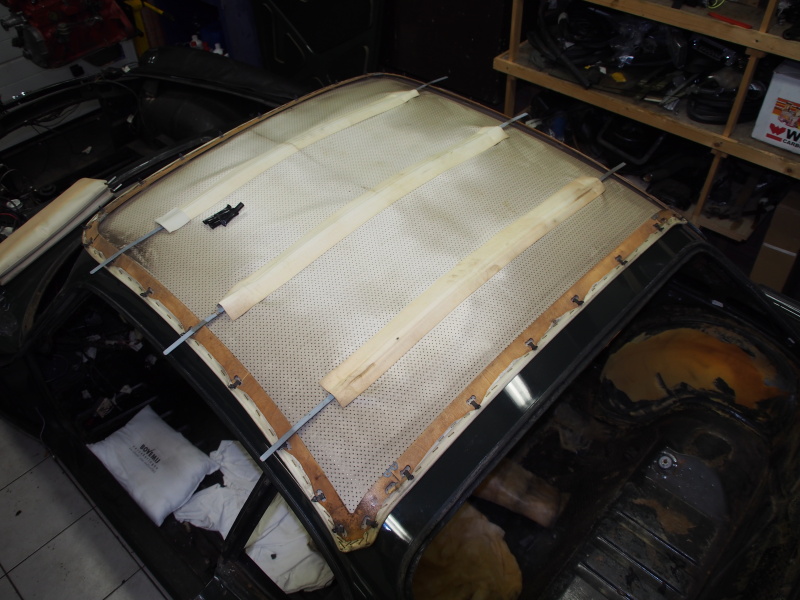
Luckily we removed it almost completely intact. The ceiling does need some attention. Maybe treat the wood with some sort of wood-dye and paint the ceiling? I still have to find out how to do this. Again, luckily there is lots of info to be found on the web about this.
The windscreens where also an easy job. We found some more small rusty spots hiding behind the windscreen rubbers. Again a good indication that this is the right time to take on this job. Next time I will make a summary of the visible rusty spots.
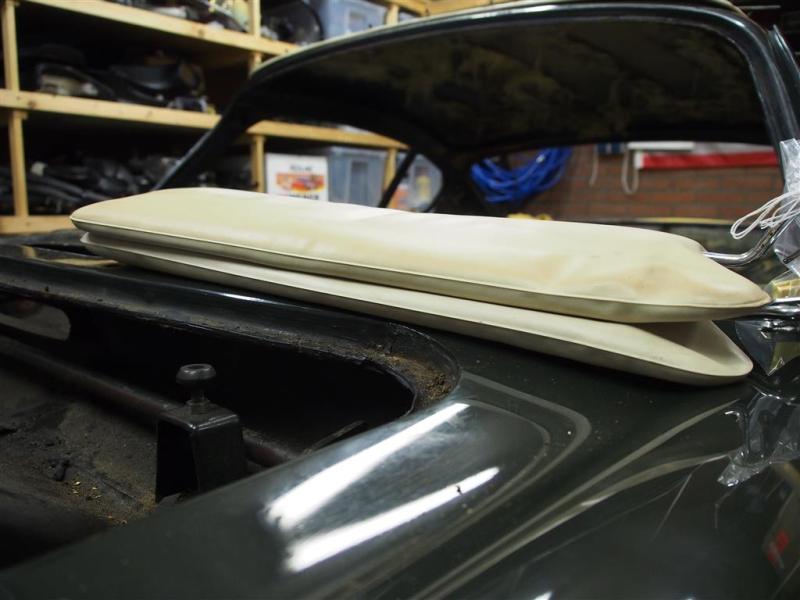
The sunshades are also worn. I read some articles about how to restore them. Apparently you can cut them open and fill them with some sort of foam wich will harden up. This way you can give the sunshades their original form back again. Also see: http://volvo1800s.up2dateprojecten.nl/restauratie/zonnekleppen-ontroesten/
Here you can see a small damage, the wood has cracked a bit. Not a big problem I guess.


I removed the dash and labeled the wire loom, quite a job! The wire loom still has to be removed from the car, this is a bit difficult due to the small hole in the firewall through wich the loom has to be pulled. The wire loom is in a bit of a bad shape, I’ll have to see if I’m going to fix it or go the lazy and expensive path and buy a new one.
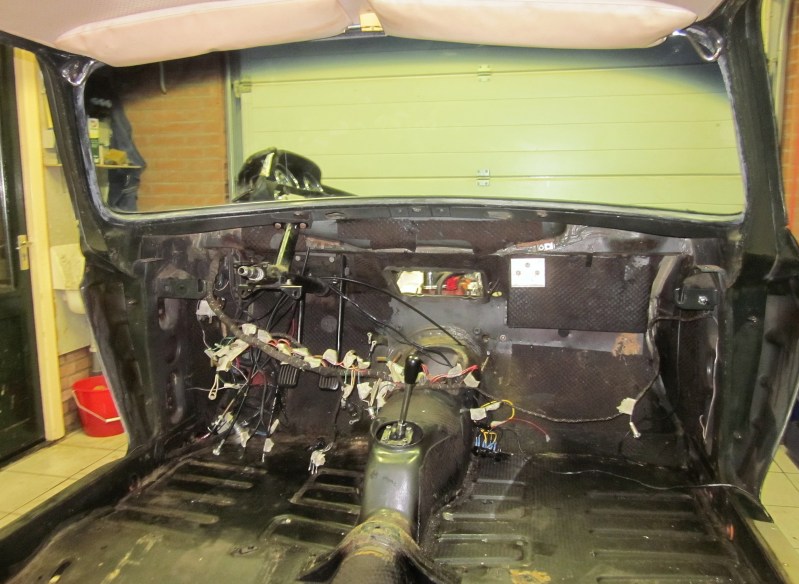
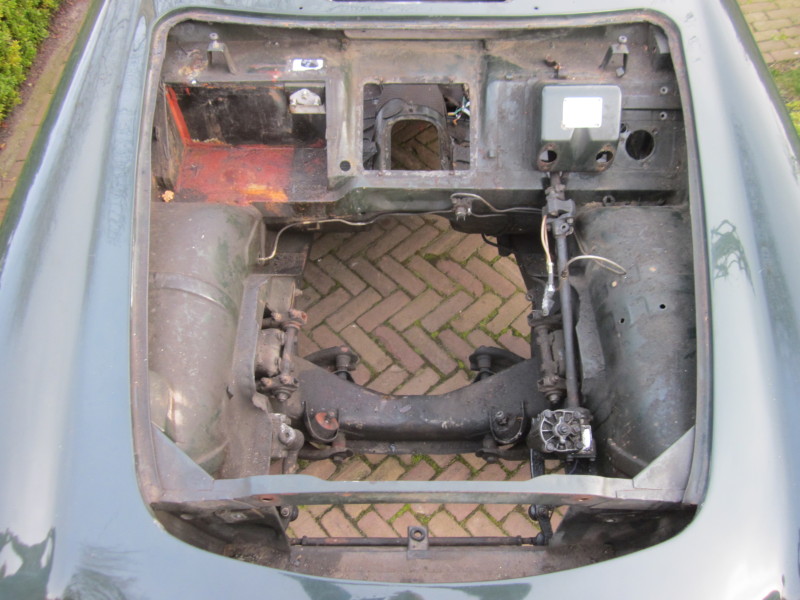
The removing more parts process is going pretty fast as it is a not very difficult job. The most important thing is to make pictures and label everything. Removing the engine will be easy with this much space in the engine bay. I also did some labeling of the main wire loom.


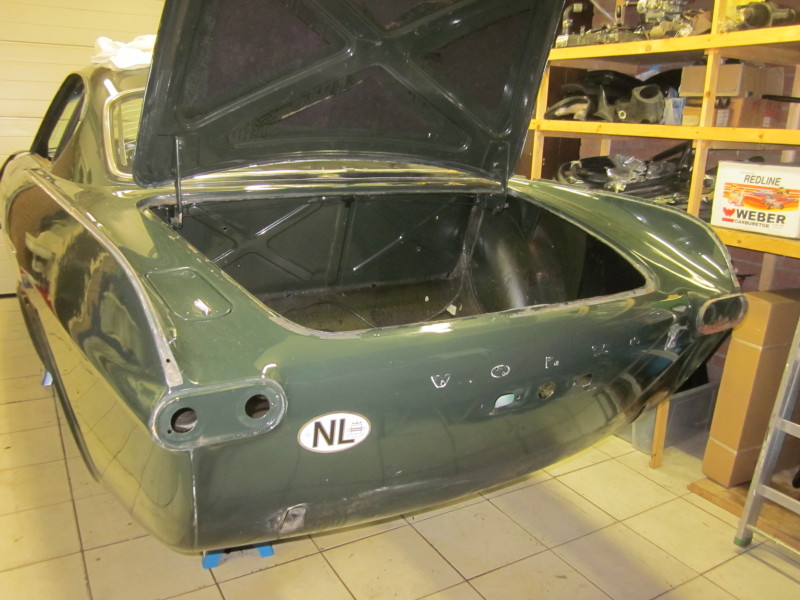
Removed the fuel tank. No rust to be found here.

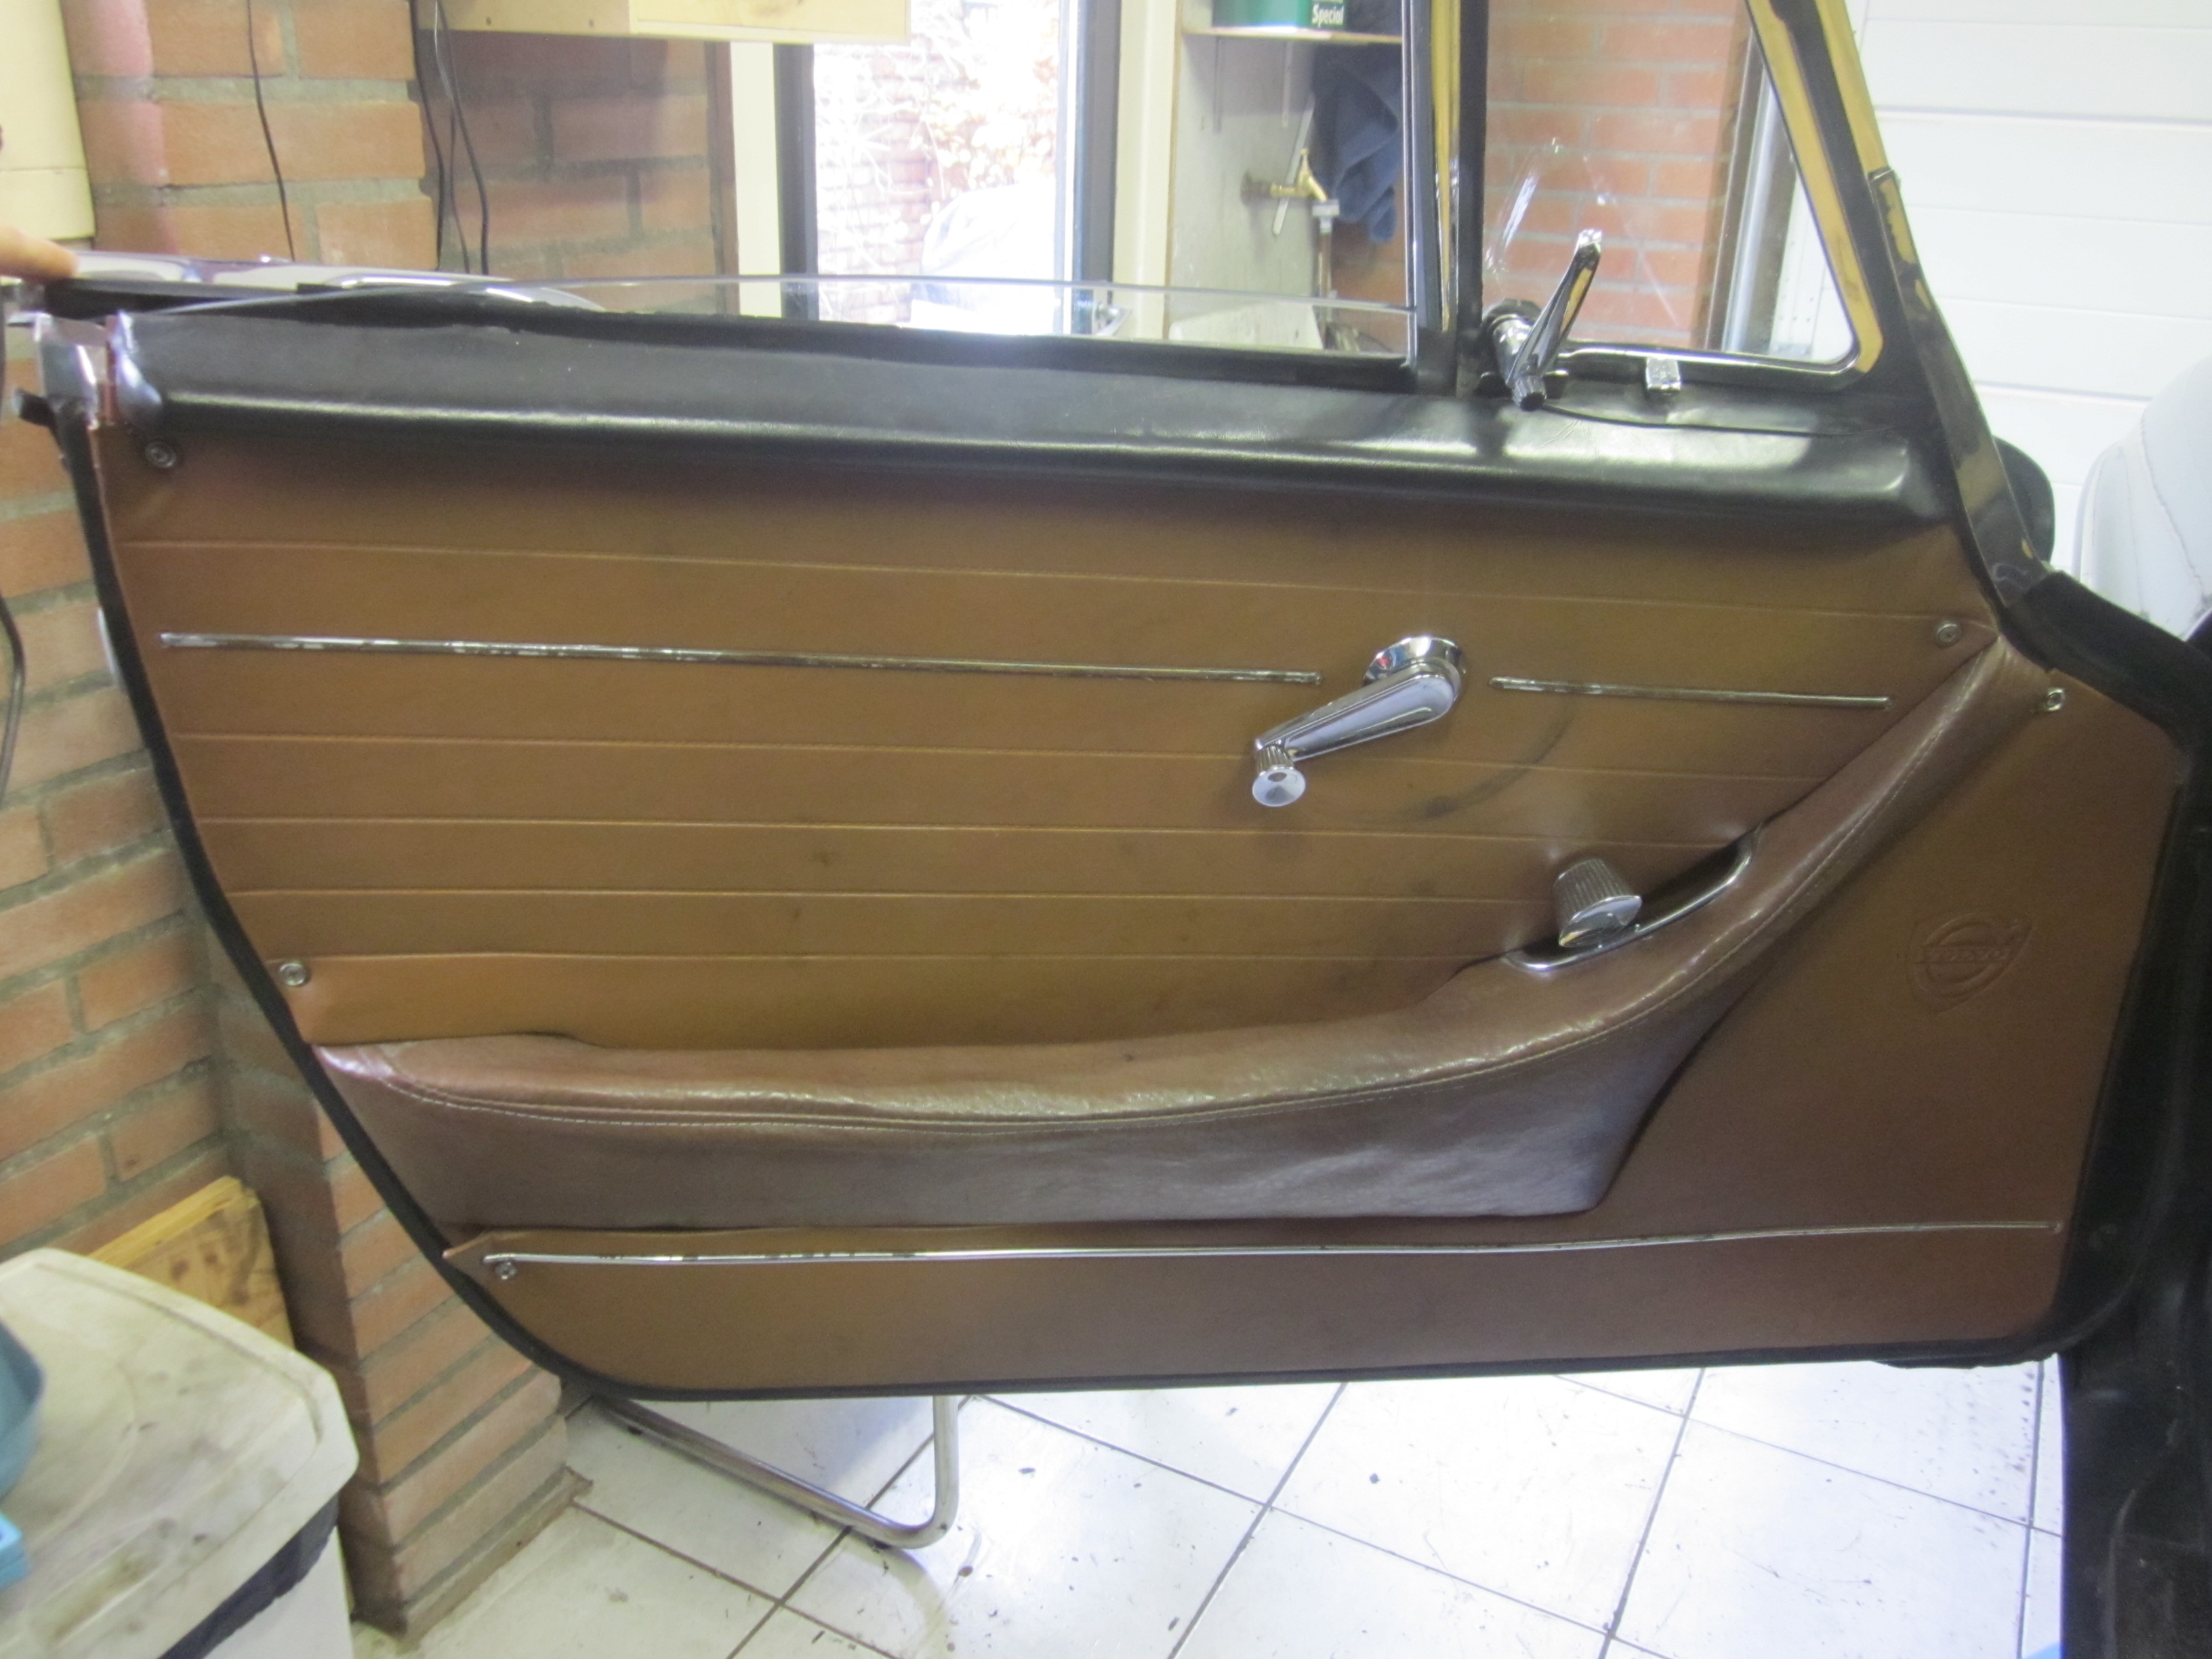
The doors are also stripped and removed. No rust to be found here.

Due to a tip on http://www.volvokv.nl I read that the shock towers of the front suspension are prone to cracking with higher mileages. I found that this car has allready been repaired, some welds are visible along with an extra reinforced piece of metal on top of the towers. Thats a good thing.

