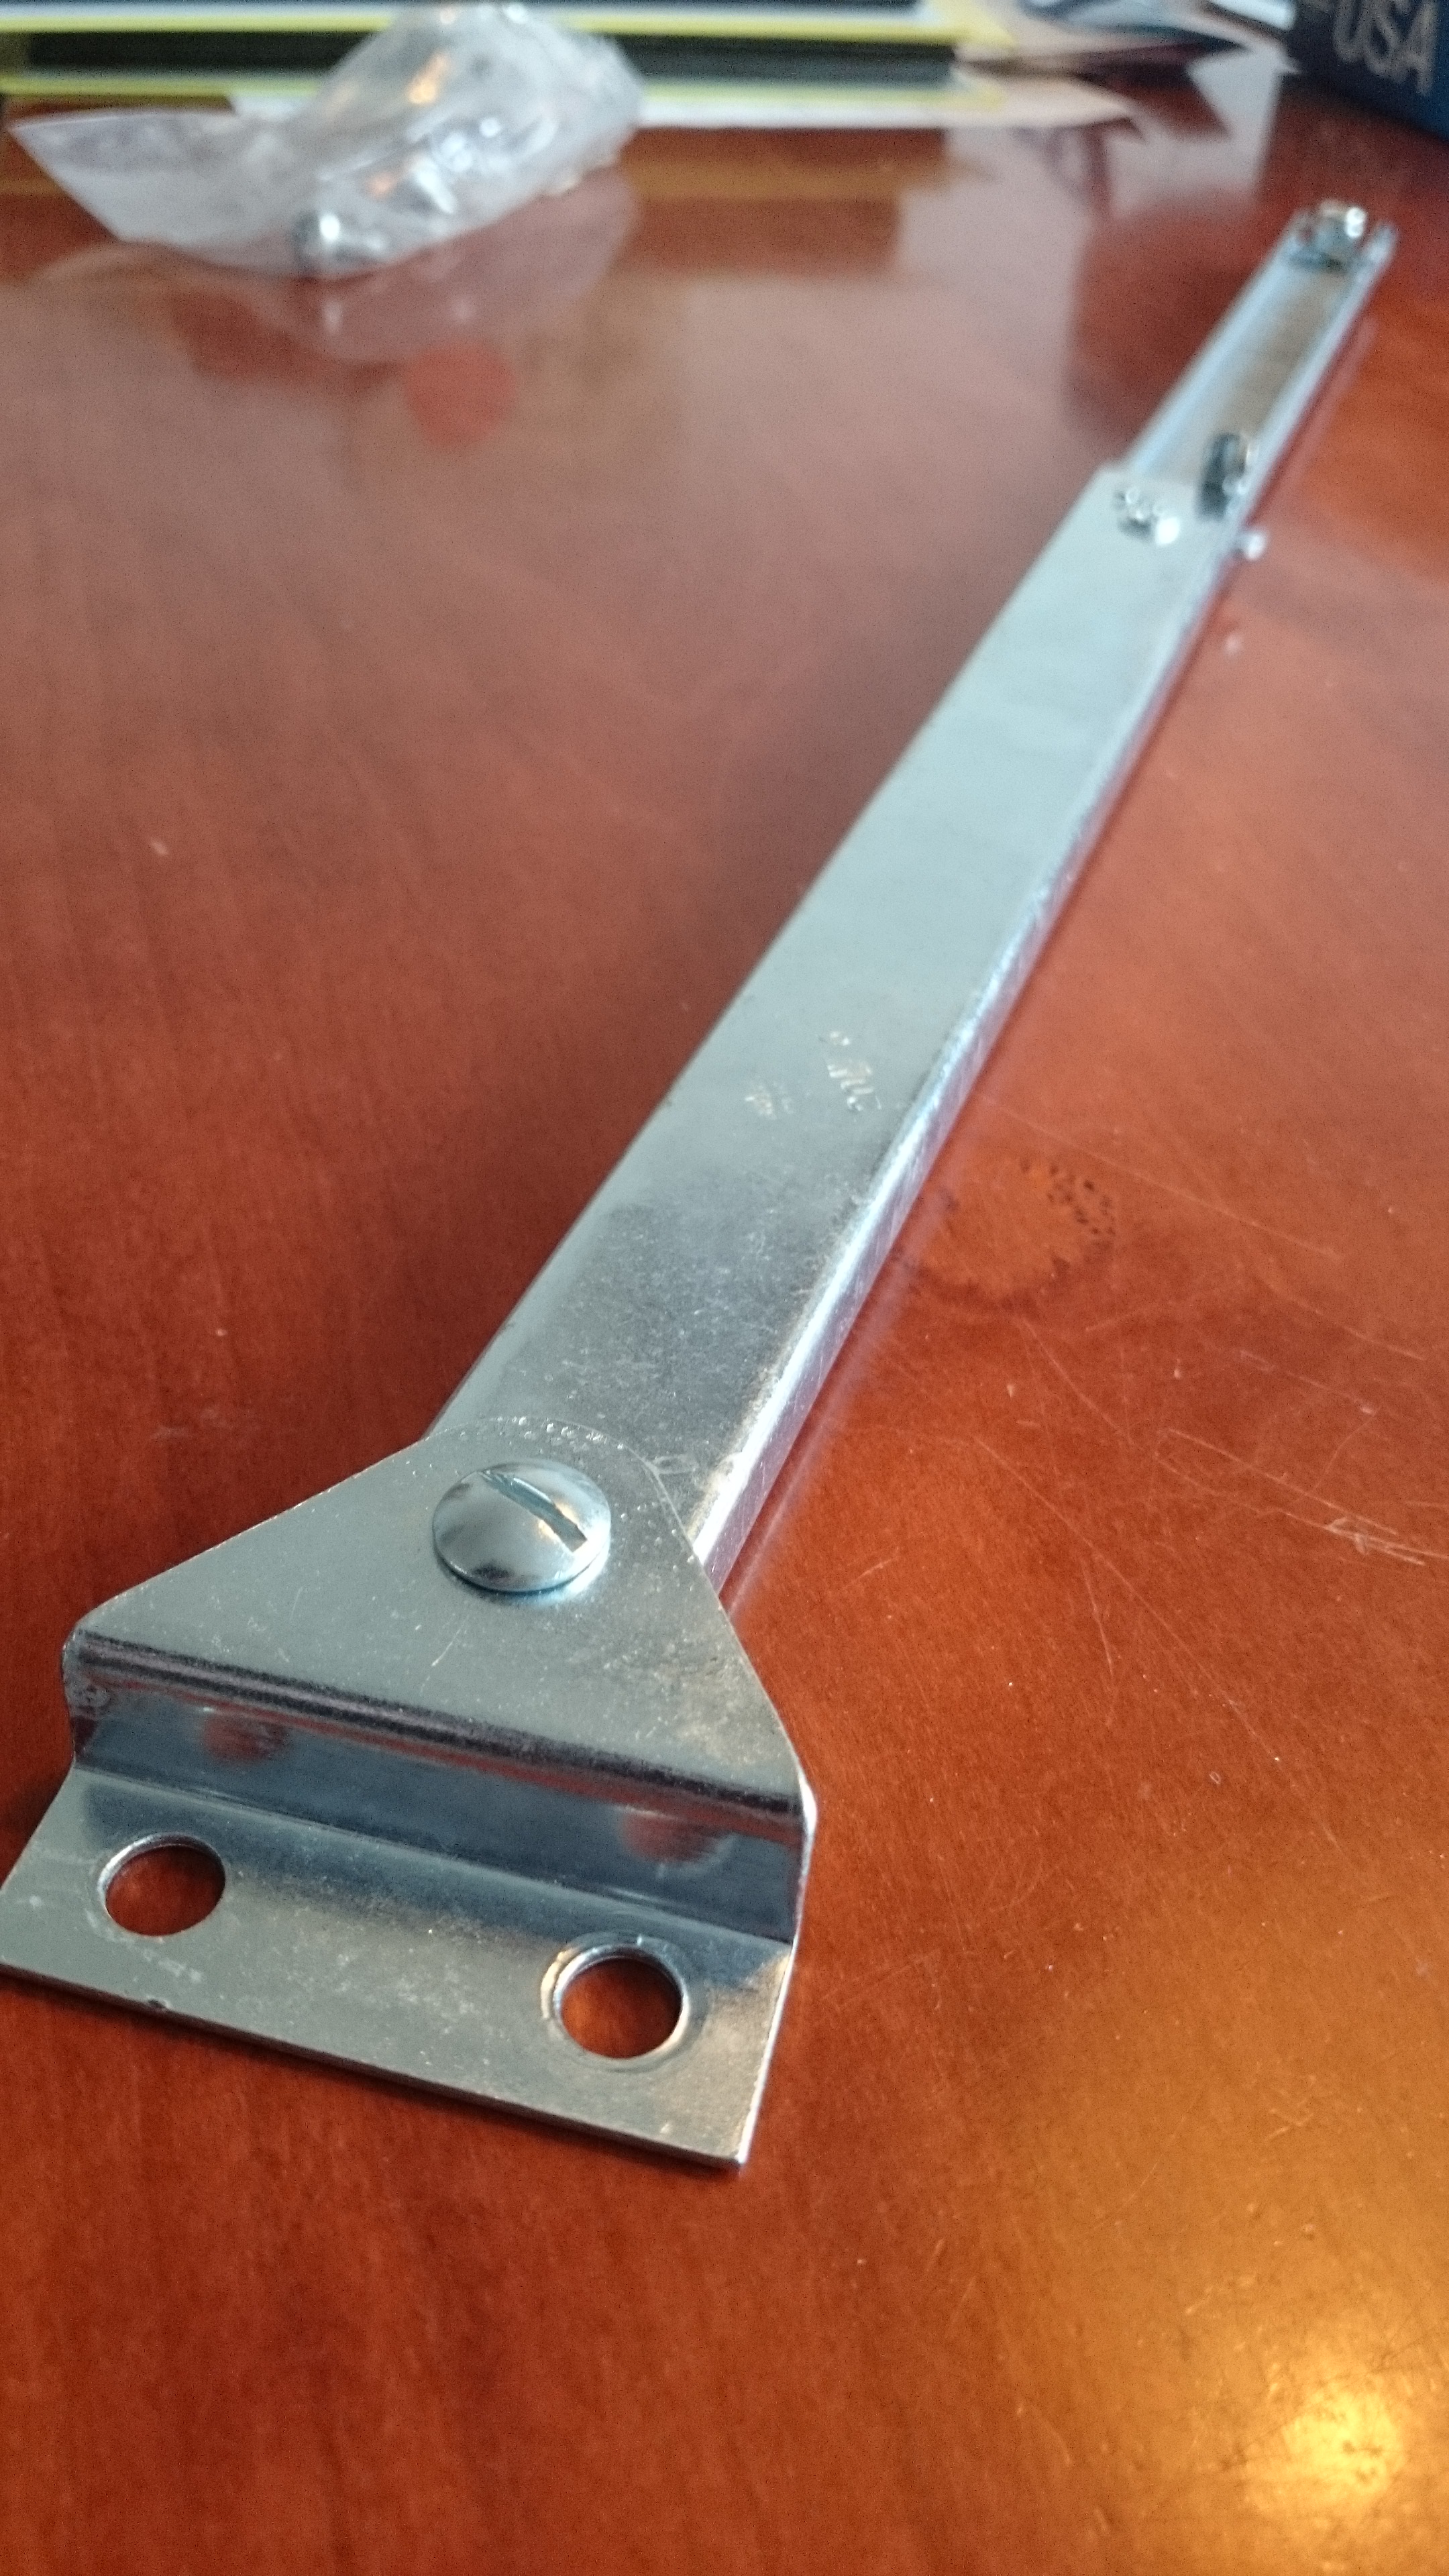
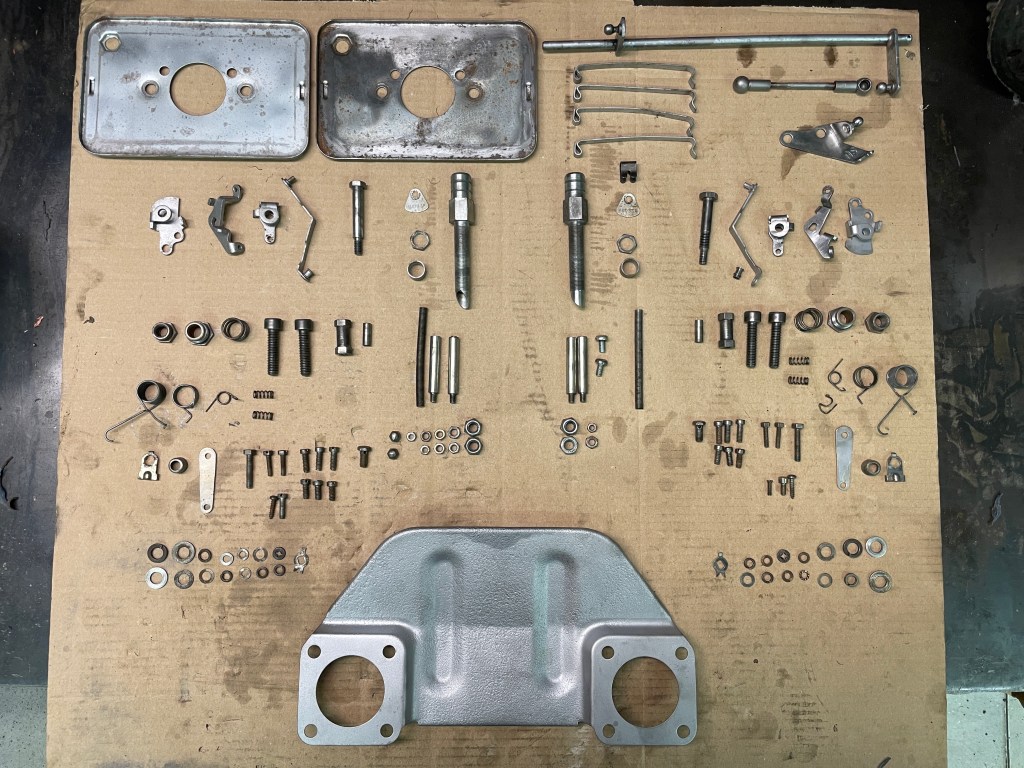
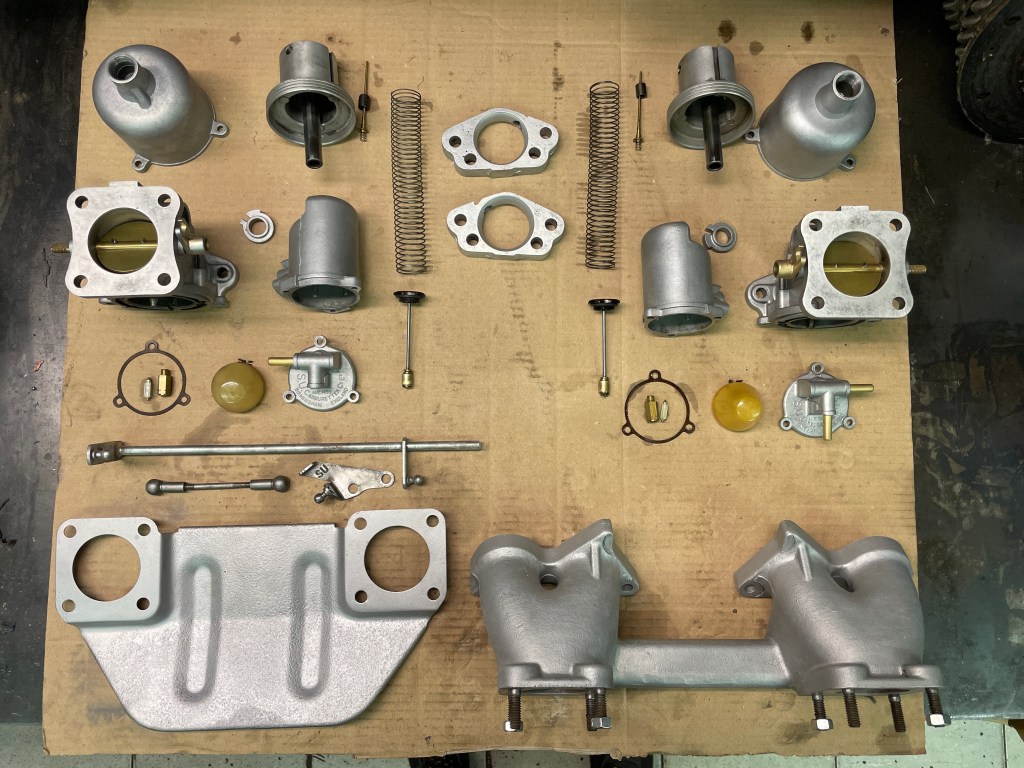
Parts zinc plated, gears and linkages lubricated and tested.
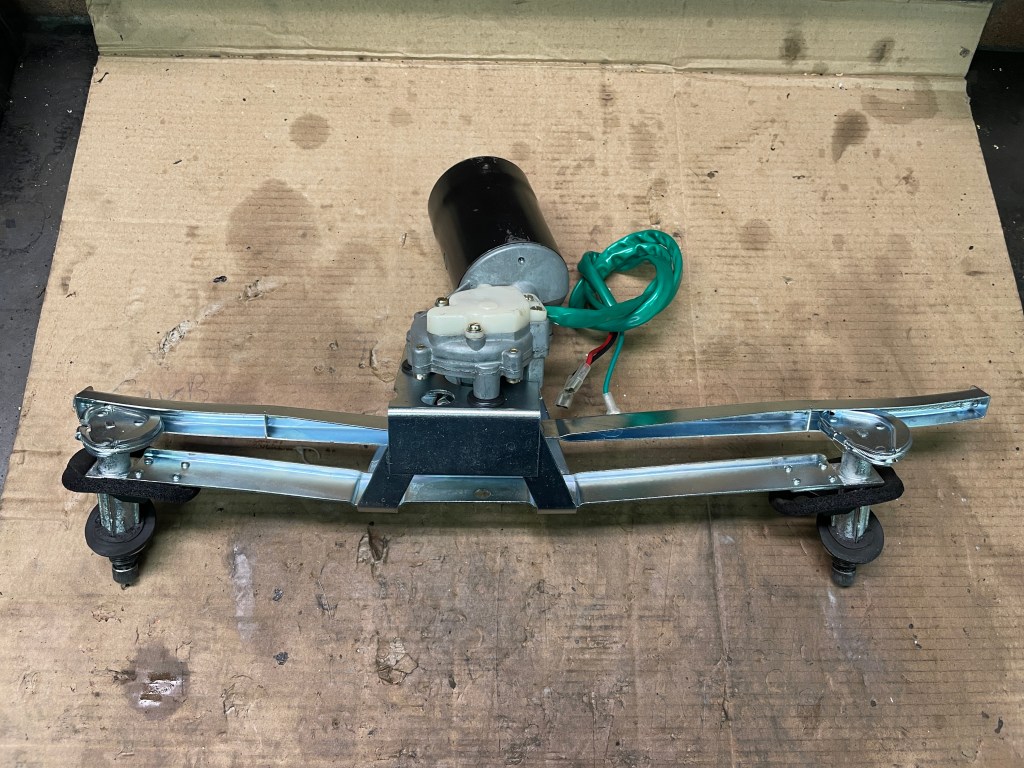
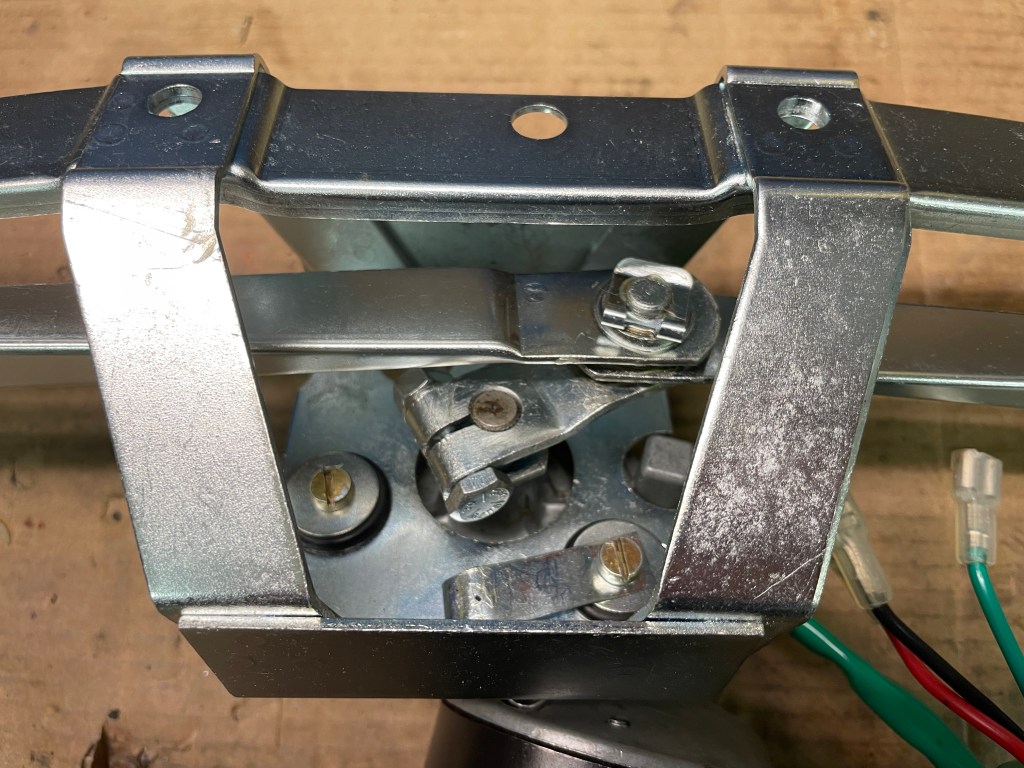
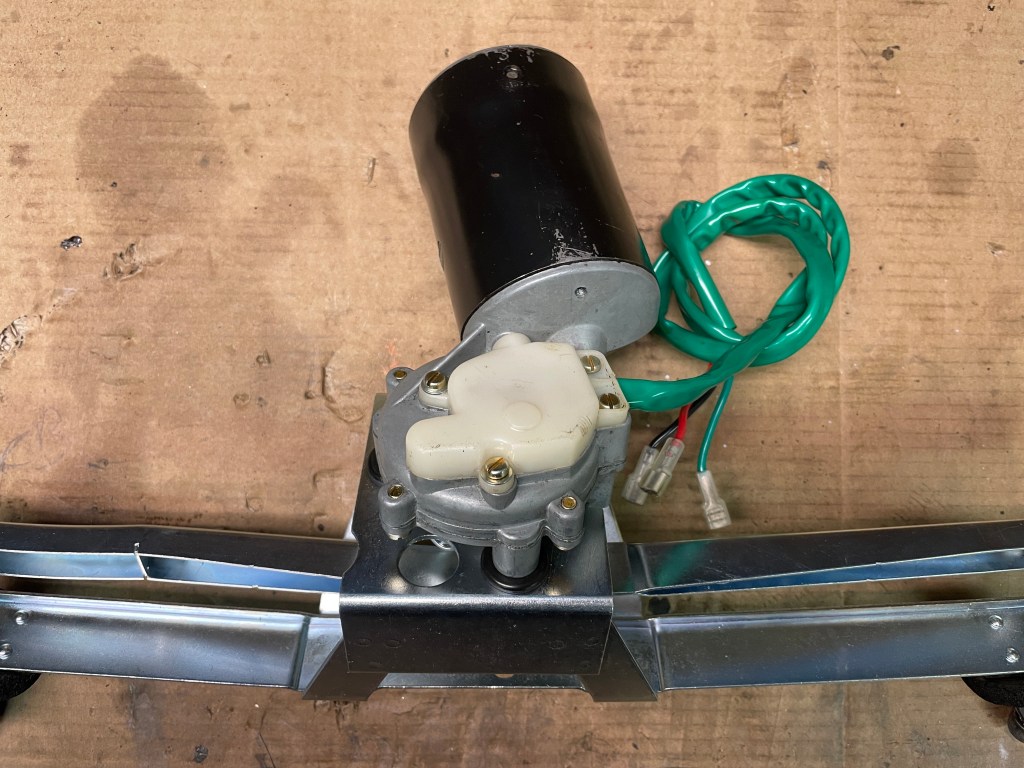
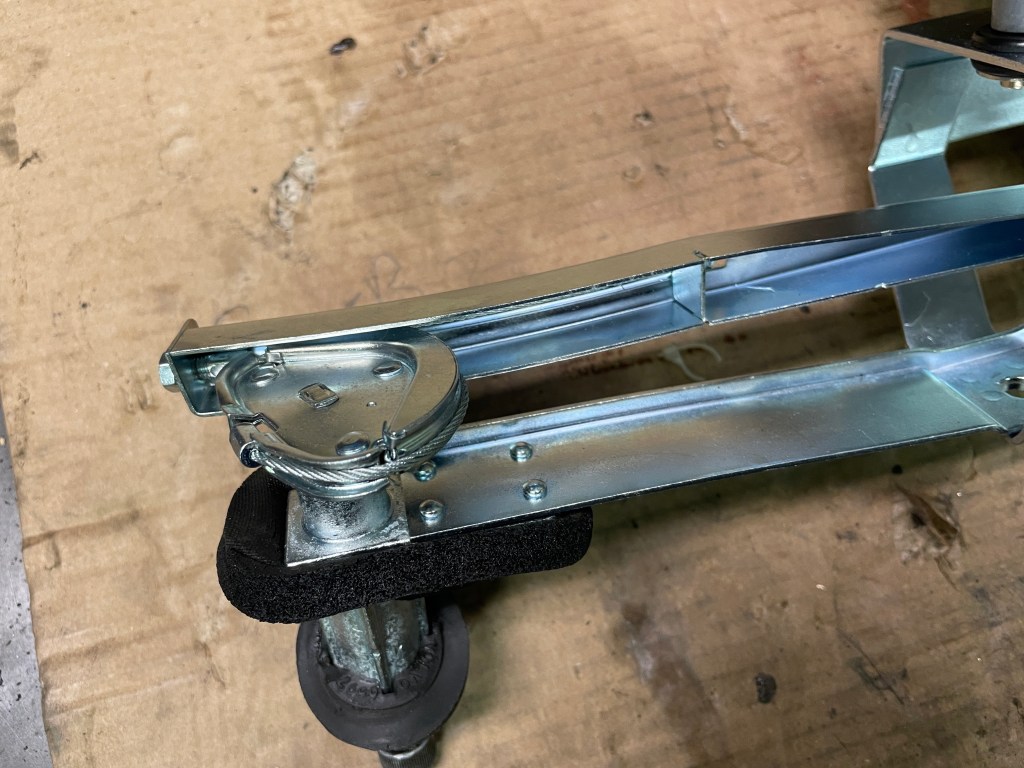
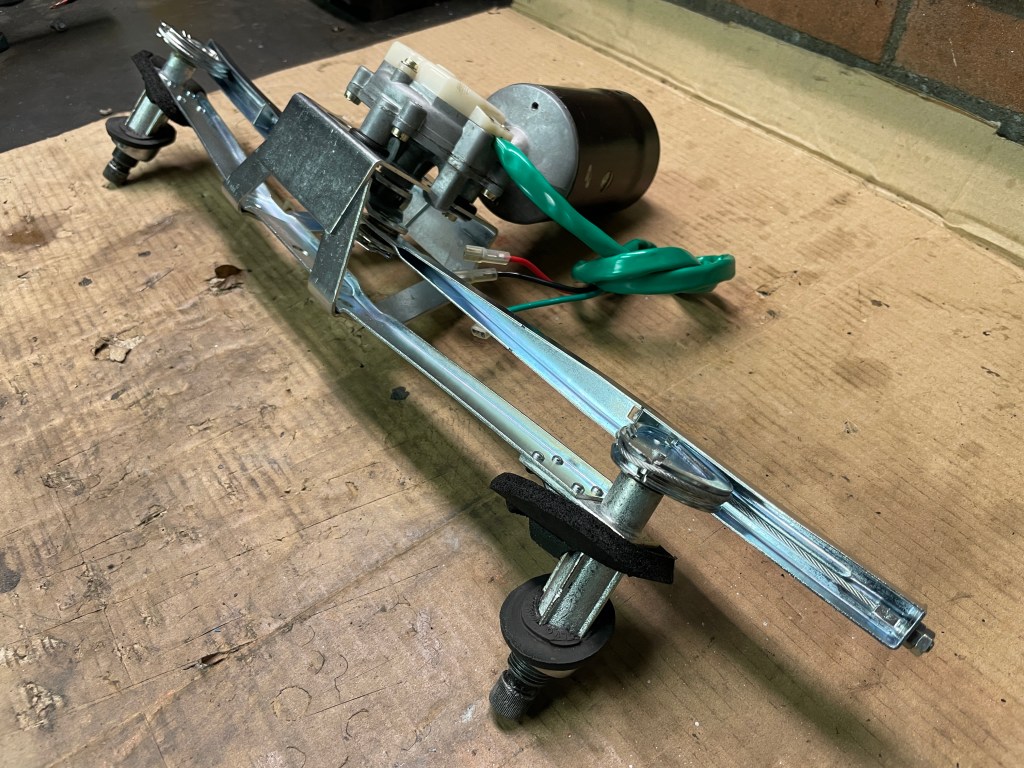
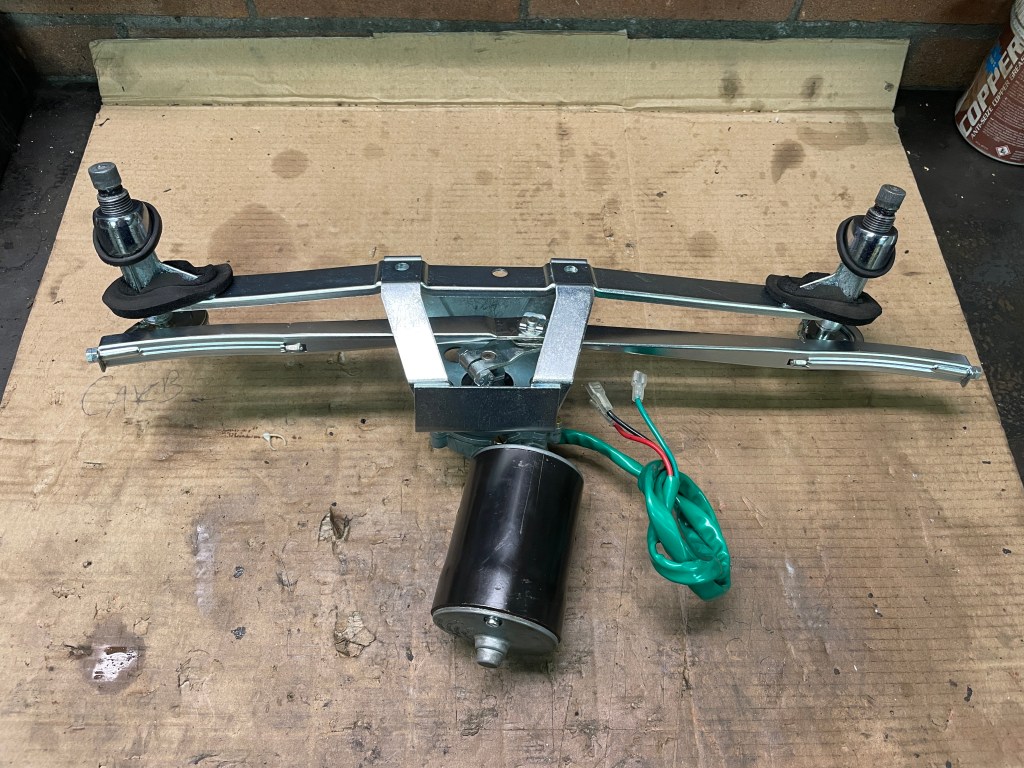

Parts zinc plated, gears and linkages lubricated and tested.
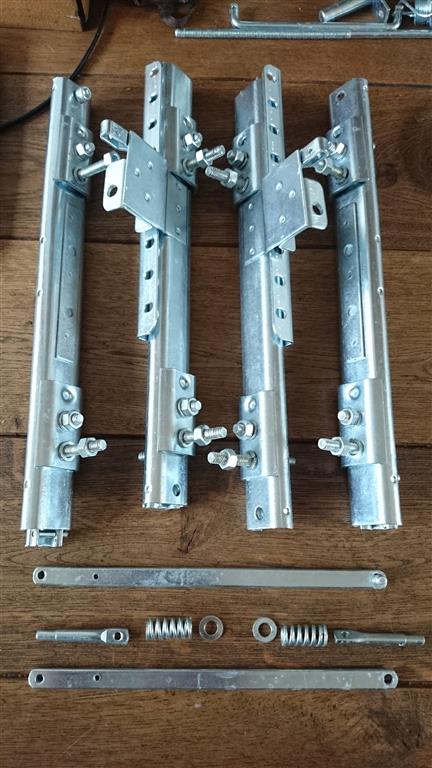
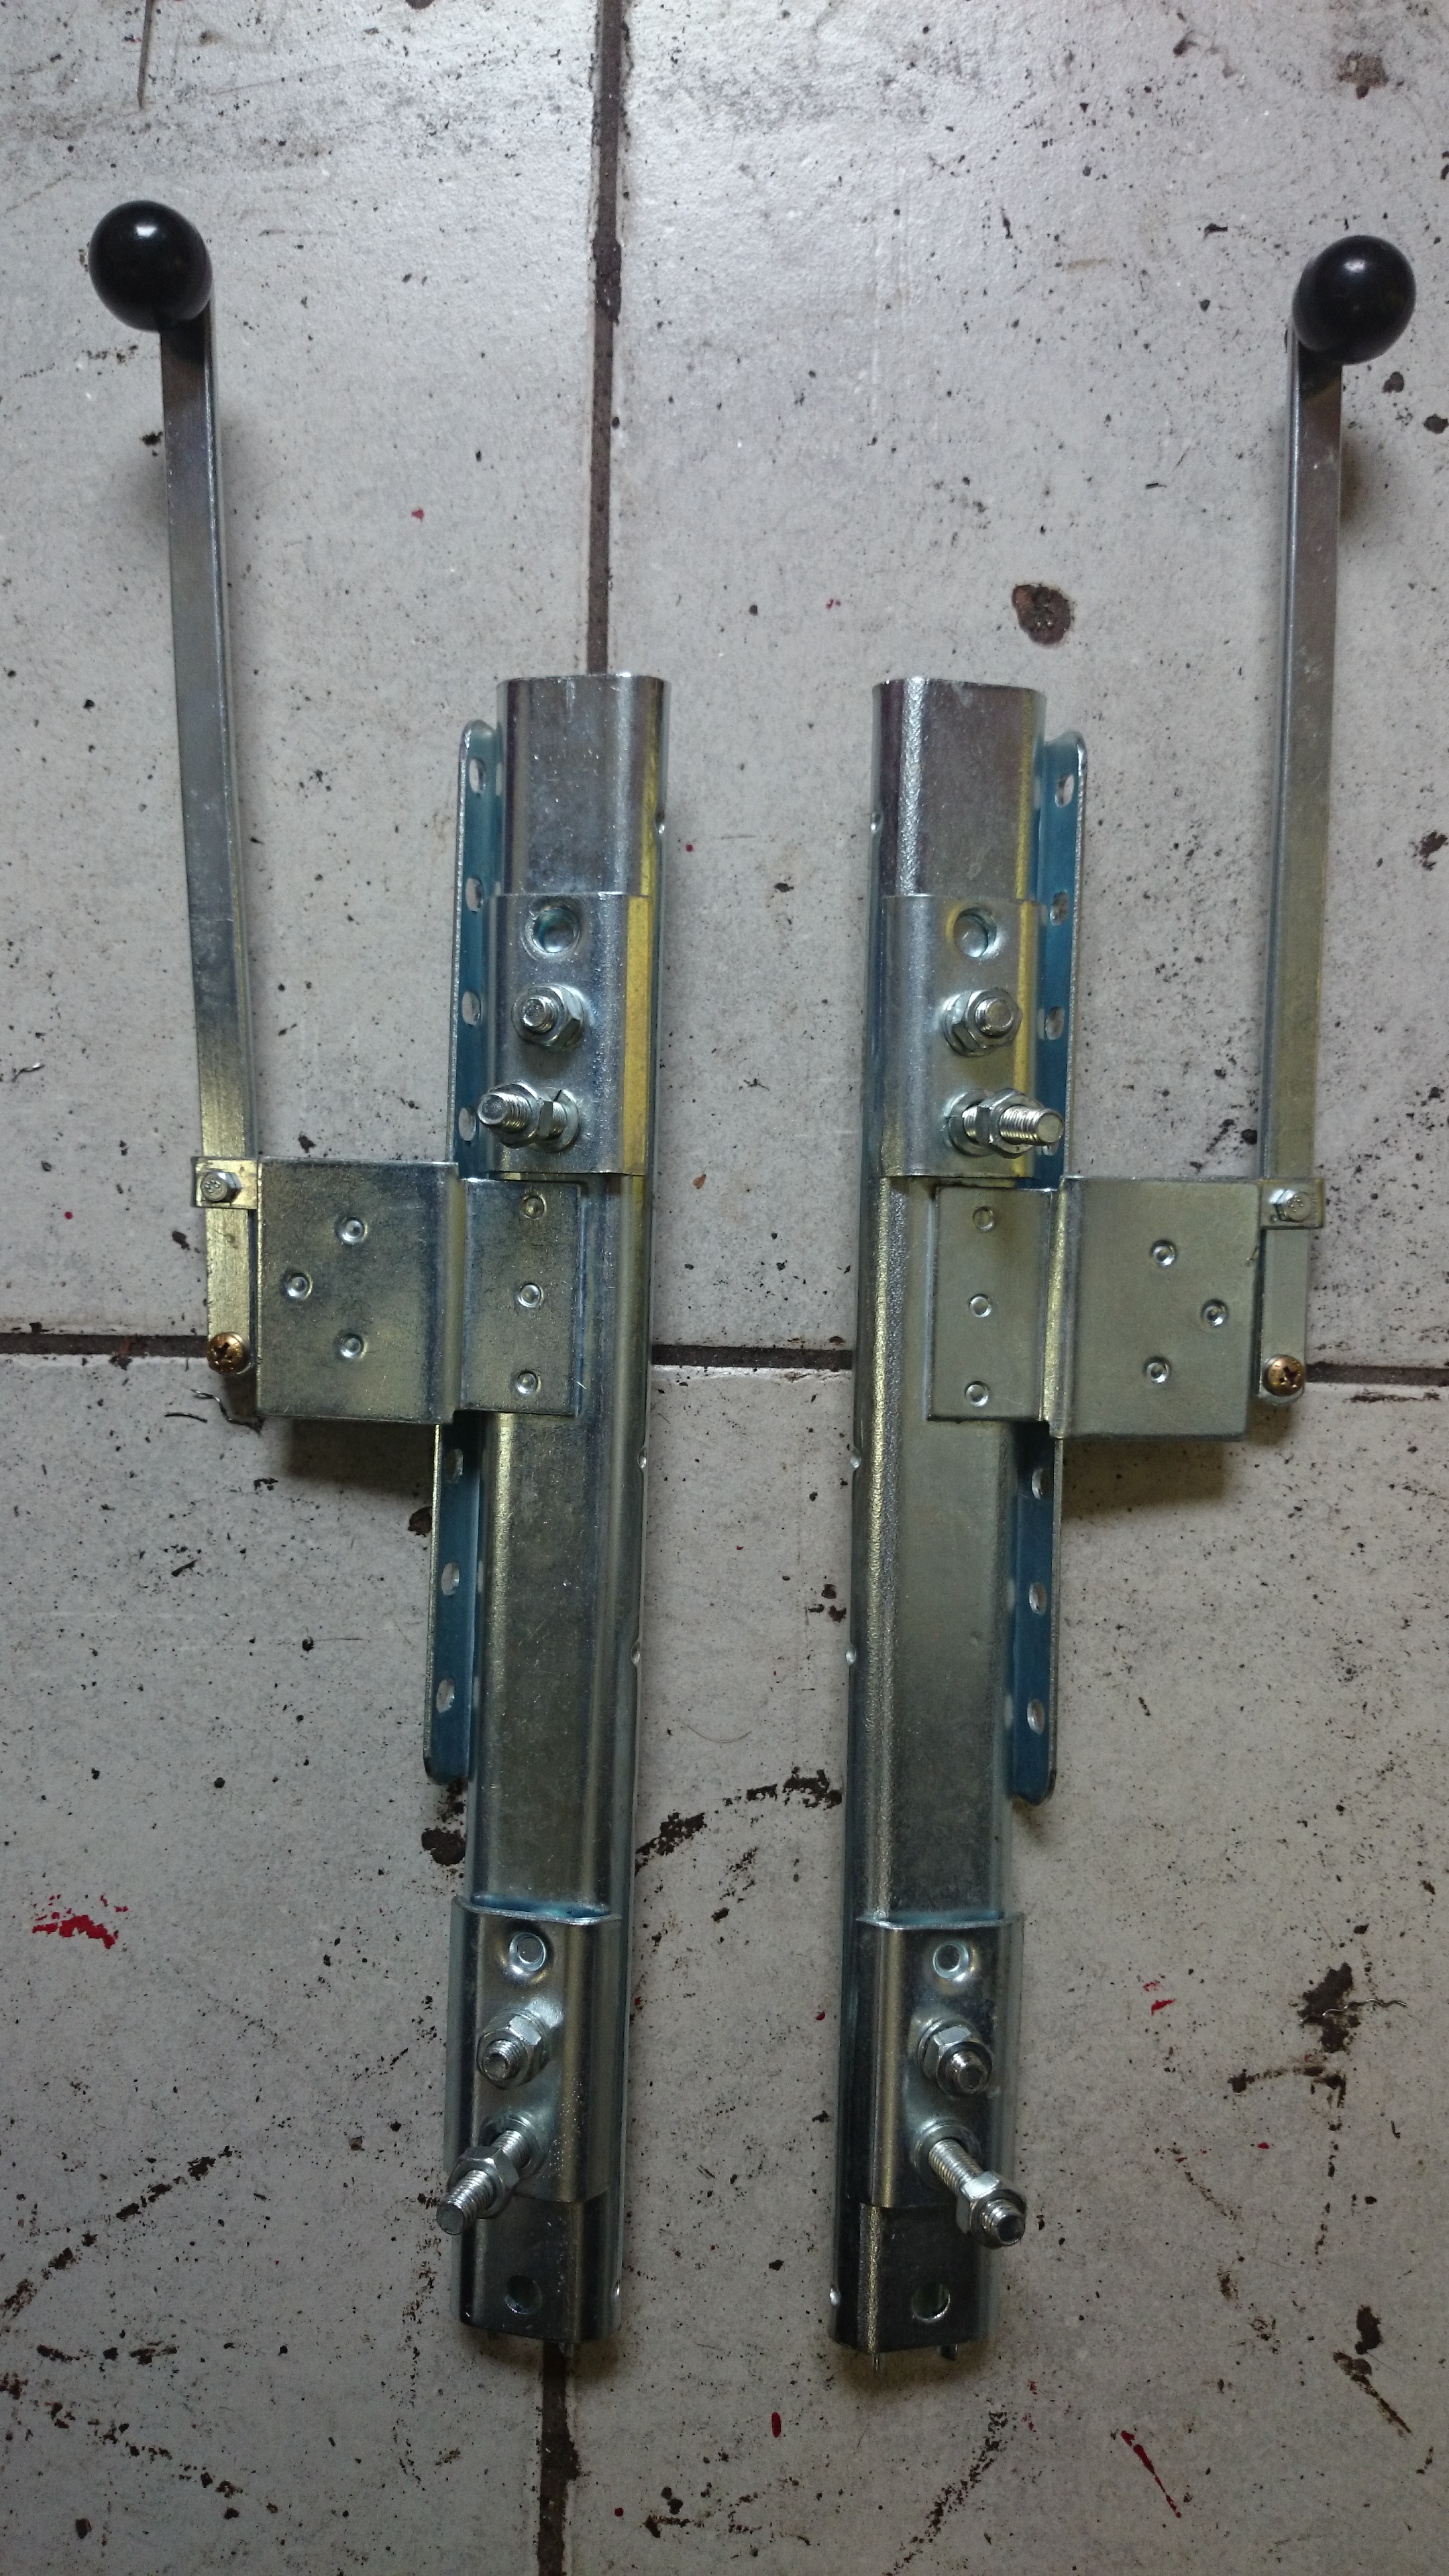
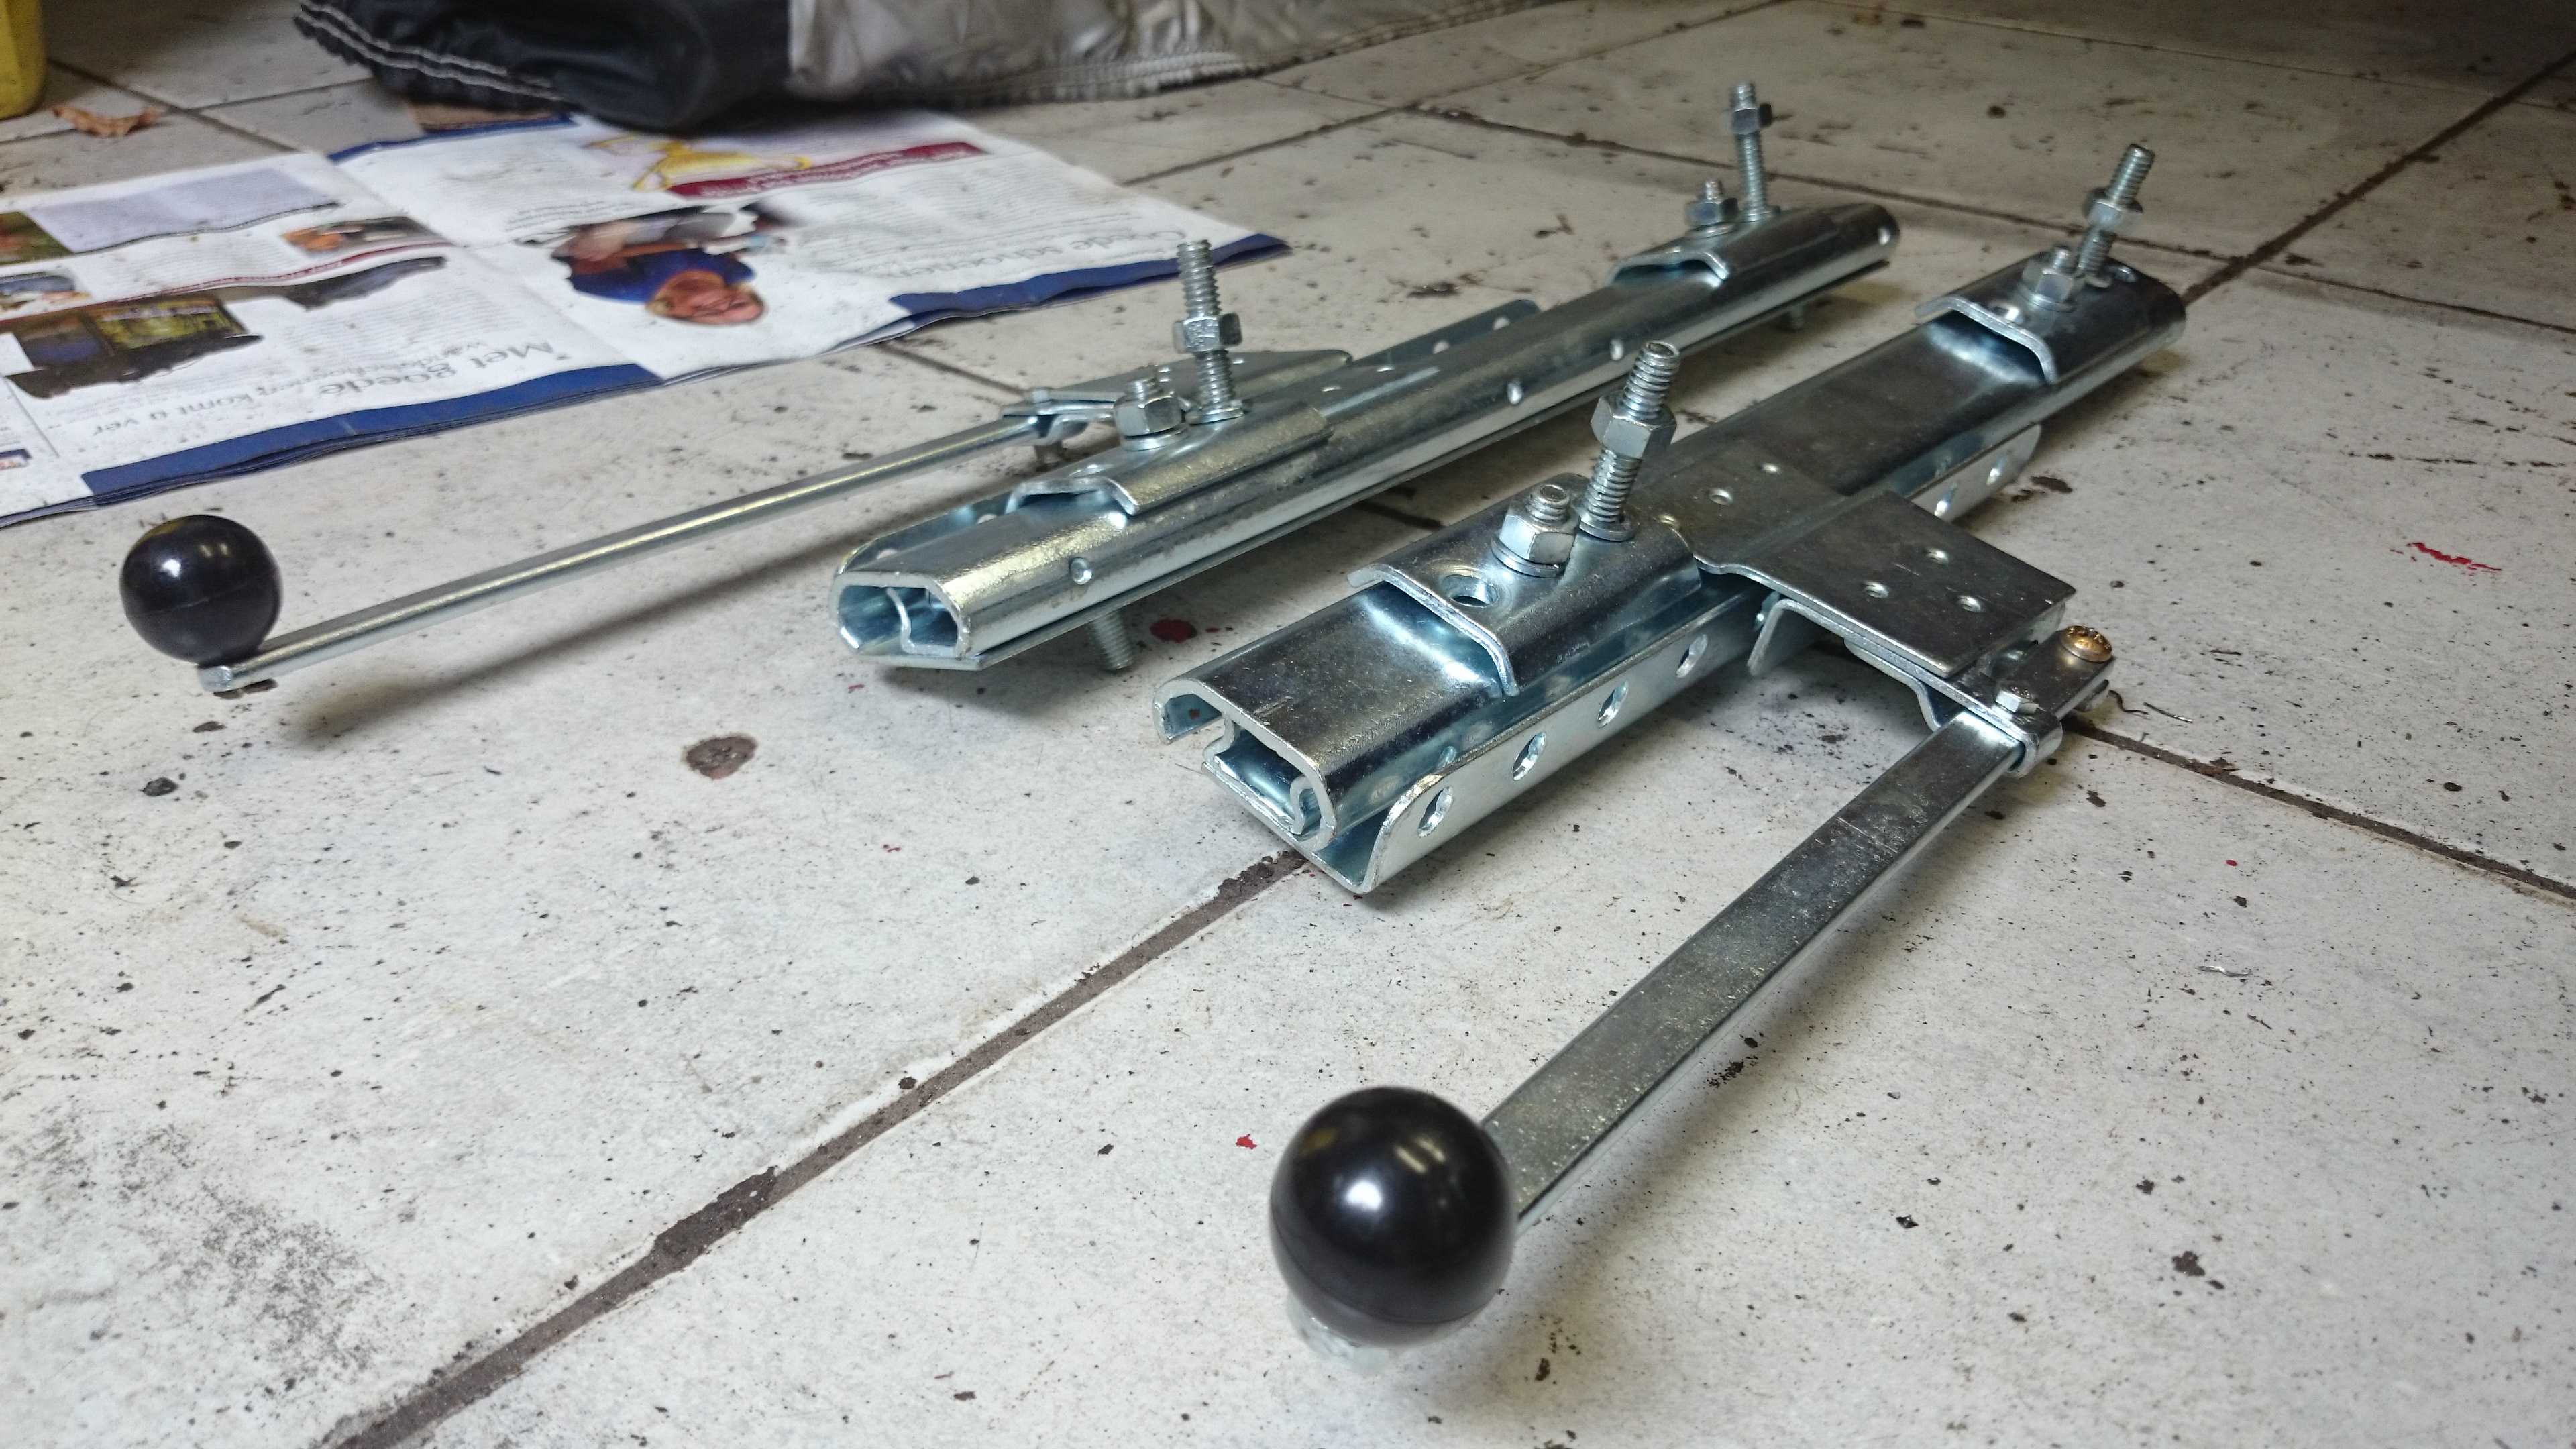
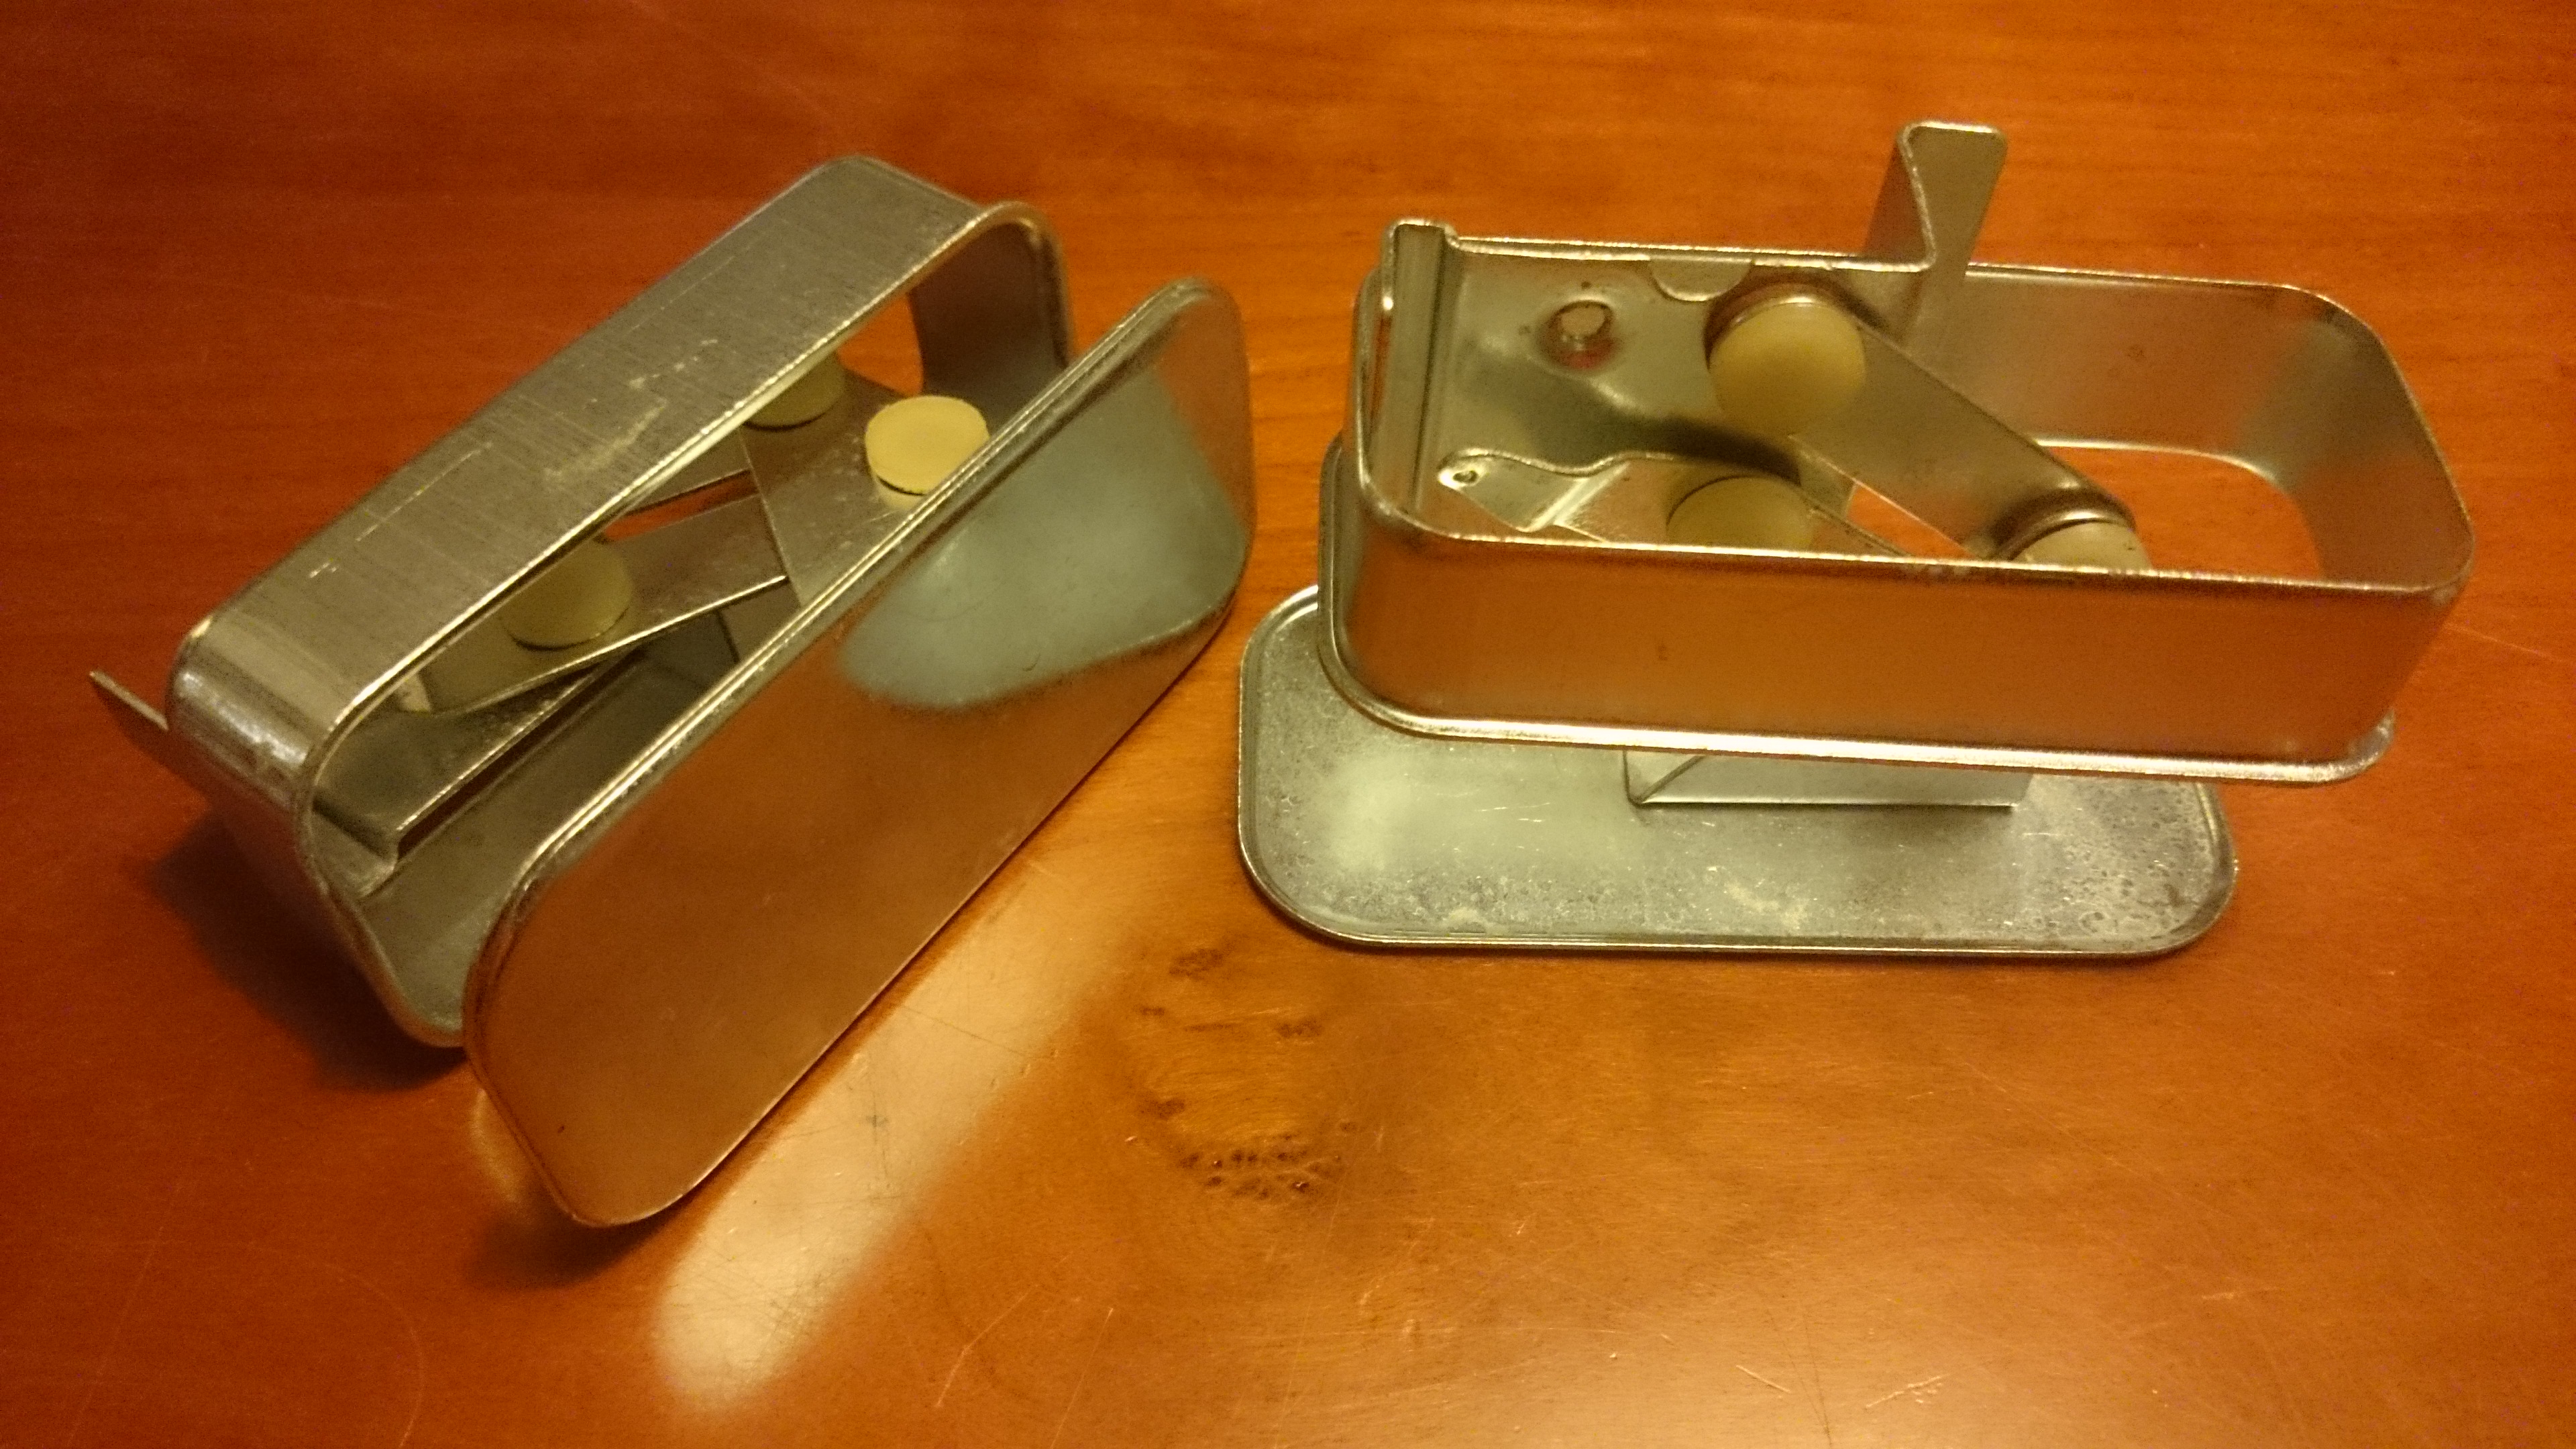
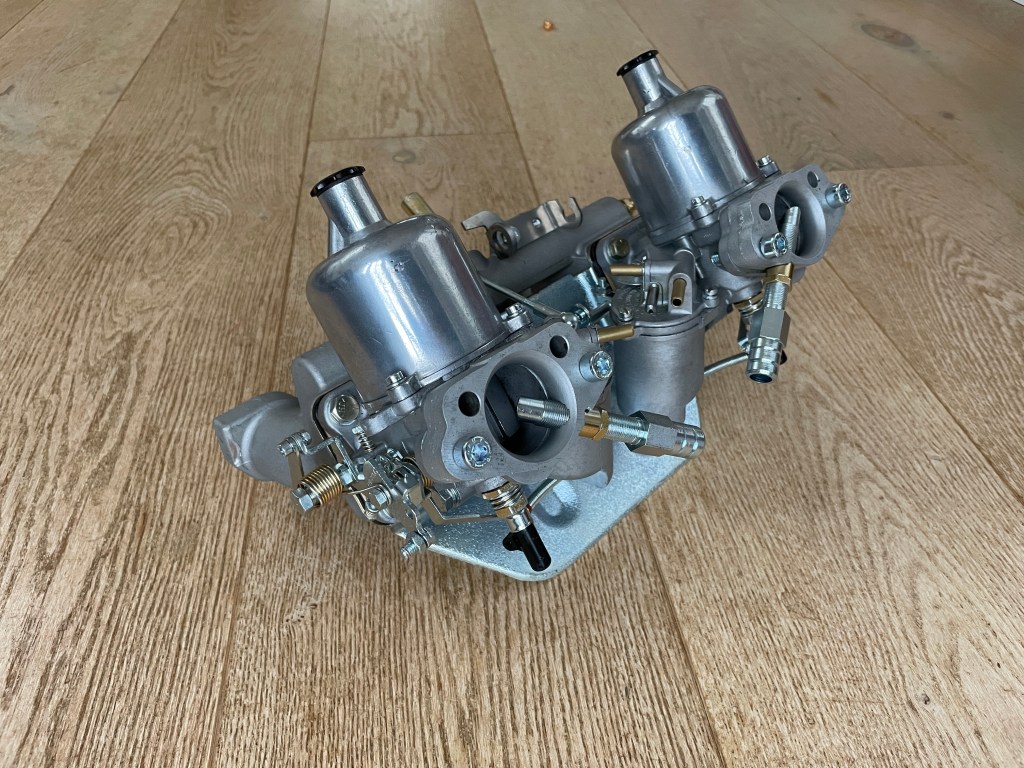
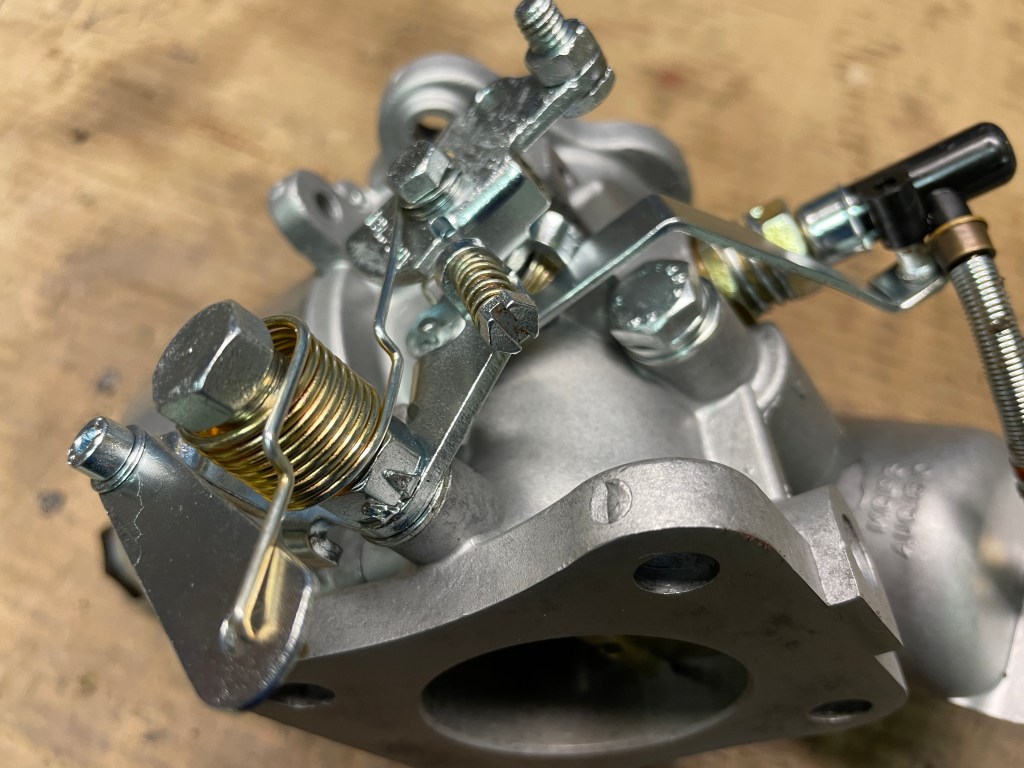
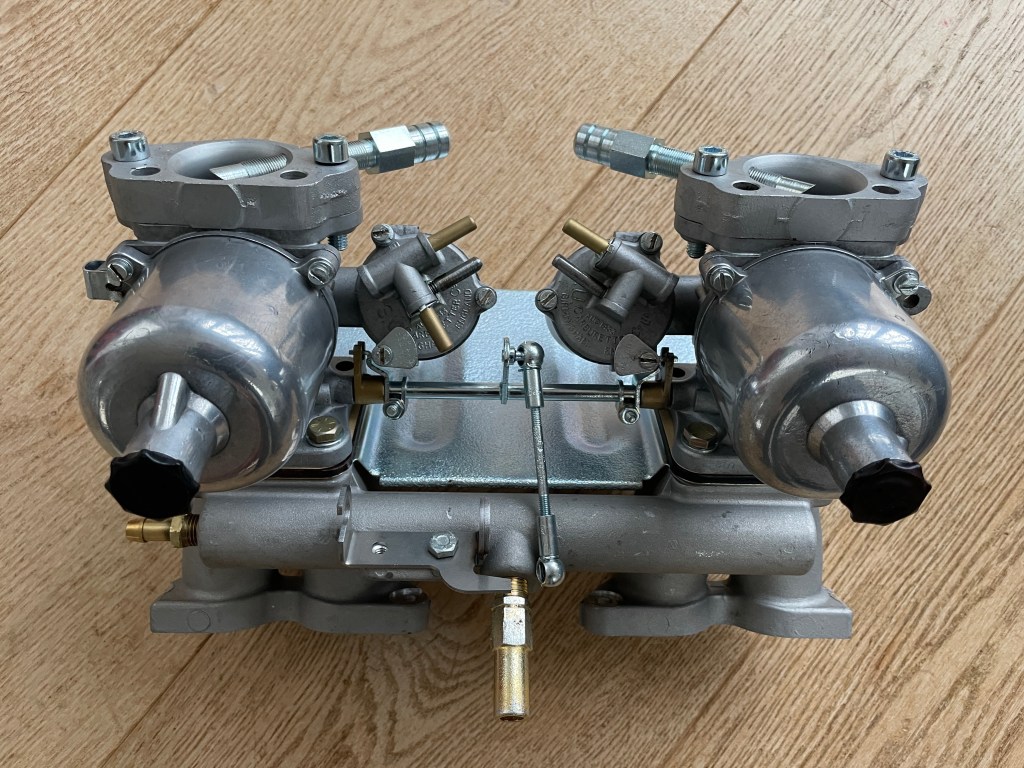
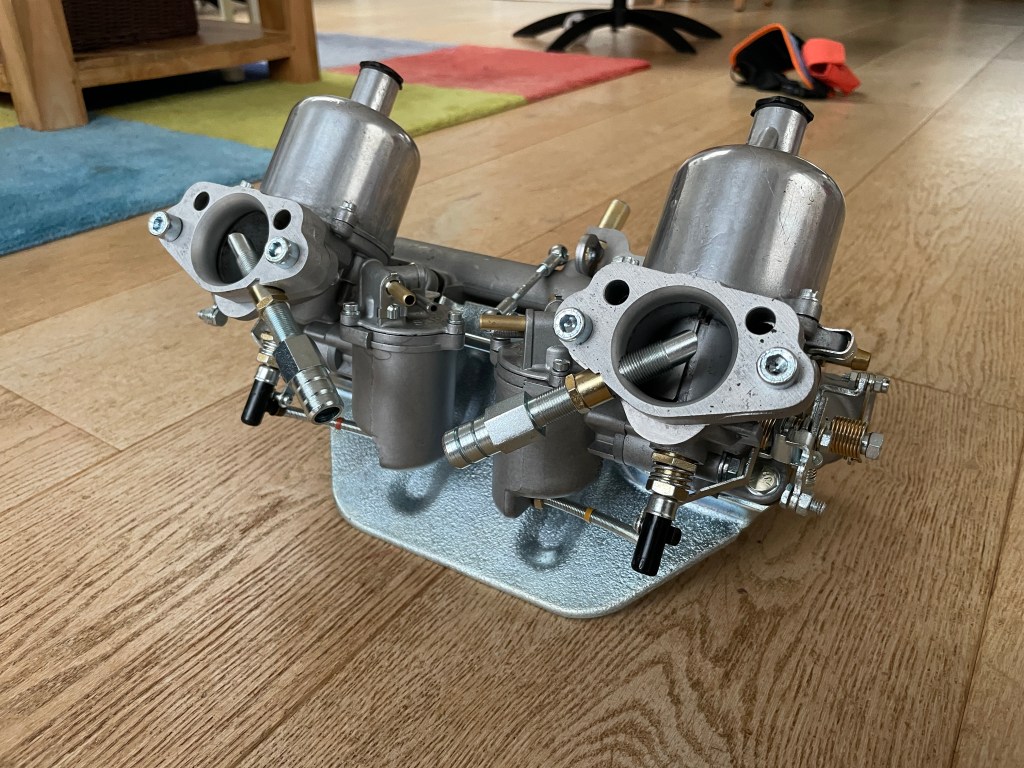
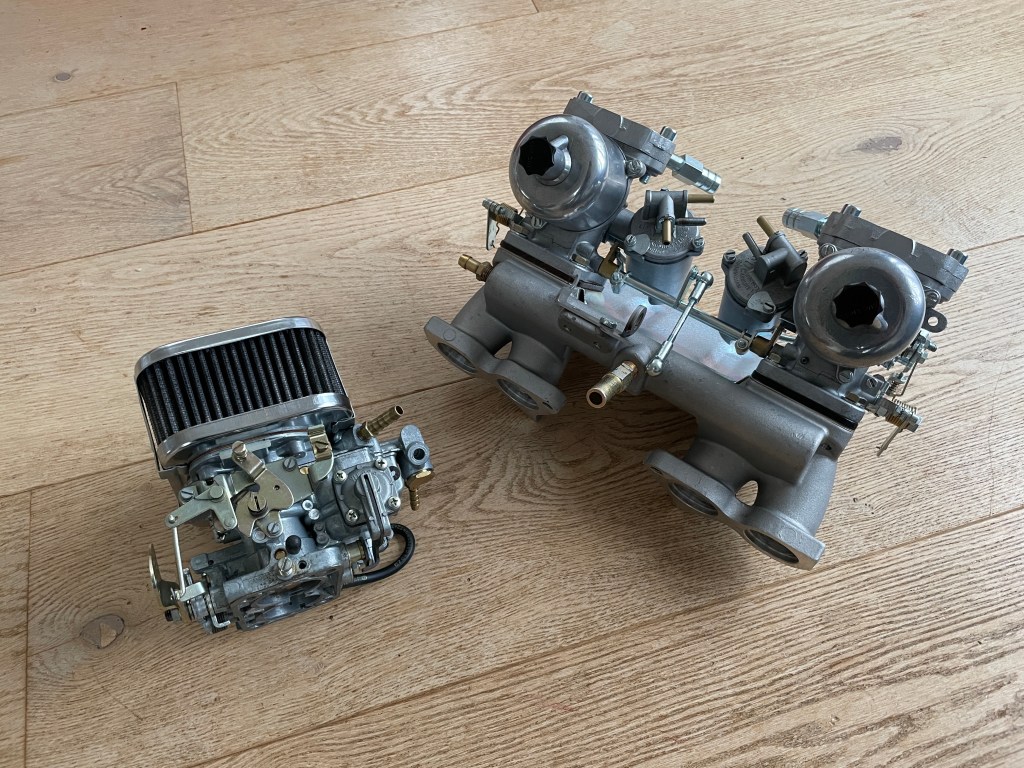
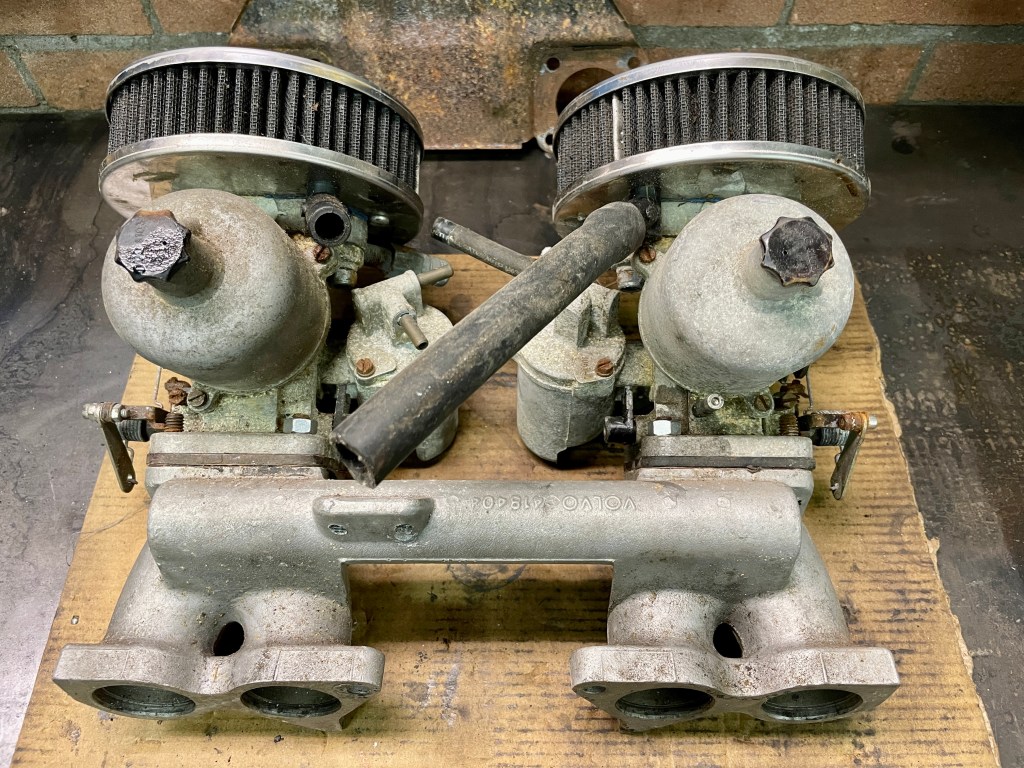
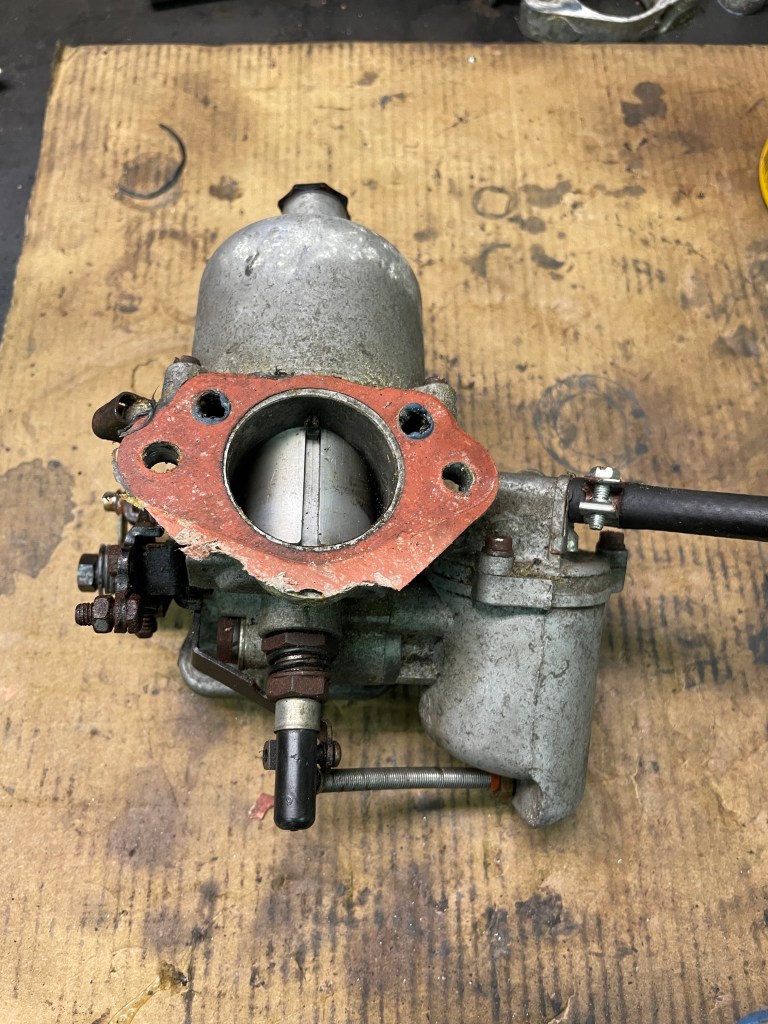
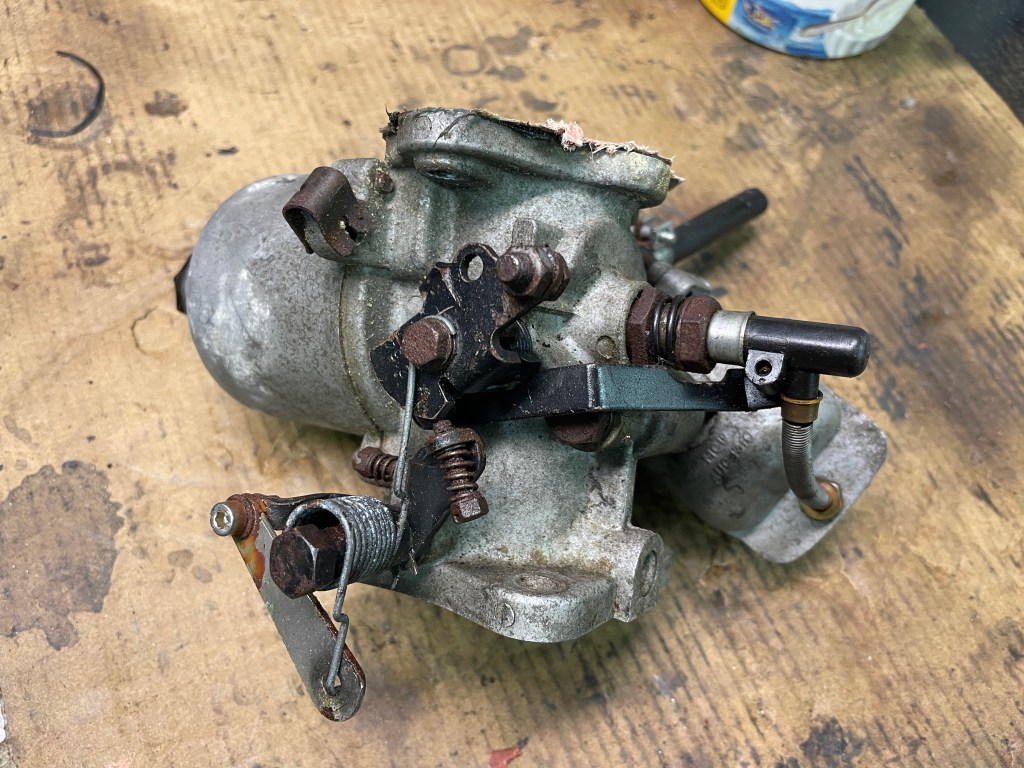
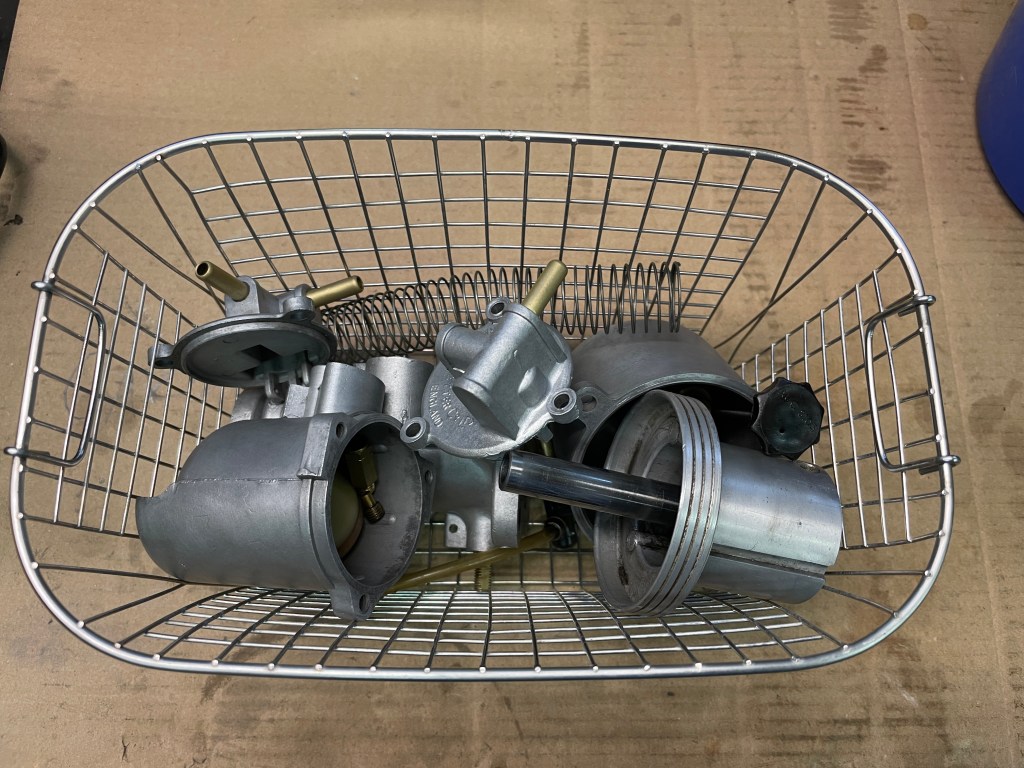
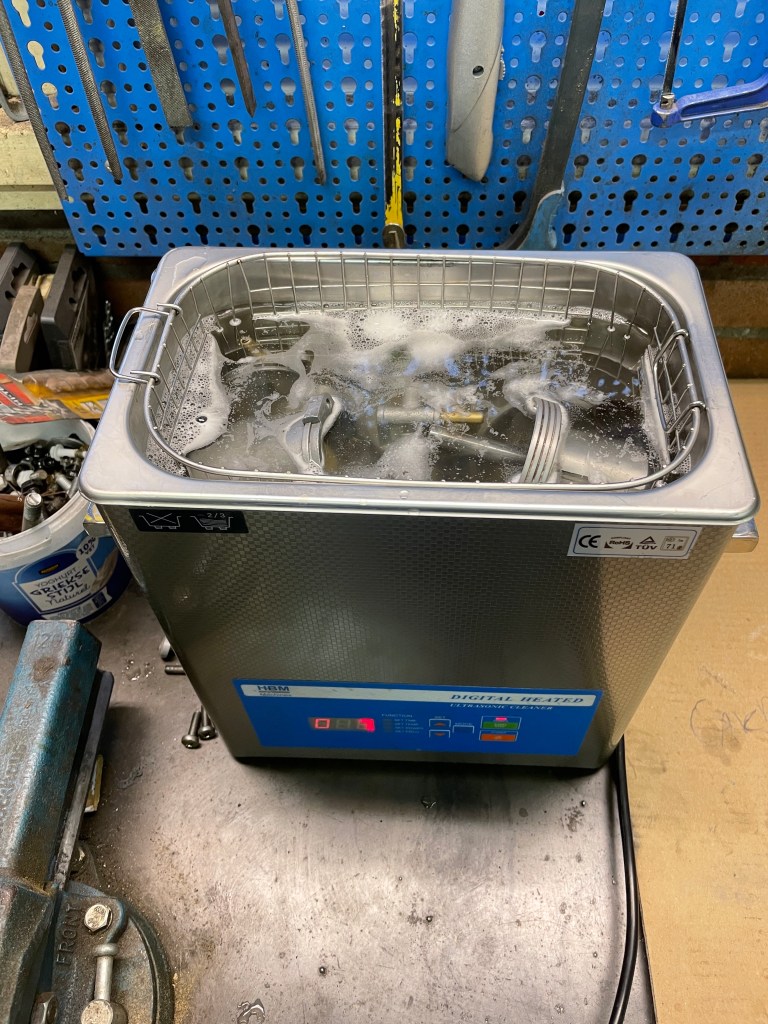
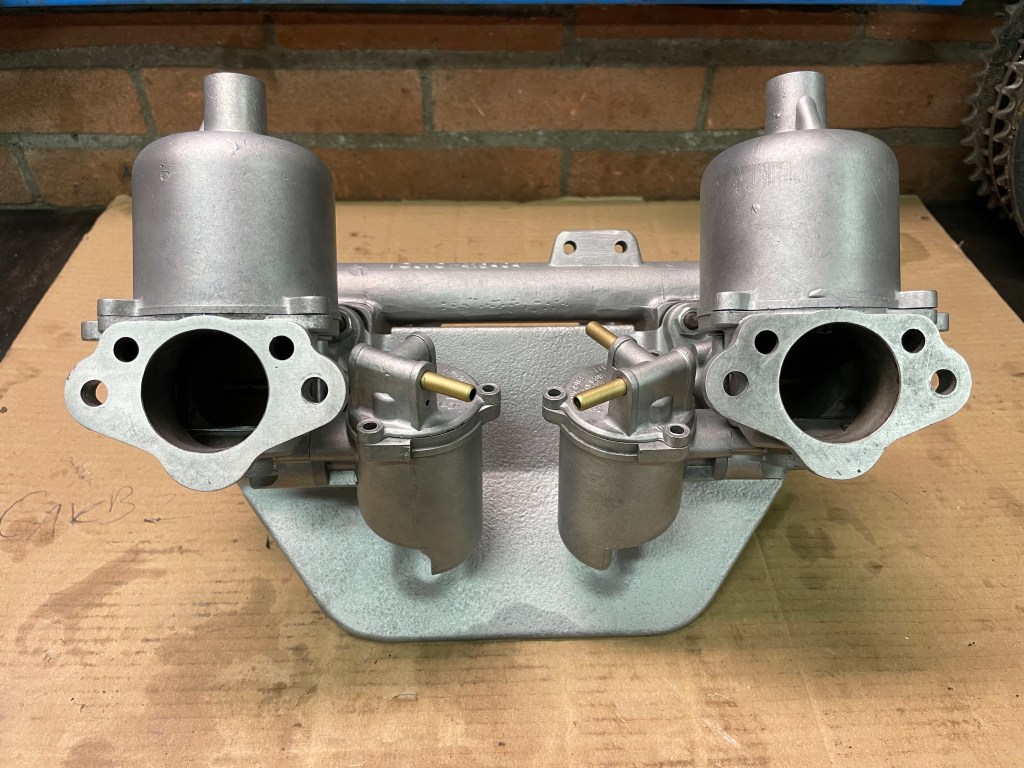
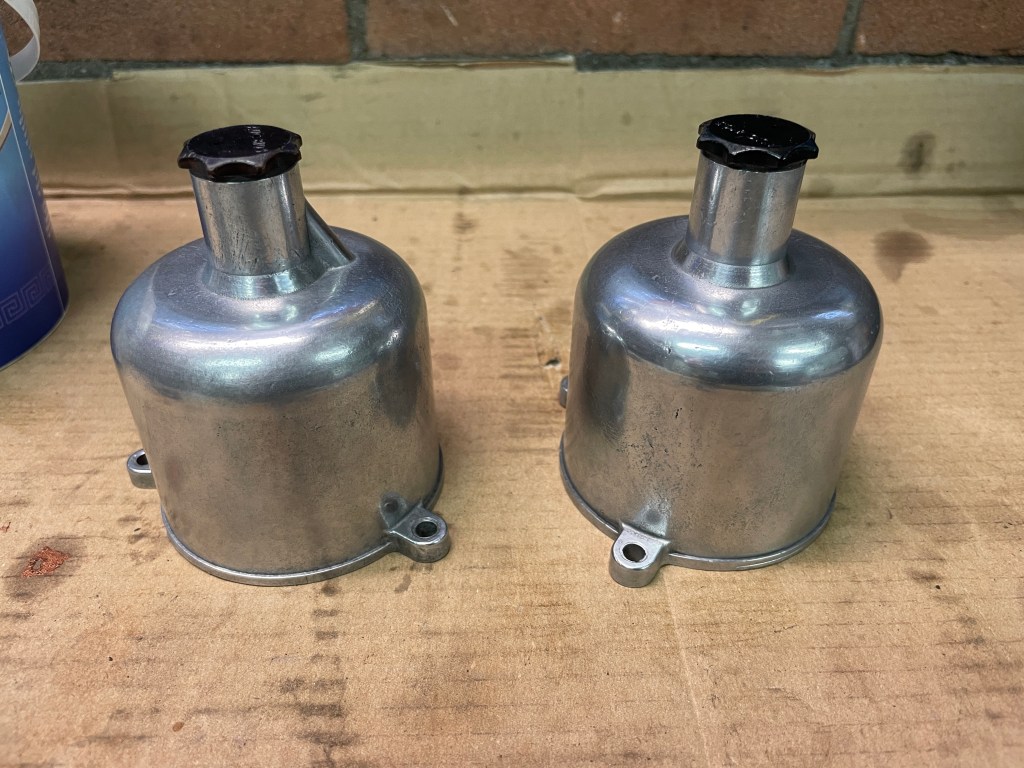
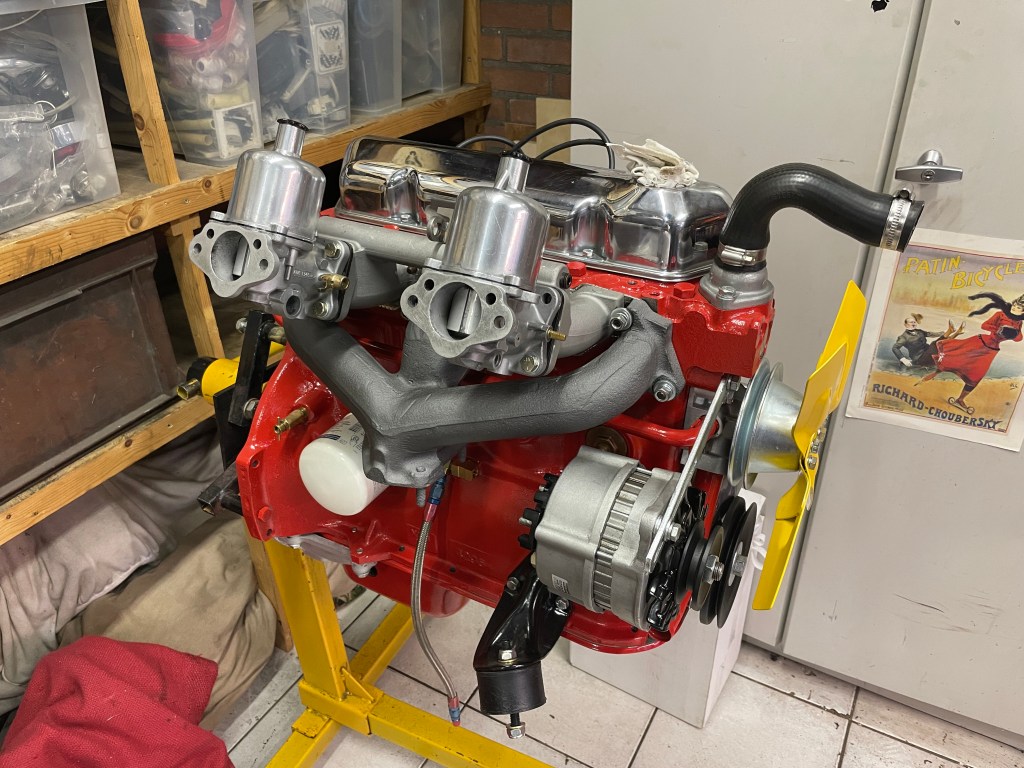
I picked up a second batch of zinc plated parts so I could finally finish the SU’s. It was quite the work to put the linkages back together again, amazingly clever system. I reccon they will need some serious tweaking to get the engine properly running. As said, I also have the Weber so if it won’t run I can use these.
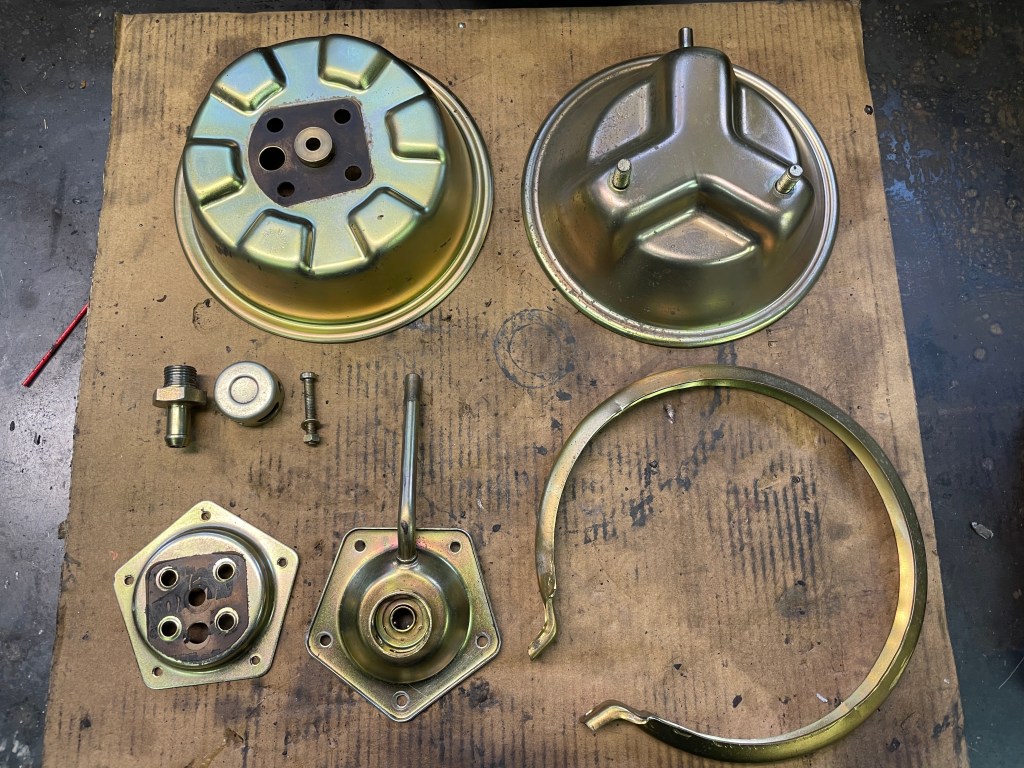
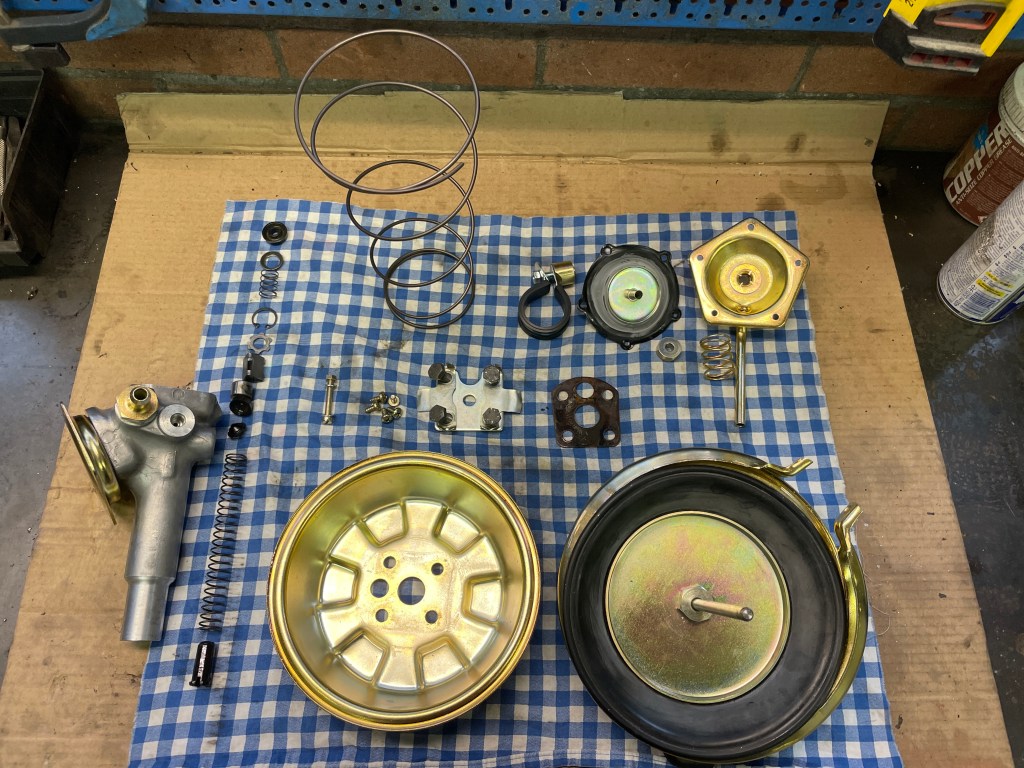
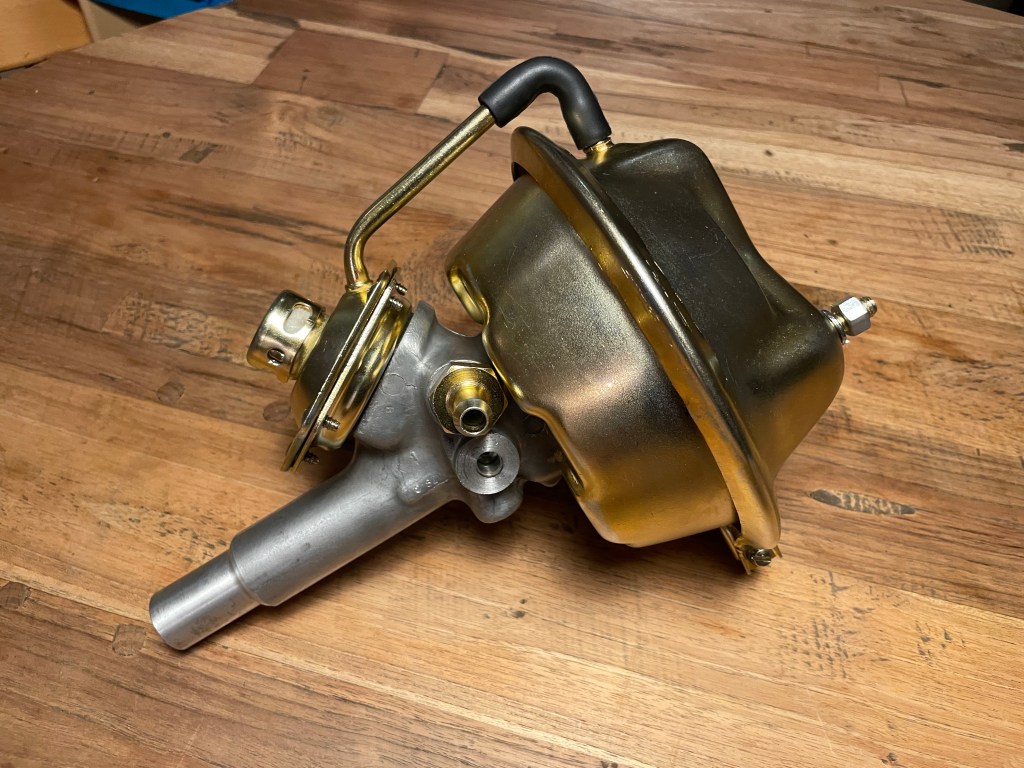
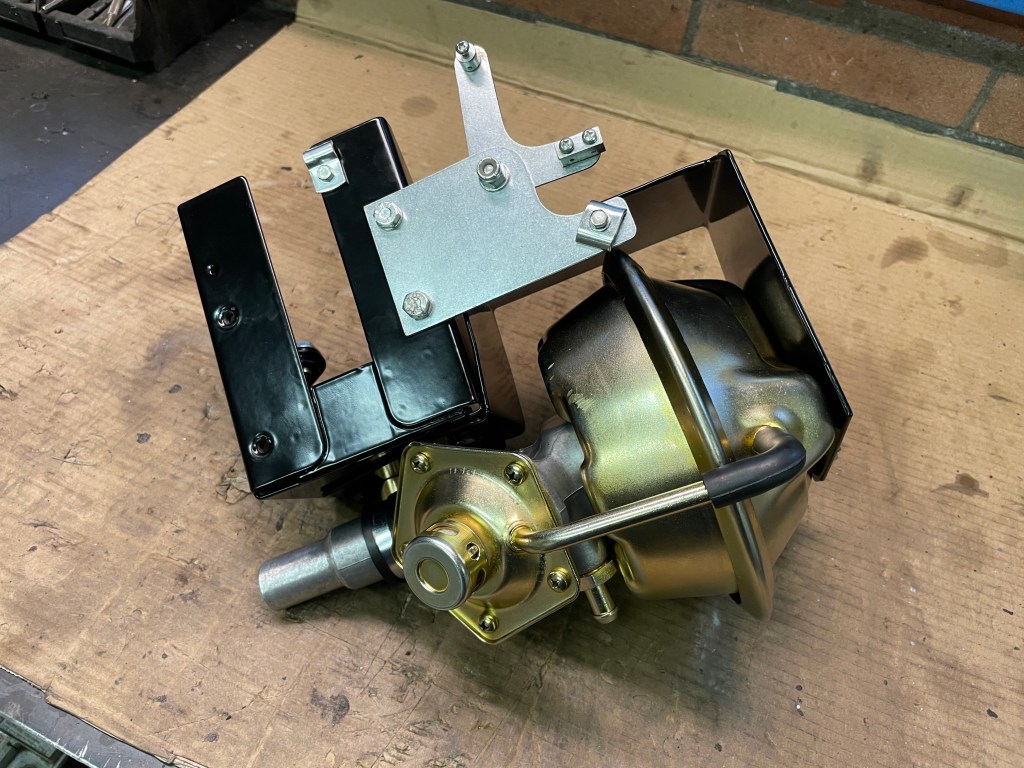
Finished rebuilding the brake booster. Zinc plated, cleaned and put together using some new gaskets.
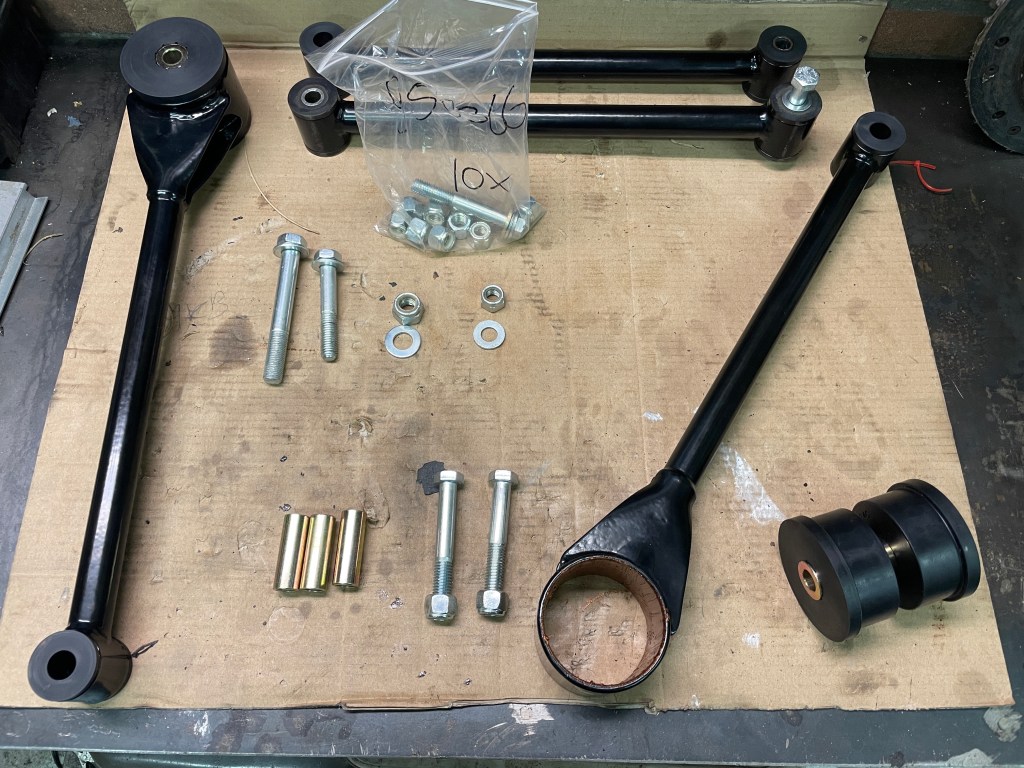
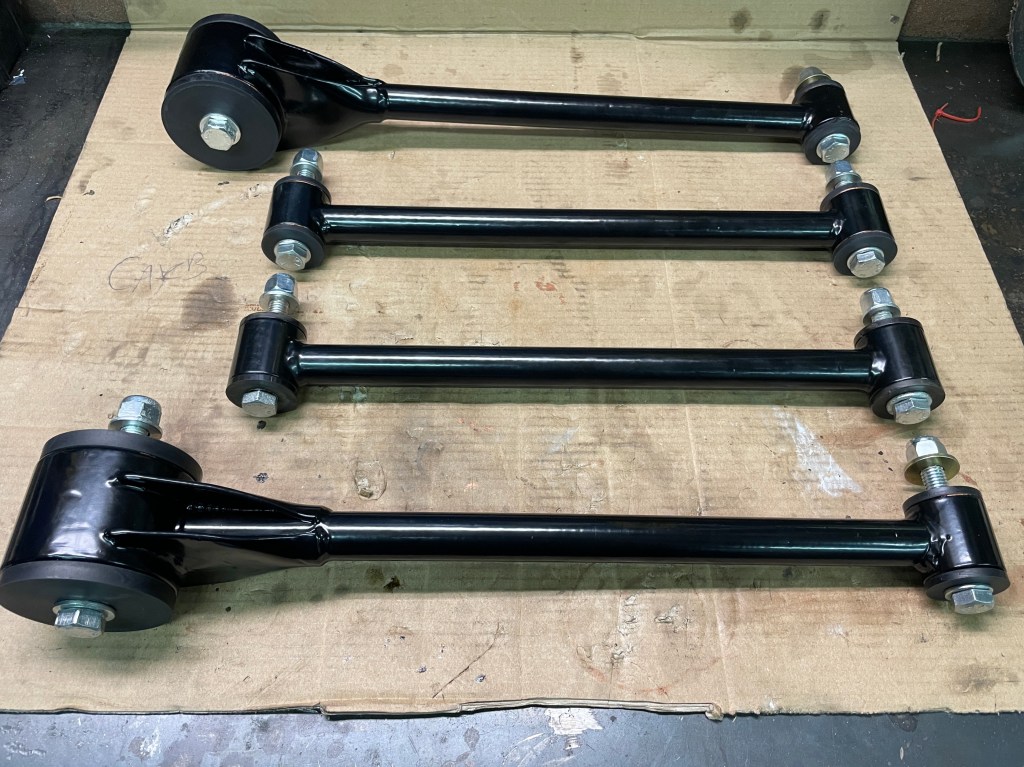
Rear control and panhard rods finished. Old bushings removed, rods sand blasted and powder coated black, bolts and rings re-plated and new lock nuts and new PU bushings.
I found a set of SU carbs as I am planning to convert back to the double SU setup instead of the Weber 38. I’ve read that a B20 with double SU works best with a K or even better a TT3 type camshaft. I don’t know what type my engine has (finding out would mean taking the head off) so this could be a bit of a guess, but I can always go back to the Weber. It should have a C type installed and it should be a working setup. I’m also aware this is a 2-bolt type and a 3-bolt type would be better.
Offcourse the setup is not completely original as the engine is supposed to be a B18. The B18 got replaced a long time ago probably back in the States by a B20 with the bigger valves with a little more power. So unfortunately no matching numbers for the engine, but the M40 transmission is. Anyway, the double SU will looks much better.


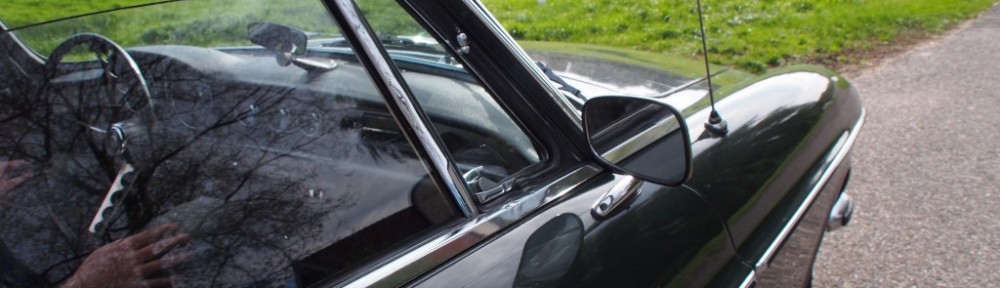
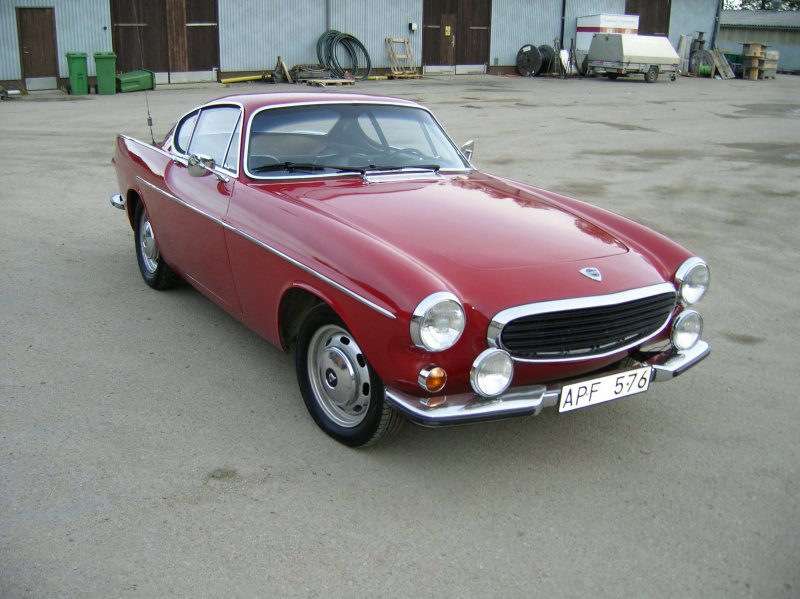
So I´ve decided the color of the car will be red. Volvo used two kinds or red color on 1800´s, color code #70 on early P1800´s of 1961 – 1962 and code #46 on 1800’s from 1963 until 1973. As I would like to keep things fairly original, I should use #46 as this is the red which was used on a 1967 1800S.


For example, a car painted in #70 (above) and #46 (below):

Lots of info about the Volvo colors can be read at: http://www.volvotips.com/index.php/general/volvo-color-codes/.
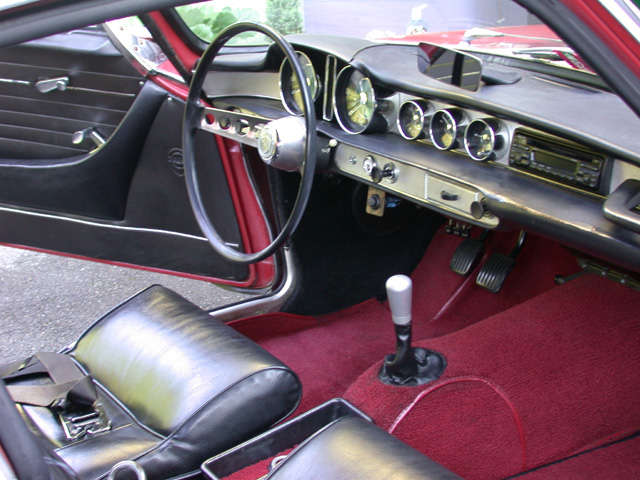
Last moth I’ve did some work on the interior and as I decided the color of the car will be red, I am going with the red-black exterior-interior combination, like this:
http://volvo1800pictures.com/main/main_gallery_1800S_67_php.php
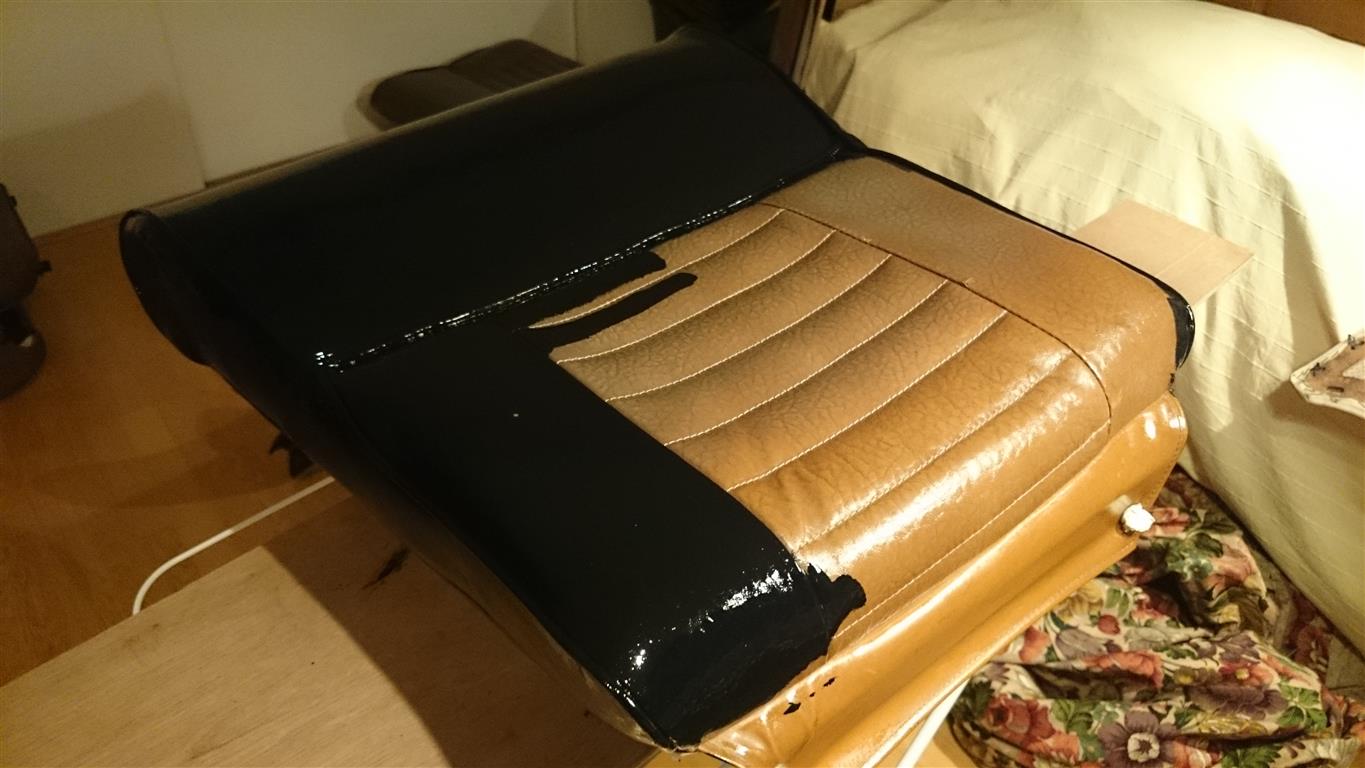
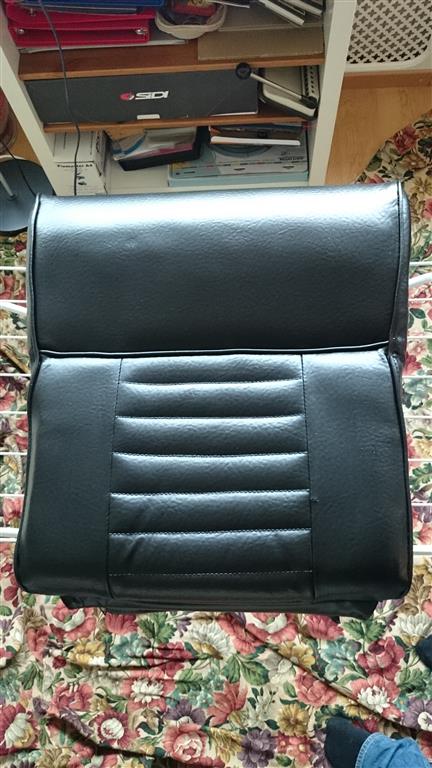
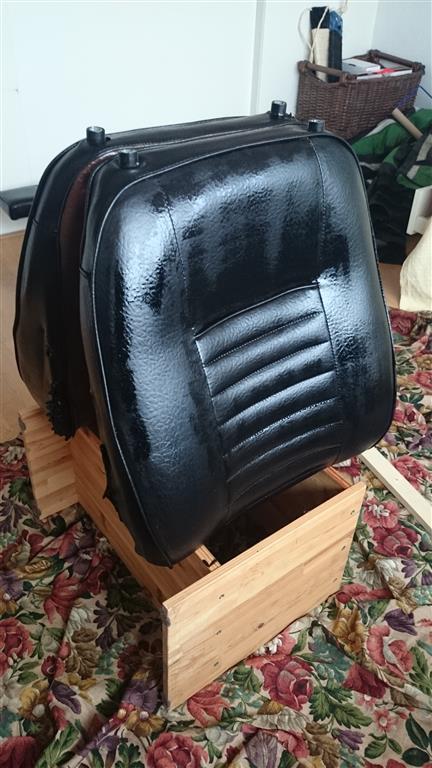
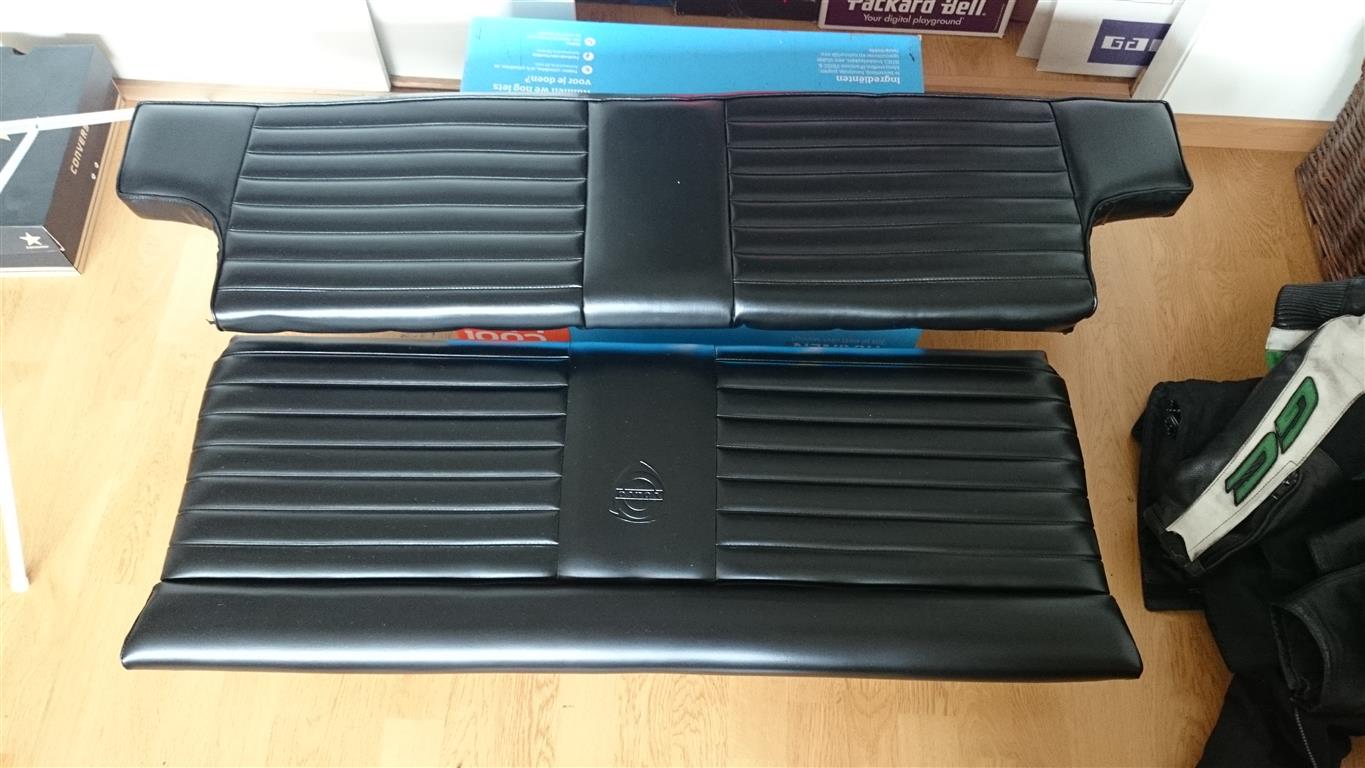
So, red exterior, black seats and panels and red carpet. Searching for a nice 2nd hand, not rotten away black 1800s interior would not going to be an easy find. Impossible I found out later on. I also checked out of curiosity what it would cost if you would buy it all new, this would be around €2500. Not an option for my financial situation. So, after some searching on the net I found some people who painted their seats with leatherpaint with pretty good results and a good price – quality. So I painted the interior black:
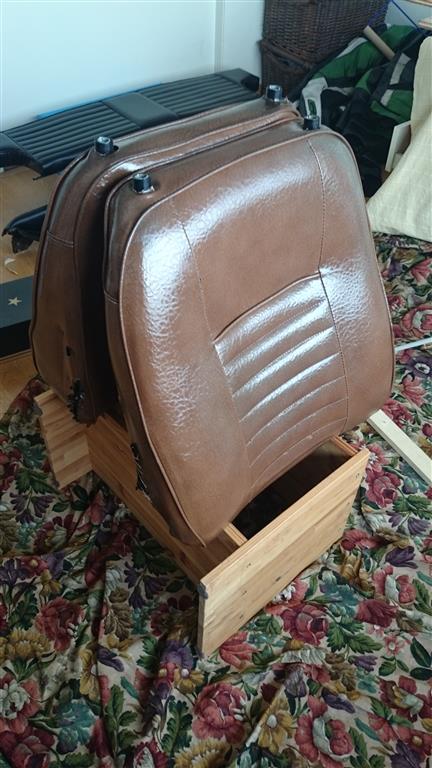
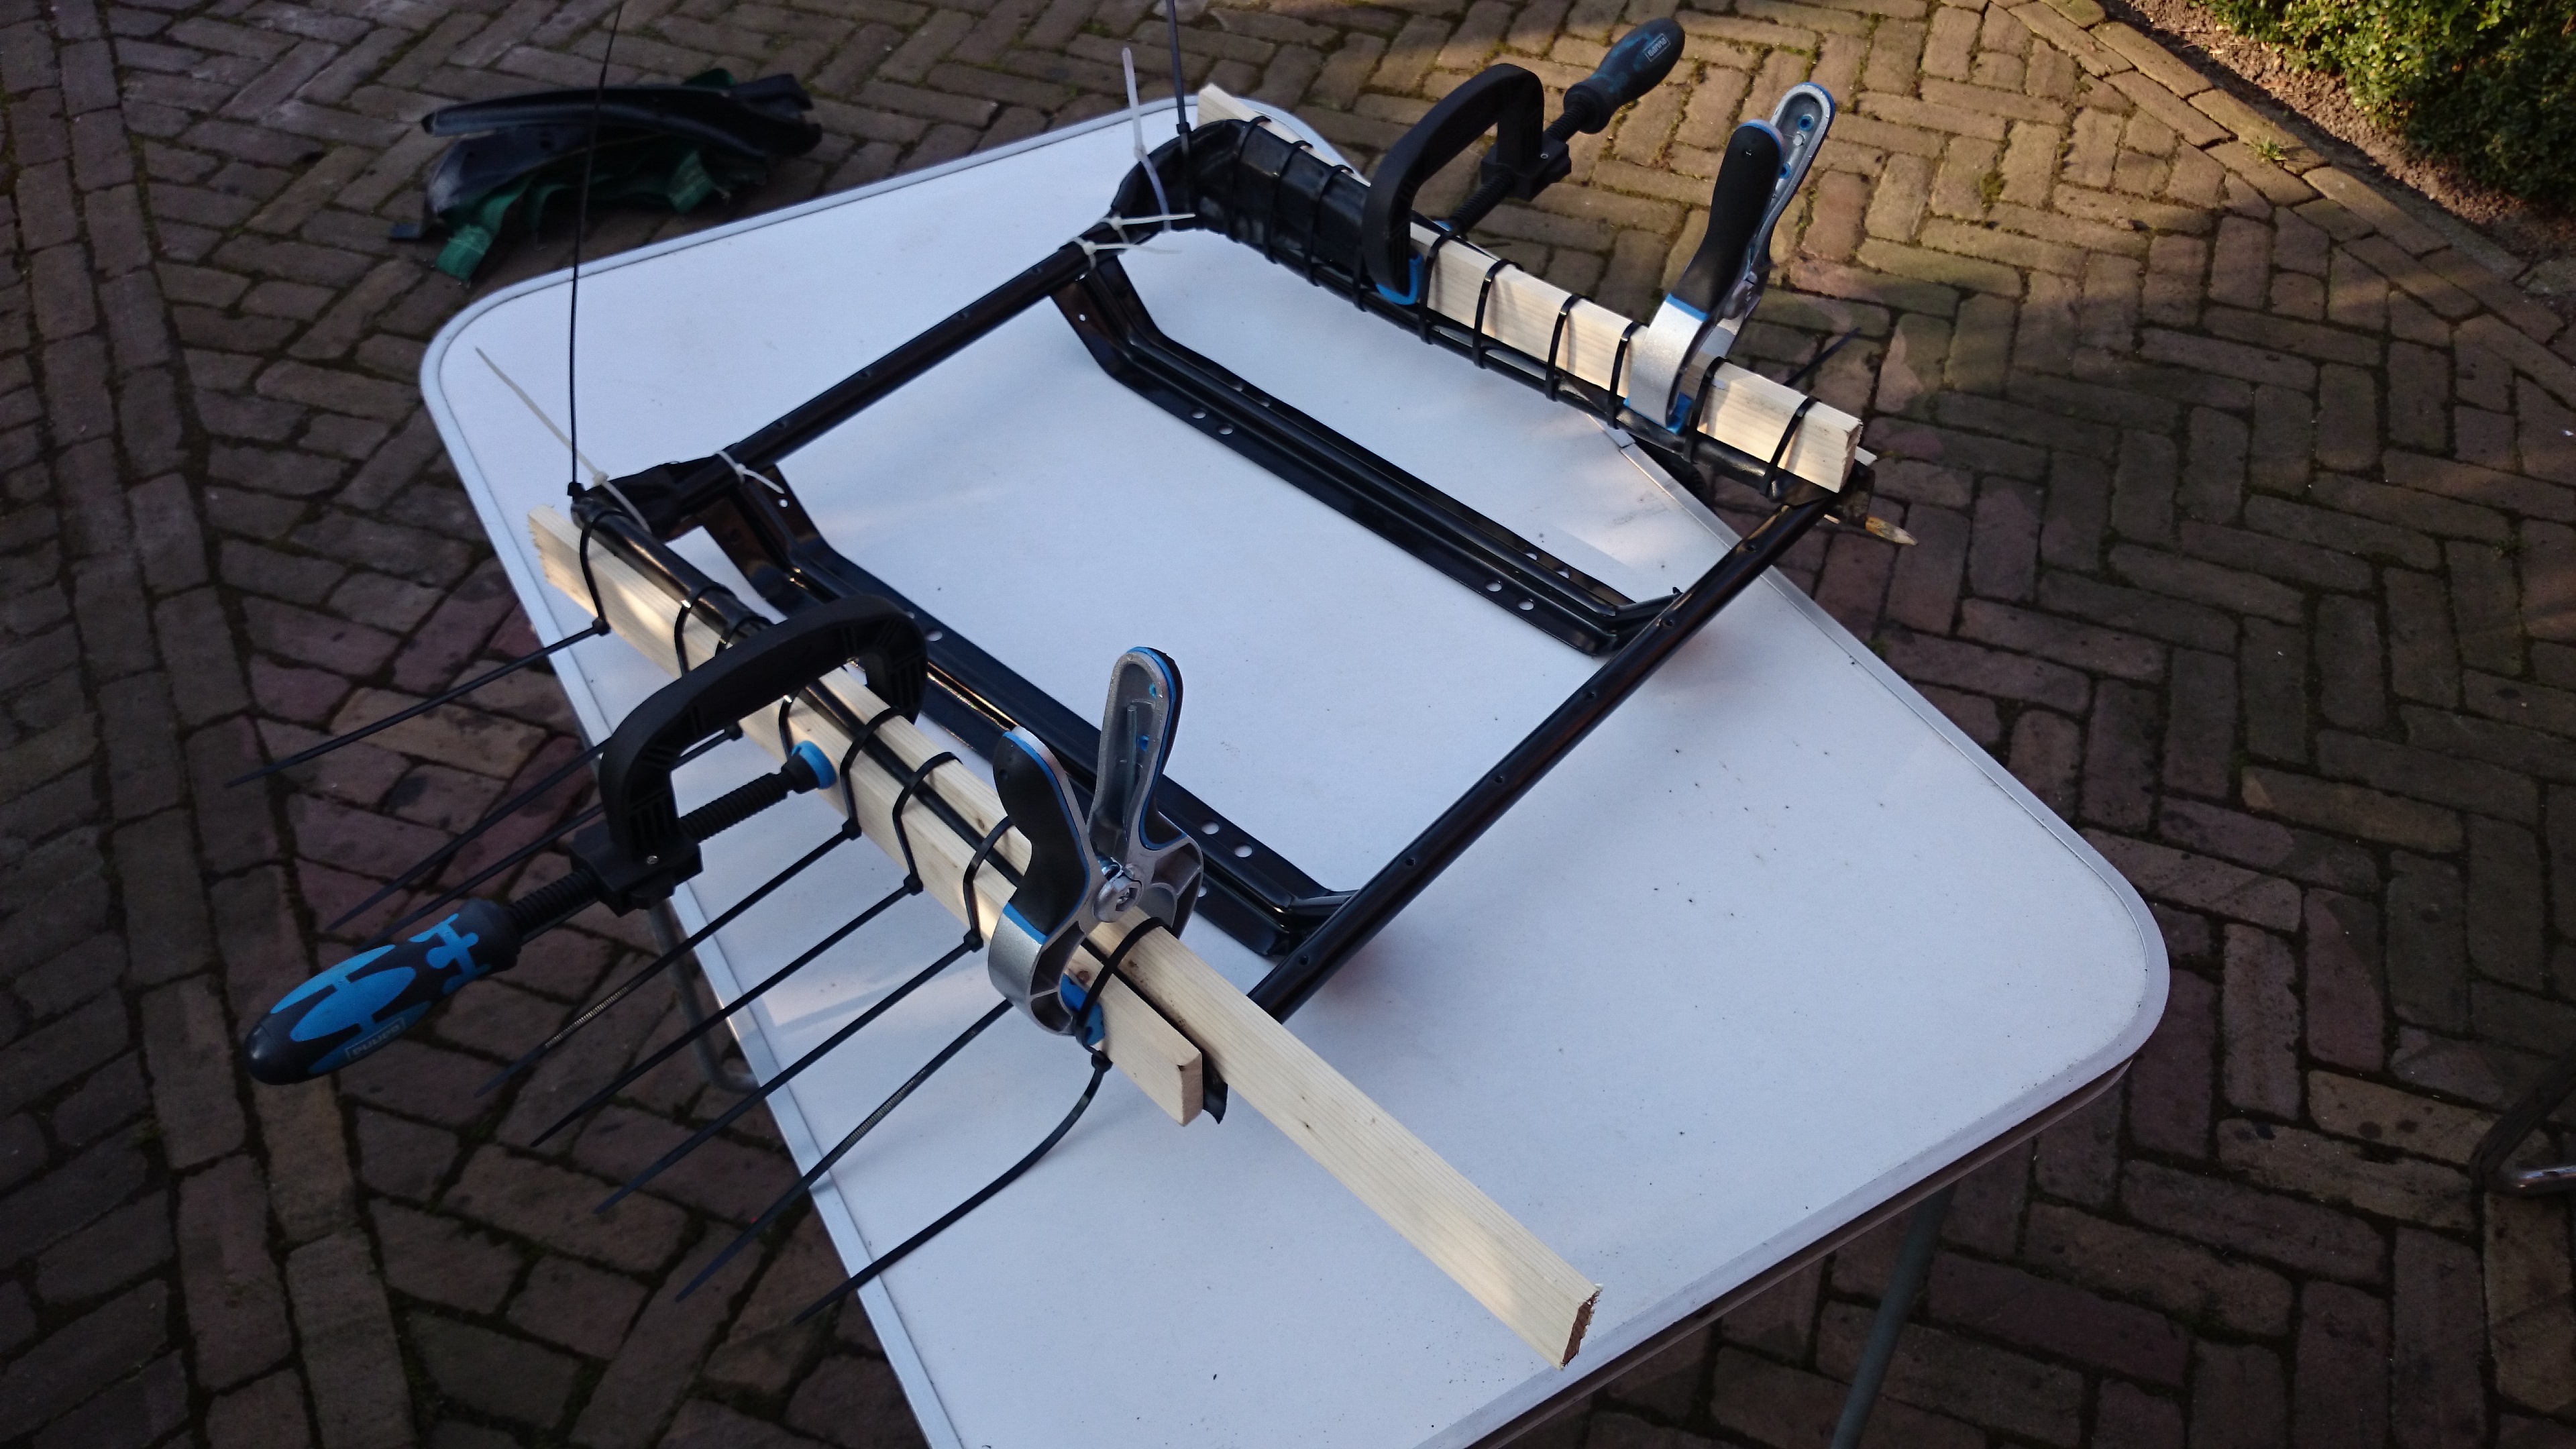
First some repairs and clean everything thoroughly. My seats are in good condition so no heavy tears or worn out cushions, perfect to be painted.
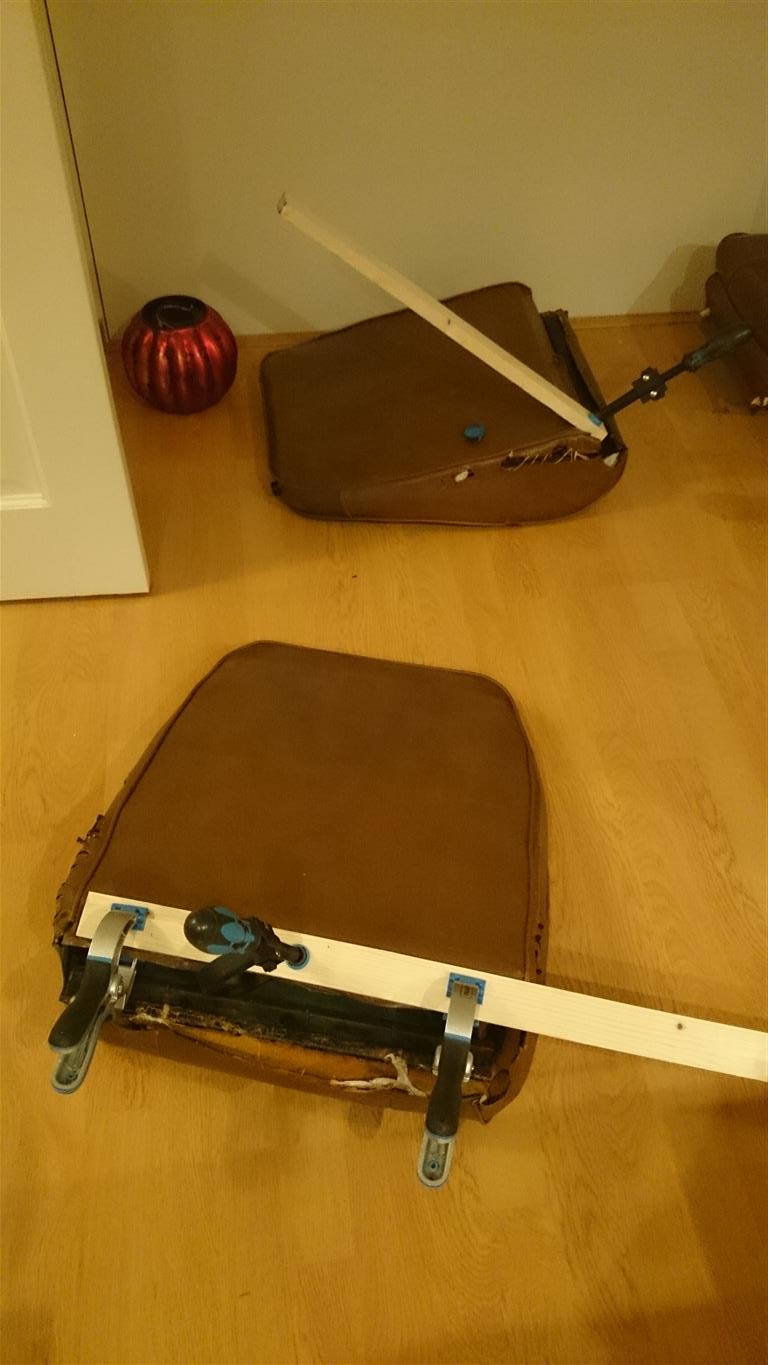
Then the paint. It dries pretty quickly.

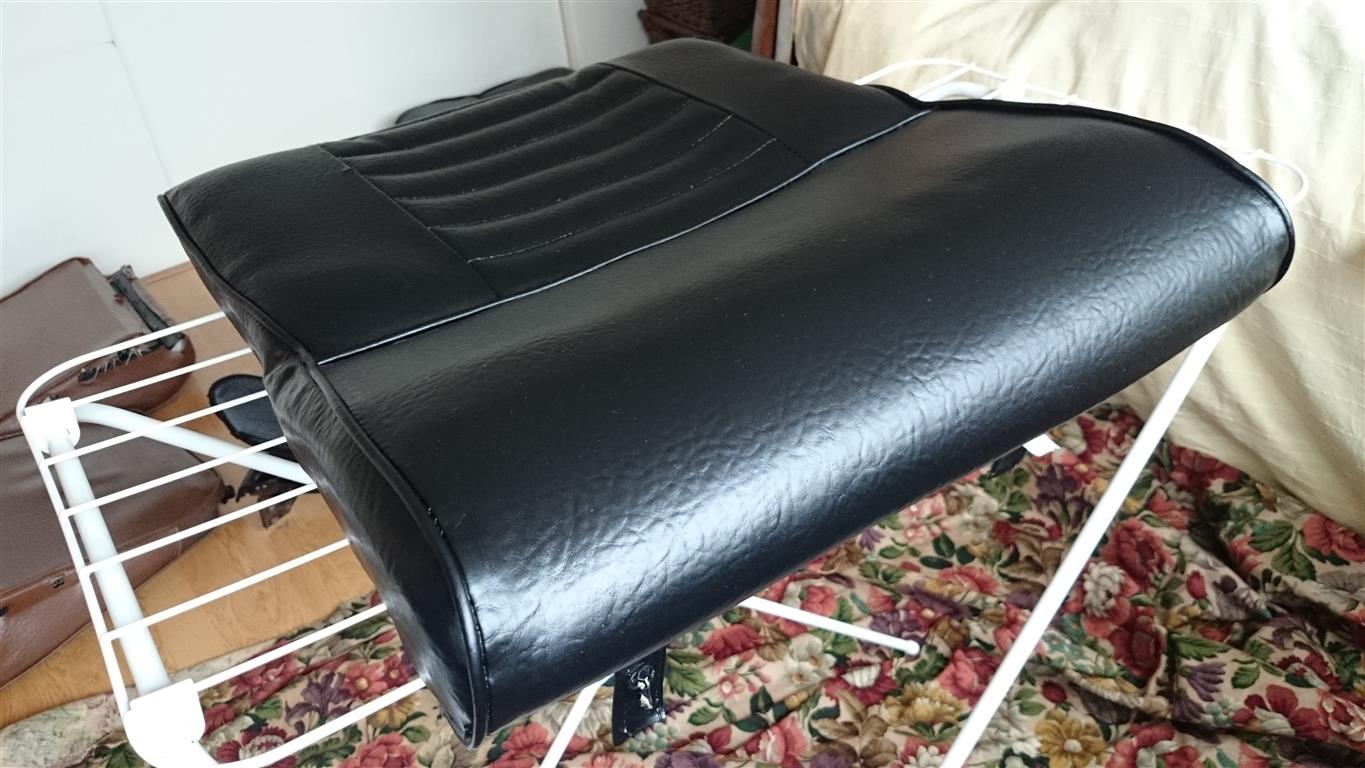
The seat support and brackets are powedercoated and all nuts, bolts and seat rails are nickle-plated so all shiny. I’m assembling the seats now.

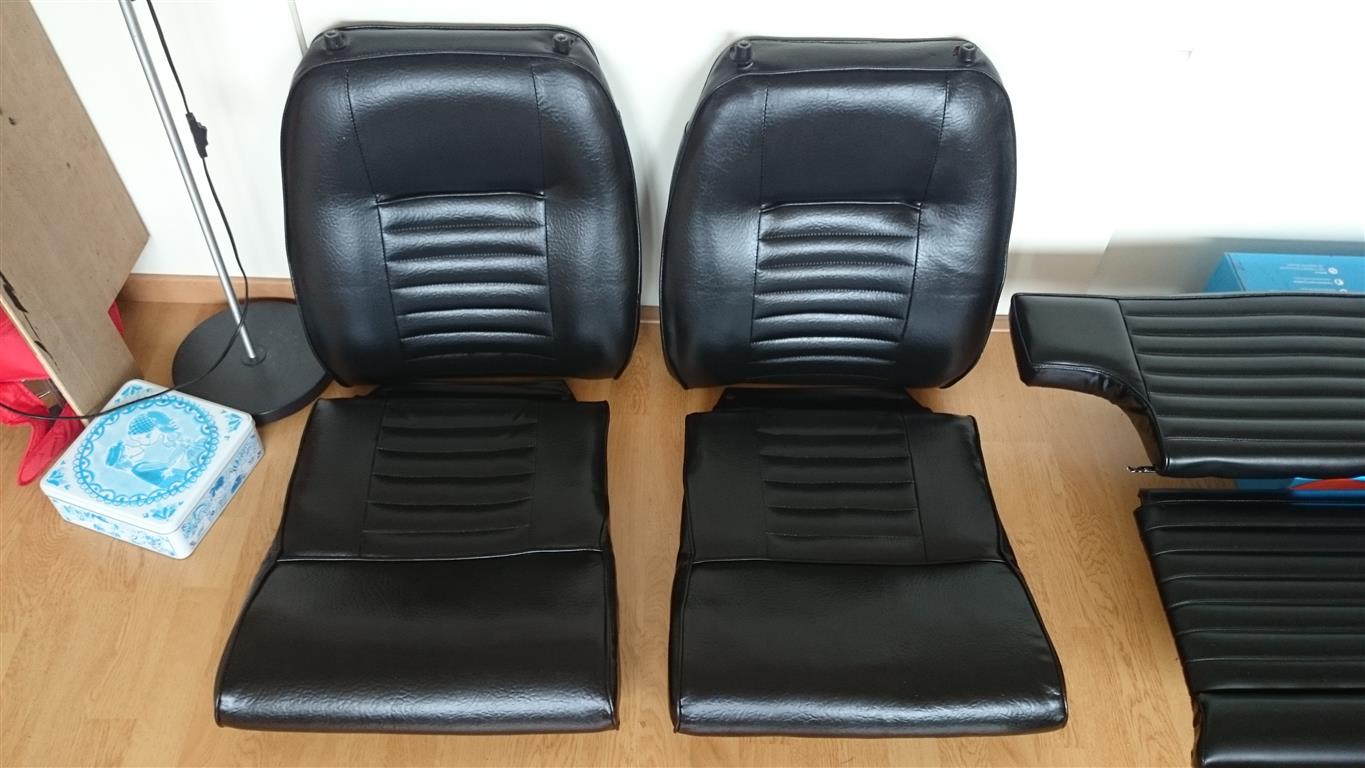
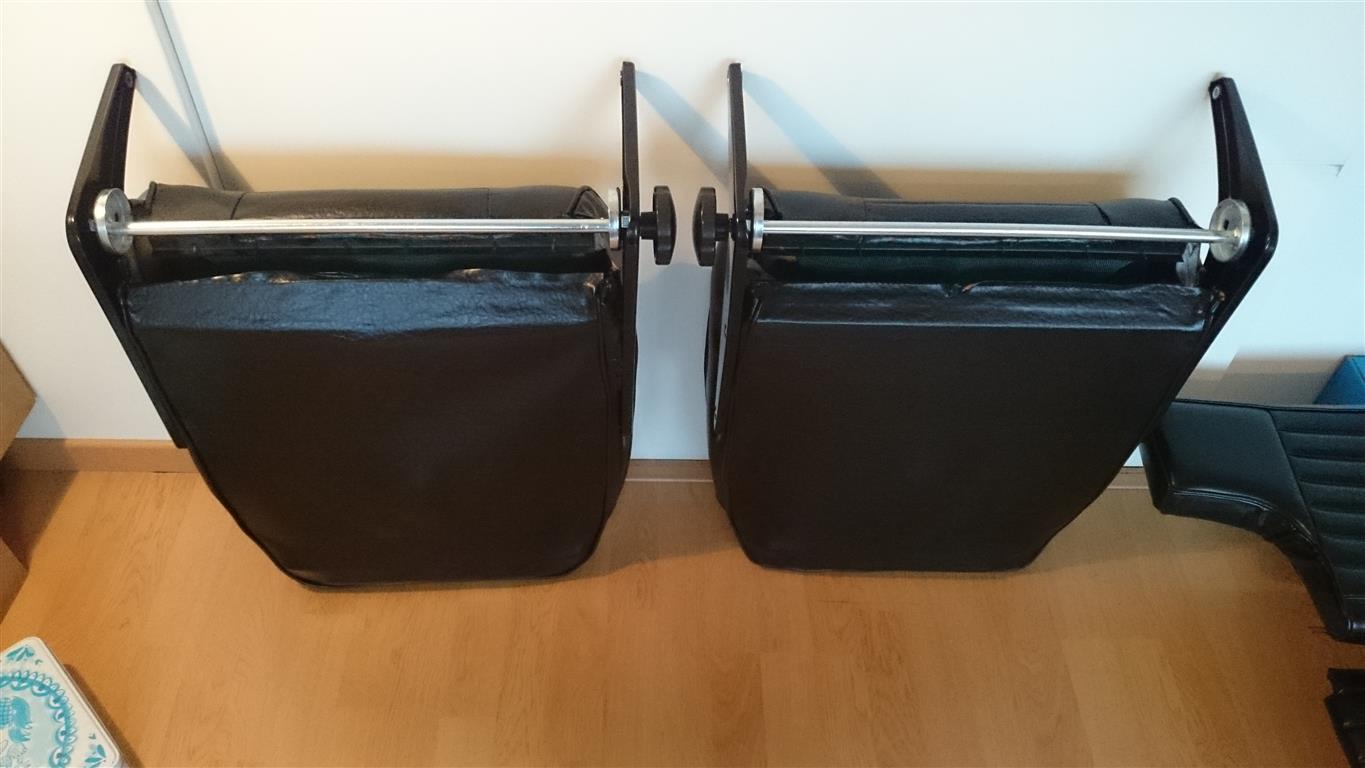


I had to tap the threads of the 5/16 nuts in the seat bottom base, which were accidentally powdercoated, and gluing the covers on the bum frame.
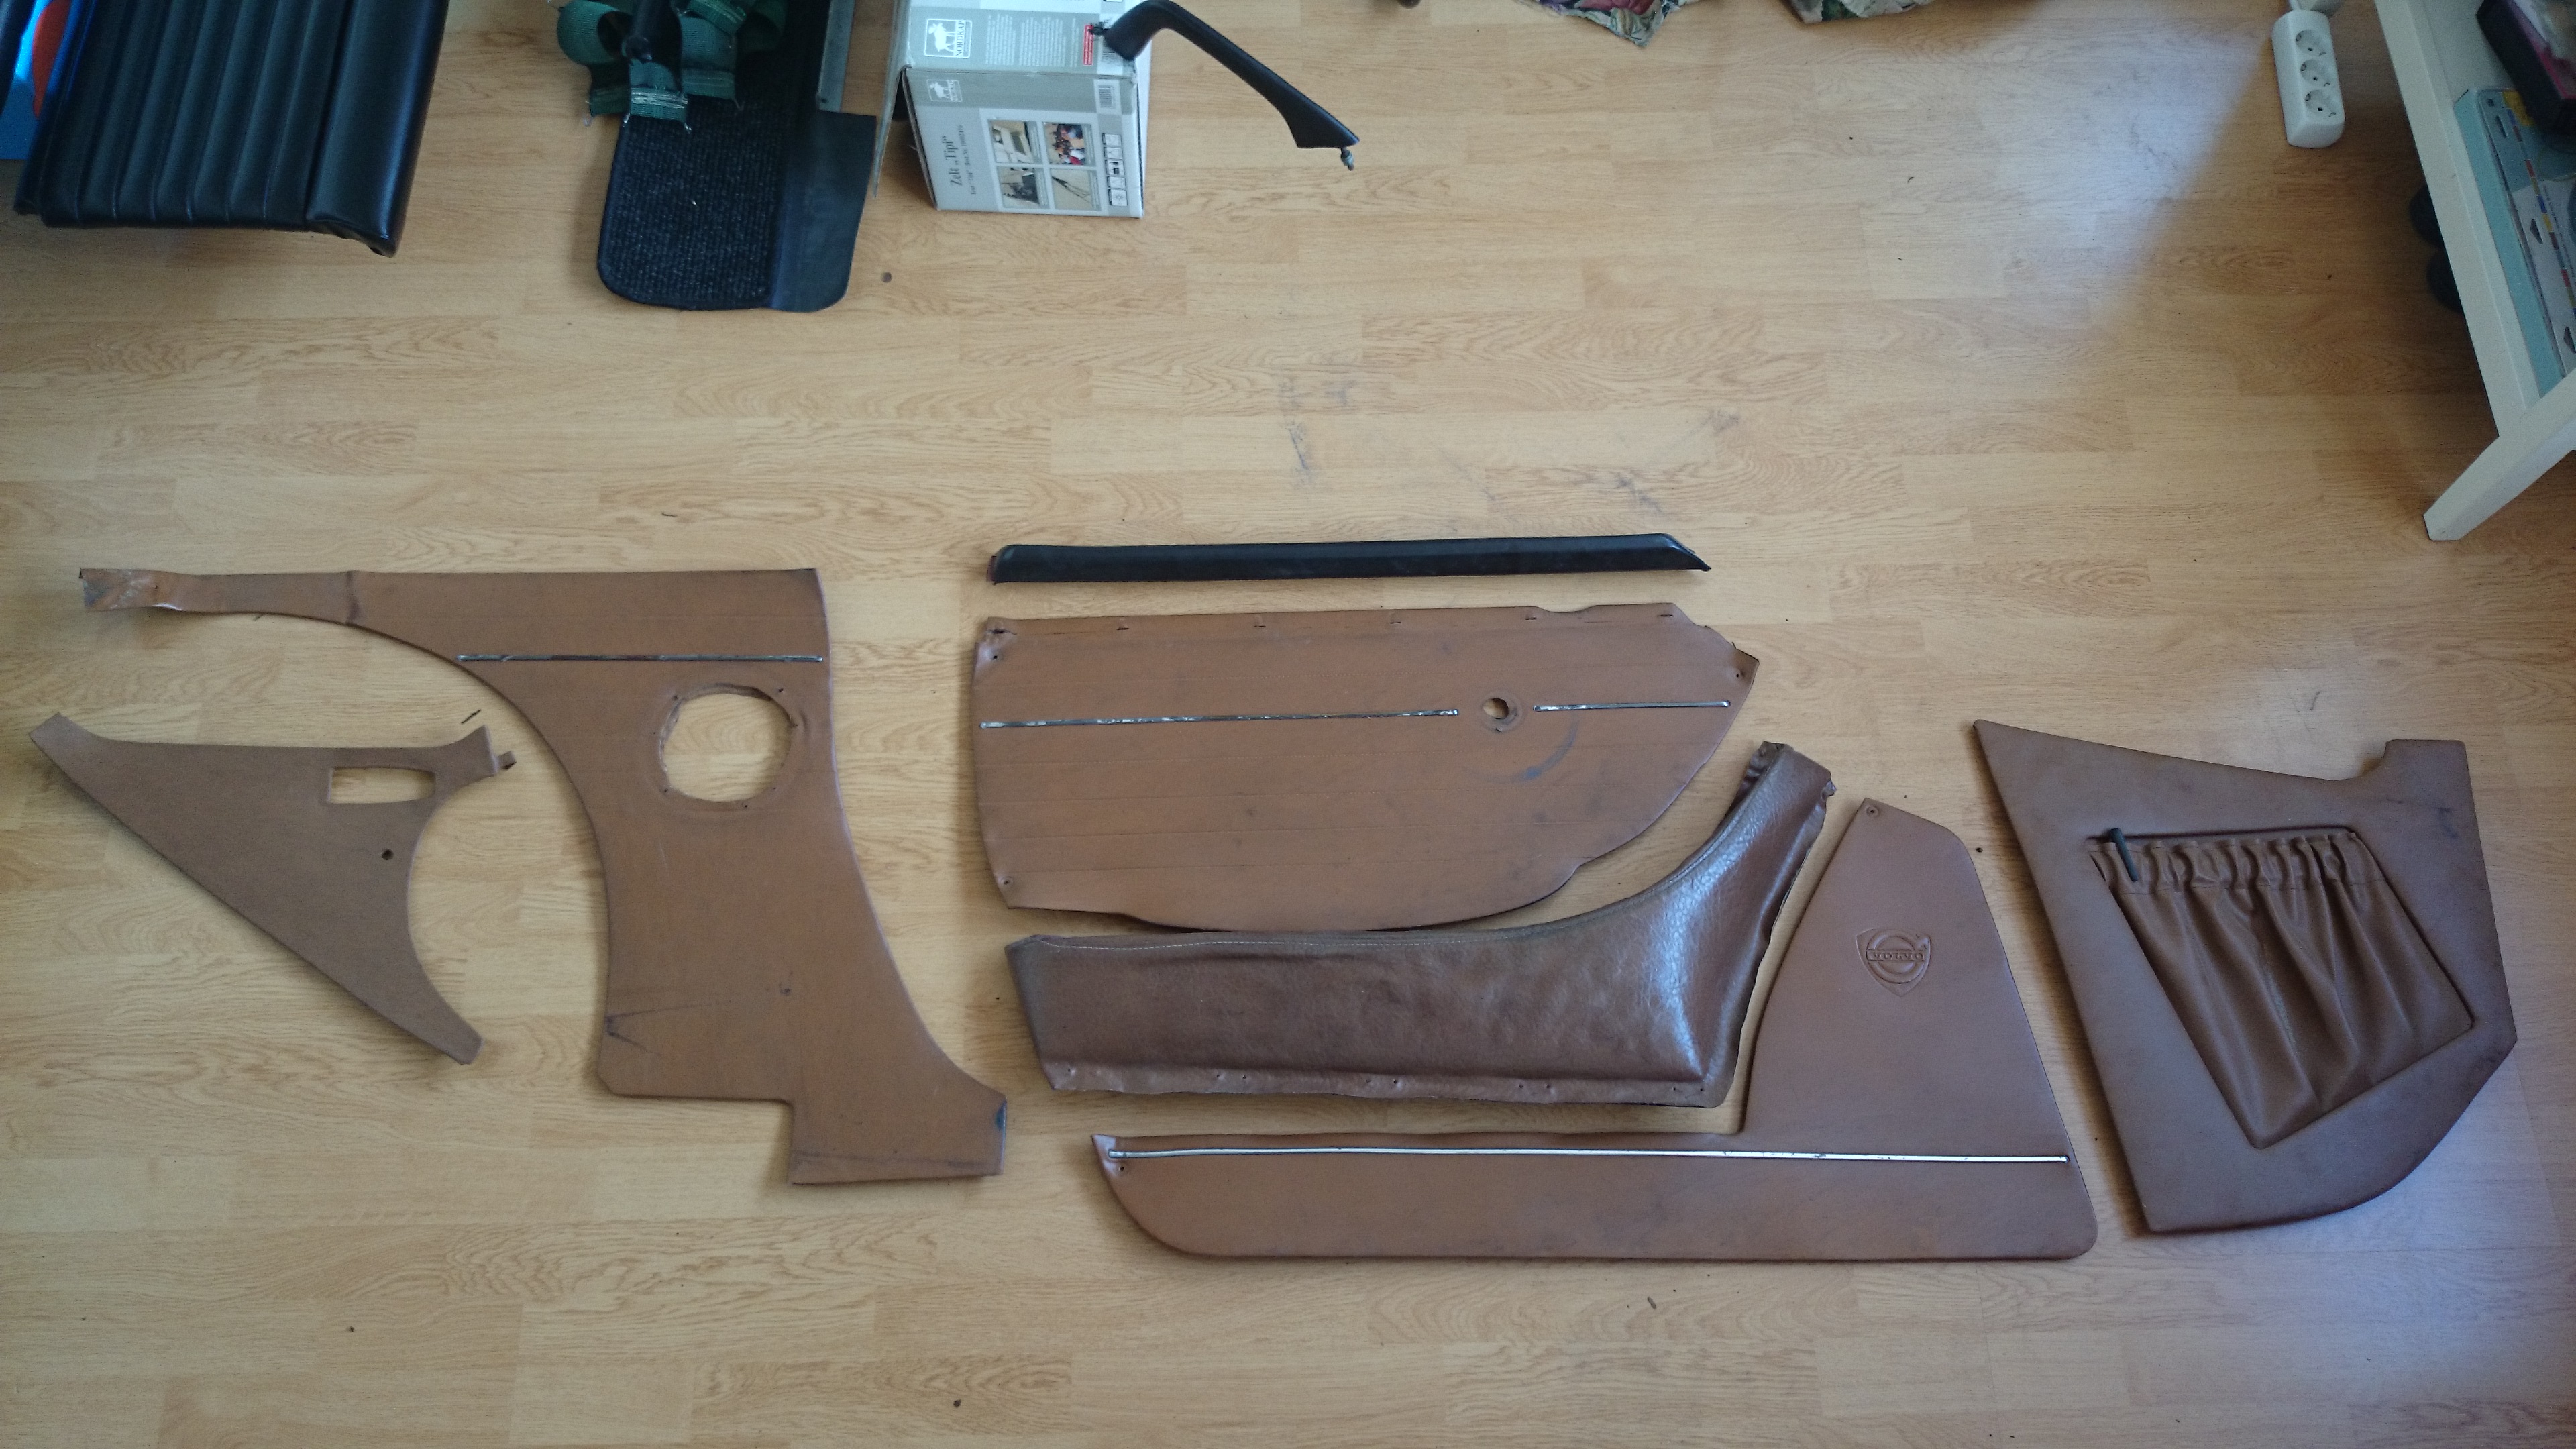
Next job will be to paint the interior panels, but first I have to replace the wooden panels with some waterproof ones and then I can paint the panels.
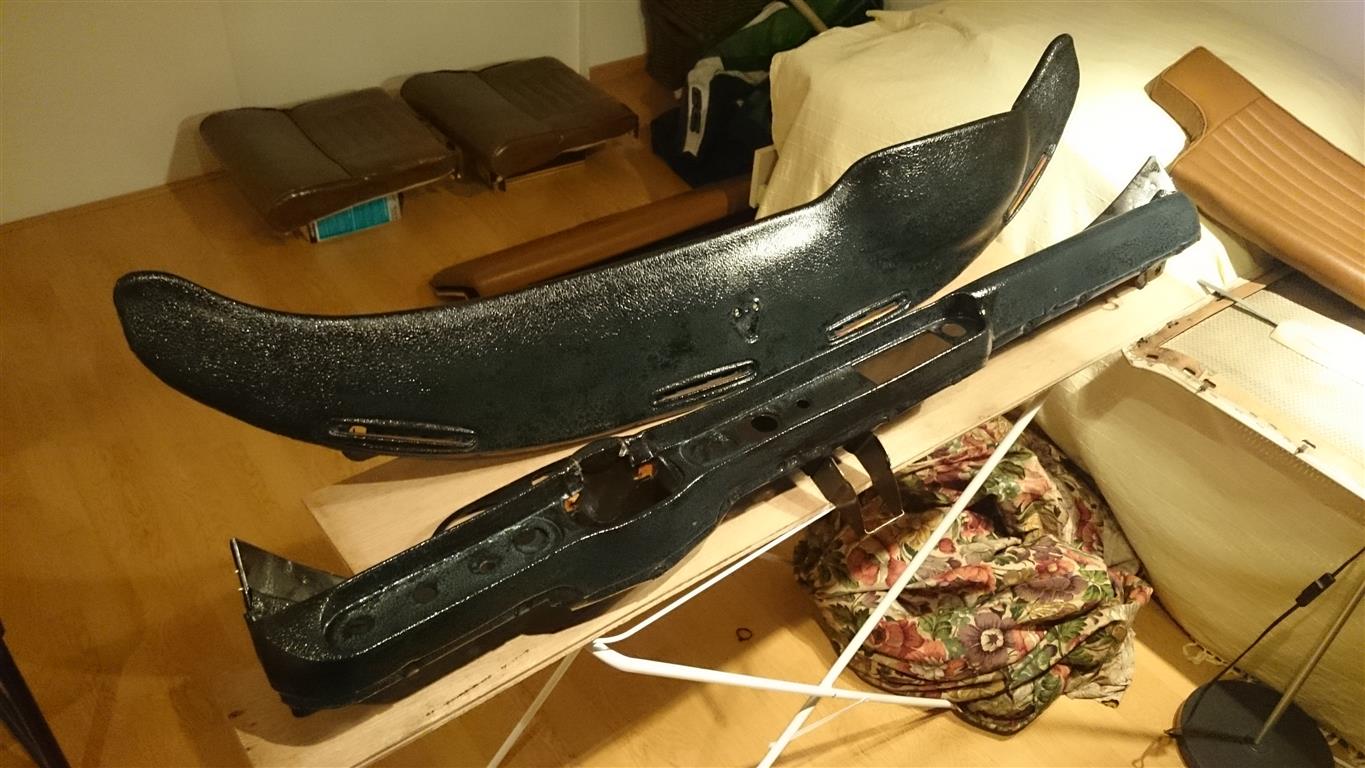
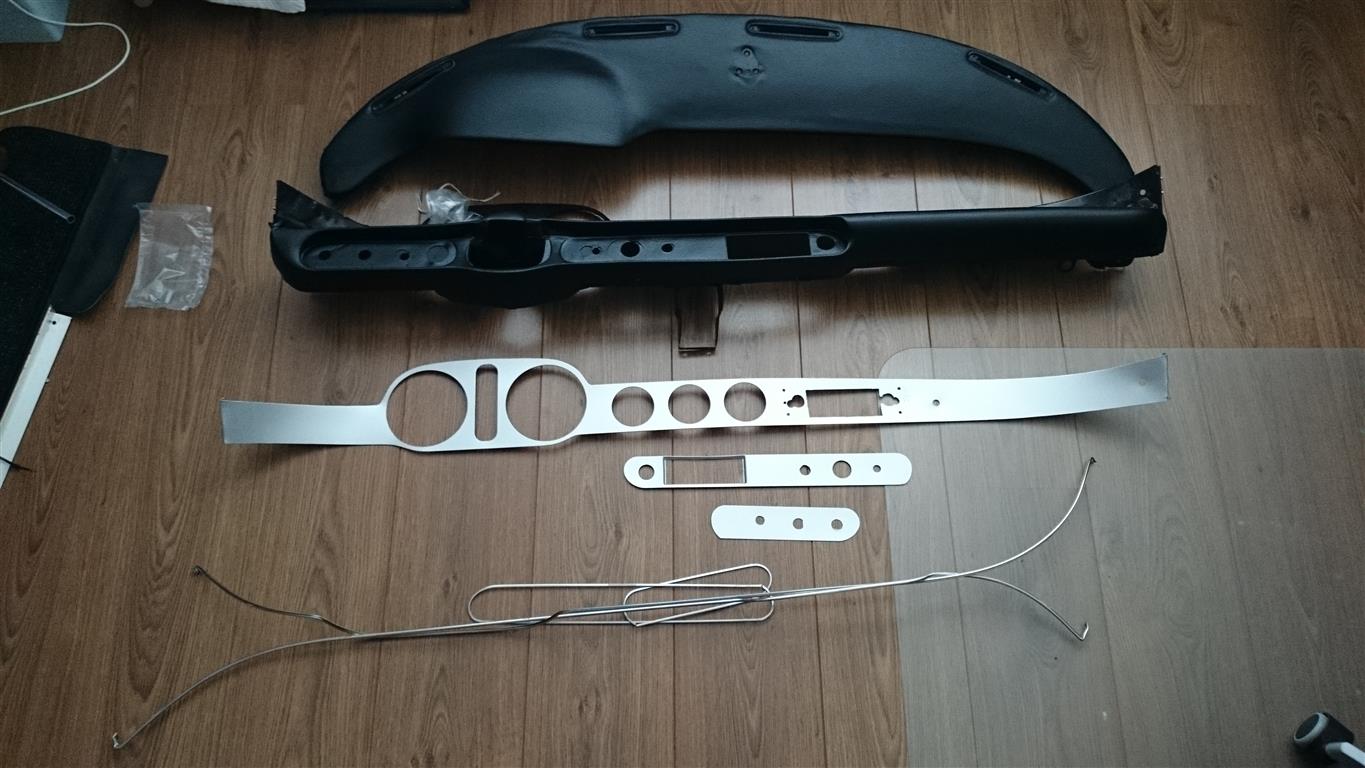
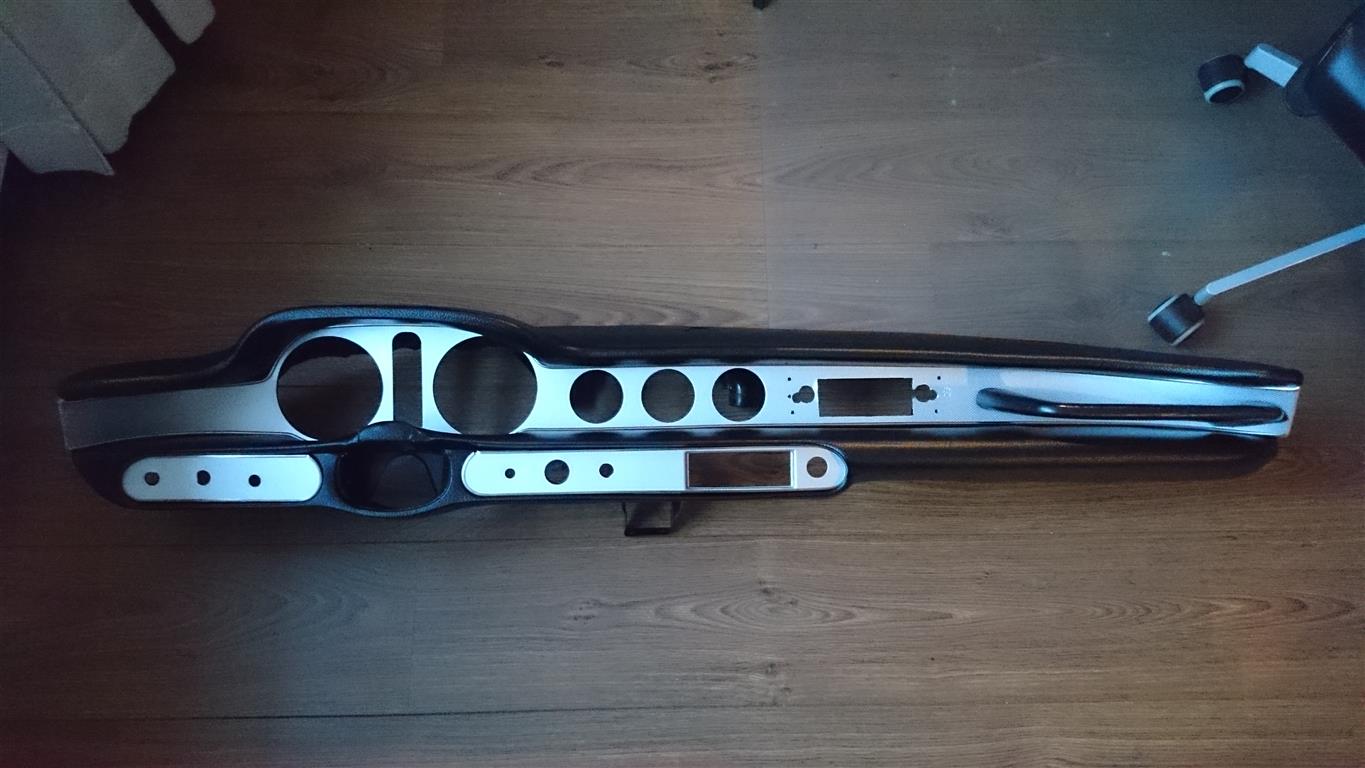
Also the dashboard is finished. I was a bit in doubt if I would repad the whole thing, but this was not necessary. There where only 2 small cracks which I repaired (stop-drilled, filled up and painted) so I decided not to repad it. A repaired and painted fresh almost new dash (the holes will be covered by the radio):
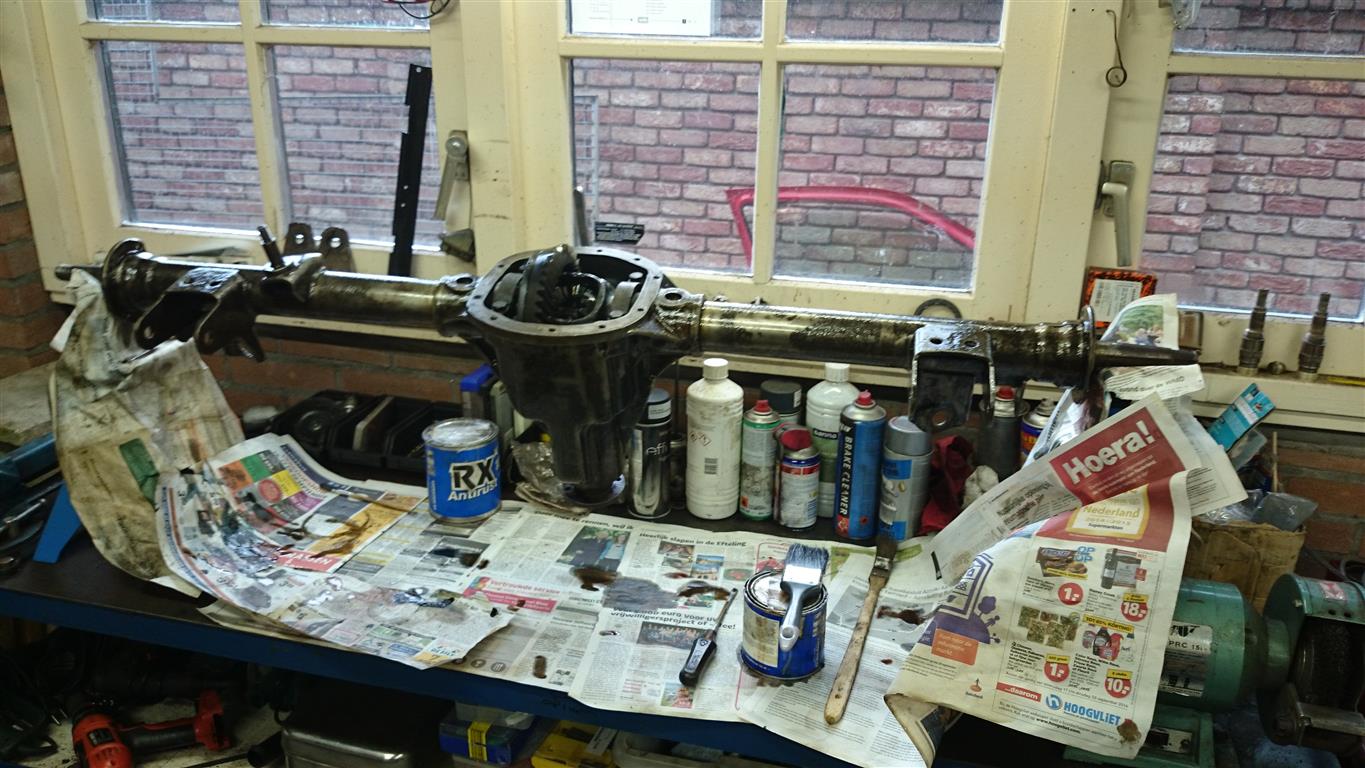
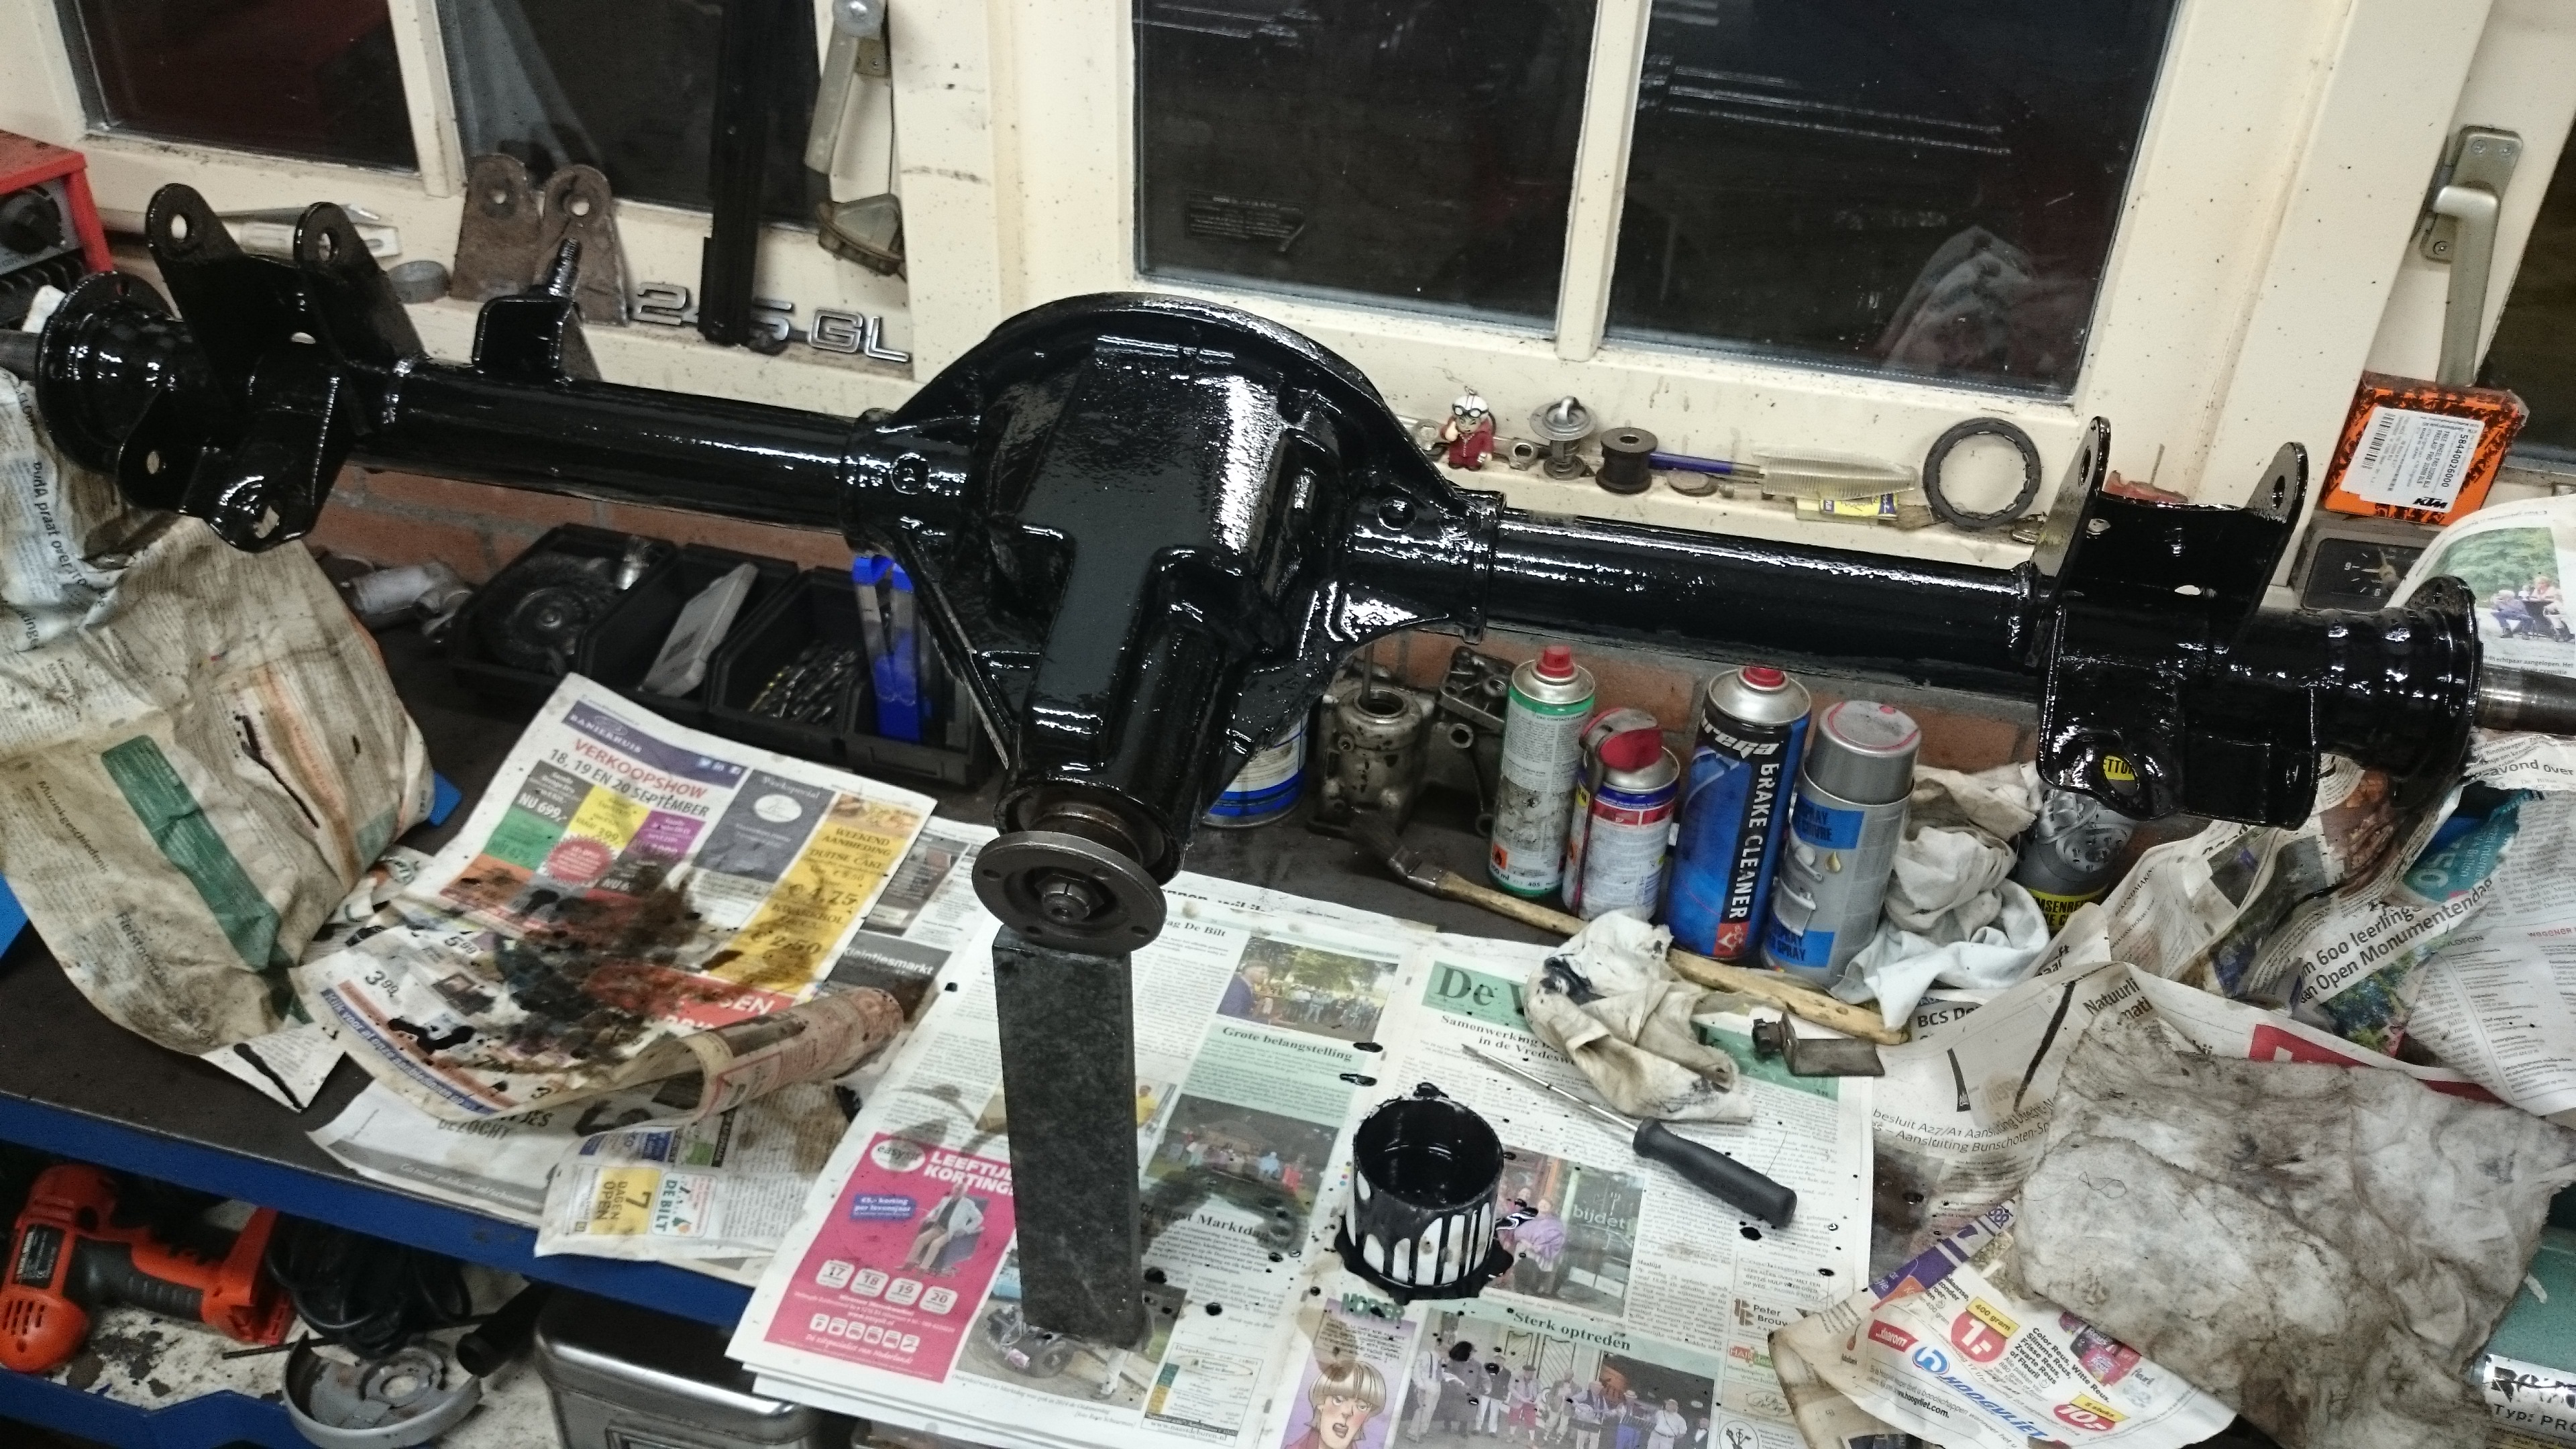
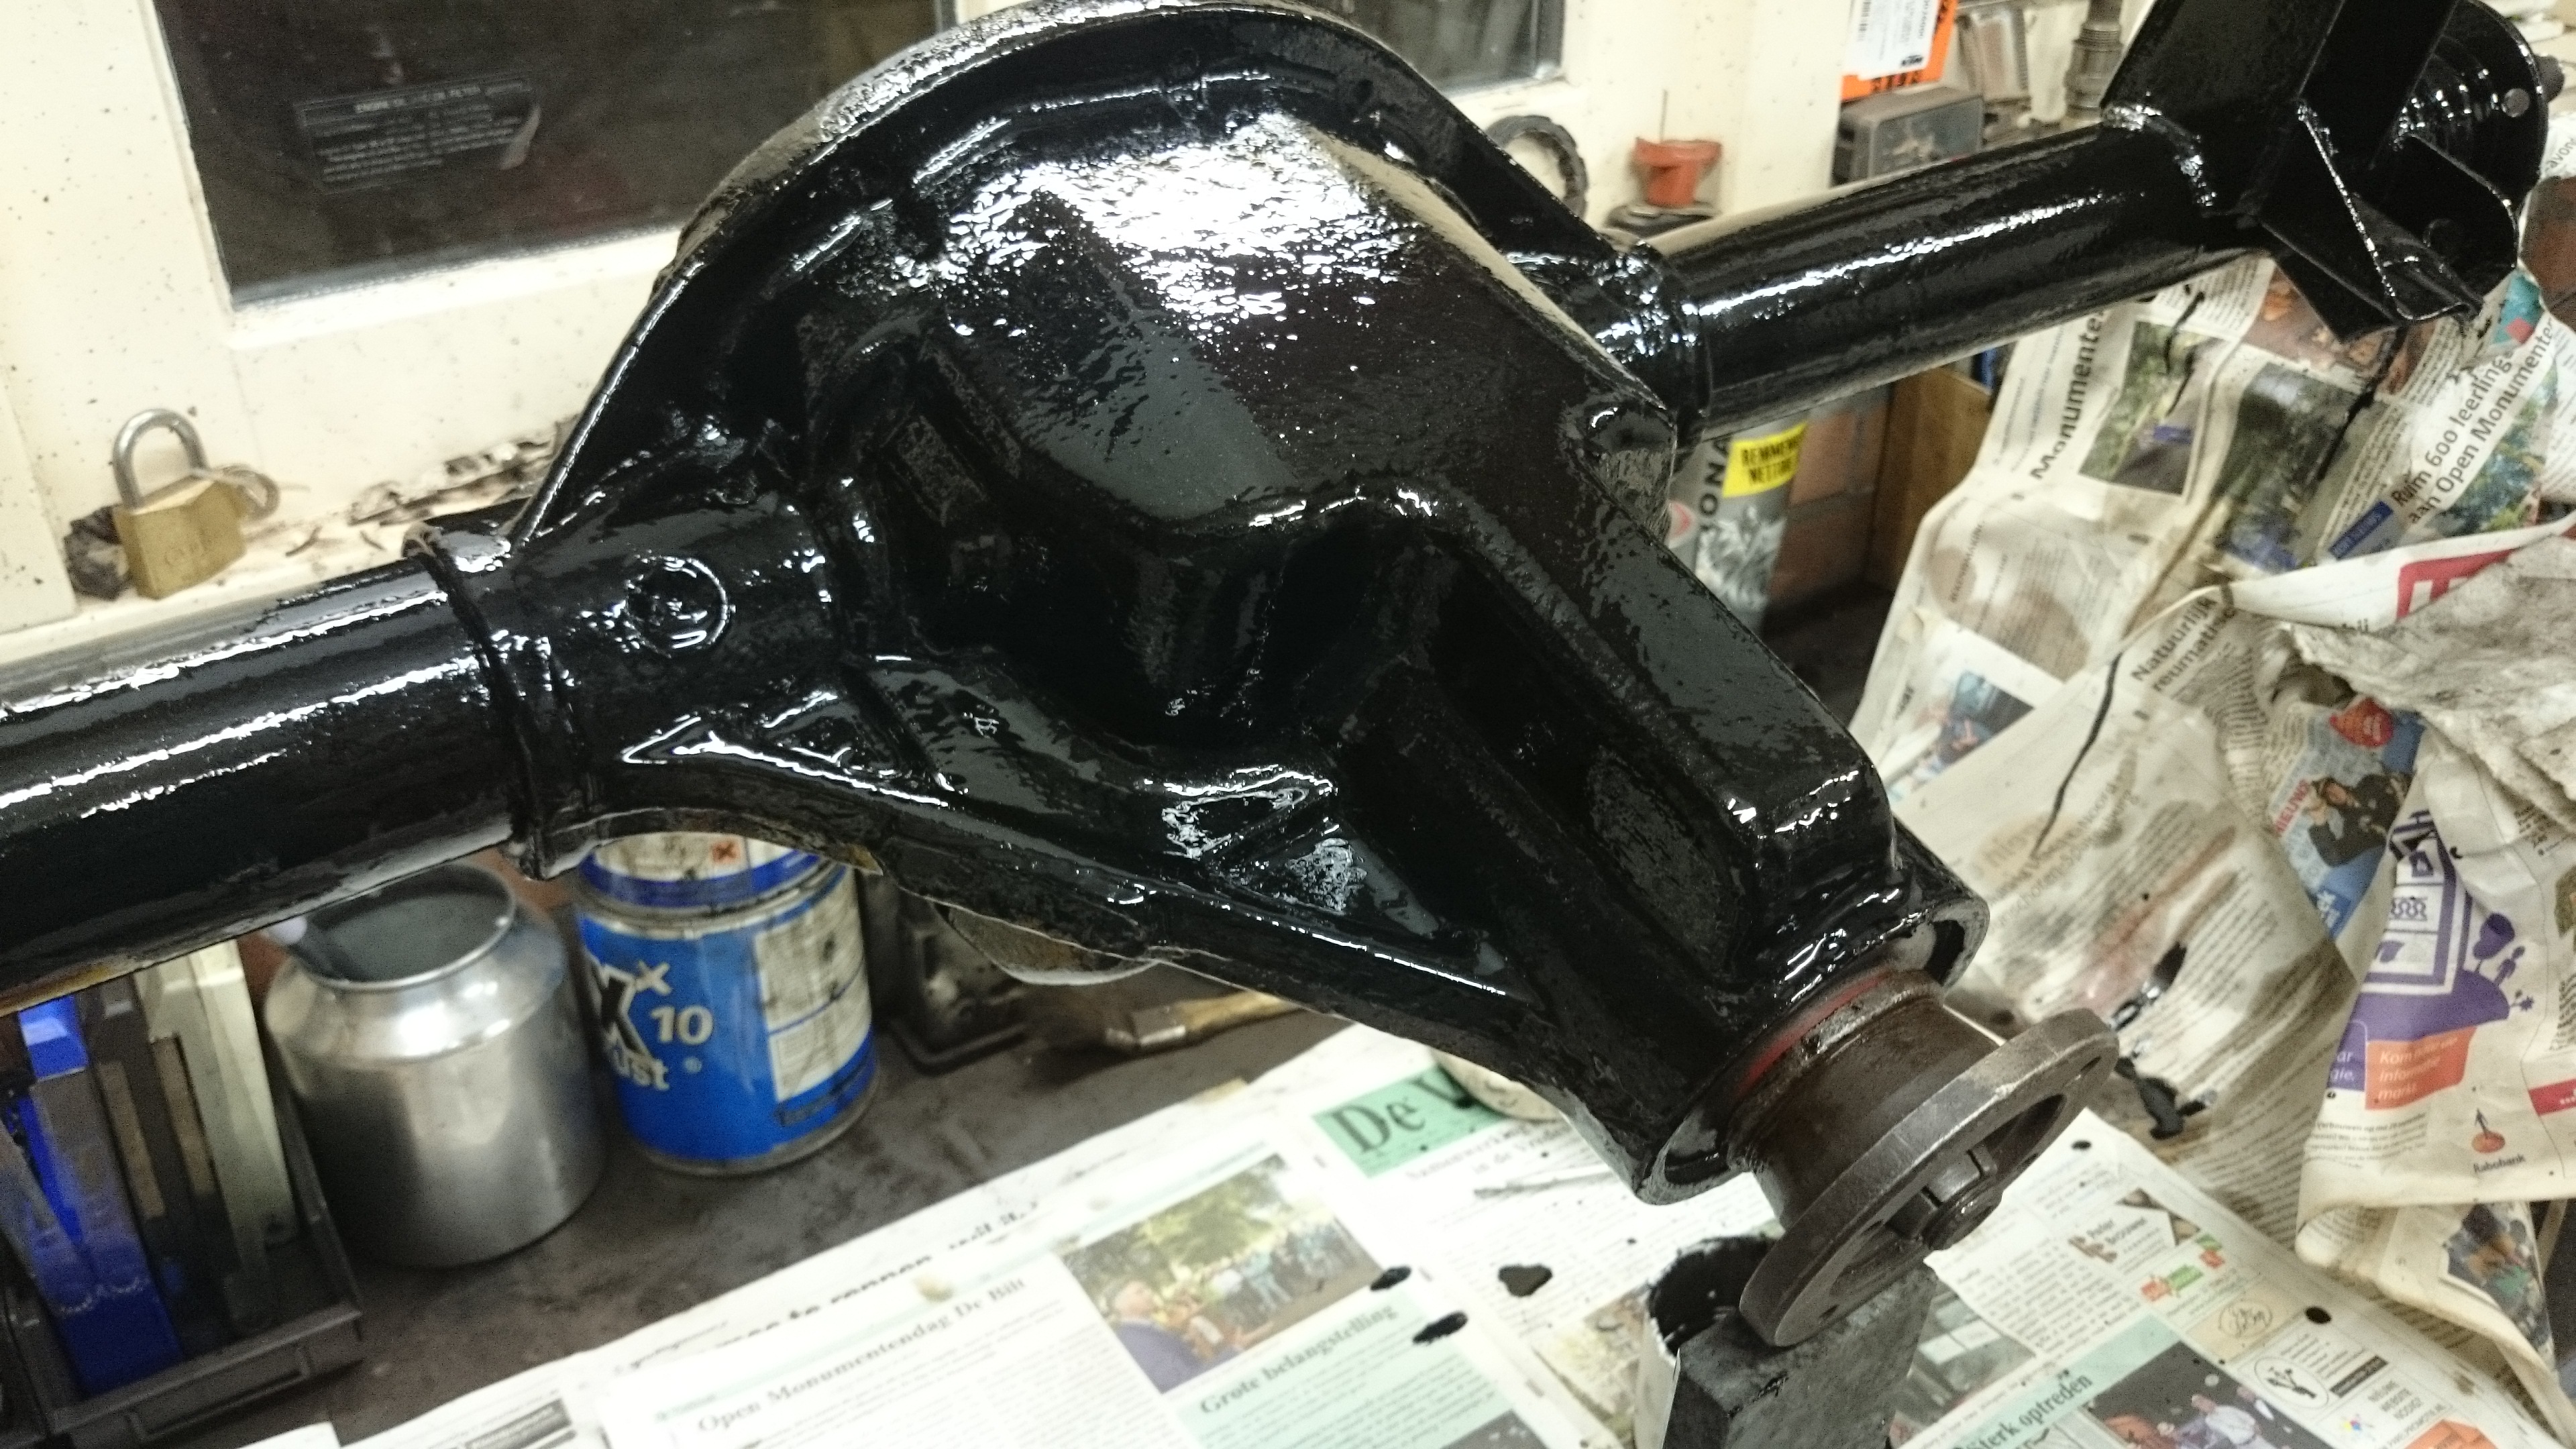
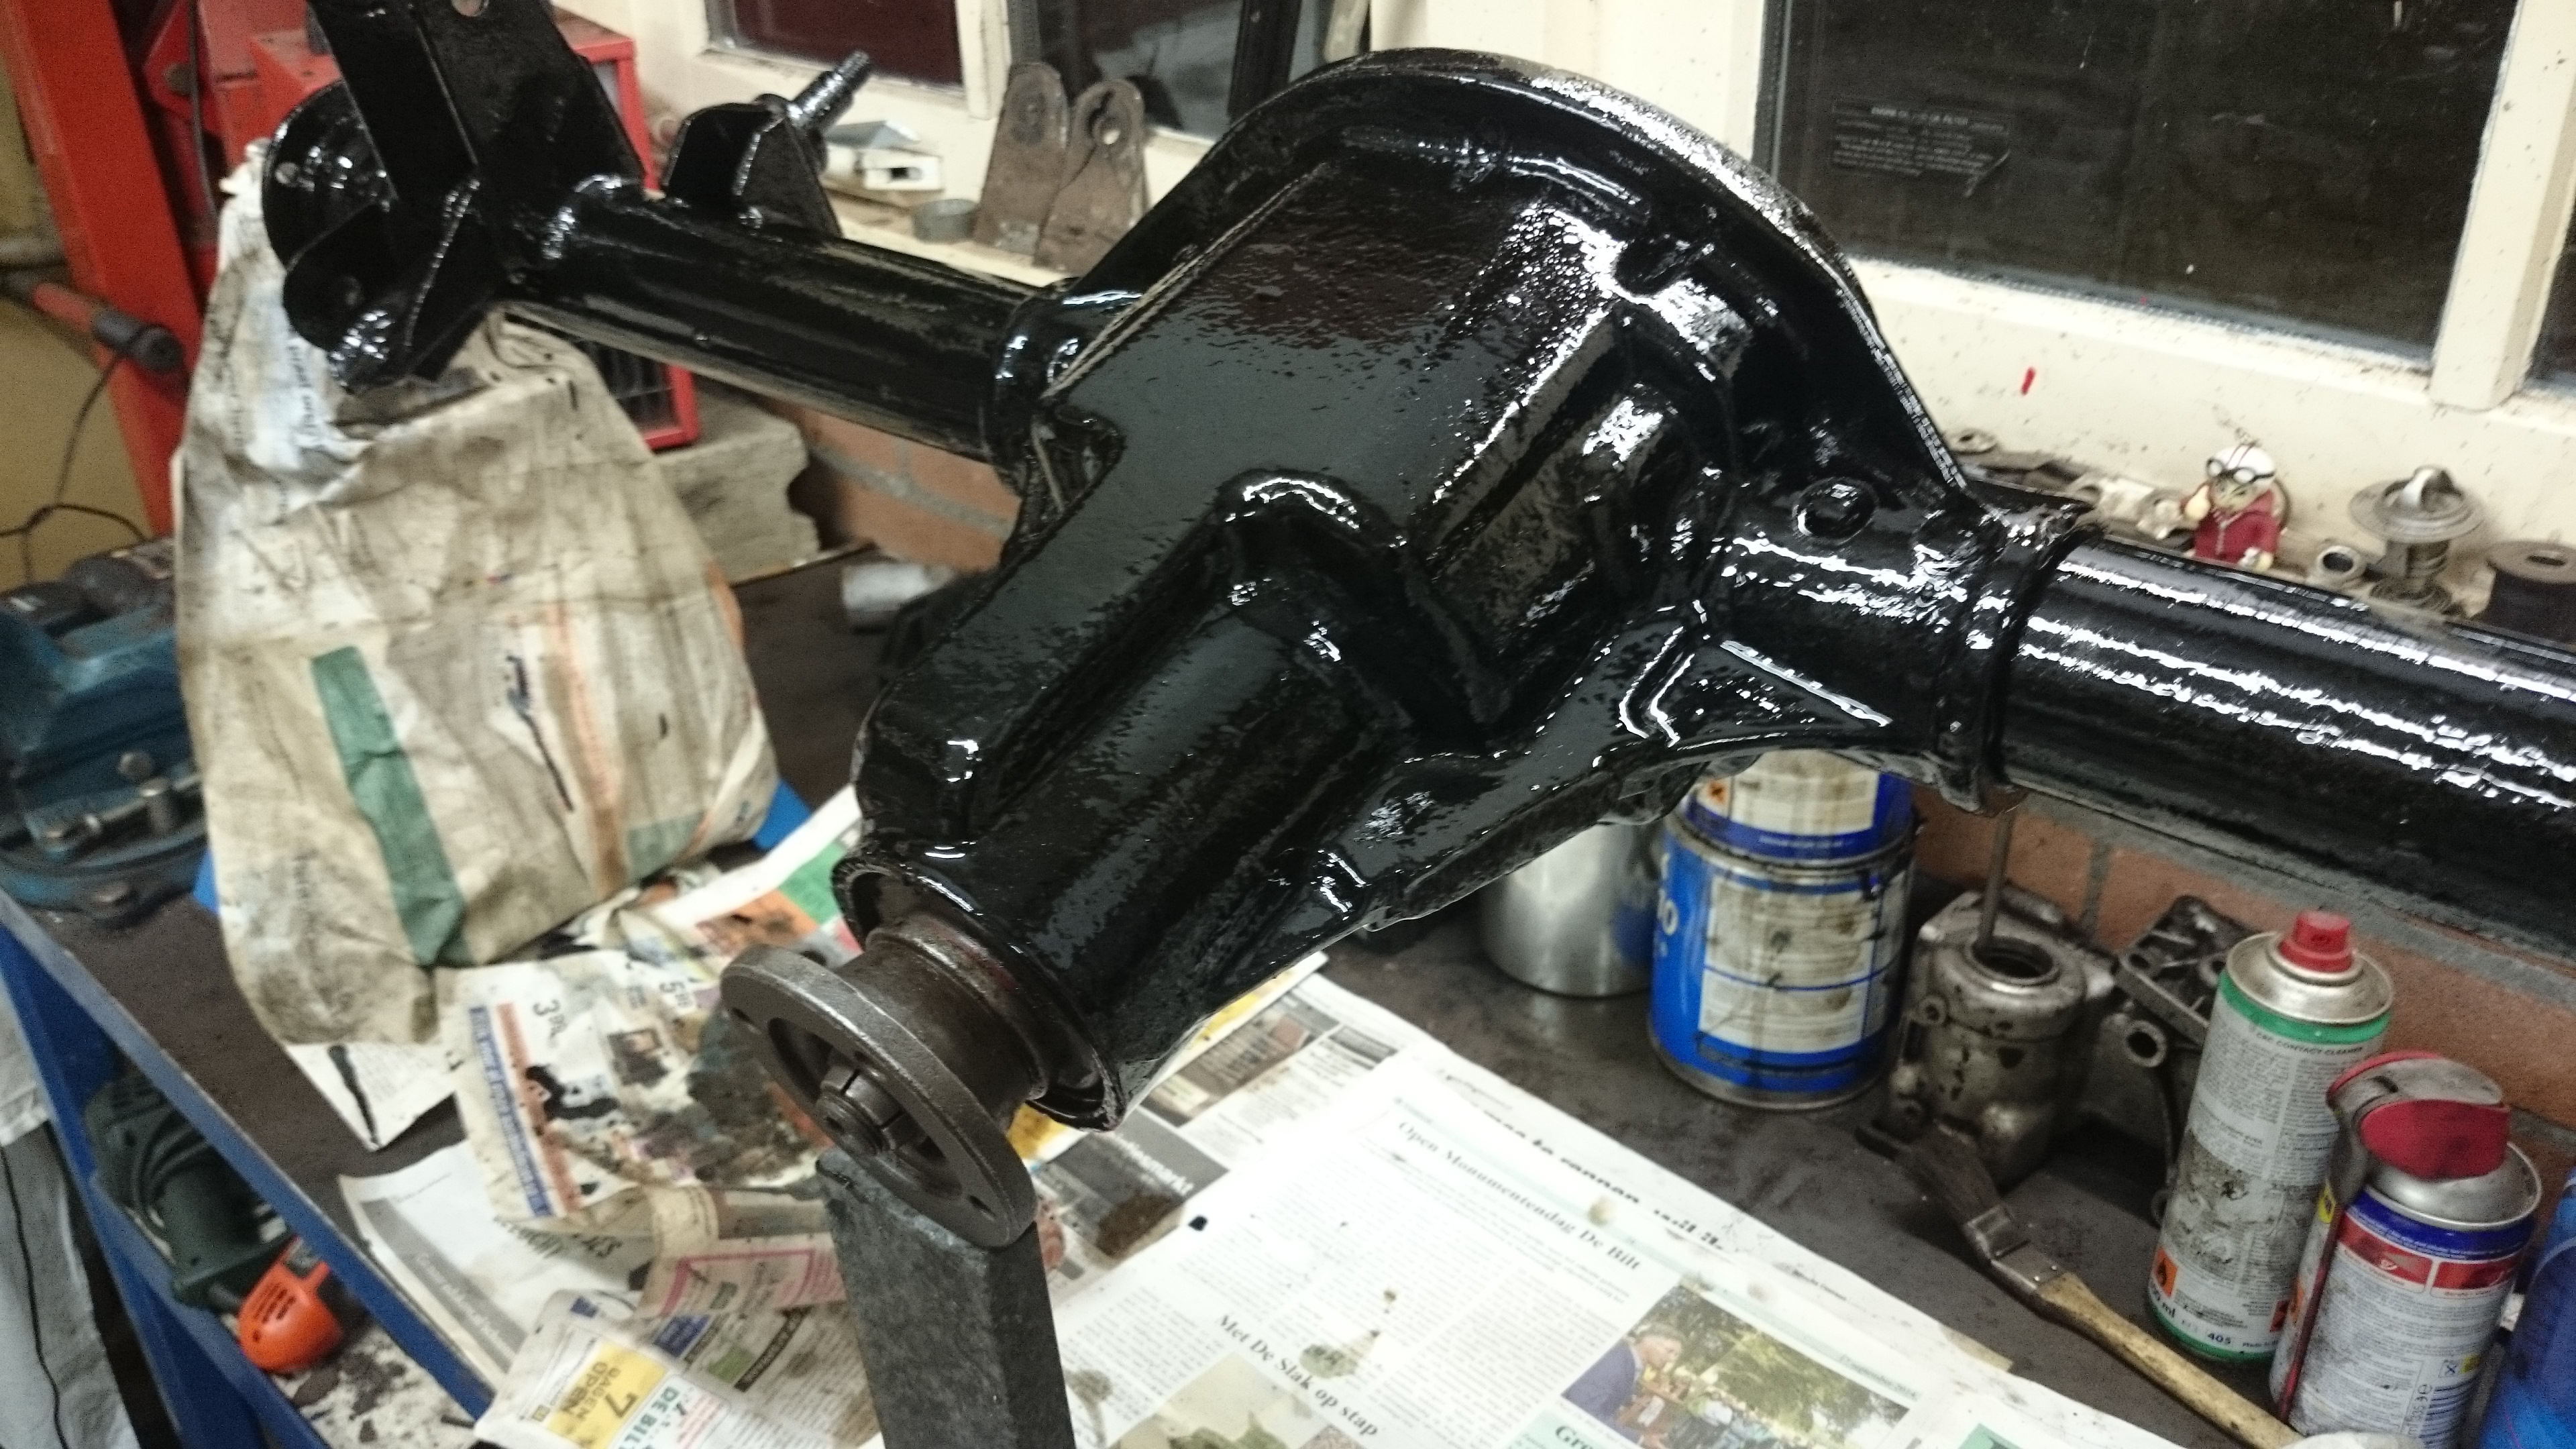
And cleaned up the rear axle and applied the first three layers of paint (1st & 2nd RX5, 3rd 50% RX5 – 50% RX10, next layer 5% RX5 – 95% RX10):
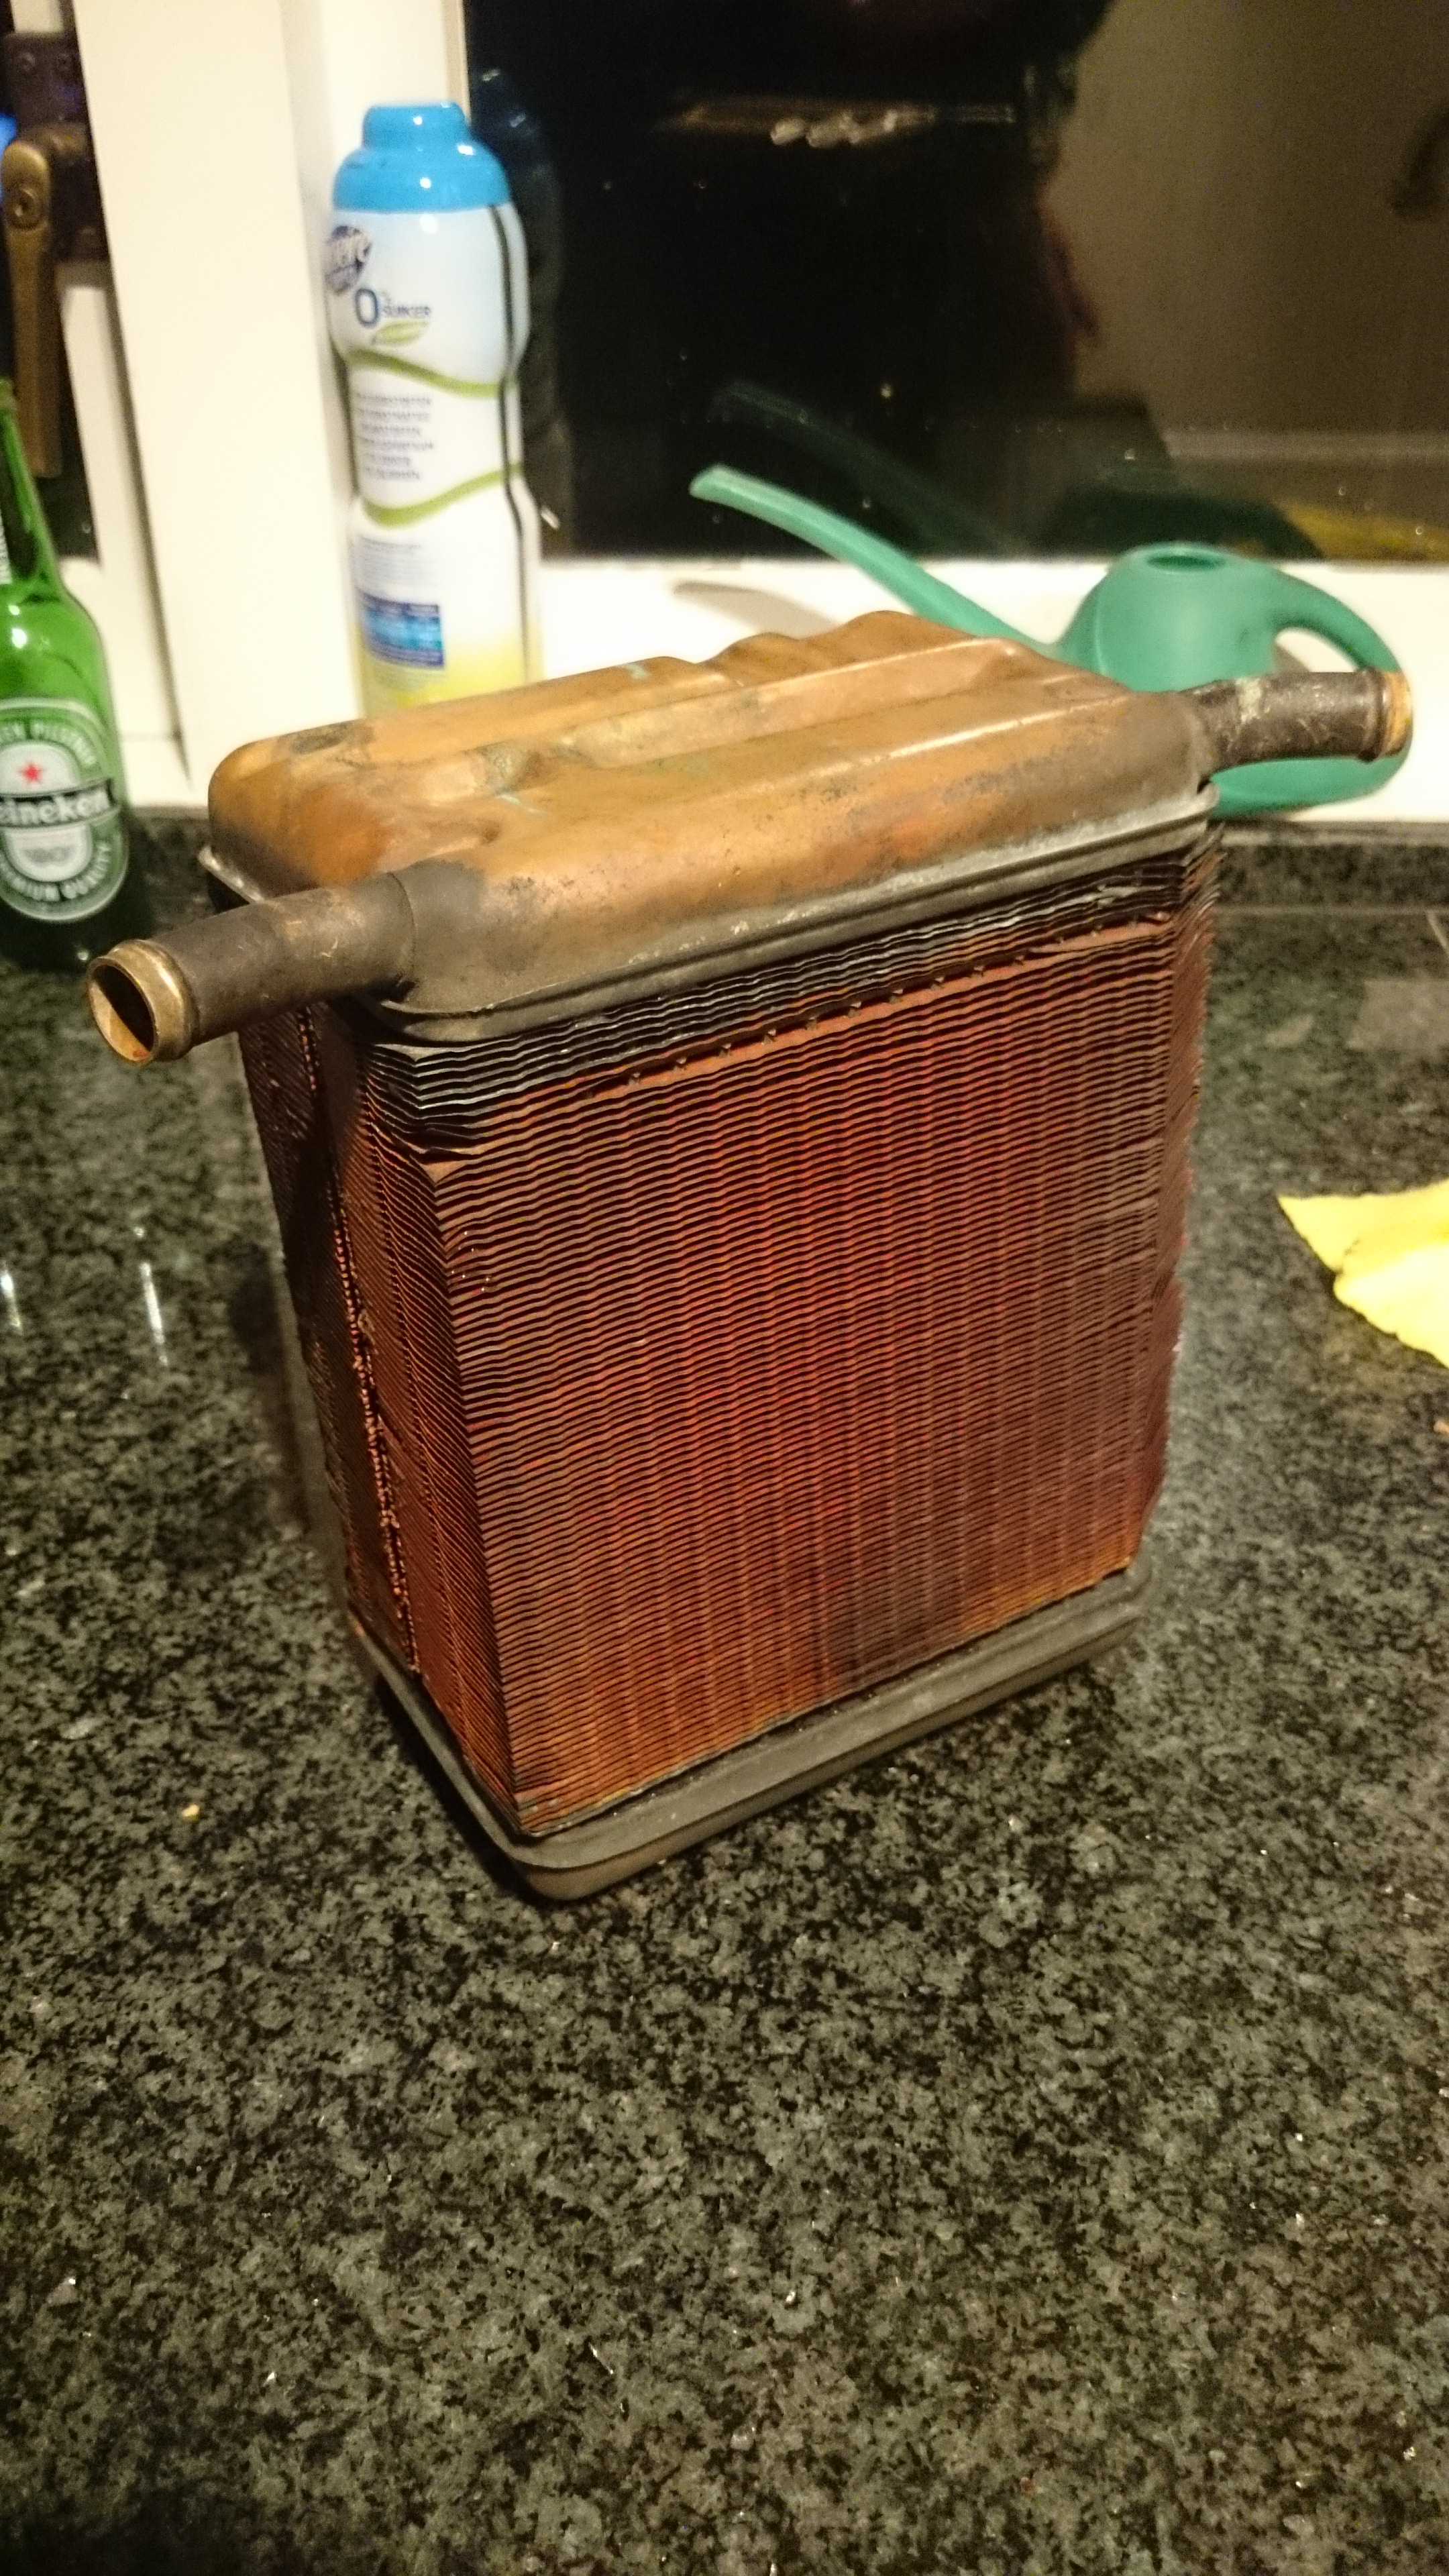
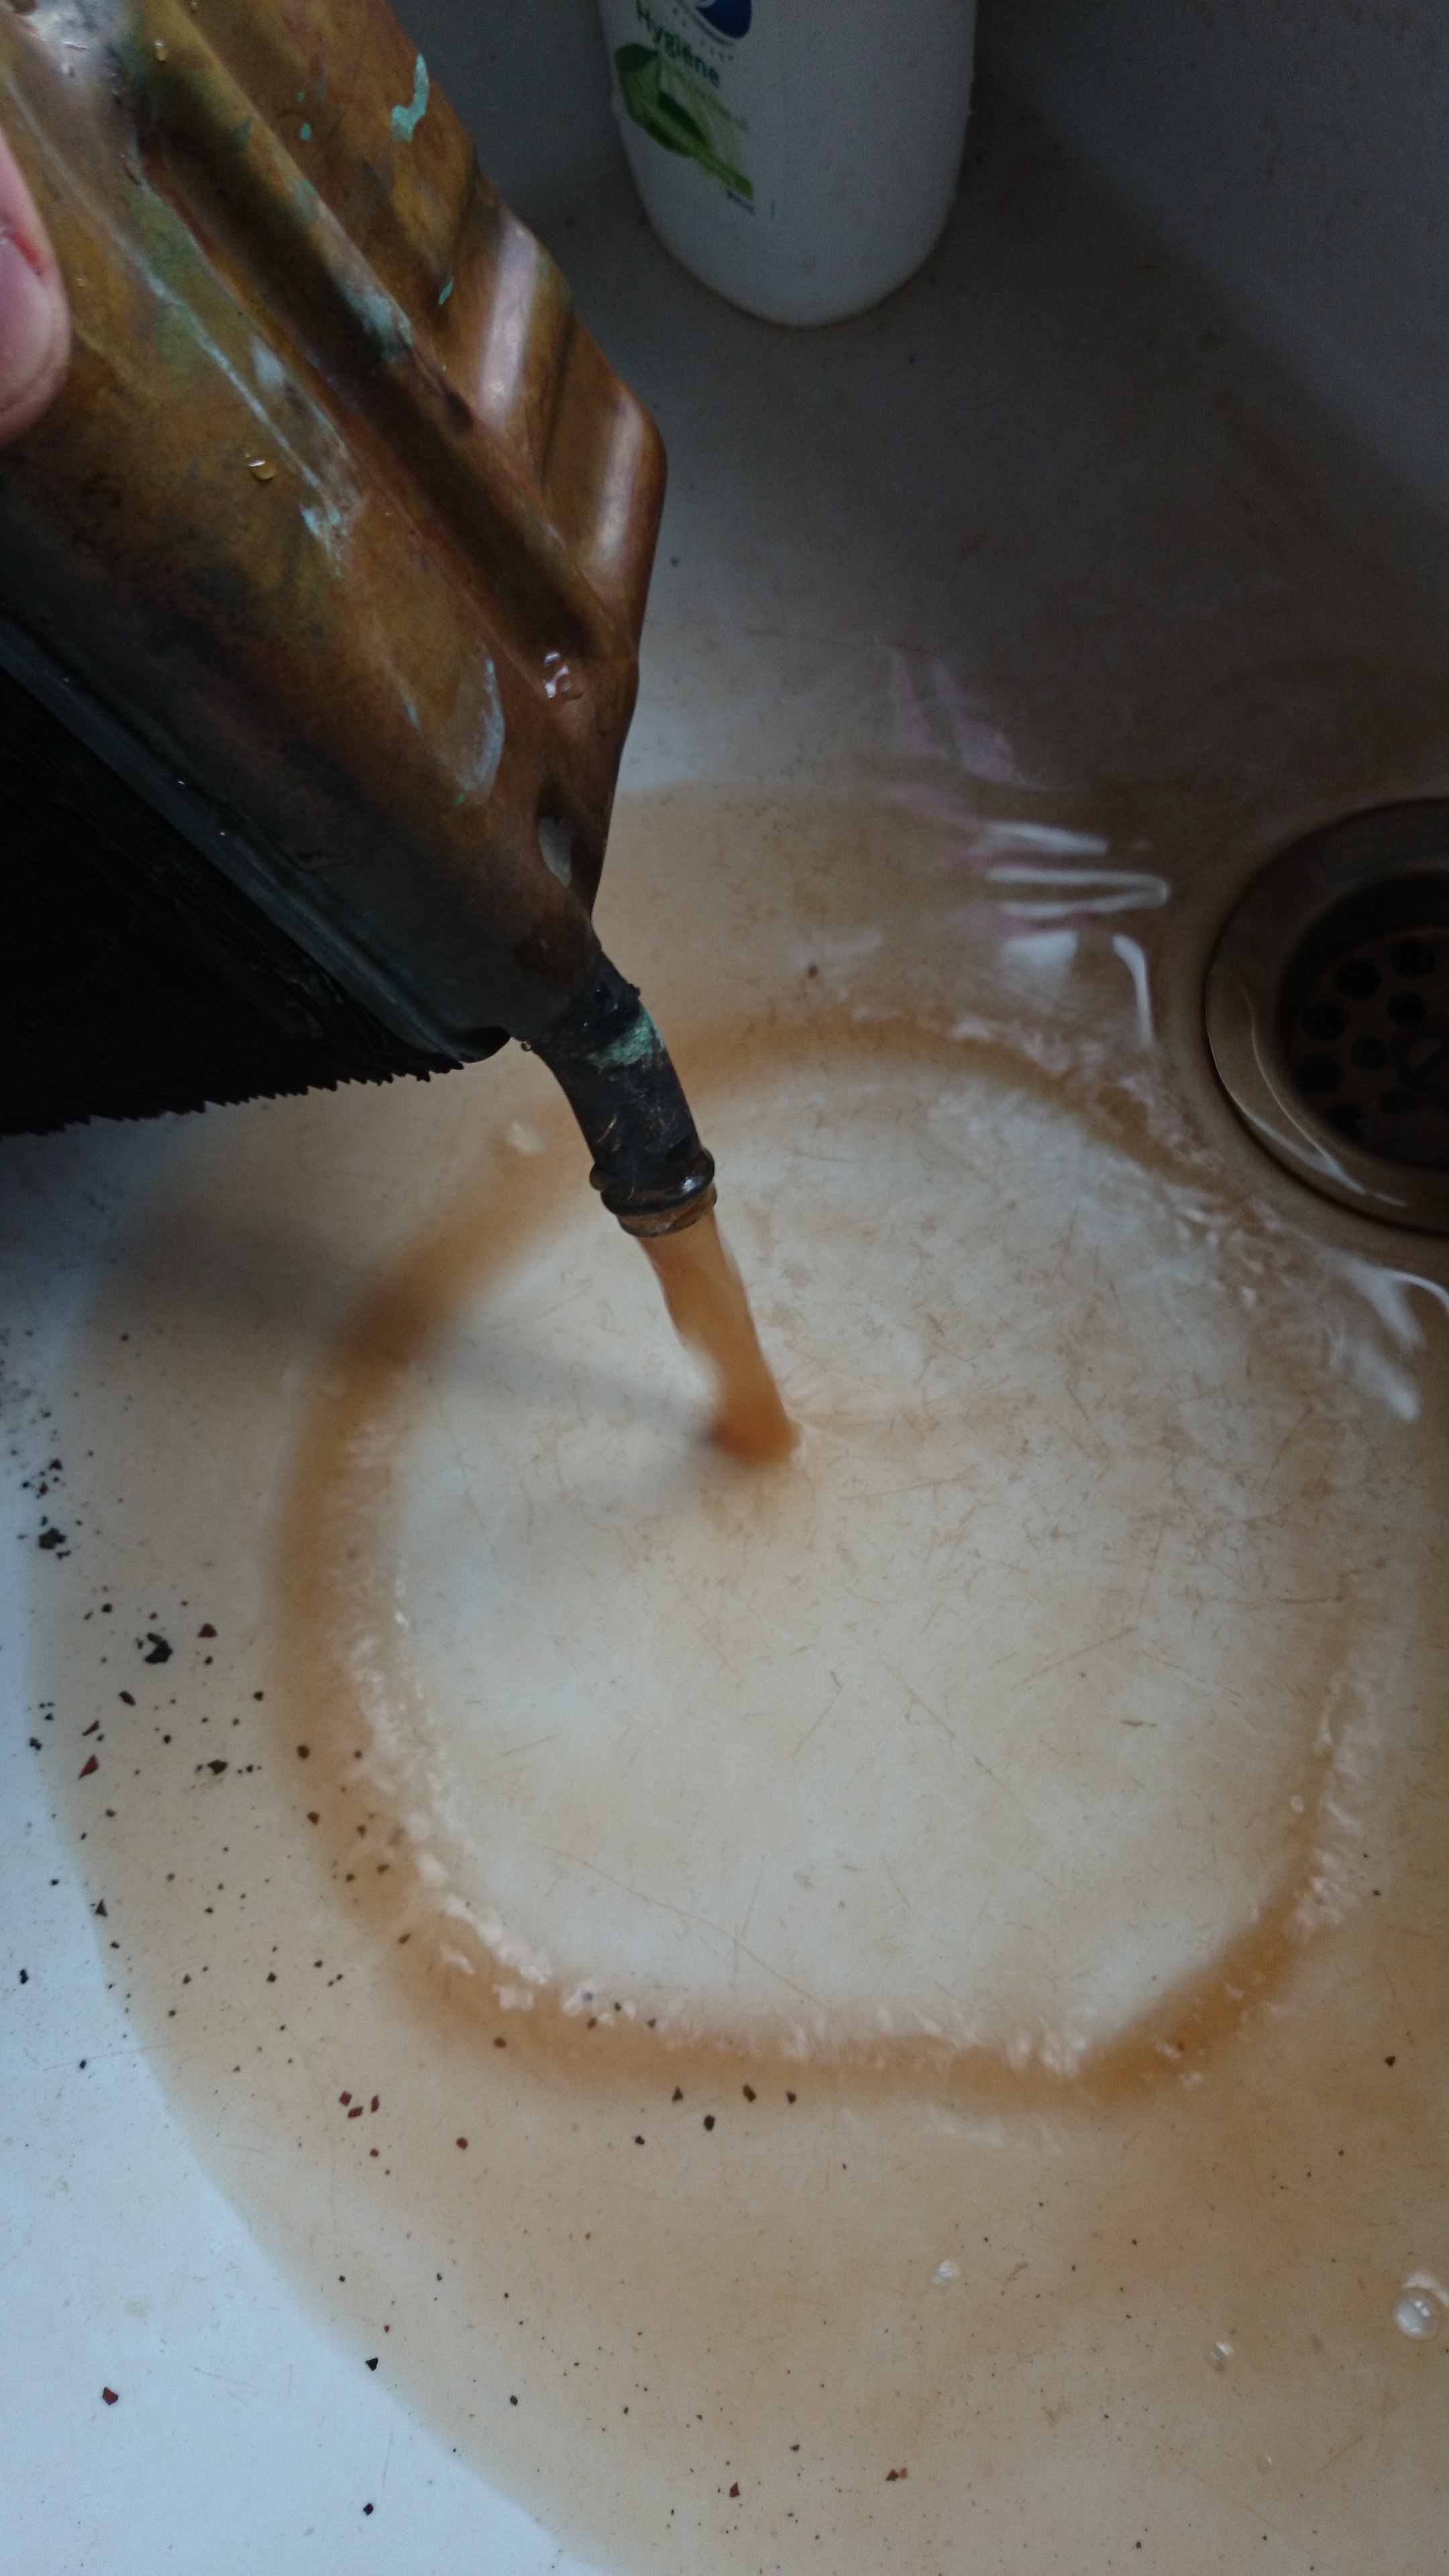
And cleaning out the interior radiator, lots of sludge came out. The thing looks overall very good, possibly I’ll send it to a radiator shop for a check up.
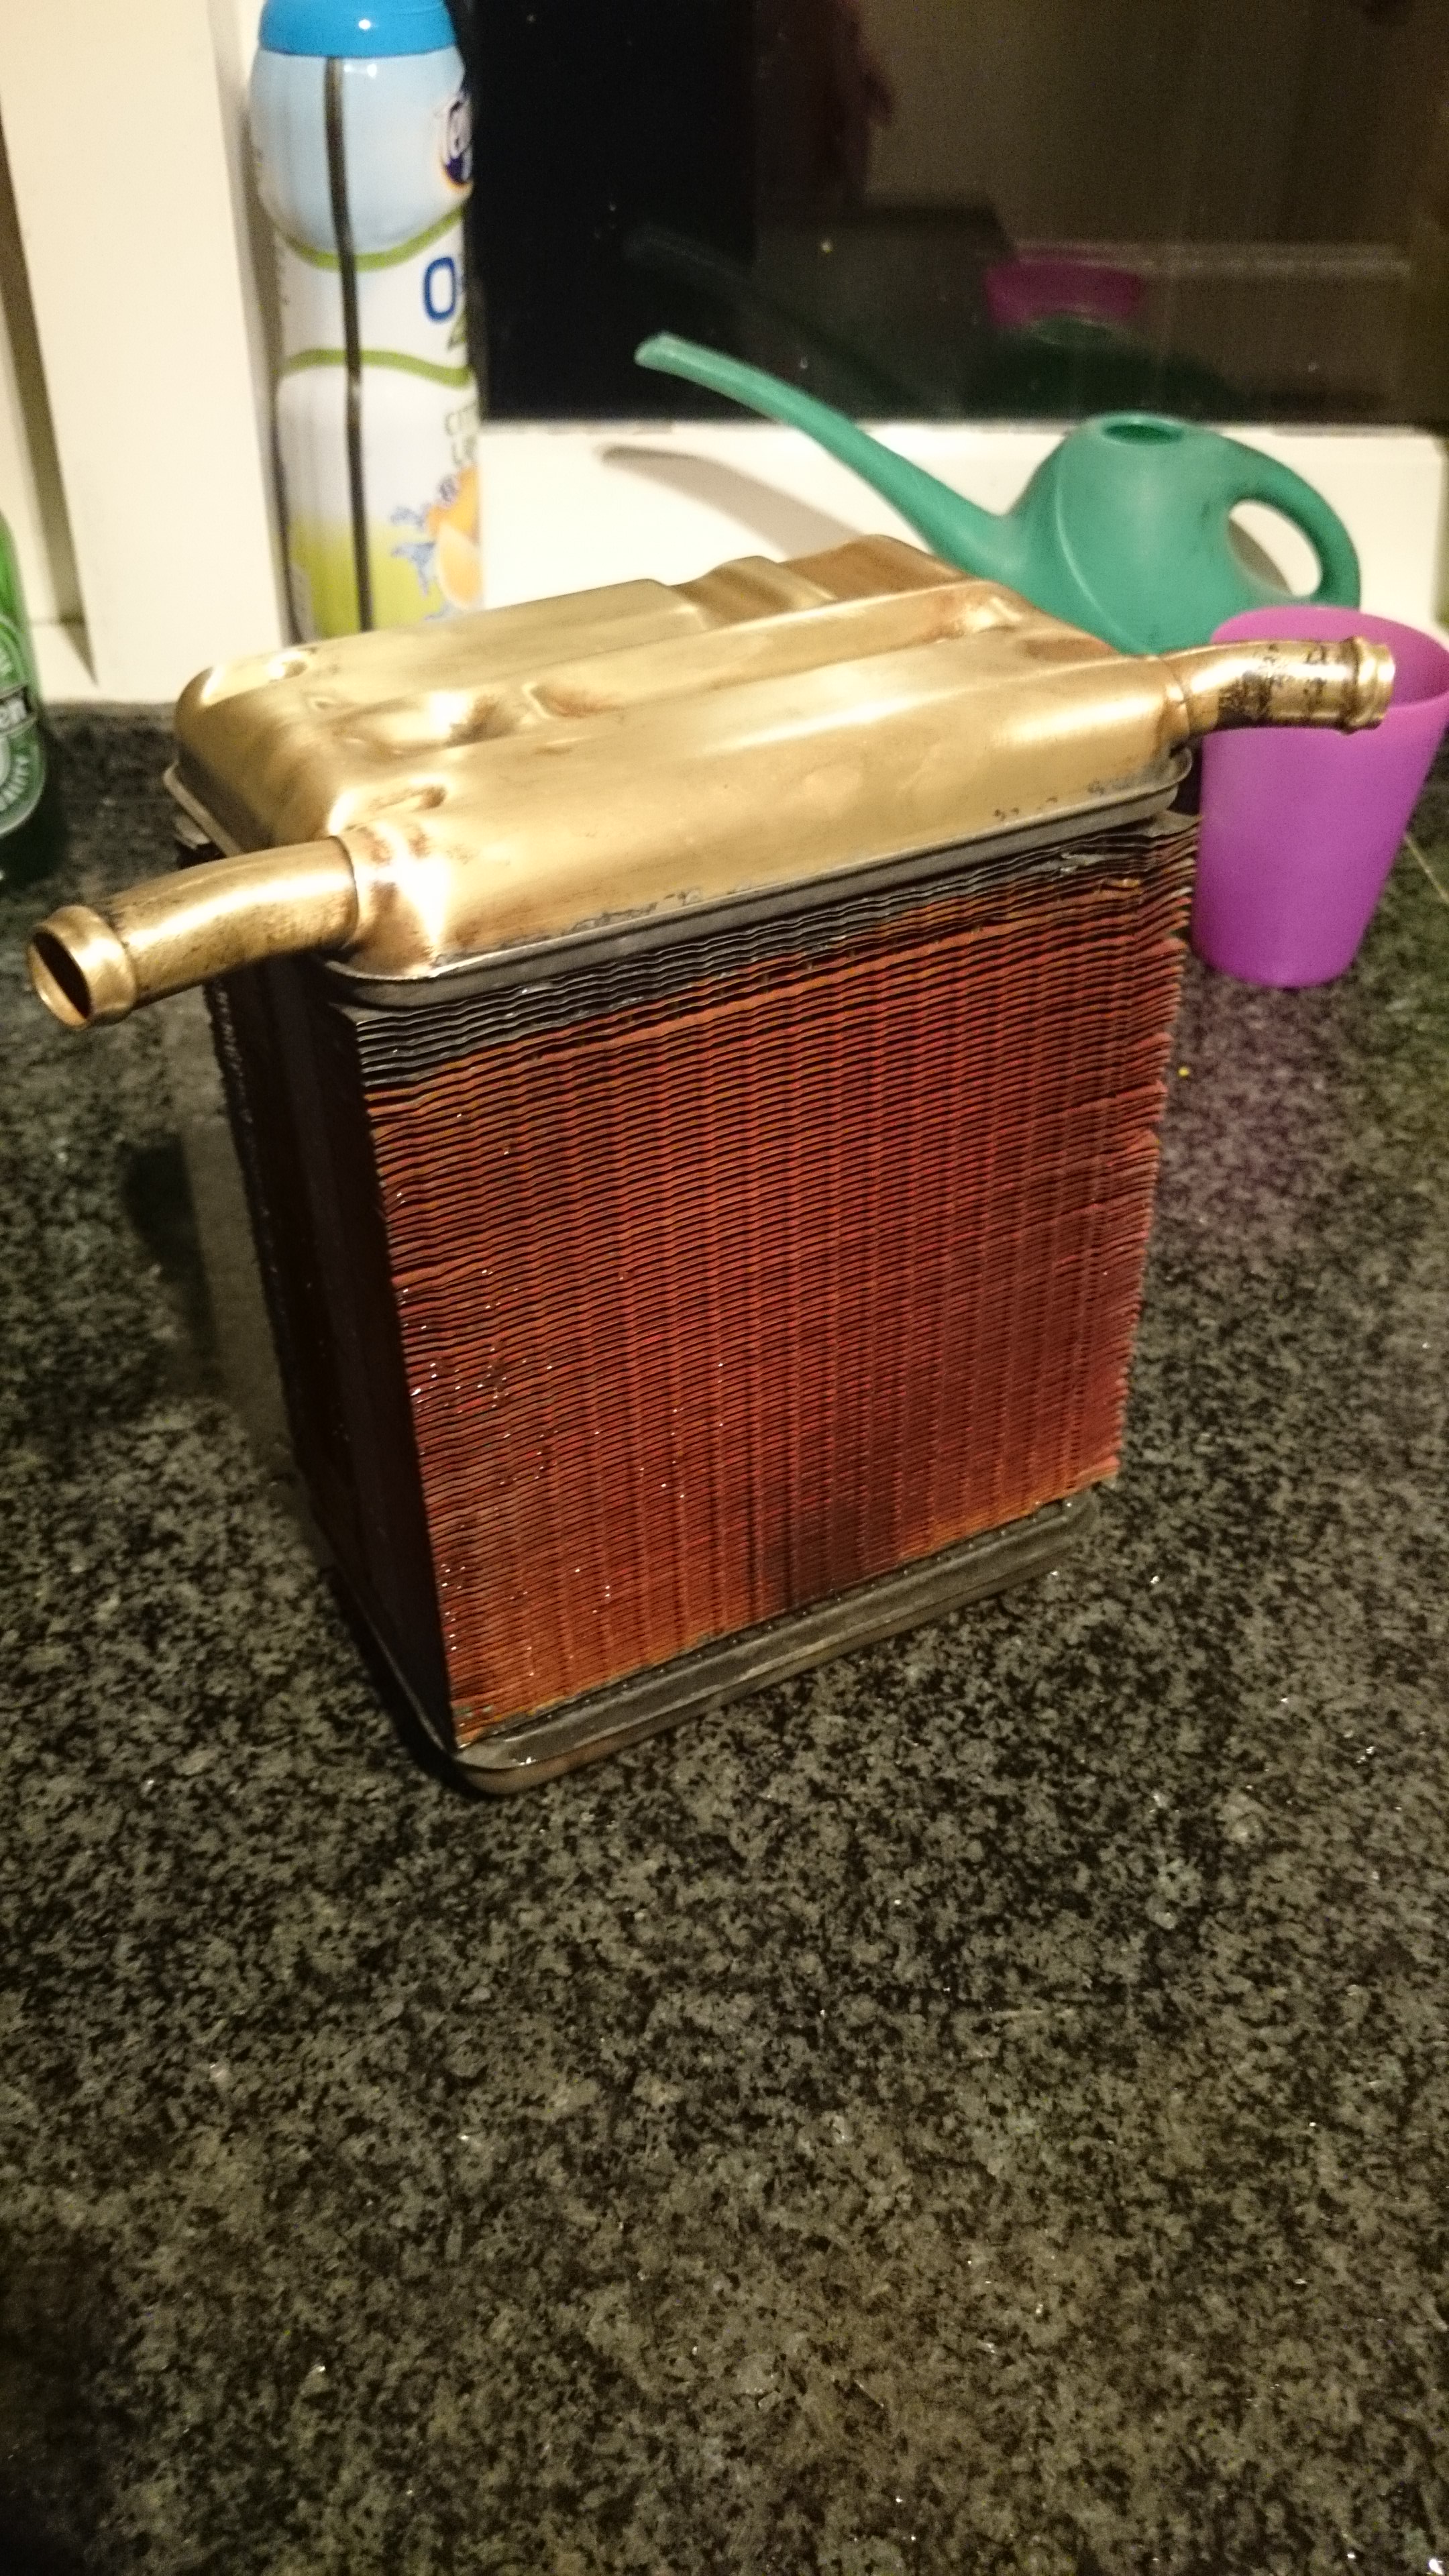
And after some polishing (still have to finish it)
Also all the bolts, nuts and brackets are re-plated. I made pictures of all assemblies previously so now sorting it all.