Carbs finished

I picked up a second batch of zinc plated parts so I could finally finish the SU’s. It was quite the work to put the linkages back together again, amazingly clever system. I reccon they will need some serious tweaking to get the engine properly running. As said, I also have the Weber so if it won’t run I can use these.

Float bowl caps modified with overflow pipes
Aprox €1500 on carbs…
Before…
Advertentie

SU HS6 conversion?

I found a set of SU carbs as I am planning to convert back to the double SU setup instead of the Weber 38. I’ve read that a B20 with double SU works best with a K or even better a TT3 type camshaft. I don’t know what type my engine has (finding out would mean taking the head off) so this could be a bit of a guess, but I can always go back to the Weber. It should have a C type installed and it should be a working setup. I’m also aware this is a 2-bolt type and a 3-bolt type would be better.

Offcourse the setup is not completely original as the engine is supposed to be a B18. The B18 got replaced a long time ago probably back in the States by a B20 with the bigger valves with a little more power. So unfortunately no matching numbers for the engine, but the M40 transmission is. Anyway, the double SU will looks much better.

A set of SU’s in dire need of a rebuild, though throttle plate shafts and bushings are really good and have no play whatsover. I will be replacing the floats, float needles, main jets and all gaskets. Float bowl tops will be modified so if a bowl will overflow fuel will not spill on the exhaust. All metal parts will be replated. I will also need a new pair of air filters as these only fit in combination with the LPG mixing pieces and I wont’t be using them.
Took it all apart, these parts will be sent off to be replated yellow and silver/blue.
Lightly glassbead blasted and cleaned
Ultrasonic parts cleaner
Sure looks very nice
Polished the pots
I hope it will run as good as it looks with the SU’s. Now waiting for the plating to be done and then they can be put back together again.

Fuel tank looking good

The fuel tank cleaned up and looking good. Just needs new paint. Even the internals look very good, no rust. I had the intention to re-seal the inside of the fuel tank, but it is so clean that it won’t be necessary.

DSC_1112 (Small)DSC_1111 (Small)DSC_1108 (Small)

The fuel tank sender is looking less good. Resistance is jumping around when moving the float and does not de- or increase fluently (which explains the bouncing around of the fuel gauge). The resistance has to be in between 5-10 Ohm (empty) and 180-205 Ohm (full). Think I’m just going to put a new one in, they are not that expensive.

DSC_1102 (Small) DSC_1103 (Small)

Wrecked a drum

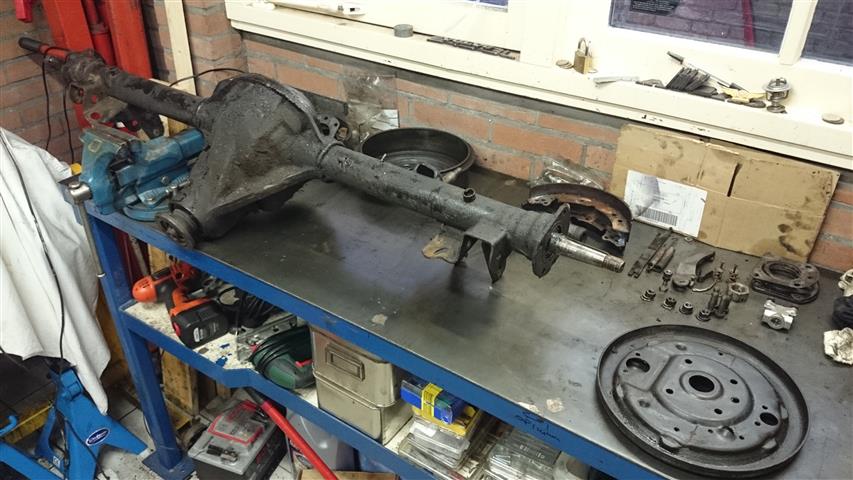
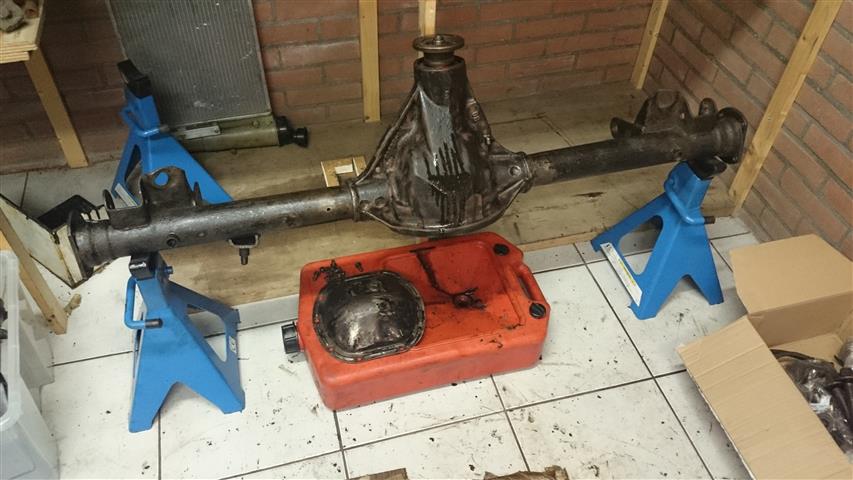
As I am disassembling all parts of the suspension for cleaning and painting, the rear axle was next: removing the drums, brakes, bearings and check the spicer gears.

As the axle is loose from the car and sometimes extreme forces are necessary to remove the drums, it’s a bit difficult to counter the force to tighten the drum puller.DSC_0788

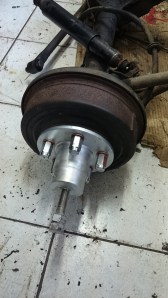
It was just too tight. I used a 1,5m long pipe on the wrench, and for several days, heated the drum, banged it with a hammer, but no help. At some time during the rampage the drum began to tear apart…

Then, as I allready wrecked the drum, I used a large Kukko puller and this did the trick. Installed the puller again, Heated it up again, and threw a bucket of cool water over the thing. A minute later there was a big BANG and finally it was gave way. The other side came of pretty easy.

DSC_0883

DSC_1023 (Small)DSC_1041 (Small)

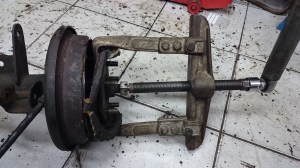
Disassembled and cleaned rear axle

DSC_1074 (Small)

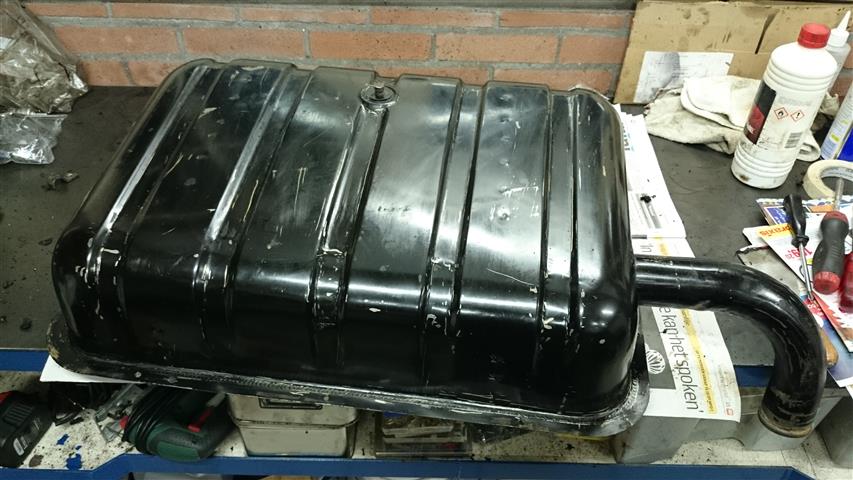
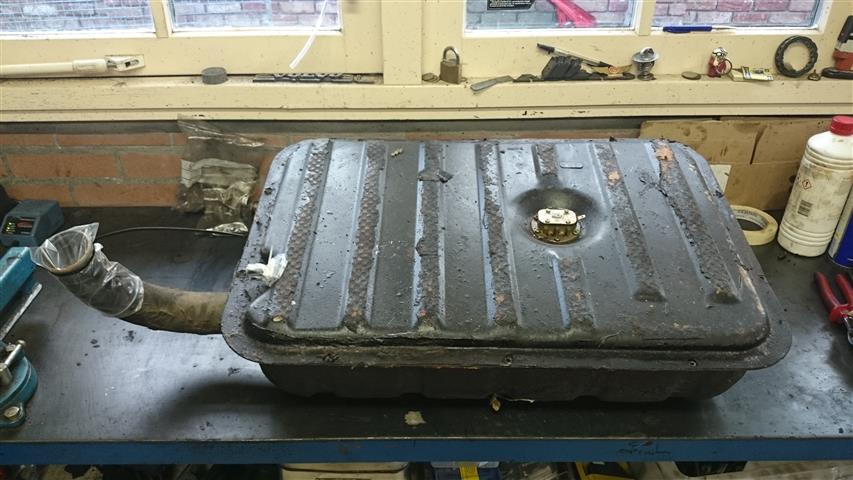
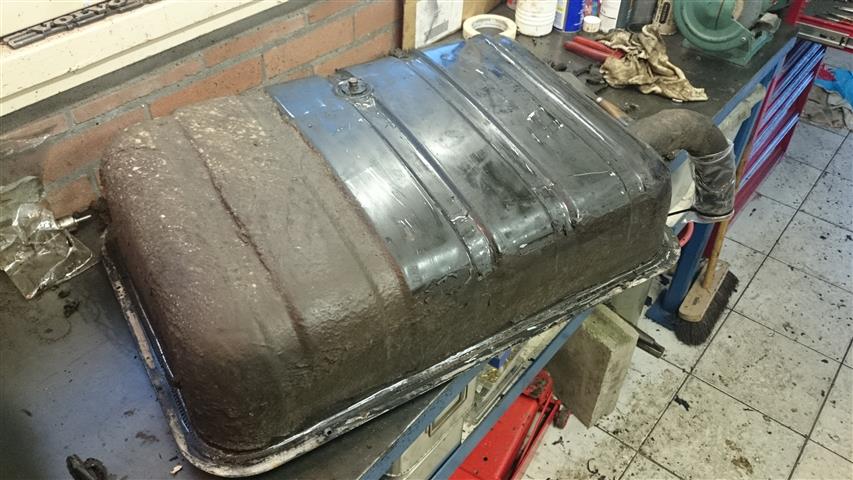
Also started with the fuel tank

DSC_1068 (Small)

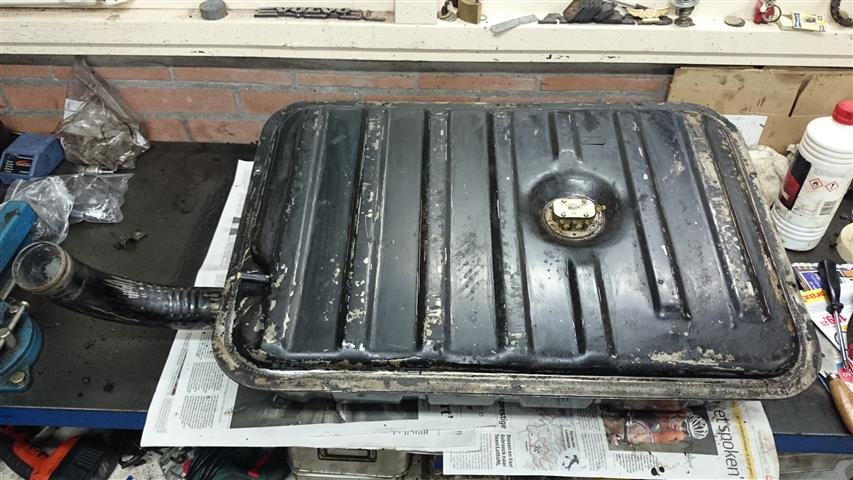
And out comes an almost new fuel tank

DSC_1072 (Small)

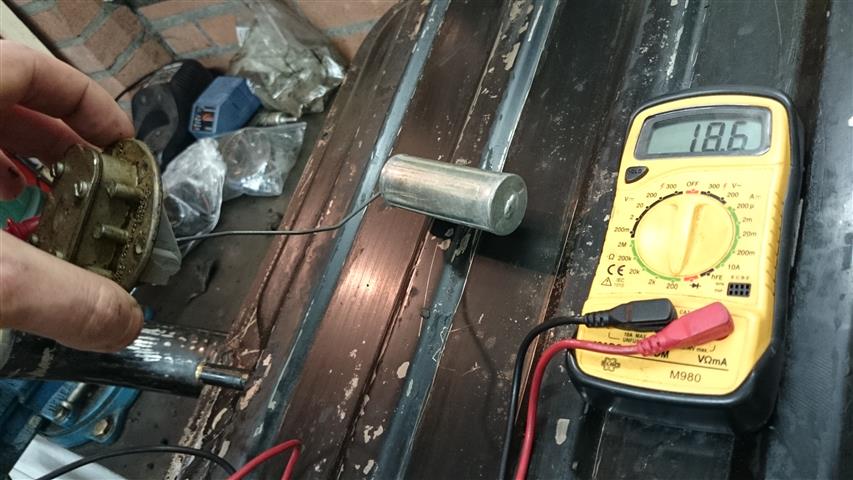
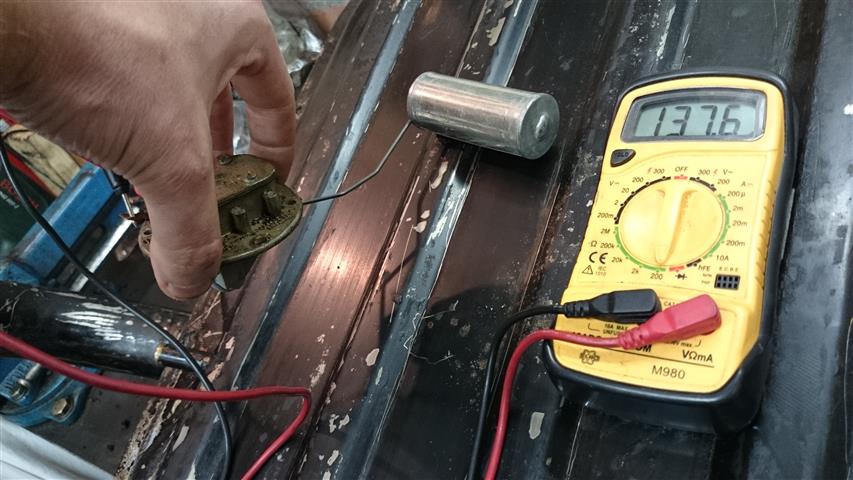
Cleaning up the oil pressure transmitter
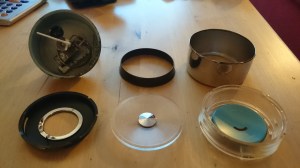
DSC_0995DSC_1001

A piece of art

DSC_1011 DSC_1013