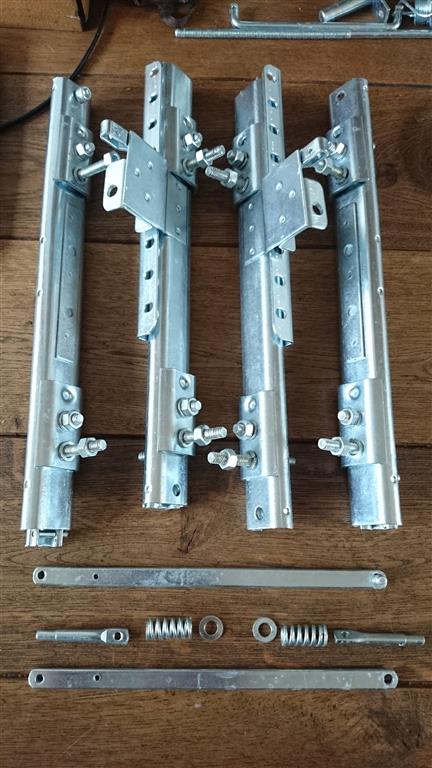
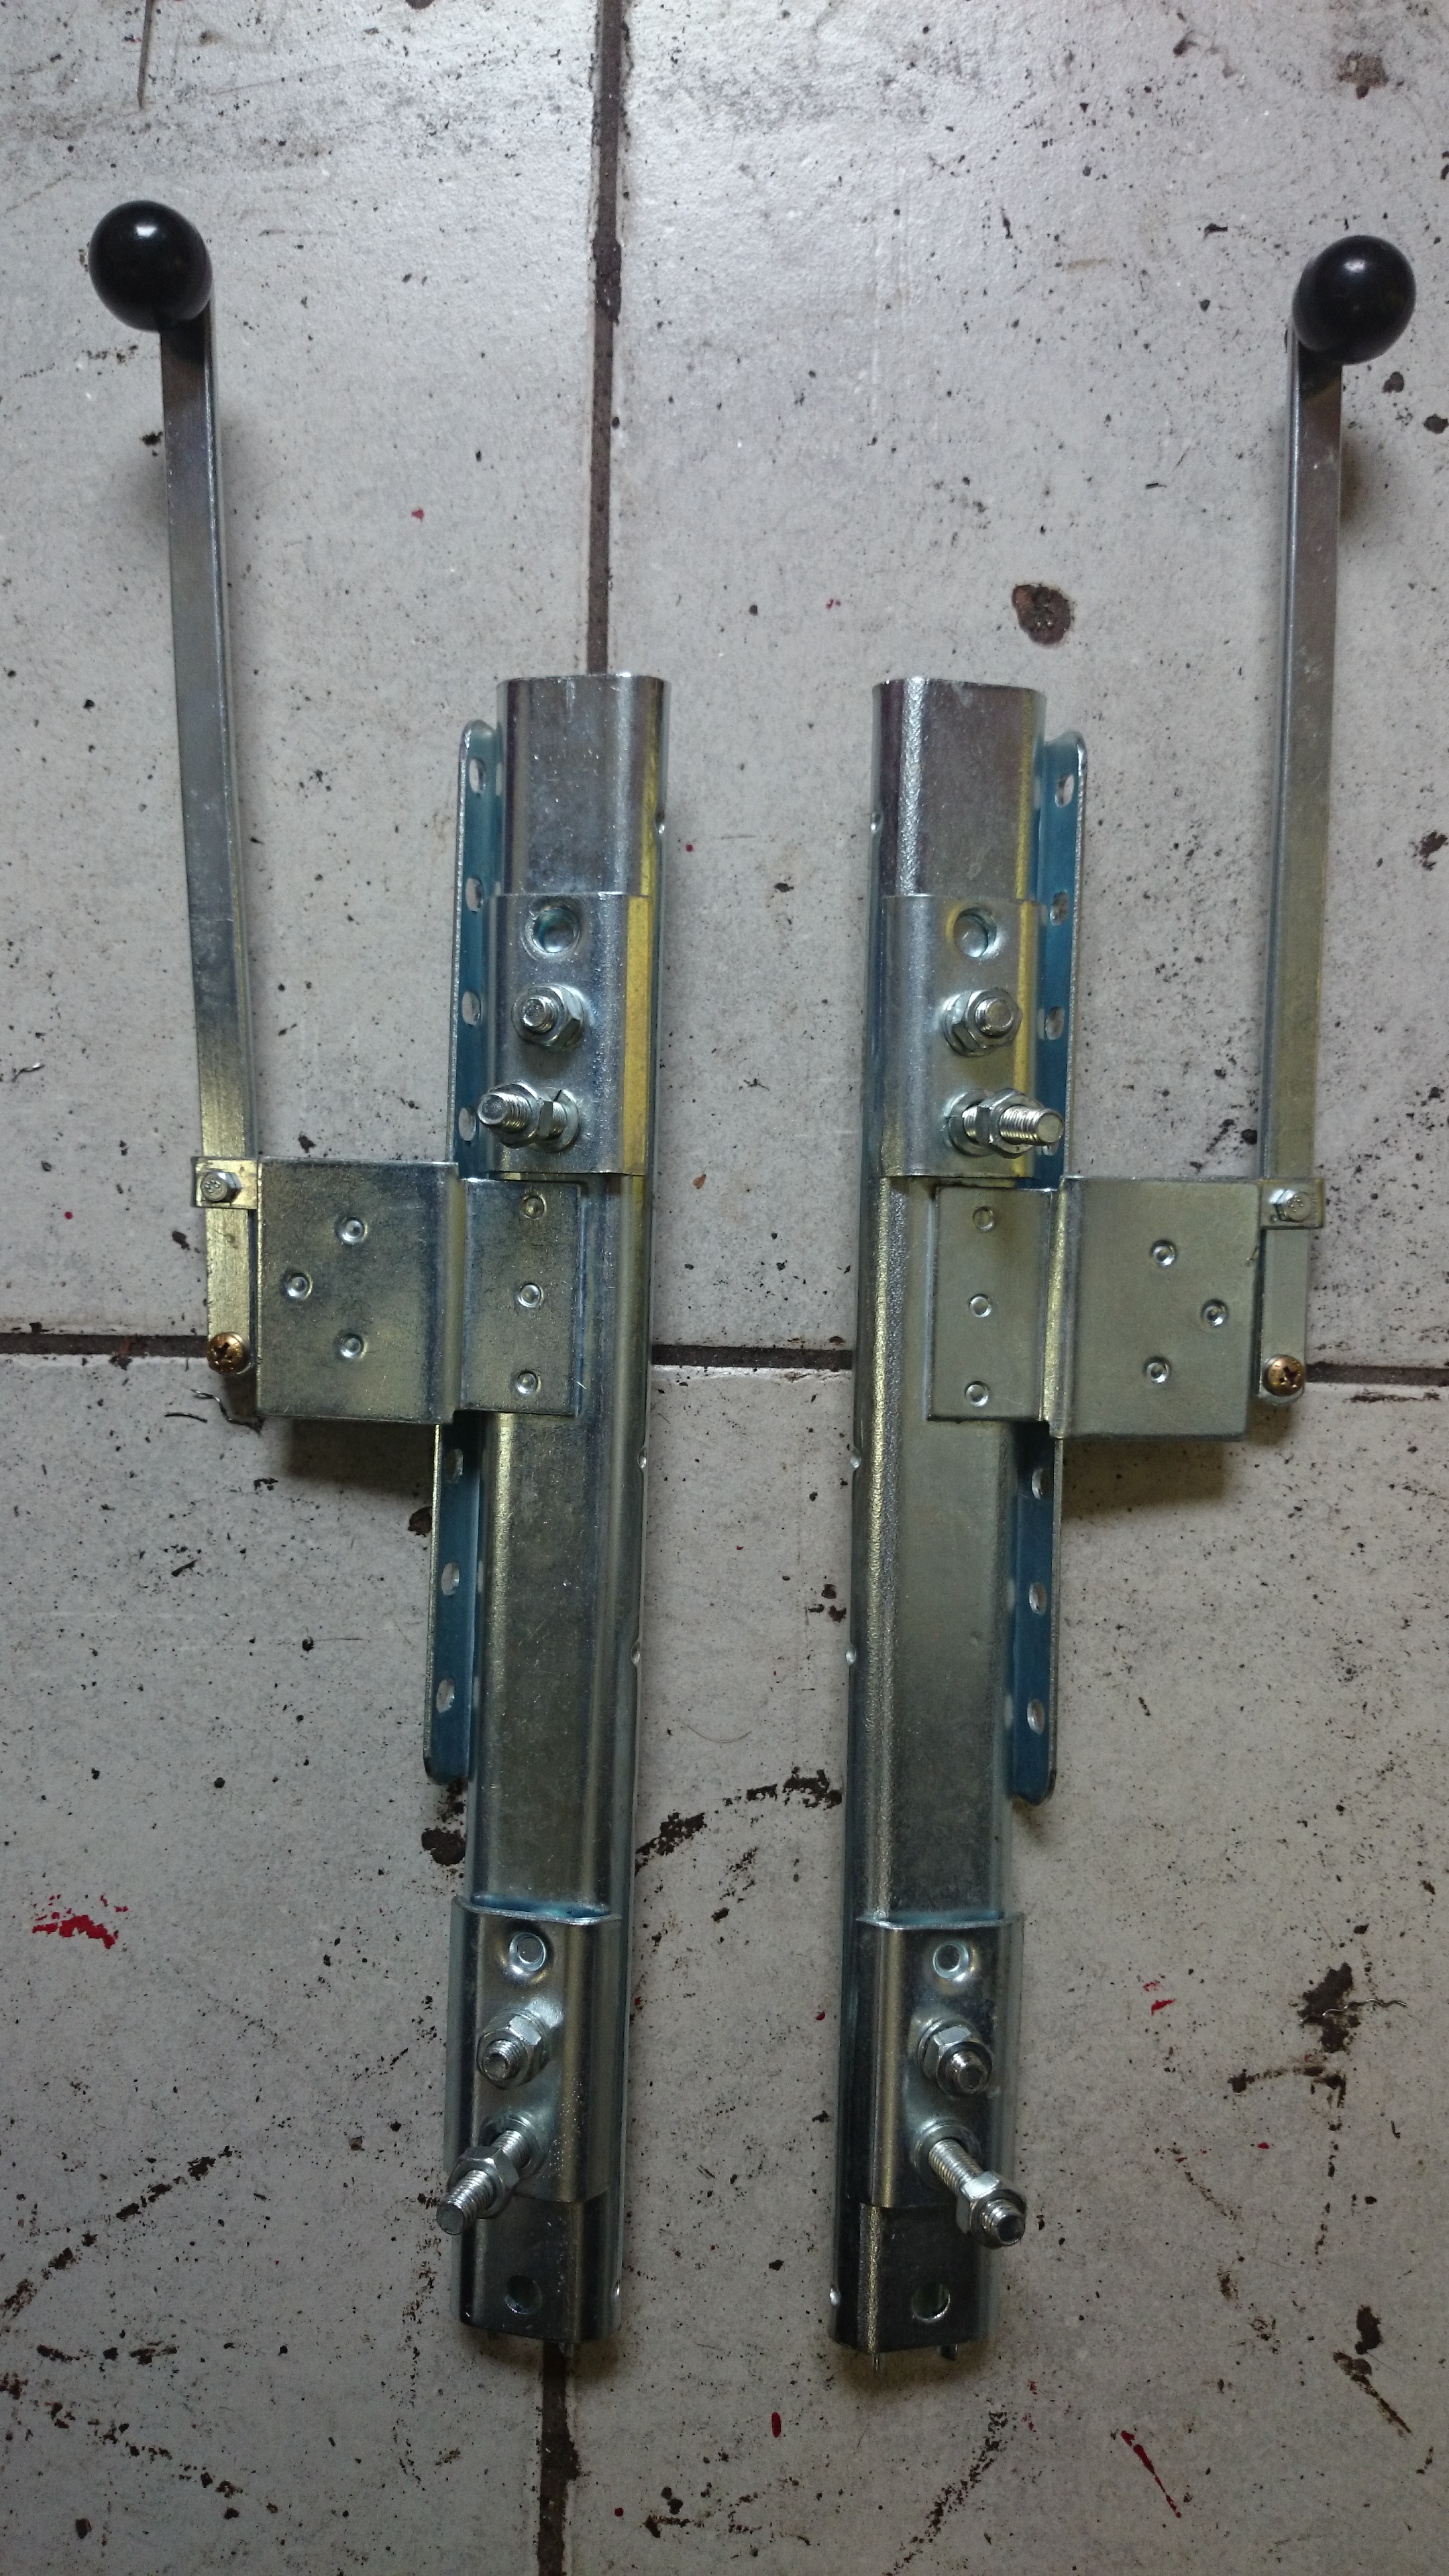
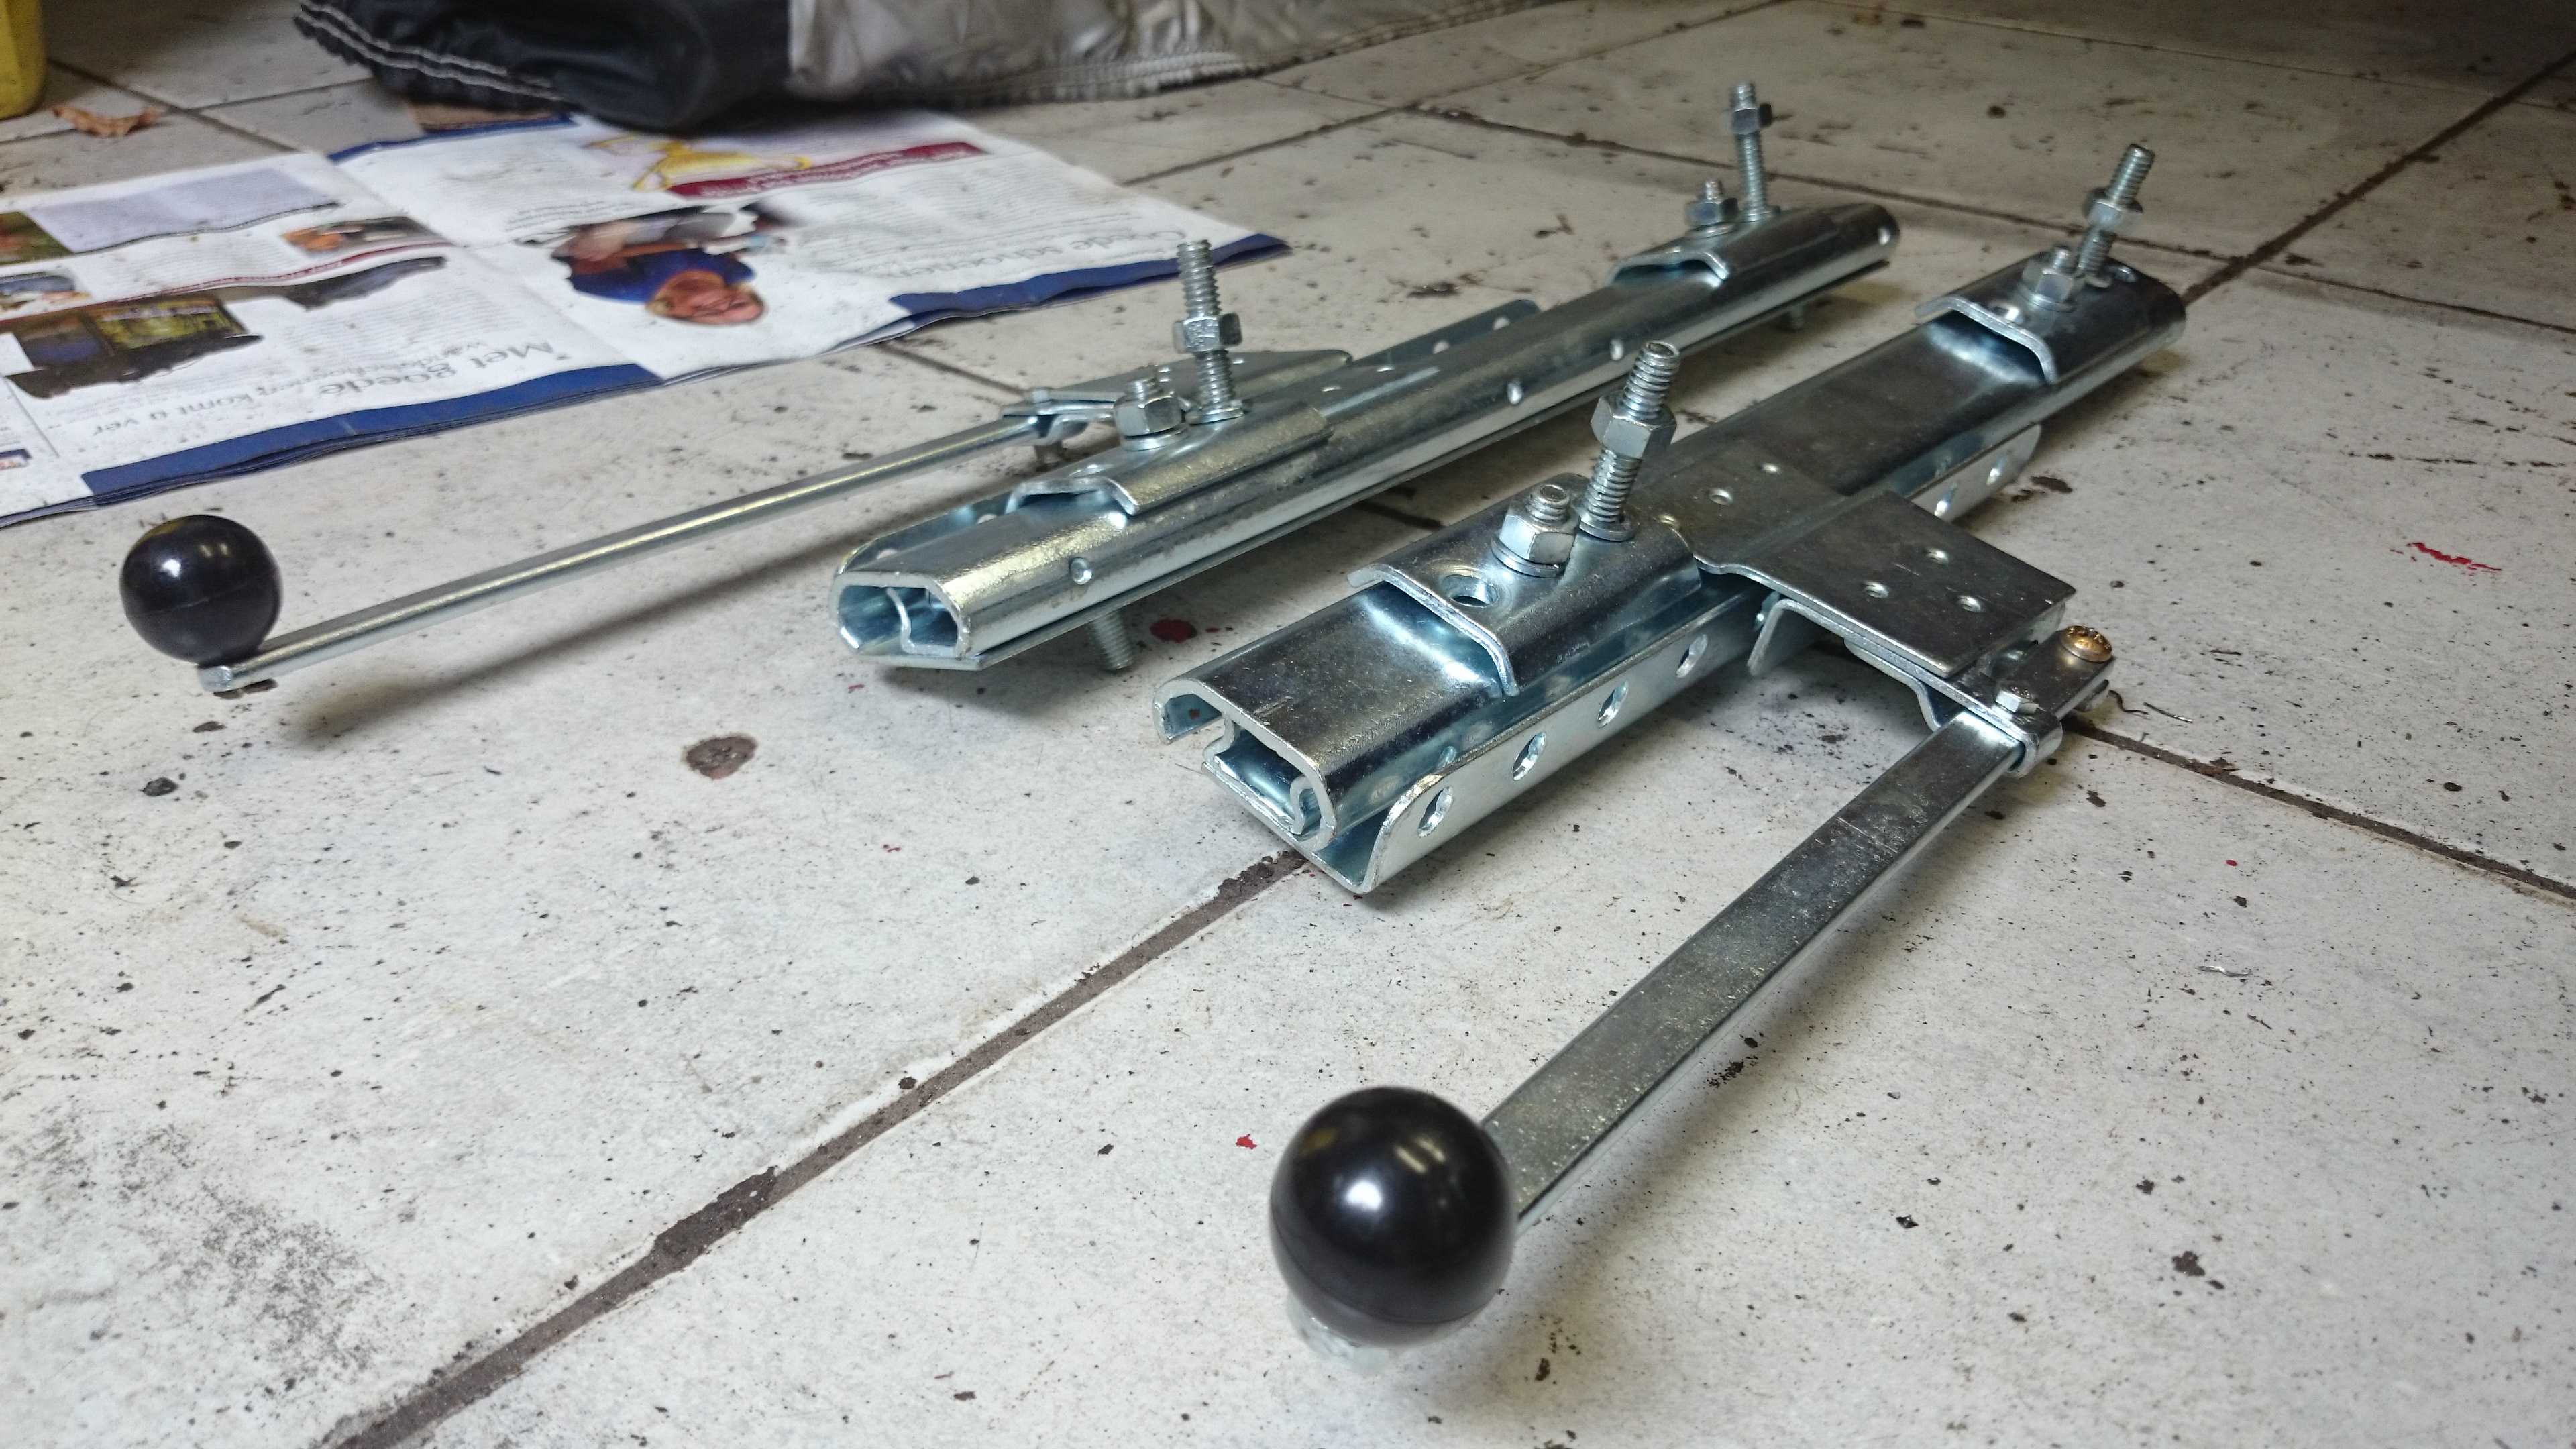
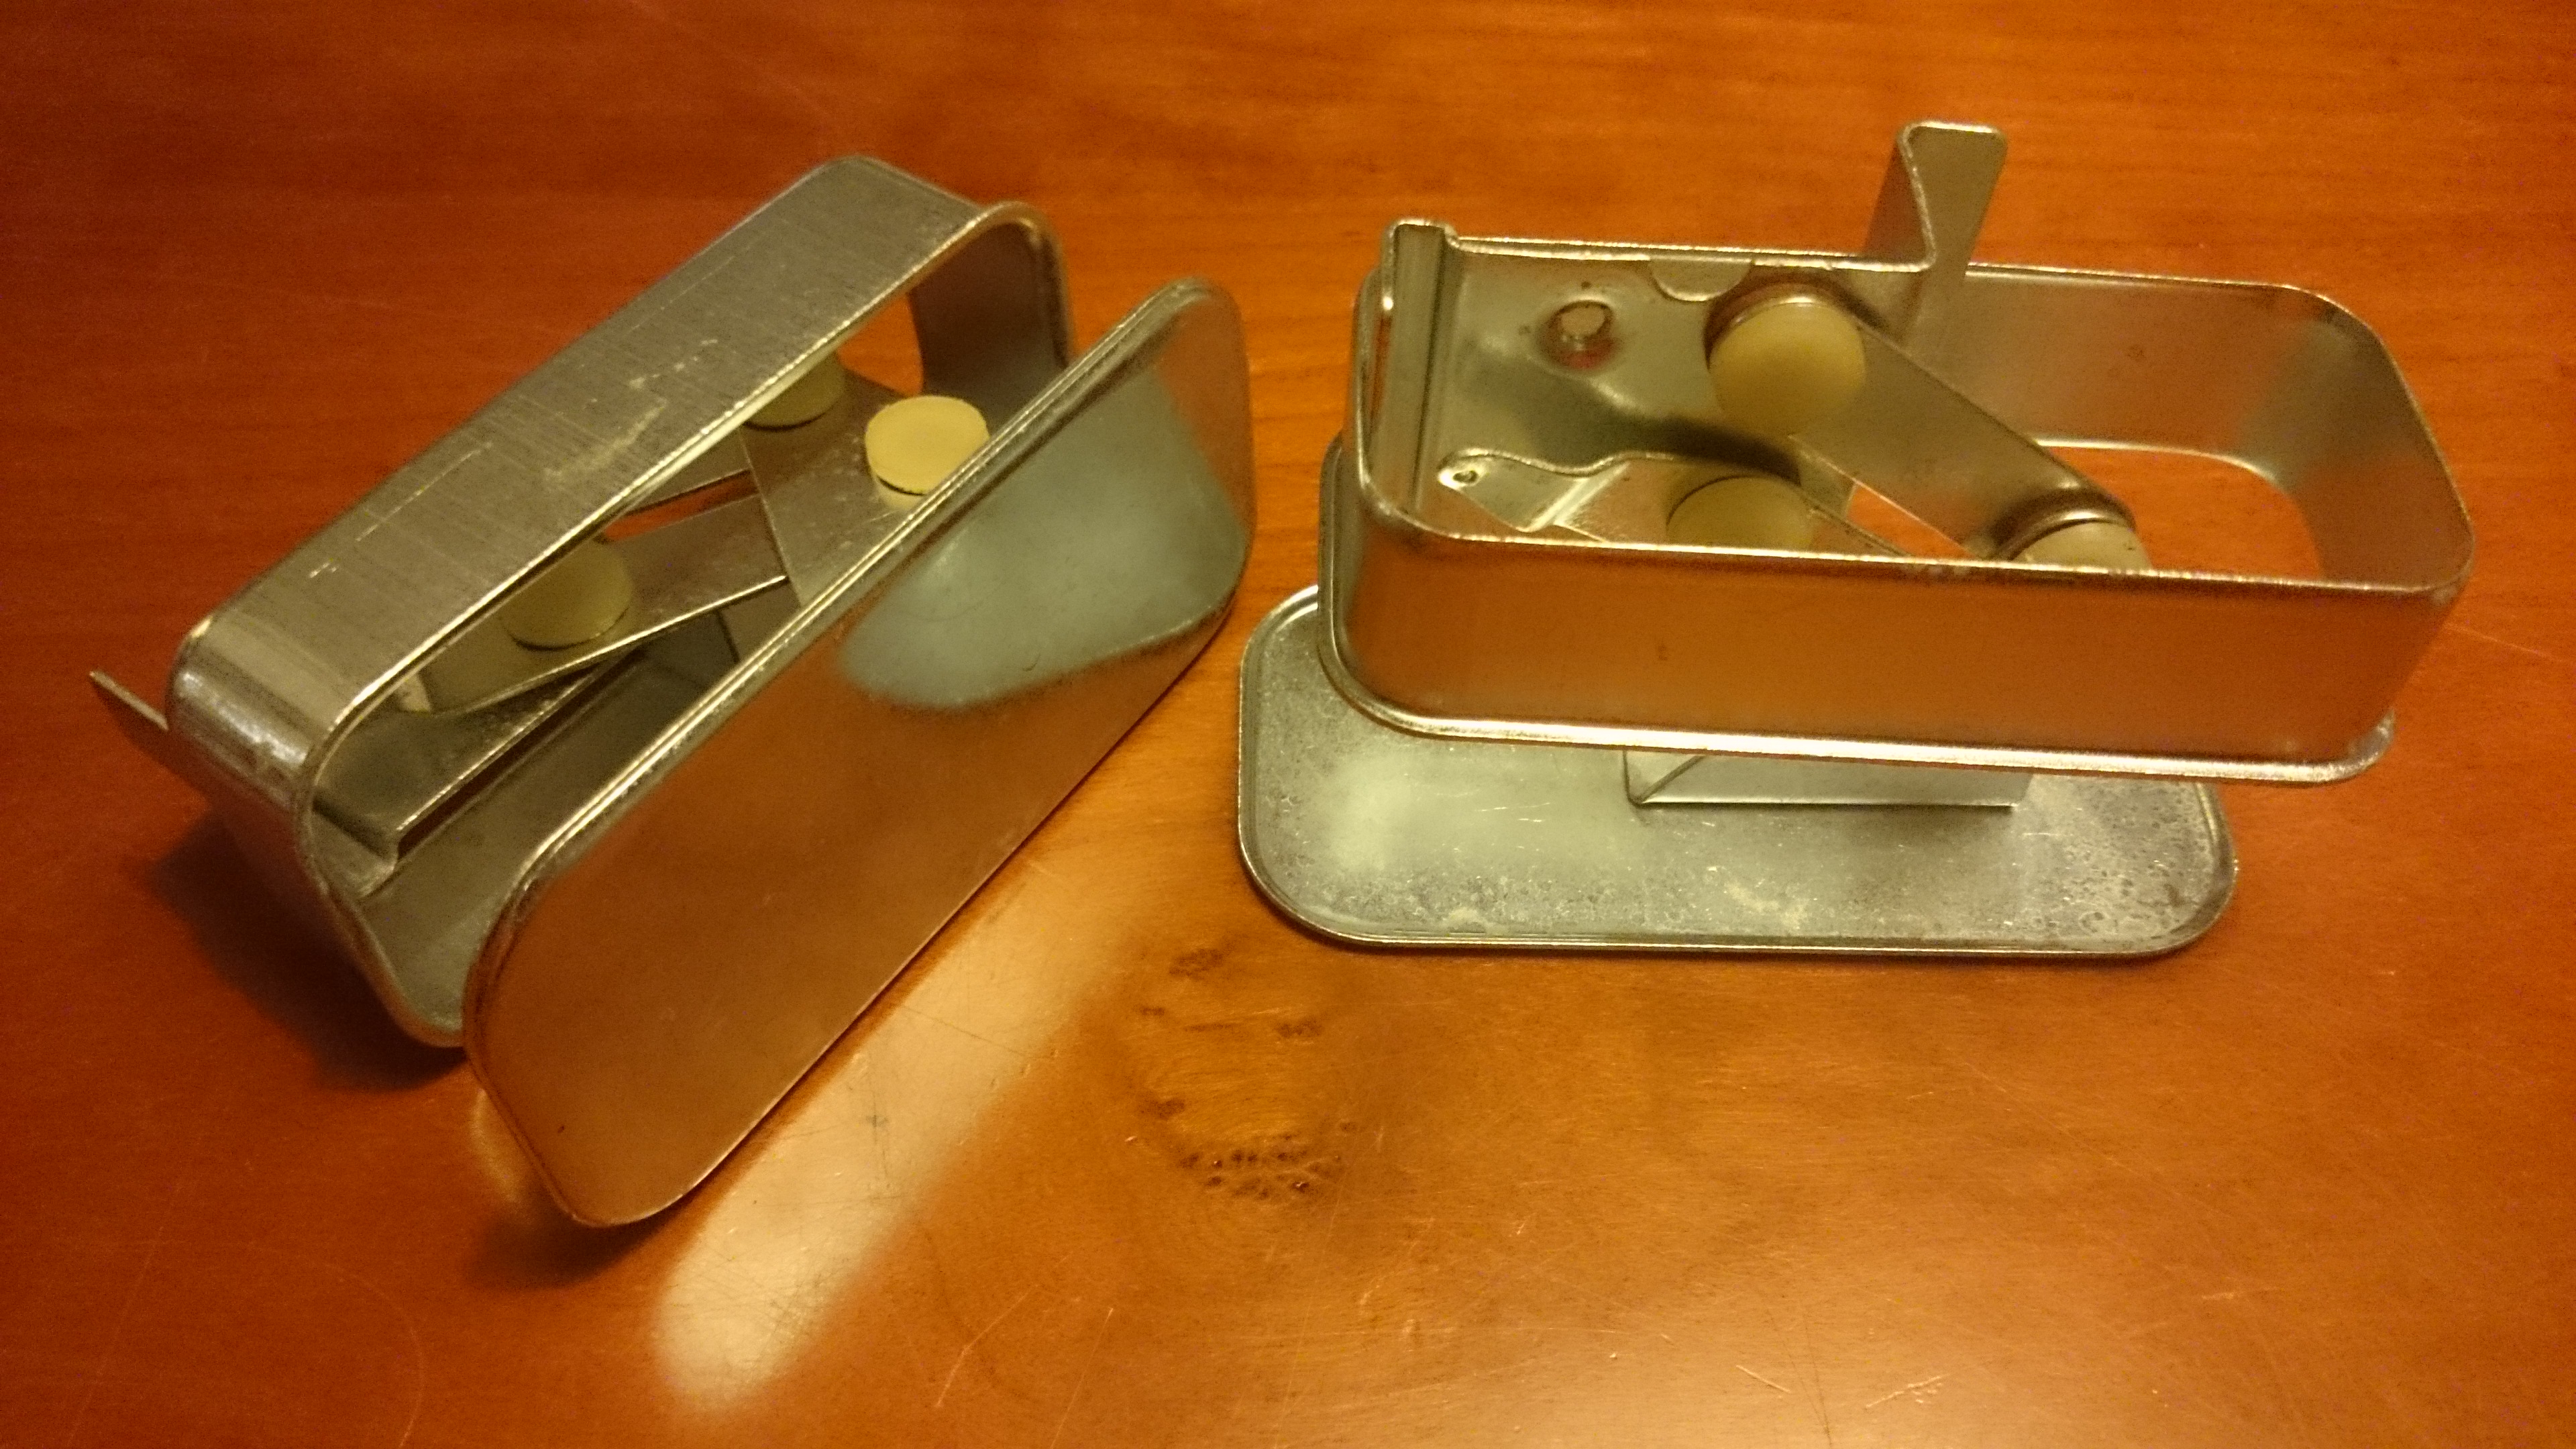
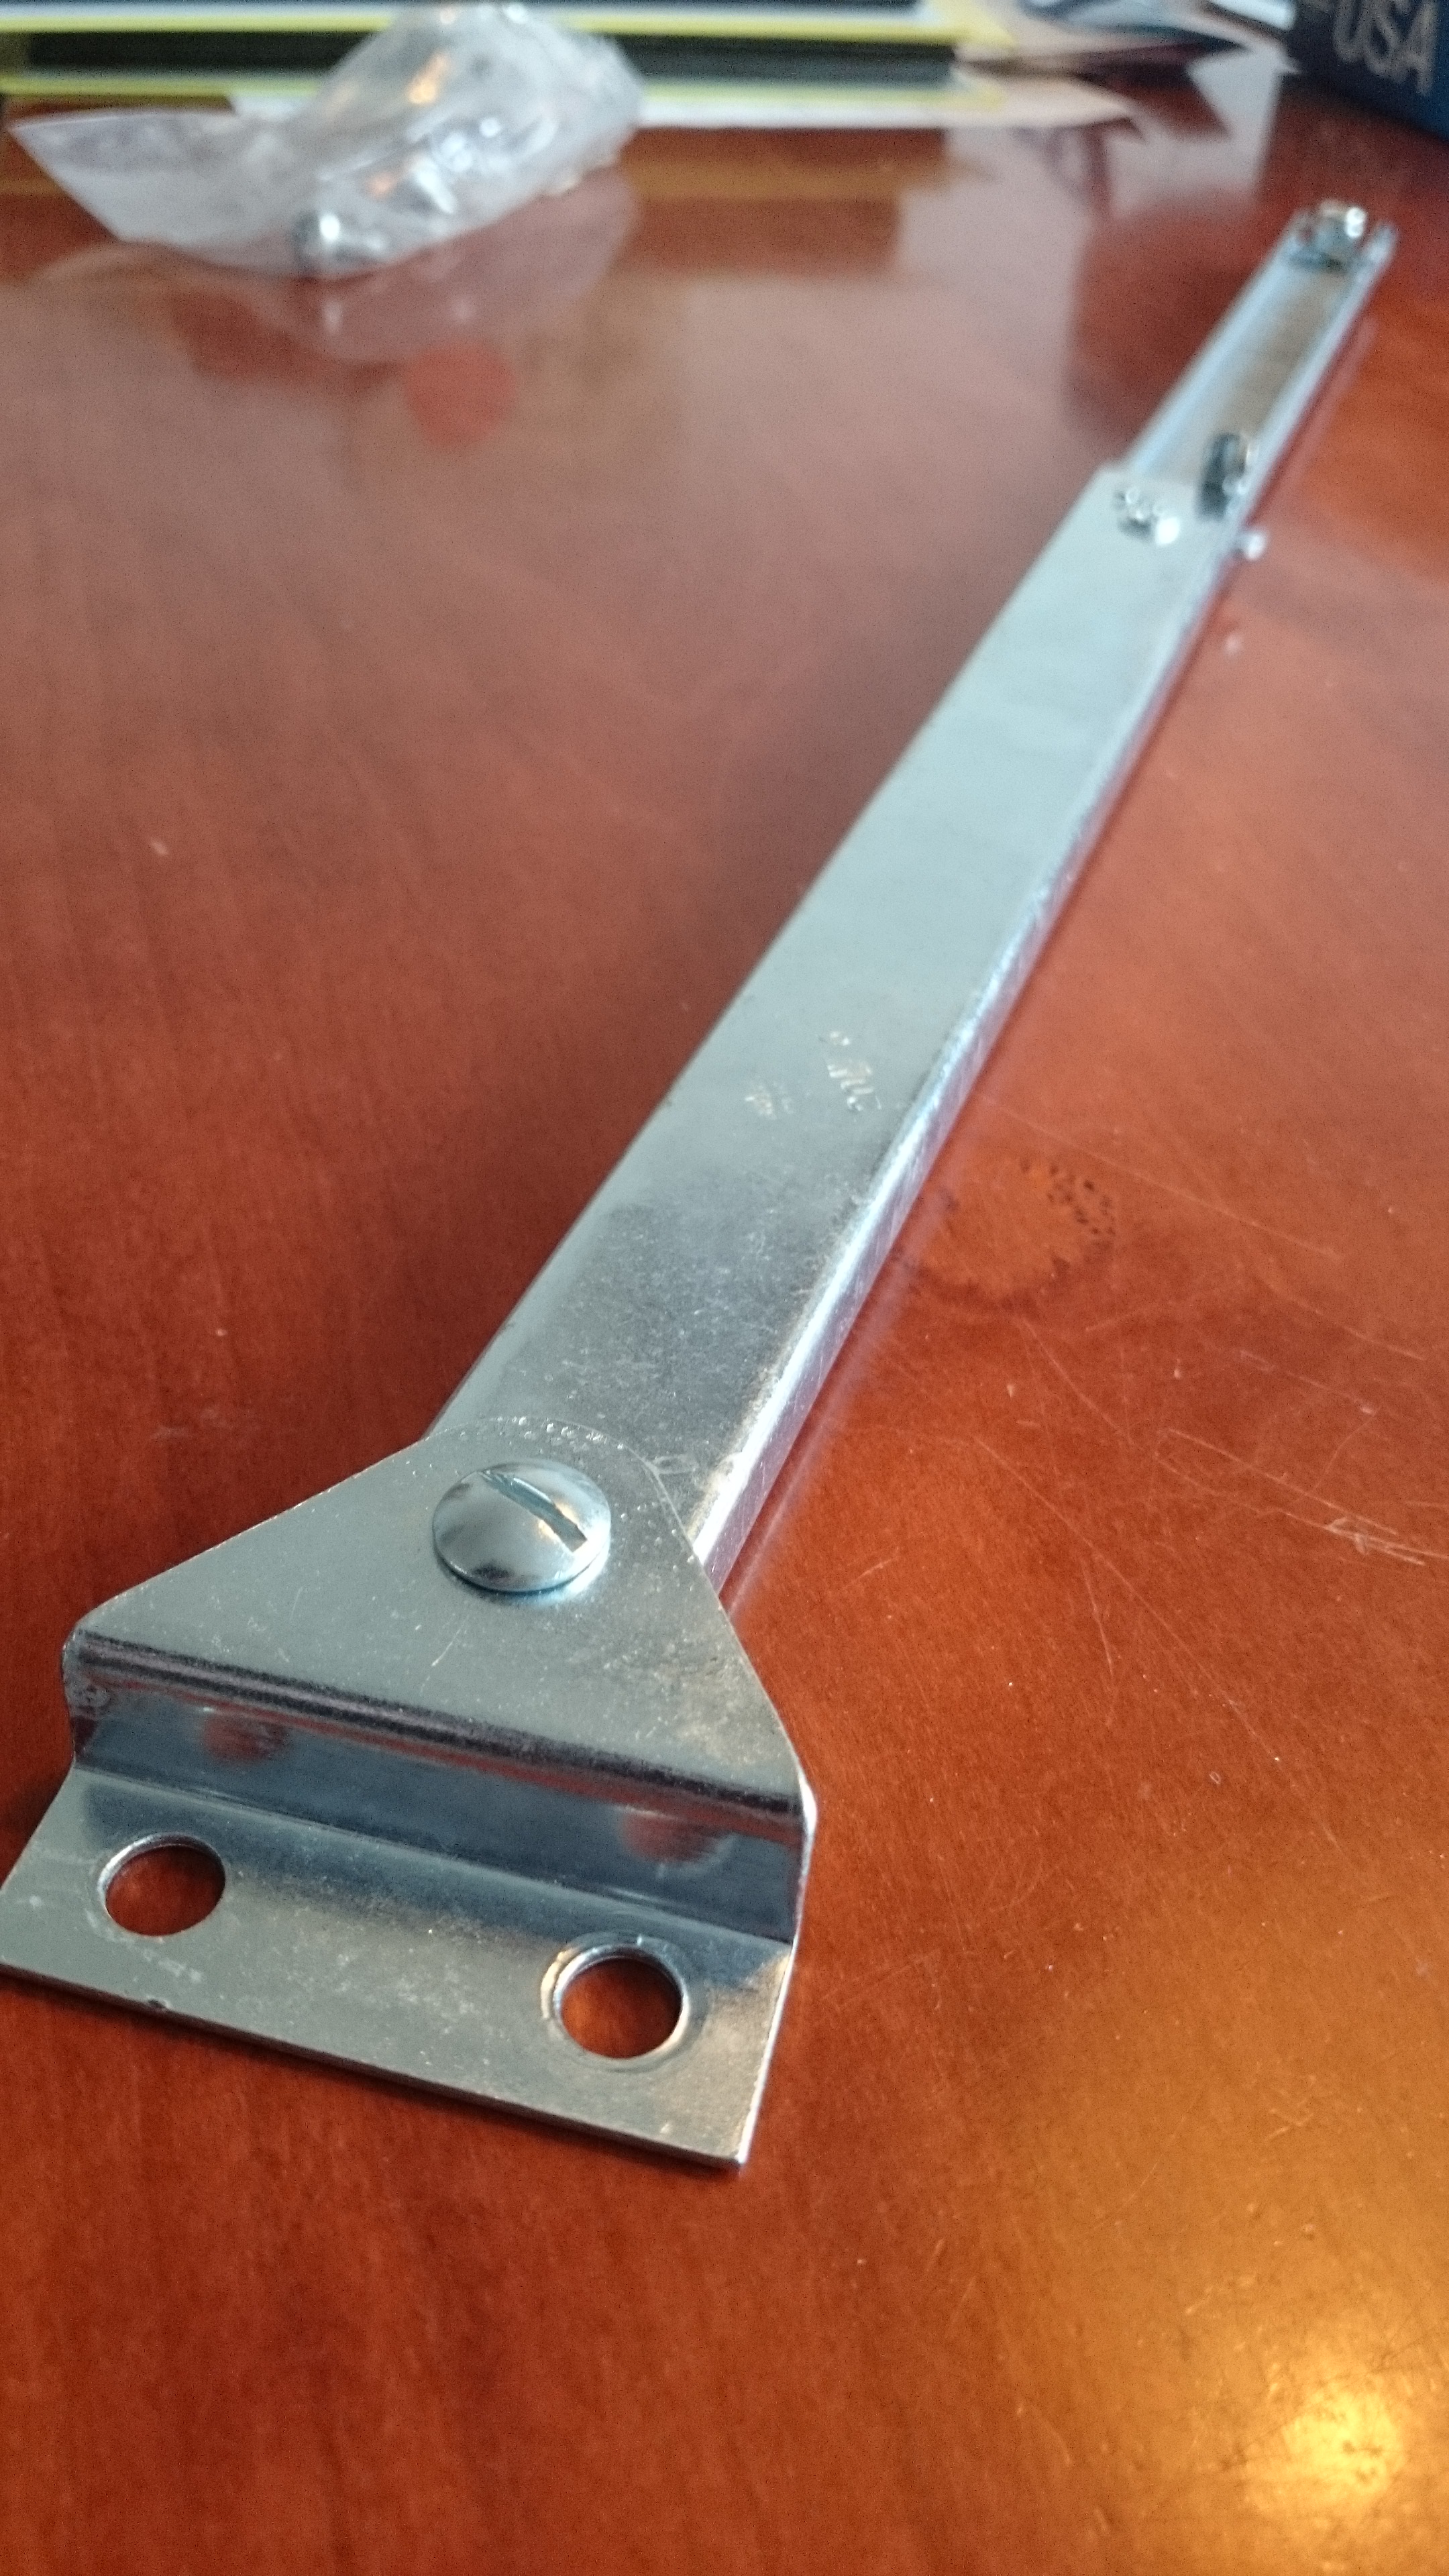
Parts zinc plated, gears and linkages lubricated and tested.
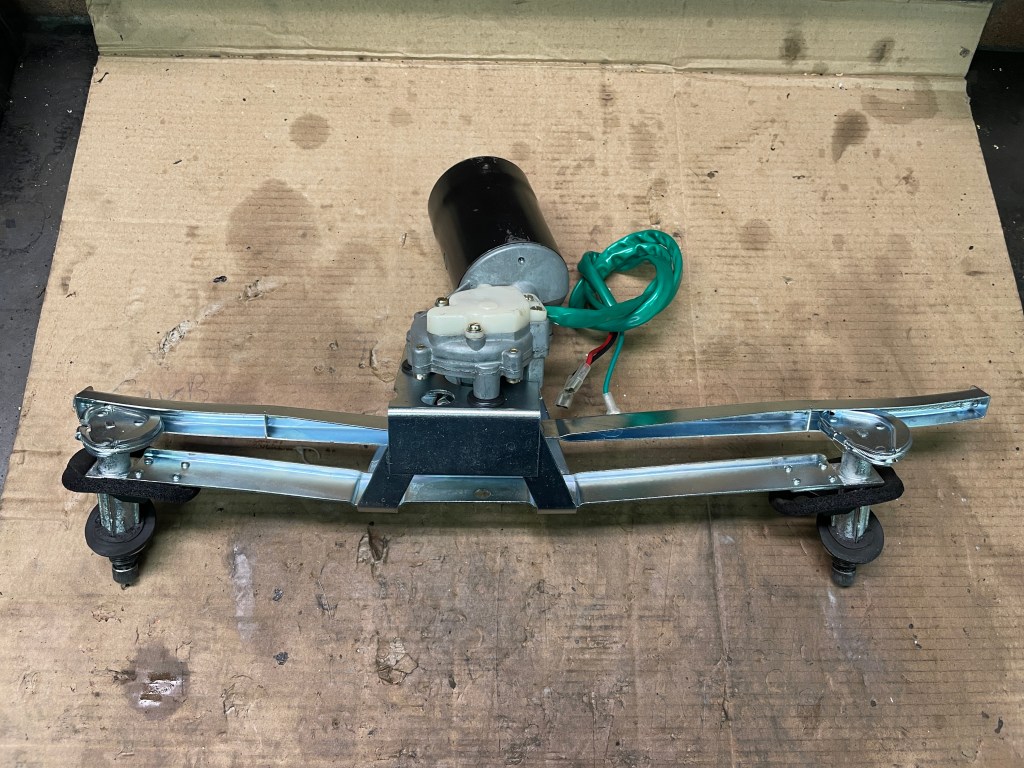
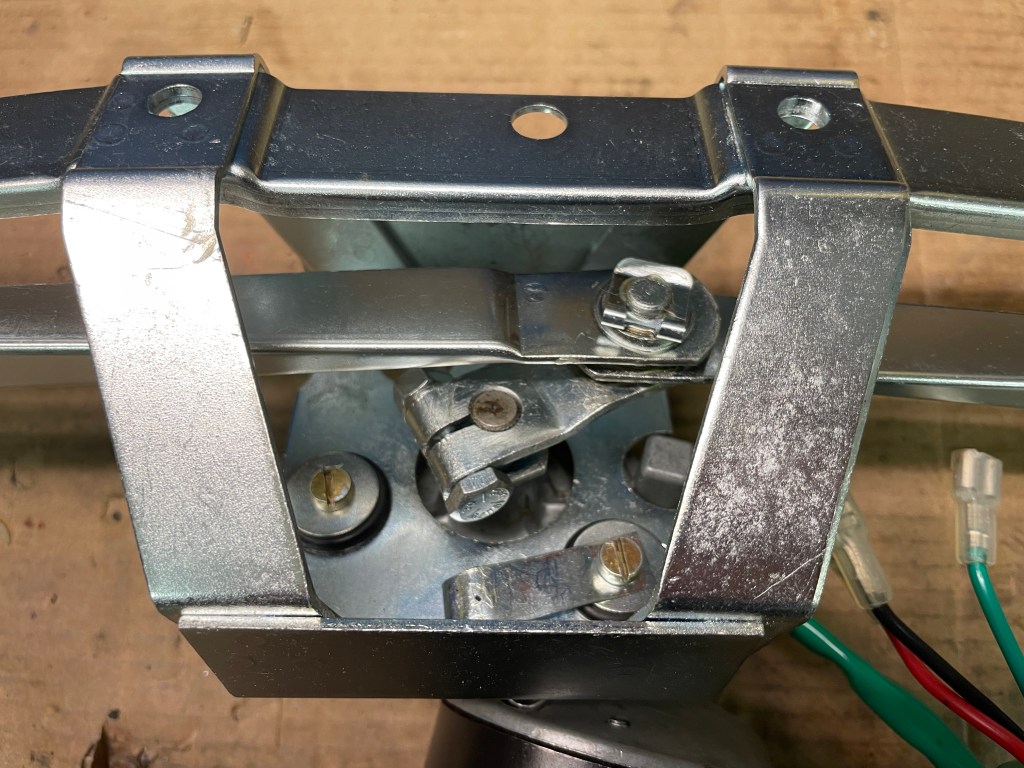
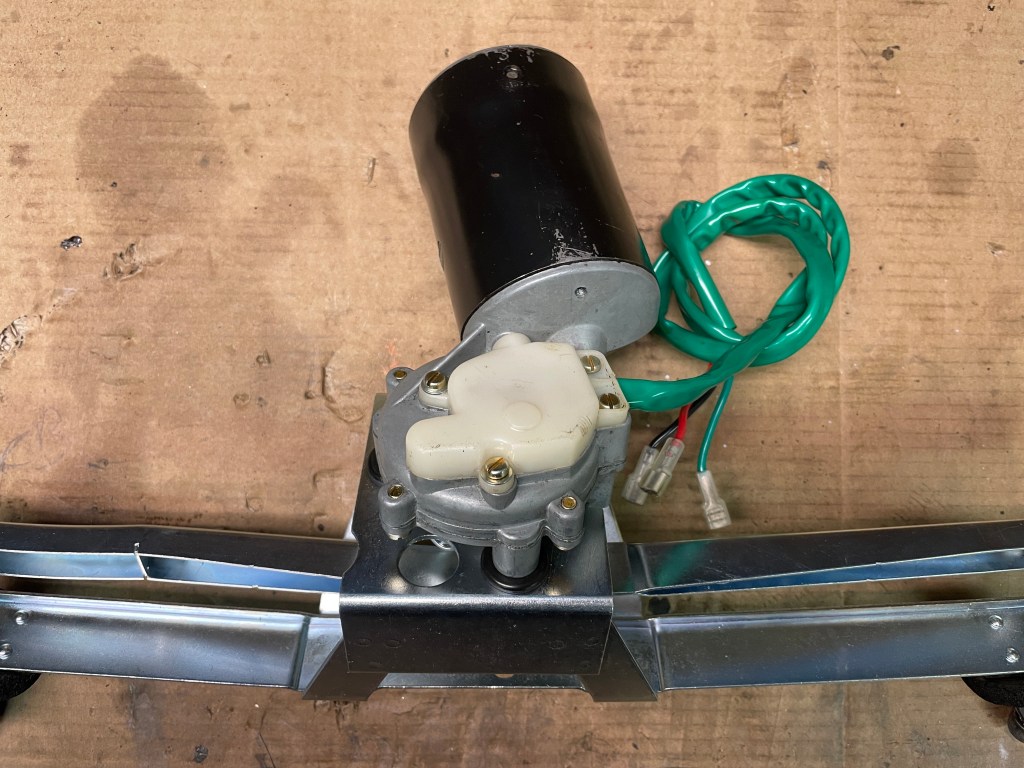
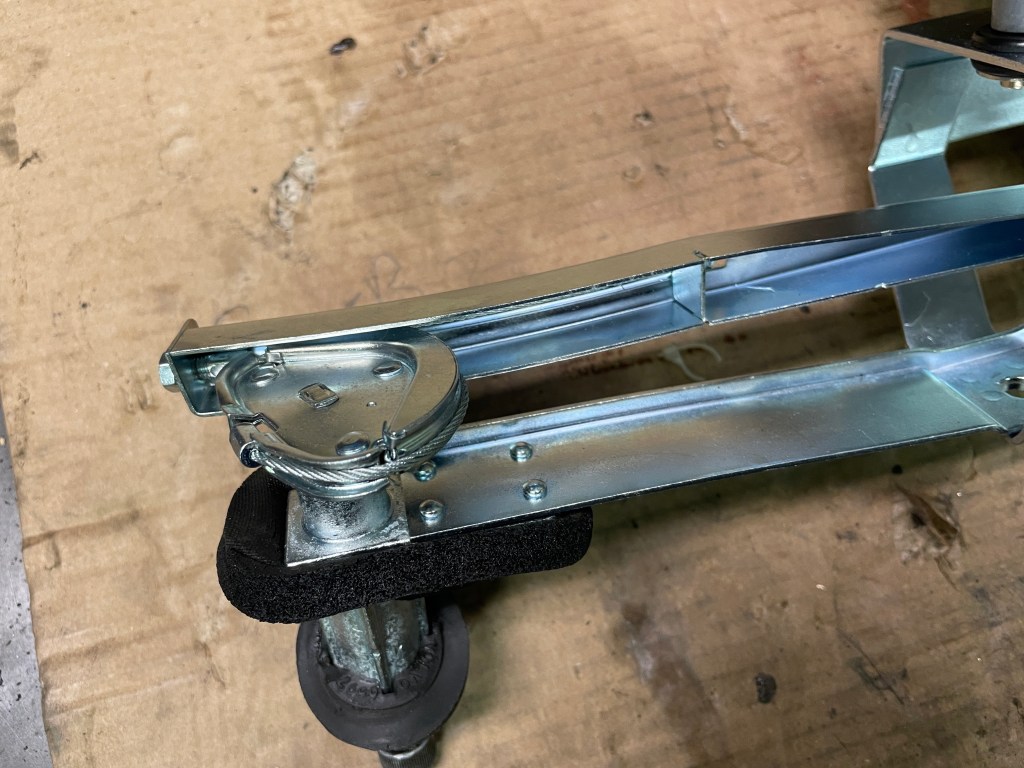
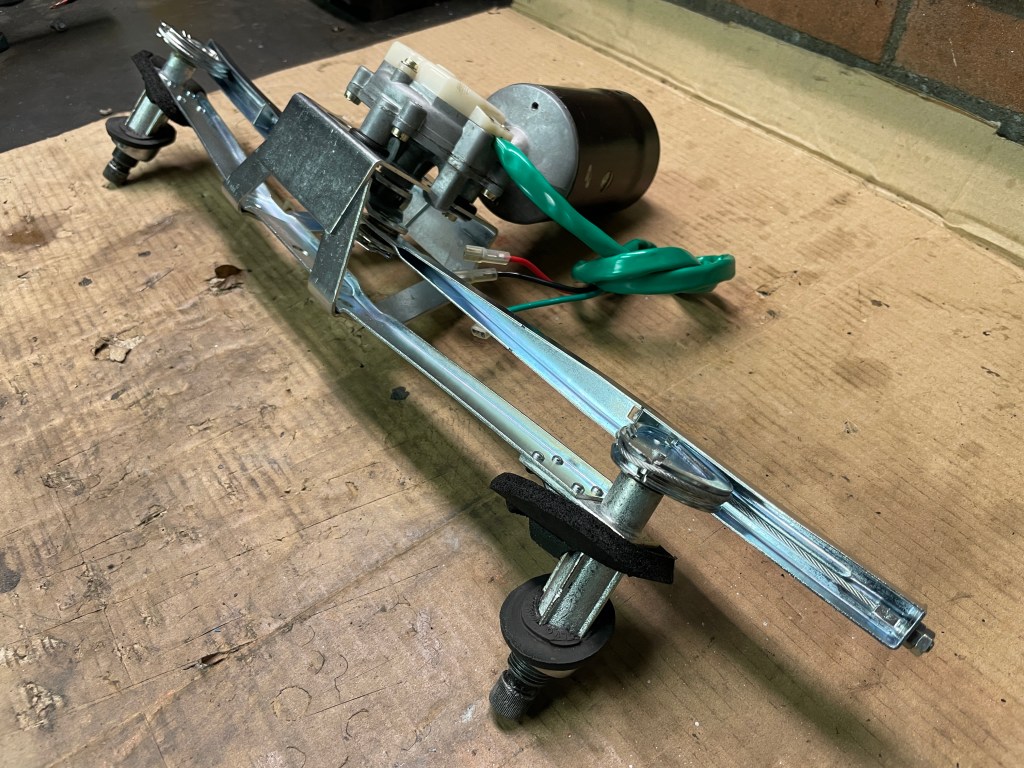
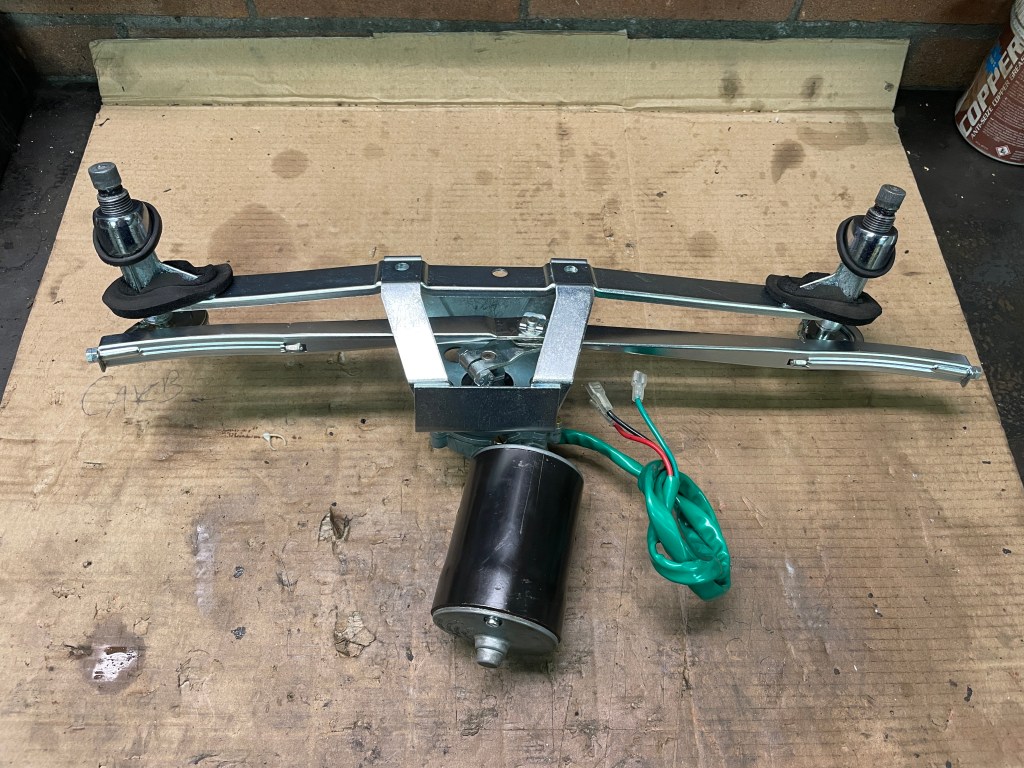

Parts zinc plated, gears and linkages lubricated and tested.
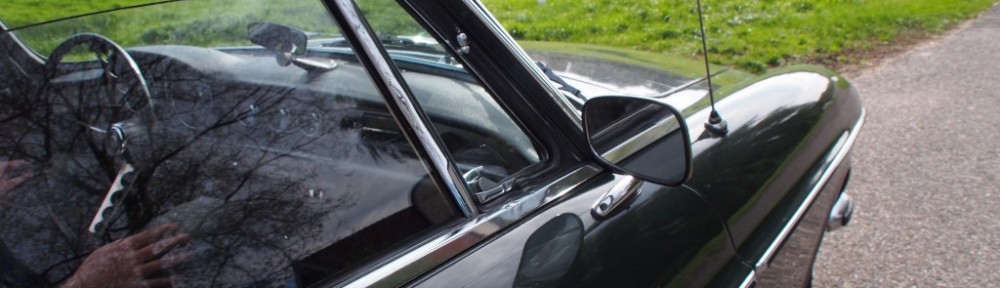
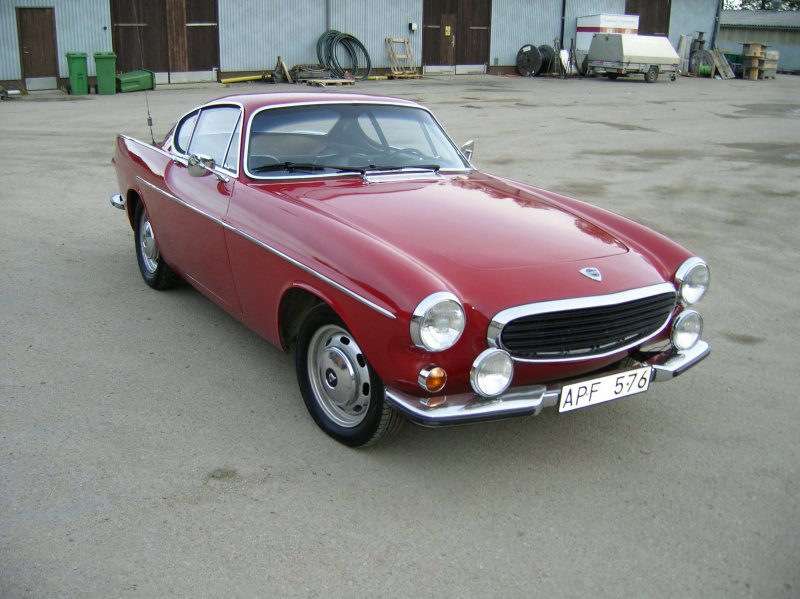
So I´ve decided the color of the car will be red. Volvo used two kinds or red color on 1800´s, color code #70 on early P1800´s of 1961 – 1962 and code #46 on 1800’s from 1963 until 1973. As I would like to keep things fairly original, I should use #46 as this is the red which was used on a 1967 1800S.


For example, a car painted in #70 (above) and #46 (below):

Lots of info about the Volvo colors can be read at: http://www.volvotips.com/index.php/general/volvo-color-codes/.
Last moth I’ve did some work on the interior and as I decided the color of the car will be red, I am going with the red-black exterior-interior combination, like this:
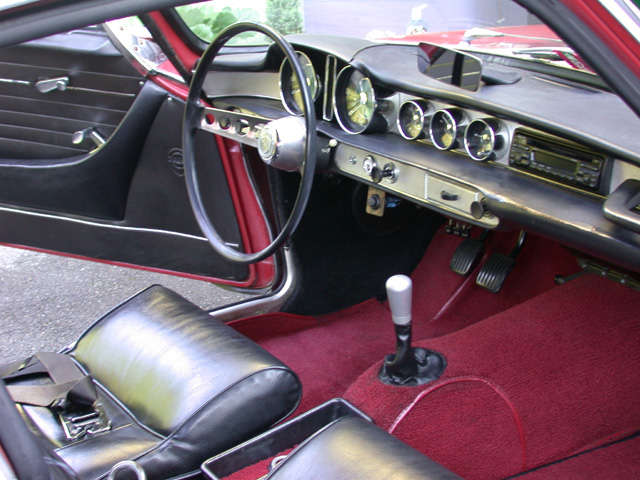
http://volvo1800pictures.com/main/main_gallery_1800S_67_php.php
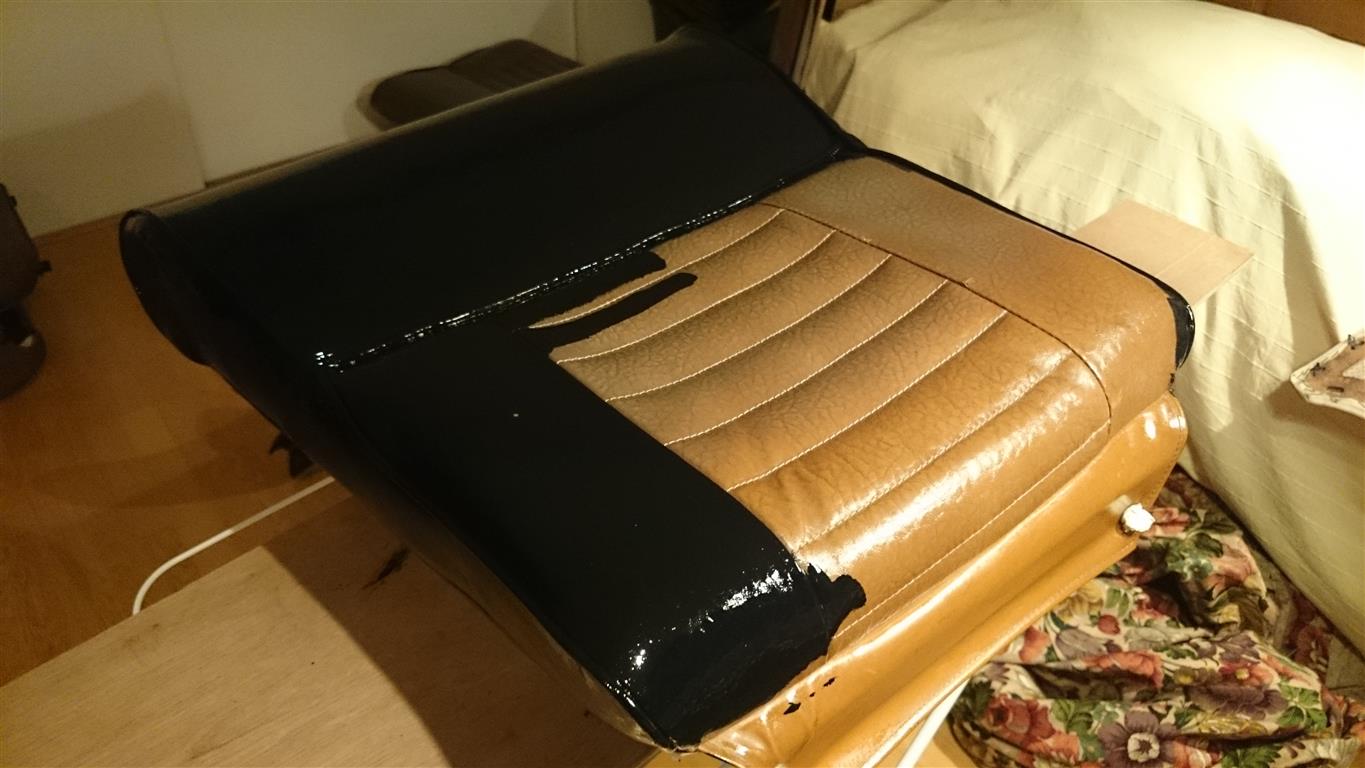
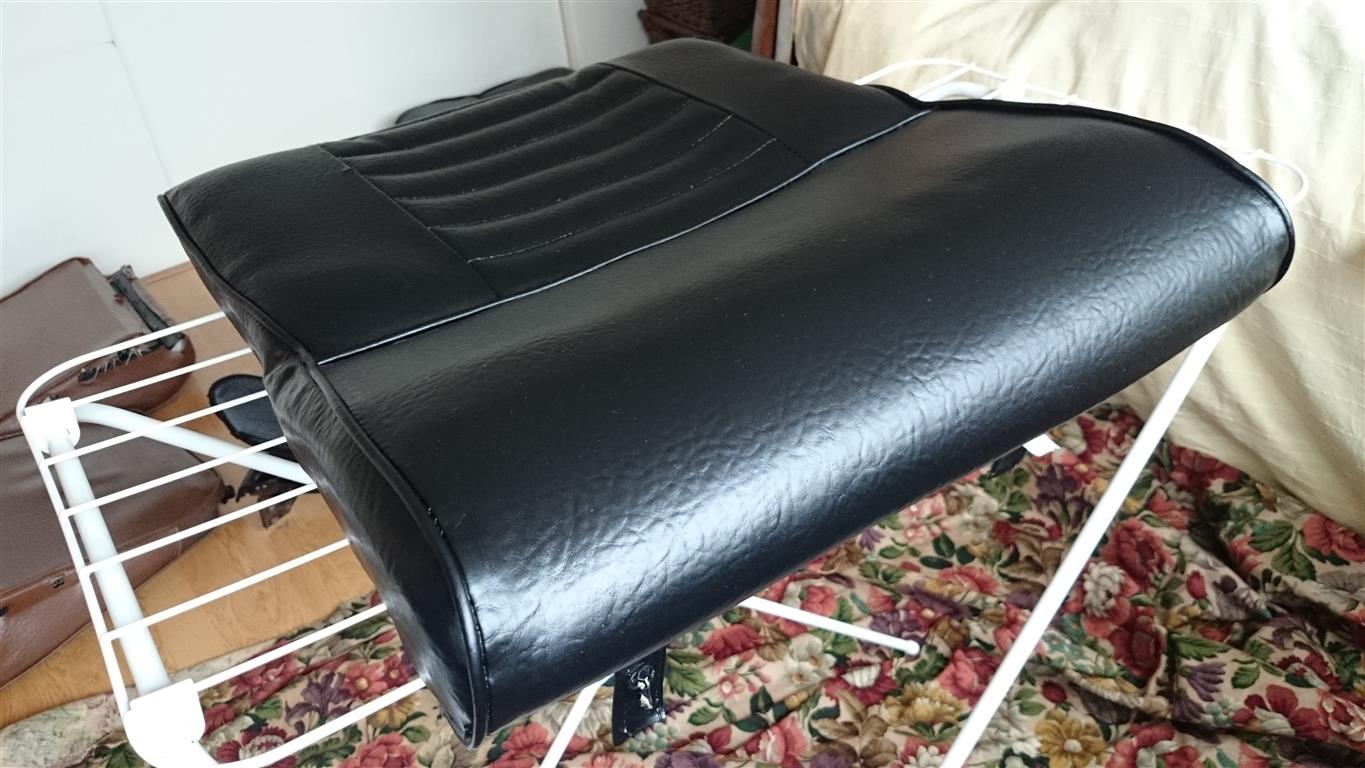
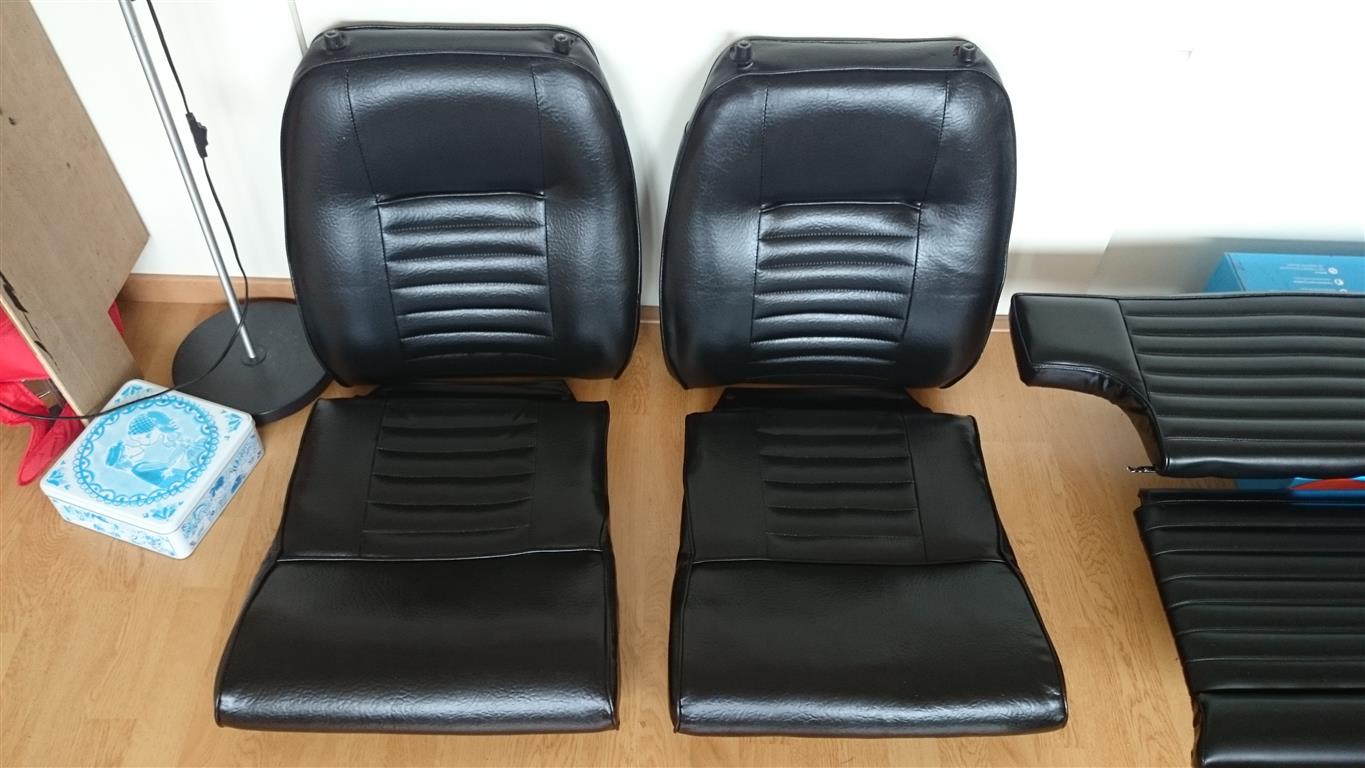
So, red exterior, black seats and panels and red carpet. Searching for a nice 2nd hand, not rotten away black 1800s interior would not going to be an easy find. Impossible I found out later on. I also checked out of curiosity what it would cost if you would buy it all new, this would be around €2500. Not an option for my financial situation. So, after some searching on the net I found some people who painted their seats with leatherpaint with pretty good results and a good price – quality. So I painted the interior black:
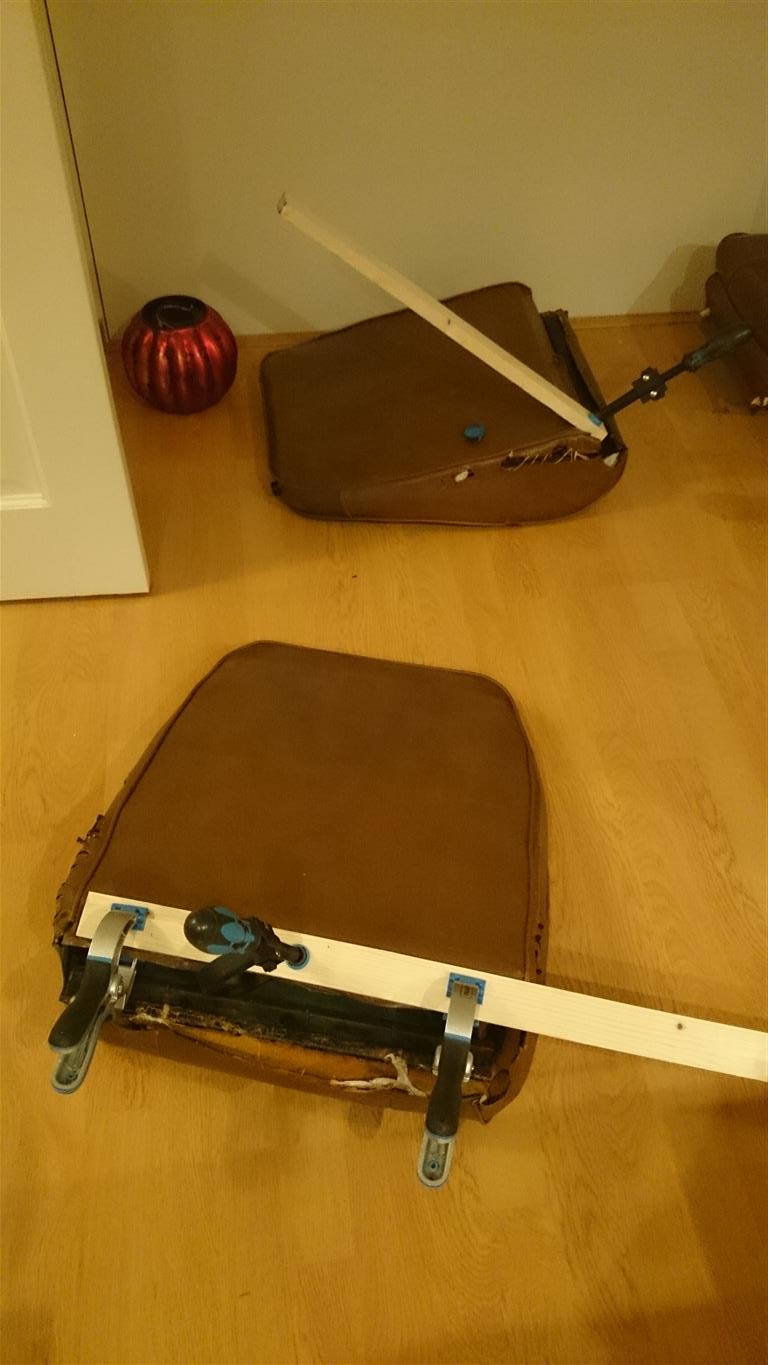
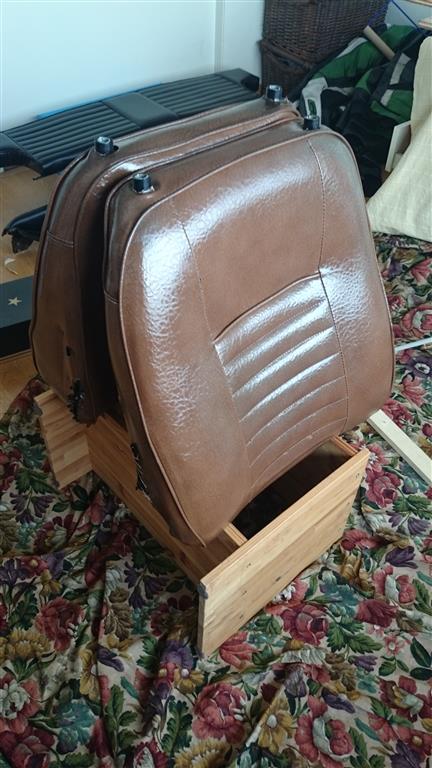
First some repairs and clean everything thoroughly. My seats are in good condition so no heavy tears or worn out cushions, perfect to be painted.
Then the paint. It dries pretty quickly.

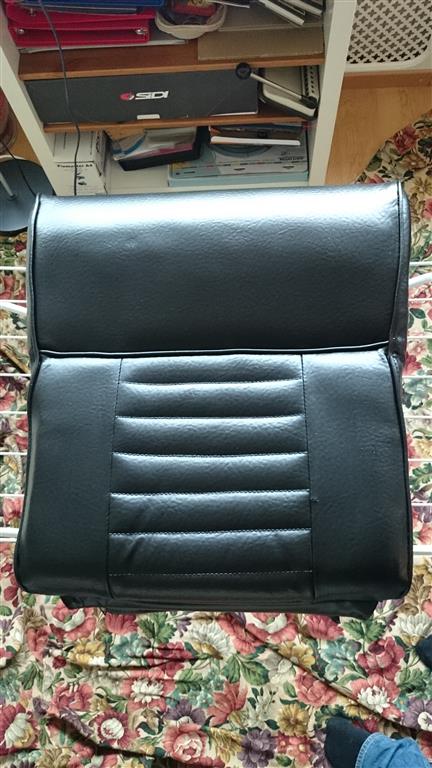
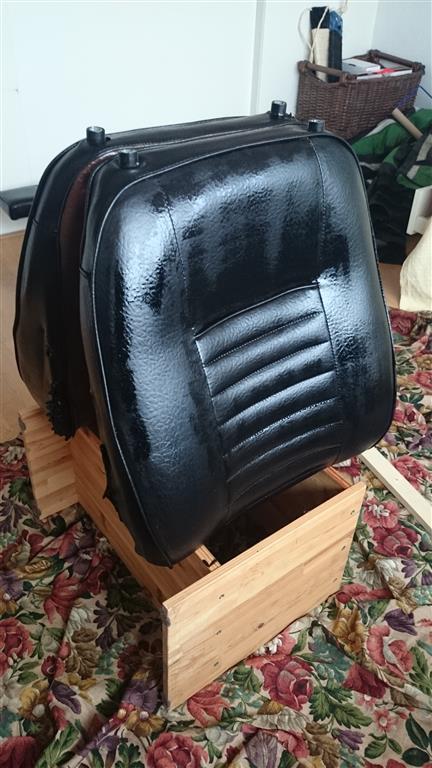
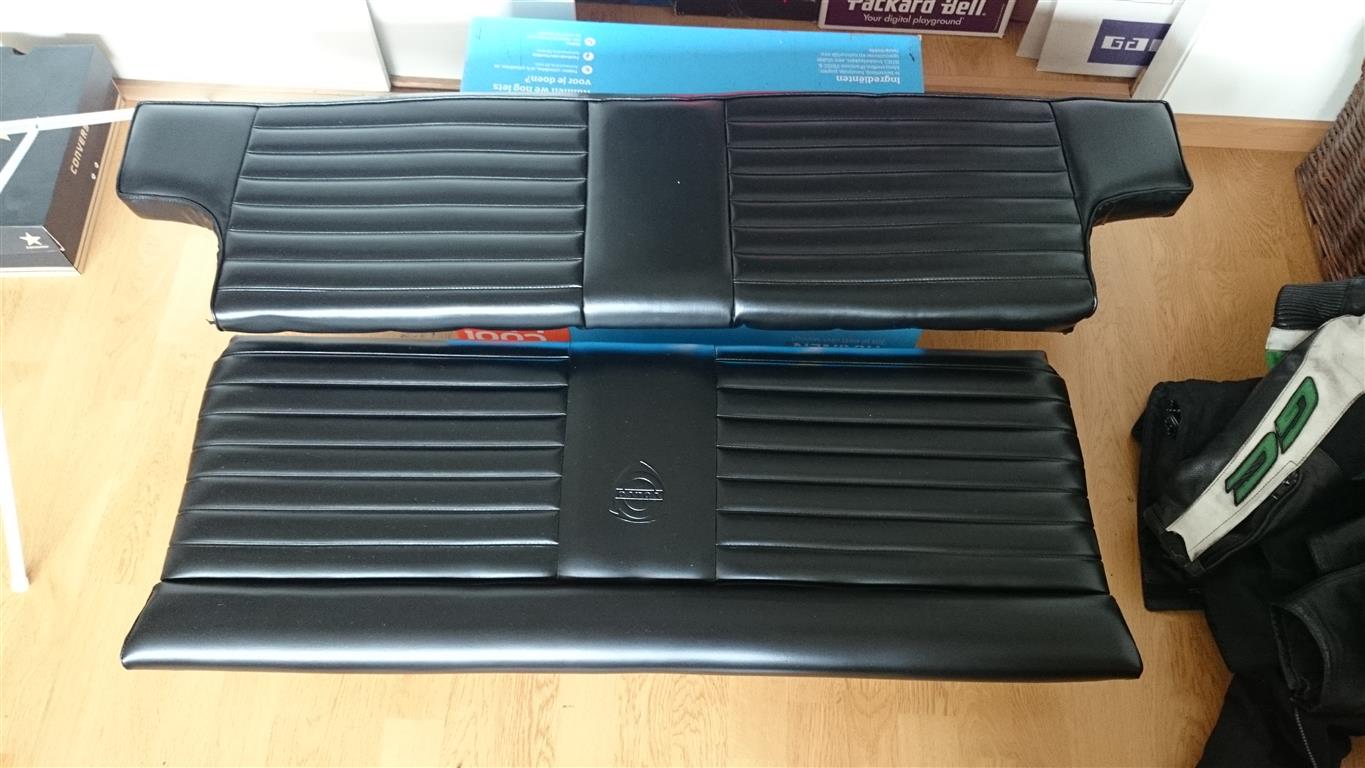
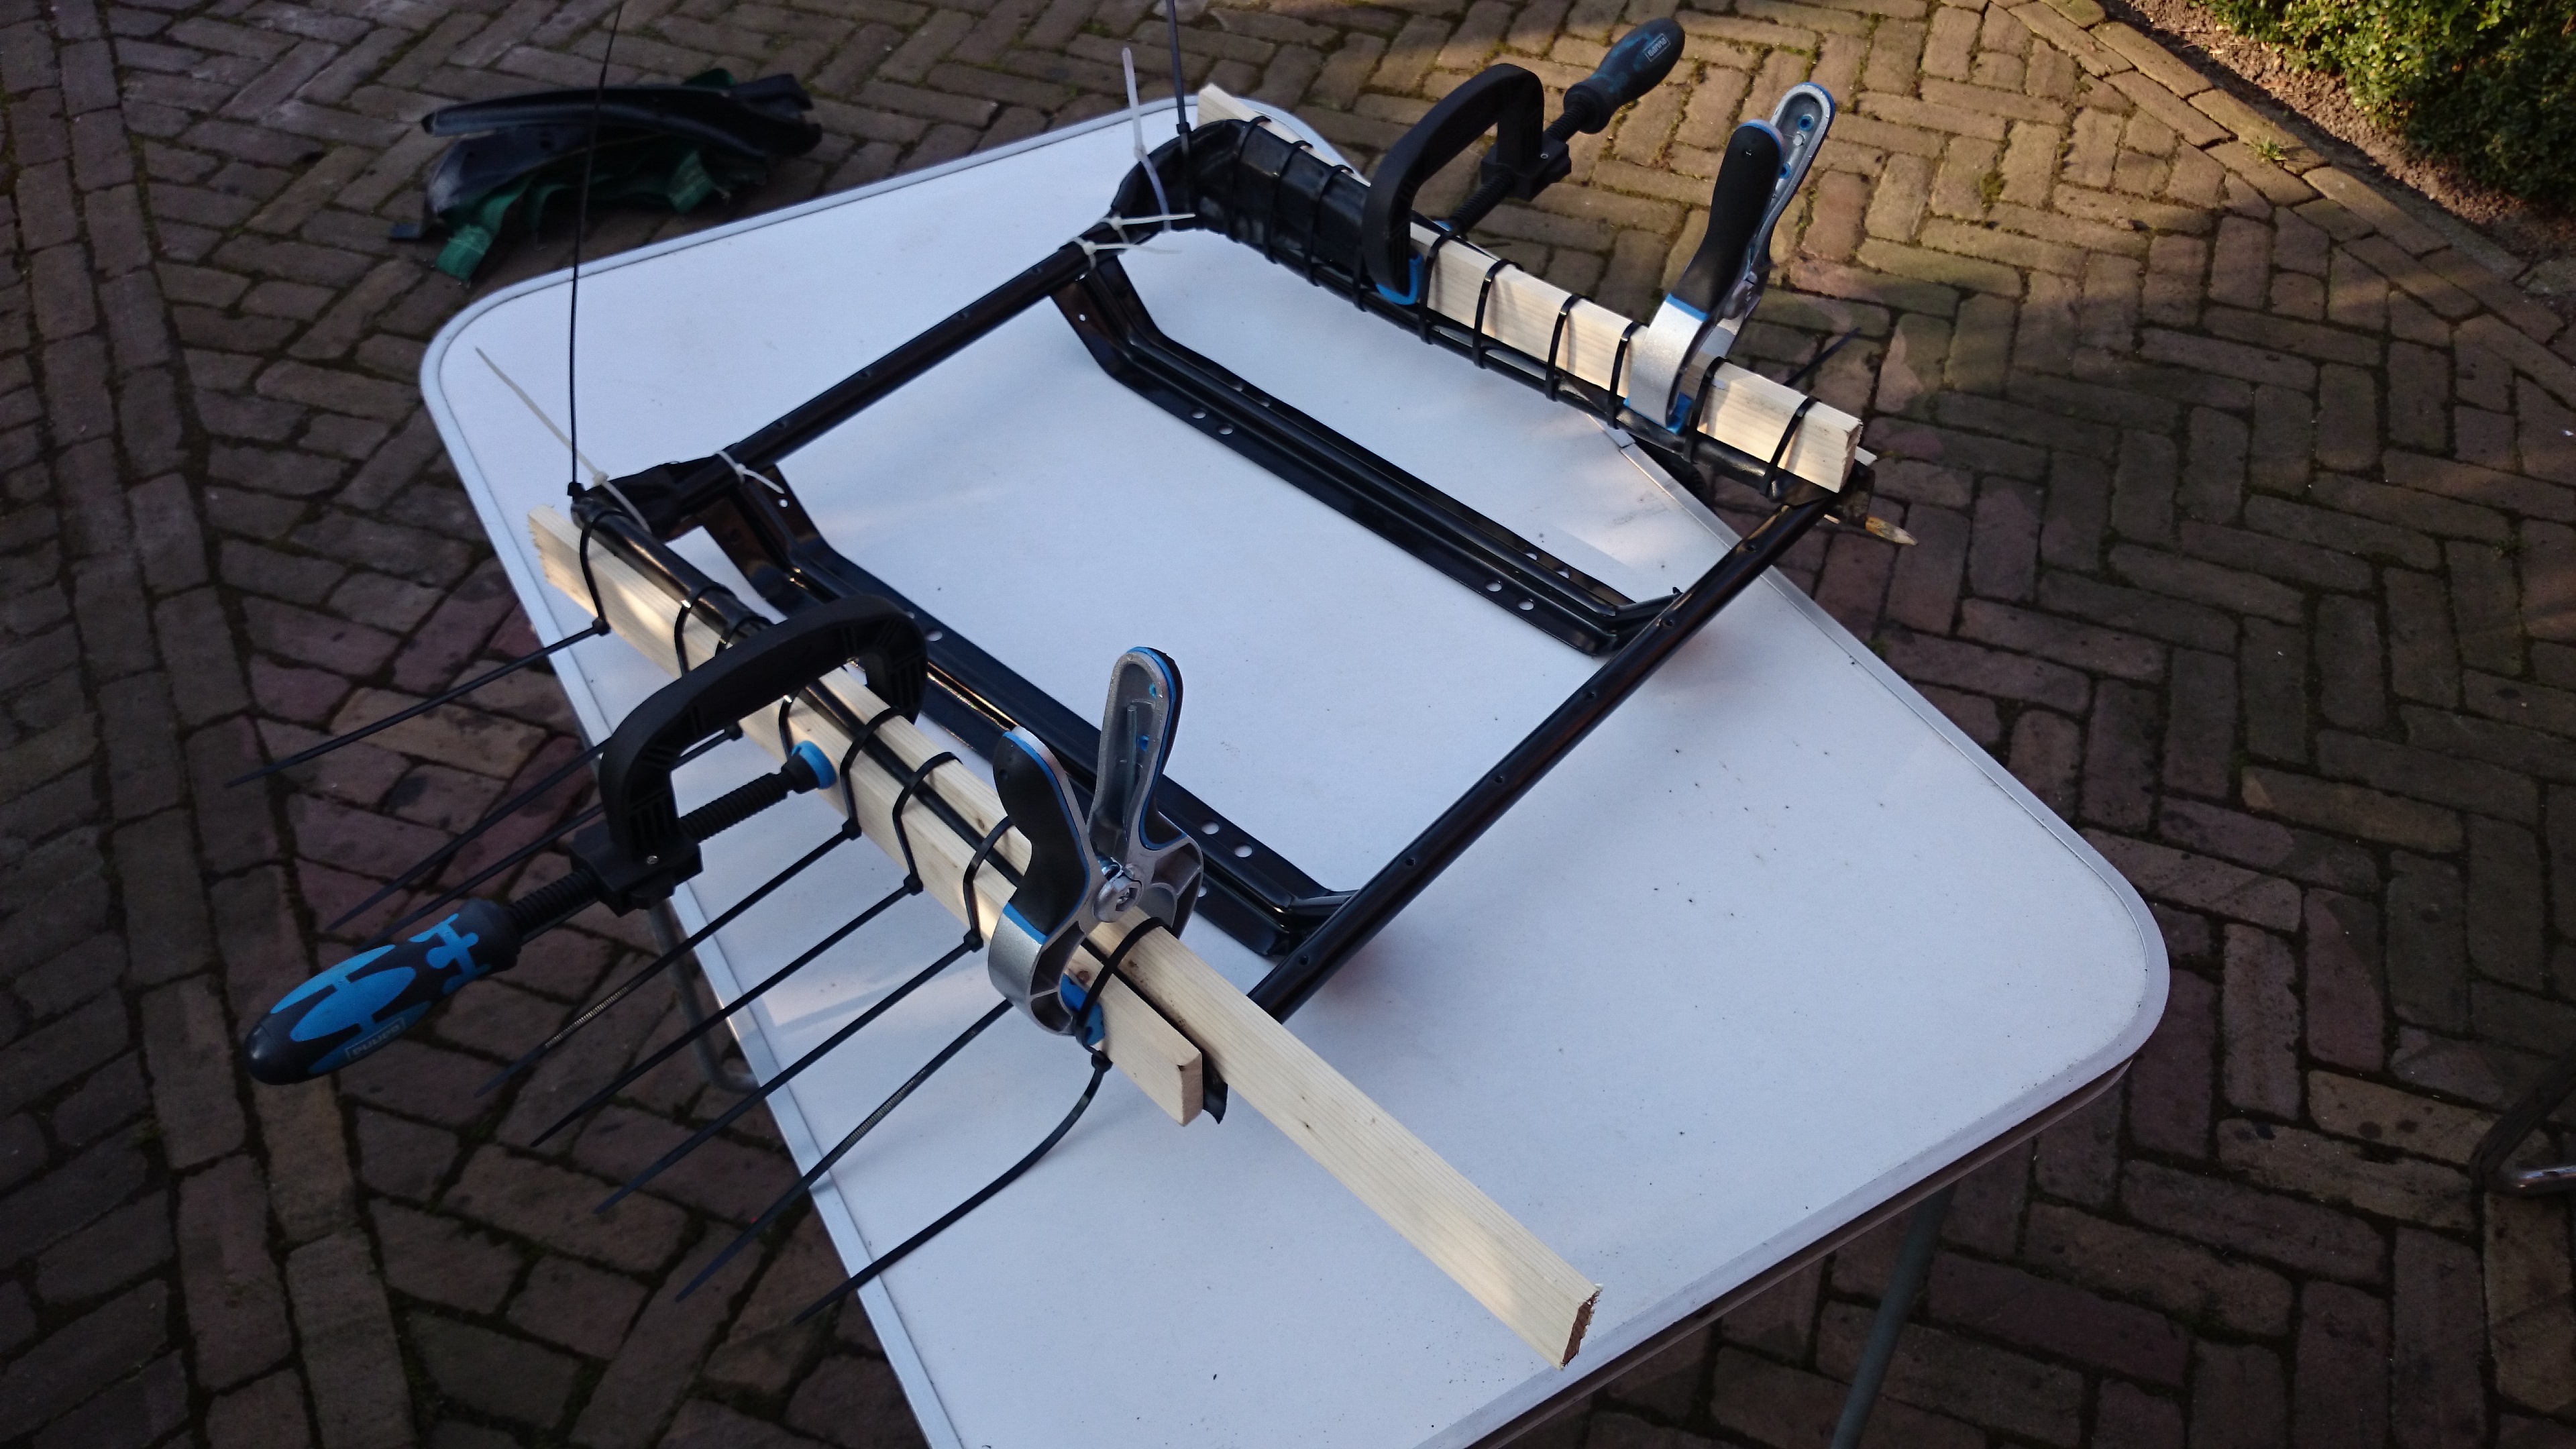
The seat support and brackets are powedercoated and all nuts, bolts and seat rails are nickle-plated so all shiny. I’m assembling the seats now.

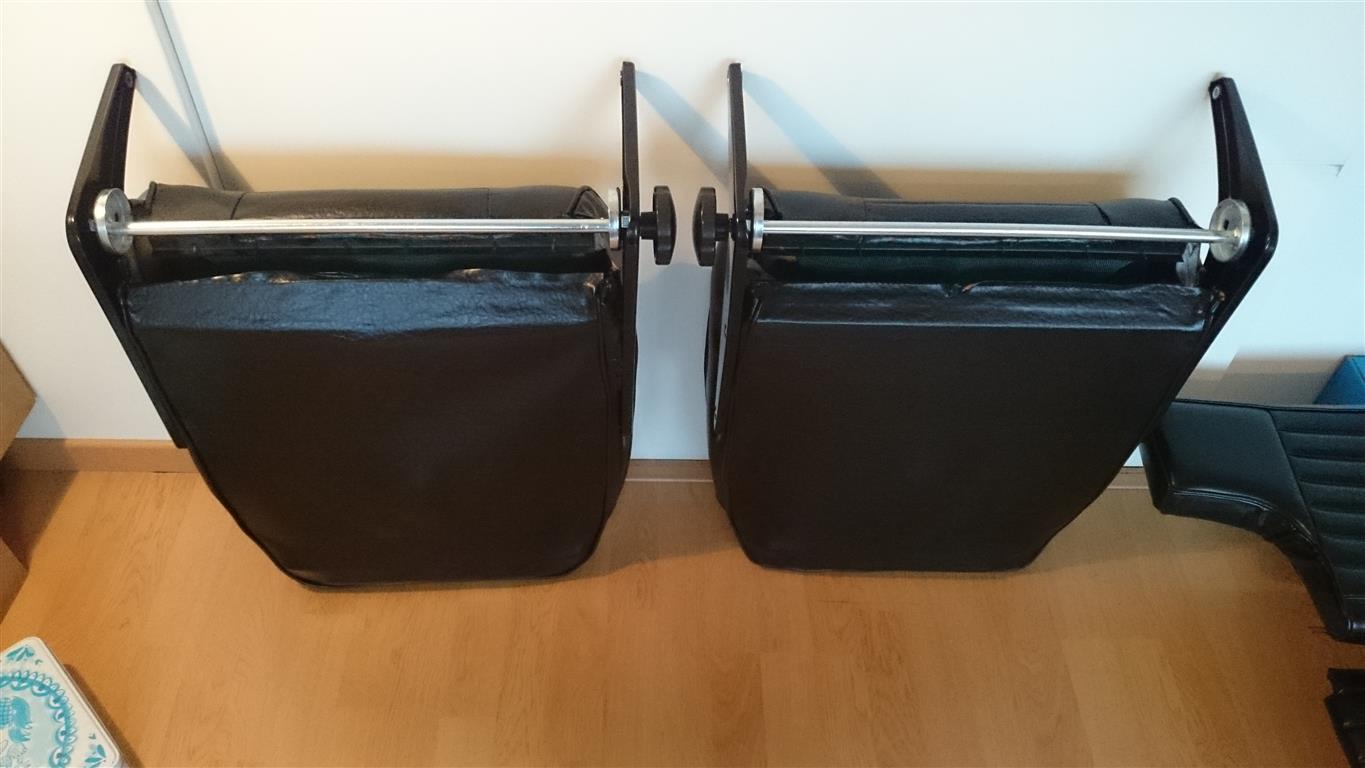


I had to tap the threads of the 5/16 nuts in the seat bottom base, which were accidentally powdercoated, and gluing the covers on the bum frame.
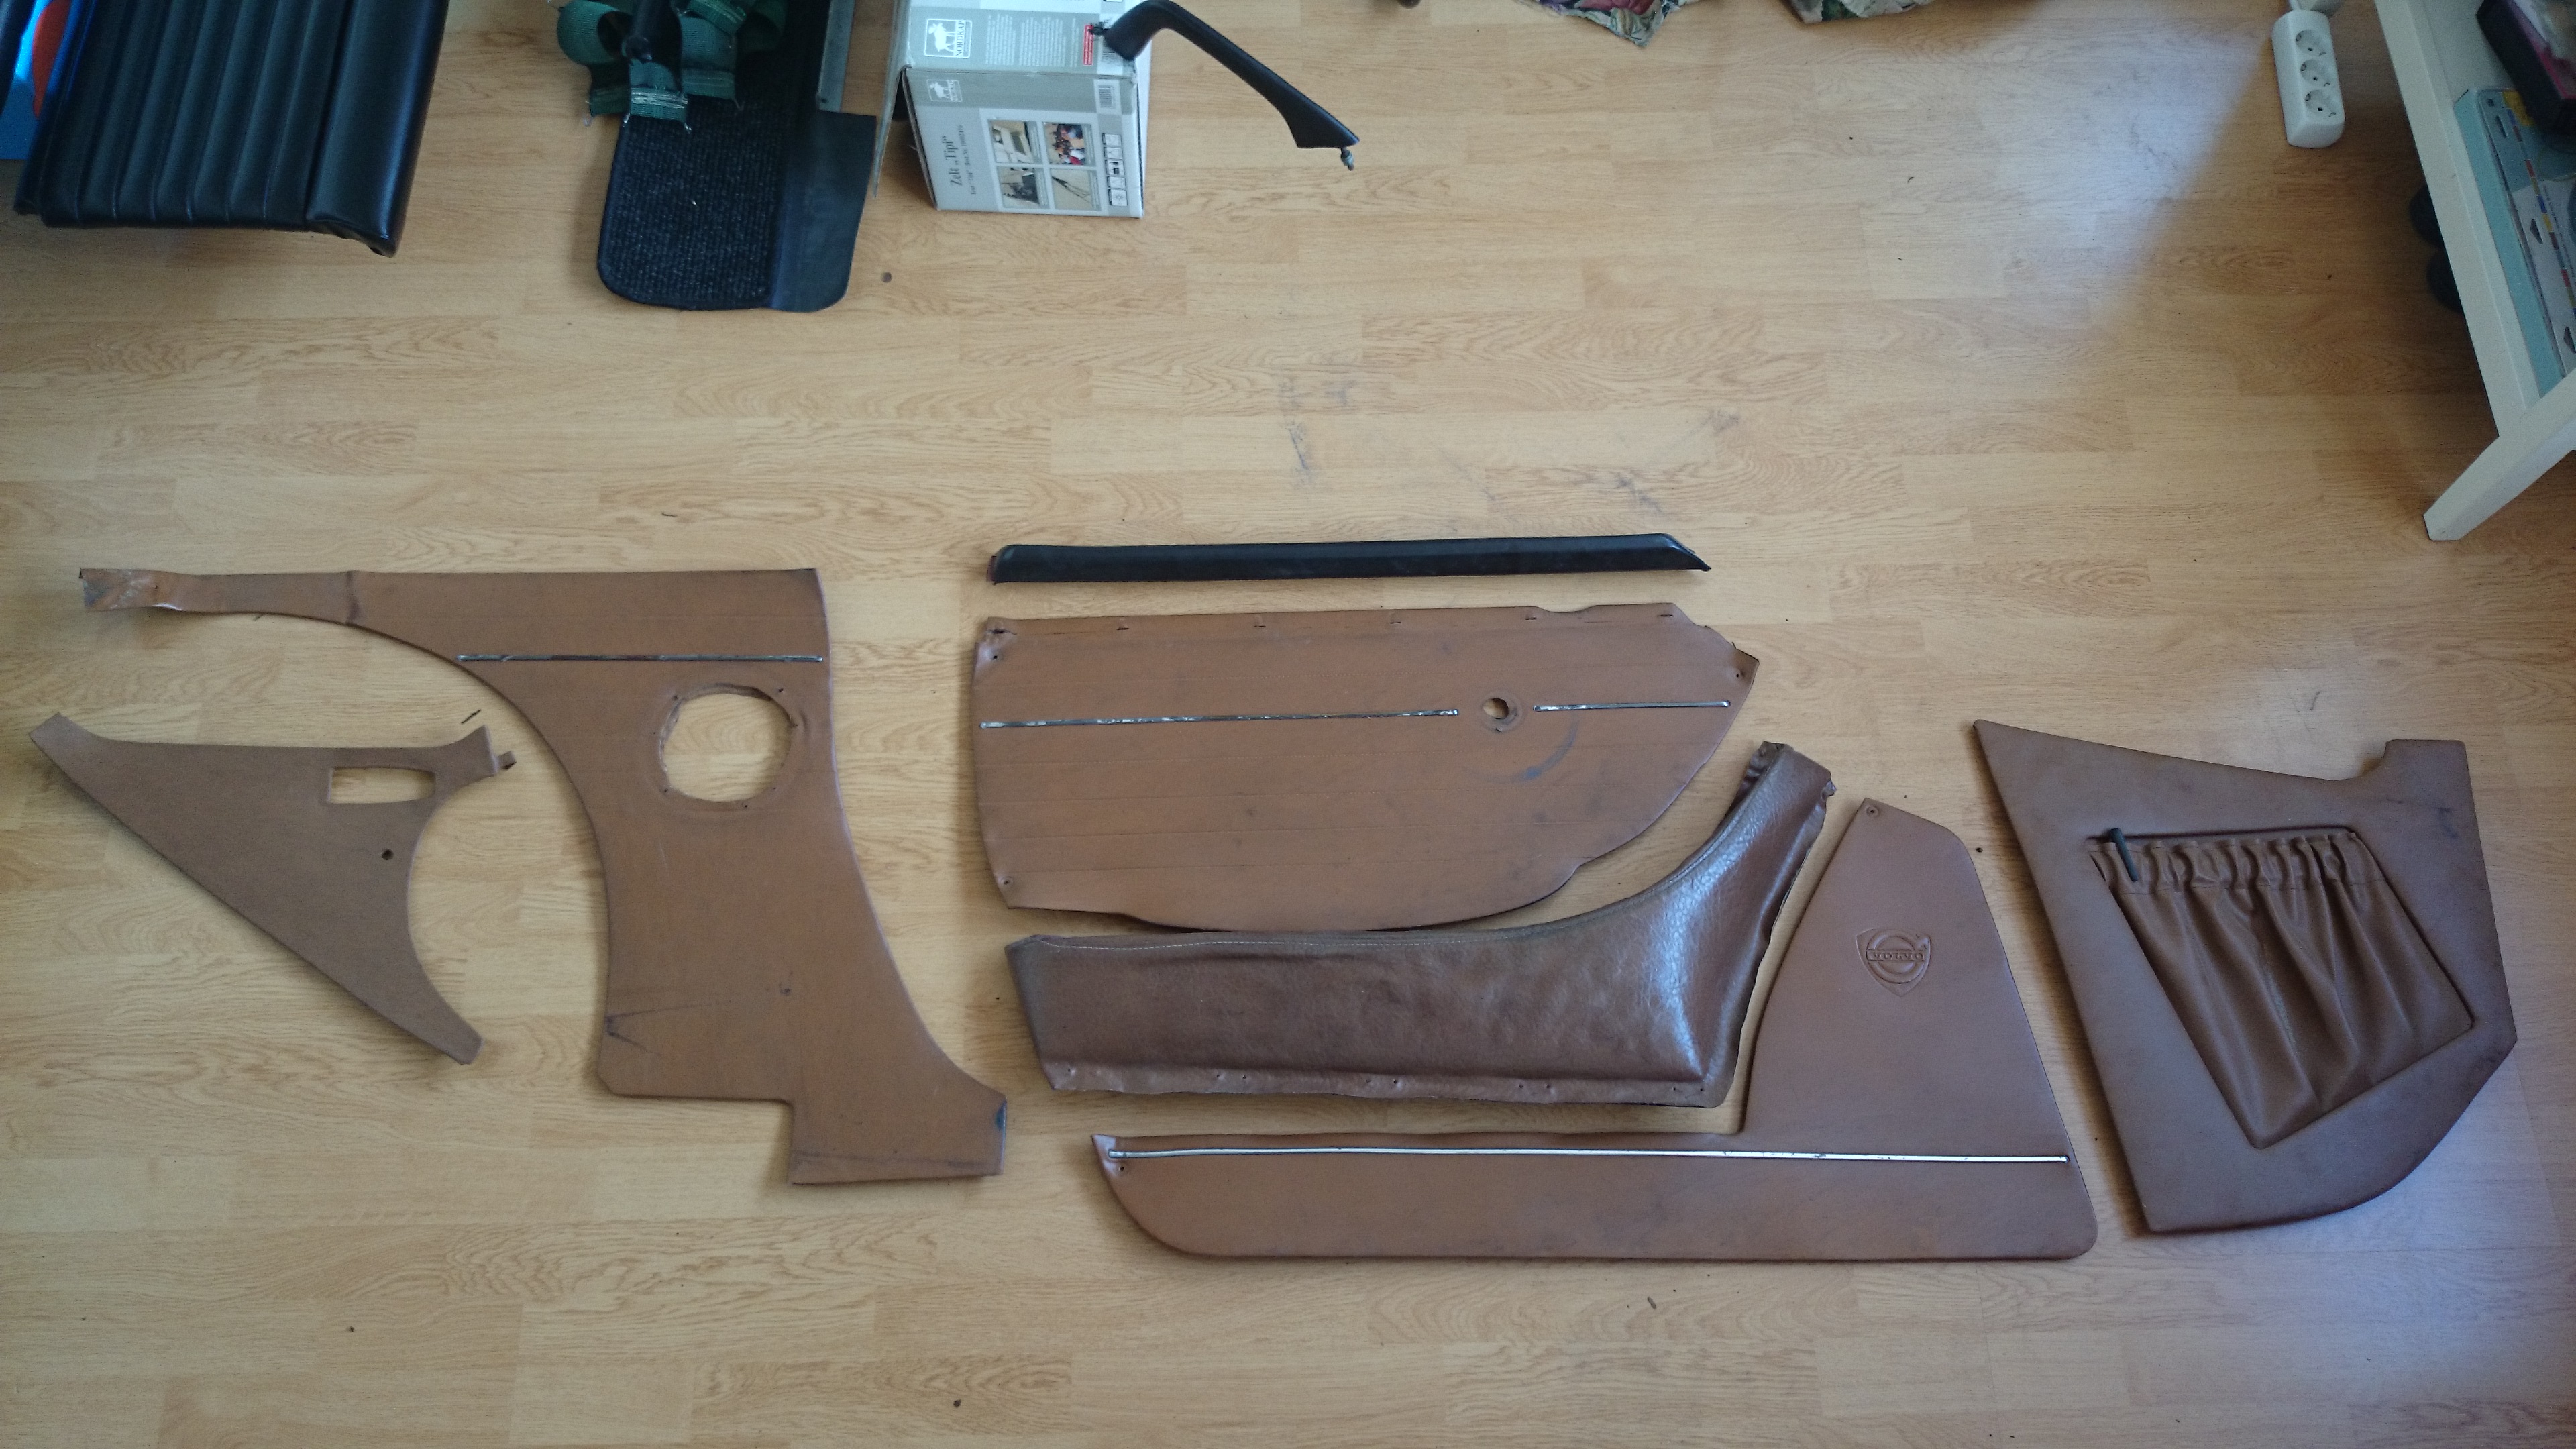
Next job will be to paint the interior panels, but first I have to replace the wooden panels with some waterproof ones and then I can paint the panels.
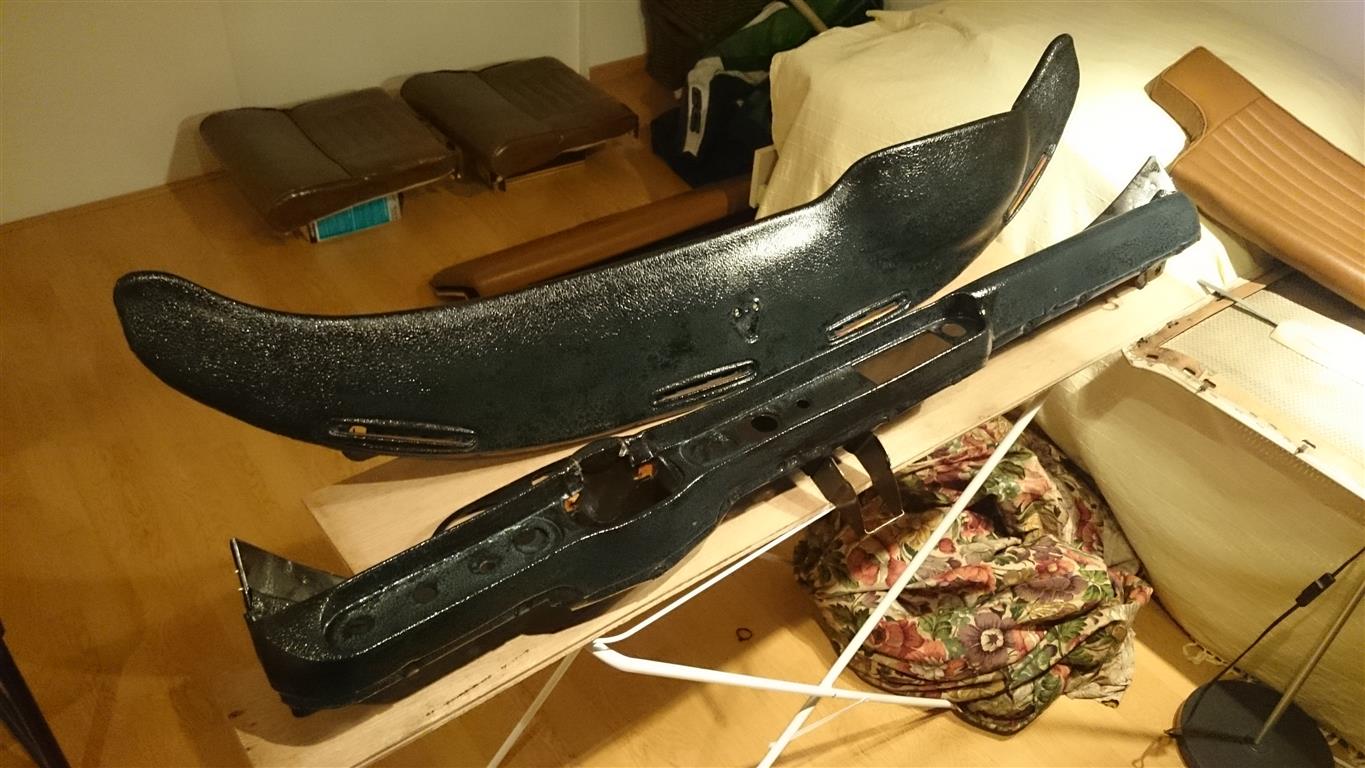
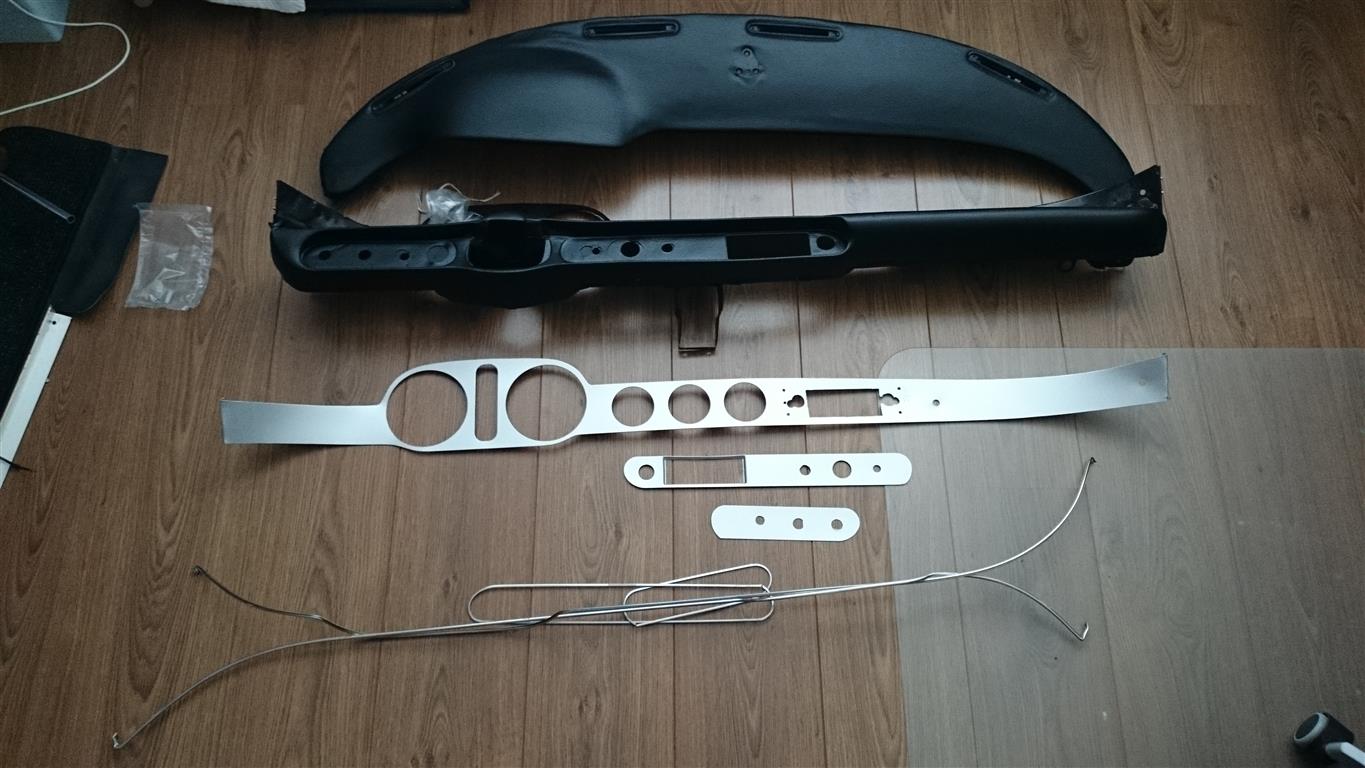
Also the dashboard is finished. I was a bit in doubt if I would repad the whole thing, but this was not necessary. There where only 2 small cracks which I repaired (stop-drilled, filled up and painted) so I decided not to repad it. A repaired and painted fresh almost new dash (the holes will be covered by the radio):
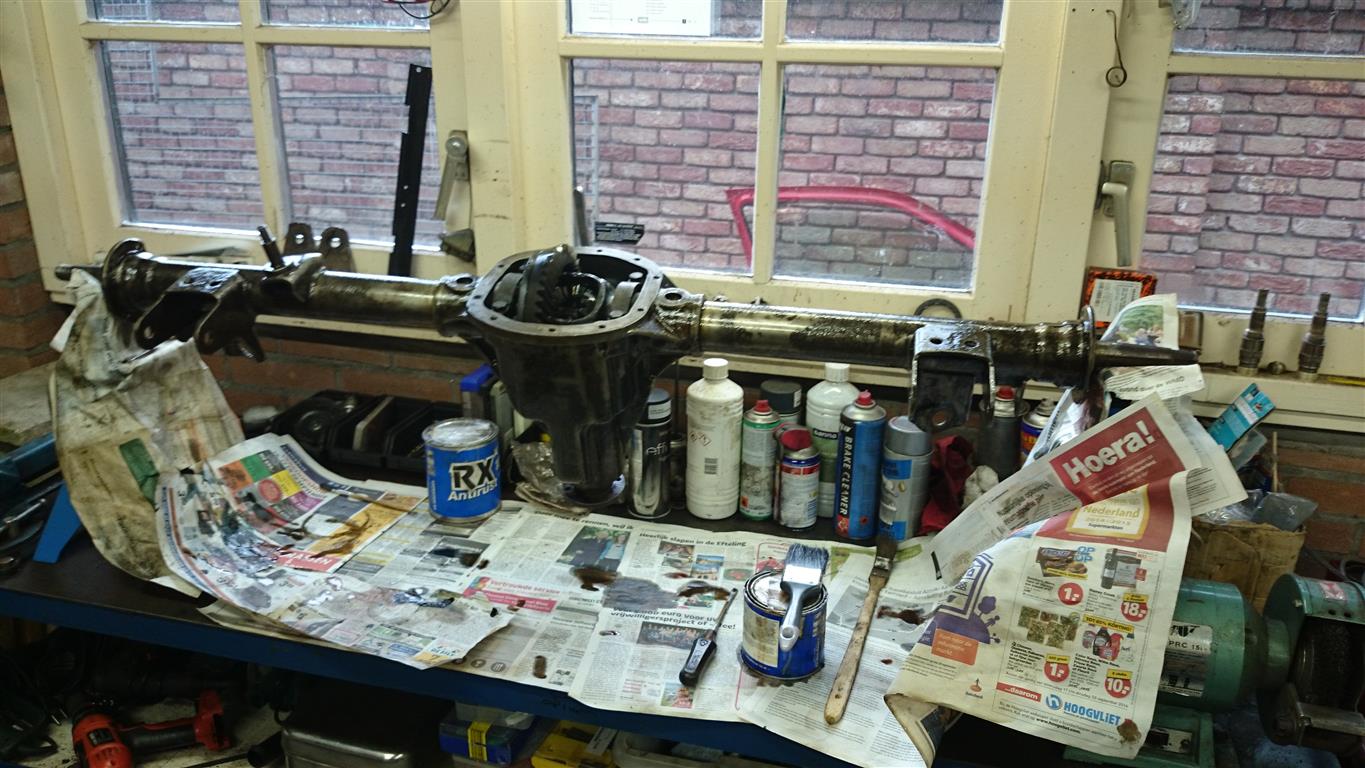
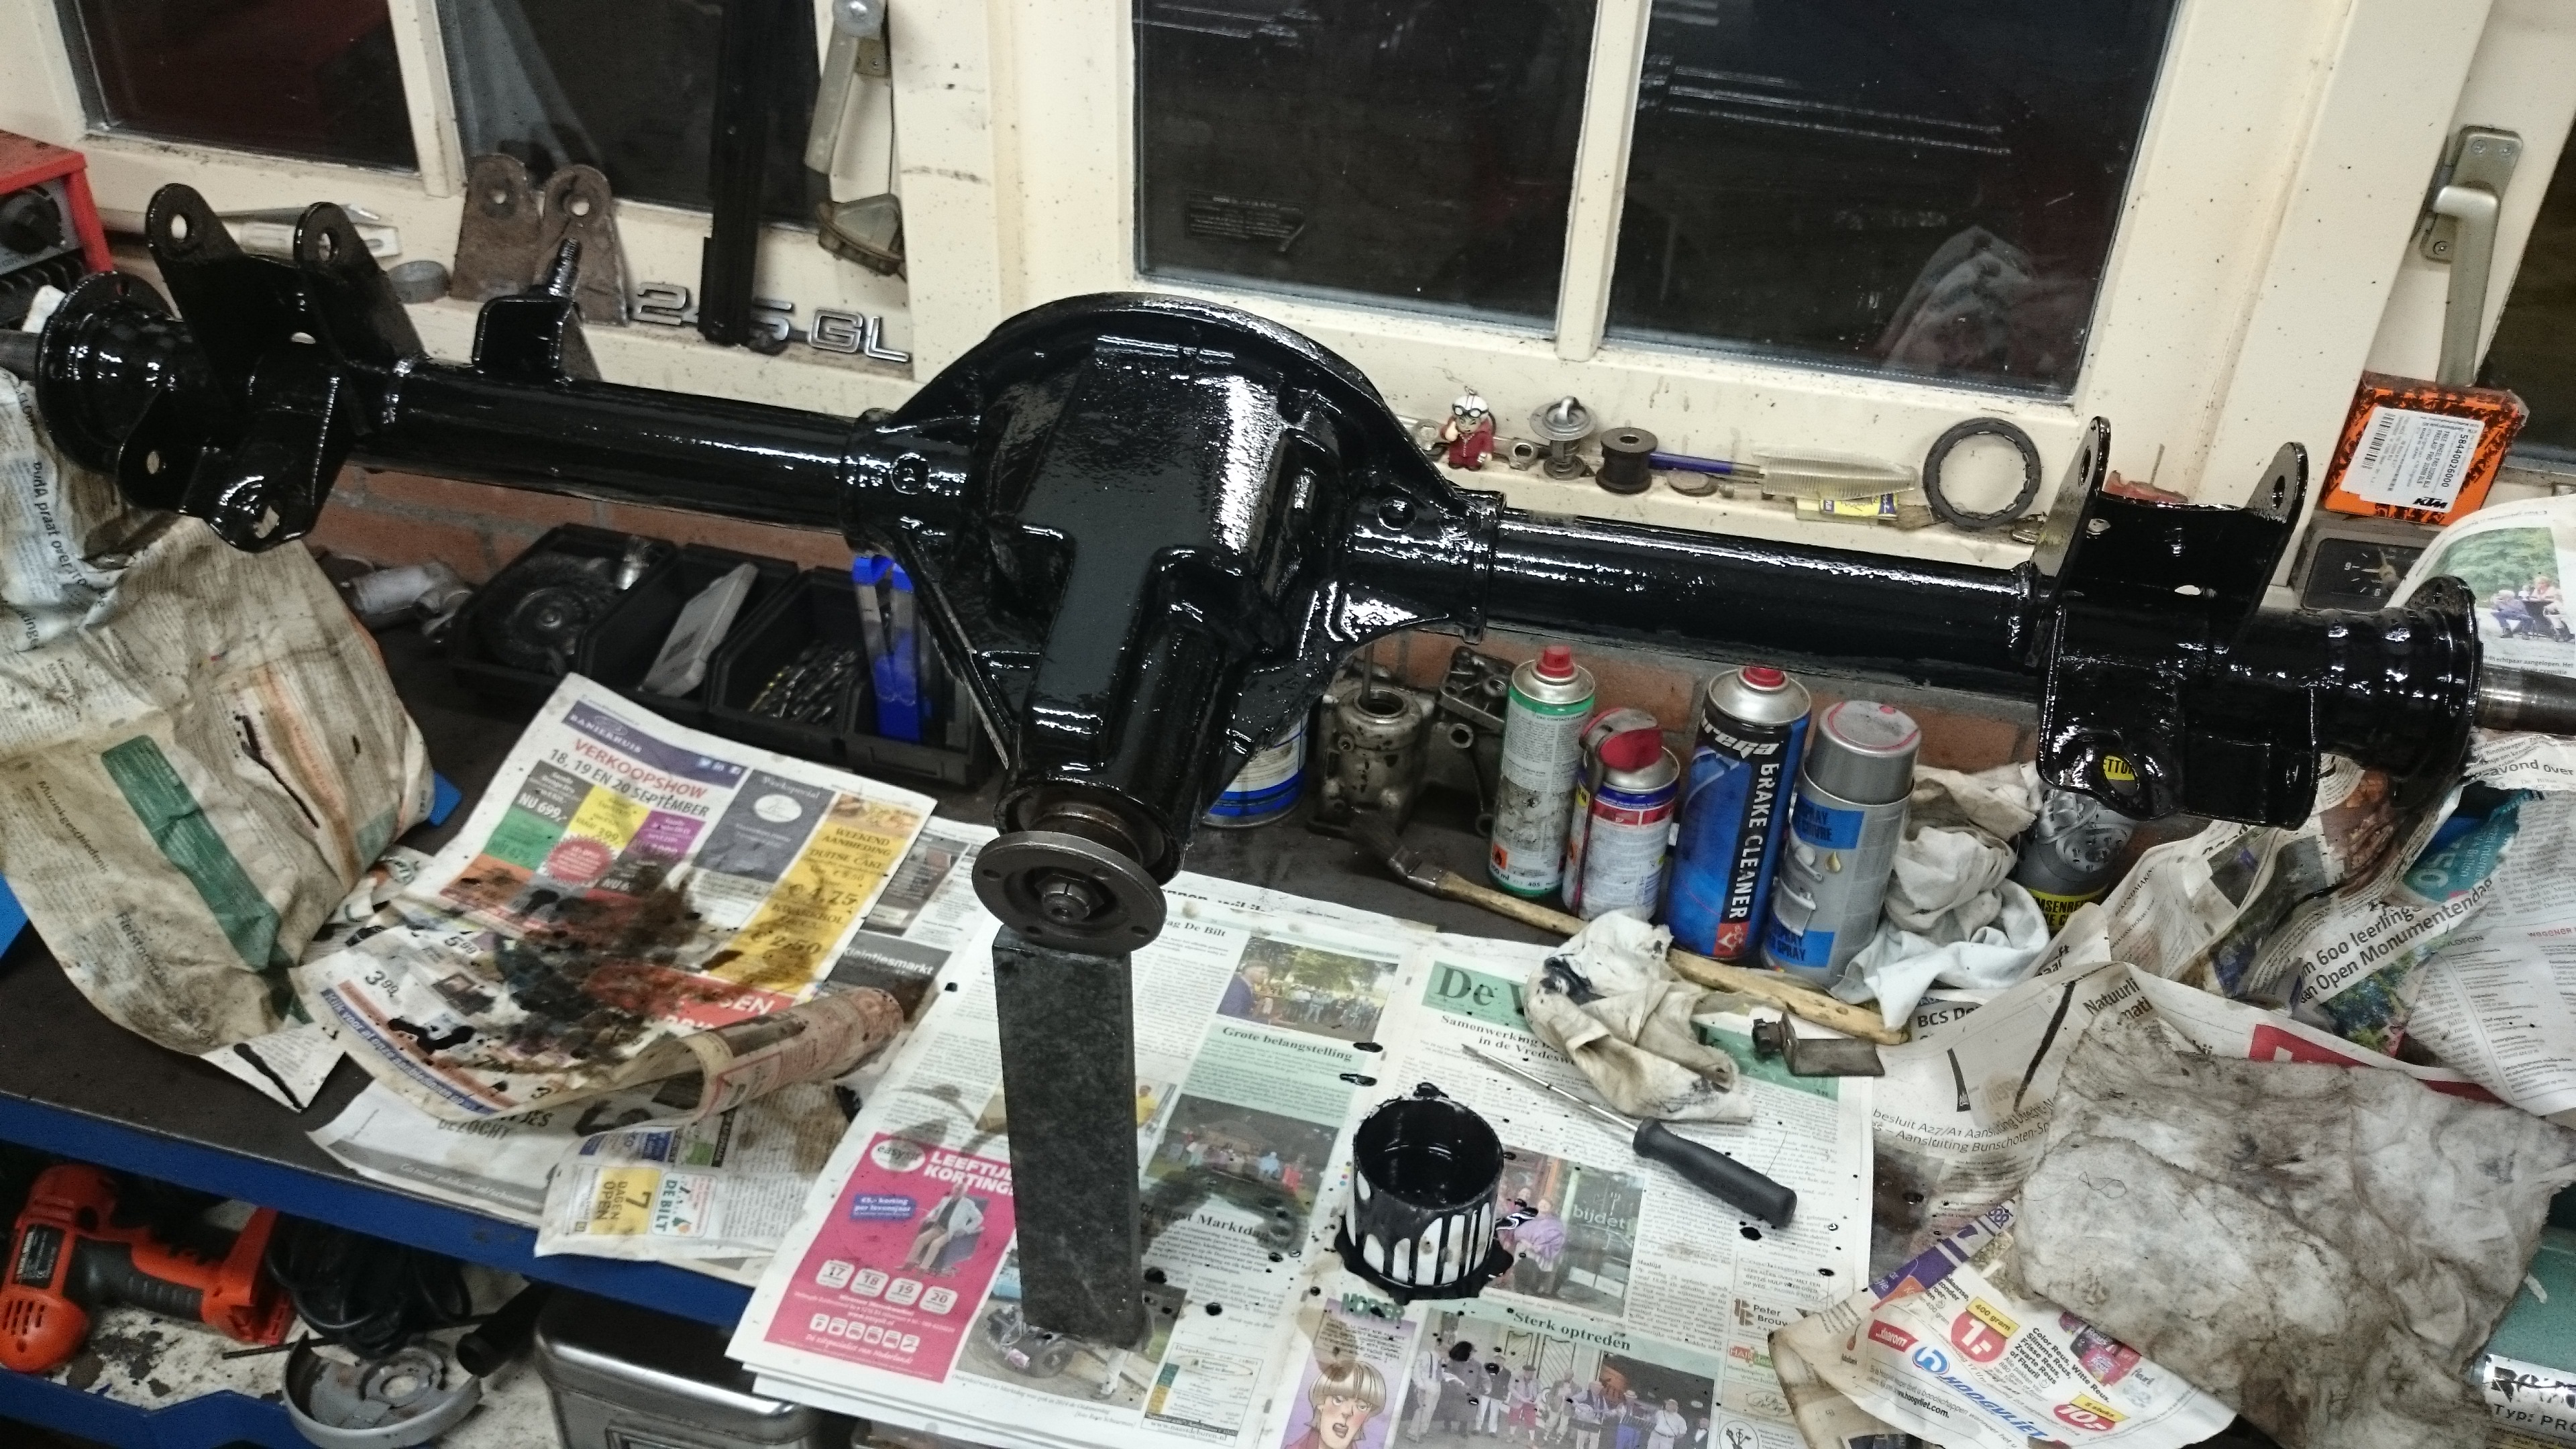
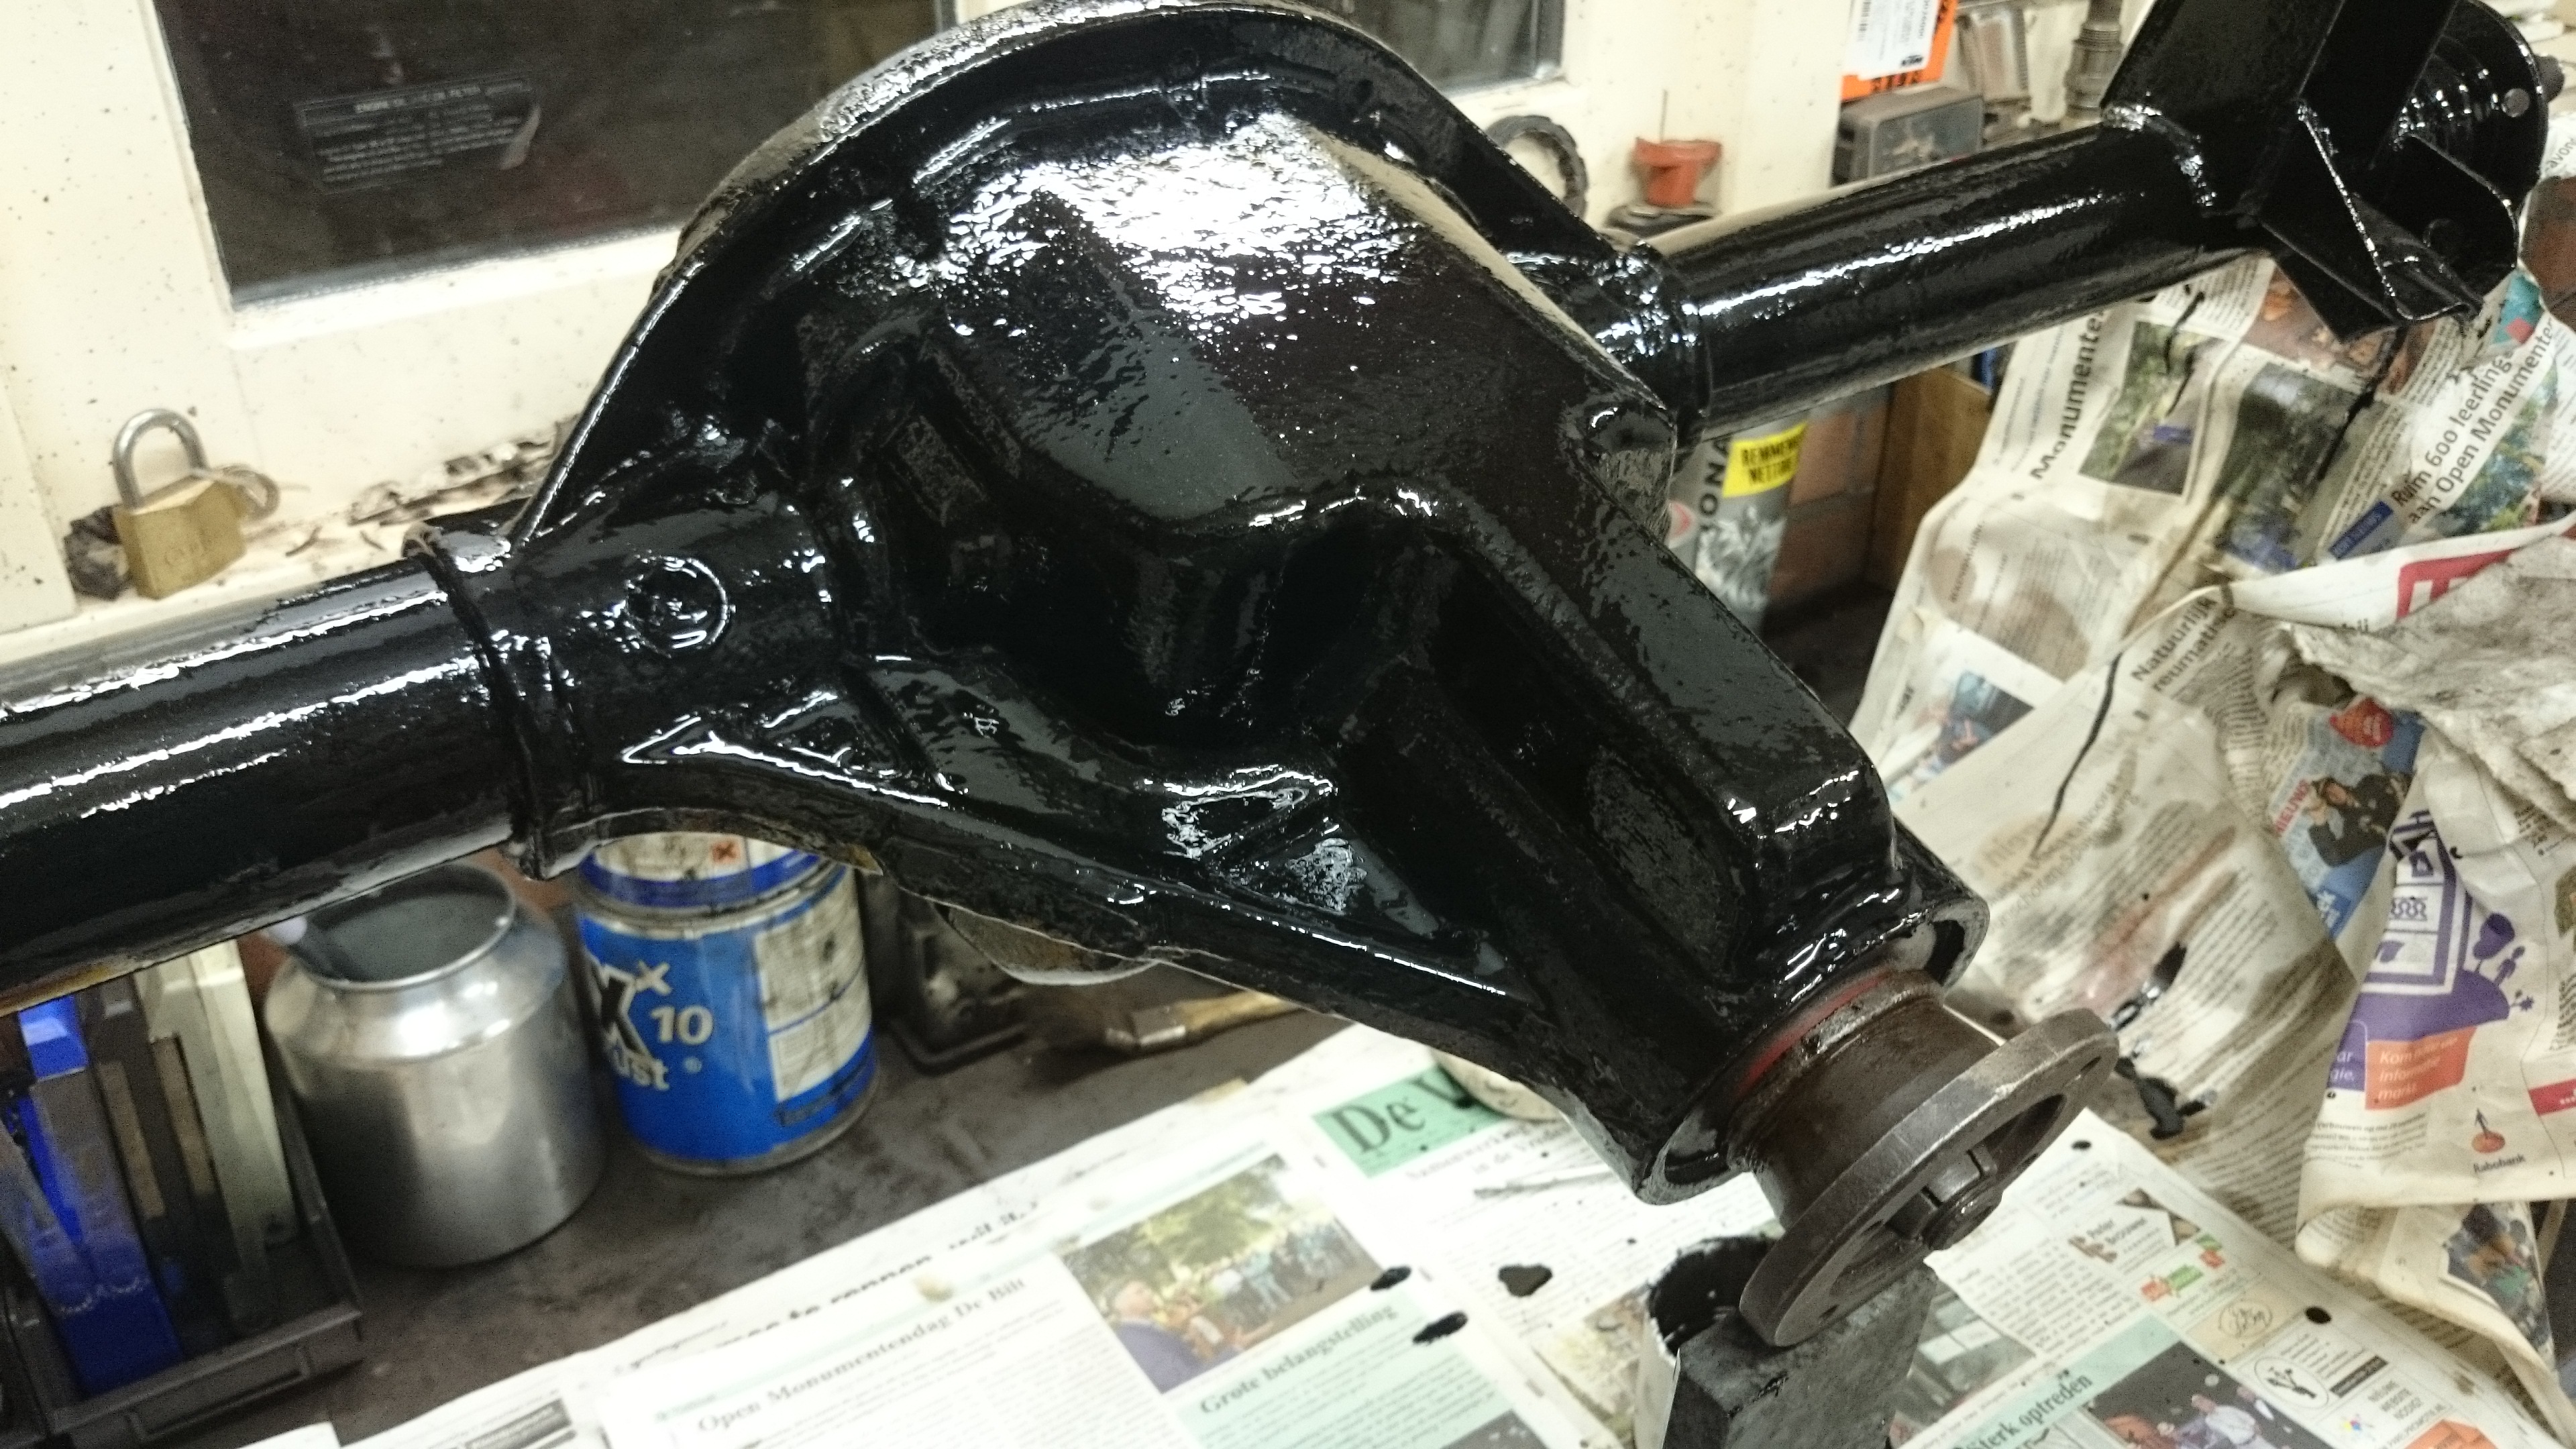
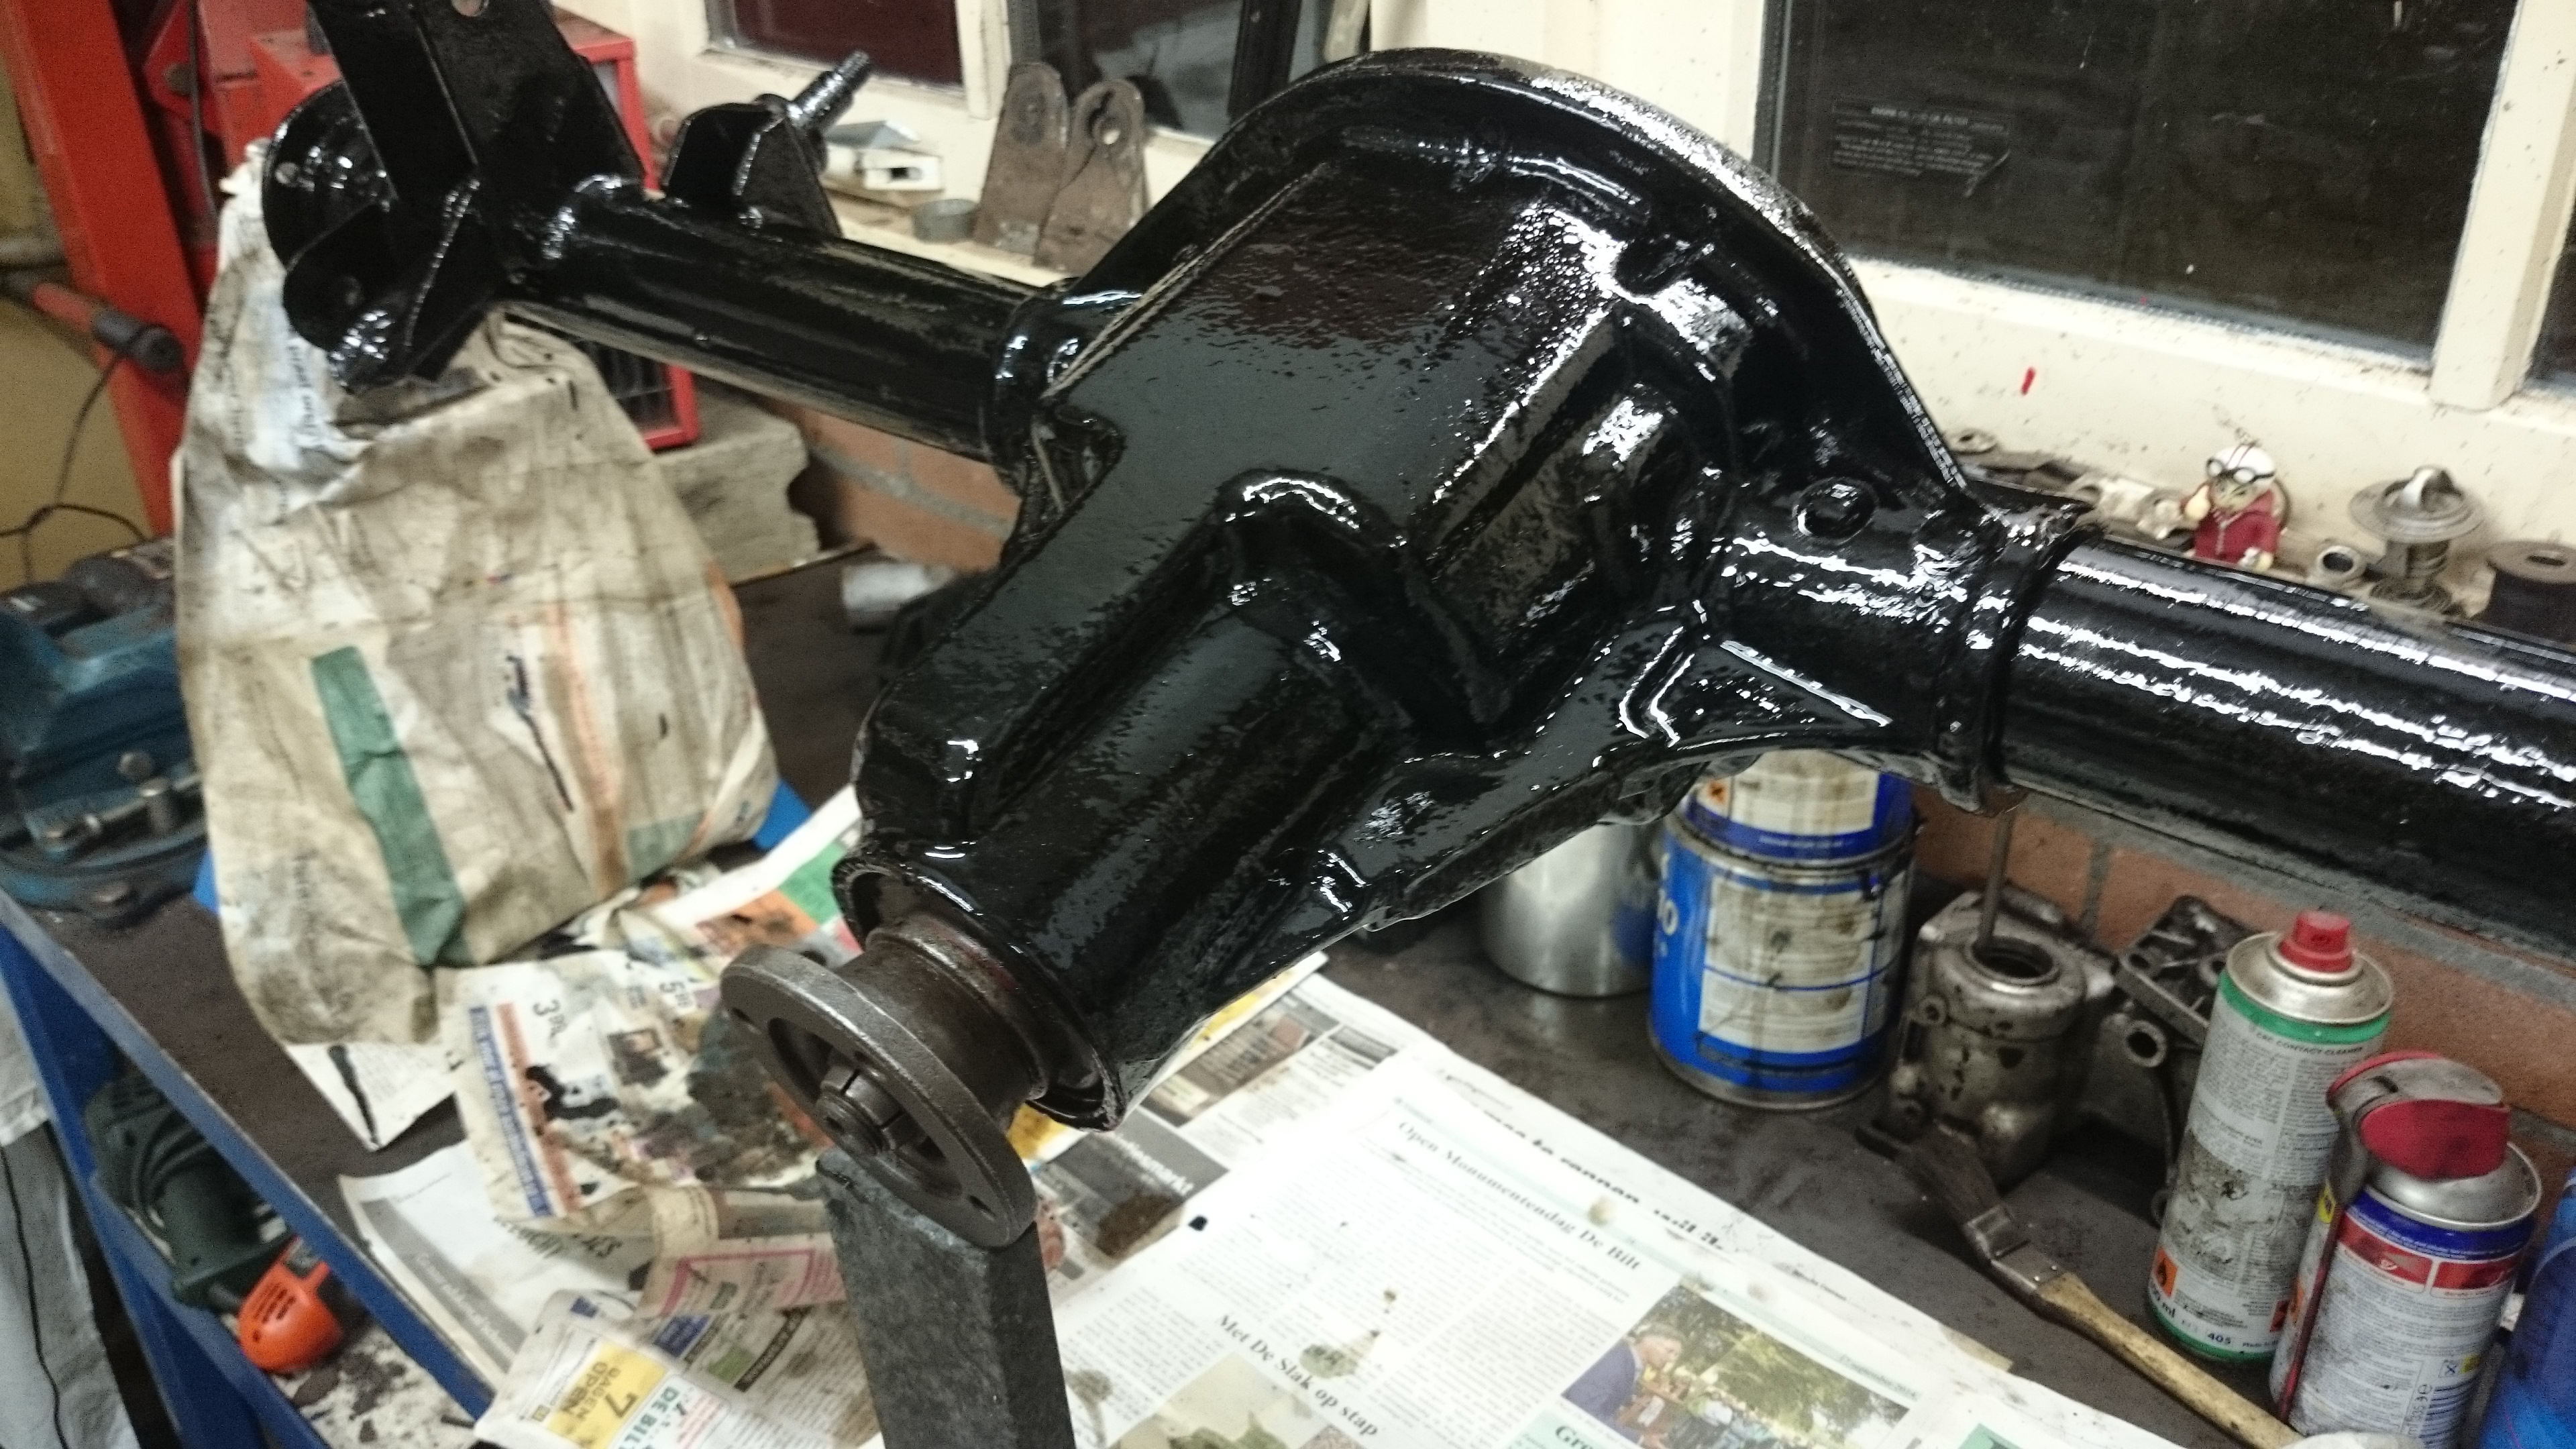
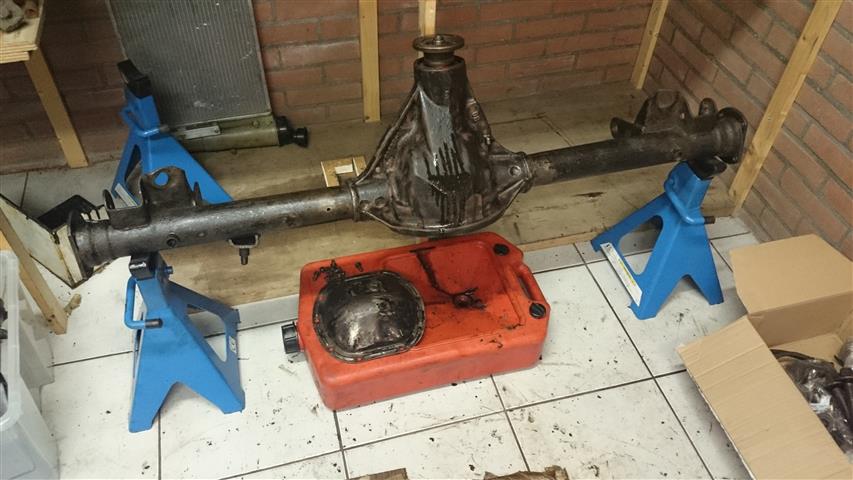
And cleaned up the rear axle and applied the first three layers of paint (1st & 2nd RX5, 3rd 50% RX5 – 50% RX10, next layer 5% RX5 – 95% RX10):
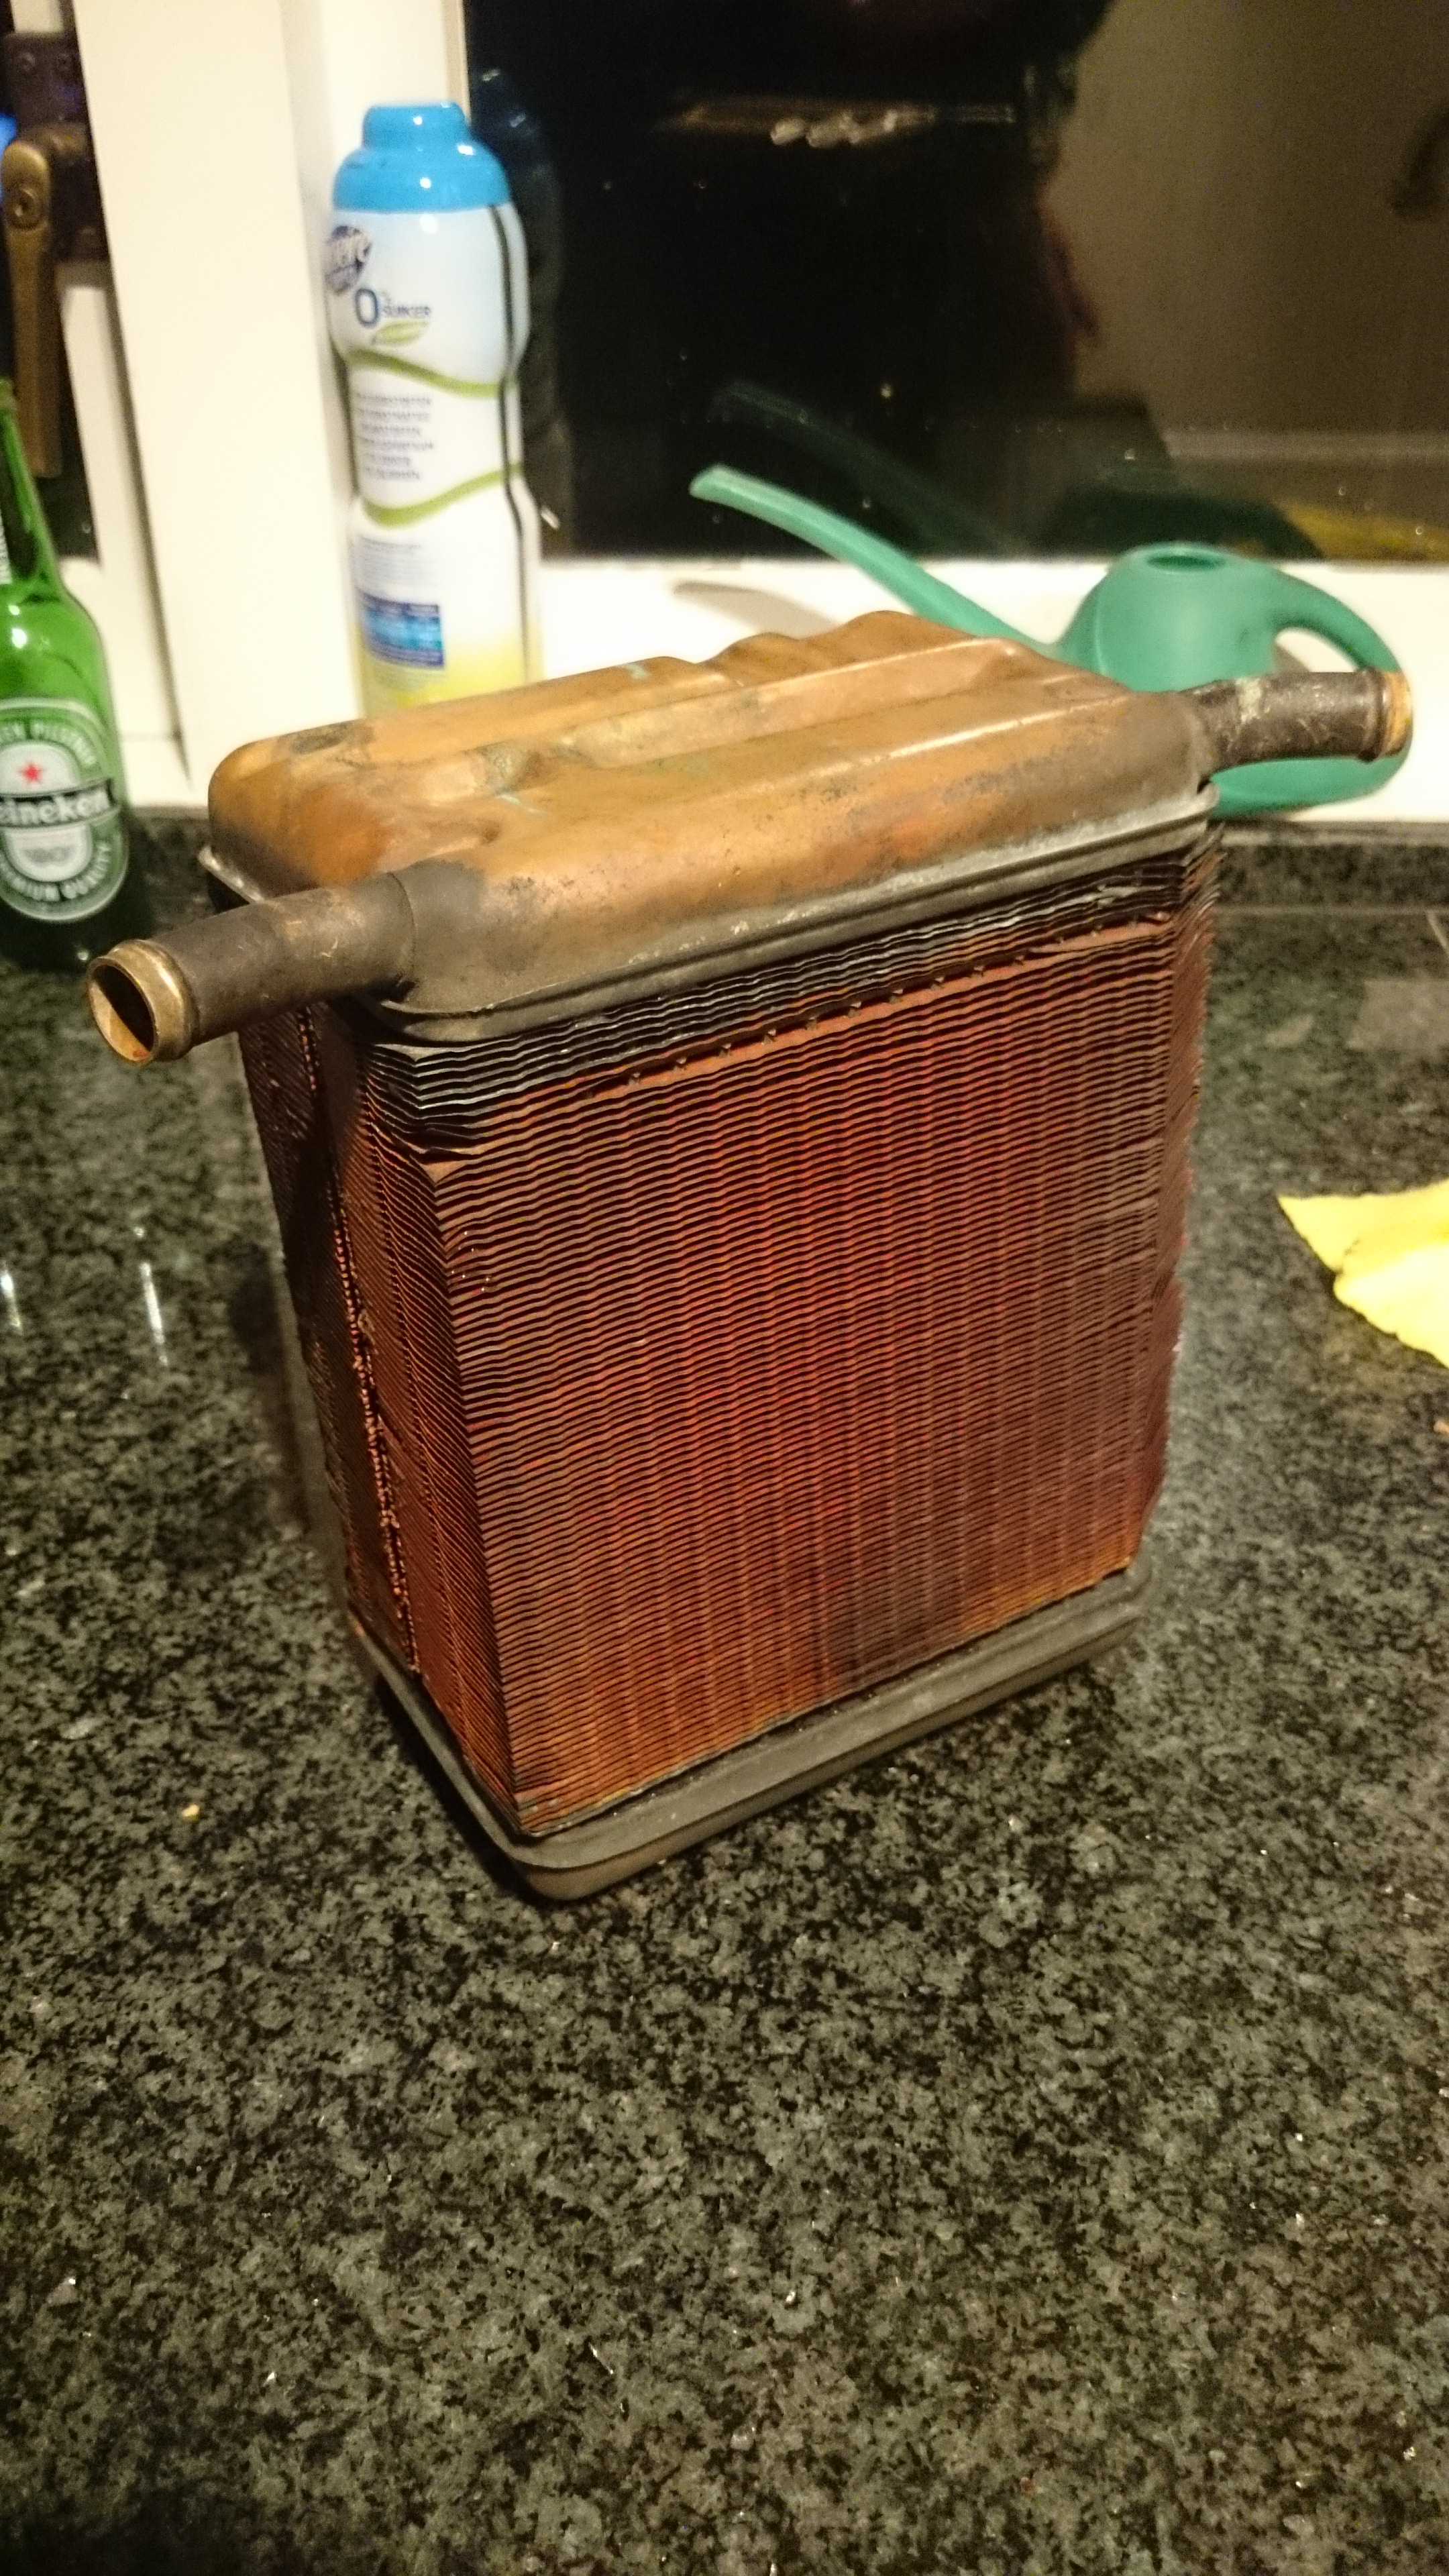
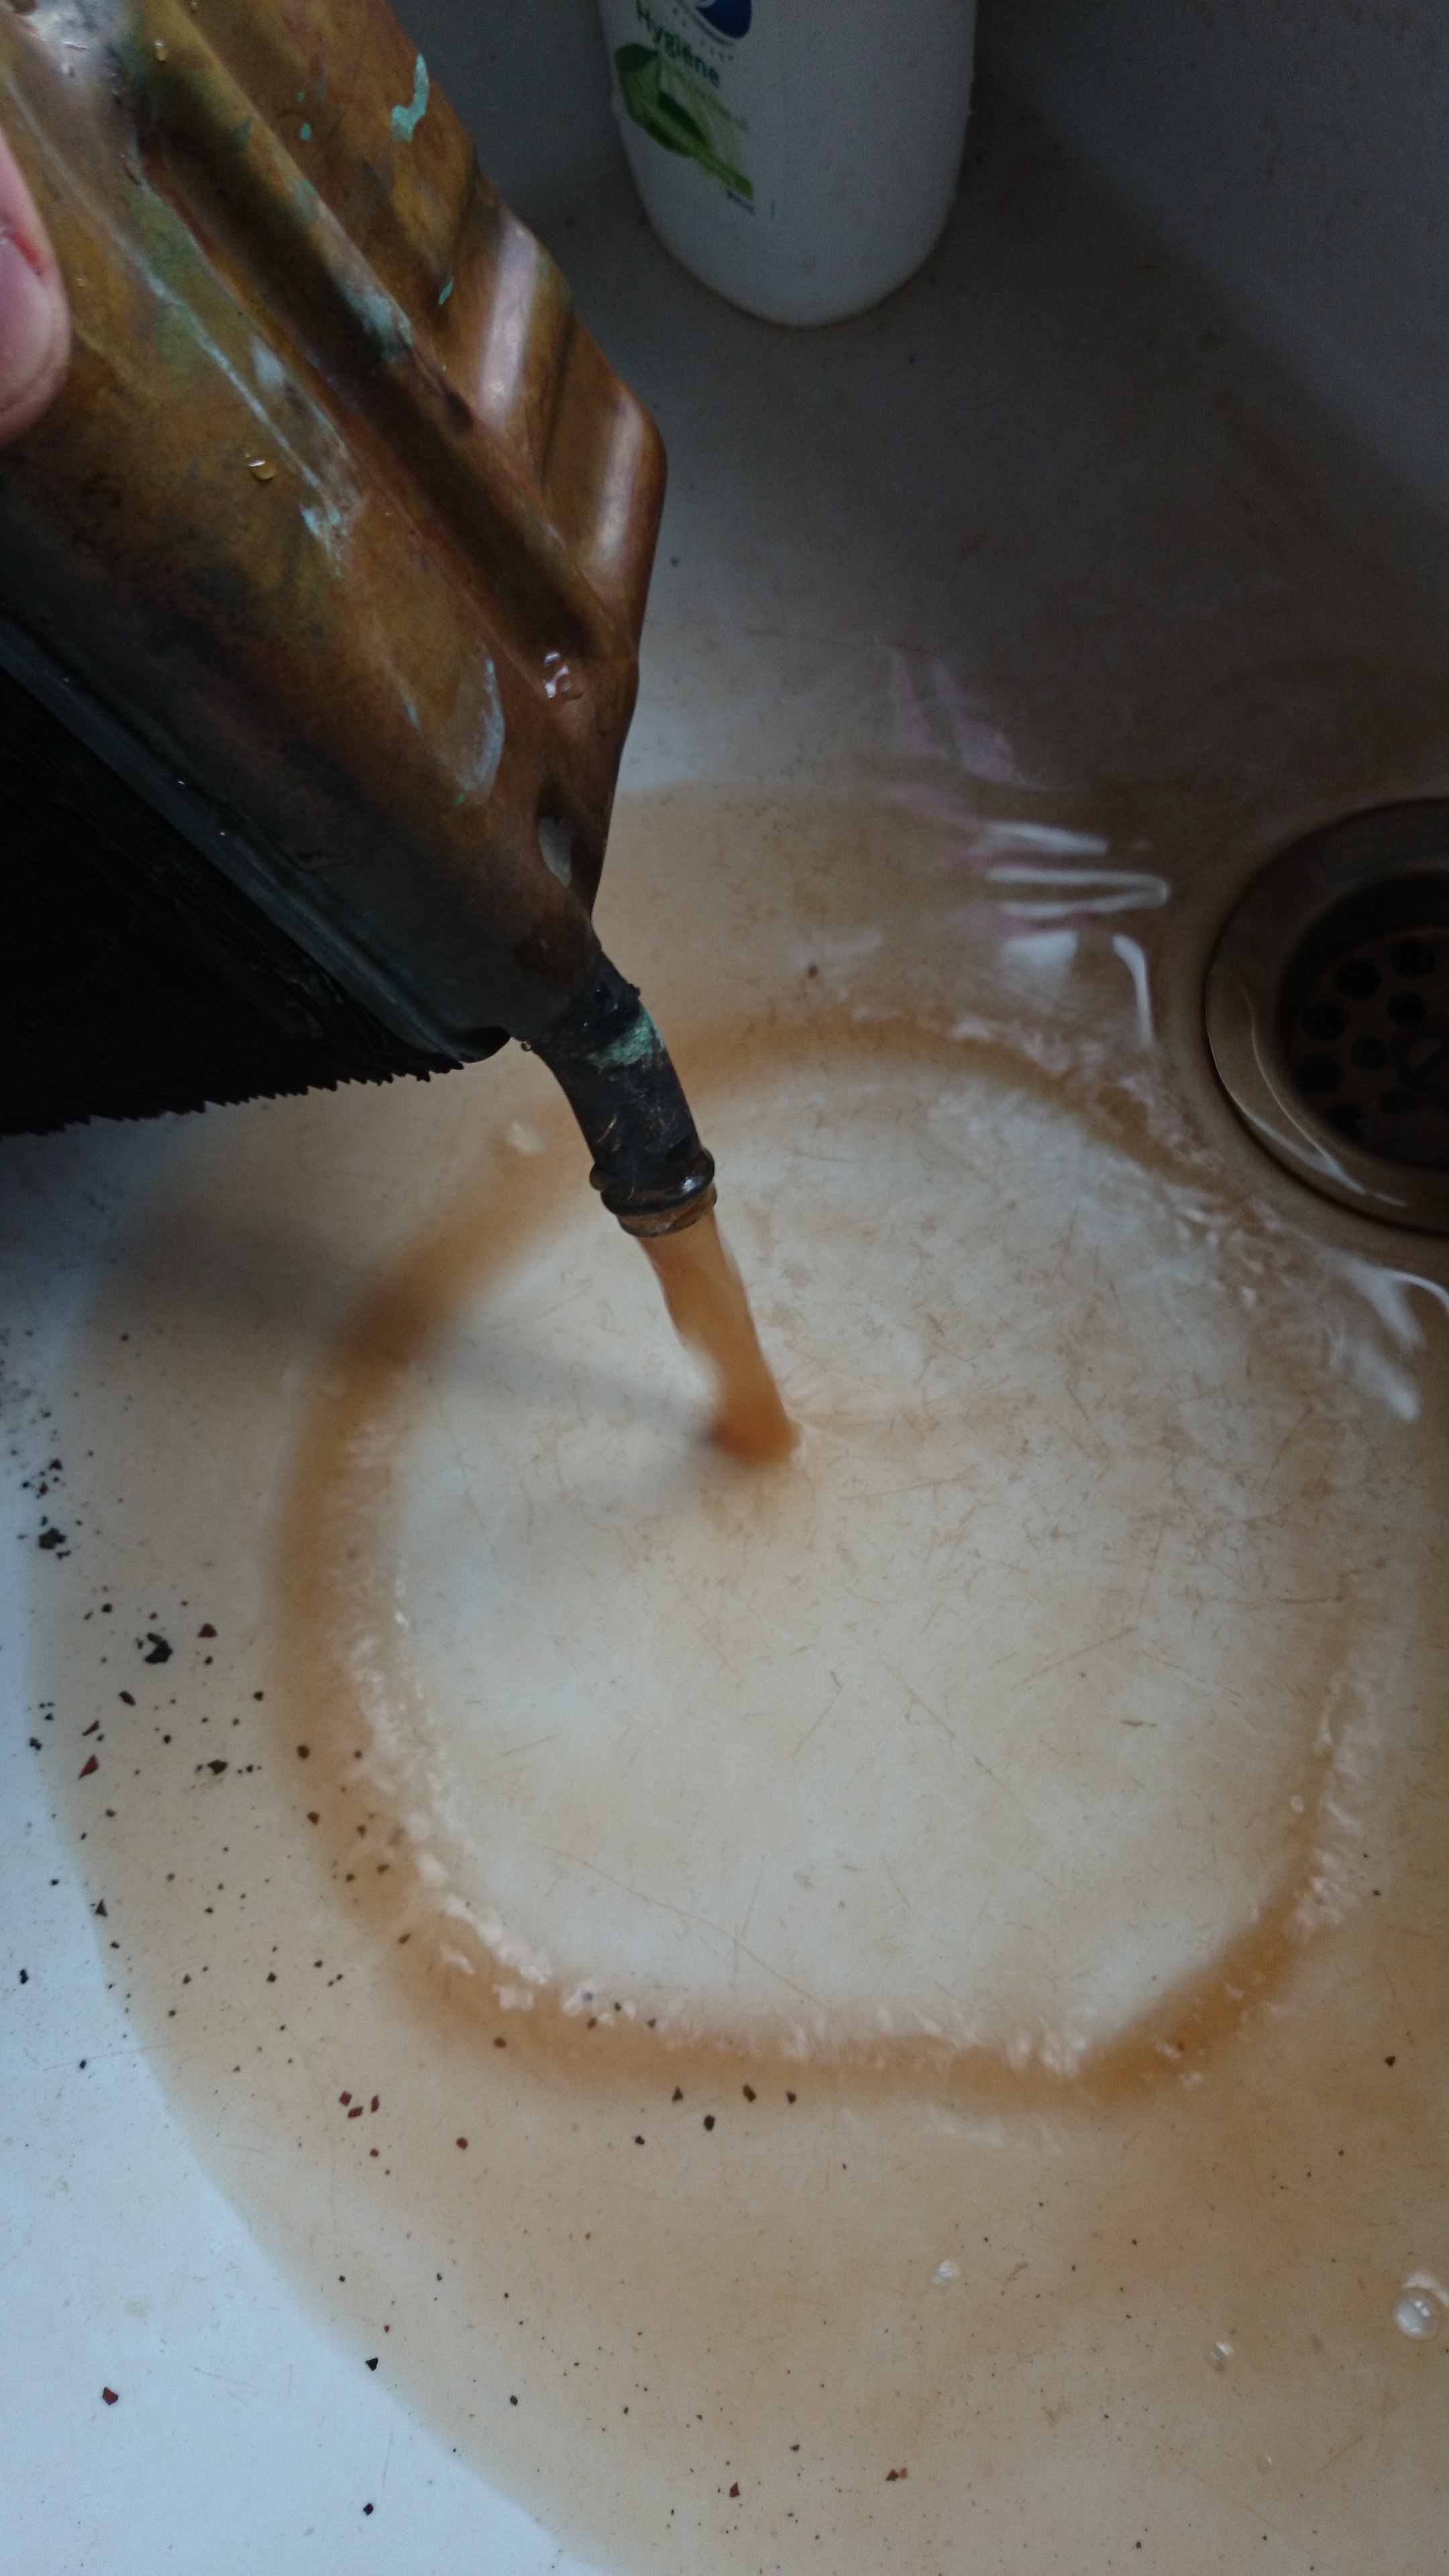
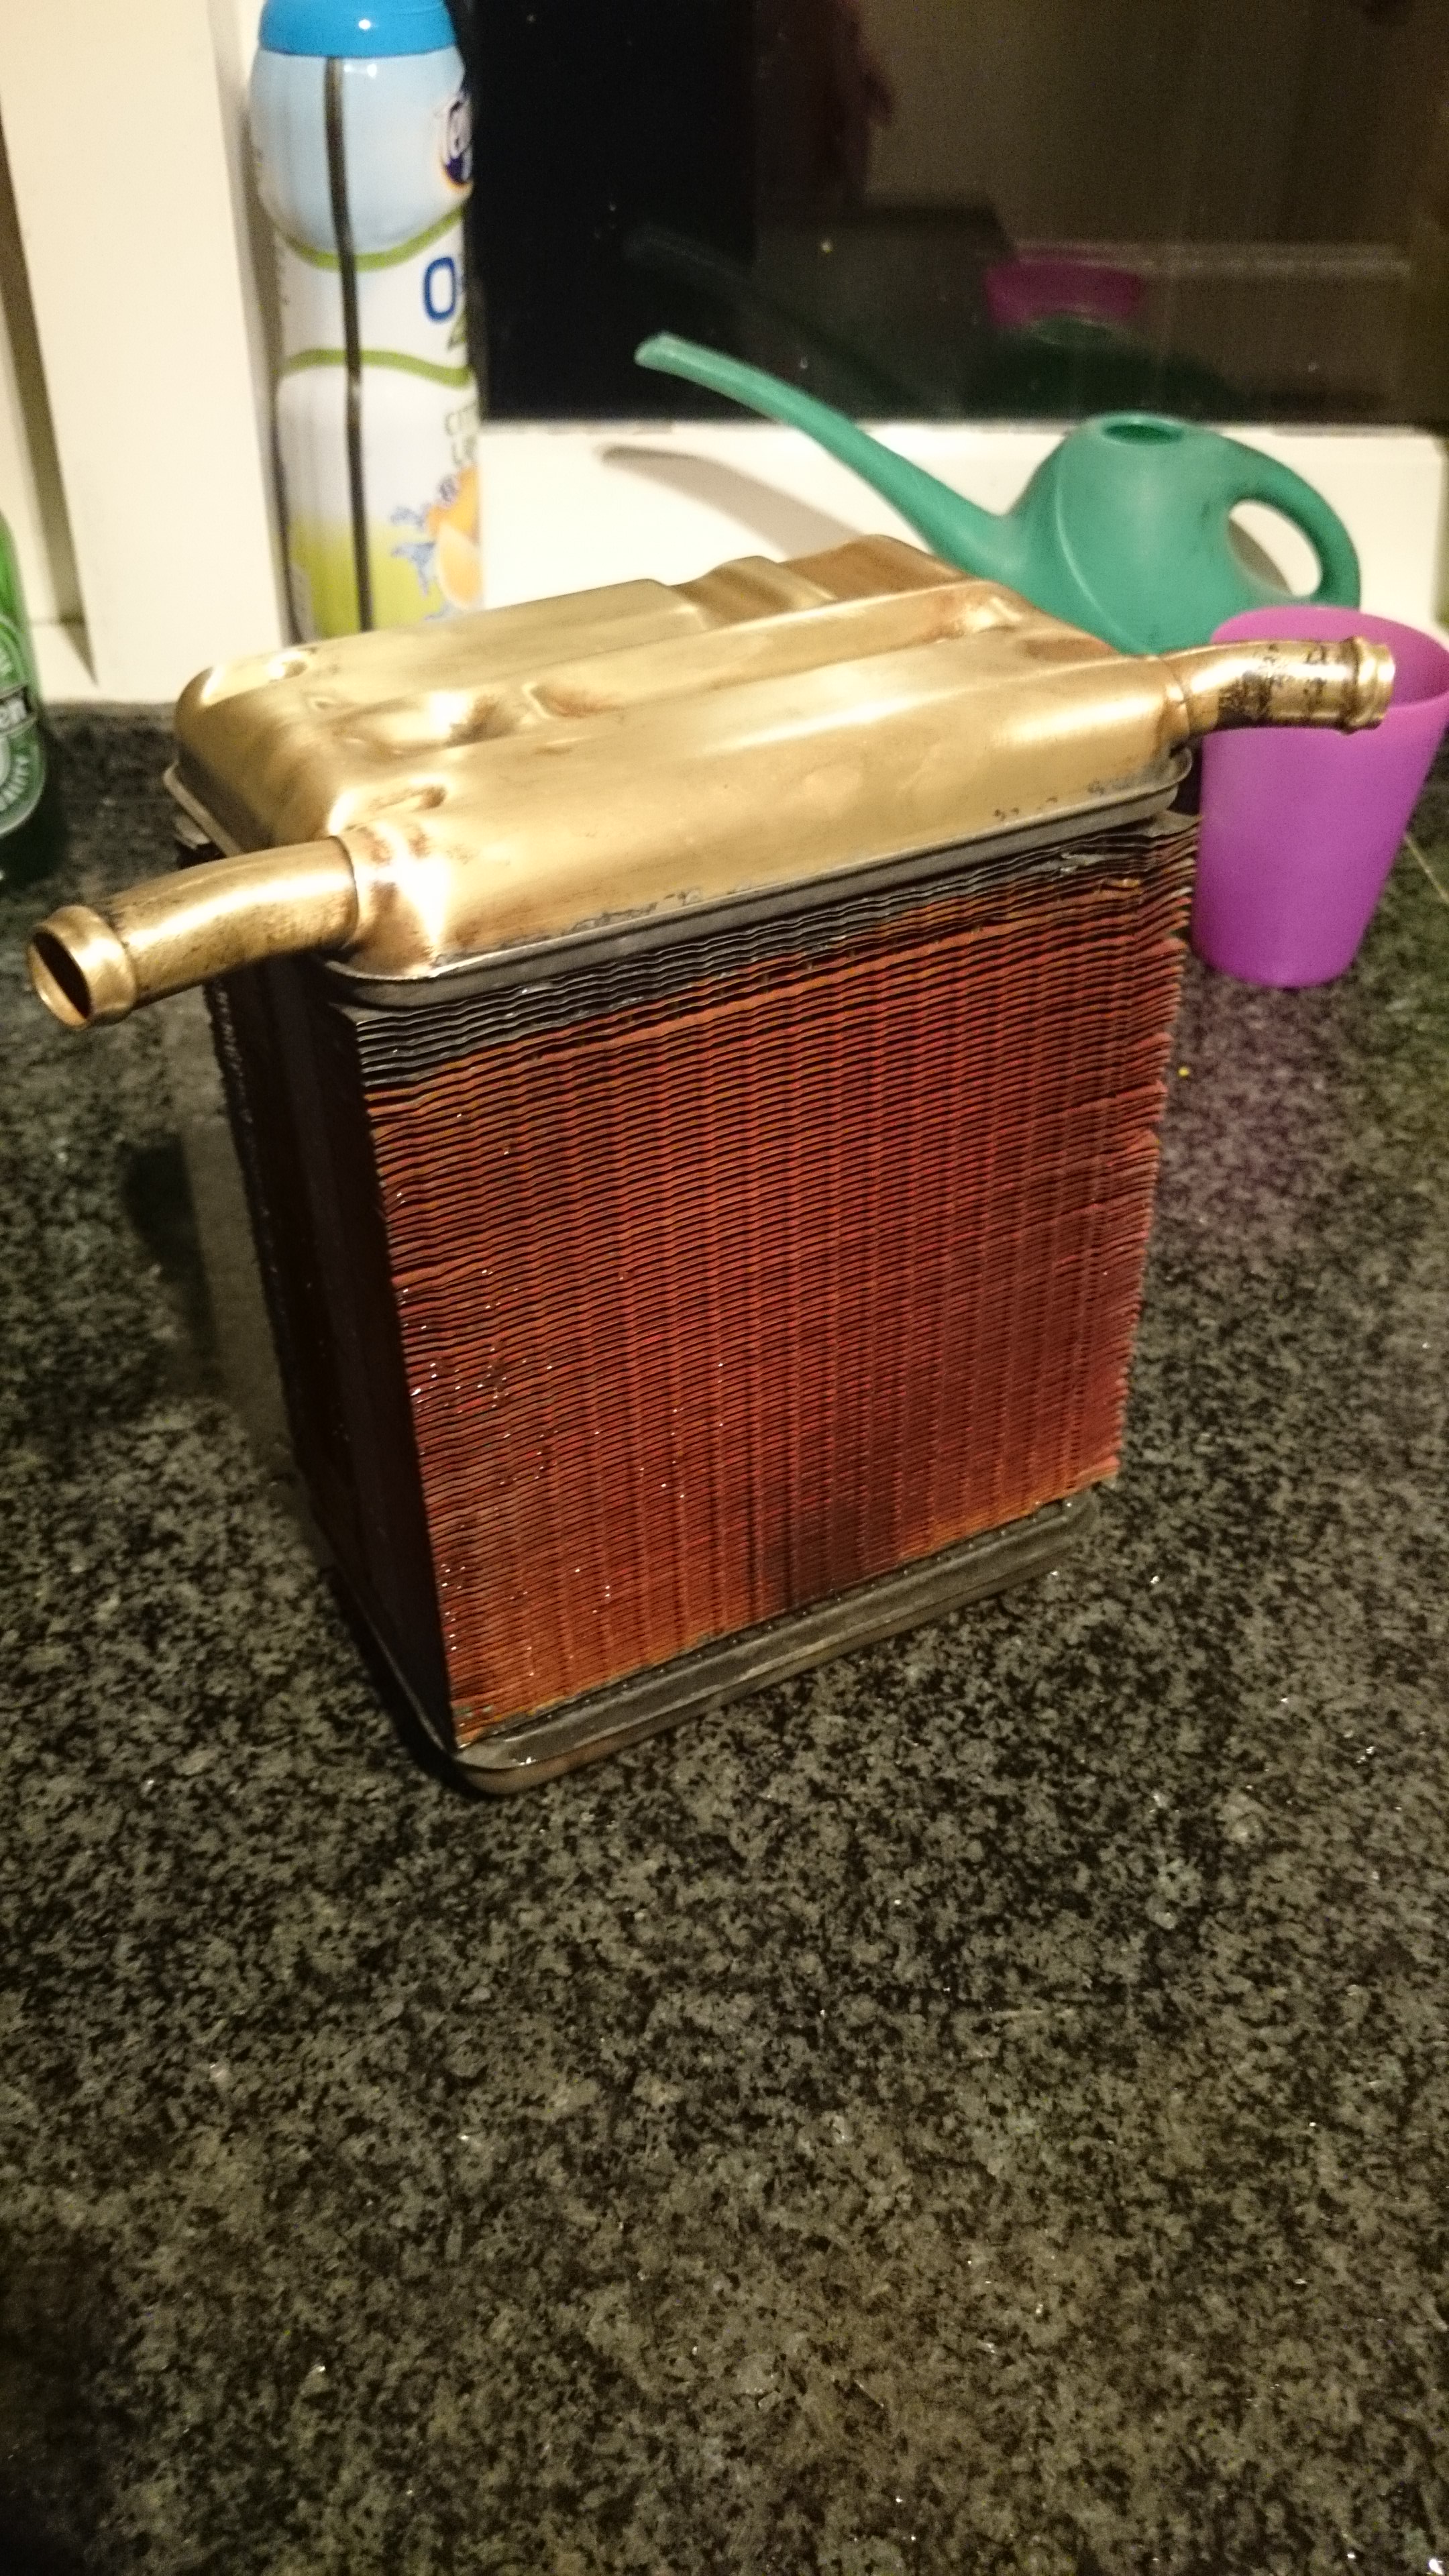
And cleaning out the interior radiator, lots of sludge came out. The thing looks overall very good, possibly I’ll send it to a radiator shop for a check up.
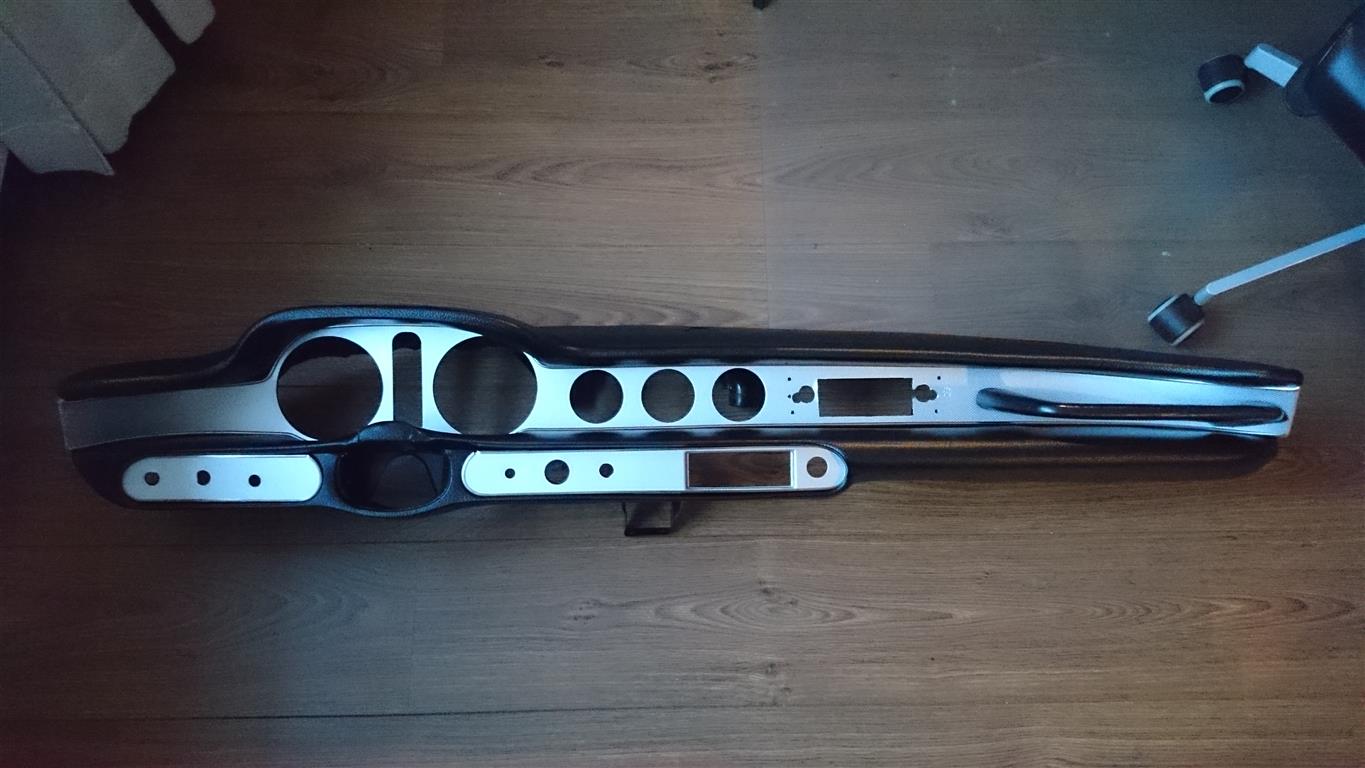
And after some polishing (still have to finish it)
Also all the bolts, nuts and brackets are re-plated. I made pictures of all assemblies previously so now sorting it all.


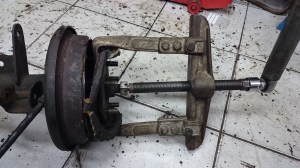
As I am disassembling all parts of the suspension for cleaning and painting, the rear axle was next: removing the drums, brakes, bearings and check the spicer gears.
As the axle is loose from the car and sometimes extreme forces are necessary to remove the drums, it’s a bit difficult to counter the force to tighten the drum puller.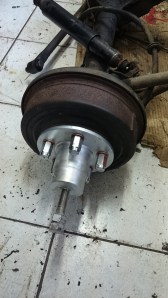
It was just too tight. I used a 1,5m long pipe on the wrench, and for several days, heated the drum, banged it with a hammer, but no help. At some time during the rampage the drum began to tear apart…
Then, as I allready wrecked the drum, I used a large Kukko puller and this did the trick. Installed the puller again, Heated it up again, and threw a bucket of cool water over the thing. A minute later there was a big BANG and finally it was gave way. The other side came of pretty easy.
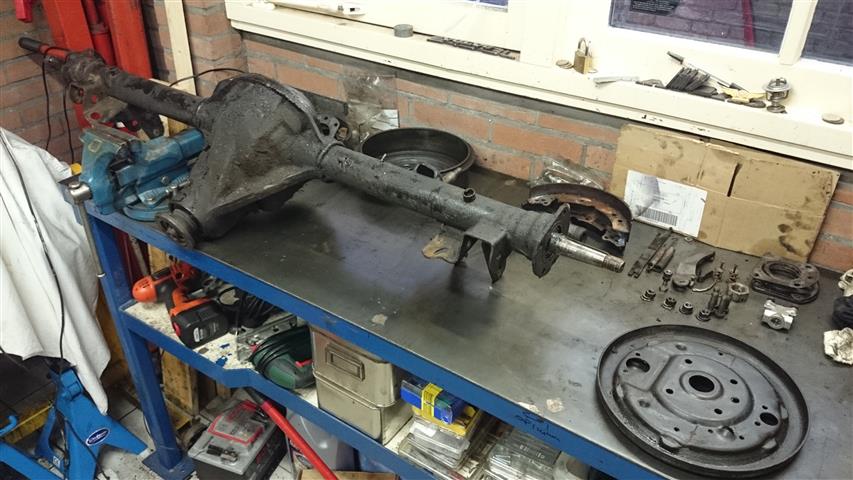
Disassembled and cleaned rear axle
Also started with the fuel tank
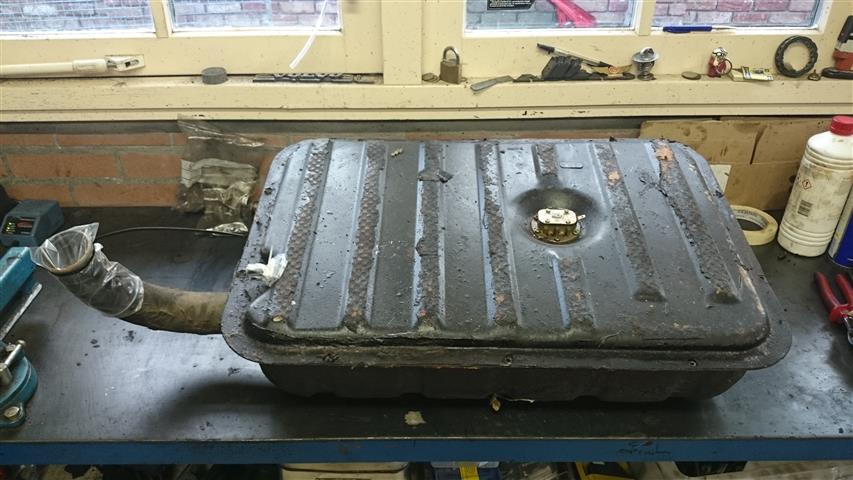
And out comes an almost new fuel tank
Cleaning up the oil pressure transmitter
A piece of art

I removed the dash and labeled the wire loom, quite a job! The wire loom still has to be removed from the car, this is a bit difficult due to the small hole in the firewall through wich the loom has to be pulled. The wire loom is in a bit of a bad shape, I’ll have to see if I’m going to fix it or go the lazy and expensive path and buy a new one.
The removing more parts process is going pretty fast as it is a not very difficult job. The most important thing is to make pictures and label everything. Removing the engine will be easy with this much space in the engine bay. I also did some labeling of the main wire loom.


Removed the fuel tank. No rust to be found here.

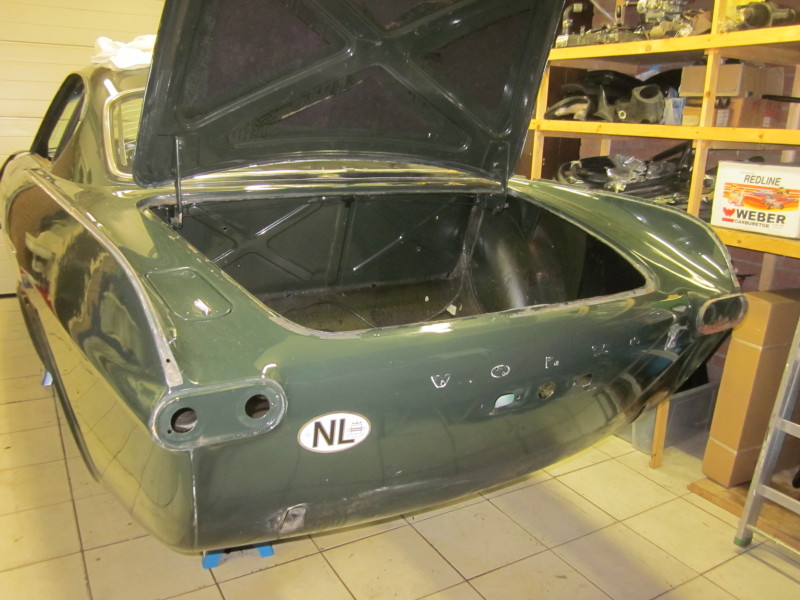
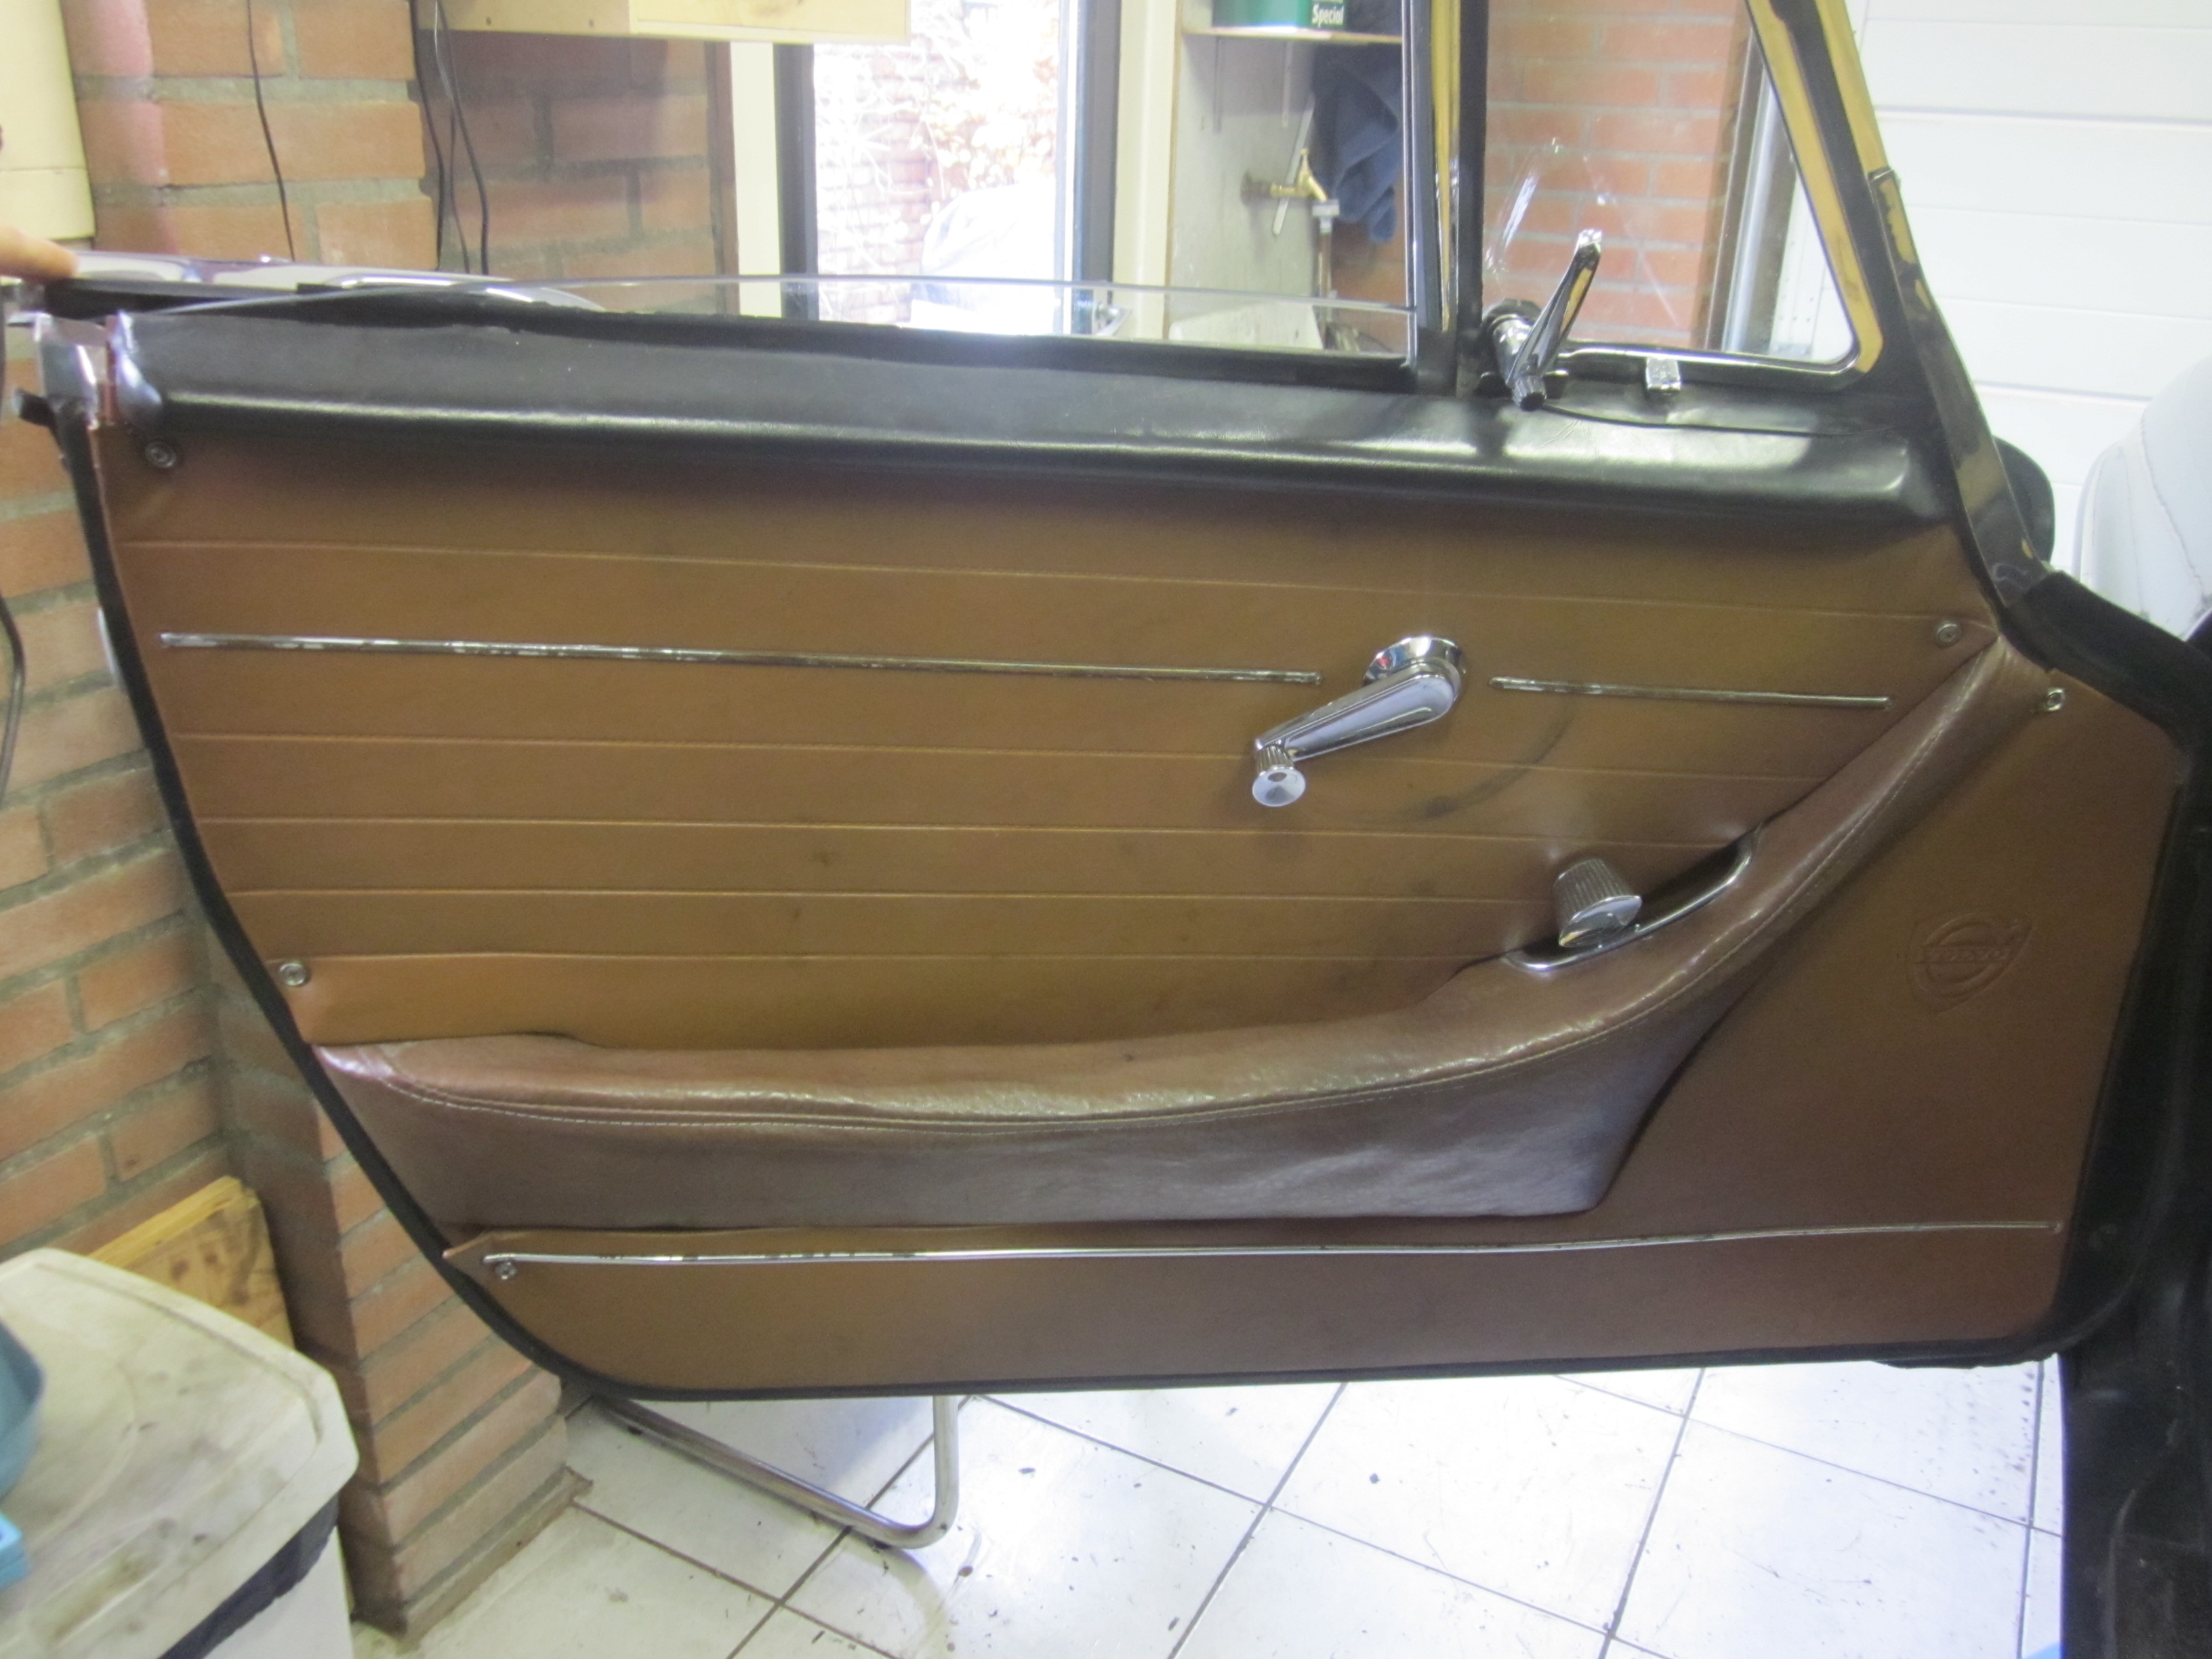
The doors are also stripped and removed. No rust to be found here.

Due to a tip on http://www.volvokv.nl I read that the shock towers of the front suspension are prone to cracking with higher mileages. I found that this car has allready been repaired, some welds are visible along with an extra reinforced piece of metal on top of the towers. Thats a good thing.

