SU HS6 conversion?

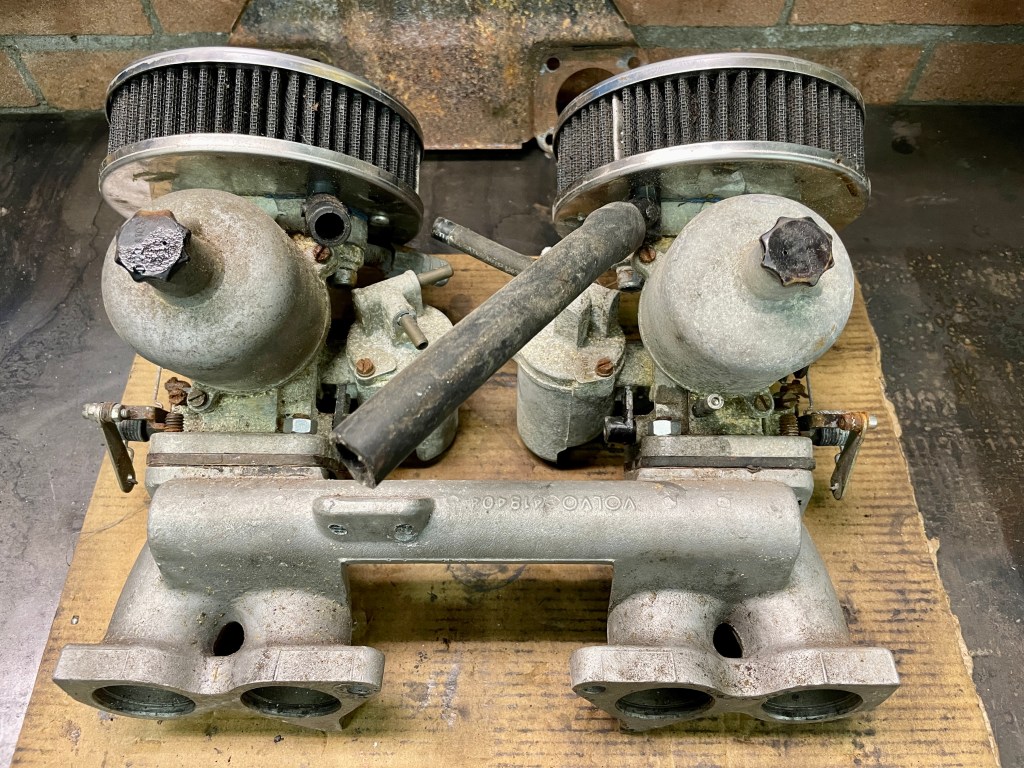
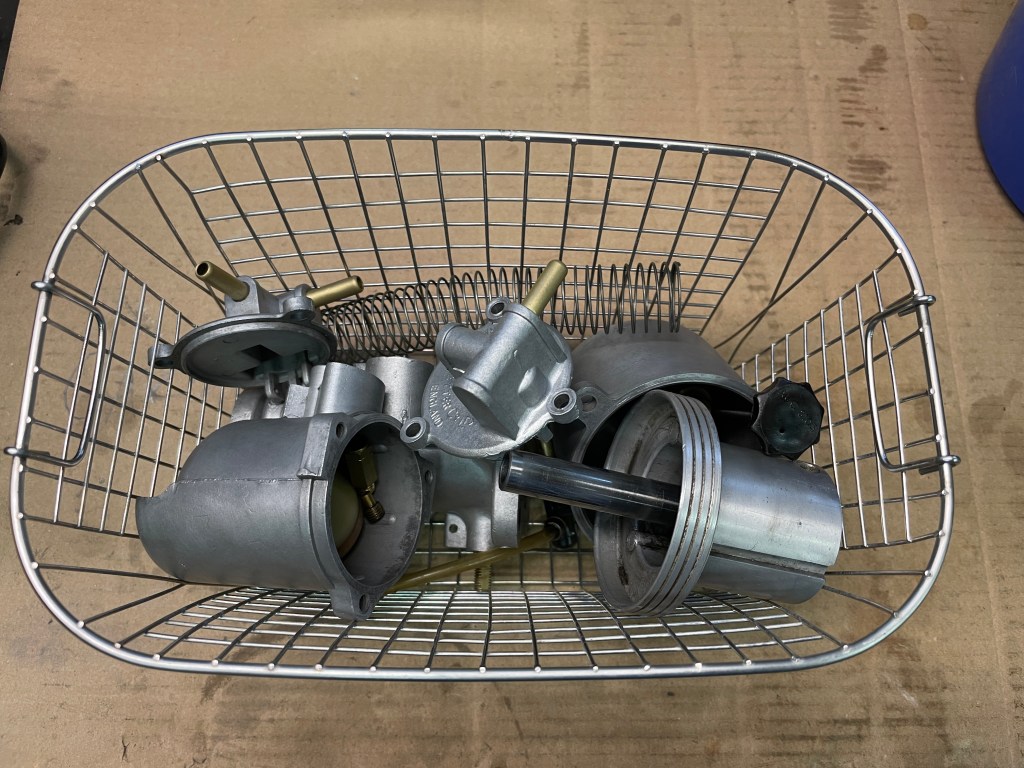
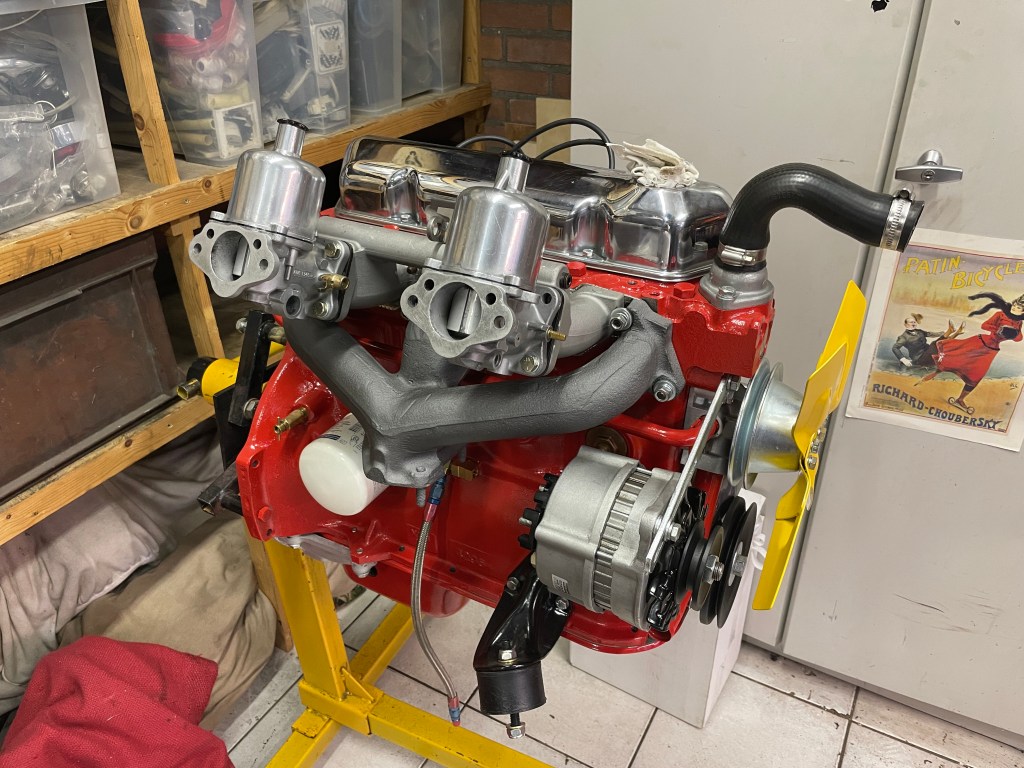
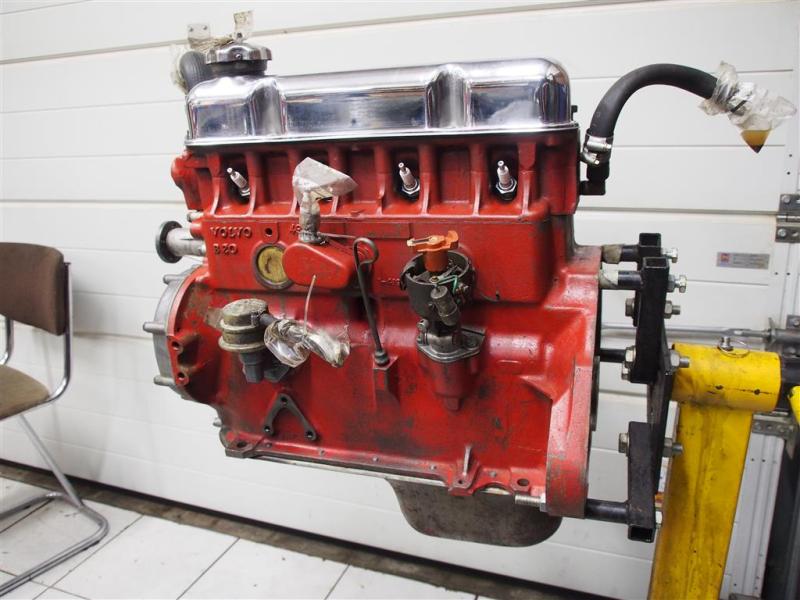
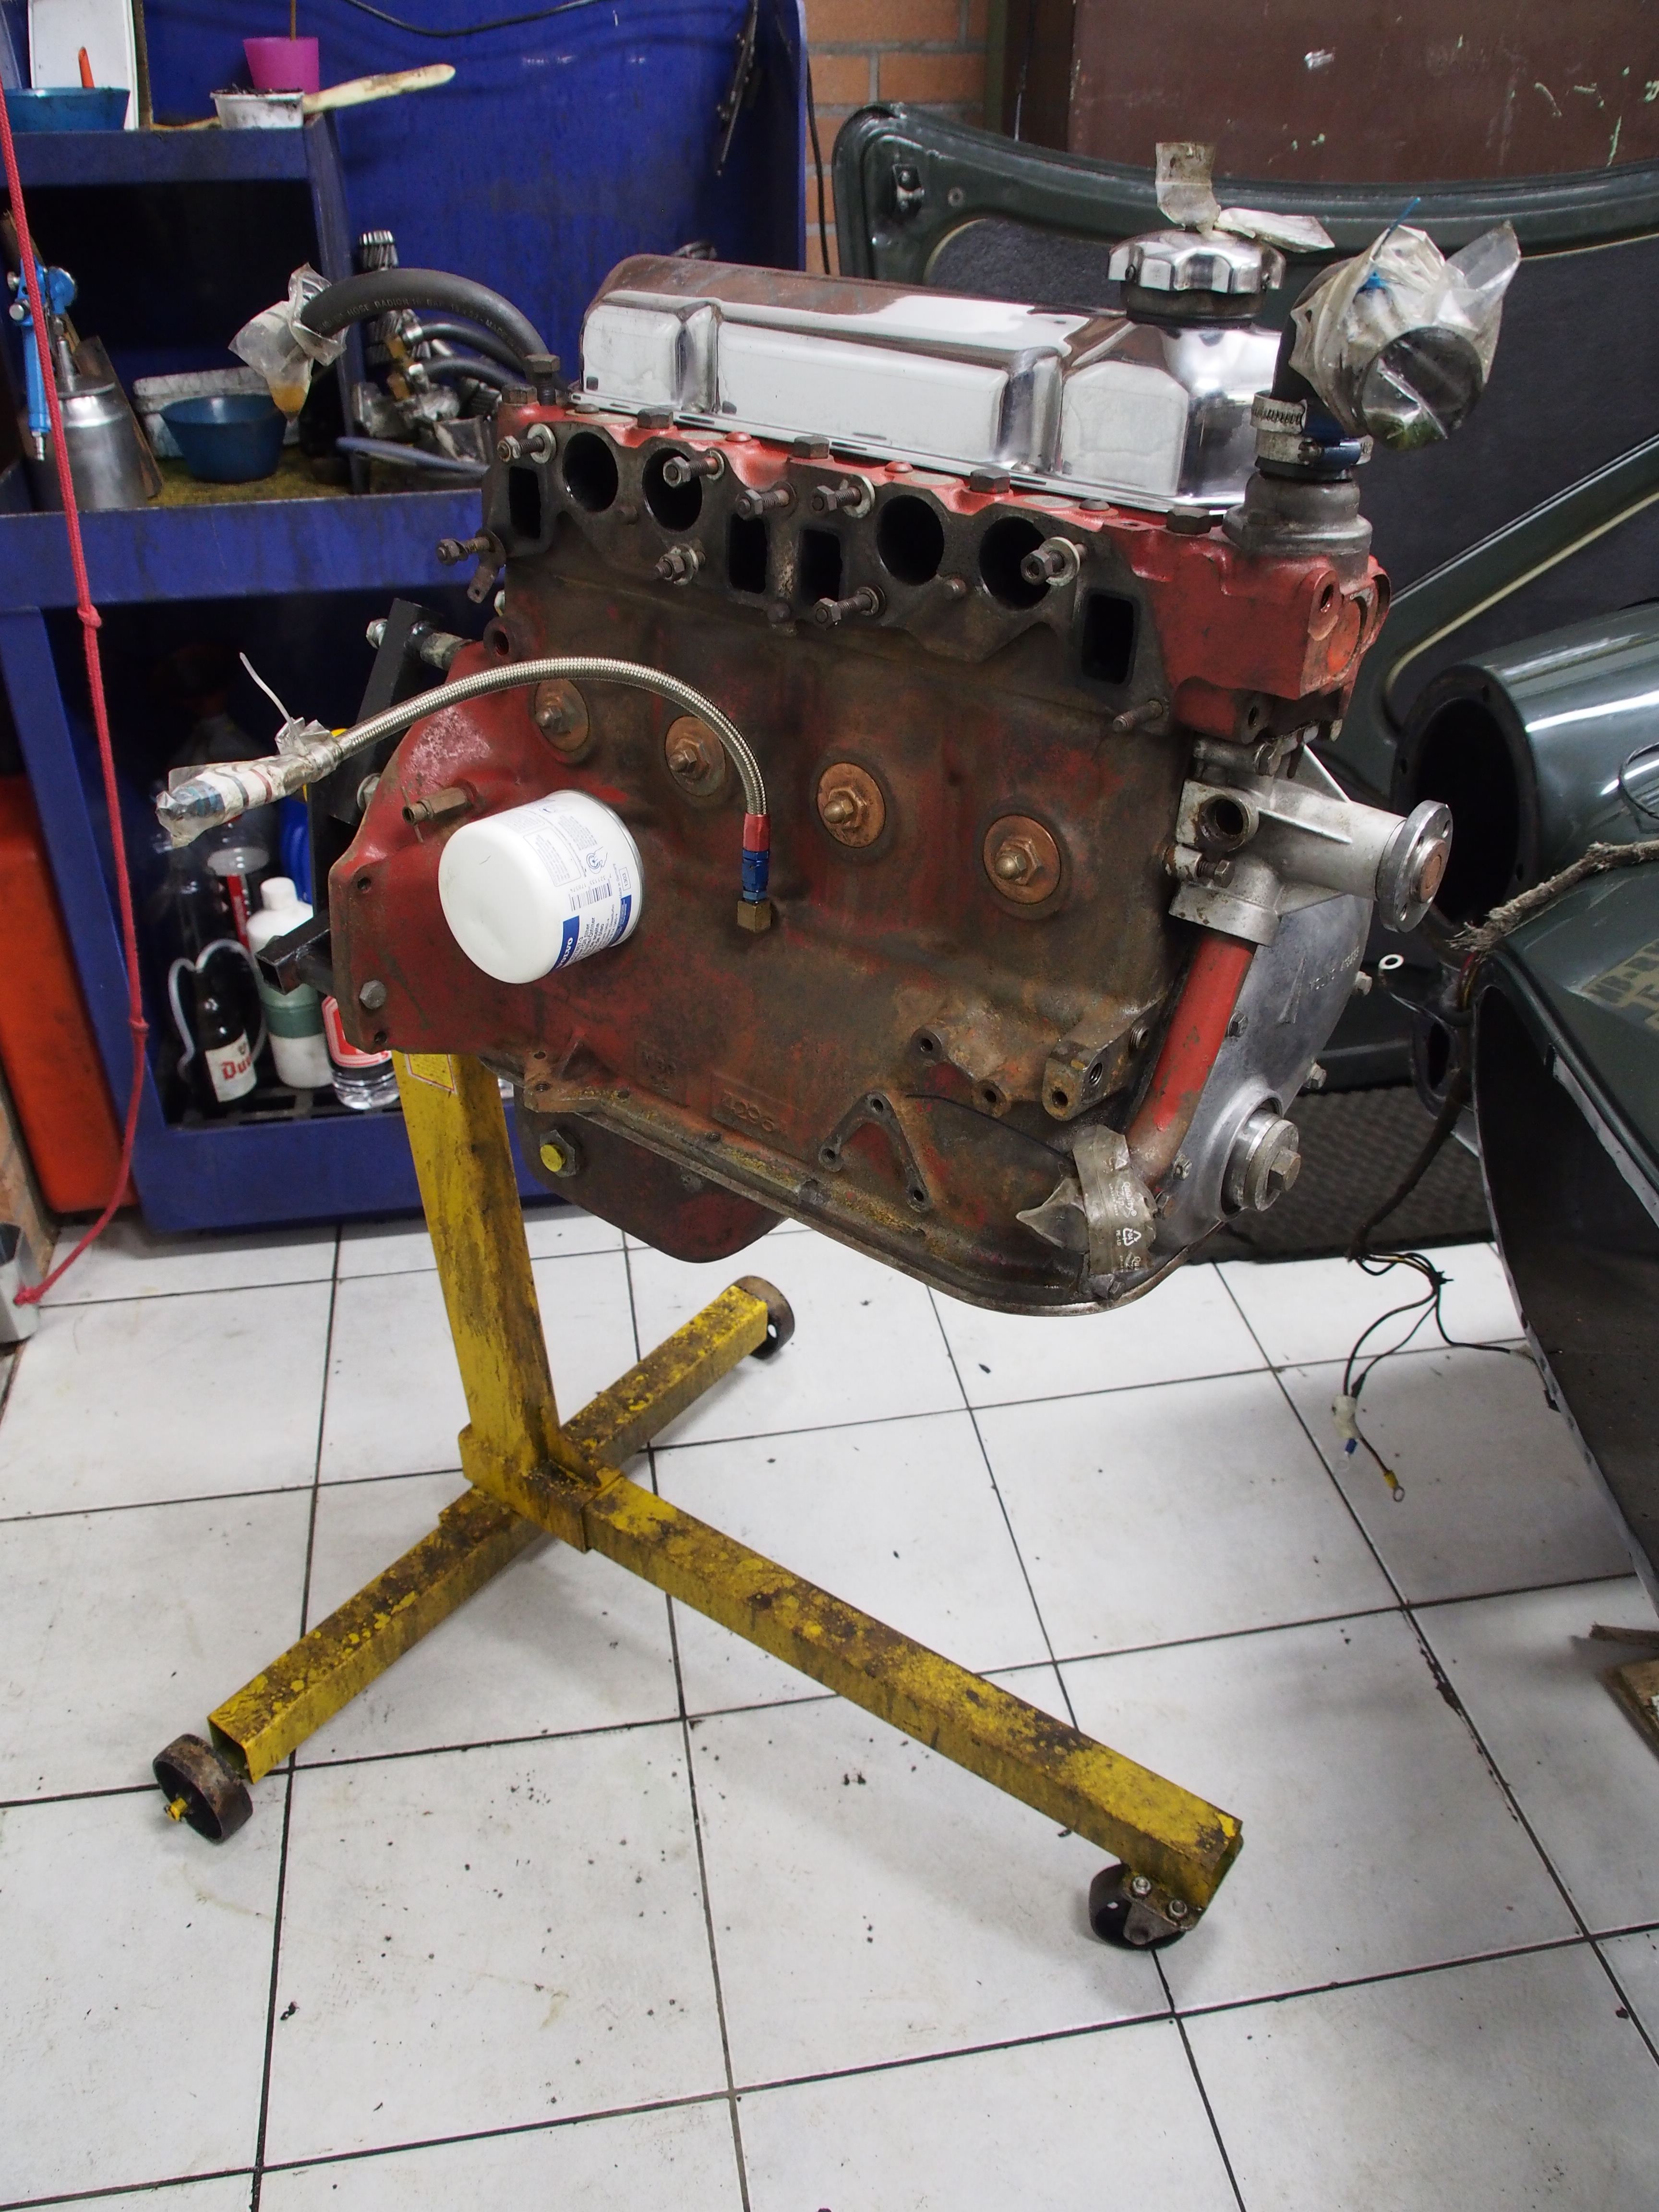
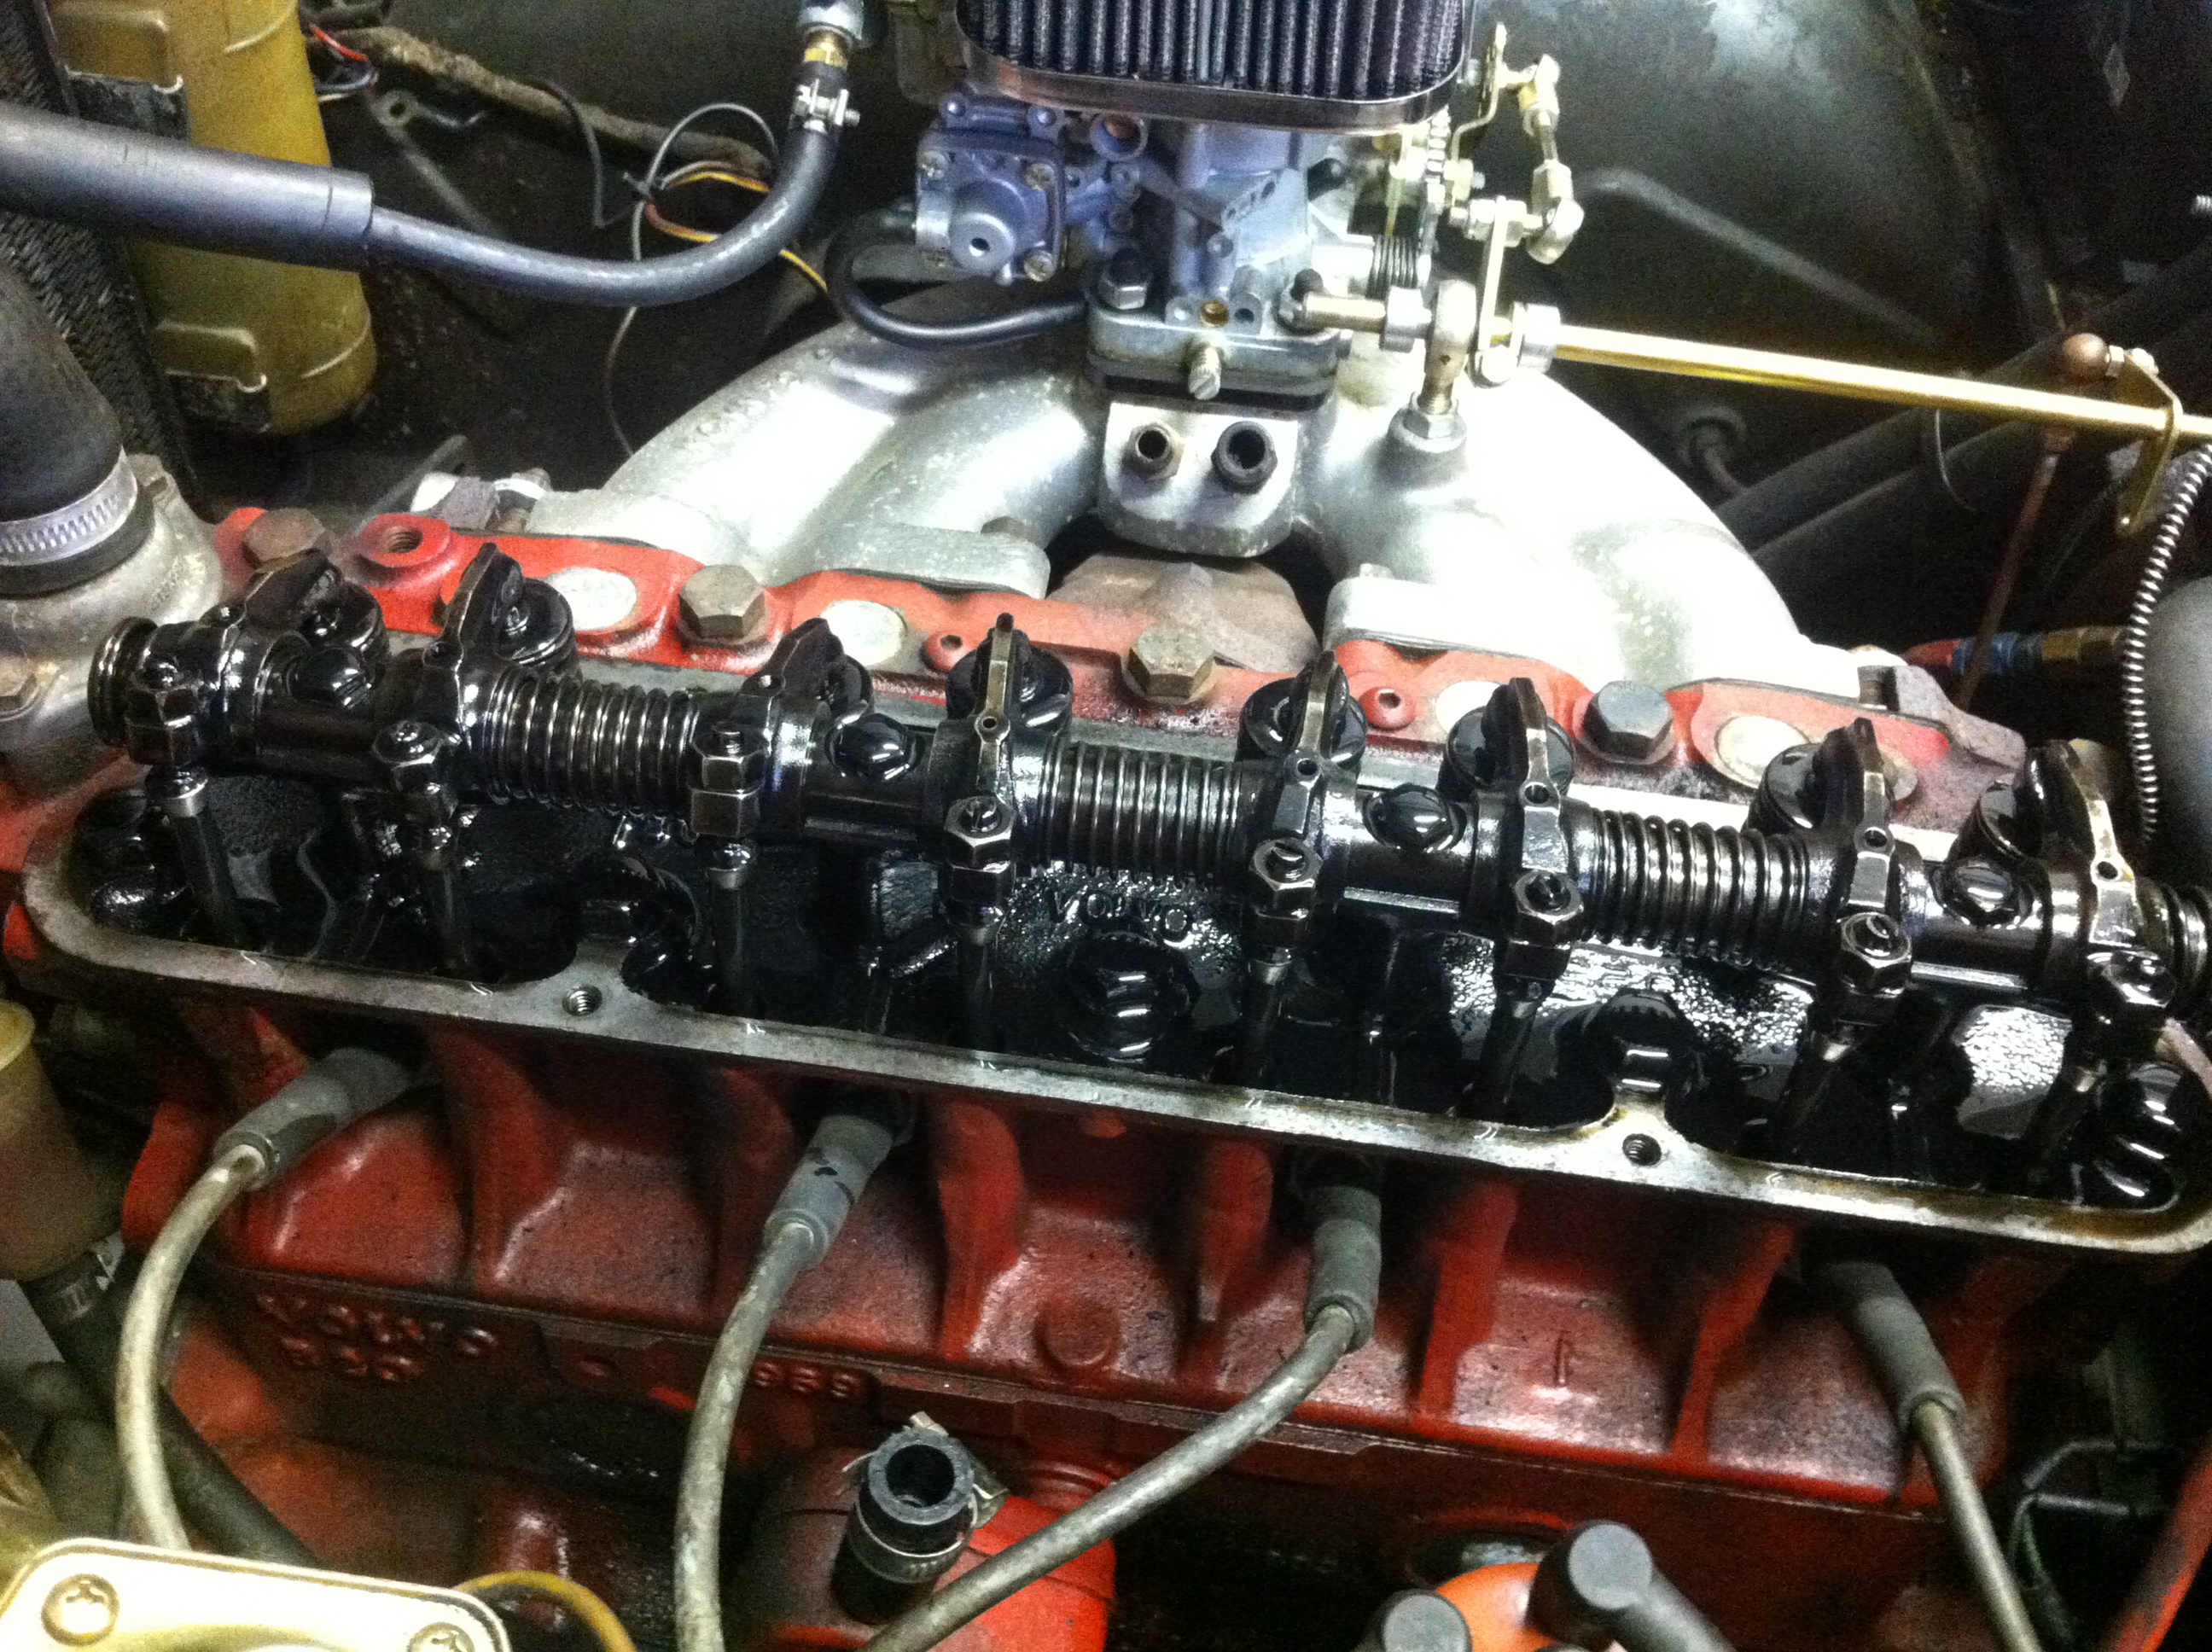
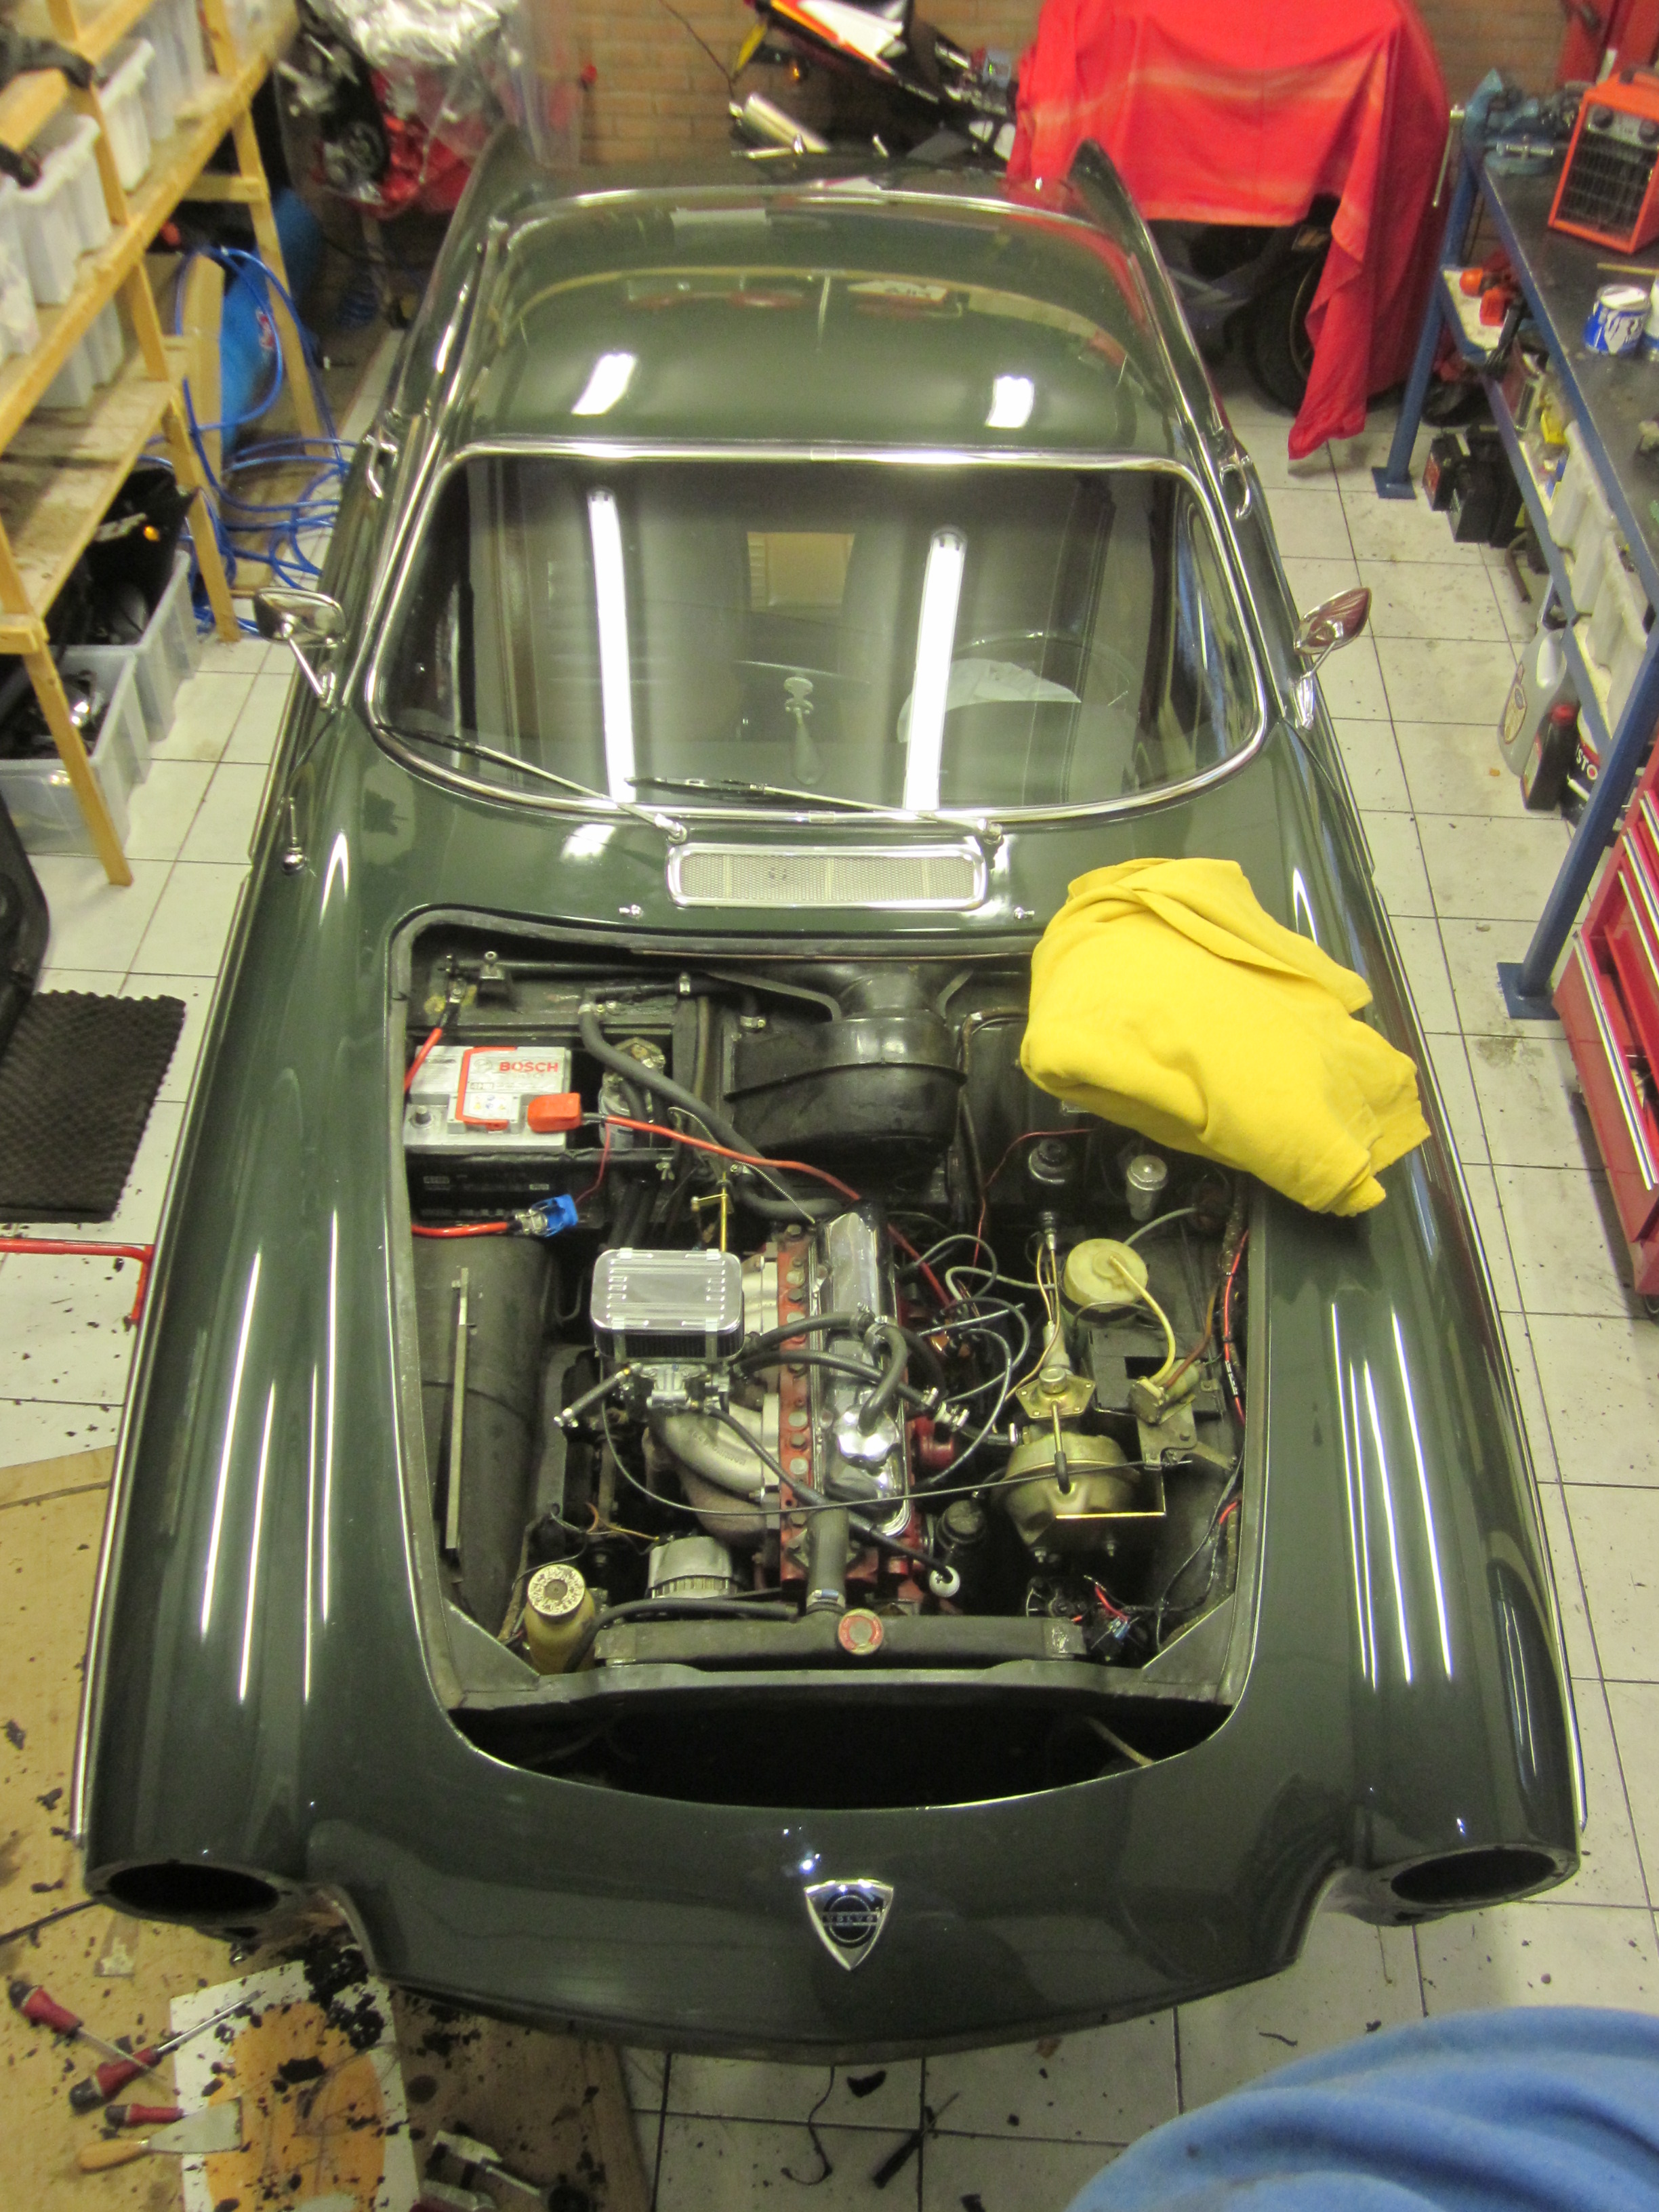
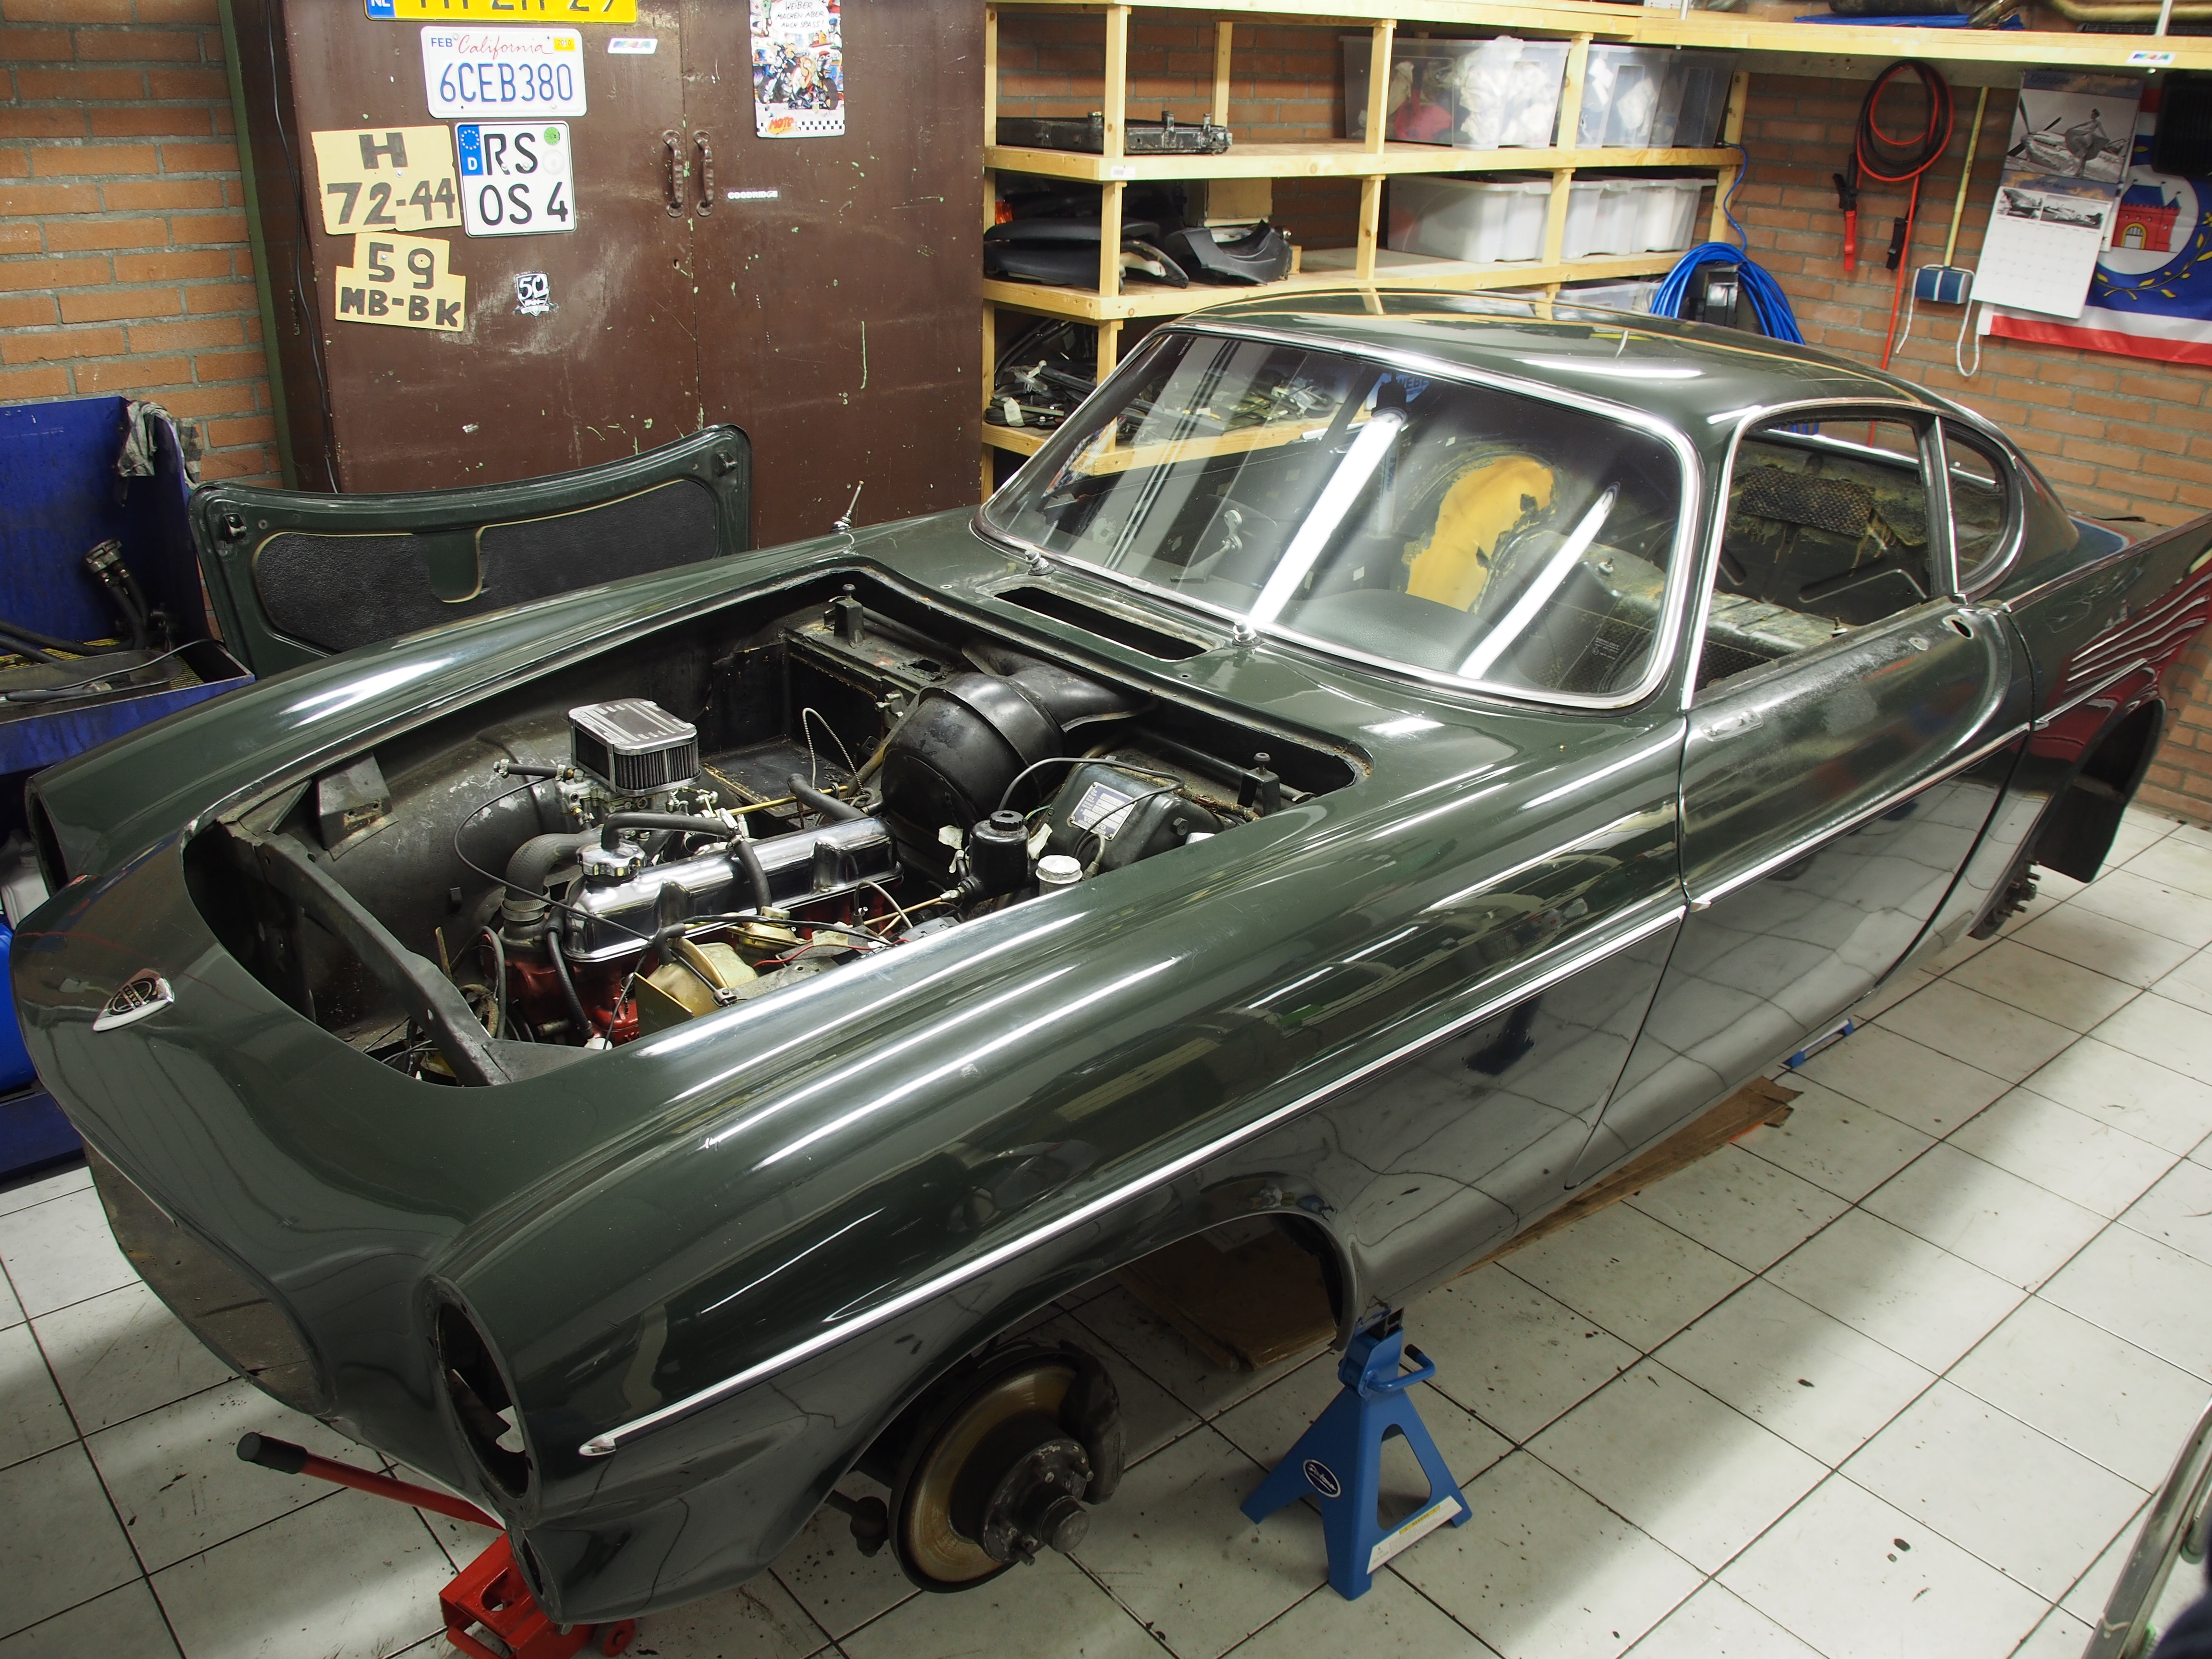
I found a set of SU carbs as I am planning to convert back to the double SU setup instead of the Weber 38. I’ve read that a B20 with double SU works best with a K or even better a TT3 type camshaft. I don’t know what type my engine has (finding out would mean taking the head off) so this could be a bit of a guess, but I can always go back to the Weber. It should have a C type installed and it should be a working setup. I’m also aware this is a 2-bolt type and a 3-bolt type would be better.

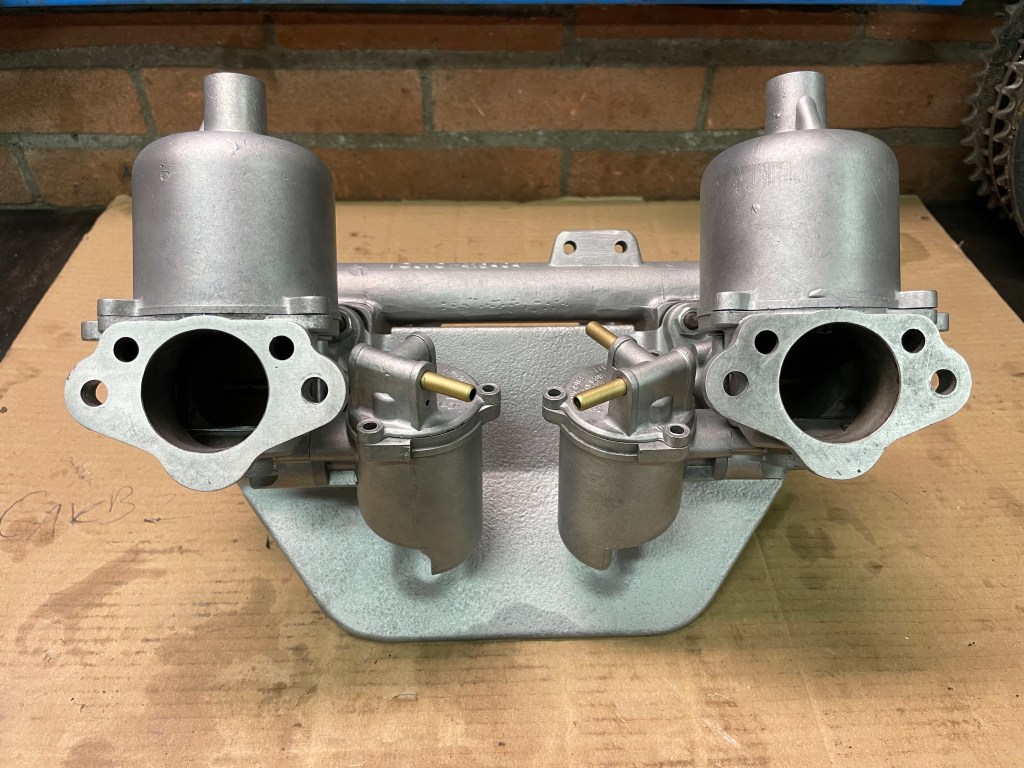
Offcourse the setup is not completely original as the engine is supposed to be a B18. The B18 got replaced a long time ago probably back in the States by a B20 with the bigger valves with a little more power. So unfortunately no matching numbers for the engine, but the M40 transmission is. Anyway, the double SU will looks much better.

A set of SU’s in dire need of a rebuild, though throttle plate shafts and bushings are really good and have no play whatsover. I will be replacing the floats, float needles, main jets and all gaskets. Float bowl tops will be modified so if a bowl will overflow fuel will not spill on the exhaust. All metal parts will be replated. I will also need a new pair of air filters as these only fit in combination with the LPG mixing pieces and I wont’t be using them.
Took it all apart, these parts will be sent off to be replated yellow and silver/blue.
Lightly glassbead blasted and cleaned
Ultrasonic parts cleaner
Sure looks very nice
Polished the pots
I hope it will run as good as it looks with the SU’s. Now waiting for the plating to be done and then they can be put back together again.
Advertentie

Prepping the engine

I did some extensive cleaning of the engine with solvent and a steel wire brush, quite a messy job.

Afbeelding


OLYMPUS DIGITAL CAMERA

These freeze plugs don’t look very original, I have never seen these kind of plugs. I wonder what the function of the nuts in the plugs are.

Afbeelding


And I got a very nice present today.

foto (6)


Removed engine and transmission

Engine and transmission are removed in one piece with the help of my brother. It was quite an easy job.

AfbeeldingAfbeeldingAfbeeldingAfbeelding

Placed the engine in an engine stand. The engine will not require much work as it has been overhauled completely some years ago so I will just do some small work to it. New paint, new freeze plugs (one was leaking), new water- and fuel pump, some new packings and seals and some new hoses. During some time they replaced the original B18 engine with a B20. This is a B20 with an E head (you can see the capped off injector holes). This engine has a bit more power due to bigger valves and more compression, the last taxation report stated ‘aprox 140HP’. This also means unfortunately no matching numbers for the engine. The trans is still the same unit at it left the factory with.

Afbeelding

foto 2

Removed some more parts

The removing more parts process is going pretty fast as it is a not very difficult job. The most important thing is to make pictures and label everything. Removing the engine will be easy with this much space in the engine bay. I also did some labeling of the main wire loom.

Afbeelding

Afbeelding


Removed the fuel tank. No rust to be found here.

Afbeelding

Afbeelding

The doors are also stripped and removed. No rust to be found here.

IMG_1899

IMG_1927


Due to a tip on http://www.volvokv.nl I read that the shock towers of the front suspension are prone to cracking with higher mileages. I found that this car has allready been repaired, some welds are visible along with an extra reinforced piece of metal on top of the towers. Thats a good thing.

Afbeelding


Started disassembling

I started to disassemble the car as I want it to be stripped completely to get it sand blasted and painted. I removed some parts under the hood (and the hood itself) to prepare for engine and transmission removal. I also removed some parts from the exterior like chrome strips, grille, bumpers, rear and front lights etc and making lots of pictures in the process, as all this has also have to be put together again, some day.

The car in my small shed.

IMG_1825

I put it on stands, it looks like a spaceship.

IMG_1871

Gutted the interior

foto 4

OLYMPUS DIGITAL CAMERA

OLYMPUS DIGITAL CAMERA

Beautiful dash!     Afbeelding

Restoring a Volvo 1800S ’67

Finally after years of searching I now am the proud owner of this green Volvo 1800S from 1967. The car was in medium shape, just some minor beginning rust, the paint is bad at some locations and some other parts and pieces of the car wich are in a somewhat neglected condition. I drove the car for a while and now started the restoration. I will try to update this blog with the progress of the restoration of this car!

I started with this blog a few months after I started with the actual restoration, so the first blogs are all made in april. I actually started in the end of 2013. Also, the sequence of blogs is not always correct.

The car:

OLYMPUS DIGITAL CAMERA OLYMPUS DIGITAL CAMERAOLYMPUS DIGITAL CAMERA OLYMPUS DIGITAL CAMERA

We found that the oil filter was fitted next to the battery with some extension hoses, probably to make oil filter changes easier. I also found on an old inspection report of the car that there where some interesting accesoires installed back then, such as a Halda twinmaster, speedpilot, 4 high-beam Cibié headlights, black race seats, steeringlock, fire extinguisher, minilites 14″ rims. Engine, 4 cilinder 2 liter around 140pk, completely overhauled and tuned. It seems the car was prepped and used for amature rallying, nice!